Assembly
[*]Clamp the tool upright in a vice.
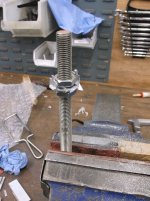
[*]Fit the tube onto the tool, so that the prongs on the tool fit into the cut-outs on the tube.
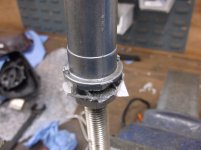
[*]Slide the spring over the tube.
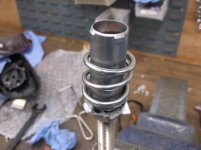
[*]Fit the mirror housing onto the tool, then line up the bracket on top of it. Make sure that the orientation of the mirror relative to the bracket is correct. Press down on the bracket and housing so that the tube protrudes through the bracket enough to rotate the assembly, so that the tube locks in place when pressure is released.
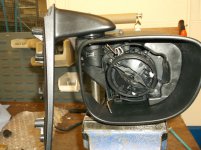
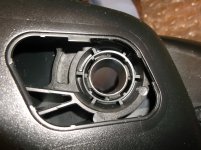
[*]Remove assembly from tool and check that the mirror folds and the assembly is securely held together.
[*]Feed the electrical cable back through the tube, refitting the foam in the middle of the tube.
[*]Feed the electrical cable back through the bracket, again refitting the foam where it came from.
[*]Refit the plastic access cap into the underside of the bracket.
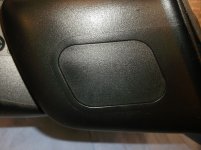
[*]Refit the cover onto the housing. (I refitted the glass first, but I think it would have been better to fit the cover first, so that the clips are visible whilst fitting.)
[*]Screw the motor mechanism to the housing, using the four screws removed earlier. Take care that the temperature sensor is correctly positioned, so that the nipple protrudes through the hole in the underside of the housing.
[*]Re-attach the heated mirror contacts onto the terminals on the glass.
[*]Clip the mirror back in place. This is a lot easier than unclipping it, with less risk of breaking the glass.

