General Introduction and my new 1969 500L

Currently reading:
General Introduction and my new 1969 500L

So I'm currently sorting through the parts and ordering replacements for those that need replacing and I have a few questions I'm hoping you can help with (sorry there are quite a few!)

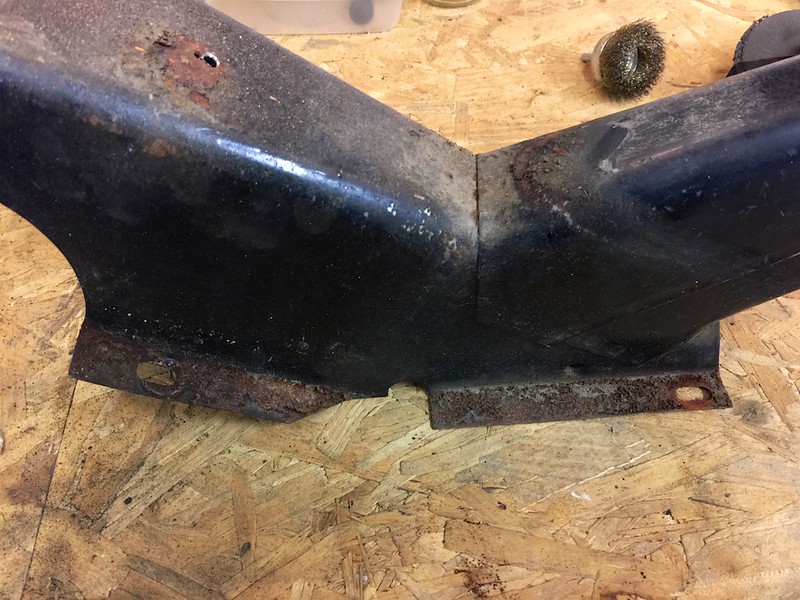
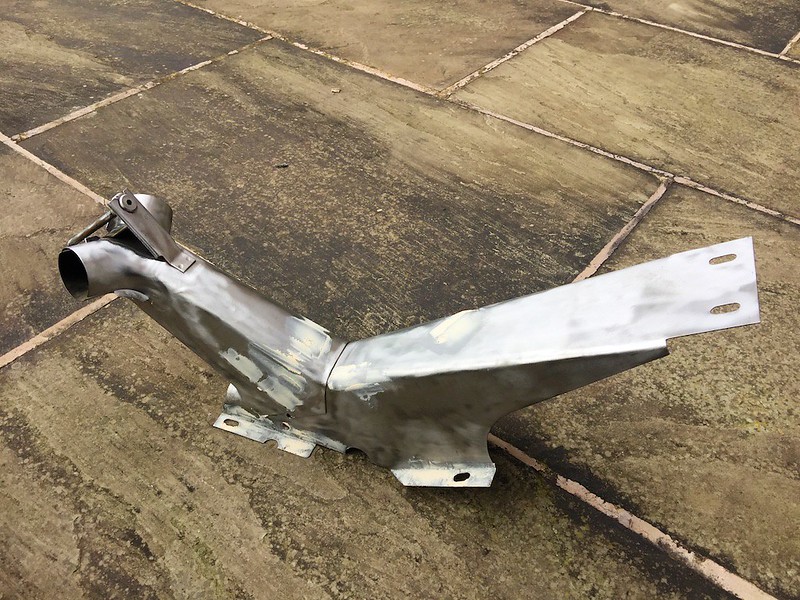
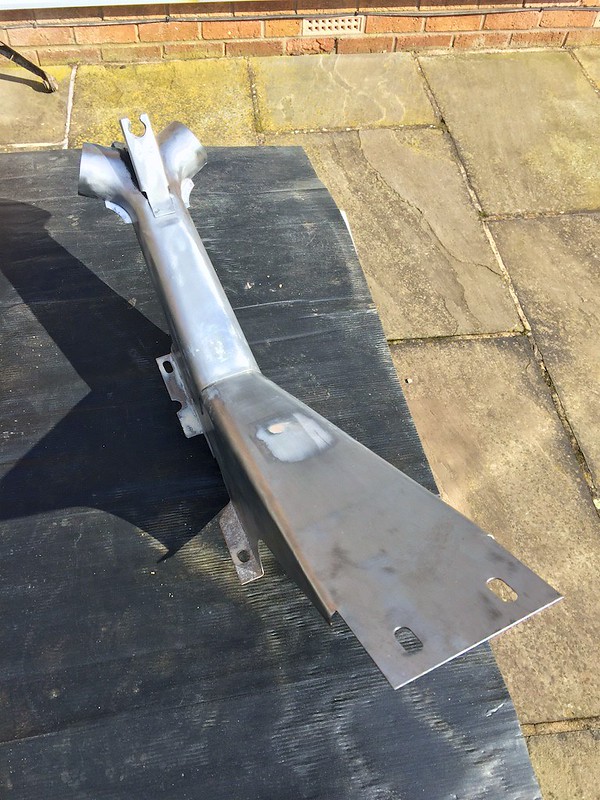
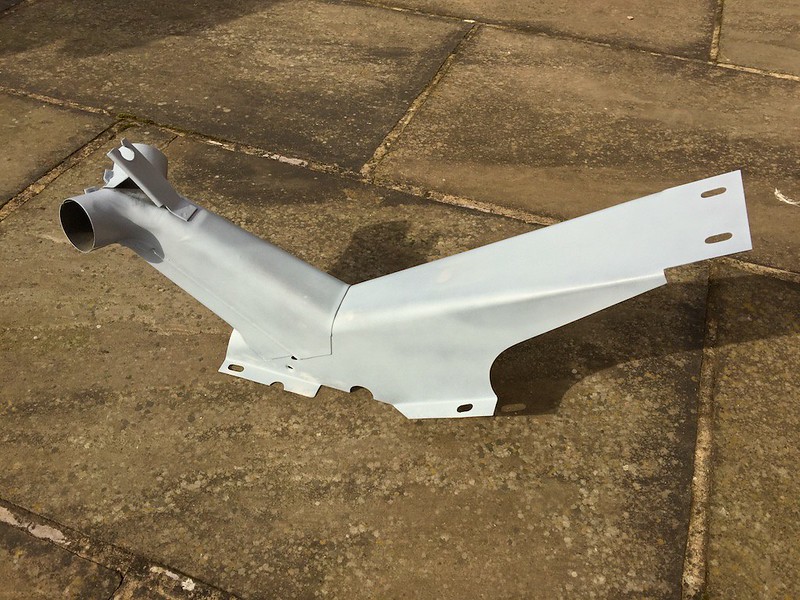
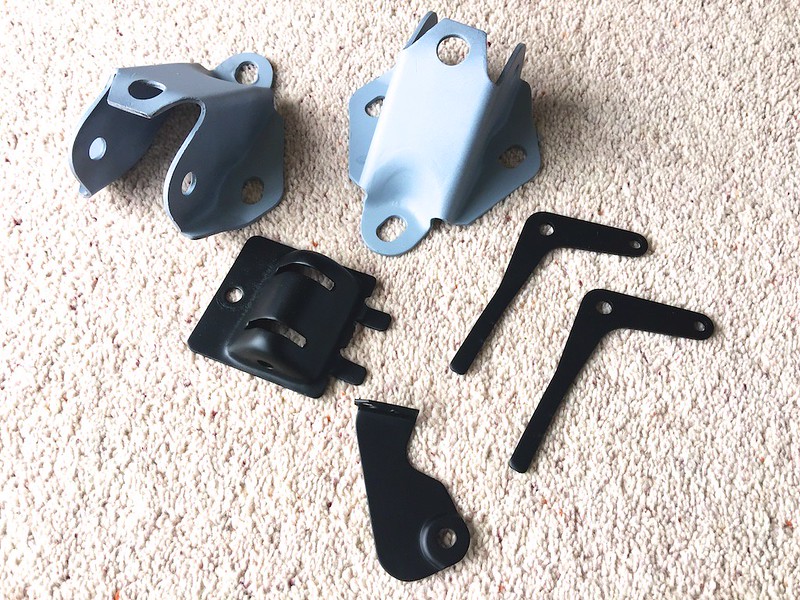
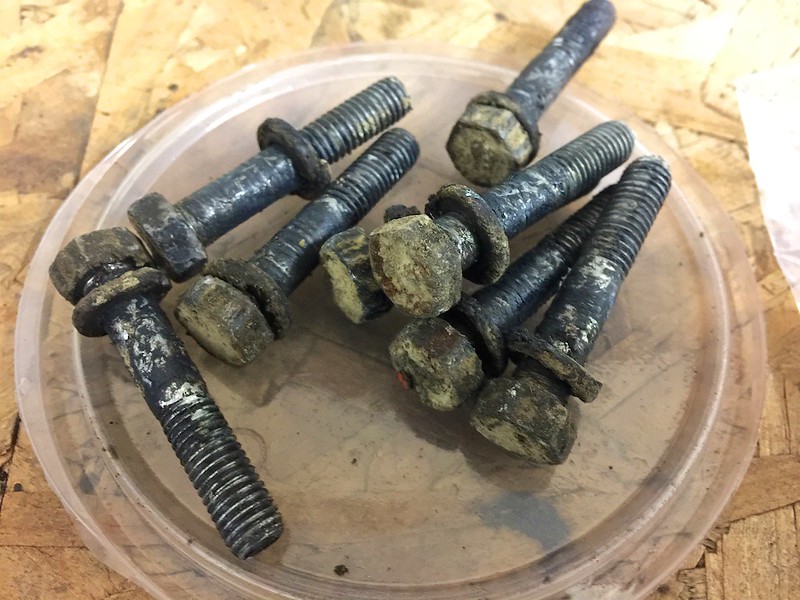
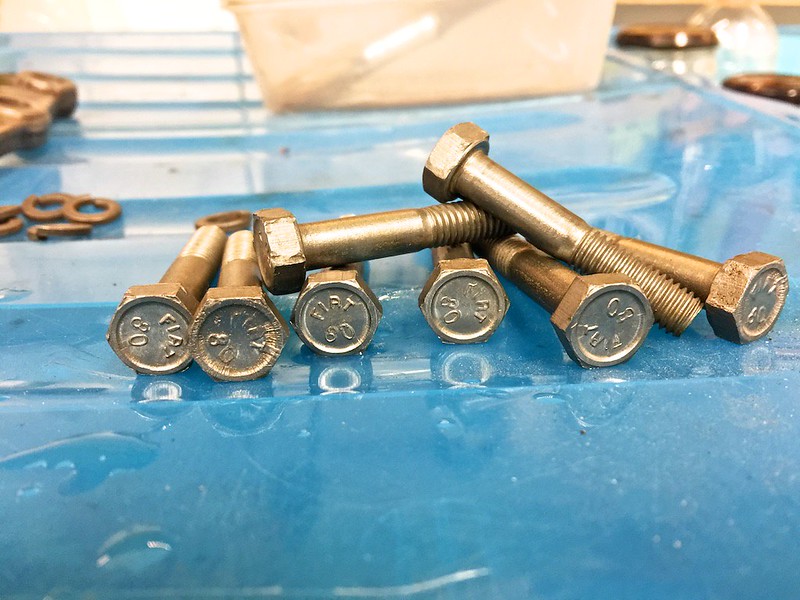
My front panel is slightly bent from what looks to be a slight tap on one of the bumper sides. This has slightly pushed in the area where the bumper mounts, and distorted the battery tray, so I’d like to replace both of these. What’s the easiest way to remove the front panel? I presume its spot welded around the inner/lower flange, so do I drill these out and carefully chisel them apart? Where sells the best quality replacement panels? Van der Laan, Alex Gerstl etc.

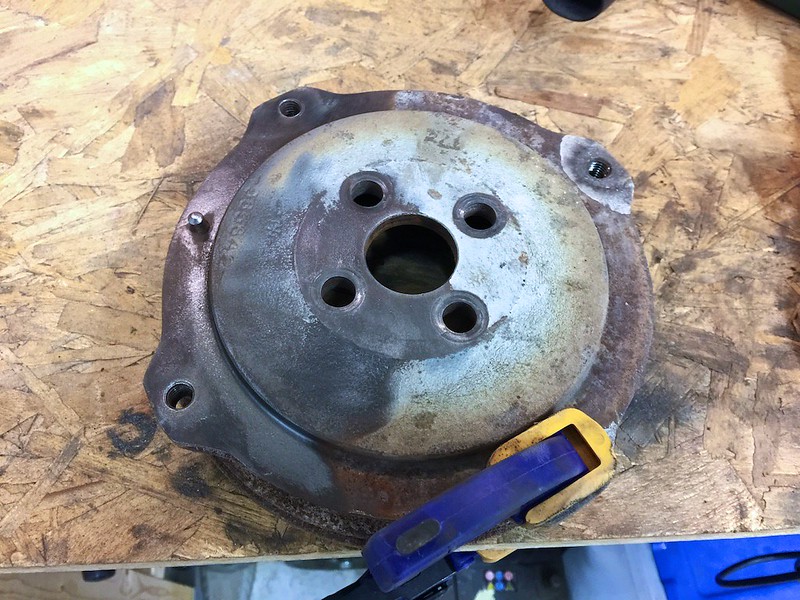
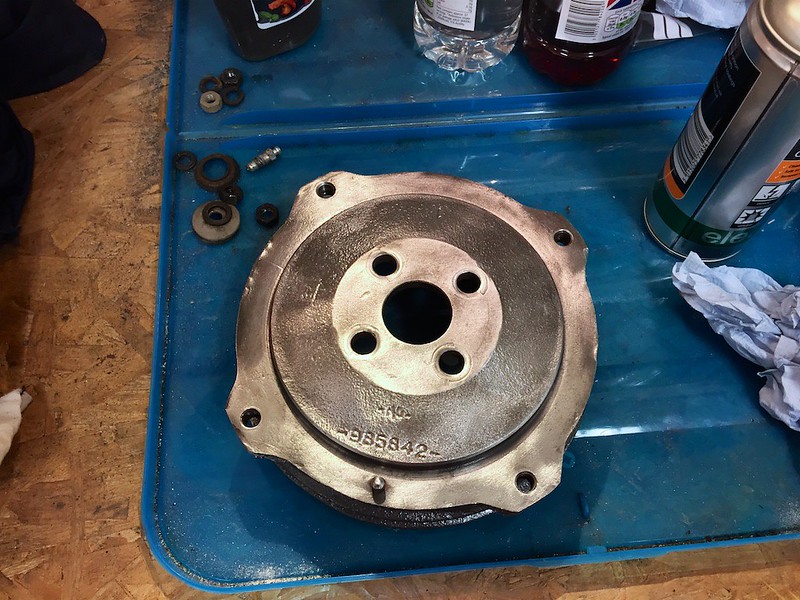
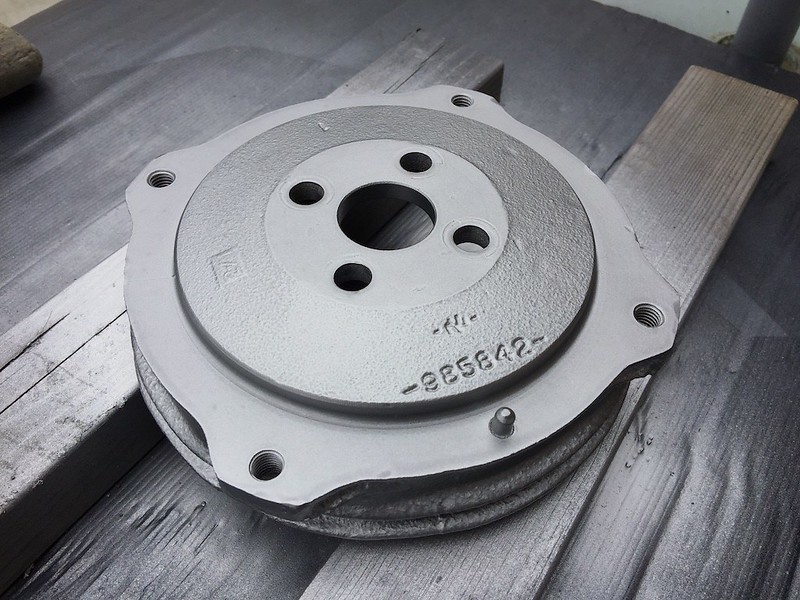
I am ordering a reconditioned 650cc engine from a 126 along with (I think) a 500R gearbox. I wish to retain the original pedal box and hand choke so I assume that end of the associated cables will need to be the same as a 500 but the 650 version is presumably different (e.g. shorter cables, different ends). Which version will I need to buy?

Also for the starter pull cable, I’ve assumed I’ll need a 126 cable – will this fit the standard 500 pull lever in the cabin?

Also, I assume when fitting a 650 engine I need to blank off the return line from the carb, and fit a standard 500 fuel sender?

Can I do away with the hand throttle cable?

Thanks!

Katie

Katie,
The only company that makes panels is Rhibo and all the parts suppliers have to buy off them. Getting your existing panel off is easy. It is spot welded where you think so if you cut the panel before the flanges and then dress the flanges you will still be left with something to attach the new panel to. Attaching the new panel becomes more difficult as you struggle to weld in the more awkward areas (mainly lower down each wing). They are also a bugger to line up so you end up with nice lines and seams but it can be done with patience and skill.
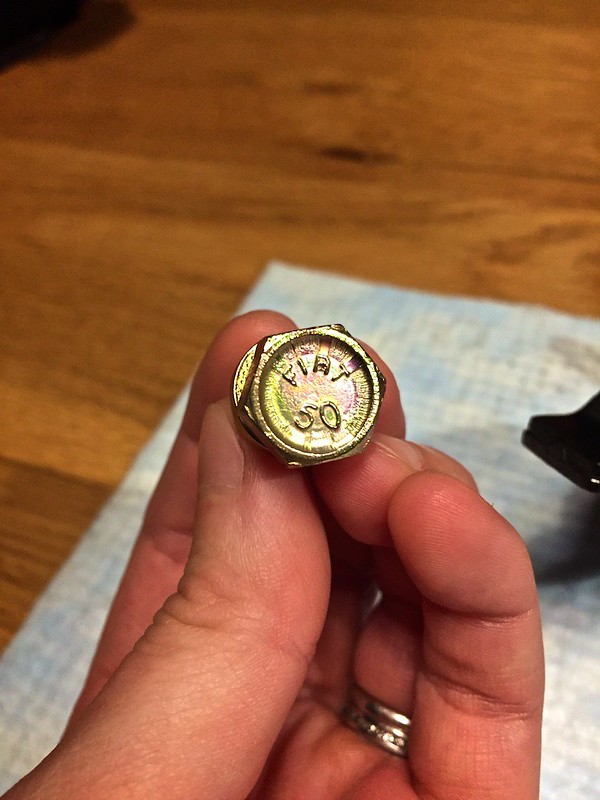
Lots of us have upgraded to the 650 engine and gearbox so there are loads of threads and experience on here. Make sure you get a 126 starter as it is mounted differently to a 500 and a 126 with cable pull not solenoid. I went with solenoid on mine and did away with the cable start.
There are different ways you can sort out the carb fuel return. I removed mine and blanked off the hole but you must do this properly as you don't want a fuel leak. @thehobbler (Tom) kept his and sent another line into a t-piece and joined this up with the existing line so you are effectively circulating the fuel around. Or you can send it back to tank like a 126 but this requires an extra fuel line routing and the tank sender changing to a 126 one.
You can do away with the hand throttle cable but I don't know why you would. It does come in handy to leave the car sat at a higher idle whilst it warms up.

Damian
 
Evening Katie;
First of all congratulations on the progress you are making on your car. As you know, I have a 126 engine in my 500, with a 'cable-pull' starter. As far as I am aware, it is using the original 500 pull-cable. As Damian has pointed out, the 500 and 126 starter are quite different , and not interchangeable. You should be able to use the same throttle and choke cables. The gearboxes are the same externally--the difference is that you will have synchro on 2/3/4th gears but NOT on 1st (so only change into 1st when the vehicle is stationary). With regard to the 'fuel-return' system on a 126 carb, whilst I had my engine out I fitted a (metal) 'T' piece in the fuel line BEFORE the fuel pump and secured it to the side of the engine bay with a couple of 'P' clips. I led the return pipe up behind the big air-duct hose and the round to the carb. I led the return pipe through some narrow-bore water-hose to protect it, again securing it in place with 'P' clips. This system has been in place for the last 3 years, with absolutely no problem. I personally would retain the hand-throttle--as Damian has pointed out, it is very useful for a fast warm-up (but do NOT use it as a cruise-control). As you are aware I am not very far from you, so if I can be of any help, just let me know.
thumb.gif
smile.gif
 
Sorry Katie, it was someone else on the Forum. (I've tracked her down now.)

Your restoration is looking great. Seems like a similar mix of original and 'tweeks' to mine.

Tim
 
Last edited:
Sorry Katie, it was someone else on the Forum. (I've tracked her down now.)

Your restoration is looking great. Seems like a similar mix of original and 'tweeks' to mine.

Tim

Ah ok, no worries :)

Thanks! I feel like we're starting to gain some momentum now :D
 
A quick update of the progress we've made over the past few weeks. As the weather has been bad we've concentrated on refurbishing parts and left the bodywork for when its a bit warmer outside.

Hopefully this will give you an idea as to the level of detail we are aiming for.

We've been having a play with zinc plating. Here is the handbrake through the process...

Handbrake removed from the car. In surprisingly good condition for being almost 50 years old.


Handbrake stripped down, no real wear to the moving parts, but very grubby.


Although the handle part was showing some surface rust.


Nothing that can't be cleaned with a poly-brush on a drill.


After cleaning, and being soaked in an alkali cleaner, I set about zinc plating/gold passivating the parts in a kit supplied by Gateros. The kit is excellent!


Meanwhile the bracket and handle were painted matt black.


And here are the parts plated and looking fresh. I'm considering covering the handle part in some kind of rubber grip or PU foam.


And back together.


Mounting bracket bolts freshly plated.


Really happy how these turned out! :D

 
Does anyone know how I can edit the title of this thread so I can rename it as a restoration or project thread?
 
I have been meaning to look into one of these kits for a while now.
Which one did you go for?

I went for the Ultimate Super Bright Zinc Plating Kit from these guys

http://gaterosplating.co.uk/Zinc-Plating-kit.php

It's a very comprehensive kit that comes with everything you need besides a power supply. Instead of using a 12v battery as suggested, I purchased the Fusion adjustable 200W version from their site which works a treat. It's great fun too :D
 
Nice work there :) the handbrake lever is the same as used on the 126 and they have a slide on grip if you want to go that way.
 
Looks very smart. The problem is I would spend all day dipping things inside just for the fun of making them shiny again and the totally elimination of patina. I know someone who is probably frowning at this????:rolleyes:

They wouldn't need to be anything to do with the car, if it's metal it would get dipped.:D
 
I know someone who is probably frowning at this

:D

Who would that be then? :D
My handbrake still has the worn-off black paint from the use by the old chap who first owned it and quite a few speckles of primer overspray from the bodywork painting. But it works better than the handbrake on any of the 500's or 126's I've ever owned before:).
On an "F" it's worth re-plating the fixings for the handbrake because at least you can see them through the access holes in the rubber floor-covering.:)
Katie's car is obviously going to be a show-stopper and I can see that the stakes are rising in the as-new-car arms race.:D
But as I will be 58 years old on Tuesday....life's too short for me ever to get involved in all that chemistry and a quick swish in a yogurt-tub of panel wipe is all my fiddly bits can ever expect.:D
 
Last edited:
TBH I am being a bit of a fraud. I don't think I actually painted the gear stick.I think I quite liked the patina from all those years of use.:eek:
 
Does anyone know how I can edit the title of this thread so I can rename it as a restoration or project thread?

Katie, I note that you haven't had any replies to this question, and I can't help regarding changing the title, I would have thought if there was a way someone would have answered by now so I'm guessing your only option will be to start a new thread showing your restoration work.

Looking forward to seeing more (y)
 
Hi guys, a bit of an update after what feels like a long time with no posts - suffice to say I'v been busy! (y)
1st, some progress on the metal parts in the cabin. The heater tunnel was in a sorry state, full of drilled holes and rusty/pitted.

33730615796_5ecfa6c71c_c.jpg


Soon cleaned up with a wire brush on the drill, and the holes filled.

32928326284_964ff9650a_c.jpg


Sanded back smooth and cleaned ready for acid etch primer.

32928326394_8bd2c3b17b_c.jpg


33730624286_9bea3bd6d2_c.jpg


Sprayed black and clearcoated/polished.

33730622446_c4a0c43962_c.jpg


The starter/choke levers had also been to the bottom of the ocean.

33771464365_9fb006f2eb_c.jpg


The rear swinging arm mounts didn't look any better.

33730625196_11b7cffebb_c.jpg


Cleaned, and ready for primer.

32928327044_c6cac3b3f0_c.jpg


Like new!

32928324914_a372a14525_c.jpg


I've also been tackling the hubs. One of them had a broken wheel stud that I had to drill out.
Crusty and covered in rust/overspray from a shoddy wheel touch up.

33730624346_7a2f2c5085_c.jpg


Cleaned with a mix of poly discs and wire wheels.

33730624436_52387572bf_c.jpg


Acid etch.

33730624506_fba724f4e1_c.jpg


Painted...not sure about the high silver, I might paint them a bit darker.

32958370593_020d20c4fd_c.jpg


I also cleaned the wiper motor and arms/mechanism.

Greasy and covered in dirt.

33771464495_a50164f748_c.jpg


33771464455_394095c52e_c.jpg


Some APC and elbow grease later.

33730623046_cfc7315368_c.jpg


33771464545_196e3fec68_c.jpg


I still might dismantle this and re-plate the parts...I have a huge pile of parts to electroplate - for example, here are some driveshaft bolts.

32928325134_583cda7be0_c.jpg


After a good scrub/vinegar bath.

33386783040_5957cdff56_c.jpg


More to follow...
 
Back
Top