100_7708.jpg

500 (Classic) 1959 Fiat 500 Jolly Restoration

Introduction

Well I have the privilege of restoring another Jolly....this time a 1959. I have been at it for a while so I thought we would get the pics up. Before:
100_7708.jpg
100_7712.jpg
100_7717.jpg
100_7912.jpg
100_8033.jpg
100_8109.jpg
100_7755.jpg
100_7788.jpg
100_7798.jpg
100_7780.jpg
100_7714.jpg
  • Like
Reactions: Davren
We have been at it for a while....mostly updates in body work...the lead was melted out in most of the car and redone...this car was a challenge in that department...as you will see from the pictures.
WOW, is all I could say after melting out the old lead....I think someone was having a bad day at the office and found it therapeutic to beat the living daylights out of this tiny, defenseless car.


For this area, since sooo much lead was used we cleaned/wire brushed/ spot blasted the rust and corrosion away and
formed a piece of sheet metal and welded it in so that we didn't have near the lead build up in our repair....


After cleaning up and getting ready to tin...

Took some time and patience, but turned out great


After some skim coats..epoxy primer


Then it was our first coat of high build, in this first application we use polyester primer.

The inside walls will be as nice as the outside.


We have a pretty good system for getting all the bolts done up correctly...we soak/degrease, wire brush and then wire up according to component and stamp a metal tag with a number for each strand of hardware...then off to zinc or black oxide coatings,etc....over 400 bolts/fasteners on this little car.......

Reworked the horn
before:


we cleaned, sanded, polished and mixed up some correct green and sprayed....


Last edited:
We have to move quickly from here to be done by our deadline. I have been working on interior options for the customer. Here is a render of the two tone we will do on the dash...

He is ok with not having a ugly black rubber mat in the car. I plan on making fiberglass parts that snap onto the inner wheel wells in front and back and also along the inner rocker where the original mat would have been. I will have them covered in an outdoor canvas material with some nice stitching that is reminiscent of sail boat cloth stitching. There will be carpet in sections that has a binding around the edges and a rubber backing. Basically you will be able to take them out and clean them like a floor mat in 4 sections. I will be using German Square weave 100% wool carpet used in classic Mercedes Benz. Really high quality and tight. I like it because it is not a solid color. The picture below is a drawing I just finished of the different choices we have for interior color and top colors. I will be printing/laminating 16x20" and sending this off to the customer with actual carpet, binding and top materials attached at the bottom. That way the can see and feel the materials.
 
Here are some updates....
Lots of sanding...we use a wipe on guide coat for blocking, acetone mixed with some tint from my paint machine..makes a really thin stain you can wipe on and it gets into even 400 grit sand scratches. It works way better than any spray on or dust on type.


We are doing a custom interior so we made panels to fit that can be covered and installed using the factory holes in the wheel wells and such.
We started by hot gluing tubing in where the wiringwould run to make a nice fit over that on the driver side. Then we masked off and package taped and layed up 3 layers of 1.5 oz glass fiber. Sanded/primed to give a nice foundation for the canvas material we will cover them with.


Trimmed them to fit....

Sanded and primed.


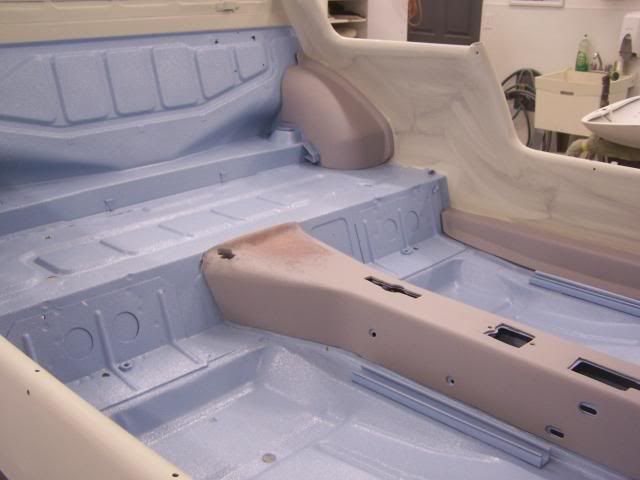
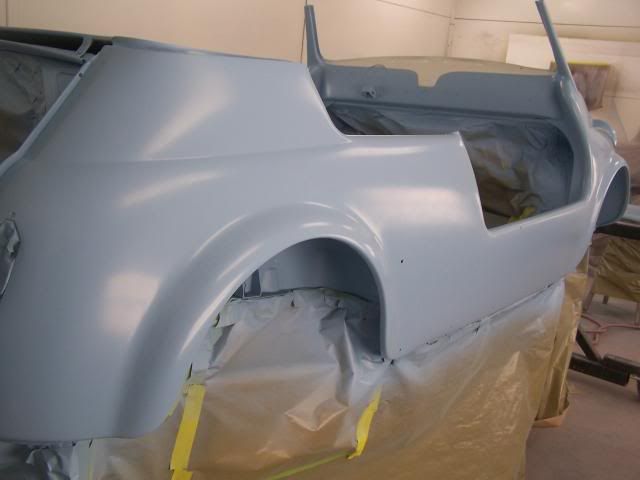
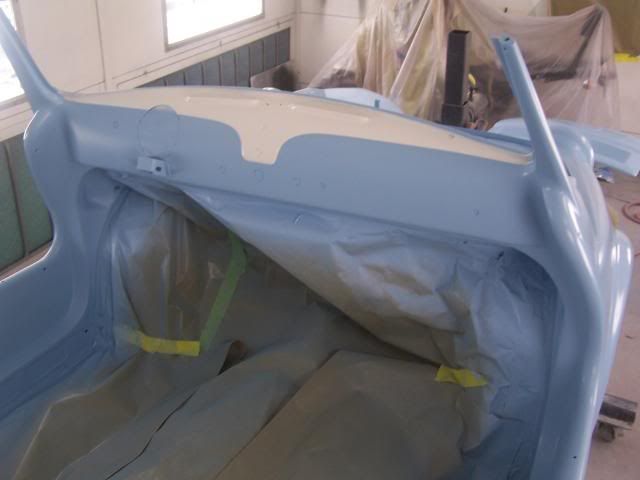
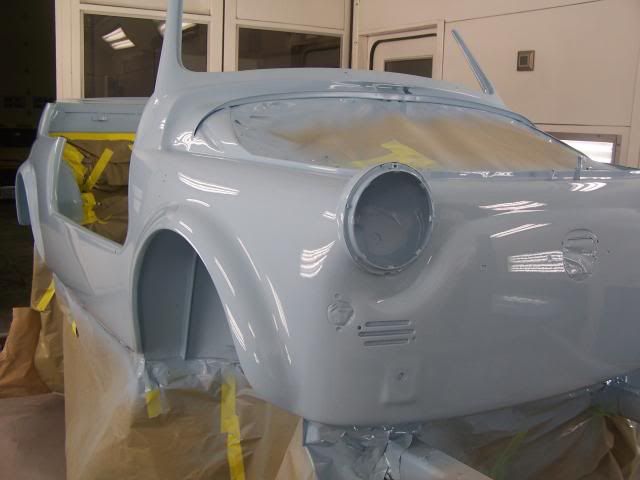
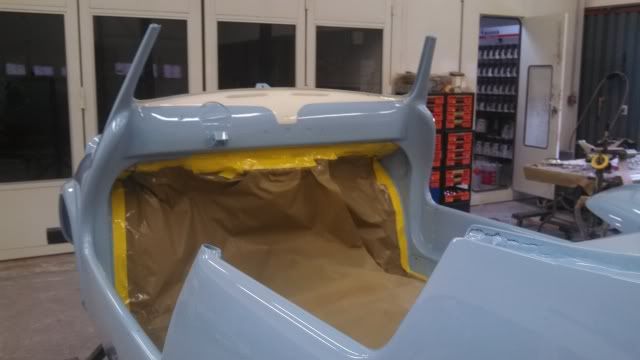
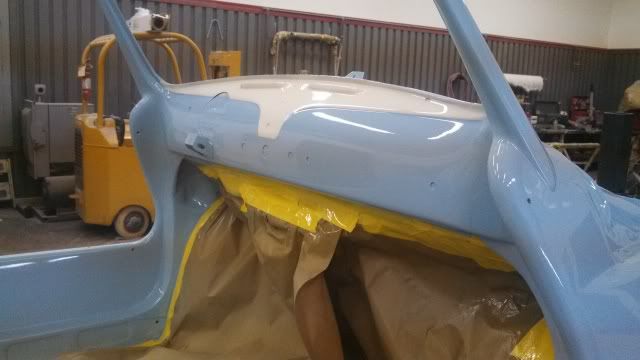
Last stage of primer...


By this time we have blocked our filler coats out with
36 and then 80 grit, then sprayed poly and blocked with 180 grit, sprayed again and blocked with 220 and 320, and now we will block this 2k Urethane primer with 320 then 400 and finally 600 to be ready to paint....I say we are custom sanders not custom painters.


However that is the easy sanding, after we clear it, I sand with a small hand block every inch of the car starting at 600 and up from there, 800,1000,1200,1500,2000,2500 and then using a Dual Actions sander 2500 and 3000. I am ready at that point to cut/buff with a wool pad, then a foam cutting pad, then a black polish pad, and finally a blue polish pad. My arms ache just thinking about it.


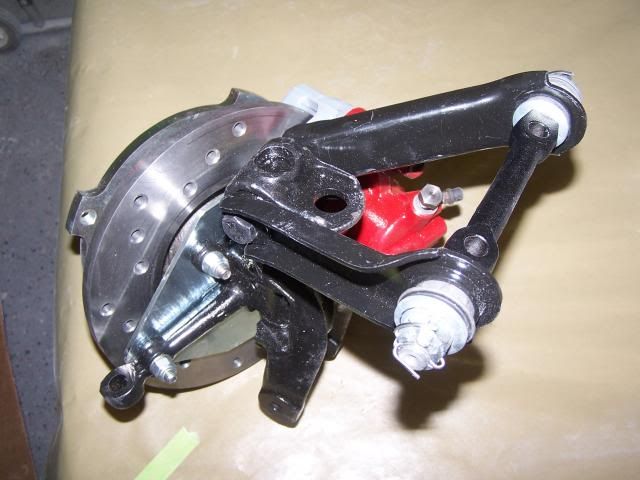
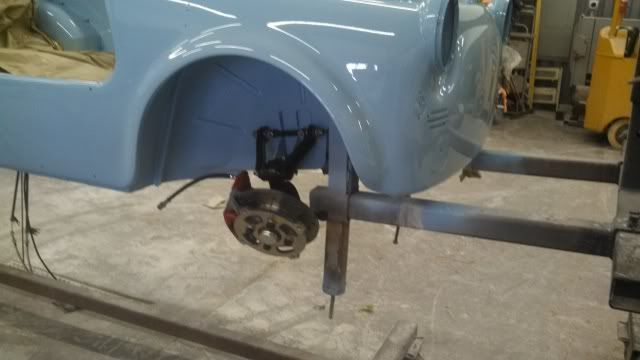
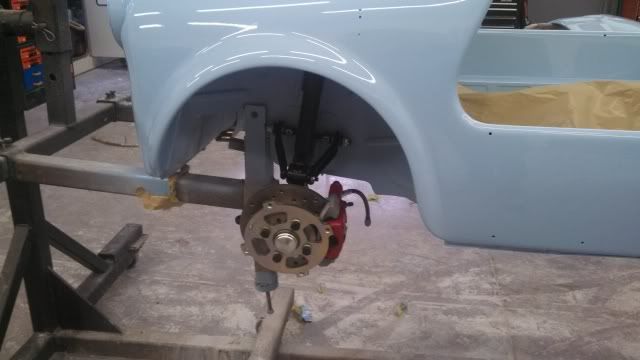
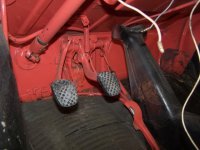
We upgraded the front to disc brakes....


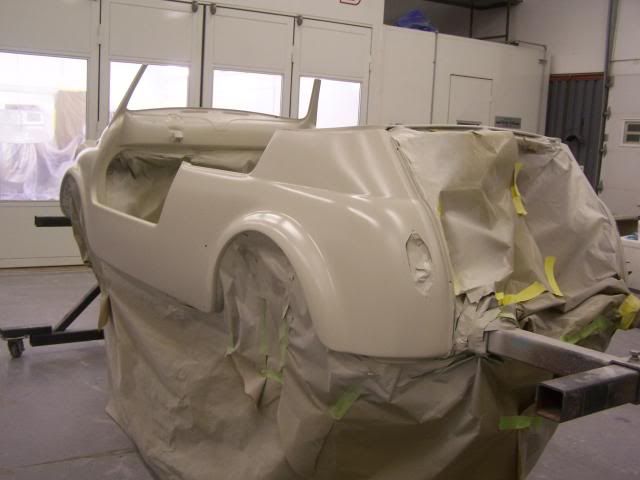
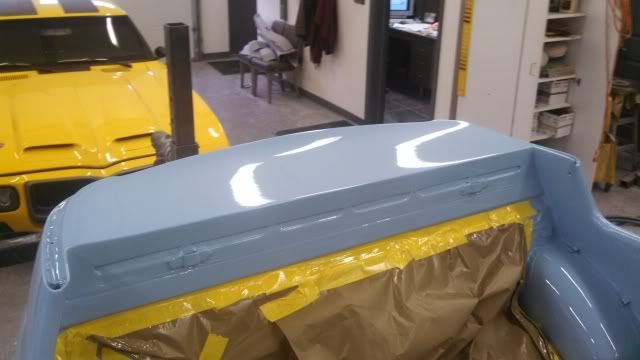
After we inspect and clean and inspect and clean...she is ready for the no going back part...sealer primer. I mix a quick close match to the final color...once sprayed I have about 1.5 hours to spray my base coat.


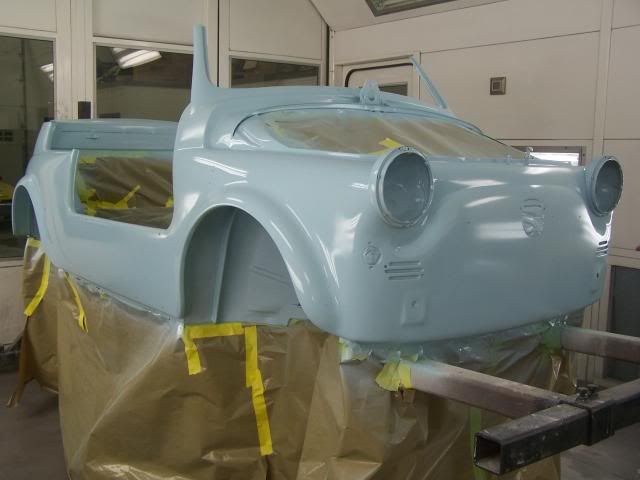
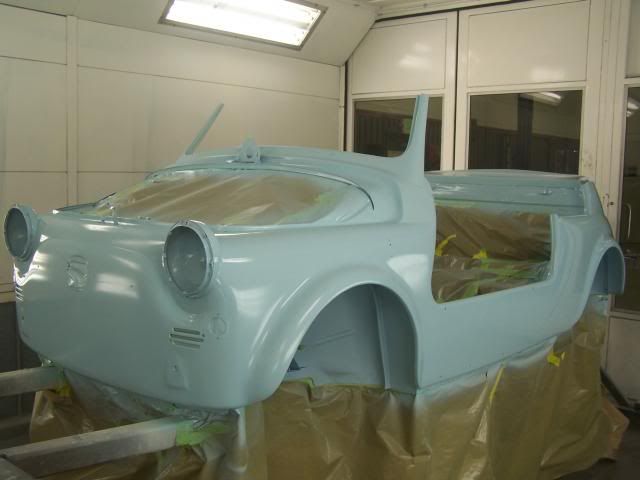
Getting ready to spray is a lot of work, you have a window of time from the last wet sanding with 600 before you have to scuff the body again....my product time window is about 6 hours...you can imagine then that sanding this car inside and out, every place paint will be sprayed is a all day job for even 2 men. Then the time to clean it and inspect it and mask it all off is quite a bit as well..so you end up having to go back and scuff the body with a grey scotch brite pad before actually spraying any sealer primer or base..... I found myself spraying the basecoat at 9pm Friday so I came back and finished with the last 2 coats in the morning. You have a little more time between coats with the base coat. The sealer must be topcoated with base within 1.5 hours or you have to scuff the car again.
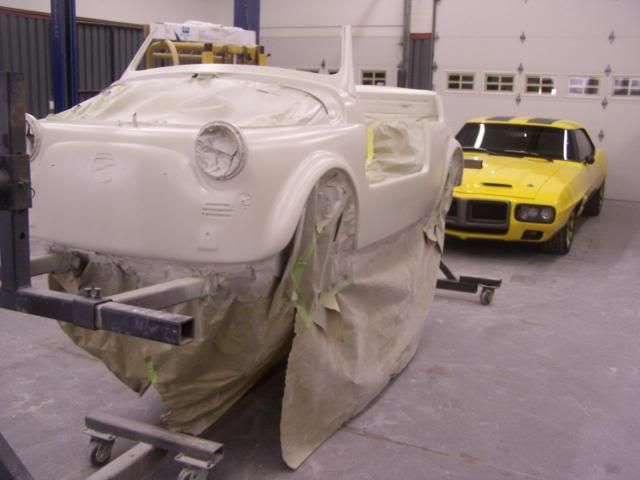
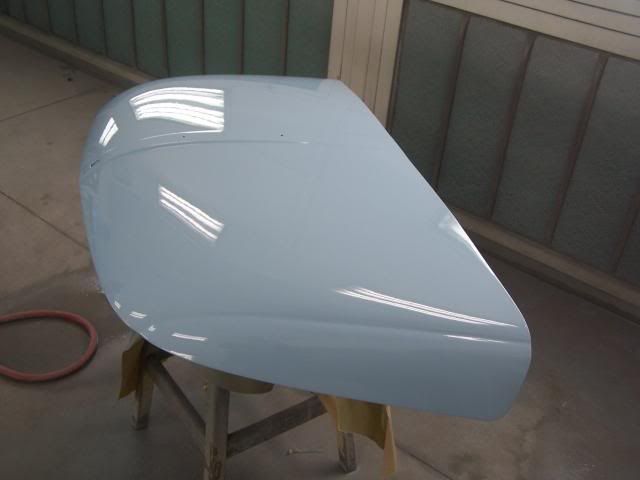
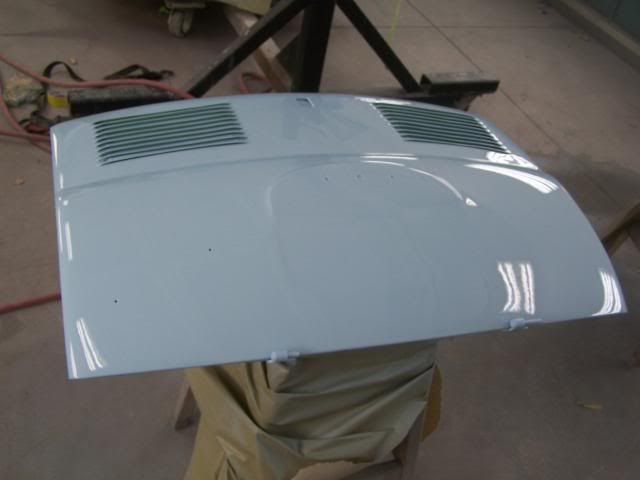

Base...


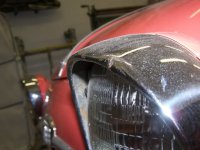
Clear coat....5 coats...


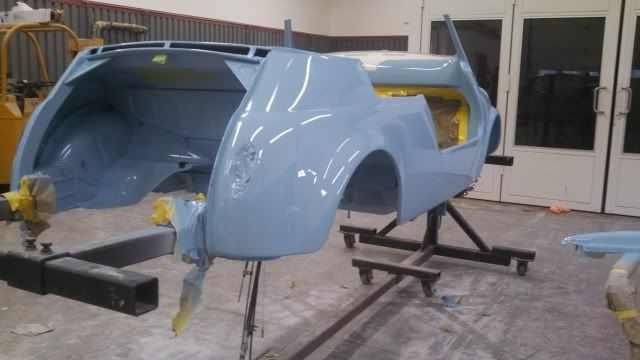
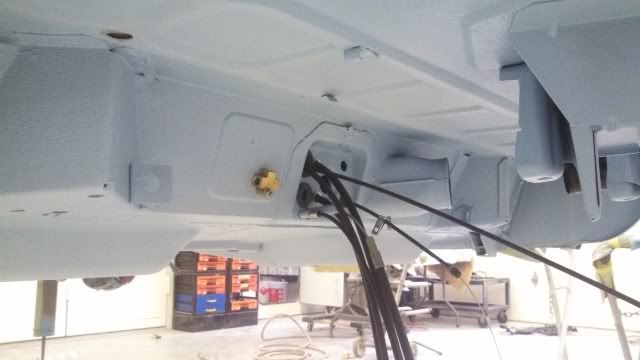
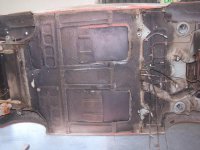
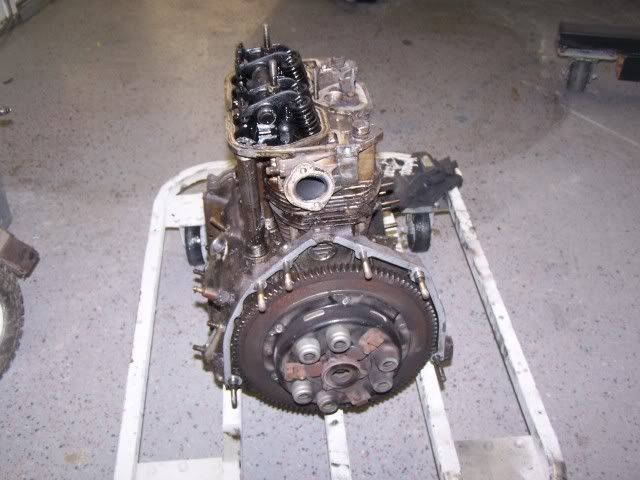
We start assembly and sanding....all the main components, engine,transaxle, chrome and seats are due in the shop this week.


Well, it has been awhile. Been waiting to show the finished pictures and details until it was delivered. I was going to deliver at Christmas but the owner ended up not being able to make it, so I held on to it until last weekend when we could meet. It worked out in the long run... I had some problems with the motor and had time to work it all out and get some miles on it before delivery.


Some details that had to be sorted out...first the brake fluid reservoir lid was not in good condition..I recreated it on my computer and cut stencils, matched the color and painted it to look original.


The headlight rings we got that were aftermarket really didn't look as good as the originals in shape...So I repaired the originals by straightening the dings and welding the cracks then I used lead solder to fill in the shapes and sent them out for chrome...turned out great.


I replace the rubber strap for the spare tire and the rear engine cover with leather straps.


As we dismantled the suspension I took not of the orange/brown steering arms and matched the color....


Other underside details

The data plate was needing some work...I recreated the print and such on my computer and was able to do a print on transparent film...turned out great.

 
I had the cruise control polished up, nice detail with the colors.

The mirror the owner had attached as a side mirror wasn't able to be rechromed and I found some just like it on ebay, however the reflectors were modern, I had to work the holes a little and the old ones fit great. I restored the silver reflective material inside to new.


Now for the interior. I finished the fiberglass and sent them out for wrapping in leather. I chose a really nice outdoor fabric that matched the blue and tan..I had the cushions made and used stainless steel rod for the mounts on the back seat. So here are the interior details.


Gasps in awe:worship:
The time, attention to detail and SKILL there is phenomenal.
It helps me realise, with my amateurish restoration, that there is no alternative but to devote a big chunk of time if you want a good result.
 
Found some other pics of the headlight repair....after I welded them and leaded the imperfections.


We also had to rebuild the front air vents, the rubber was hard and brittle and not sealing...
It wasn't easy, had to cut the spot welds holding them together and then separate the parts. We cut a circle in rubber sheeting and quickly welded them back together and dunked them in water to avoid melting the rubber.


Back
Top