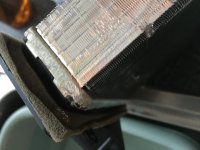
Hi all.
I've been suffering with a heater matrix leak for about 3 months and decided to do something about it (finally).
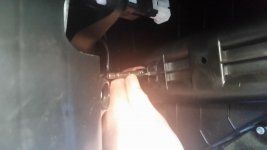
Following the excellent info posted by
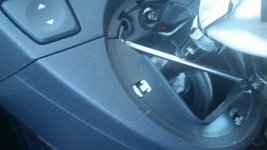
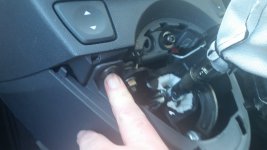
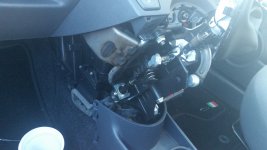
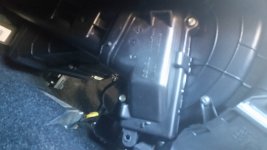
John202020 access to the heater matrix was easy.
Next:
1/ Allow the car too cool down, then CAREFULLY remove the cap from the expansion bottle.
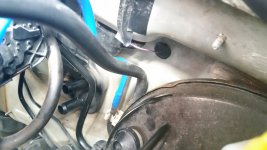
2/ The steel heater pipes come through the bulkhead (firewall to some) and are fitted to the heater matrix using two beige-coloured plastic clips. The heater pipes can be left in situ.
3/ Get a suitable bowl ready underneath (to hold about 2L of coolant), then carefully twist the clips undone. You might find that one side can be disengaged first, then spin the clip and undo the other side. Repeat for the lower connection.
 Heater Matrix
 by
P. Garry Ball, on Flickr
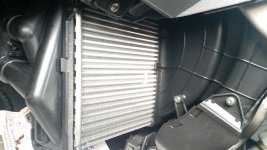
4/ The matrix "cassette" can be withdrawn easily for inspection.
 2020-12-09_03-31-22
 by
P. Garry Ball, on Flickr
My matrix looked to be in excellent condition. My 2014 500S Twinair 85 has only covered 21k Miles so I was dubious about it having failed, plus
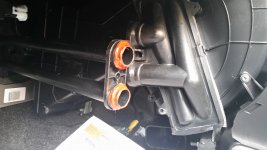
I have no means of pressure testing it at home. Closer inspection of the two beige clips though, revealed some pink staining on the pair from the lower pipe.
Next, I turned my attention to the two 'O' rings on the pipe ends. Removing both I noticed that they had both become very slightly distorted and a ridge had formed around the circumference of them both. I also noticed they had become a little hard (but not brittle).
 Heater Matrix
 by
P. Garry Ball, on Flickr
I wasn't able to find any suitable replacements in my usual stock of such things so it was off to Halfords.
They did a pack of 6 'O' rings in two sizes including 4 which looked about right (forgot to take my Vernier callipers with me).
(The Halfords stock code is HFX166)
Back home I measured the OEM O rings which were 20.0mm outside diameter and 1.8mm thick (item 2 in pic below) The Halfords ones were 17.5mm o/d and 1.7mm thick (item 1 in pic below).
I also bought some Granville Instant Gasket which is silicone-based and resistant to high temperatures, coolant and oil.
 Heater Matrix
 by
P. Garry Ball, on Flickr
I decided to do a dry fit of the new O rings. It was a slight stretch to get the Halfords 'O' rings over the water pipes.
 Heater Matrix
 by
P. Garry Ball, on Flickr
Once connected to the matrix and clips re-attached there seemed to be much more friction on the clips and they spun less easily than before.
This lead me to believe that the new O rings were under compression and my confidence in them working improved somewhat.
You'll notice that the clips have an inner moulded shape which matches the "trumpet" of the matrix pipe ends - make sure you have them the correct way round.
 Heater Matrix
 by
P. Garry Ball, on Flickr
I disassembled the whole lot again and smeared a decent fillet of instant gasket externally around the new O rings. Be careful if you use this stuff
not to let any get inside the water pipes as it could break away when set and potentially block up a water way.
Next I reassembled the whole lot - hopefully for the last time!
New coolant was then slowly added to the expansion bottle until it was full, I made sure the heater controls were fully open (HOT) Then I started the engine and let it run for ten minutes (with the pressure cap still off at this stage).
and periodically checked the level. Then, as the heater pipes warmed up I fitted the pressure cap and took the car for a run (there wasn't a need to bleed the system if the coolant is added slowly).
No leaks so far, but I've left all the trim off for now until it's been through a few heat/cool cycles and the instant gasket has cured.
I wonder how many other matrix's have been replaced when the issue was actually failure of the O rings?
I'll report back.


