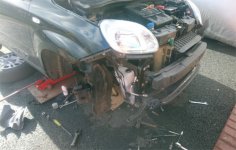
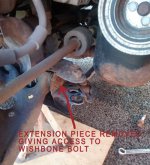
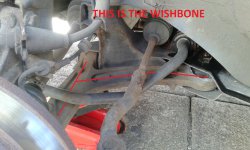
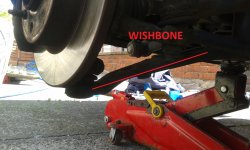
Finally got round to replacing my Panda front wishbone / track control arms
total job done in a couple of hours in driveway ( inc fitting new brake pads )
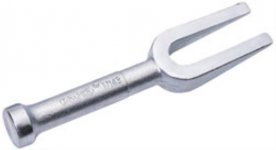
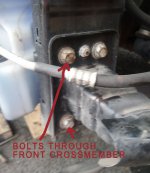
You will need 18mm socket for the bolts and 13mm spanner and socket for the pinch bolt, also a hammer, pry bar and usual hand tools and a ball joint splitter.
I had given the 18mm bolts a pull a few weeks back so knew they would come out ok but still did the back ones with wd40.
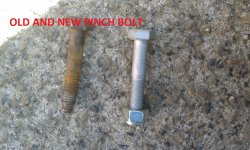
I found it easier to jack car one side at a time then axle stand under as well, also i bought new pinch bolts from main dealer think was £8 inc nuts dont start it without.
loosed the 2 bolts and remove. undo the pinch bolt nut on the lower ball joint.
this came off easy but the bolt was stuck in the hub, the drivers side came out easy with a few clouts with the hammer after forcing the pry bar into the split in the back of the hub where the pinch bolt goes, the nearside one took a lot more hammering and attacking with the air gun but gave up eventually hence the new bolts required as ended up mushroomed over and slightly bent.
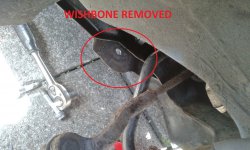
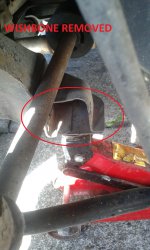
after that a good session with the ball joint splitter and big hammer seperated the arm from the hub, a couple of tugs and the wishbone was on the floor.
fitting was a fiddle at first but then sussed it.
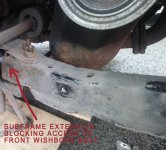
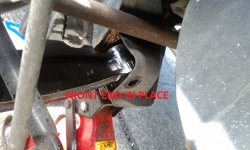
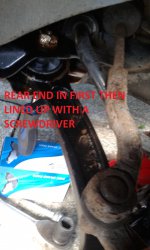
put the big round end in first and line up with screwdriver put bolt in loose then twist it forward till the front is lined up, i found that would not go straight in as was catching on subframe but a quick knock with rubber mallet on the wishbone and in it went. line up and fit bolt.
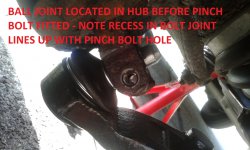
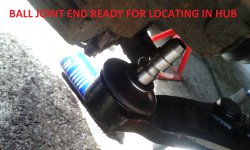
now press the wishbone down so the end of the ball joint clears the hub and line up the hole. one went straight in the other needed a few taps with the mallet, make sure its in far enough so the recess in the ball joint lines up with the pinch bolt hole otherwise you wont get bolt in, also the bolt only goes in from the rear with the nut at the front.
at this point i tightened the pinch bolt but left the two 18mm finger tight, put the wheel back on then lowered car to the floor then tightened the 18mm bolts so where tight in "on road" position.
a quick check round and a road test job done.
you will need to get tracking done some time after as geometry will probably be slightly out.
I have put comments on pictures - hope this helps someone thinking of doing it.
Jon
Attachments
-
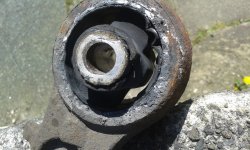 20140418_112017.jpg1,007.6 KB · Views: 353
 -
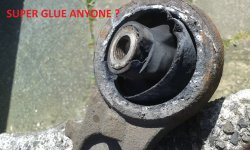 20140418_112024.jpg855.7 KB · Views: 231
 -
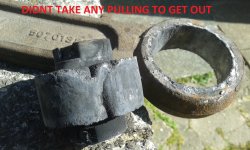 20140418_112040.jpg811.4 KB · Views: 224
 -
 20140418_112001.jpg723.9 KB · Views: 261
 -
 20140418_112008.jpg671.1 KB · Views: 252
 -
 20140418_113933.jpg1,017 KB · Views: 235
 -
 20140418_113633.jpg594 KB · Views: 248
 -
 20140418_113053.jpg586 KB · Views: 225
 -
 20140418_113040.jpg610.5 KB · Views: 231
 -
 20140418_112905.jpg572.4 KB · Views: 250
 -
 20140418_121640.jpg701.2 KB · Views: 244
 -
 20140418_121651.jpg696.4 KB · Views: 242


