10464_349754381776205_517172948_n.jpg

Panda (Classic) My 4x4 - The Muddy Pics!

Introduction

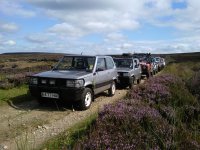
Hey everyone as I've only just joined I thought I'd post some more pictures to show you lovely lot what we're all about up here in the bleak North.

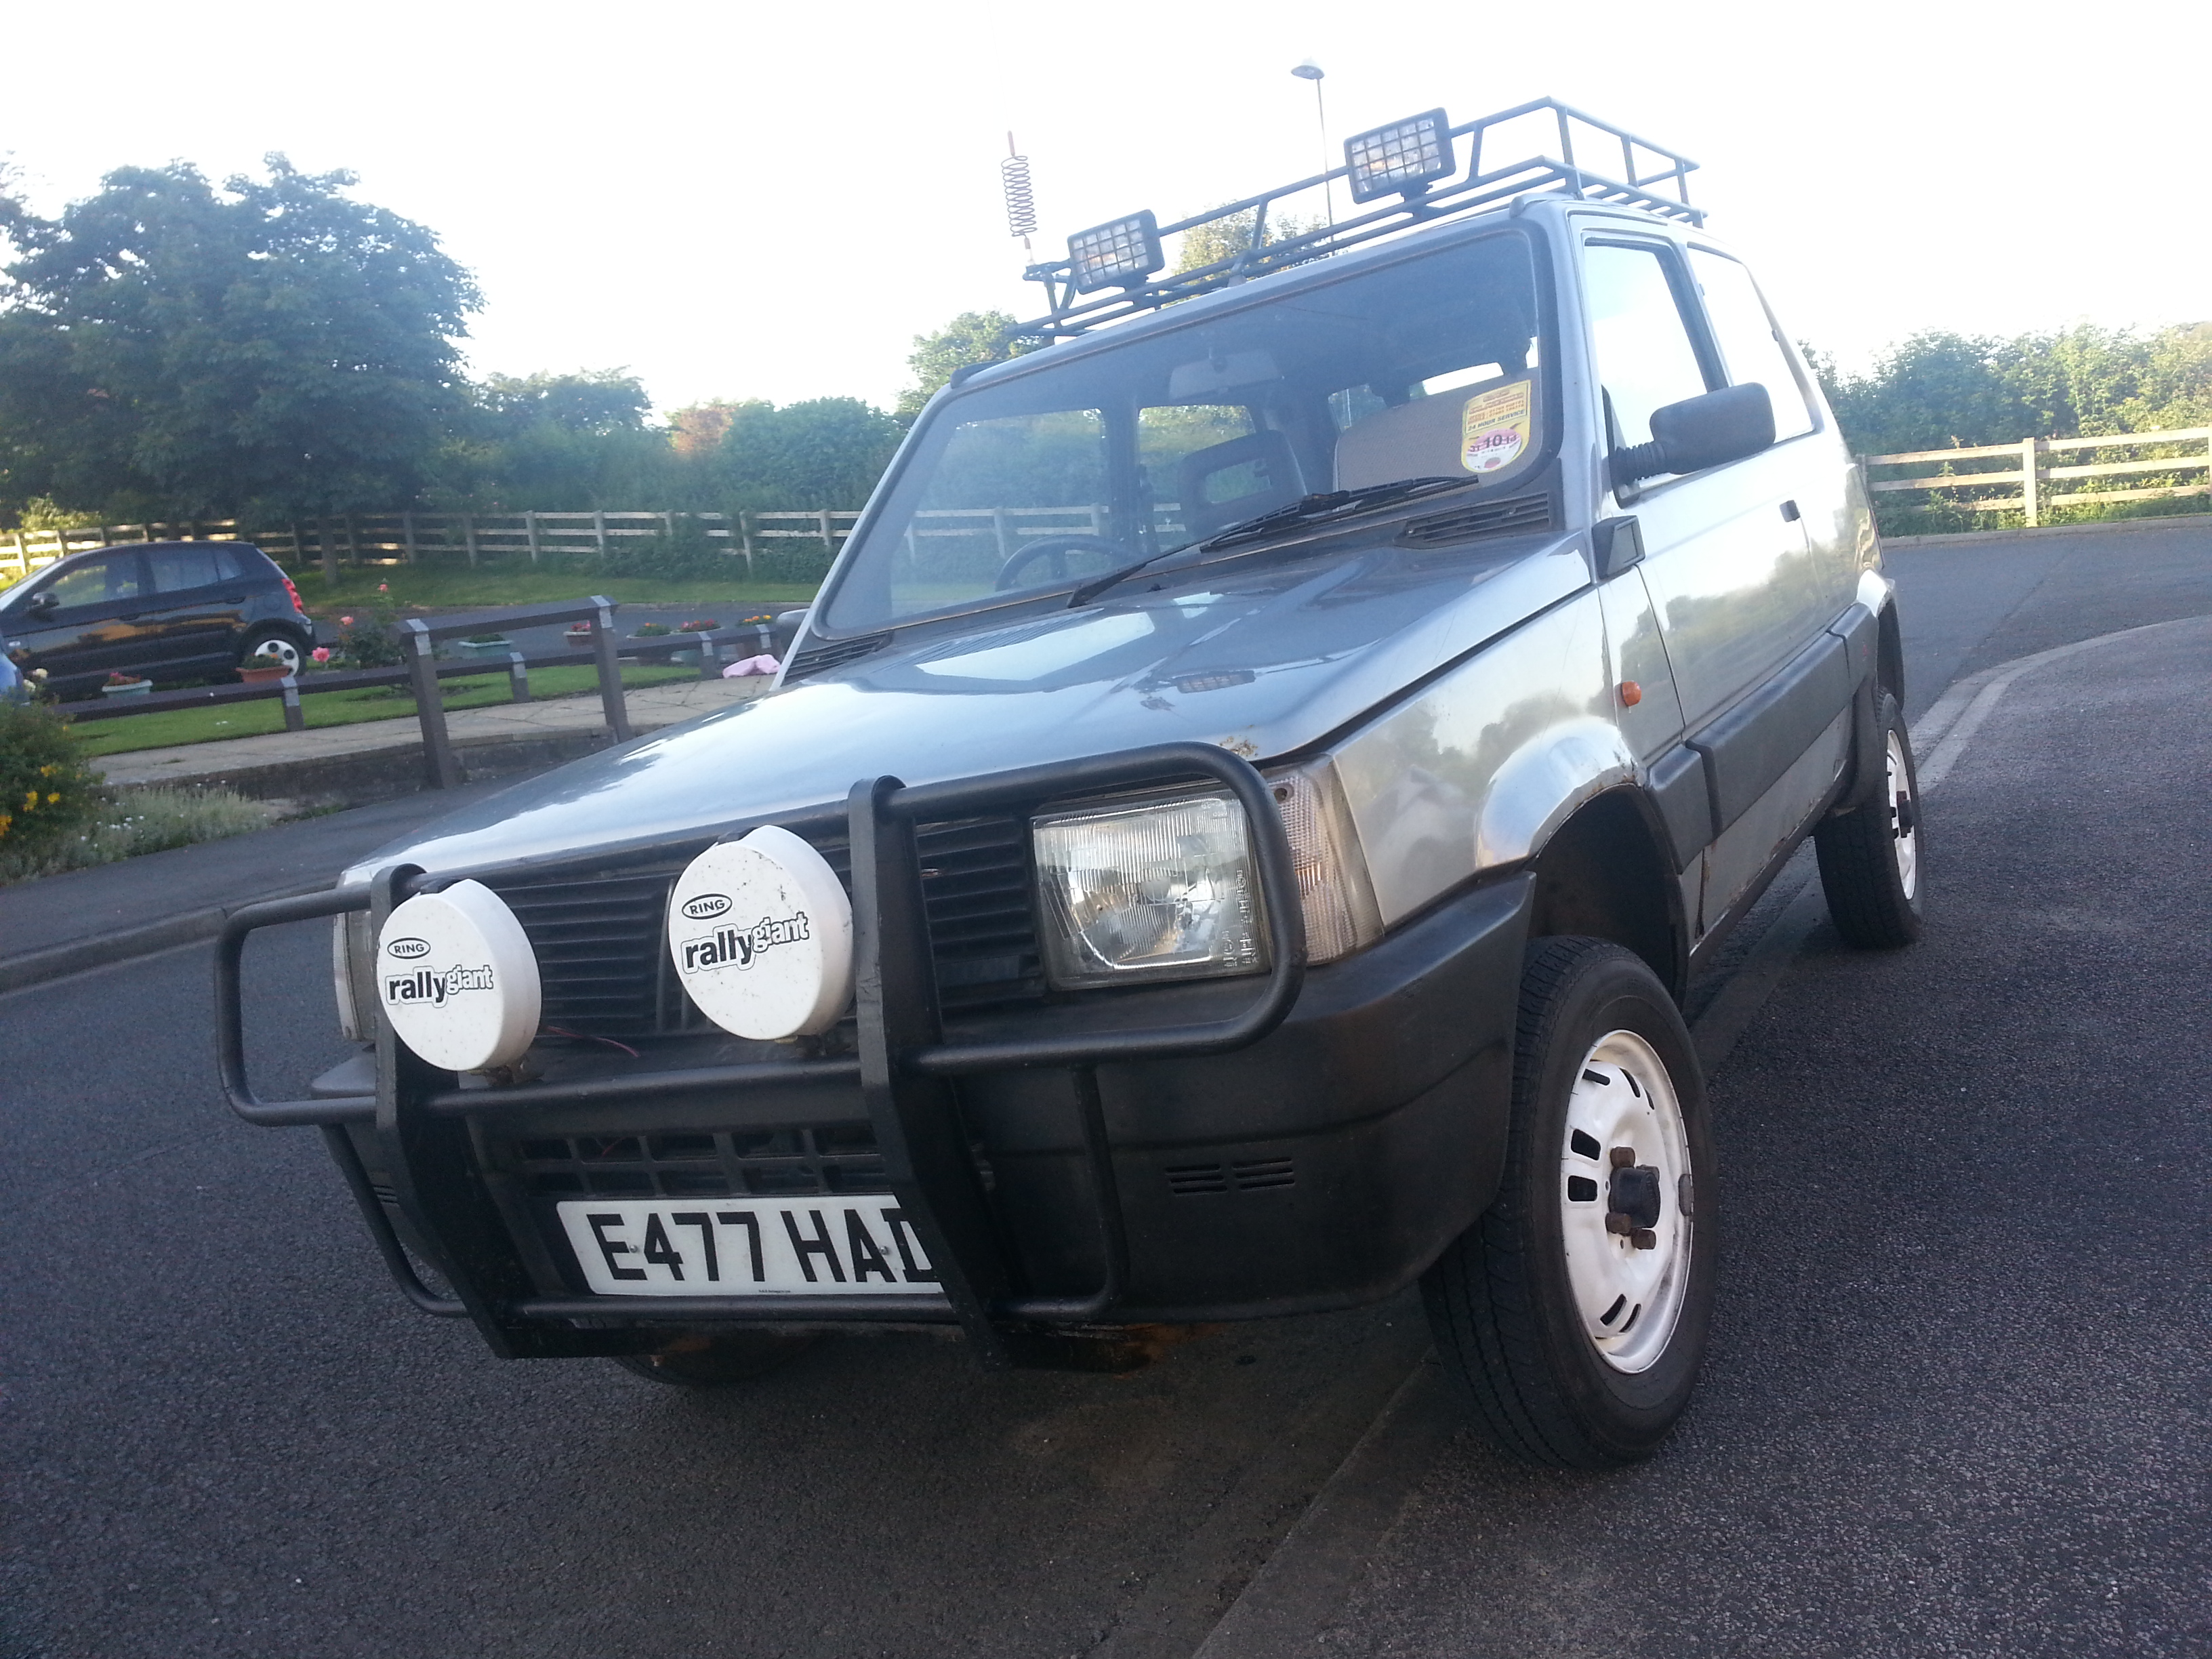
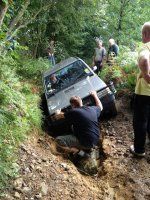
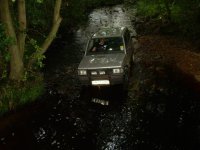
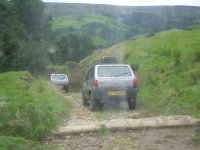
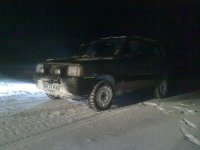
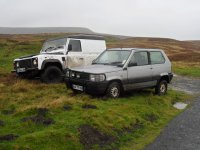
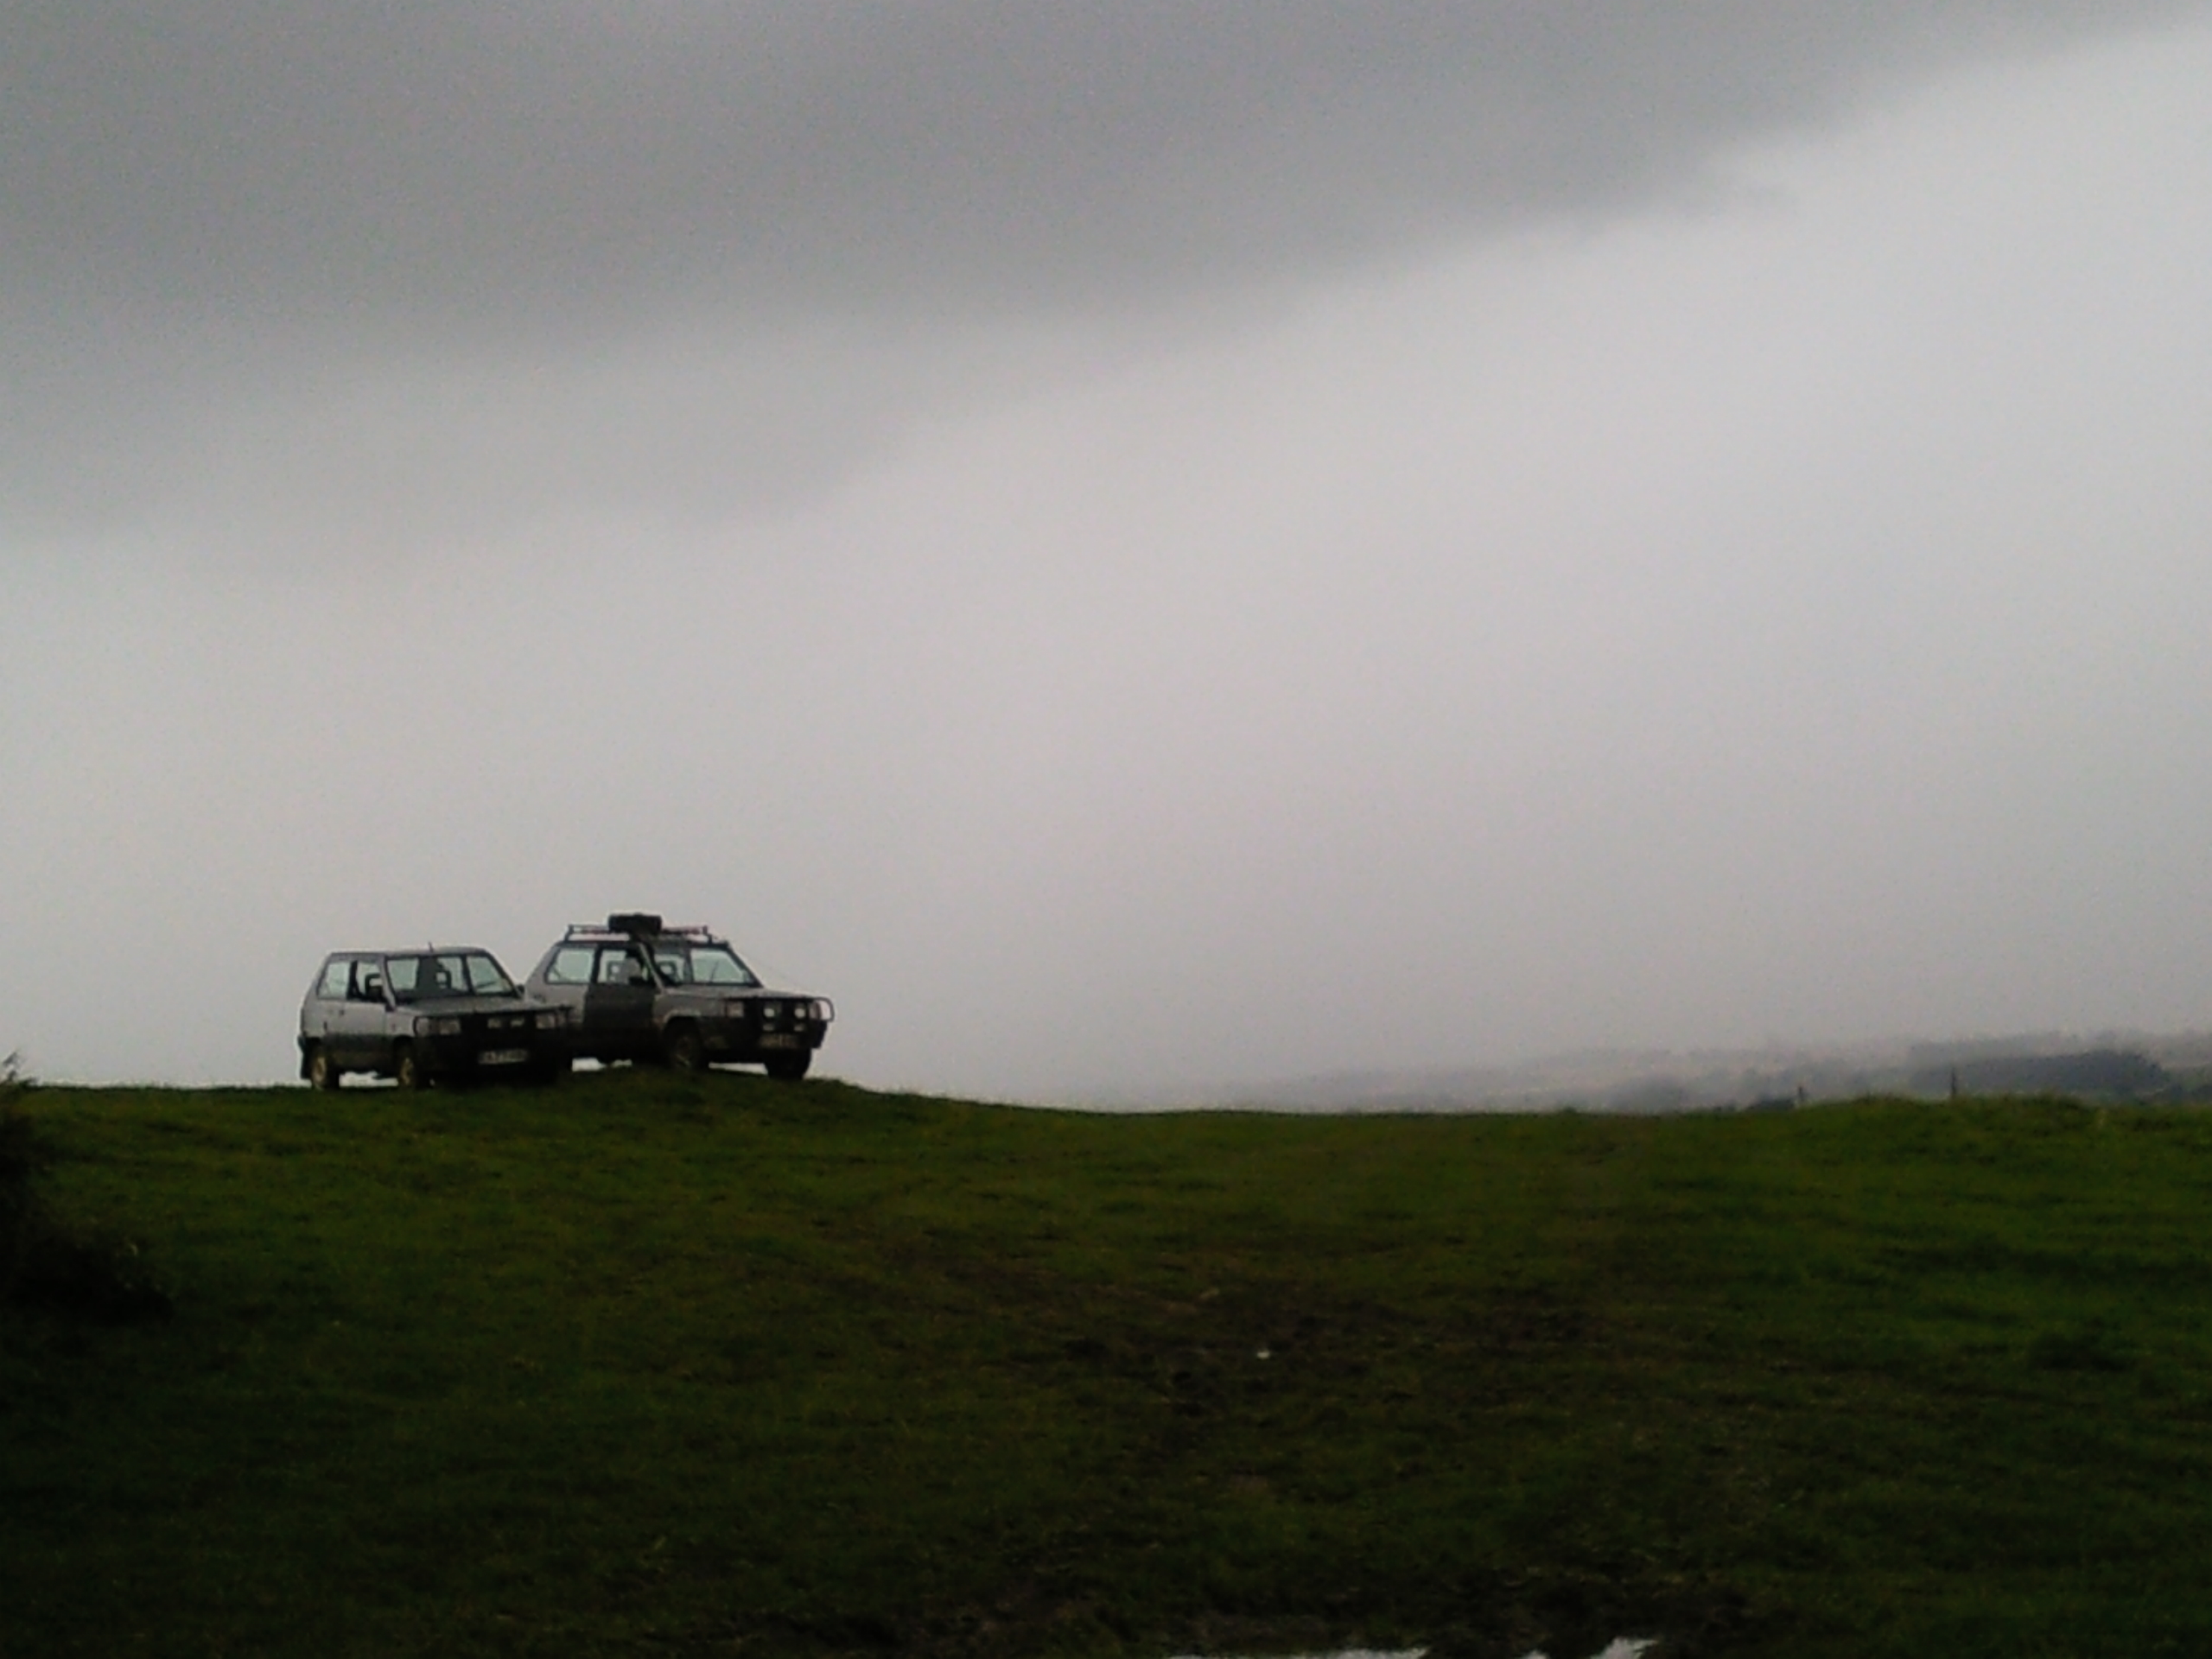
Both me and my mate have Pandas, mine's the '87 and his the '89, both Italian Racing Grey.

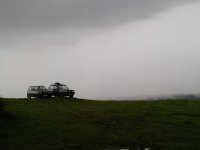
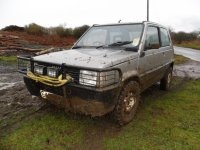
As I've previously said, although we put the Pandas through their paces we take good care of the old lasses because we want the fun to keep coming.

I hope you enjoy the pics as much as we enjoy making them! :D


Some of these pics are from a while ago, I'll get some new ones up soon :)
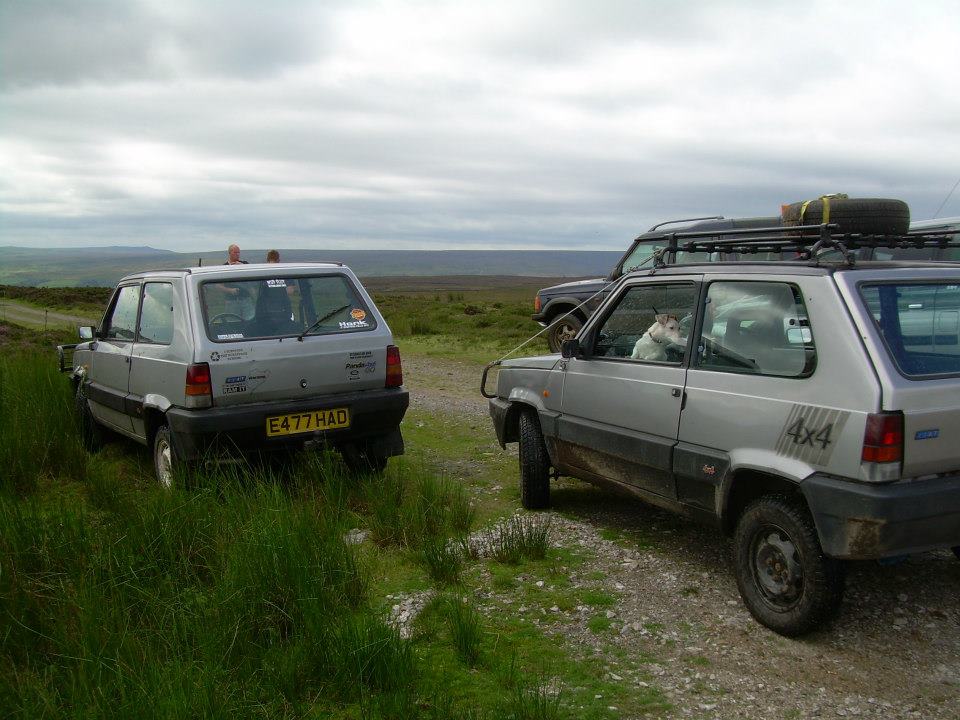
Are the fronts ok?, thanks for the welcome my girlfriend purchased one of these last august so expect a rebuild thread soon
 
Are the fronts ok?, thanks for the welcome my girlfriend purchased one of these last august so expect a rebuild thread soon

No the fronts have been extended by the same method - these would probably have been ok but in full articulation on full lock they were getting to stretching point.

Get a thread started as soon as you can, we love plenty of pictures on here :)
 
So after the suspension lift I have decided it's time to fit some bigger wheels and tyres for off-roading. As with the last set of Trac 4x4 tyres on the standard Panda 13" rims, I am using the same tyre manufacurer Mario Ziarelli and going for a 14" tyre this time...


Anyway I needed some new metal to wrap the new rubber around, I thought long and hard about the options based on price and availability but I just couldn't bring myself to go for the easy option of putting punto steelies on! So instead I got hold of these...


...a full set of classic 131 rims in a pretty rough condition. It was time for a refurb and some detail...

First off was sandblasting a several coats of red oxide primer to smooth in the pitted areas...


...next 3-4 heavy base coat layers of silver...


...the silver used as a base coat lightens the top coat grey and adds sparkle, two coats of anthracite grey sprayed light and even at a distance...


...and then before the lacquer we have two coats of detail with the military matt black...


After a few days left to bake in the shed 3-4 coats of lacquer before the tyres go on...


This time around I've gone for the tyre paint detailing aswell, lets see how long this will last between the rocks...


...and finally the new centre caps to complete - still not sure about these they look a bit too 'bling' :rolleyes:


I am now going to have to wait before putting them on though, as my car is currently in for MOT, but it'll be a nice treat for when I get it back :)

The tyres are 165/70/14, I could've gone for any width upto 195/70 on this design for the same price but the rims are 5.5J and I am still trying to not destroy my home-made filler neck! With these rims and tyres being an inch and a half taller than standards i'll get a bit more height but pay the price on fuel consuption and (cough) accelleration. It's also likely that several areas of bodywork will have to be cut away or modified to prevent scrapeage, well I'll keep you all posted :thumbup:
 
Last edited:
Wow, great work Andy.

I find it difficult to picture wheels on cars, for some reason, so I'm looking forward to seeing these on.

But using a process of elimination:
131 rims = Like
Of period = Yes
Beautifully restored = Yup
Unusual pairing to car = Uh huh
From same manufacturer = Indeed

.. So I'm predicting an excellent result.
 
Superb! (y)

Loving everything you've done there. :D

The tyres on Oslo's 14" alloys are 165/70's but when I swapped back to the 145/13's for the Salibury Plane jaunt they seemed to be very similar in height, almost no difference, but the tyres you have look much taller. :confused:

What is the overall diameter of your new tyres Andy? Oslo's don't give any clearance issues so if yours turn out the same size I shall be looking for some myself when mine are due for renewal.

Cheers Vern,

The overall diameter of the new tyres is 23 and a half inches as opposed to the 13" Trac tyres which are 22 inches in total.


Ziarelli tyres are now available through Tyres Direct in the UK. If you are considering getting a set of these, I have been dealing with a bloke called Greg Oliver...

Tel : 01582 585845
Web : www.tyresdirectuk.co.uk

:thumbup:
 
Guess who's back, back again...


:D

He didn't make Panda Camp but he's game on for another 12 months on (and off) the road.

Passed with no advisories :confused:

after failing twice...

New inner and outer sills both sides,
3 out of 4 chassis leg bases rebuilt,
New rear lower valance,
Tow bar joined back on properly,
Left hand side half shaft replaced (Buff donated),
Prop shaft replaced with new support guard, tripod bushes and CV bushes (Buff donated),
Both front ball joints,
Washers, wipers and high beams completely rewired (black wire disease has set in) along with right hand side rear cluster.

Not much then, everyone else probably thinks I'm mad with all that work needed but hey, it's a Panda - you lot know the score :)

Next stop big wheel fitting, watch this space :thumbup:
 
Well, they fit, just!


Fronts aren't too bad against the bottom of the wing, the base of the arch will need rolling back half an inch or so, but the tyre is very close to illegally sticking out of the arch area at the top...


The back is going to require a bit more cuttage...


Again, mainly the bumper will have to lose some surface area aswell as the metal part of the body behind the plastic 4x4 trim. I'm also going to have to cut away part of said rare plastic trim :eek: but only bits that area already cracked and loose.

The backs don't stick out half as much as the fronts though, even with the 26mm spacers. The sacred home-made filler neck is going to have to be protected further also...


I will report back :thumbup:
 
Never mind all that, - for a man of your talent and capability it's 'challenging but achievable' if the time's available.

How high do you end up? - is the question..

Well I'm flattered now Andy!

I haven't actually measured the height increase as yet but the photos are taken with the jack lowered from the body so the weight is down. I will get the tape measure out when I get on with some more work later this week :)
 
You will have to tart up the body work - looks like you've stolen the wheels :eek:

I know he's rotting away steadily, but you start putting money into aesthetics then there is no end on a car in this state. It's finding that point between restoration and the work it is intended for.

I have Hilary the Sisley to be the tidy one, hopefully :)
 
Back
Top