HOW TO: The Classic Panda 4x4 Suspension Lift
Today we tackled the fitting of the lift kit, as
Dragon Man requested, here is the "How To"!
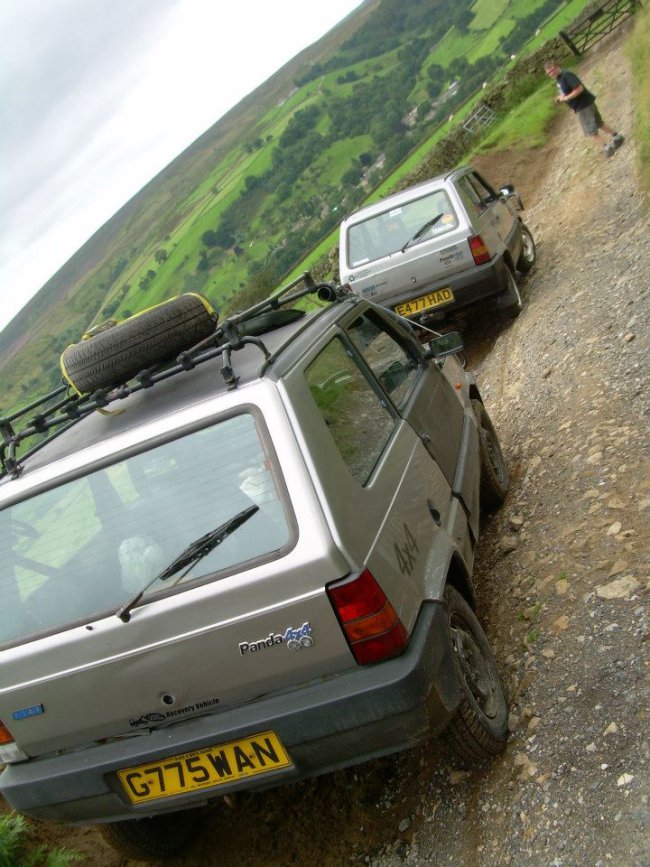
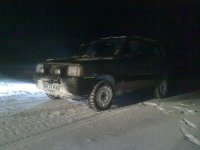
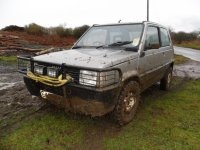
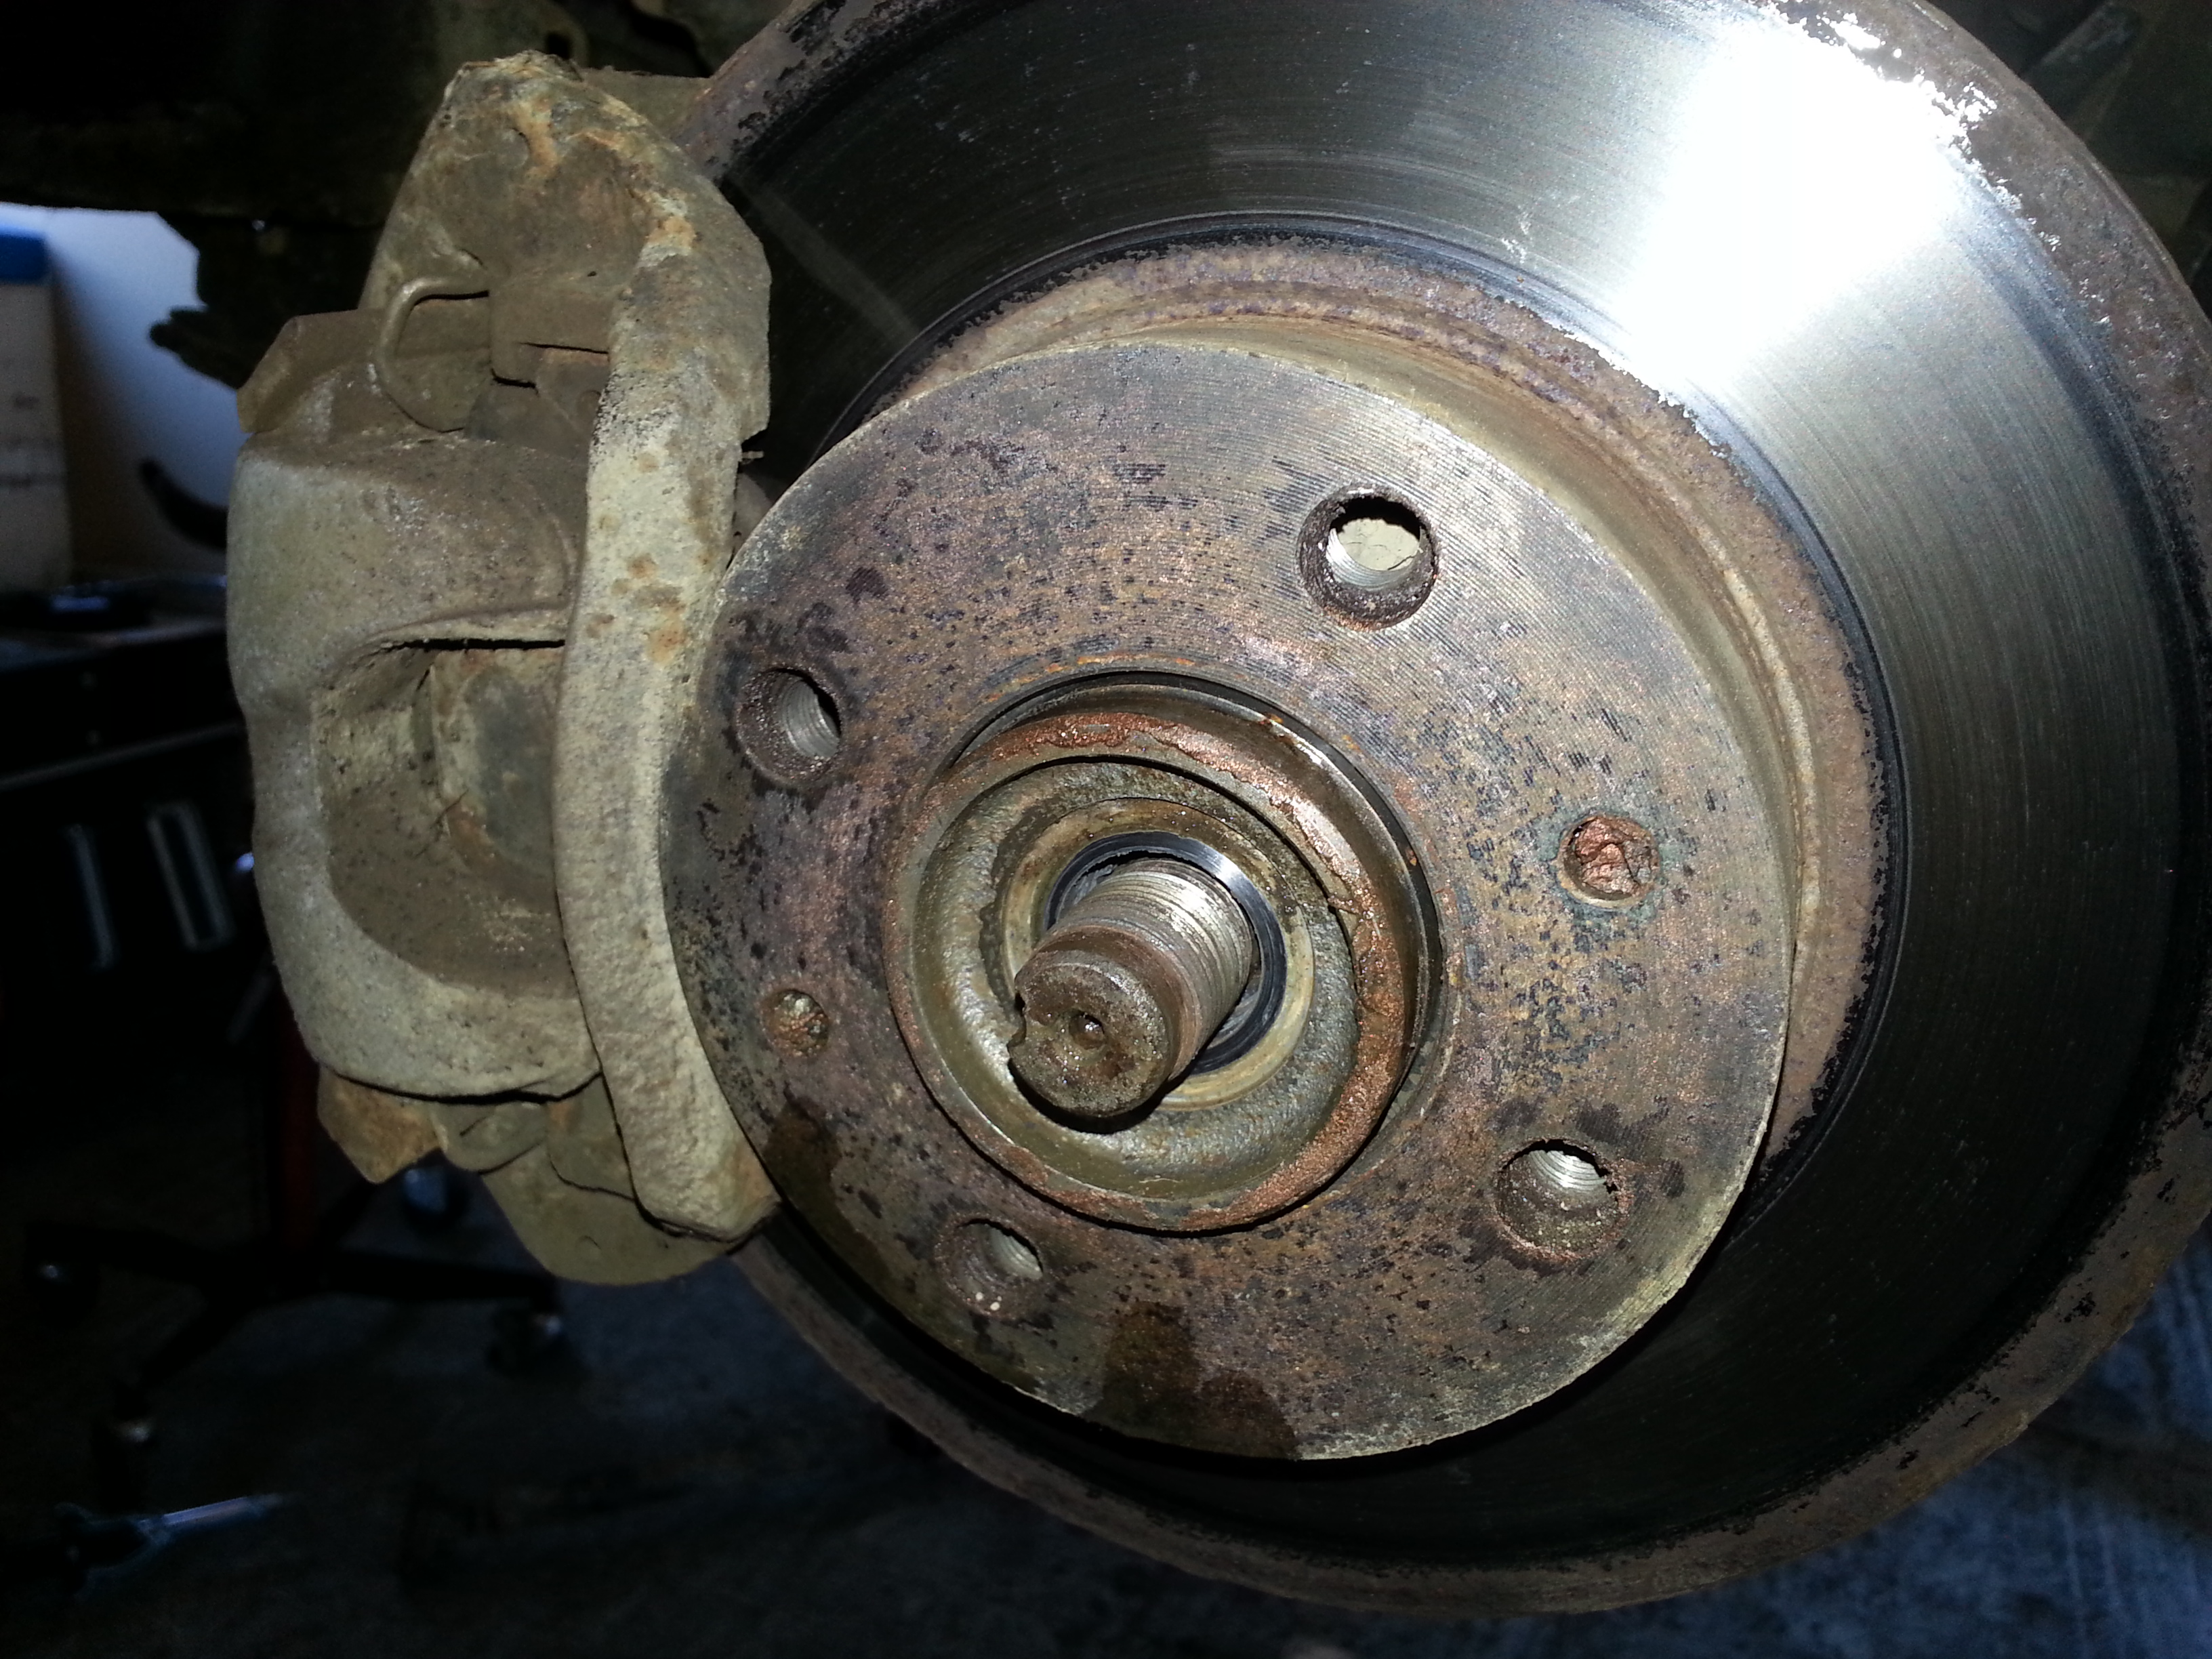
To start, some before pictures...

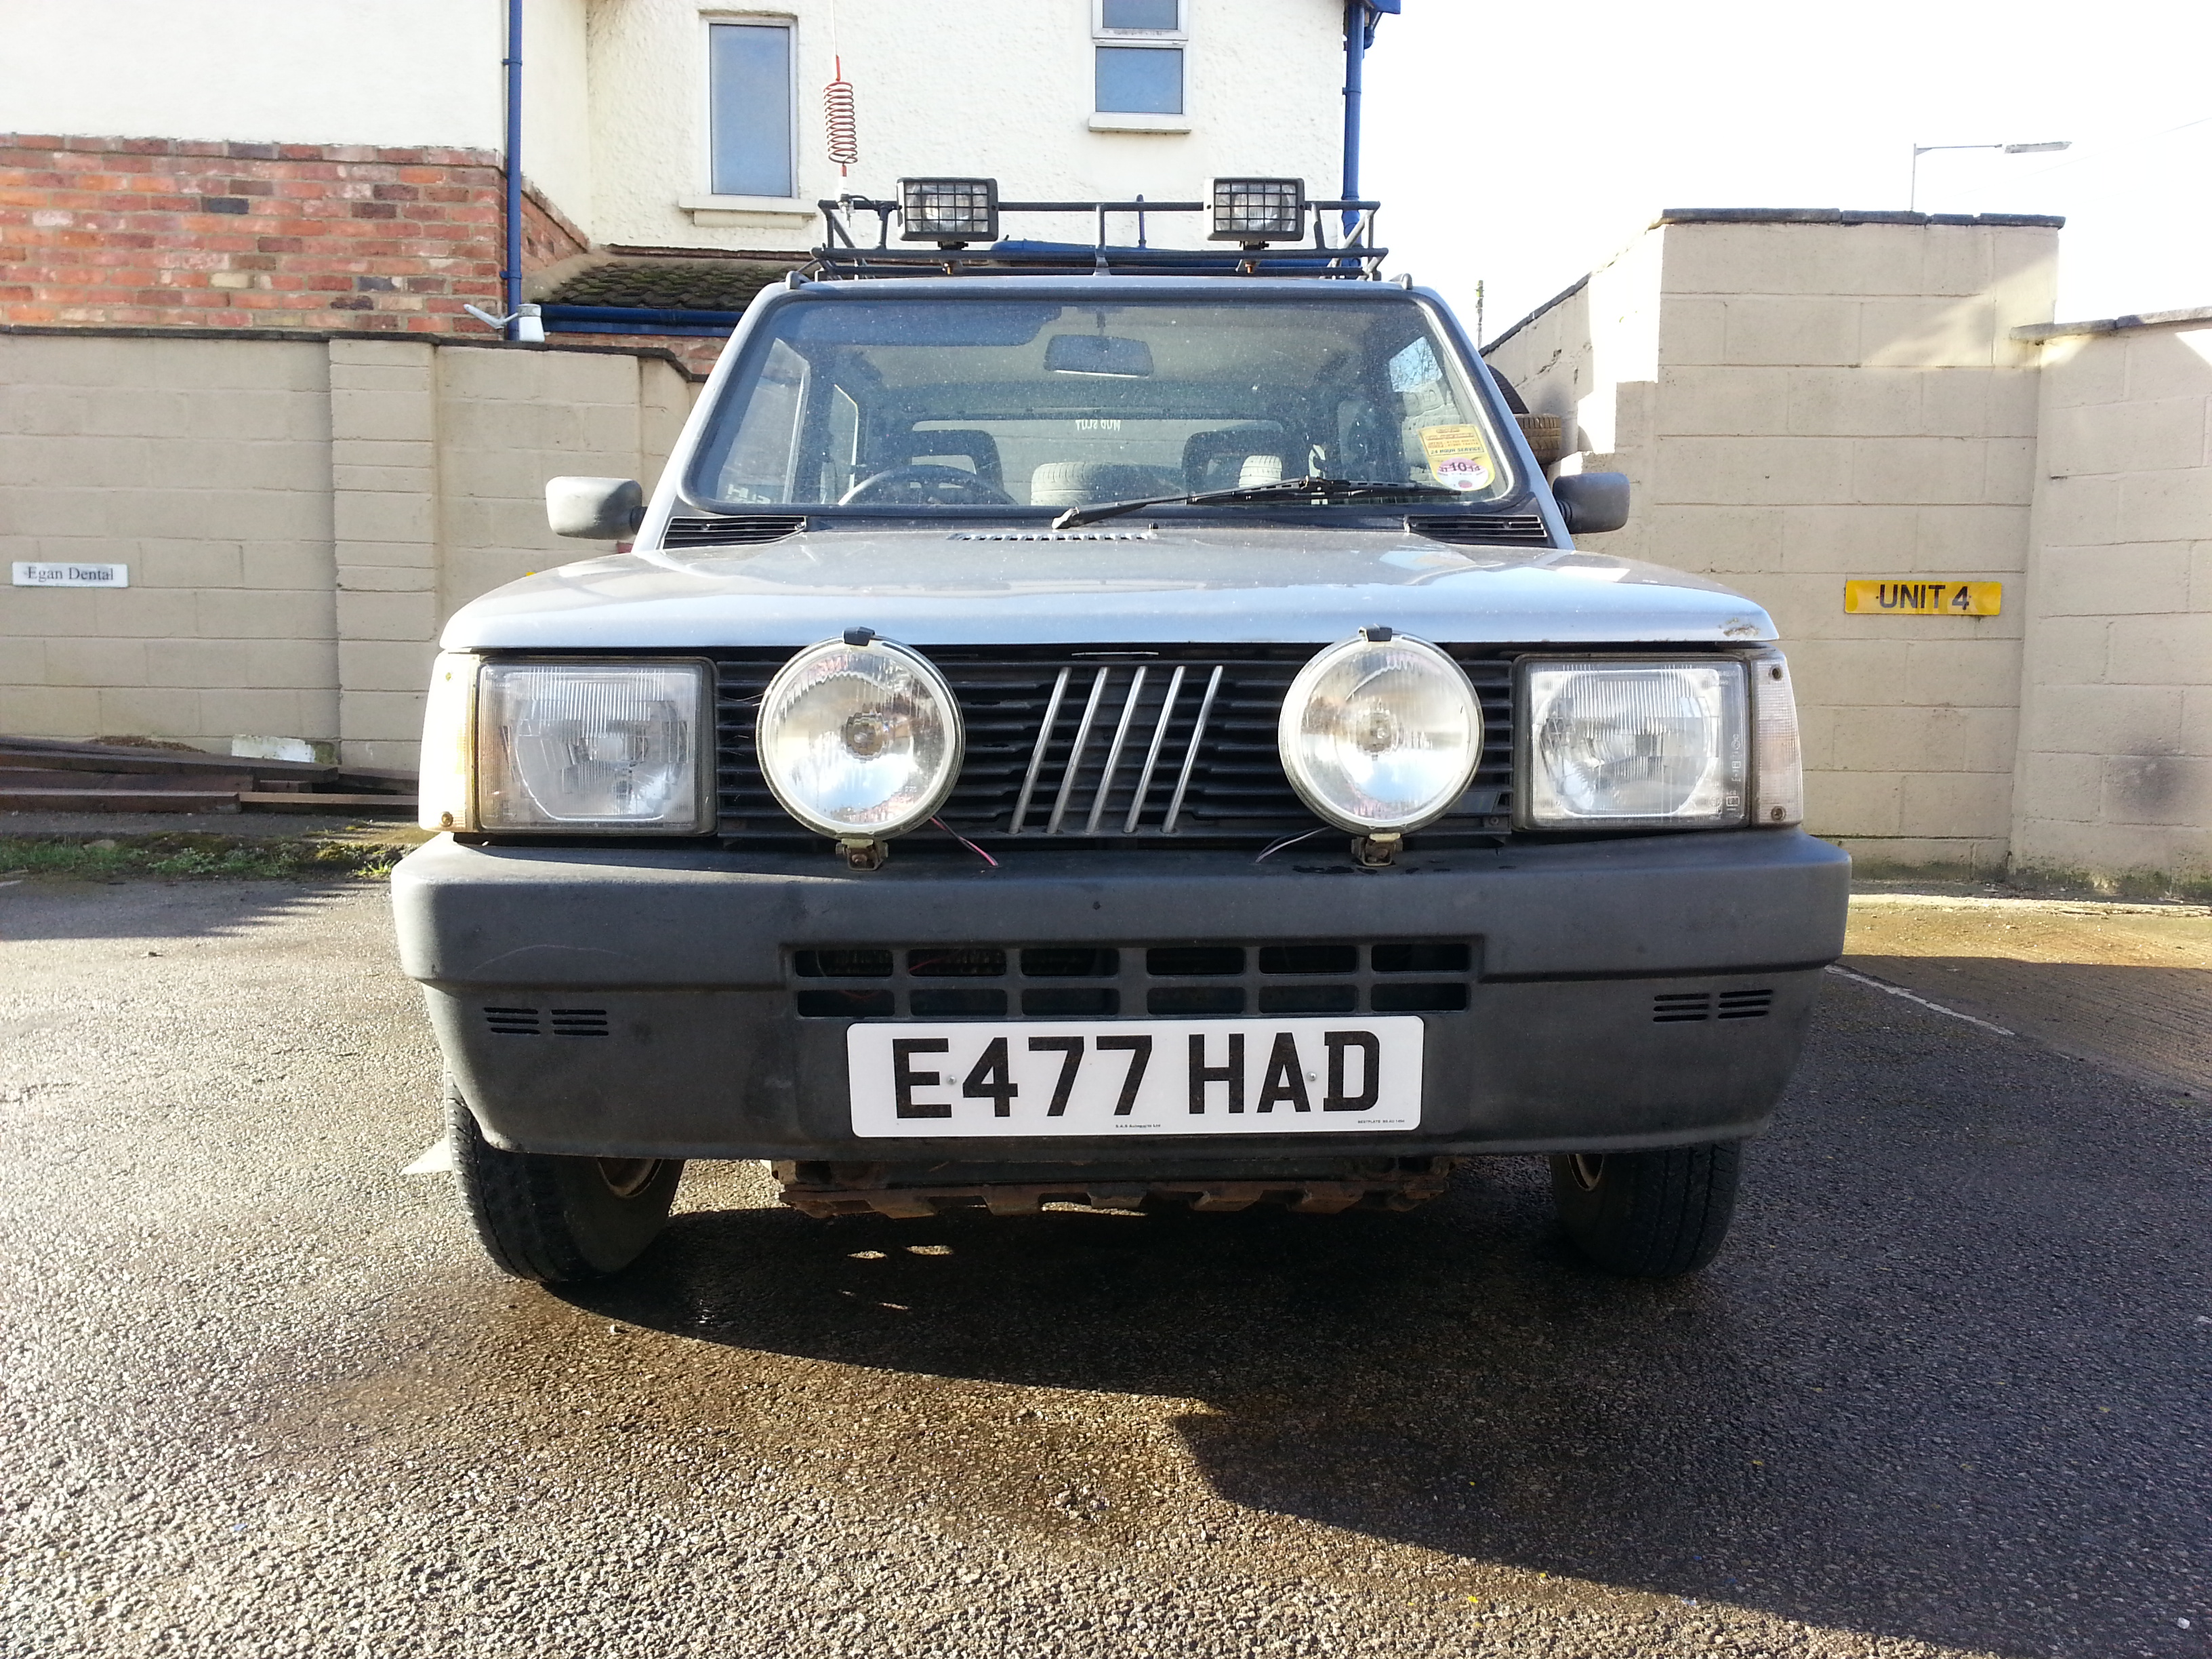
Let me tell you the story of the positives and negatives of lifting a Panda 4x4

. This "How To" report comes with a warning, if you don't like rust - please don't read on!
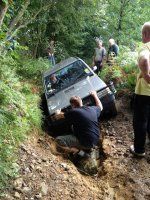
To successfully do the job we have had the car in a mechanic's workshop and up on a two-poster ramp, I wouldn't tackle it off a jack and axle stands unless you have plenty of time and patience. This operation took a total of 6 hours with three of us working on it.
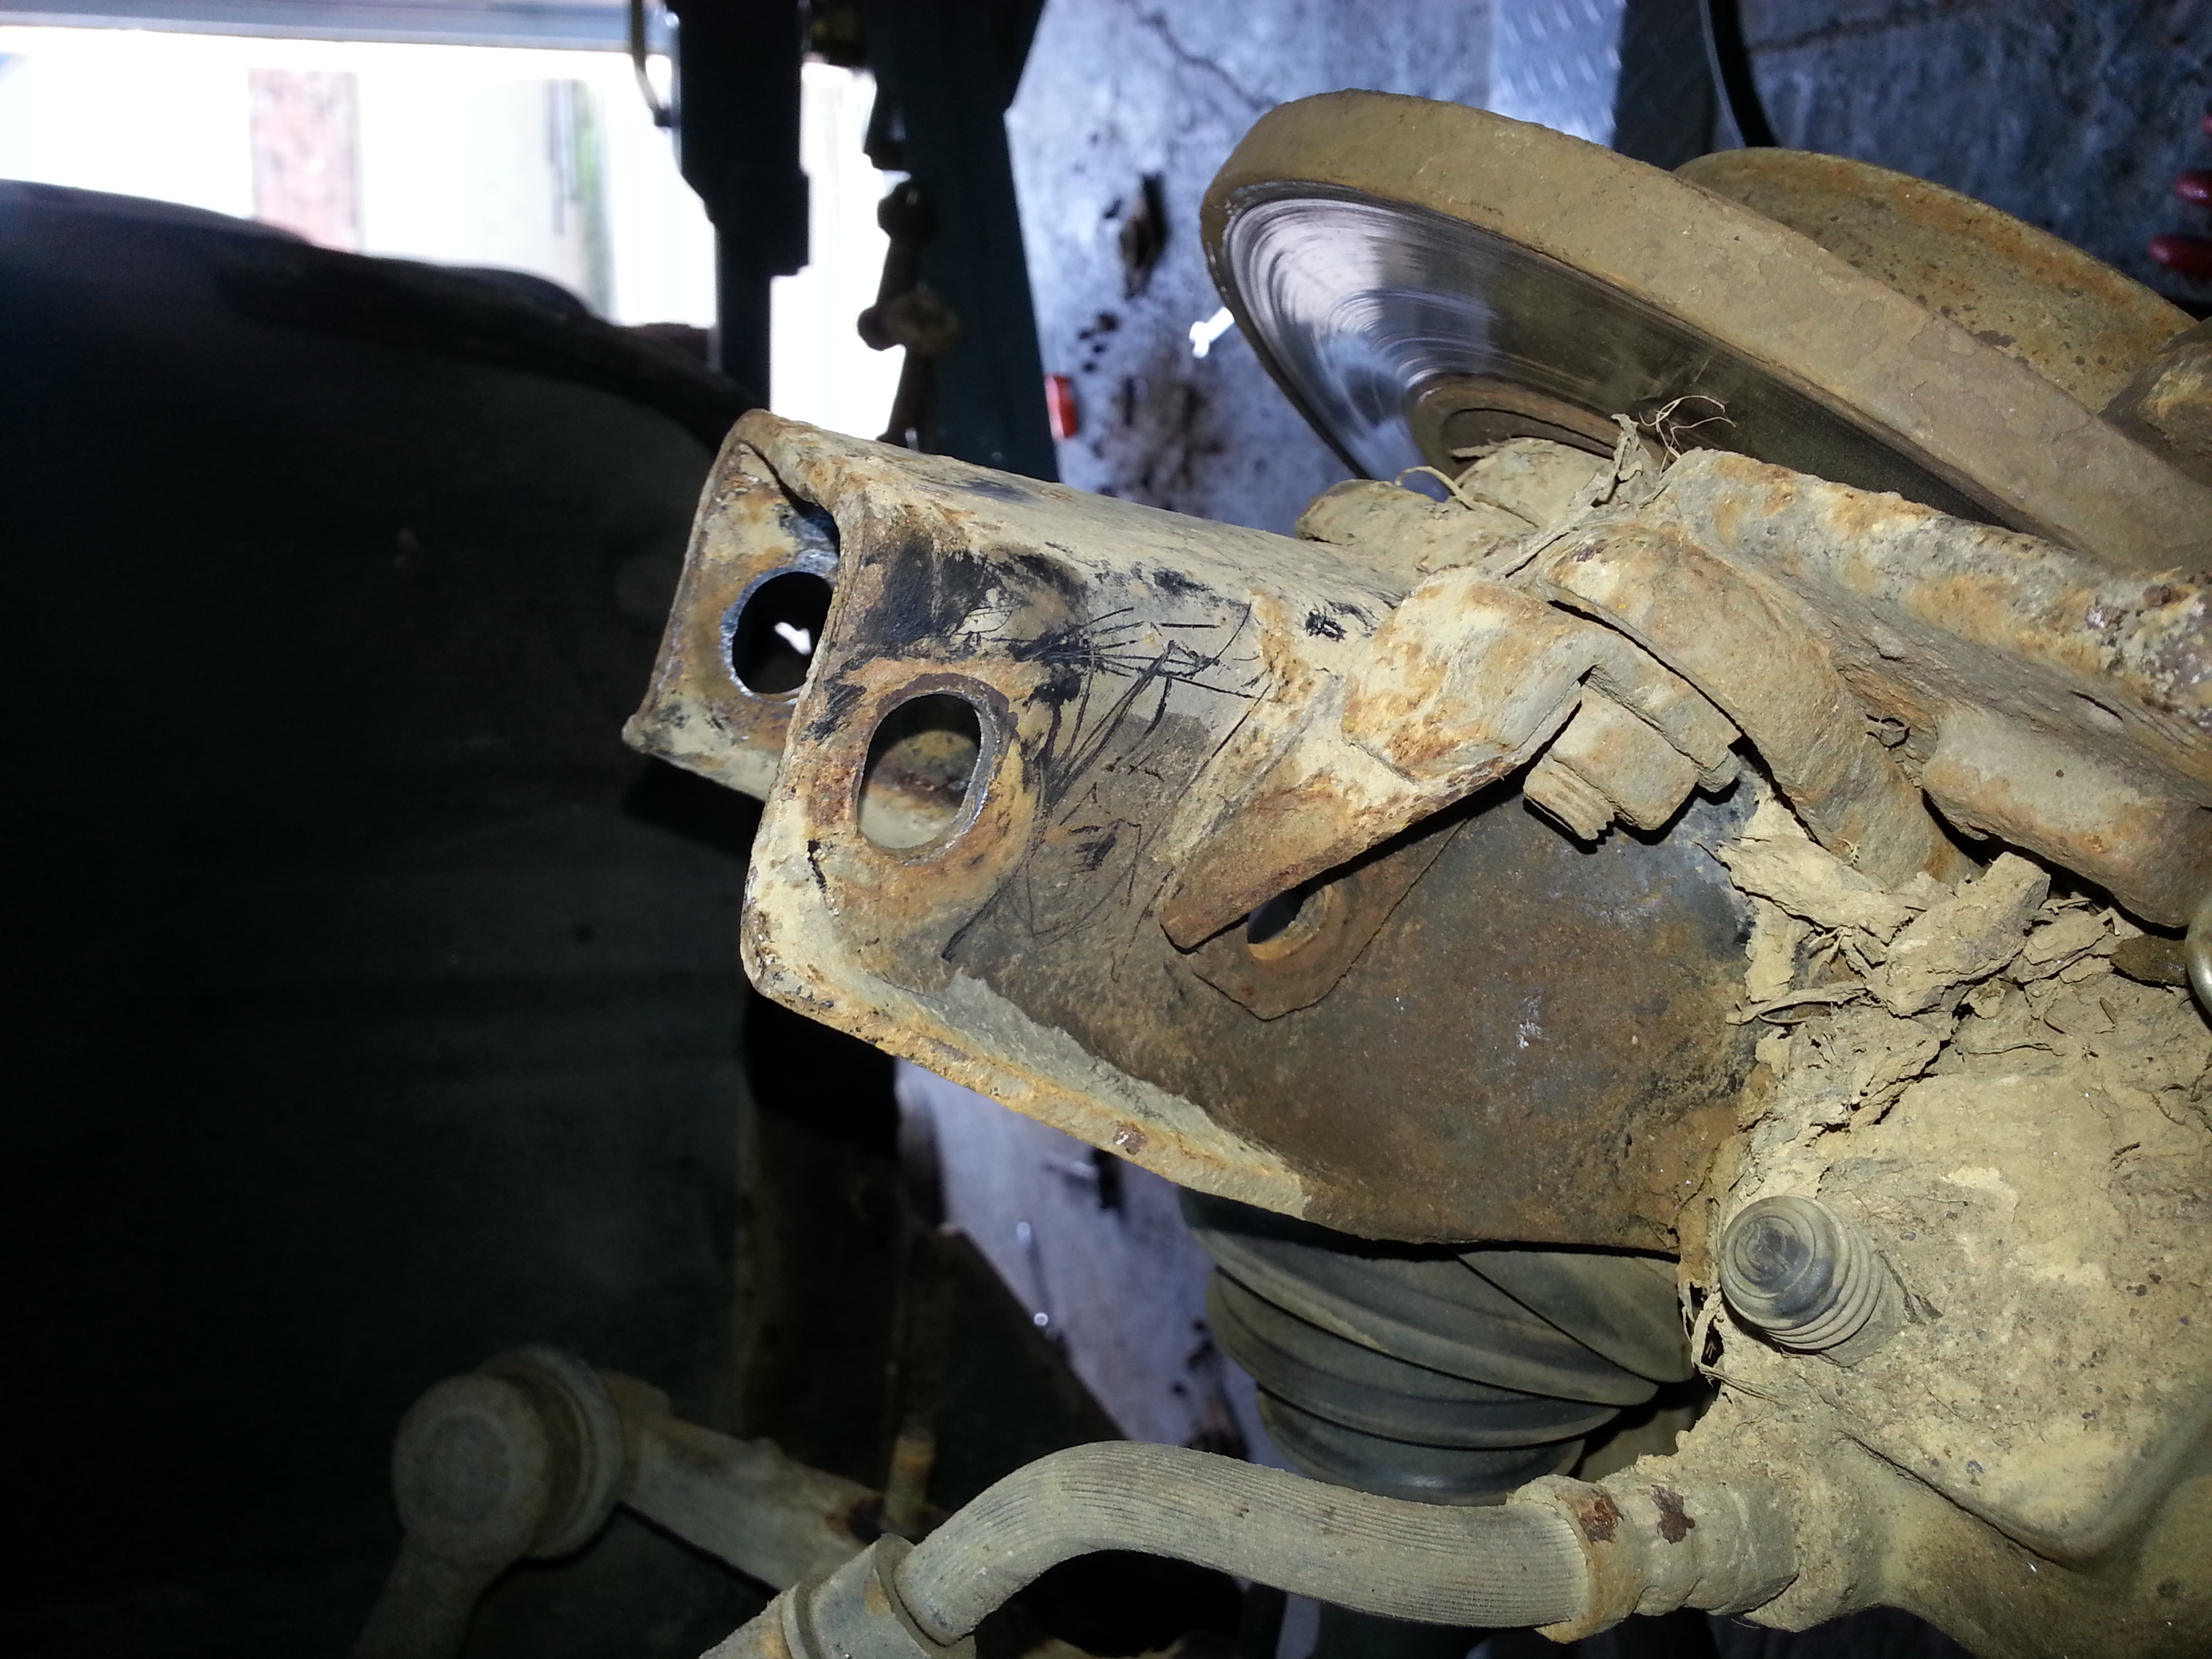
First things first we start at the front passenger side - the most complicated part (or so we thought)...
Removal of the wheel and drive shaft hub nut...
After much oiling, removal of the track rod end where it mounts to the strut...
After much more oiling, removal of the two hub-carrier to strut base mounting bolts...

The strut can then be separated from hub carrier (which is still attached to the bottom arm and track control arm)...

At this point we drained the gearbox oil from the drain bung which is situated just below the inner drive shaft CV joint on the passenger side of the vehicle...

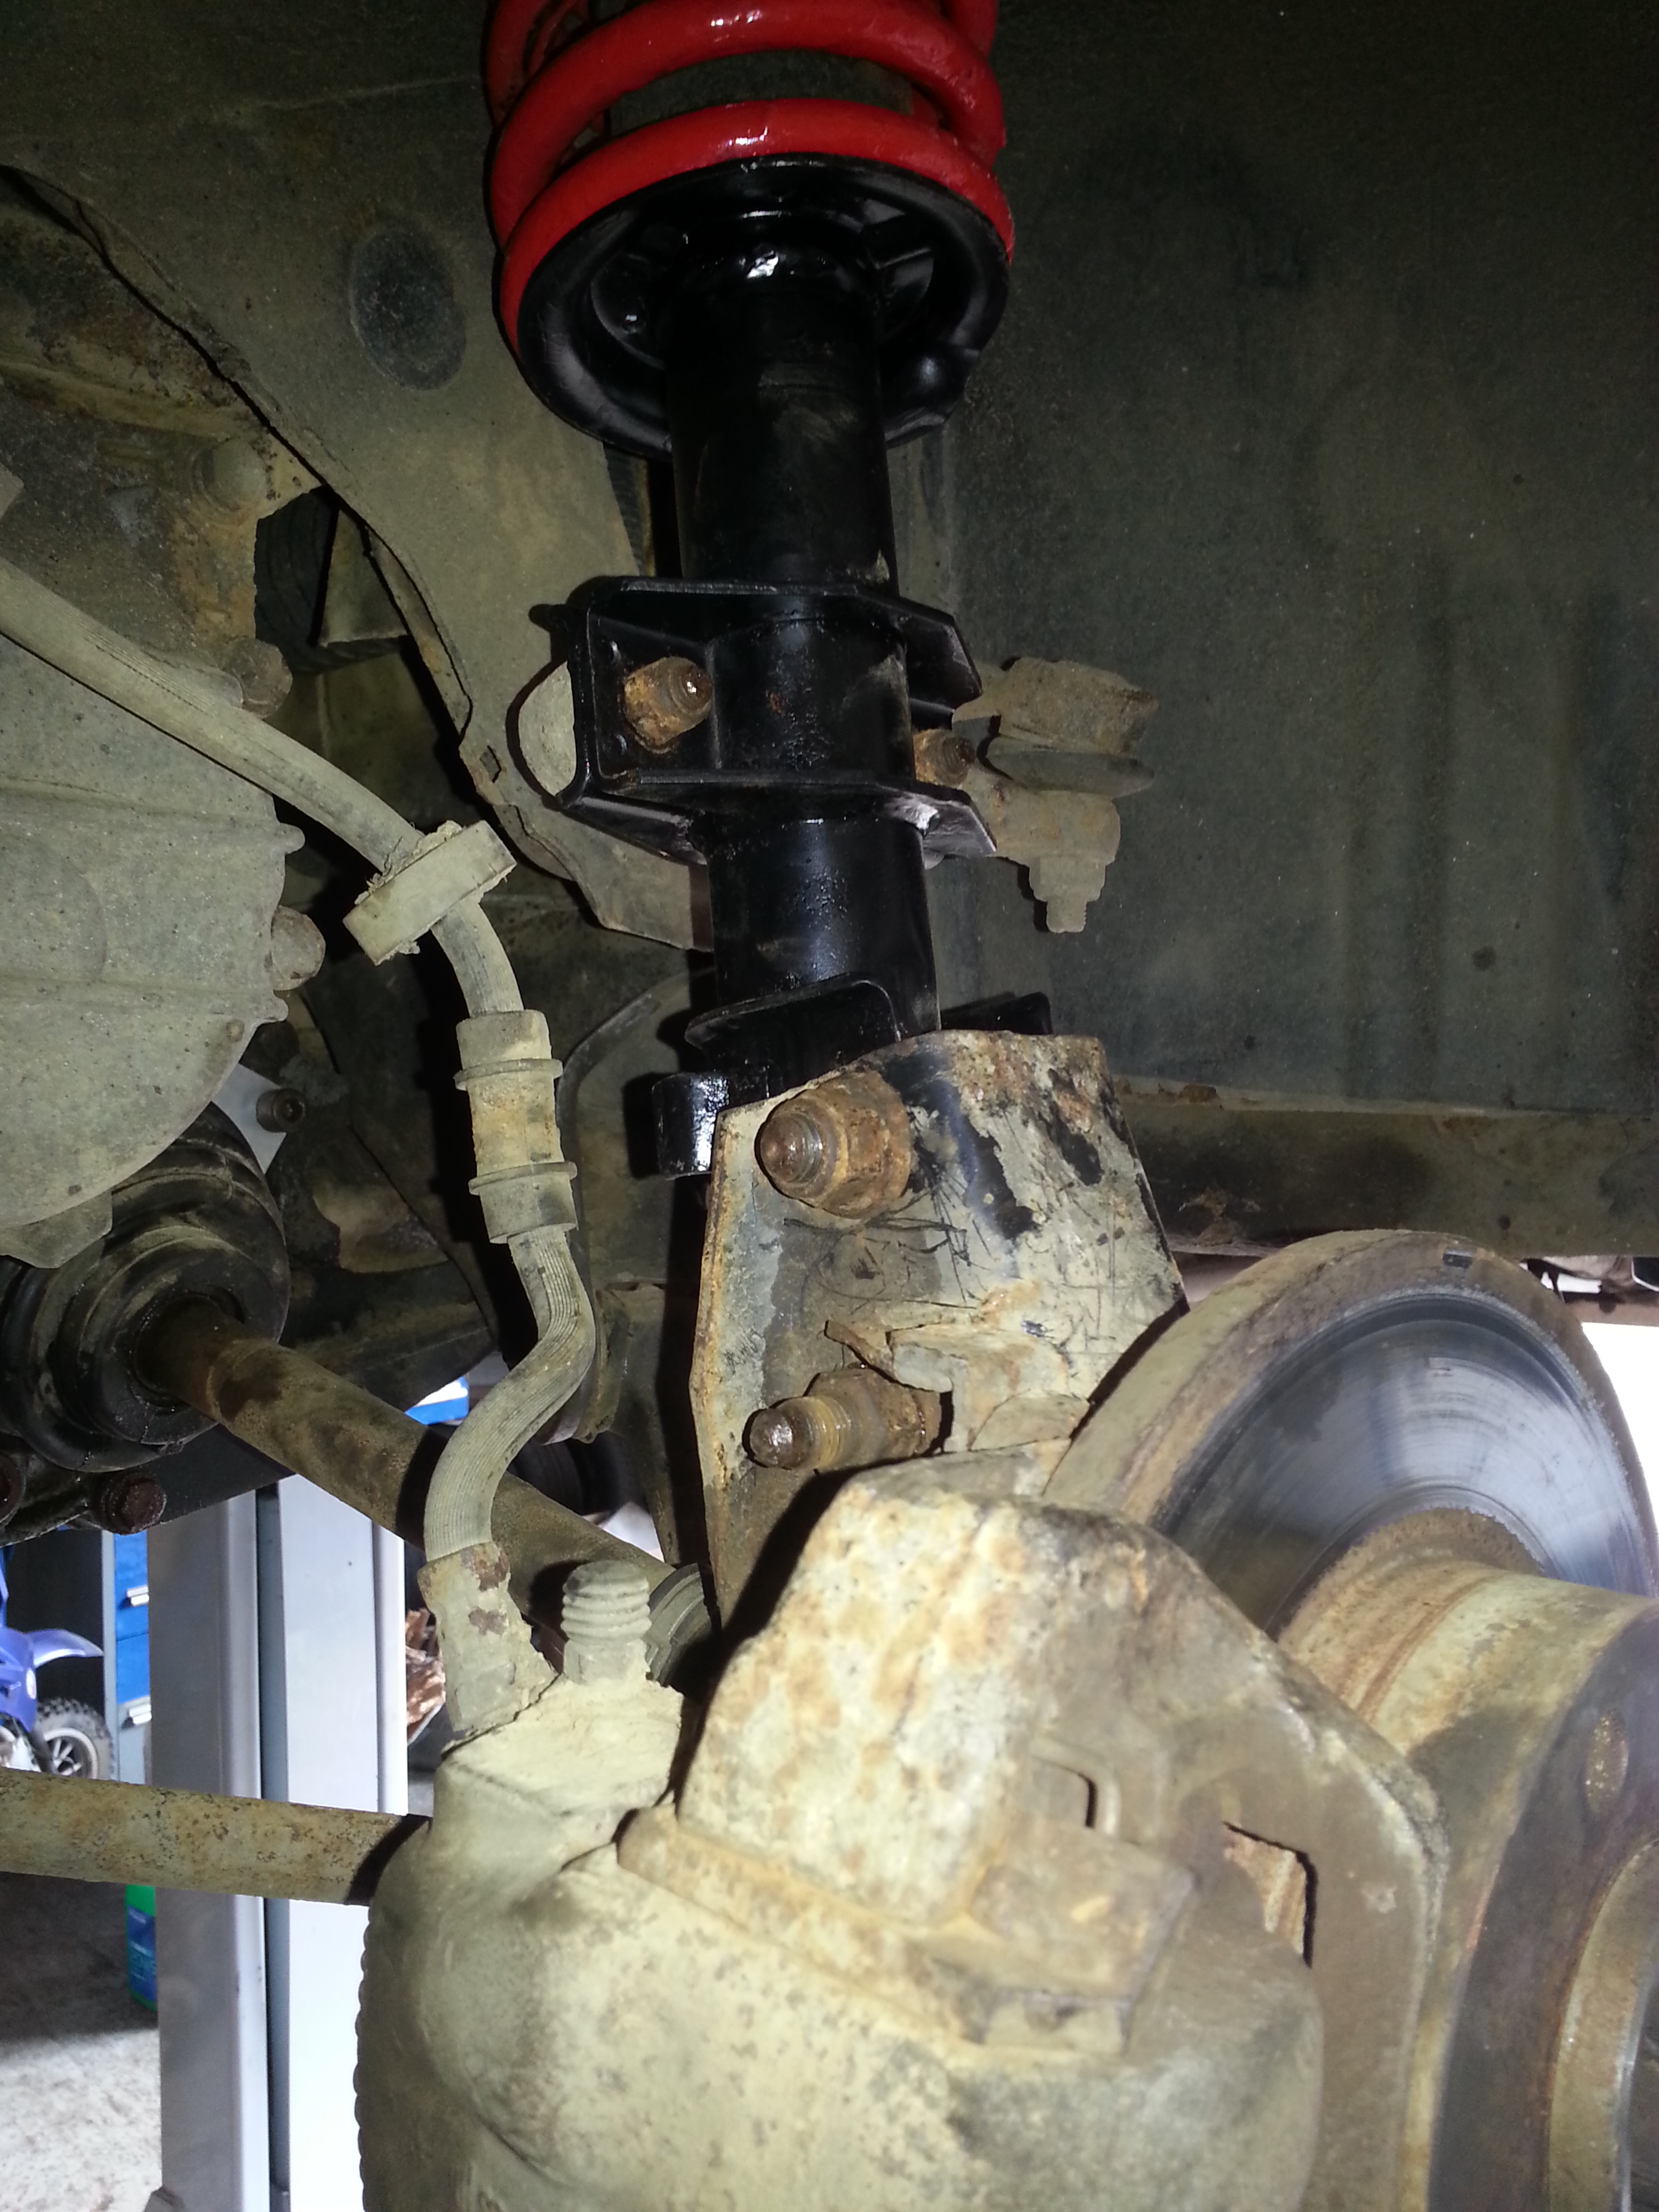
Next it's the two strut top mounting bolts to come off (these are the outside two in the picture NOT THE MIDDLE NUT). Whilst taking these off be sure to hold the strut in place with the other hand (or have someone help you) so it doesn't drop off as it will more than likely fall onto the drive shaft below...

(as some people will notice a couple of these pictures were taken of the driver's side but this process applies to both sides
)
This process can then be repeated to the driver's side, even though we are not altering the drive shaft on the driver's side, we still unbolted the hub nut and removed the drive shaft from the hub in order to get more movement.
After the struts have been removed you will have...

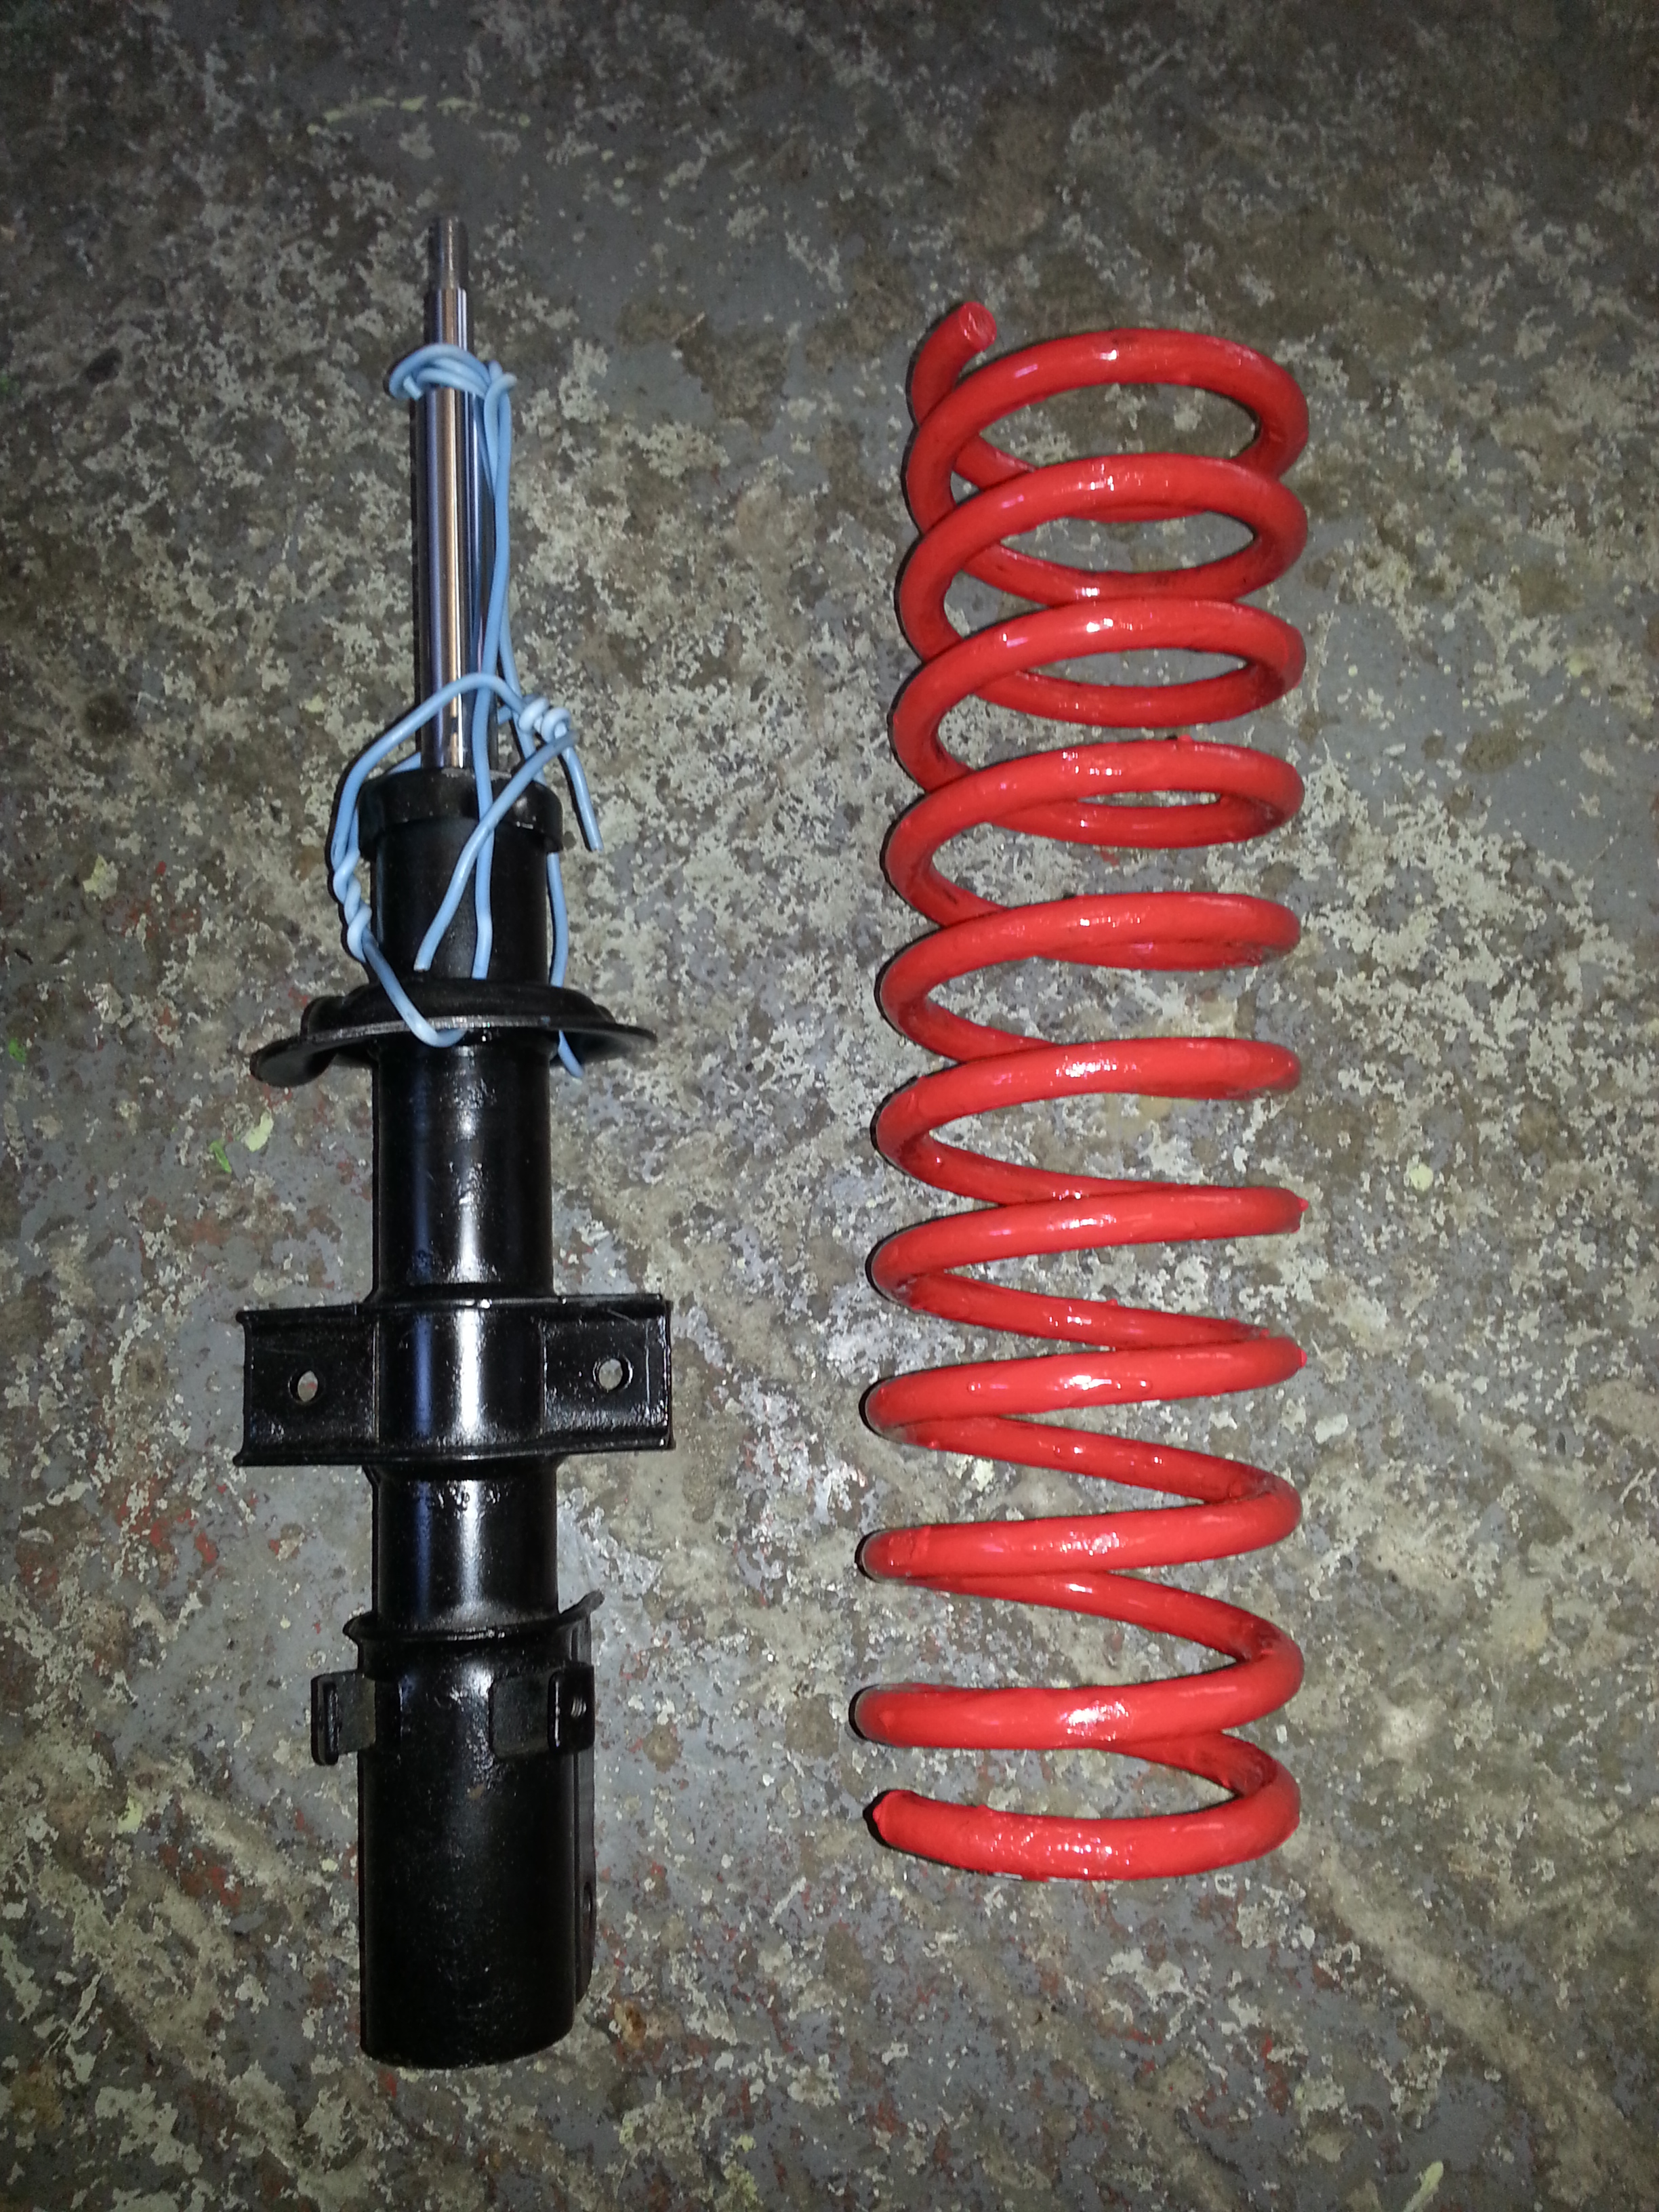
Two tired front shocks, springs and...
...A big gap where they used to be!
Part 2 - Building up the new front suspension...
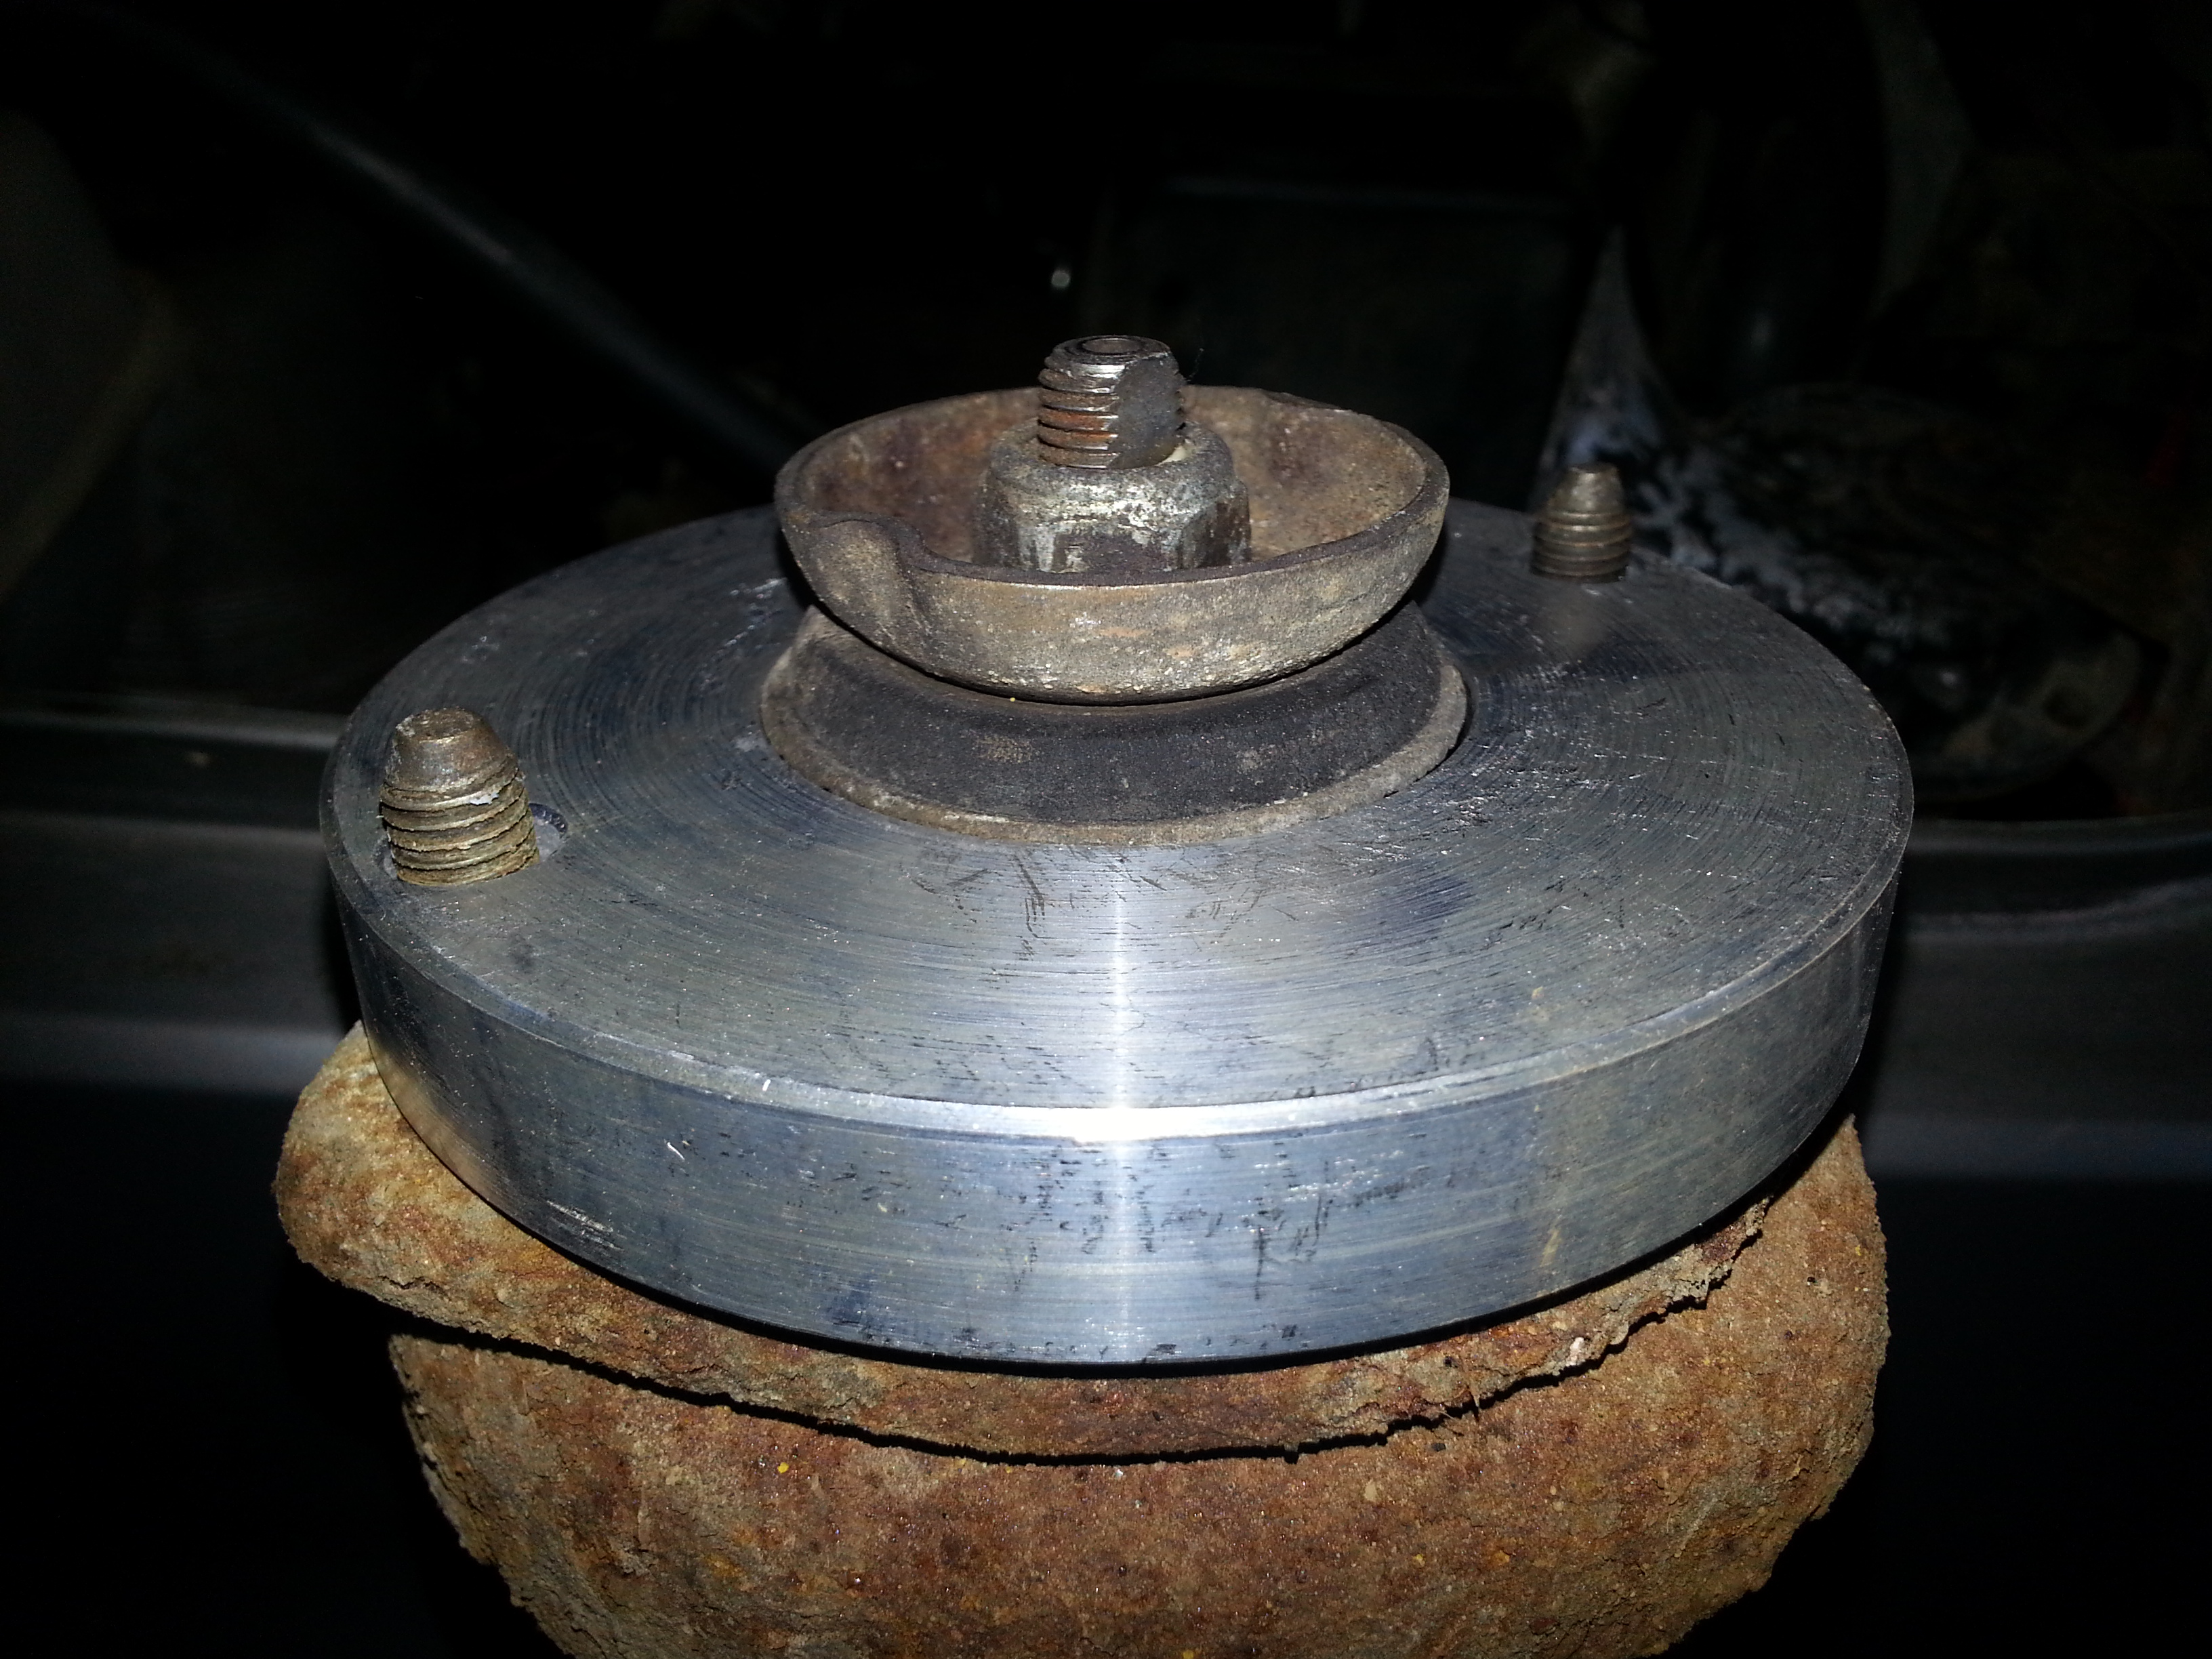
Before we took apart the front struts the spacer from the kit was tried on. As you can see there isn't enough thread above the 15mm spacer to allow safe mounting back on the vehicle...
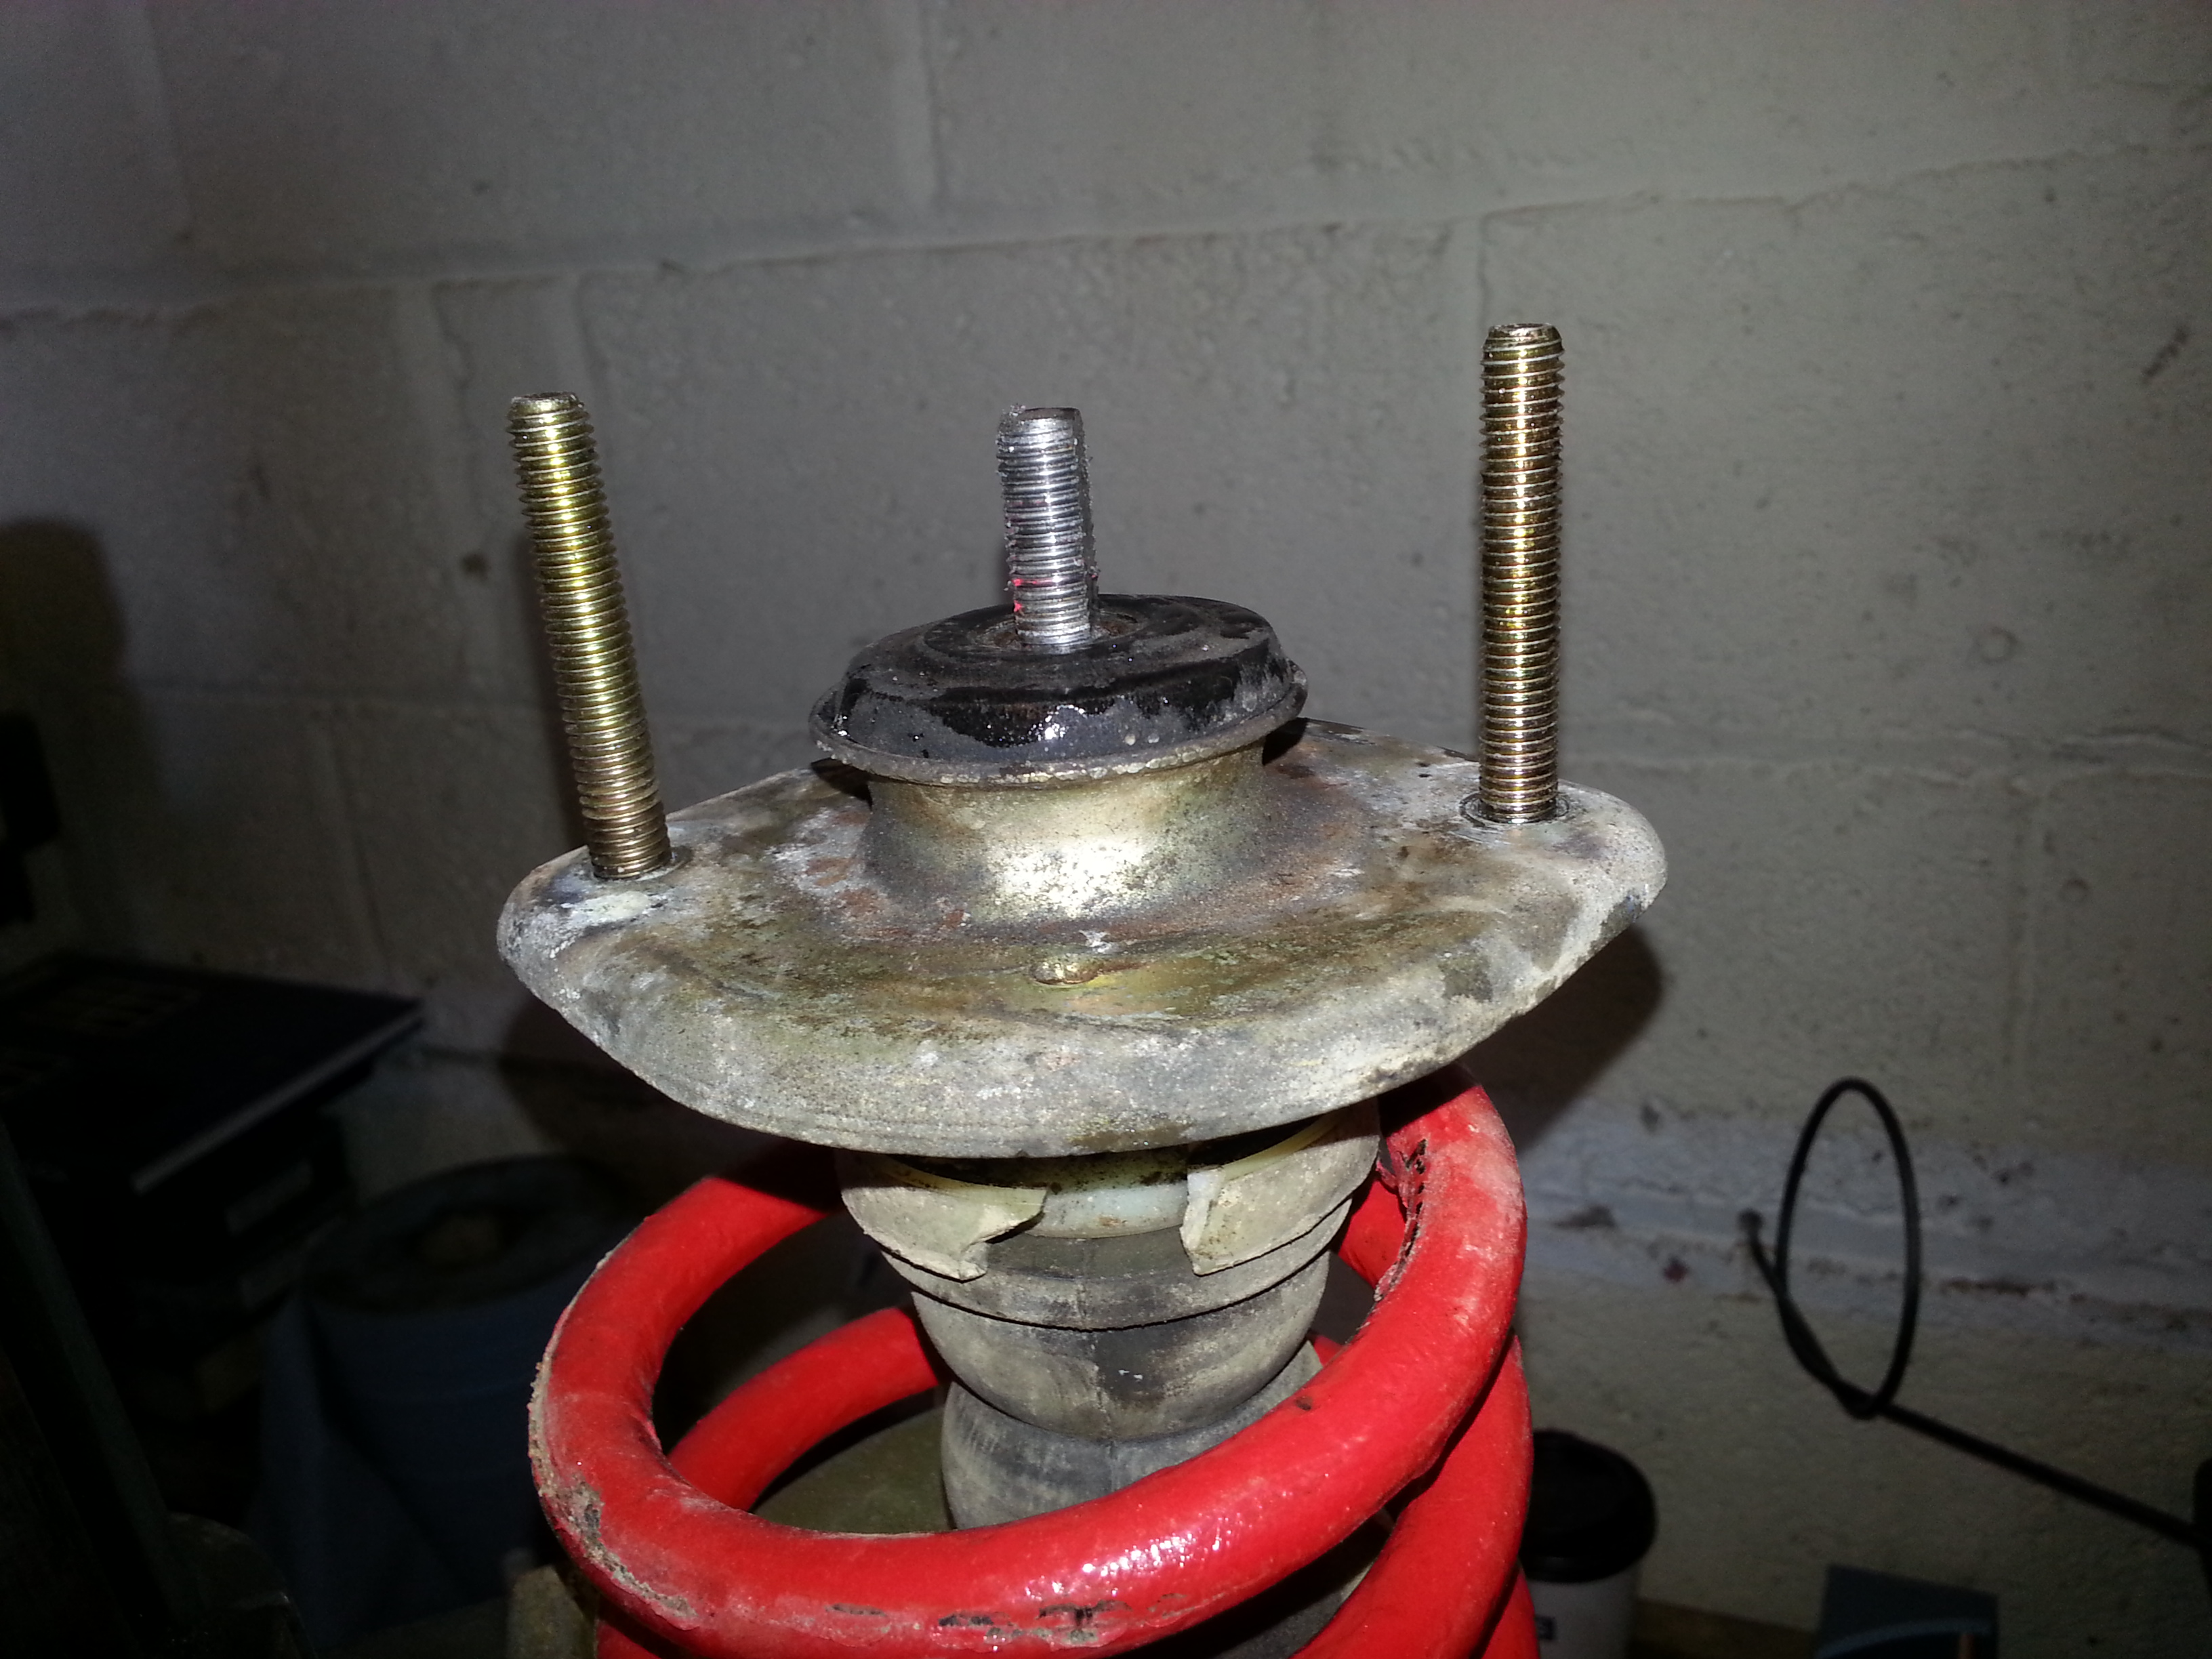
In order to safely dismantle the strut, it is placed in a vice with the spring clamps tightened down before strut top bearing nut is removed...

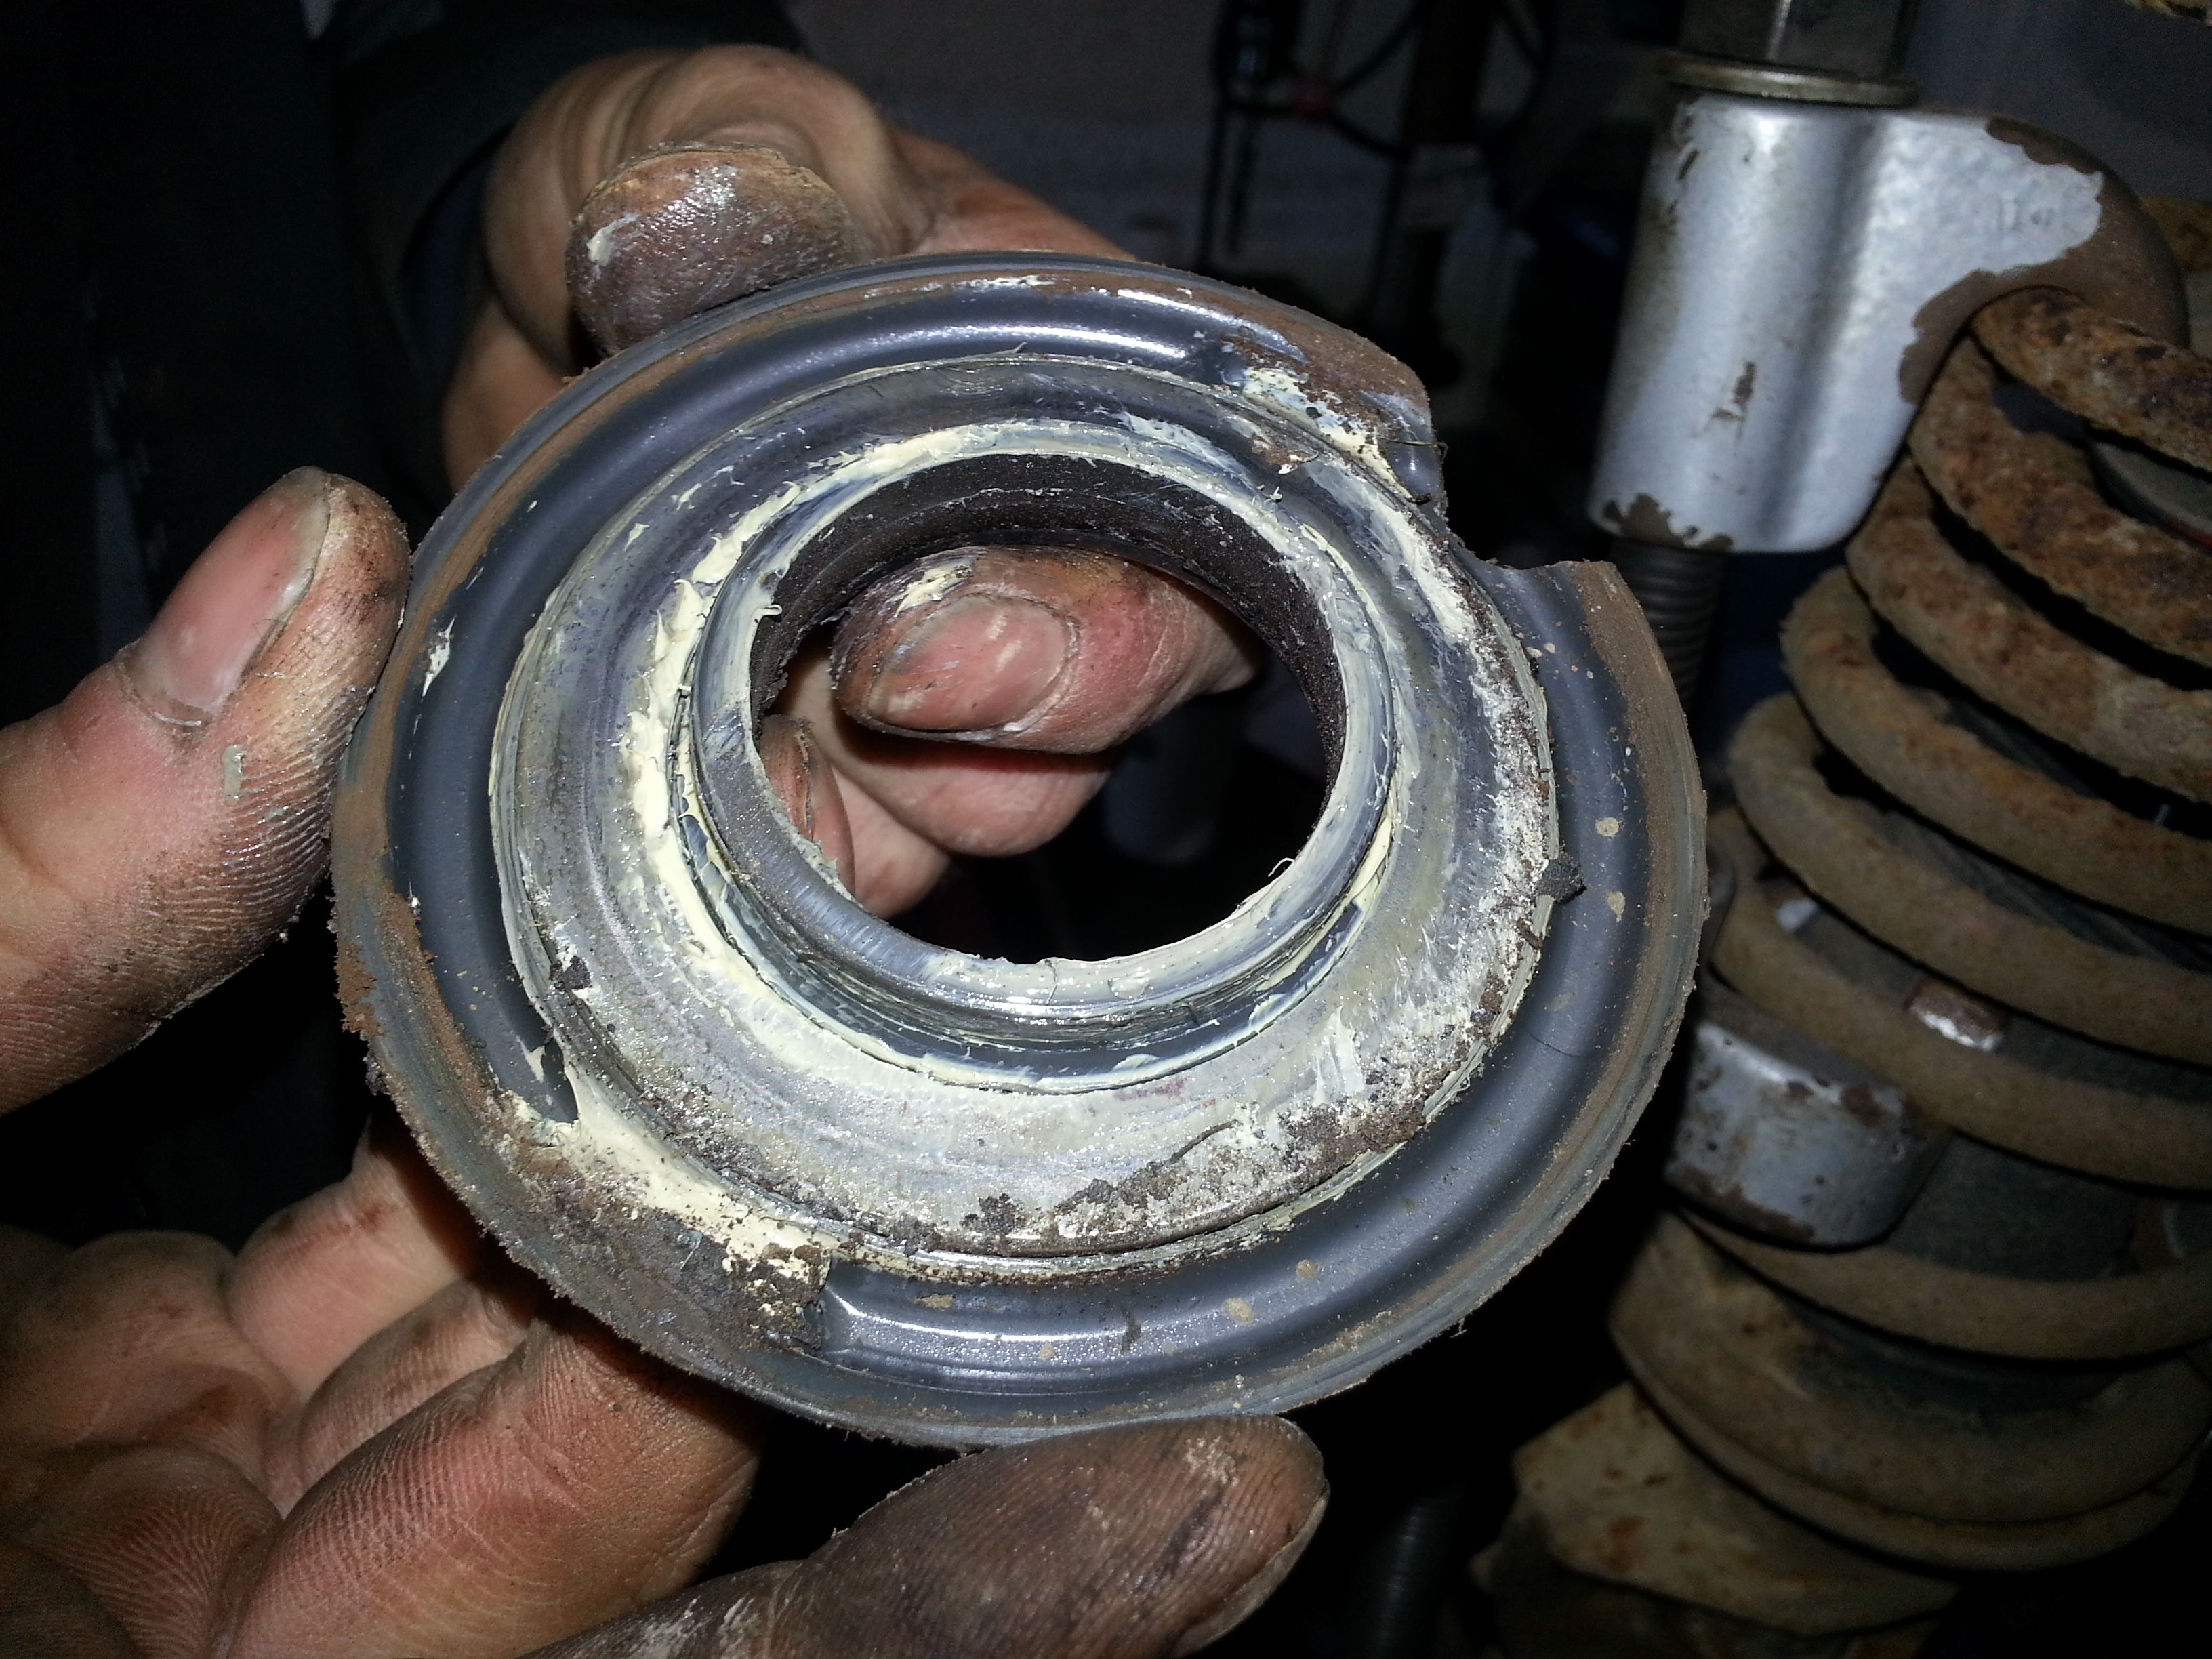
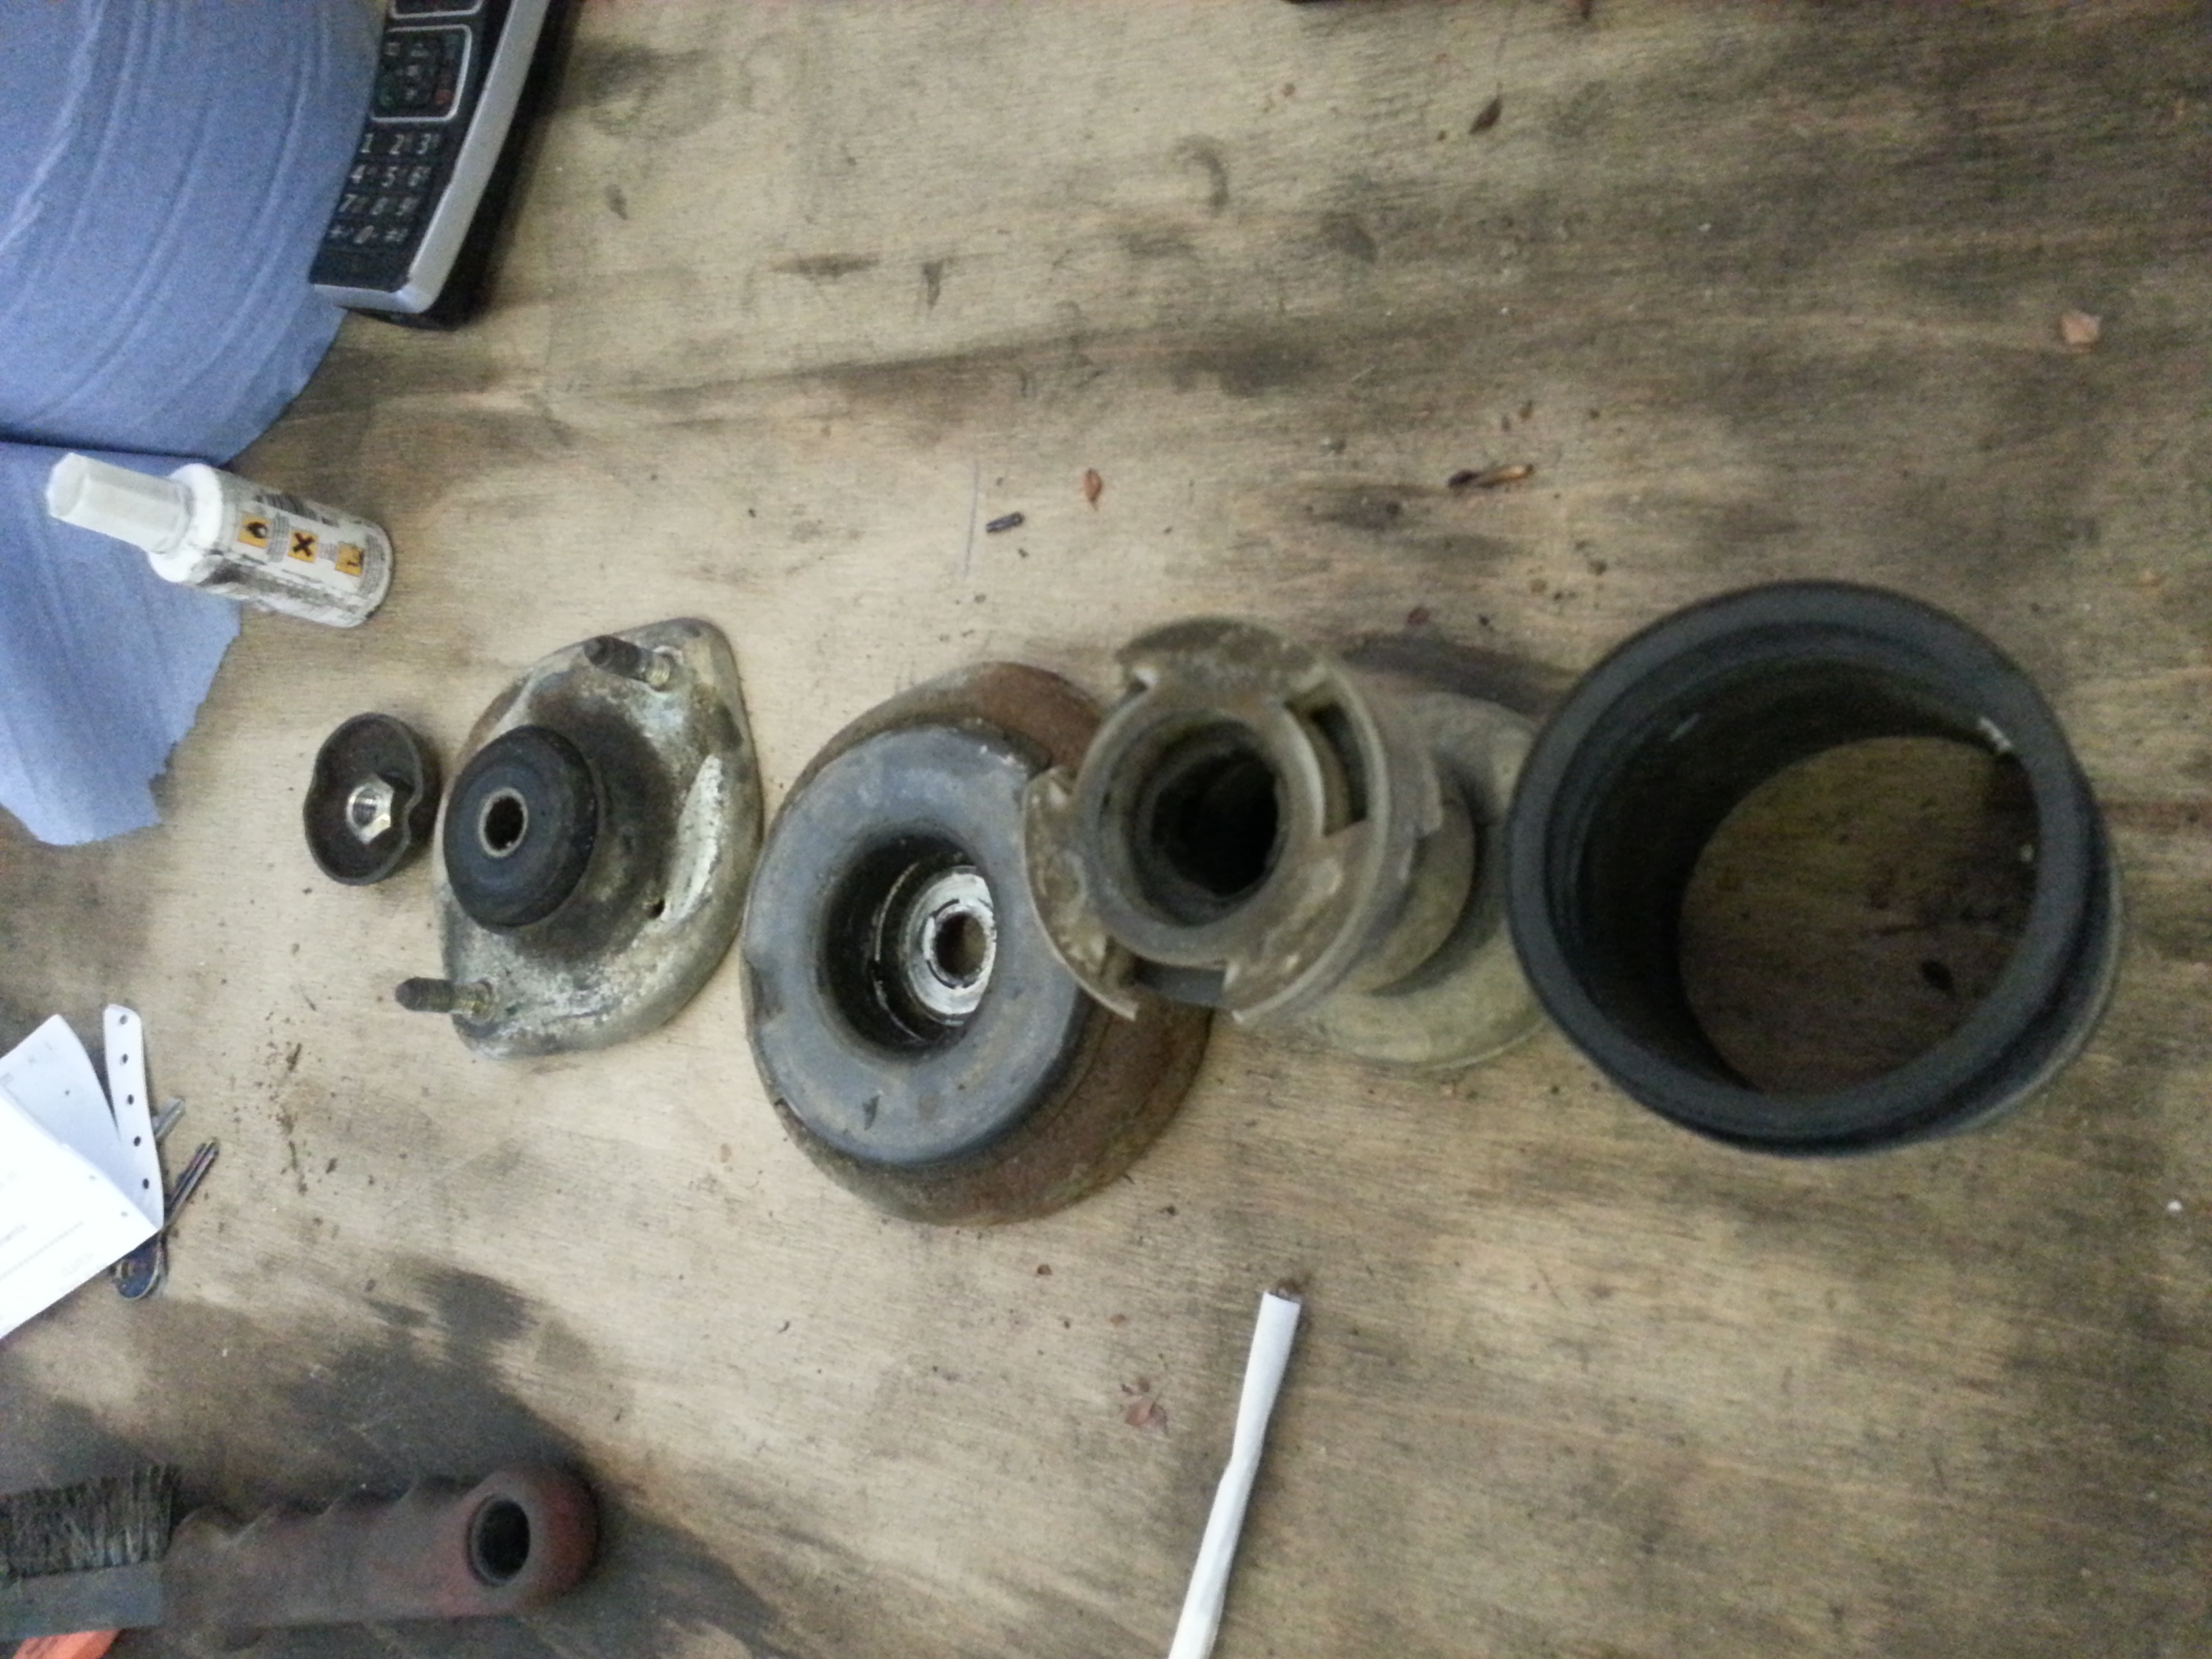
The strut top bearing should be carefully removed as it contains a number of different parts...
These parts were carefully separated, inspected and laid out in order to make sure they go back on correctly...
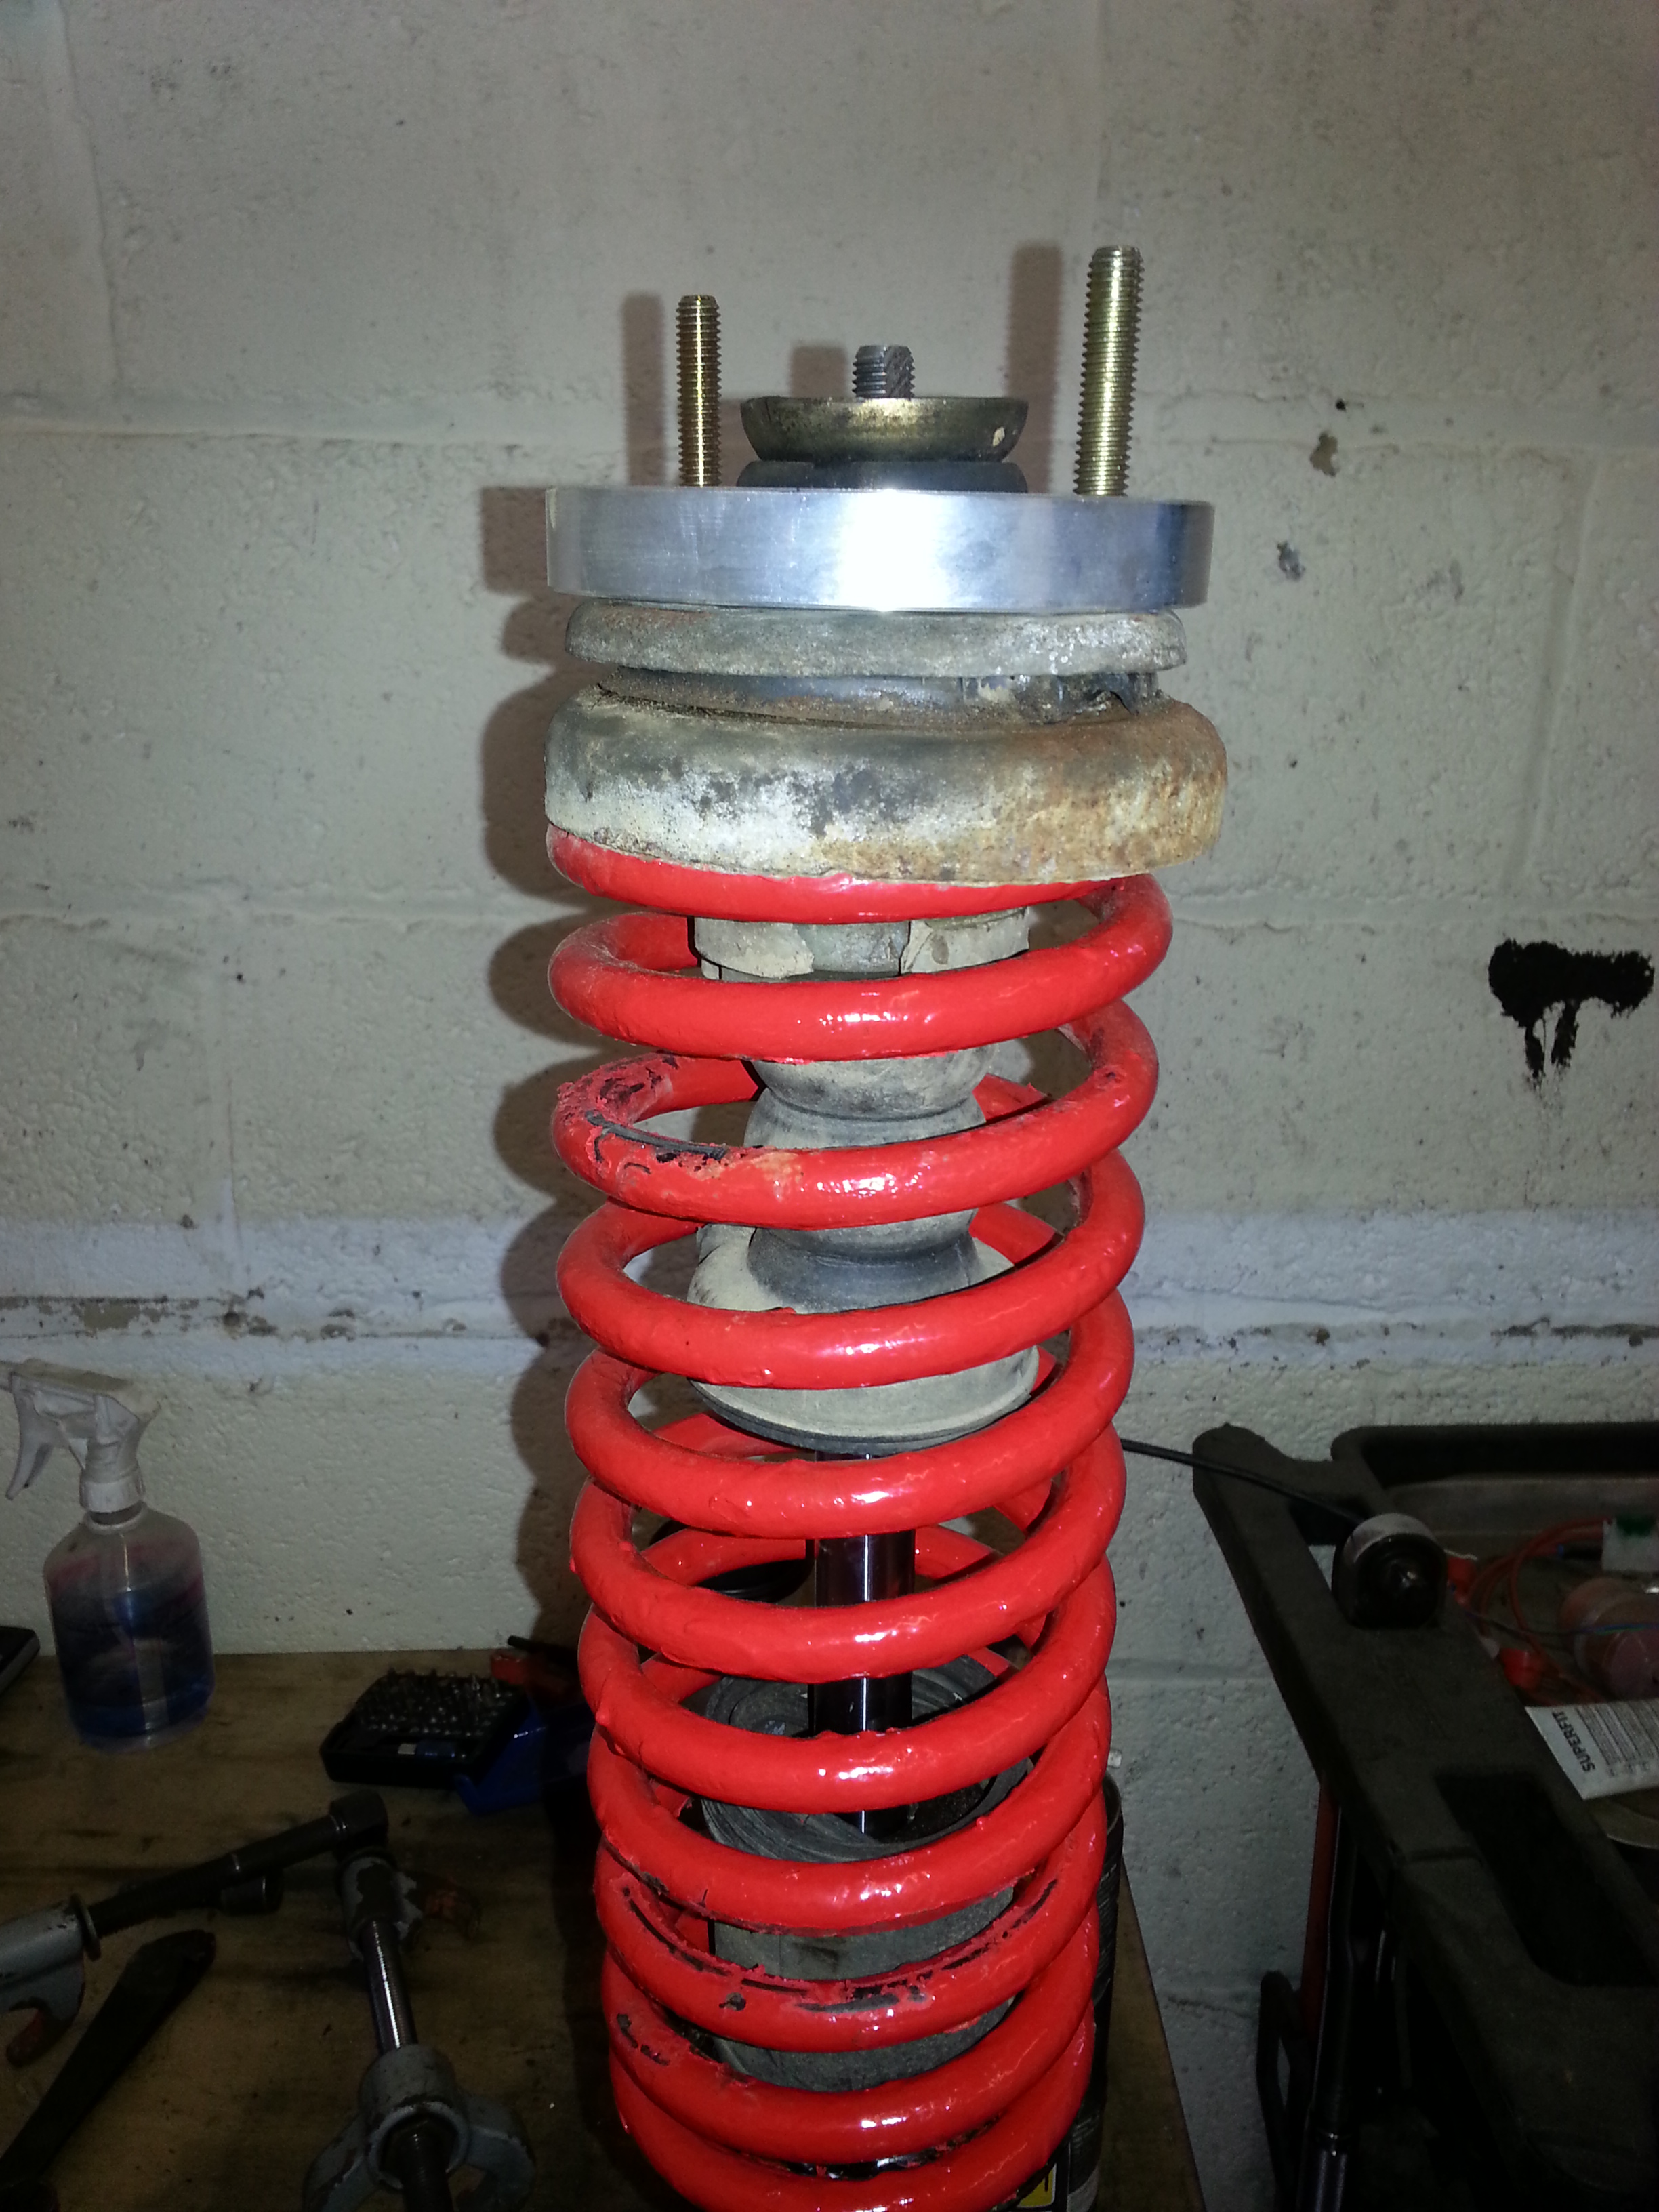
The spring can then be lifted away from the shock absorber, shown below the Skoda Felicia spring against my original Panda spring - not a great deal of difference in height but with more coils and a greater compression resistance allowing for the 50mm of height gain...

At this point the old shocker is removed from the vice and the new one put in.
Then it was time to grind out the old strut top bearing mounting bolts (the two that hold the completed strut to the body) from the mounting assembly, and replace with longer ones...
These are then tacked in from underneath, inside the top spring cup so they can be tightened properly when putting the strut back on the car...

Then putting the new spring onto the new shocker and clamping it with the spring clamps, the strut top bearing assembly can be reinstalled and bolted back onto the shocker top bolt. The spring clamps can then be slackened off and removed to reveal the new strut assembly...
(The new paint on the spring got a bit scratched from the clamps, but I did it in the shed the other night in the dark - you can't tell at all :slayer
This process can then be repeated for the second front strut.
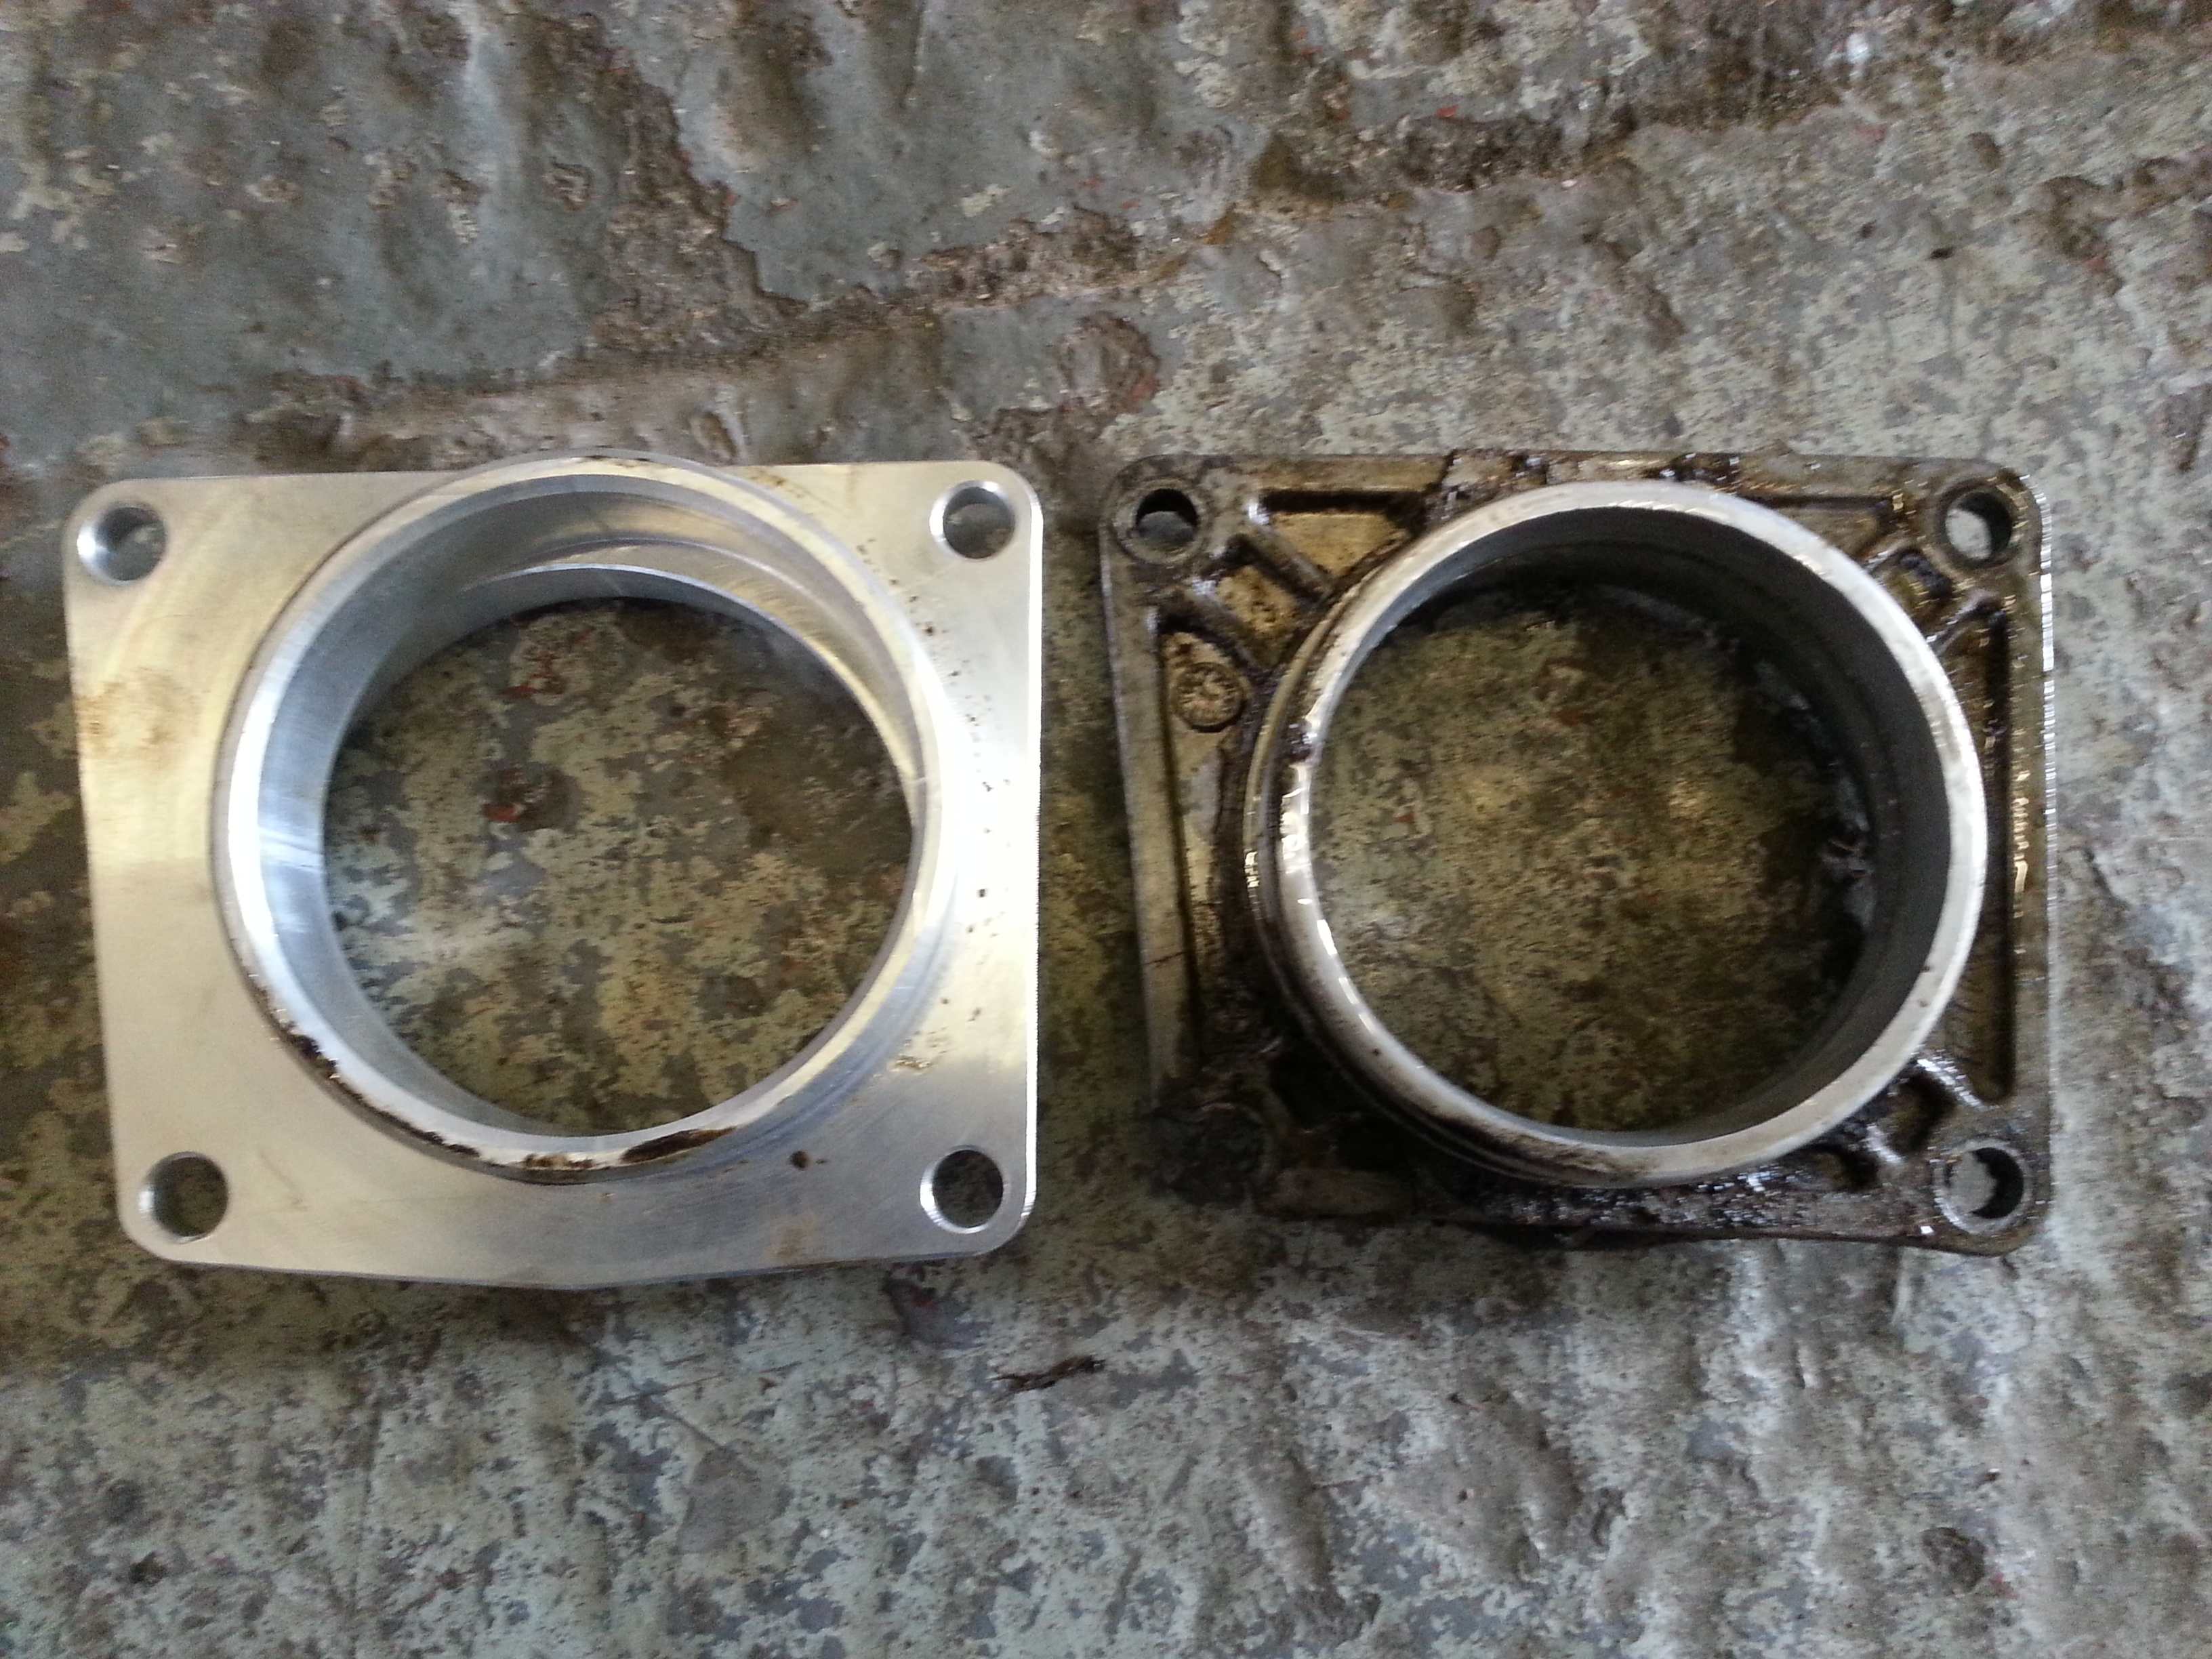
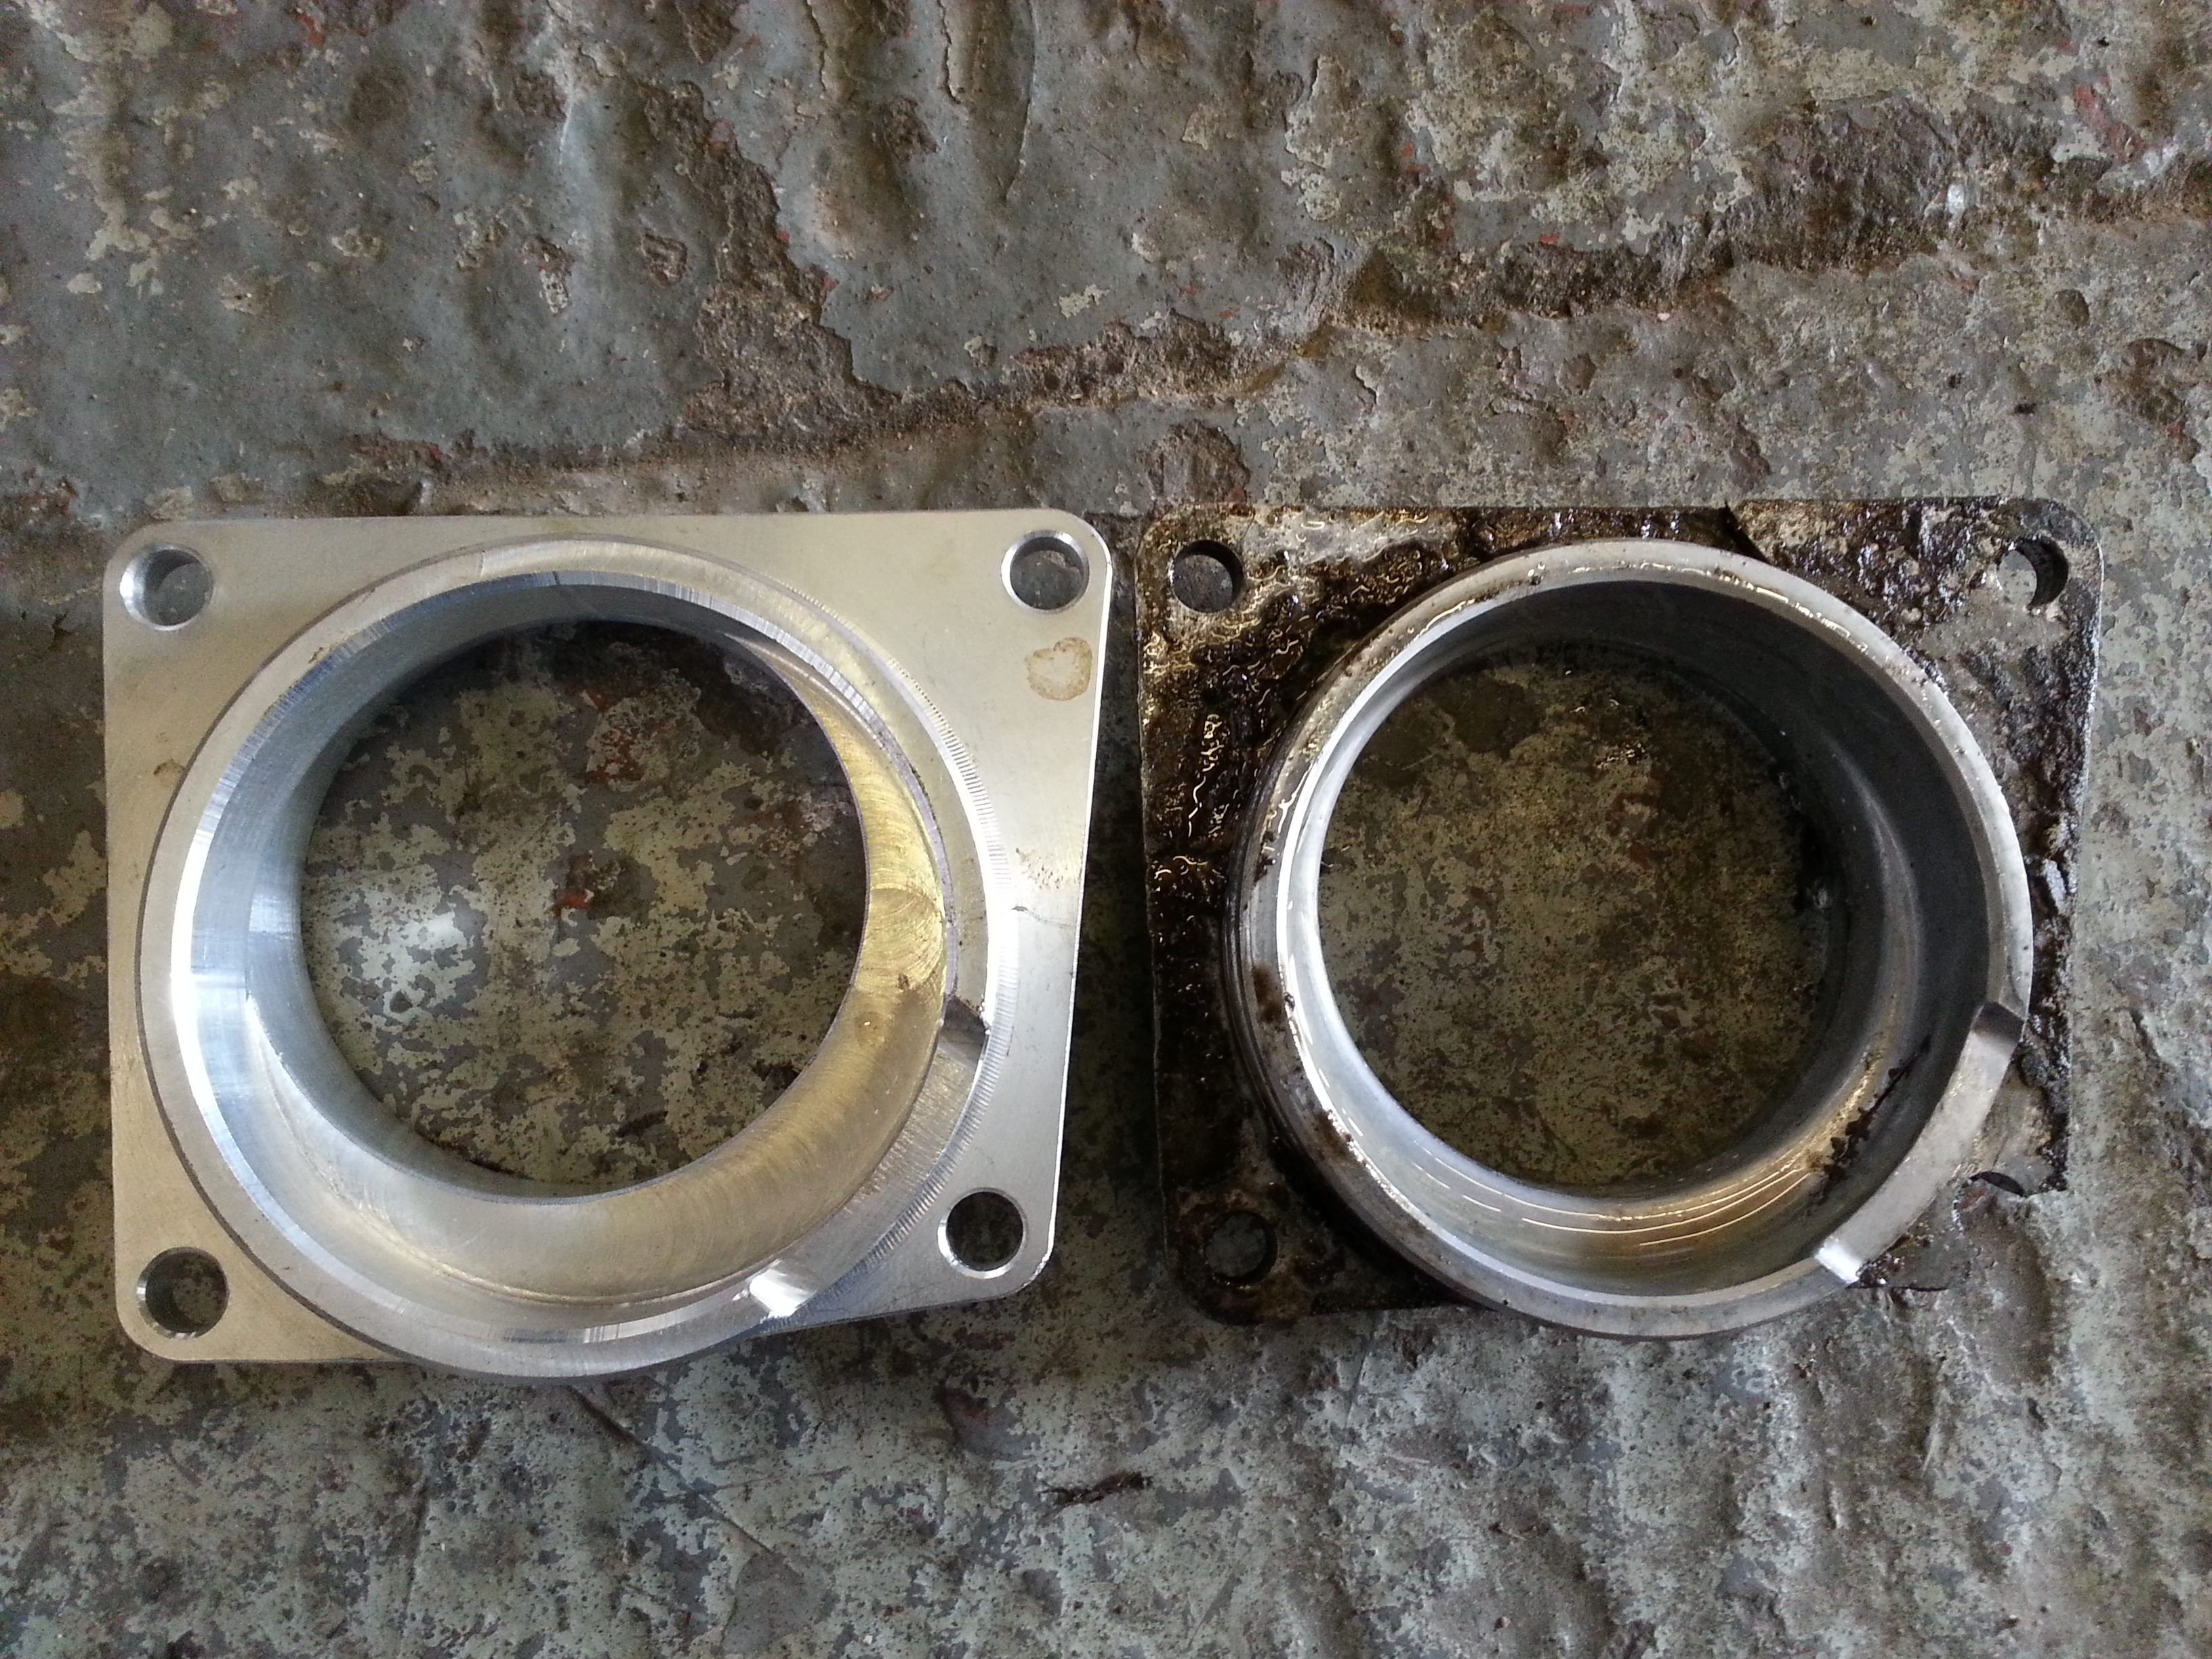
Part 3 - Replacing the passenger side (short shaft side) gearbox flange for the modified one...

This is done by unbolting the four bolts which surround the flange (shown above), and carefully removing the whole drive shaft including attached flange from the gearbox to end up with...

...And on the drive shaft end the tripod roller bearings can be seen...

We removed them from the shaft for a brief inspection, and a clean-up...

RIGHT, now at this point I am just going to break off to explain:-
My Panda 4x4 has been running at standard height with standard suspension ever since I got it. As you know I do go green-laning and take on extreme off-road courses , but as it has the standard set-up the following issues are NOT SUPPOSED TO HAPPEN :bang: The sheer articulation that the suspension has previously been put through has caused this to happen...
This is the standard gear box flange that has been removed...
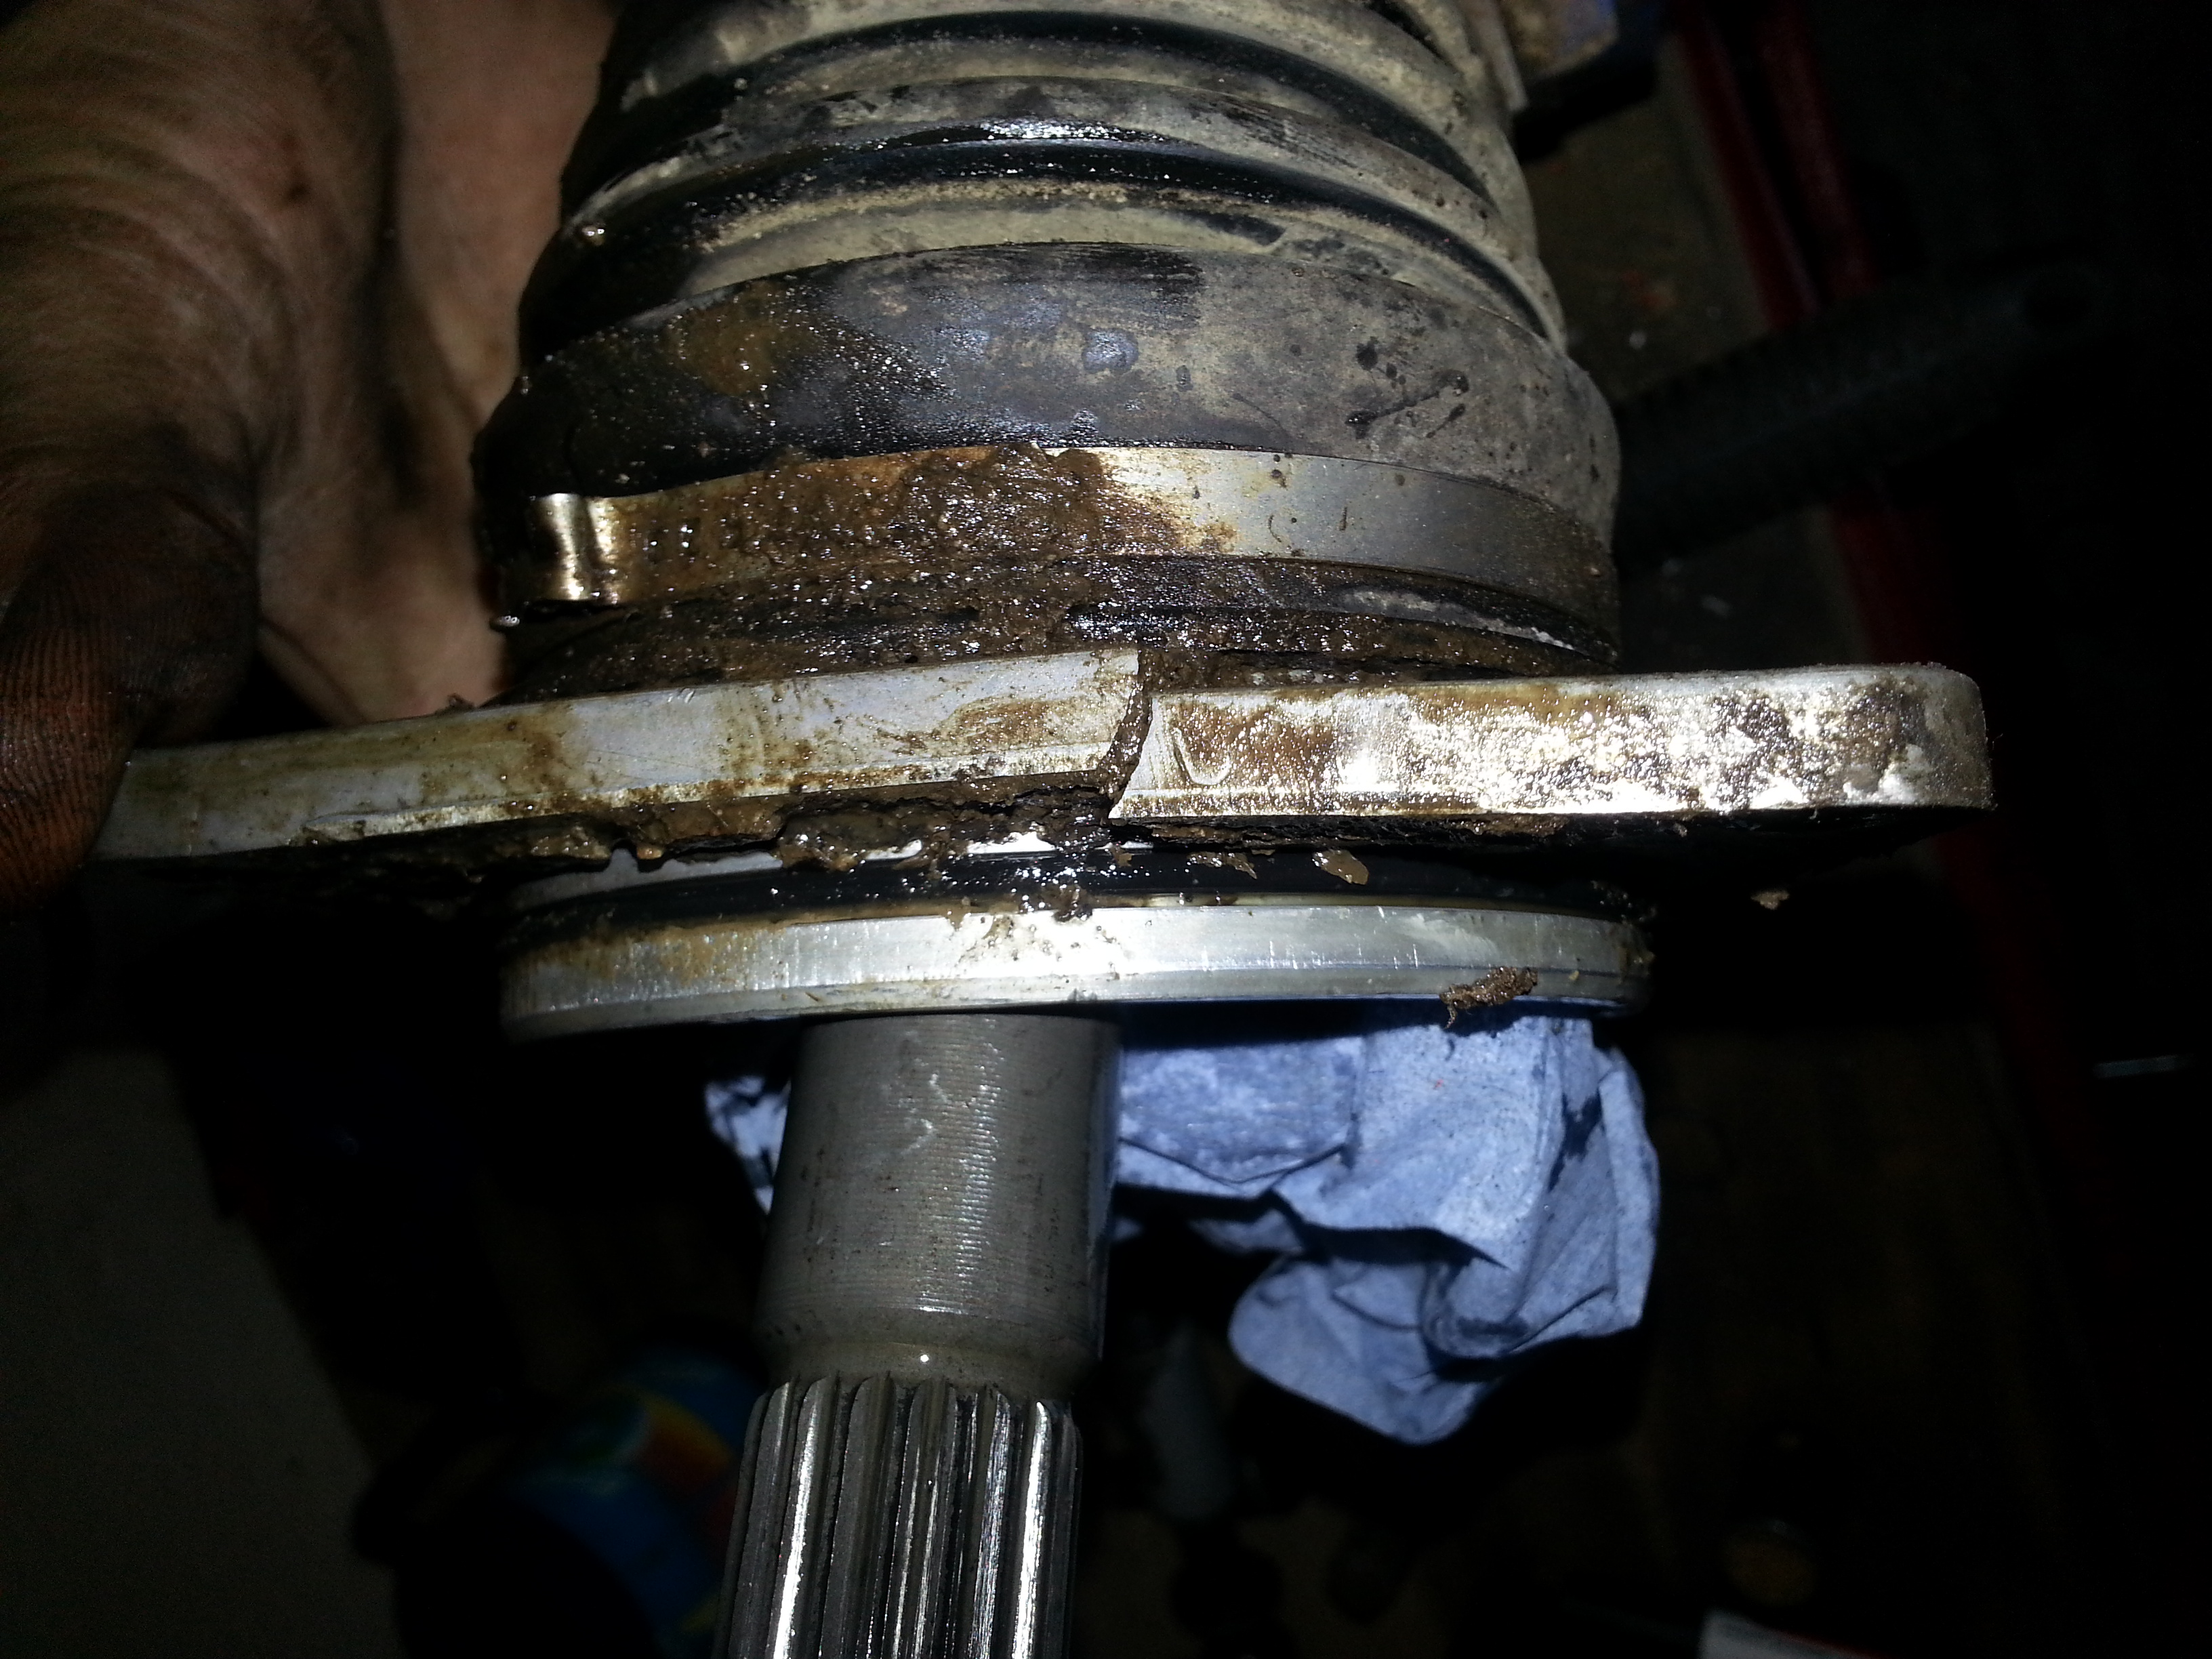
...And when cleaned up a bit, even more worrying...

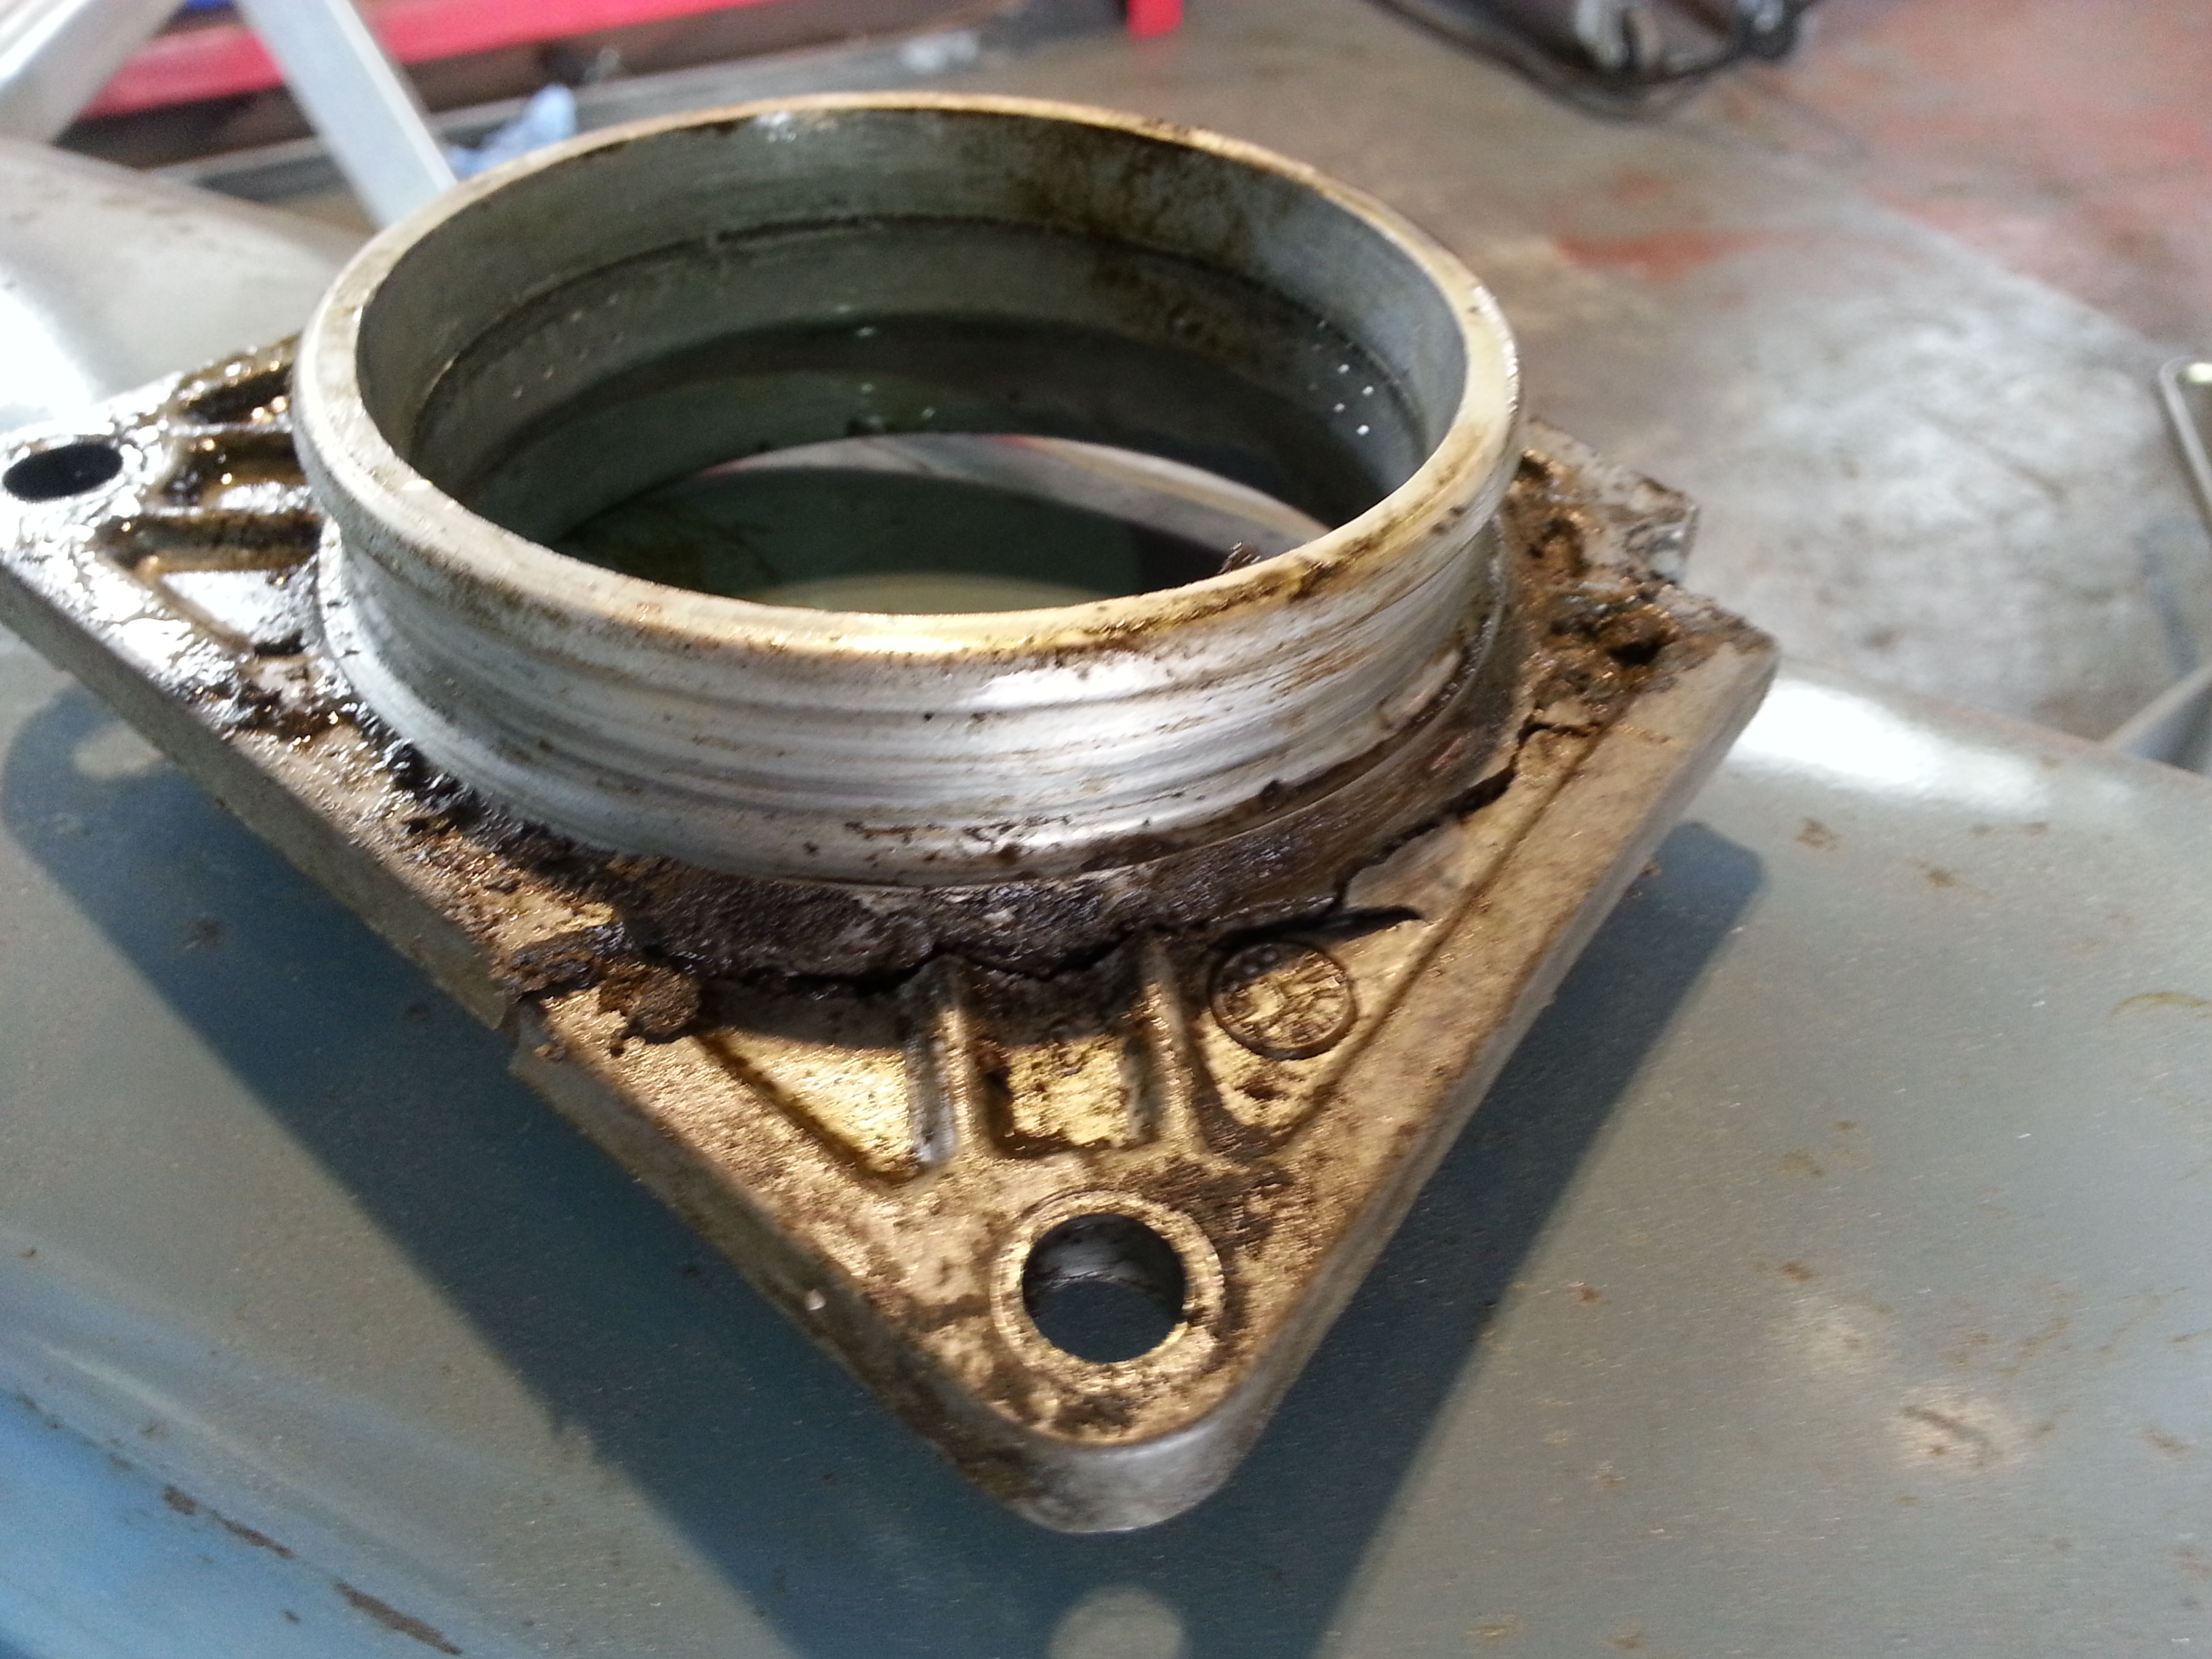
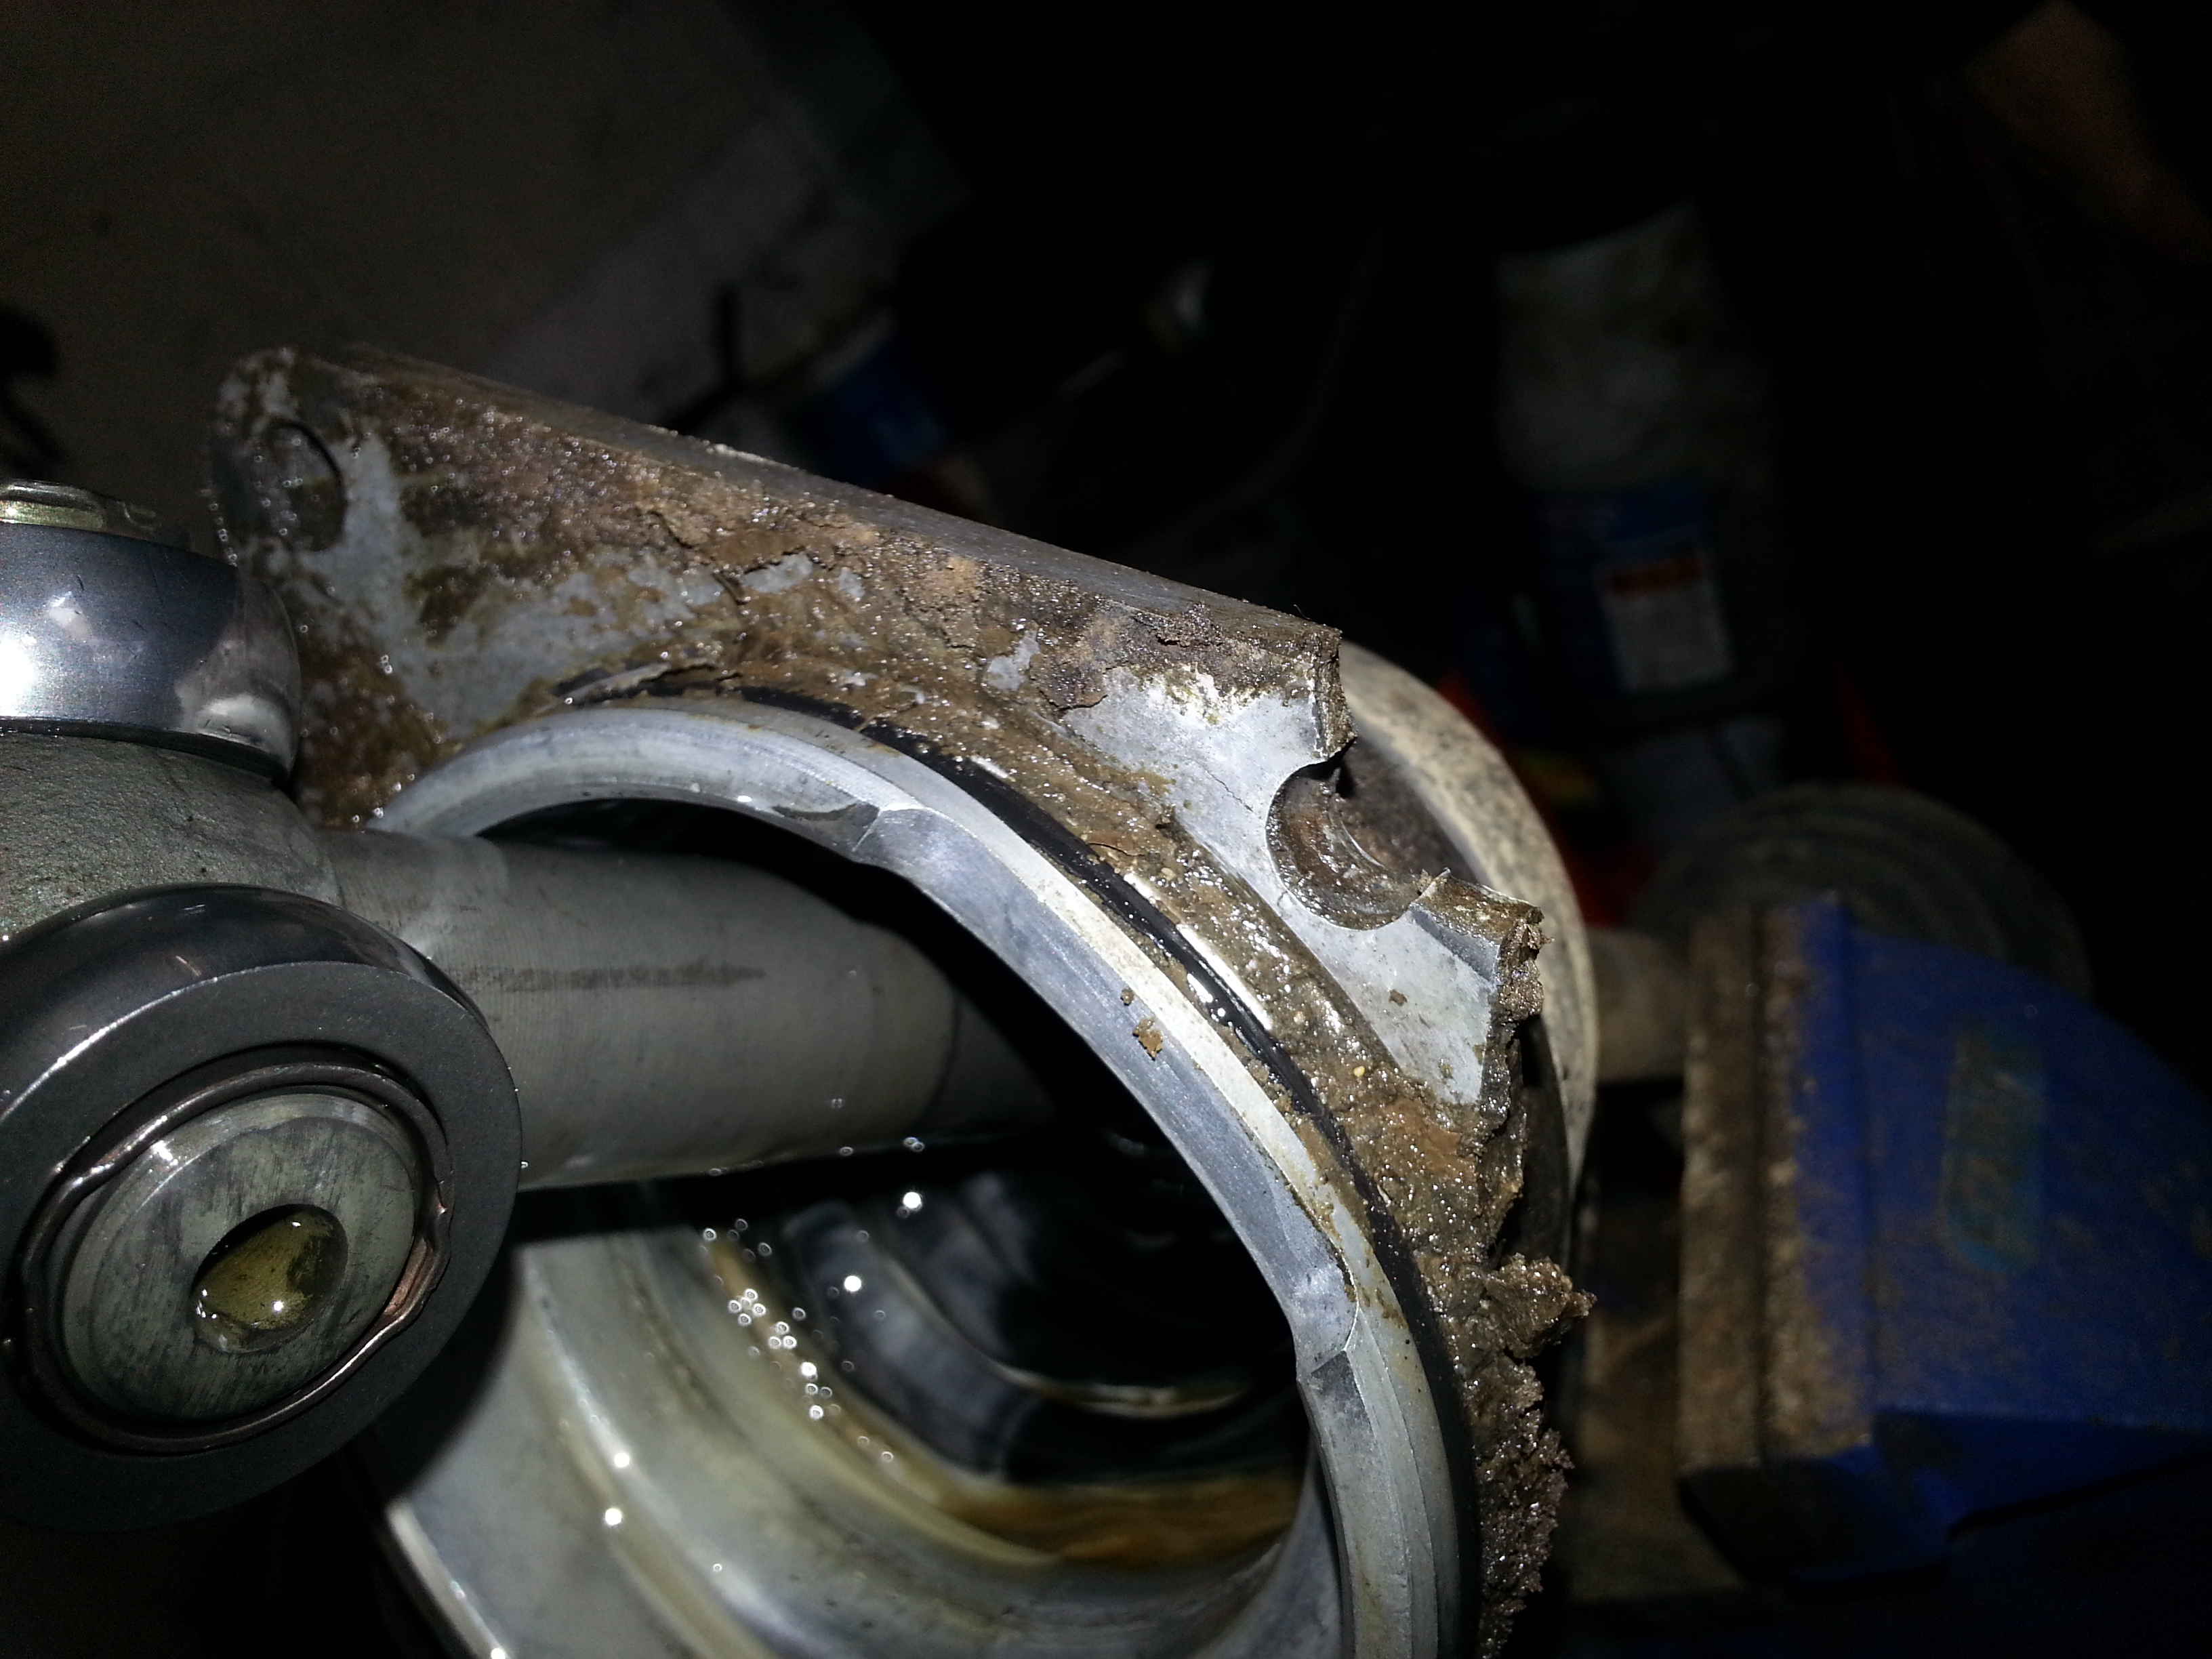
The modified flange with it's stepped design it's to avoid this problem in the future...
Part 4 - Reassembly of the front end...
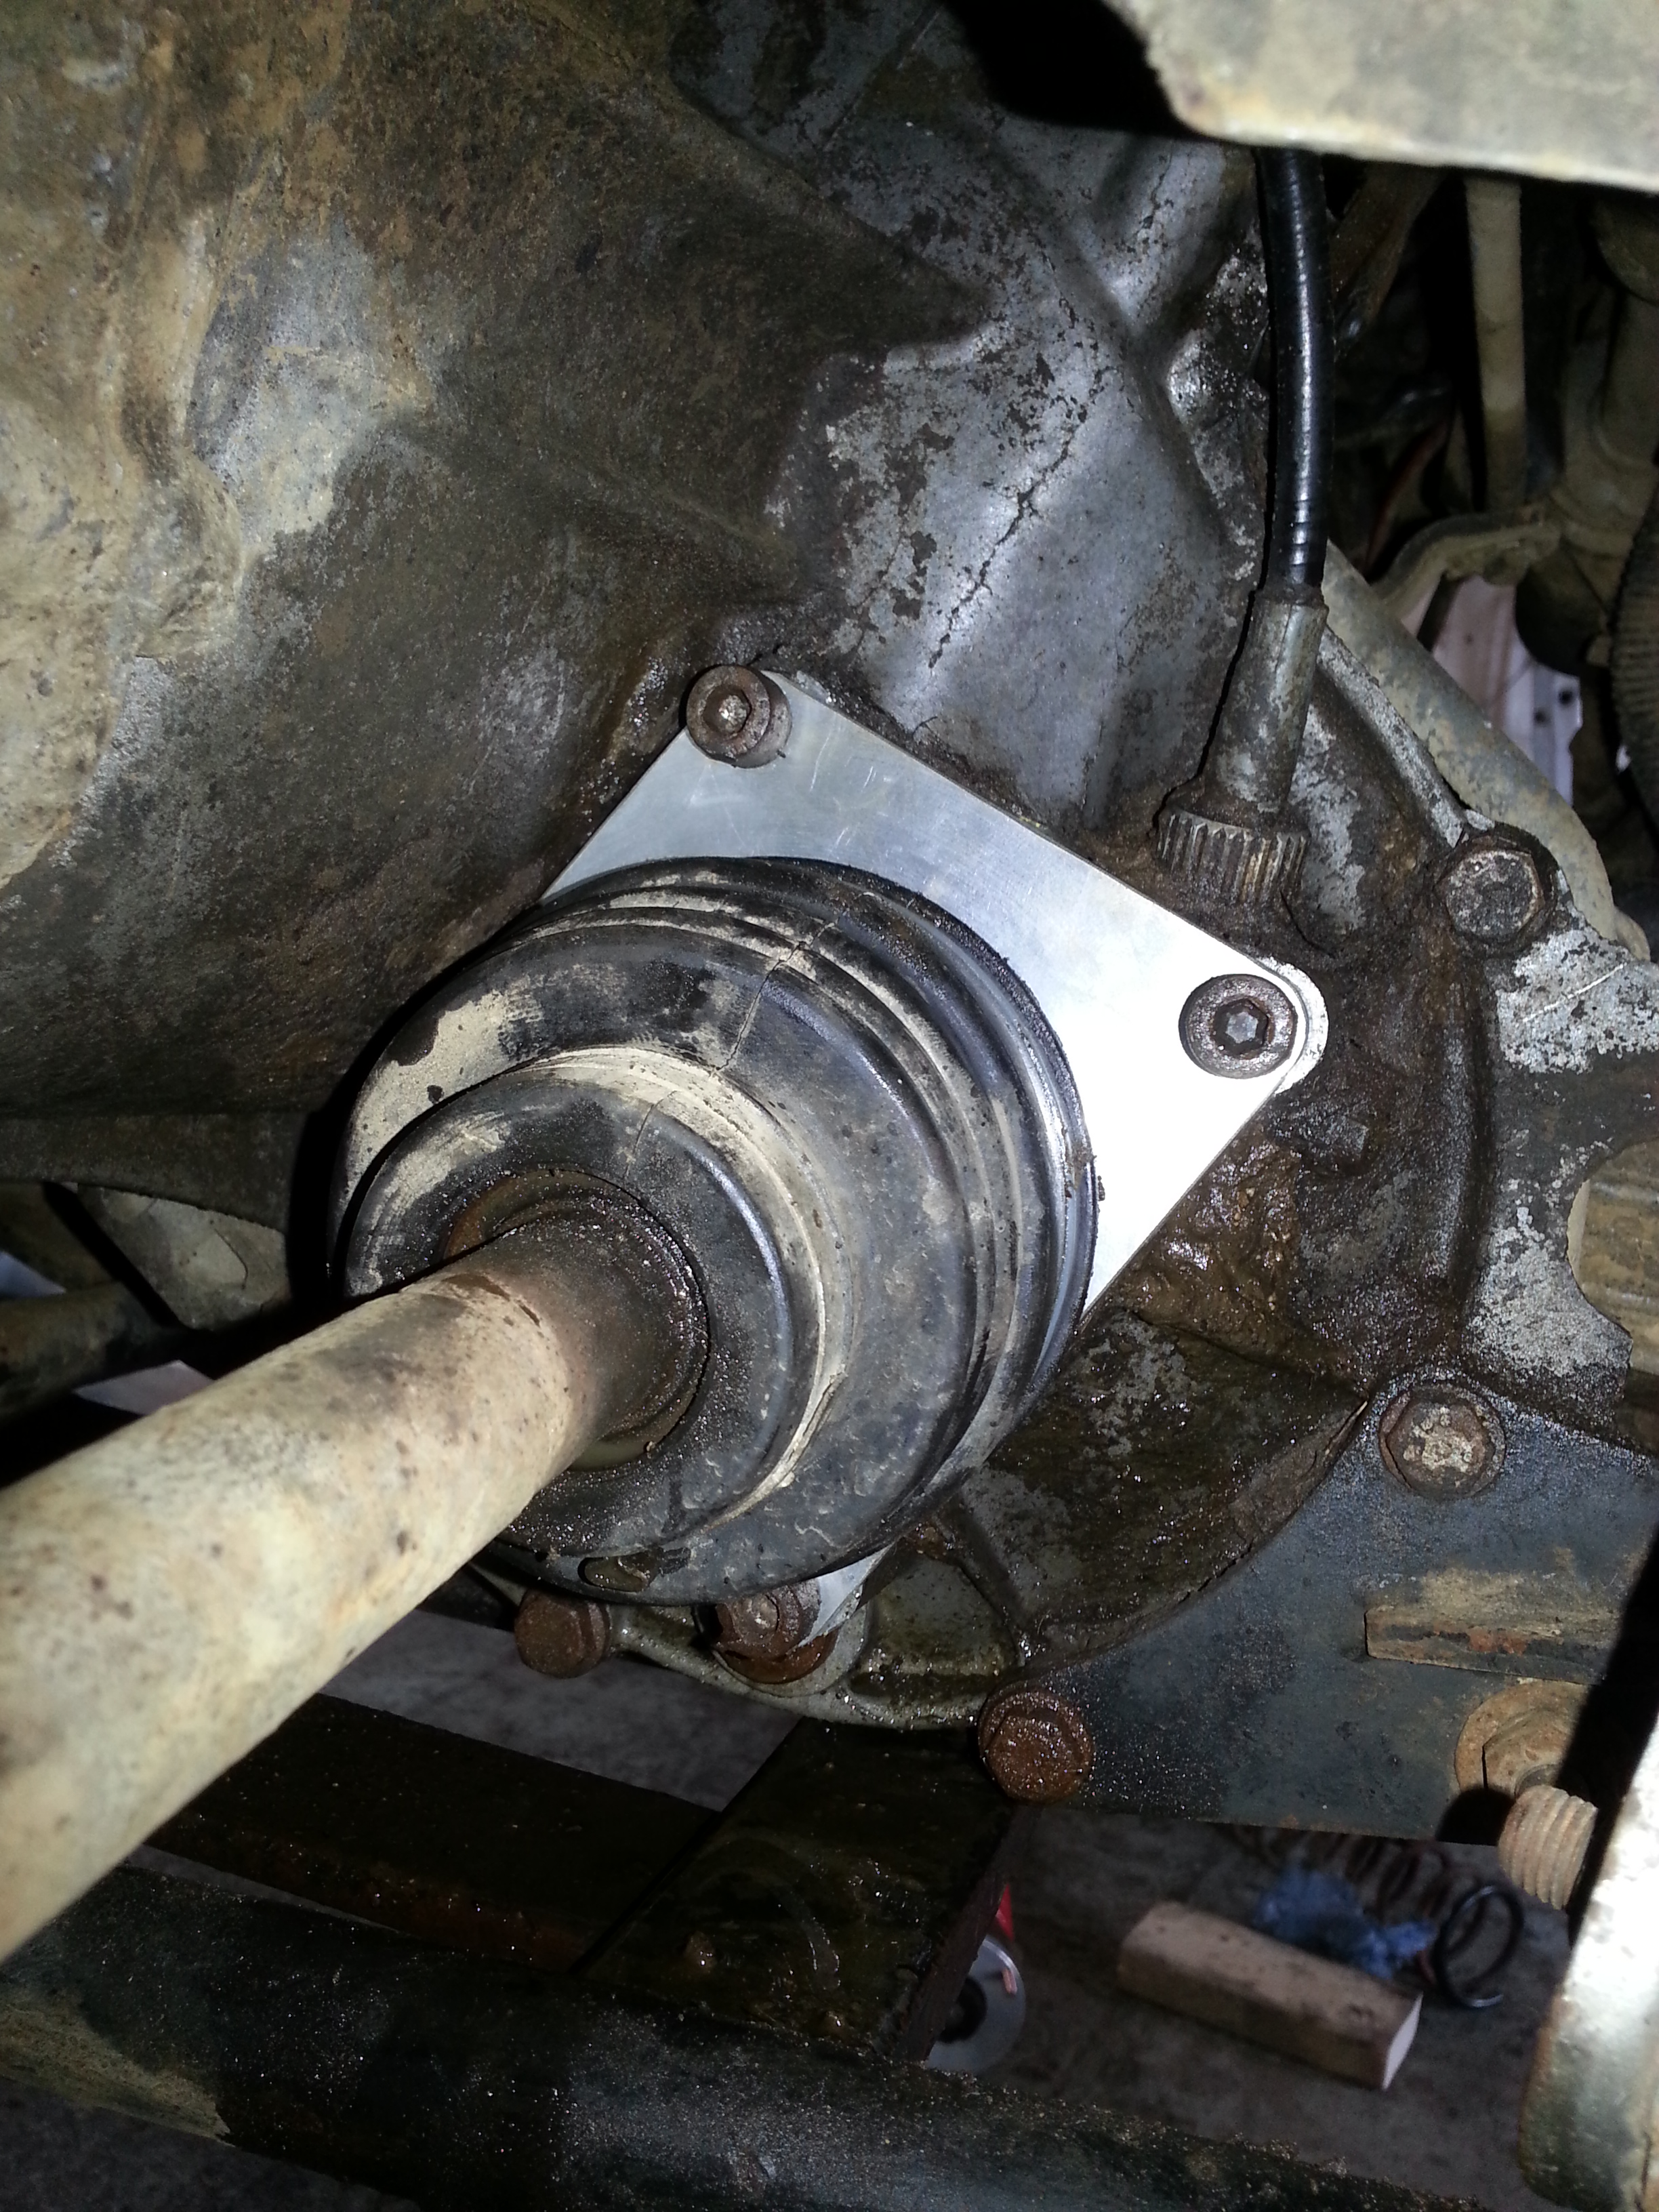
The tripod bearing can then be put back on the shaft. With the new flange clipped back onto the CV boot the whole setup can then be mounted back onto the gearbox...
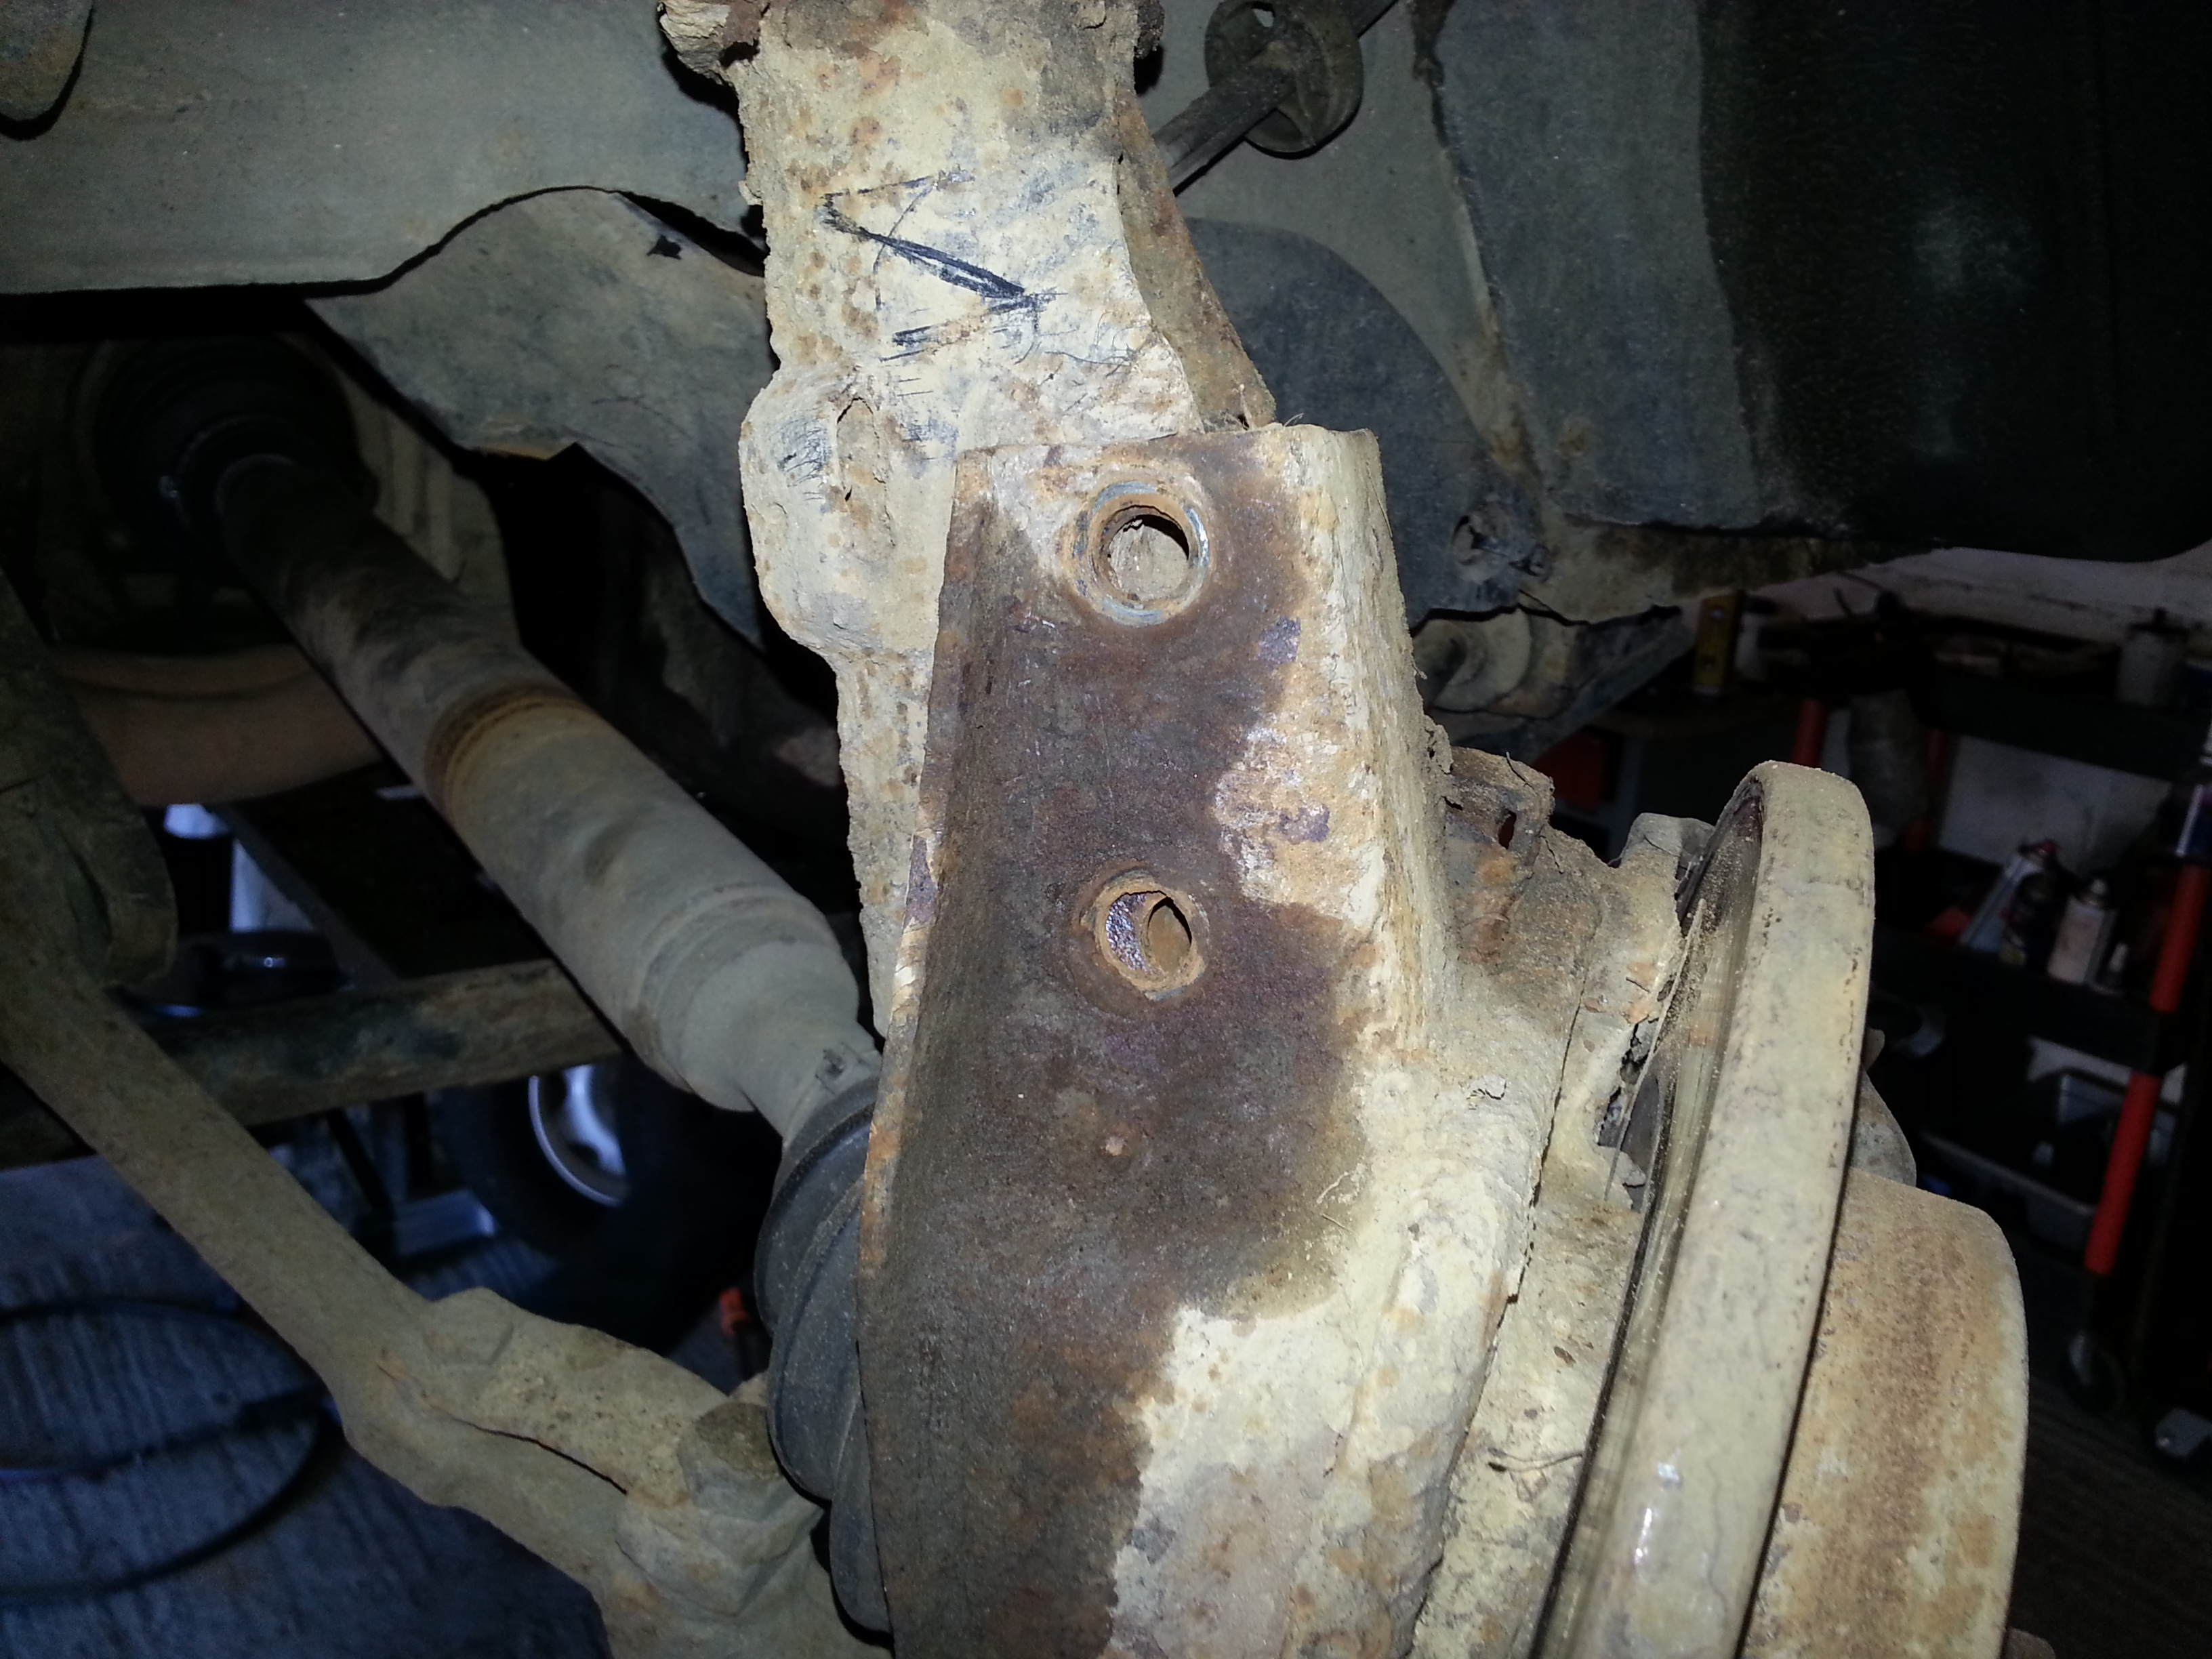
With the passenger side strut back in, the top hub carrier mount is drilled out to allow the camber to be adjusted after the setup has been finished. The measurement is 4mm to the negative side, ie. make the hole 4mm longer towards the brake disk as shown the the picture...

...And with the both hub carrier mounting bolts refitted...
The passenger side (which was supposed to be the issue with replacing the flange and all that) went back together really well, but it was infact the driver's side where we had the issue.
We struggled for ages trying to get enough leverage to pivot the hub carrier on the bottom mounting bolt in order to get the top bolt in place. After a while it was evident that there was something not right with the alignment of the drive shaft and how it was fitting inside the gearbox.
So we took off the driver's side gearbox flange and found that the tripod bearing on the end of the shaft had FALLEN OFF inside the gearbox. It turns out that once again, due to the articulation I had been getting during my muddy exploits, the pressures had caused the tripod bearing to break the sur-clip (which holds it in place on the end of the shaft) and the bearing itself had been running for some time on the very end of the shaft splines. The tripod bearing was luckily fished out easily and replaced on the shaft, the damaged can be seen...


With a new sur-clip in place we luckily avoided epic failure and got the shaft back int the gearbox.
The strut was then refitted with some fairly serious struggling to engage the shaft alignment...

...And the front was finished!
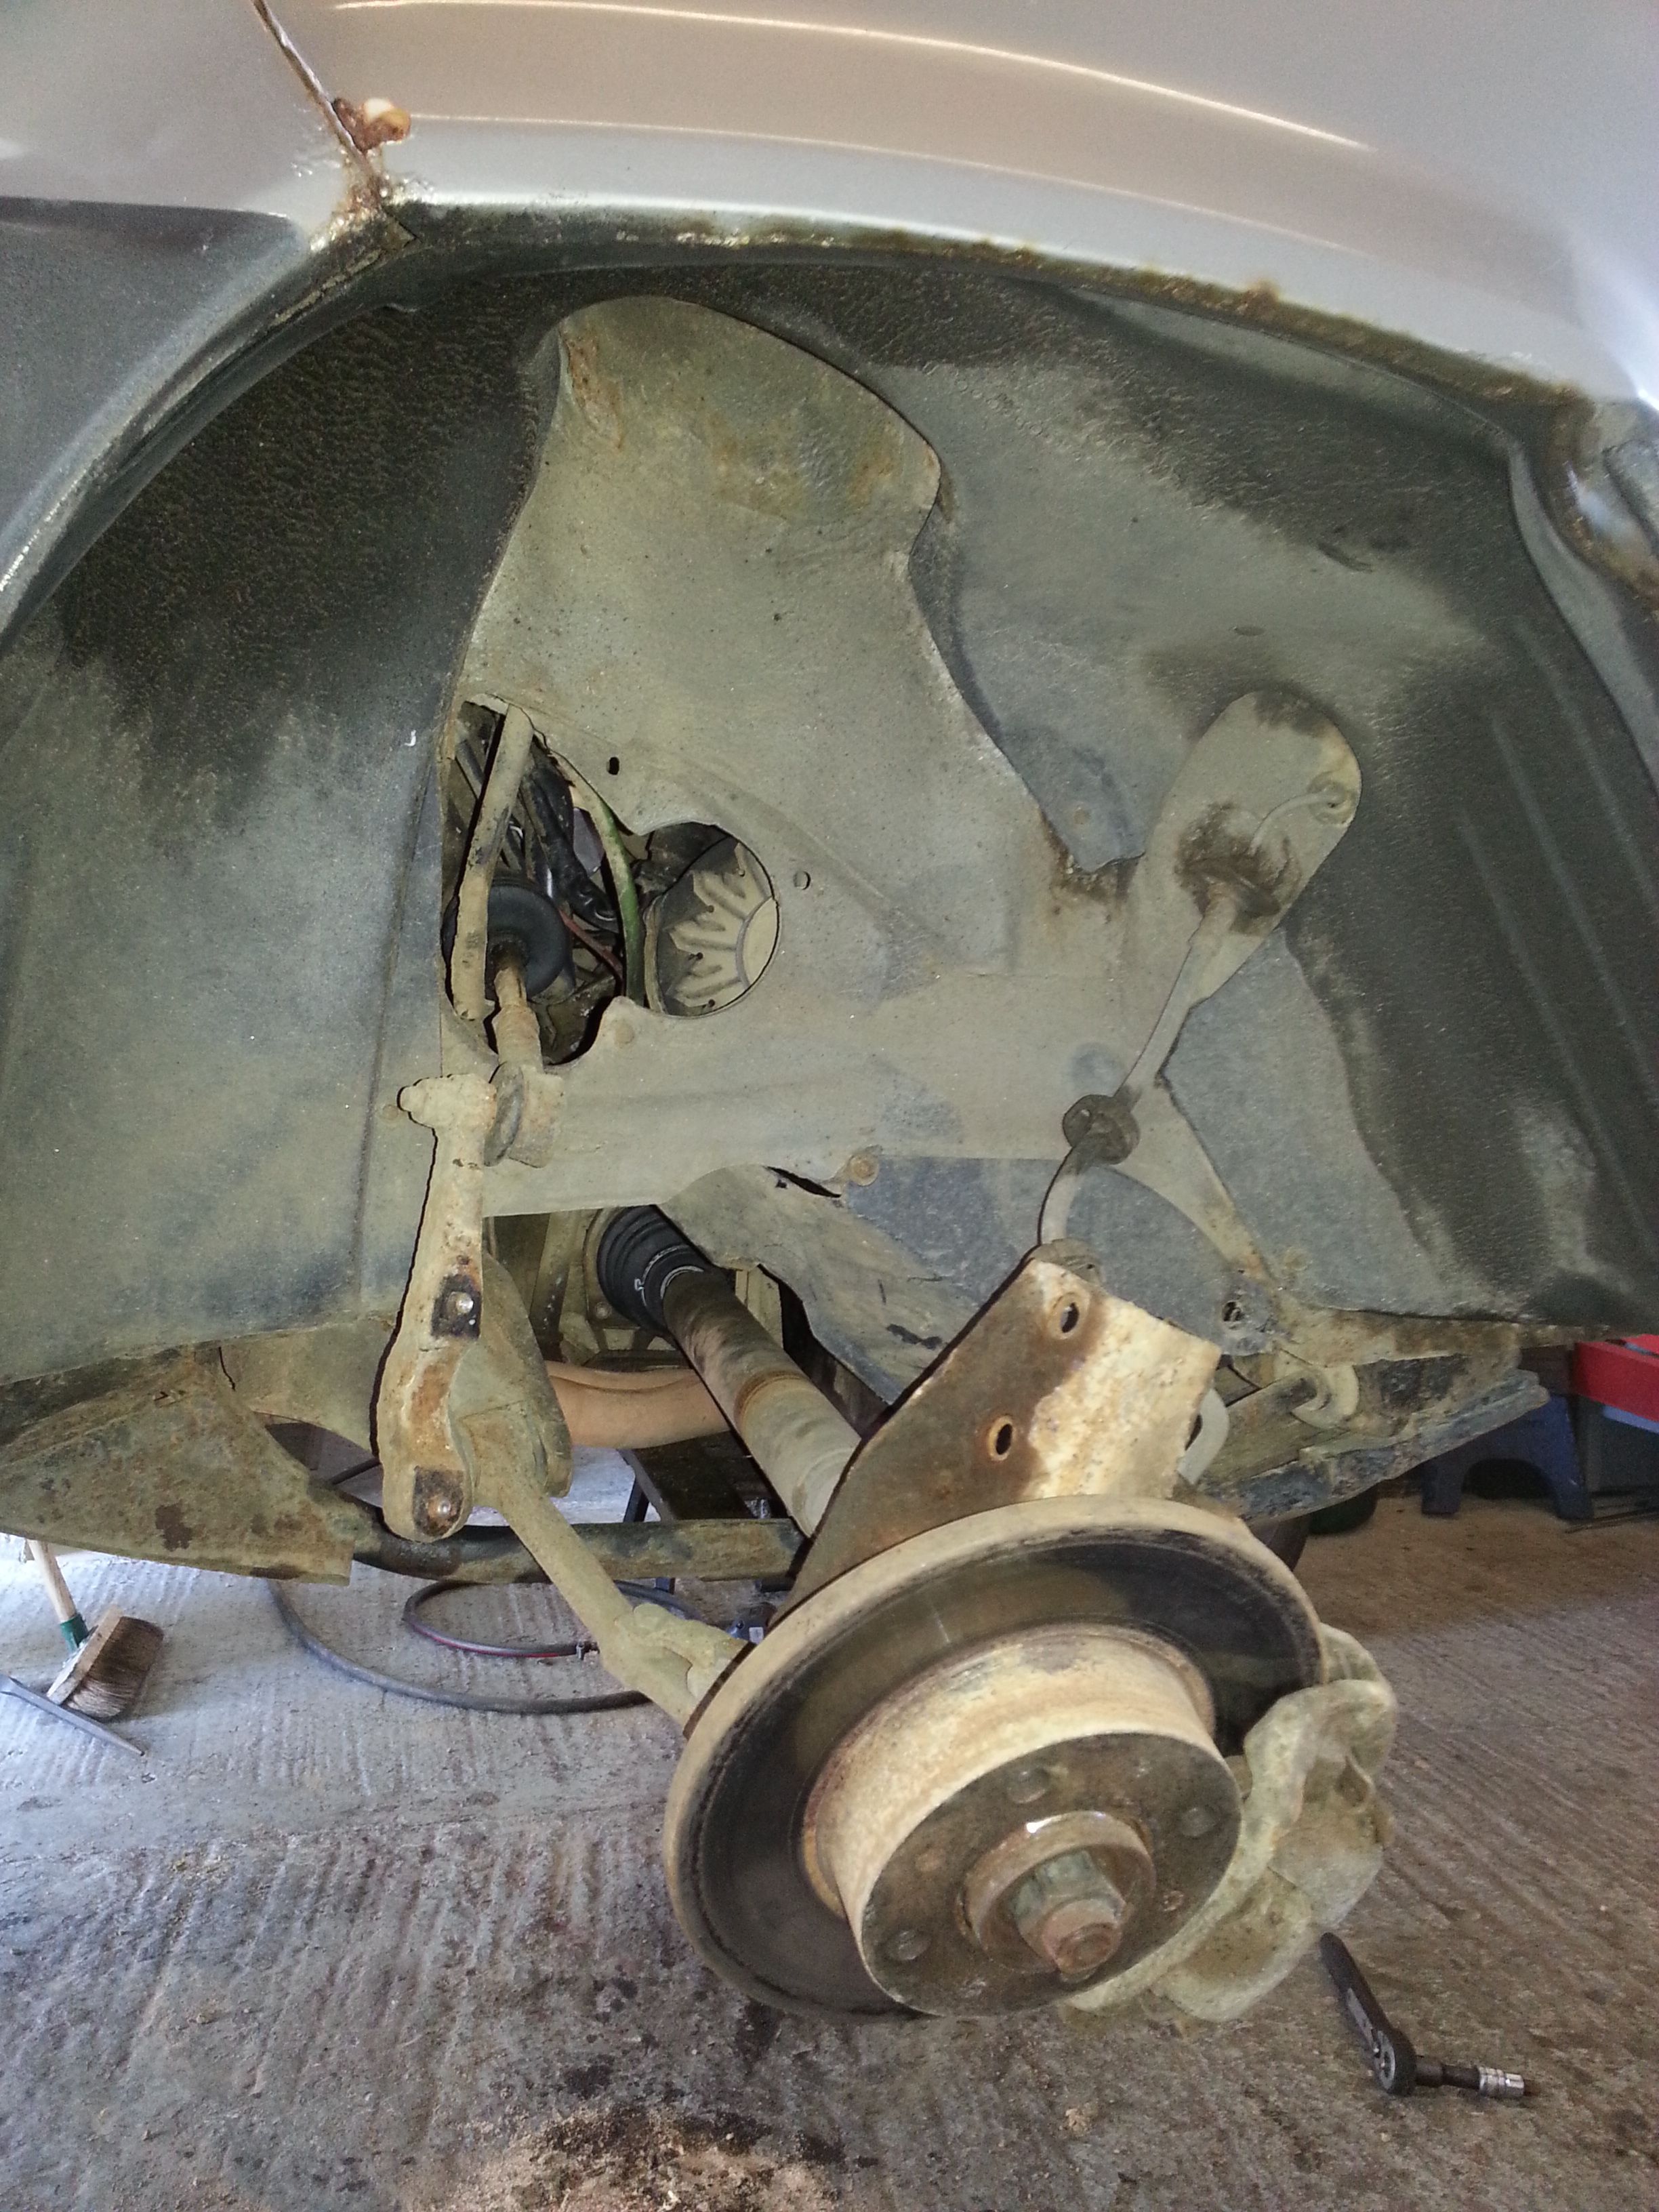
Part 5 - The Back, disassembly...
The back suspension design with the leaf springs is very much different to the front, no modifying is required - the kit is manufactured to do the job for you.
First the rear axle is supported at the diff so you can dismantle each section...

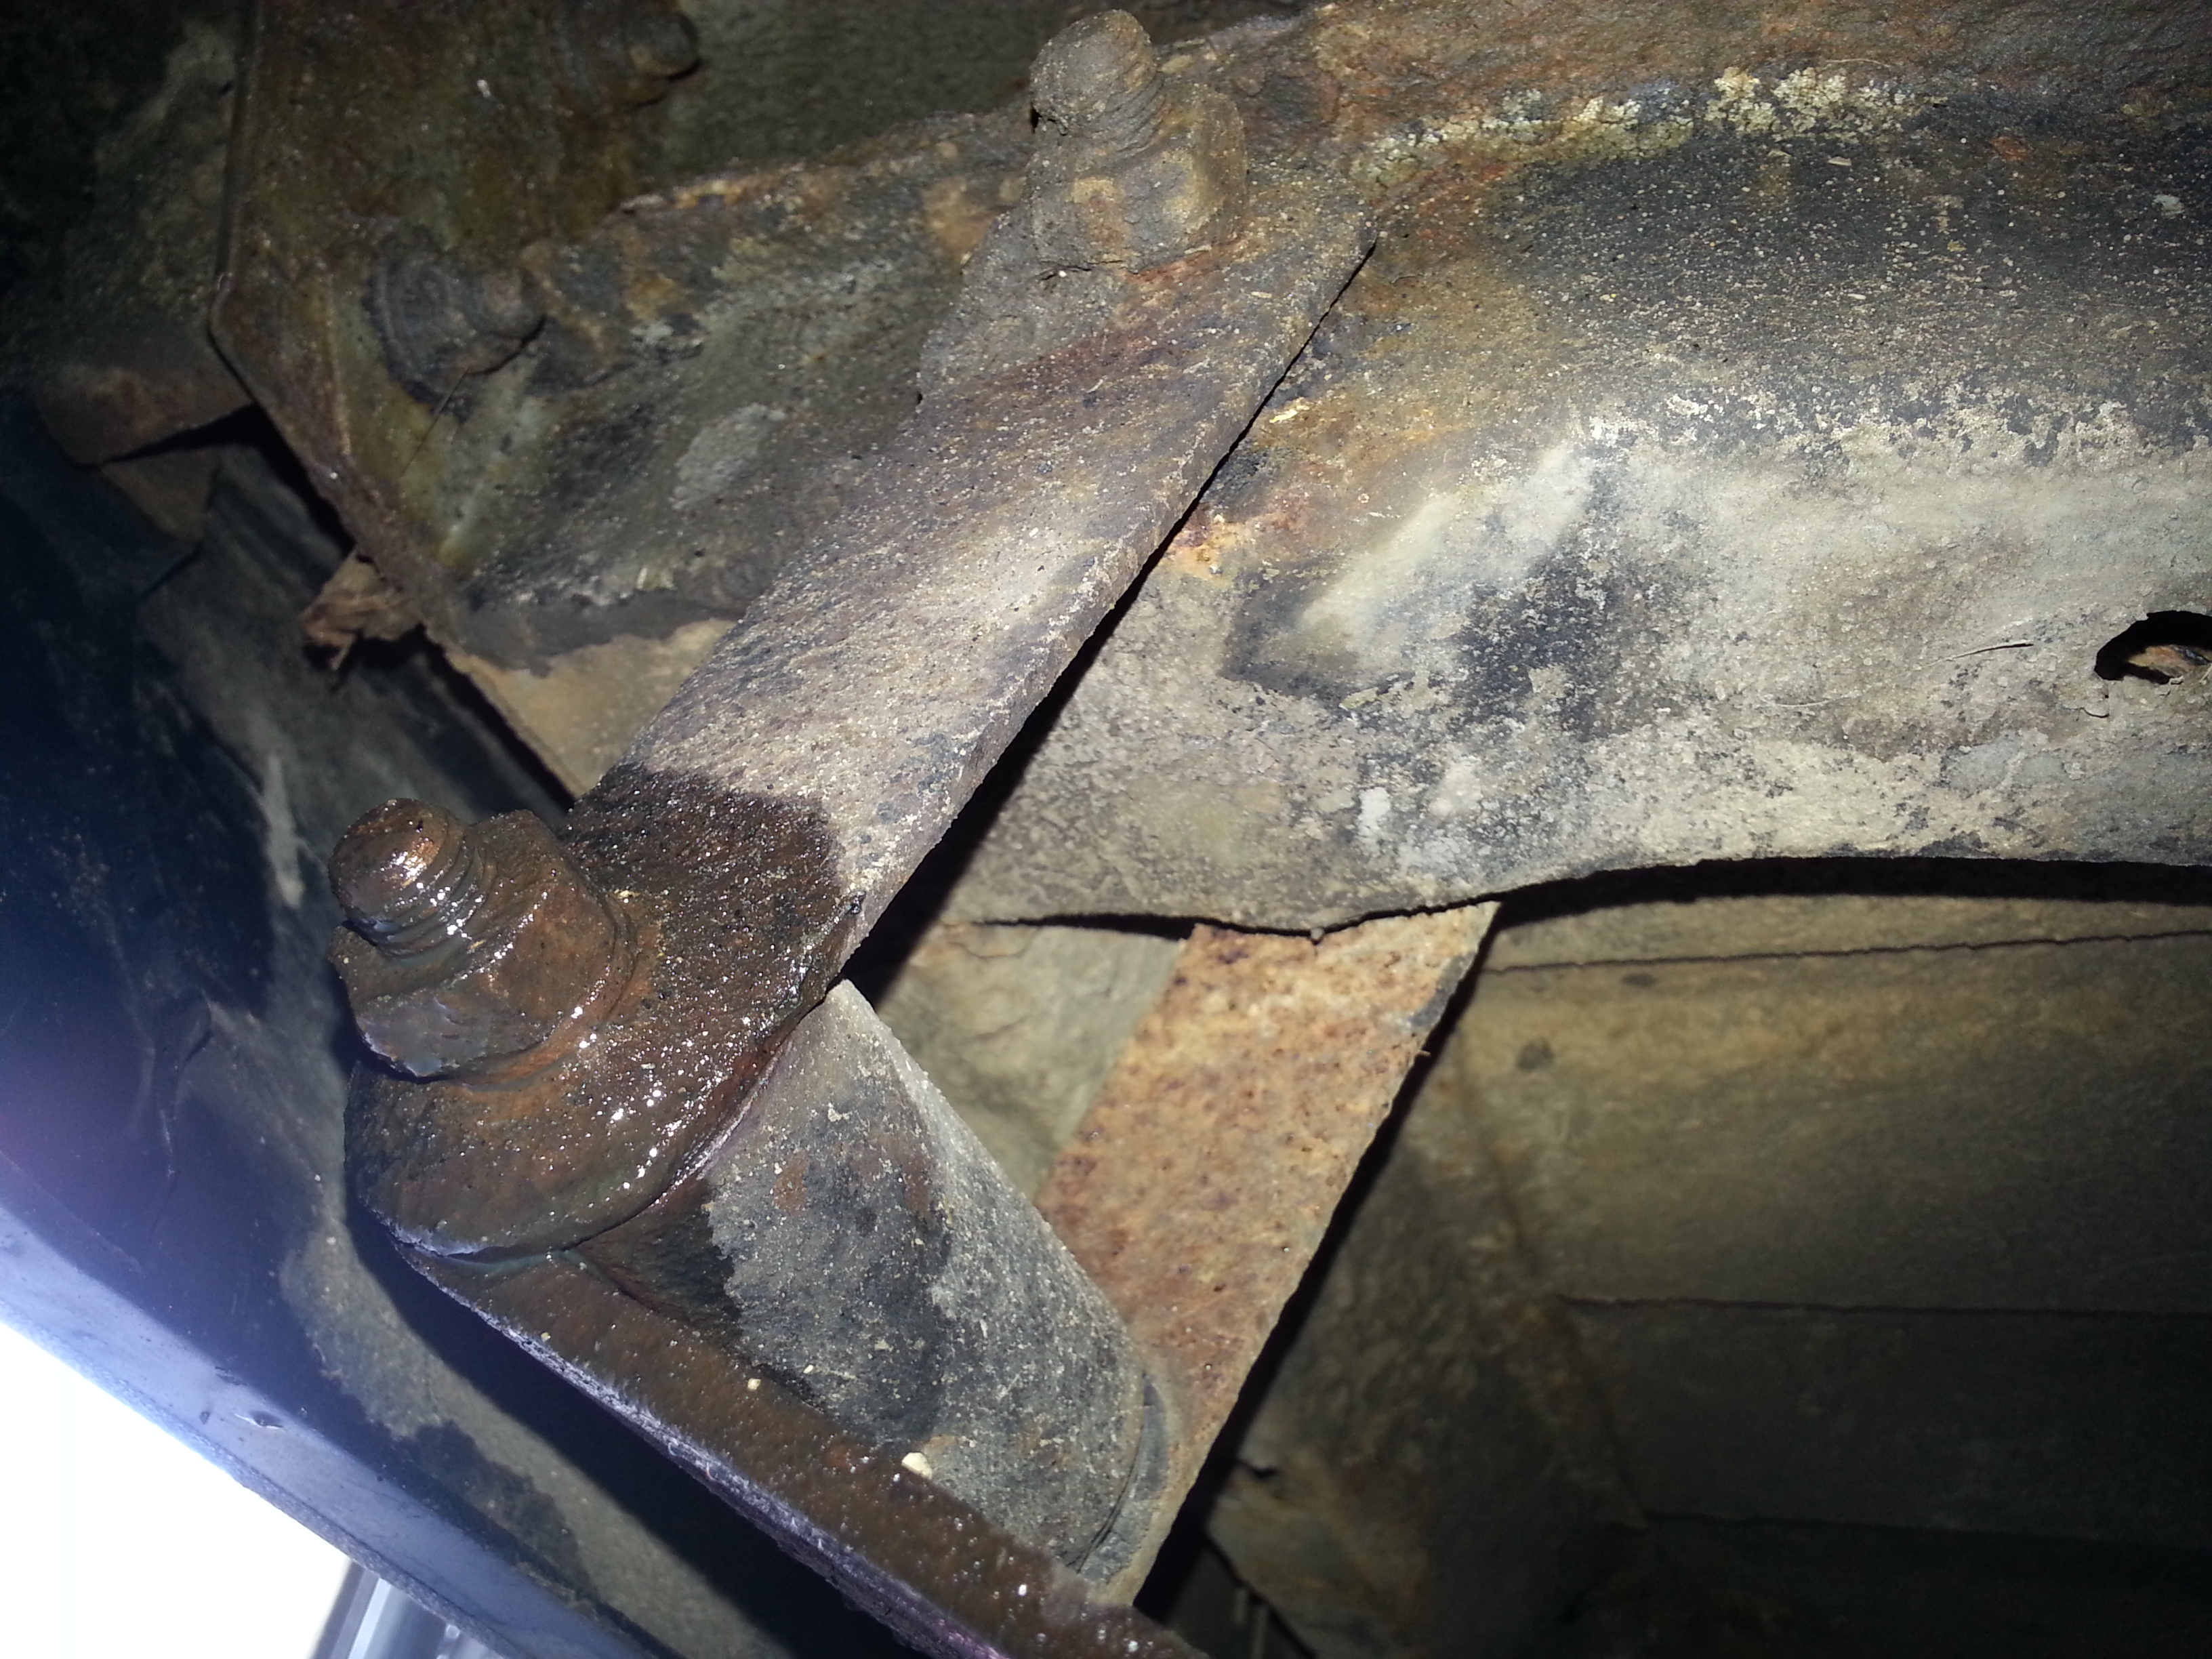
With more oiling, the four axle-to-leaf spring mounting bolts are removed on both sides...


Next the rear shockers are removed by undoing the top nut on the captive bolt, and unbolting the bottom mount... (sorry the picture's upsidedown)


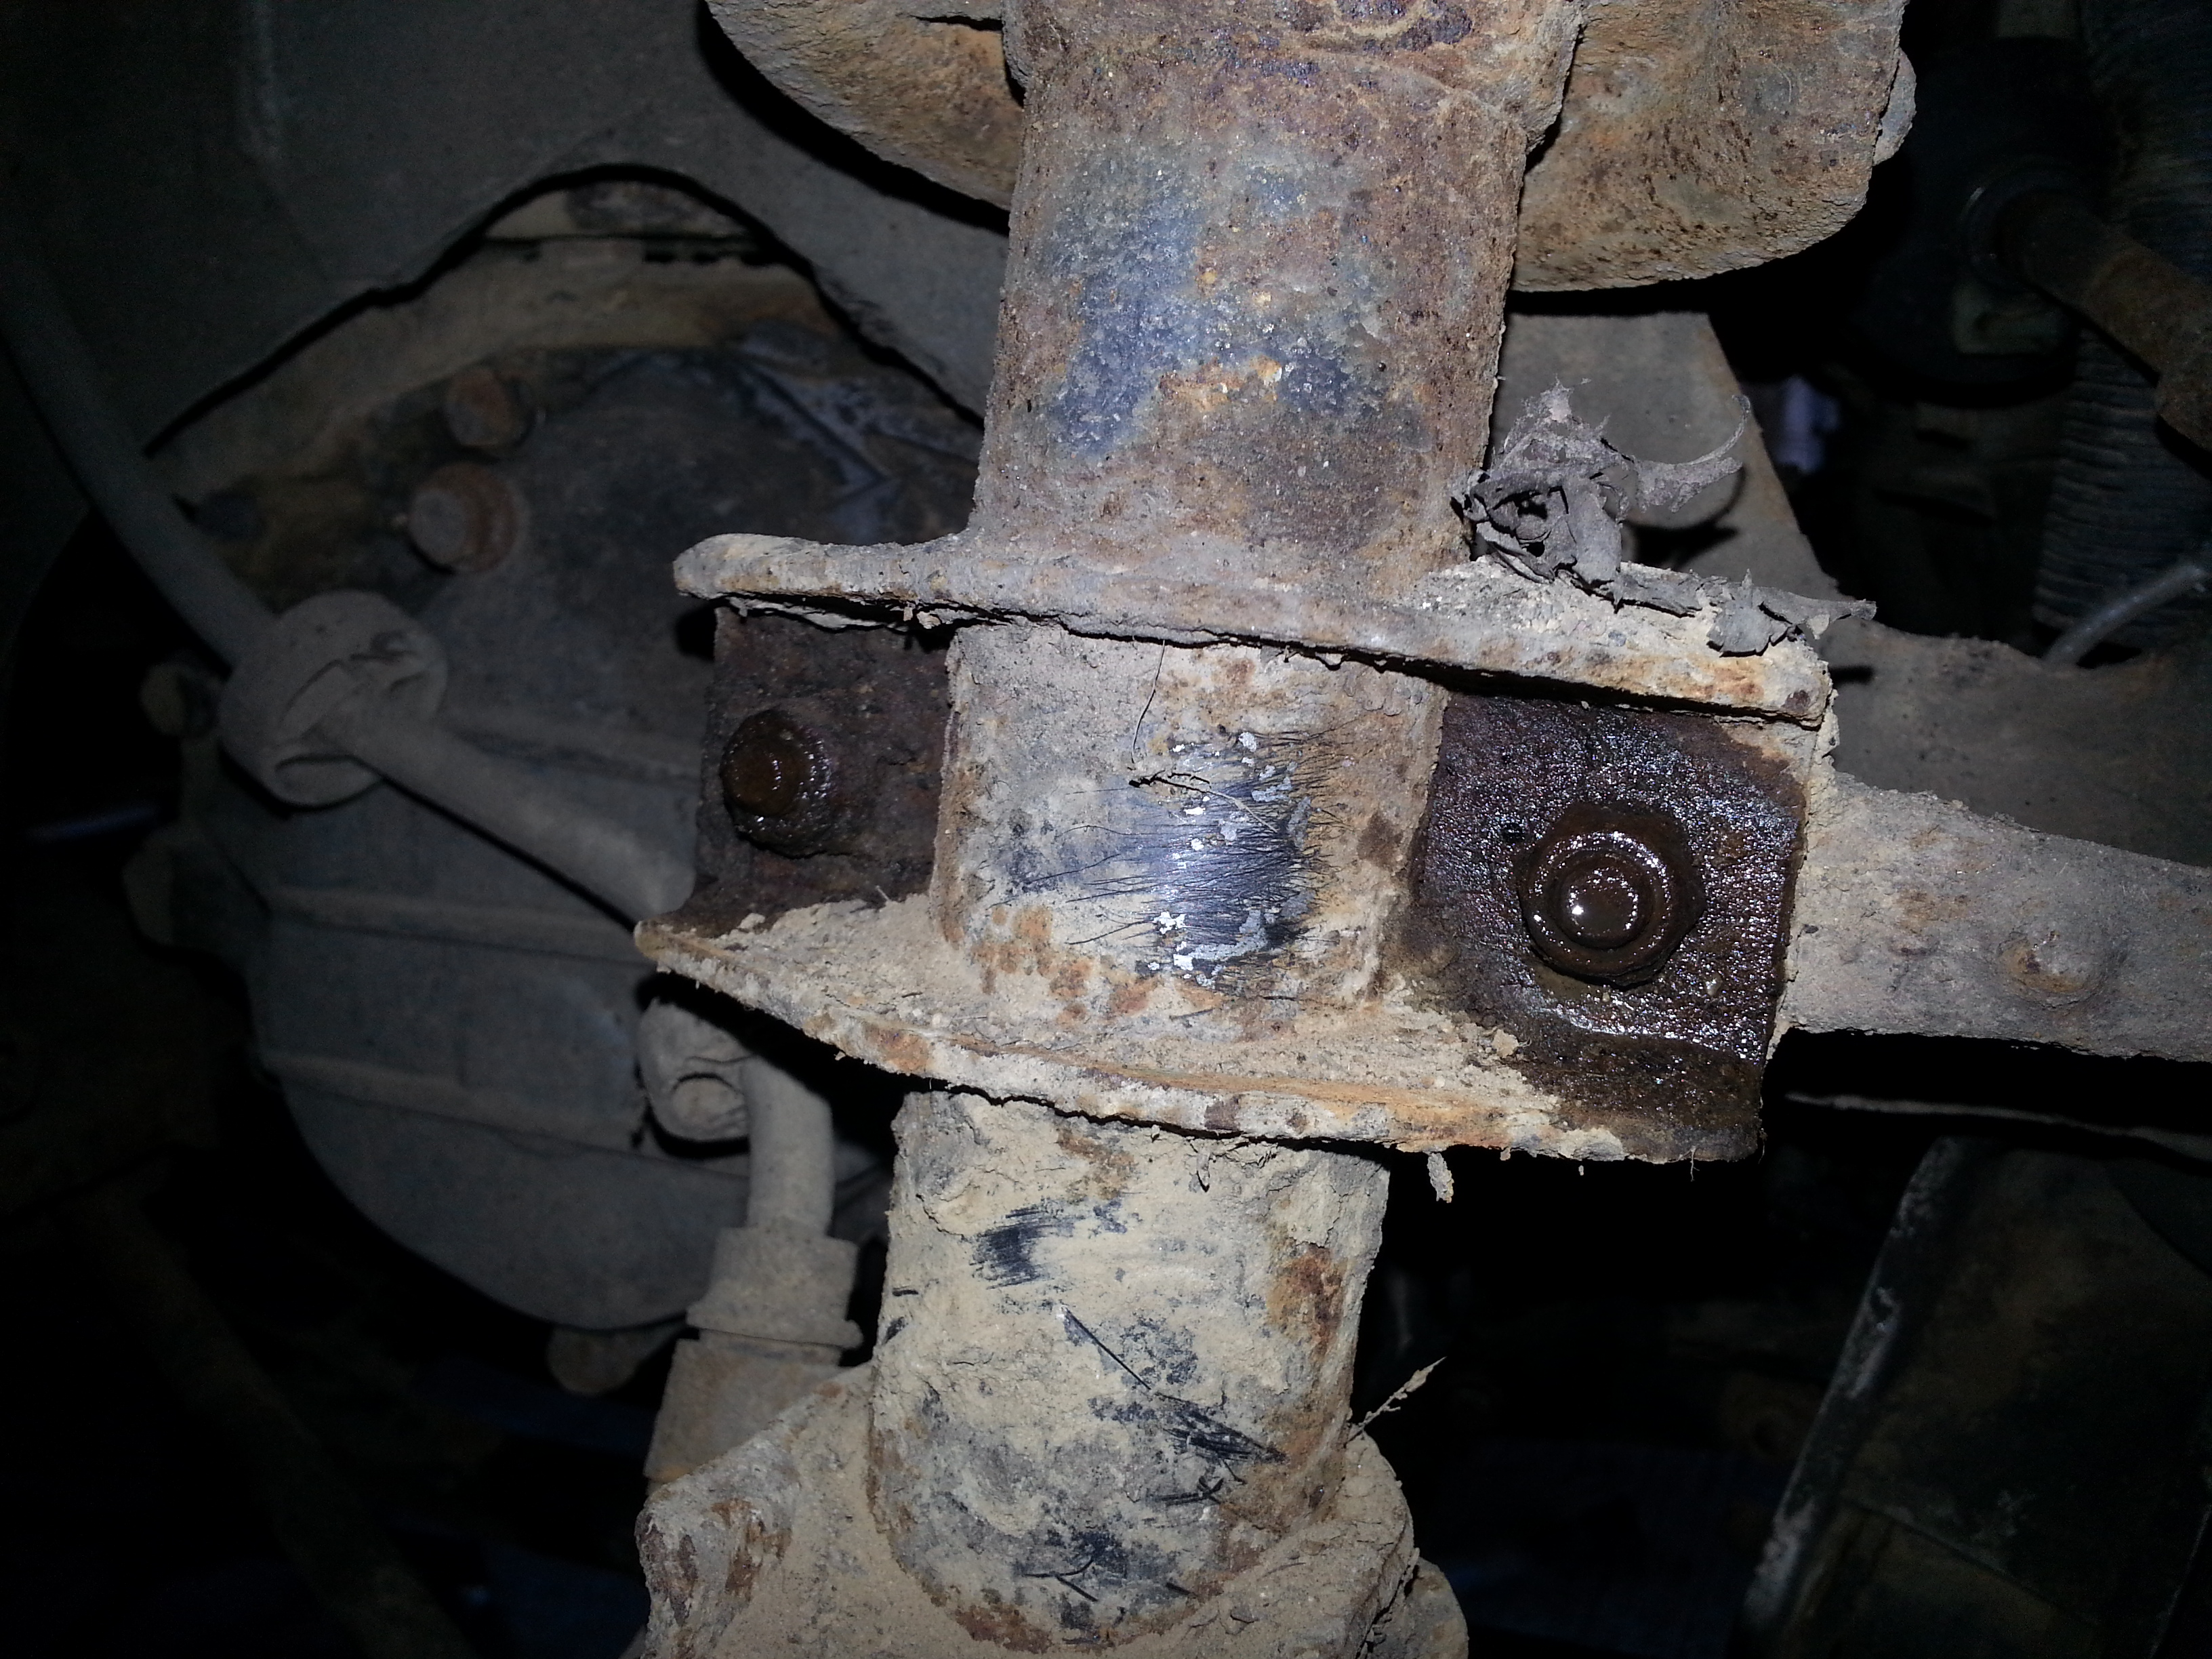
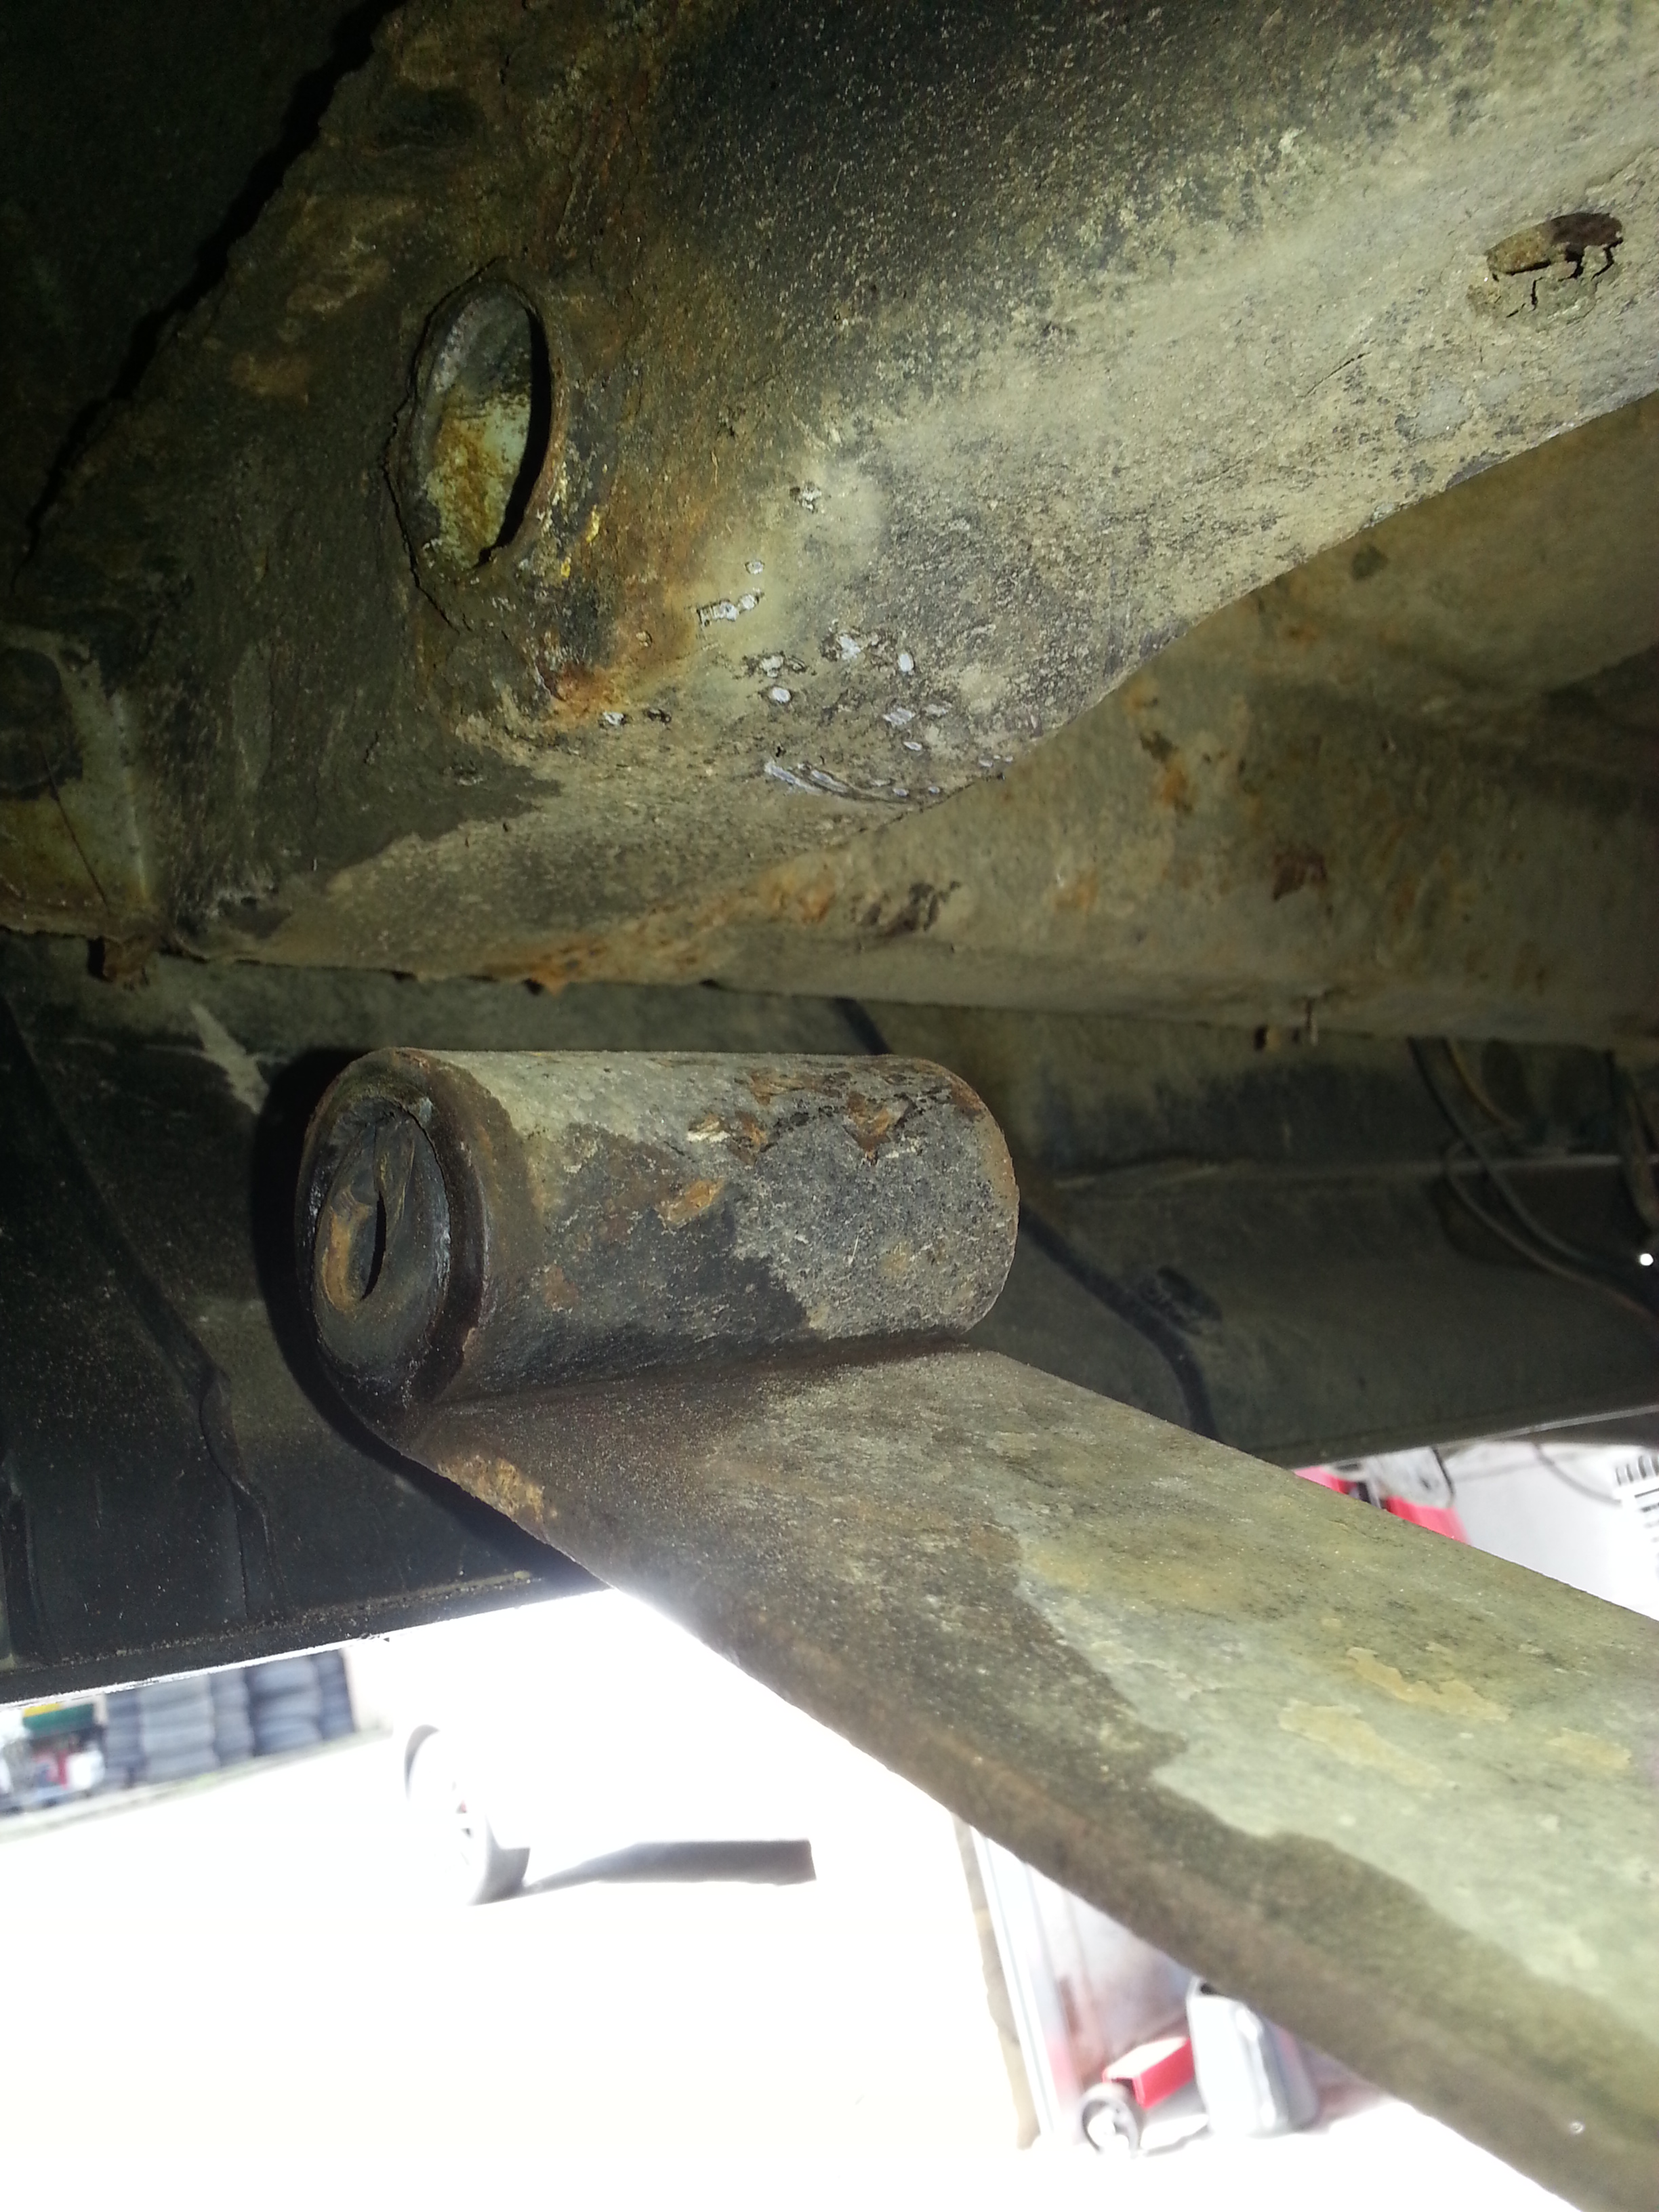
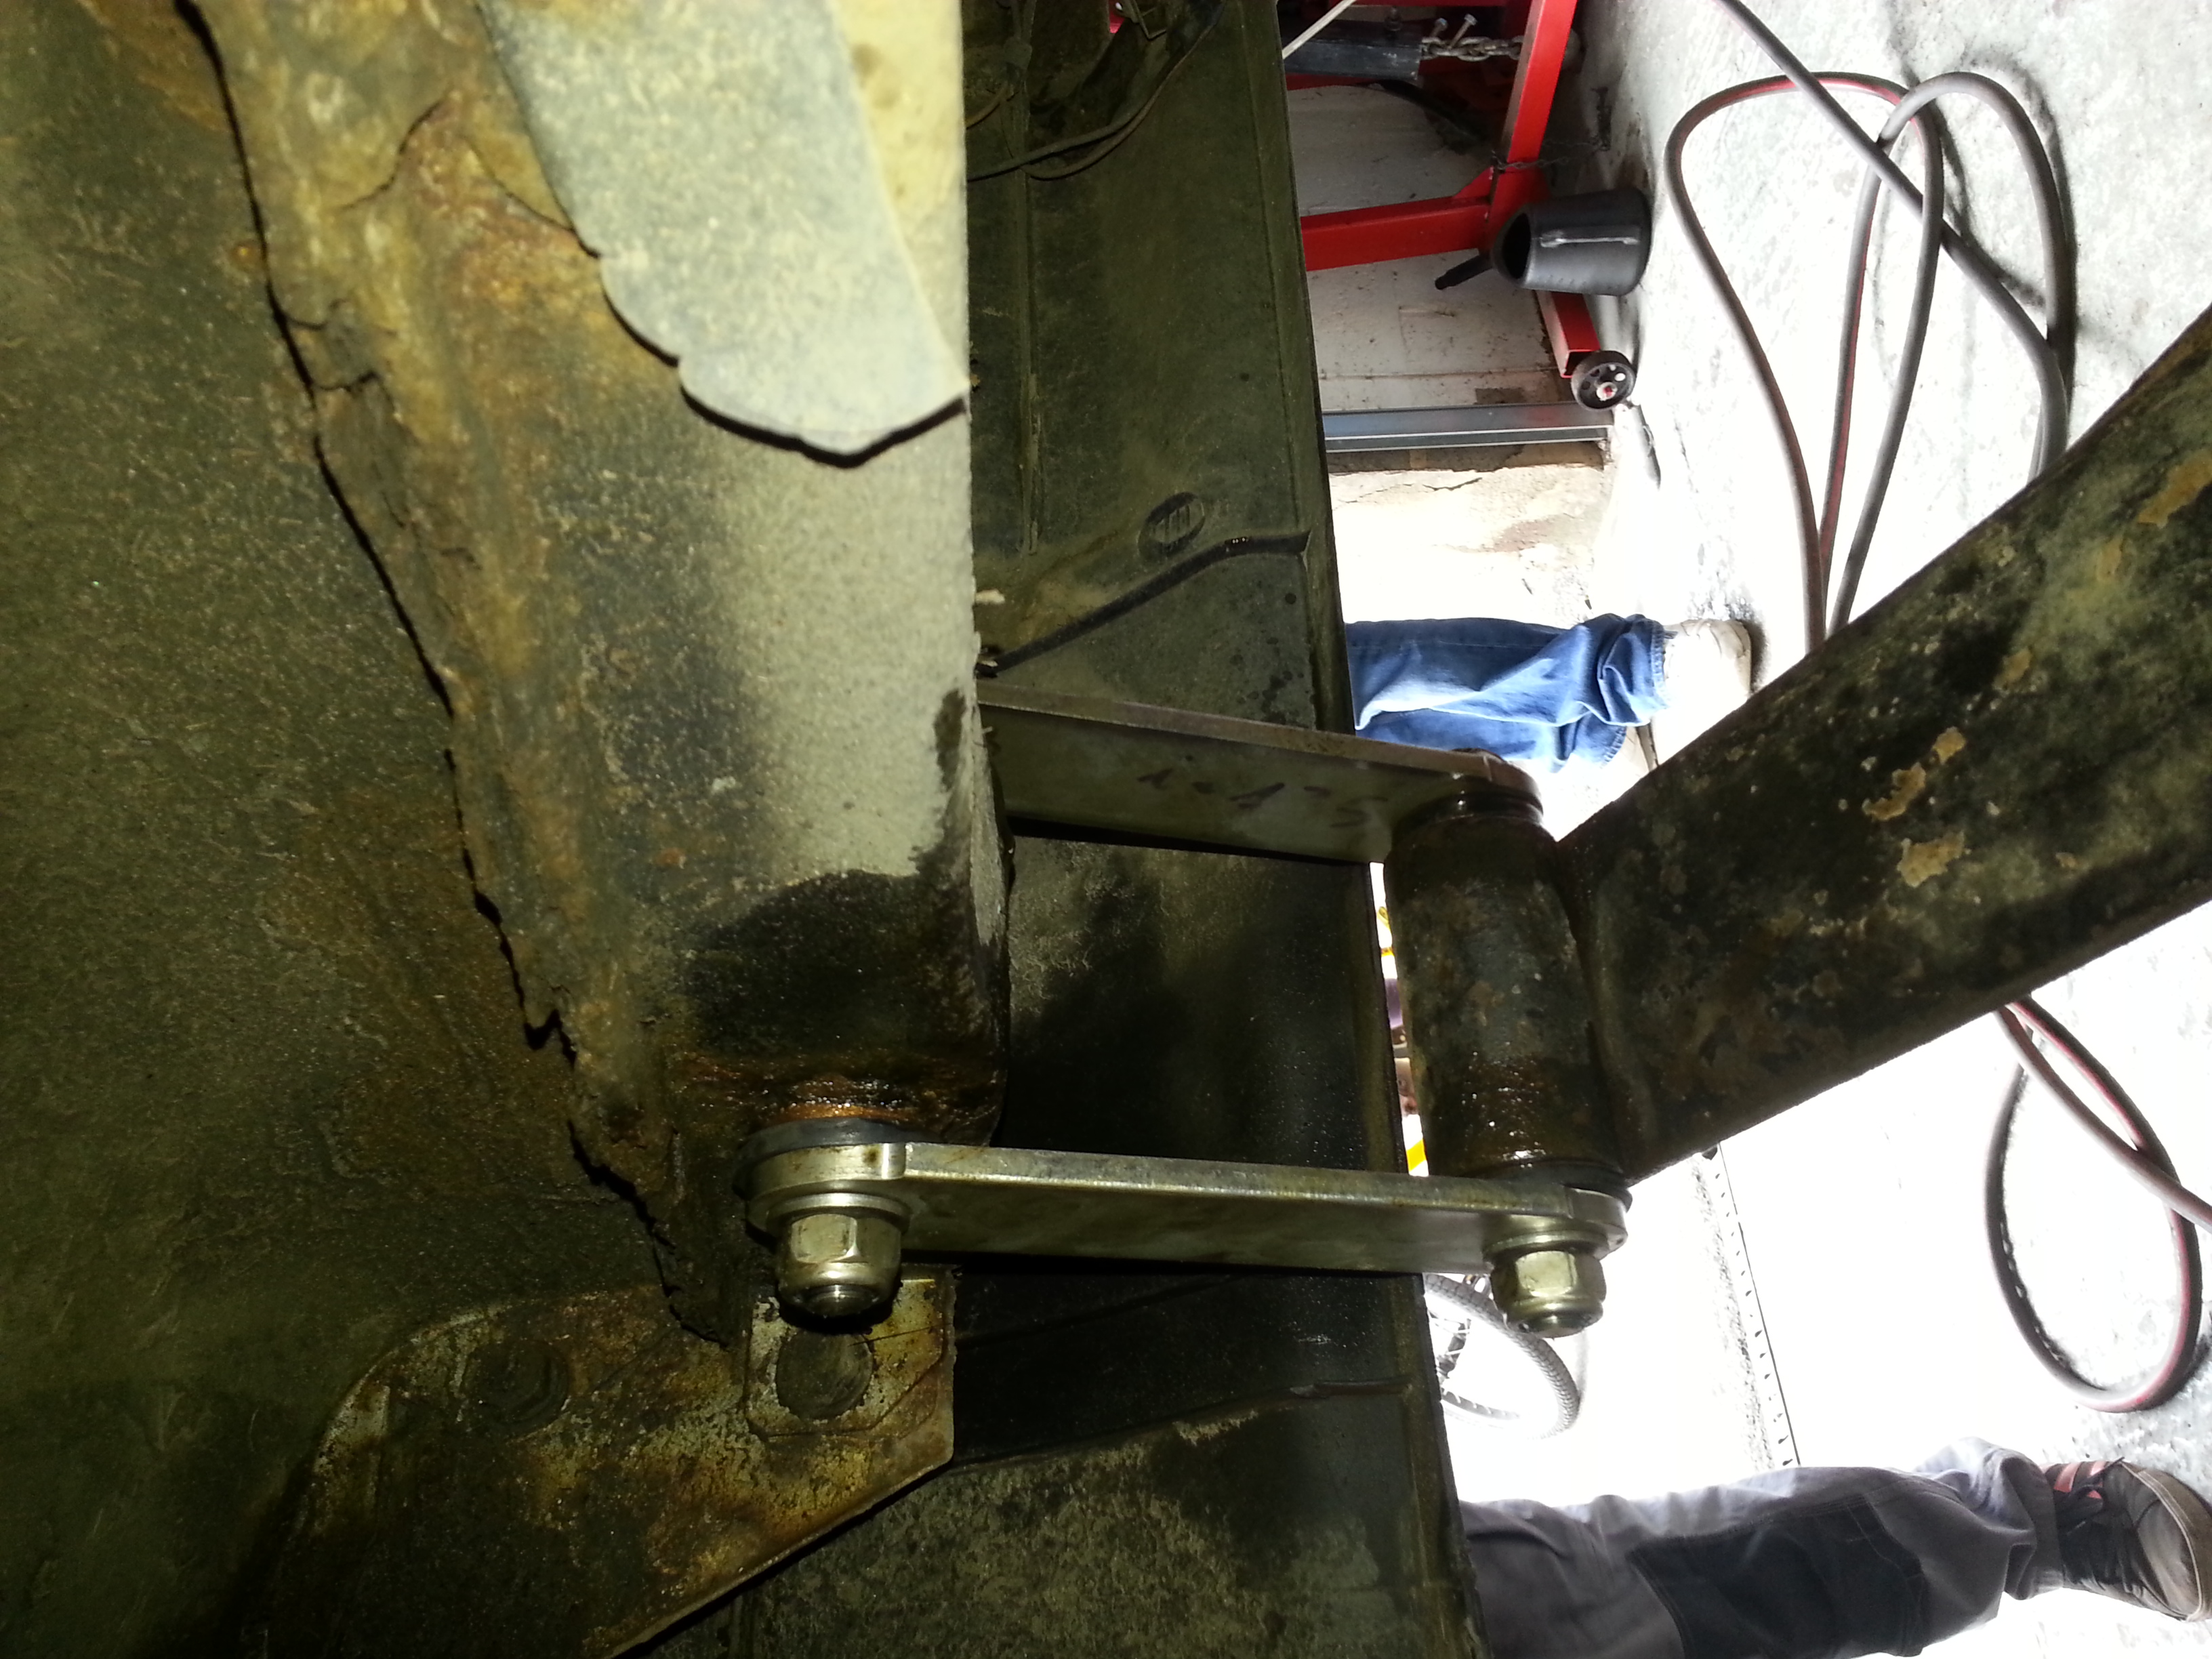
Then it's the old shackles to come off, I was amazed all of the nuts undid very easily, but the cast end of the shackle was a different story - half an hour to lever one side out and the other wouldn't budge so we had to cut it off...
With the old shackles out the next battle was getting the new bushes in - we had to grind out the inside of the body mounting hole plus the inside of the leaf spring mount. Then with the aid of much lube the new bushes had to be hammered in with a rubber hammer.
Part 6 - Rear end reassembly...
The new shackles could then be fitted... (sorry the picture is on the side)
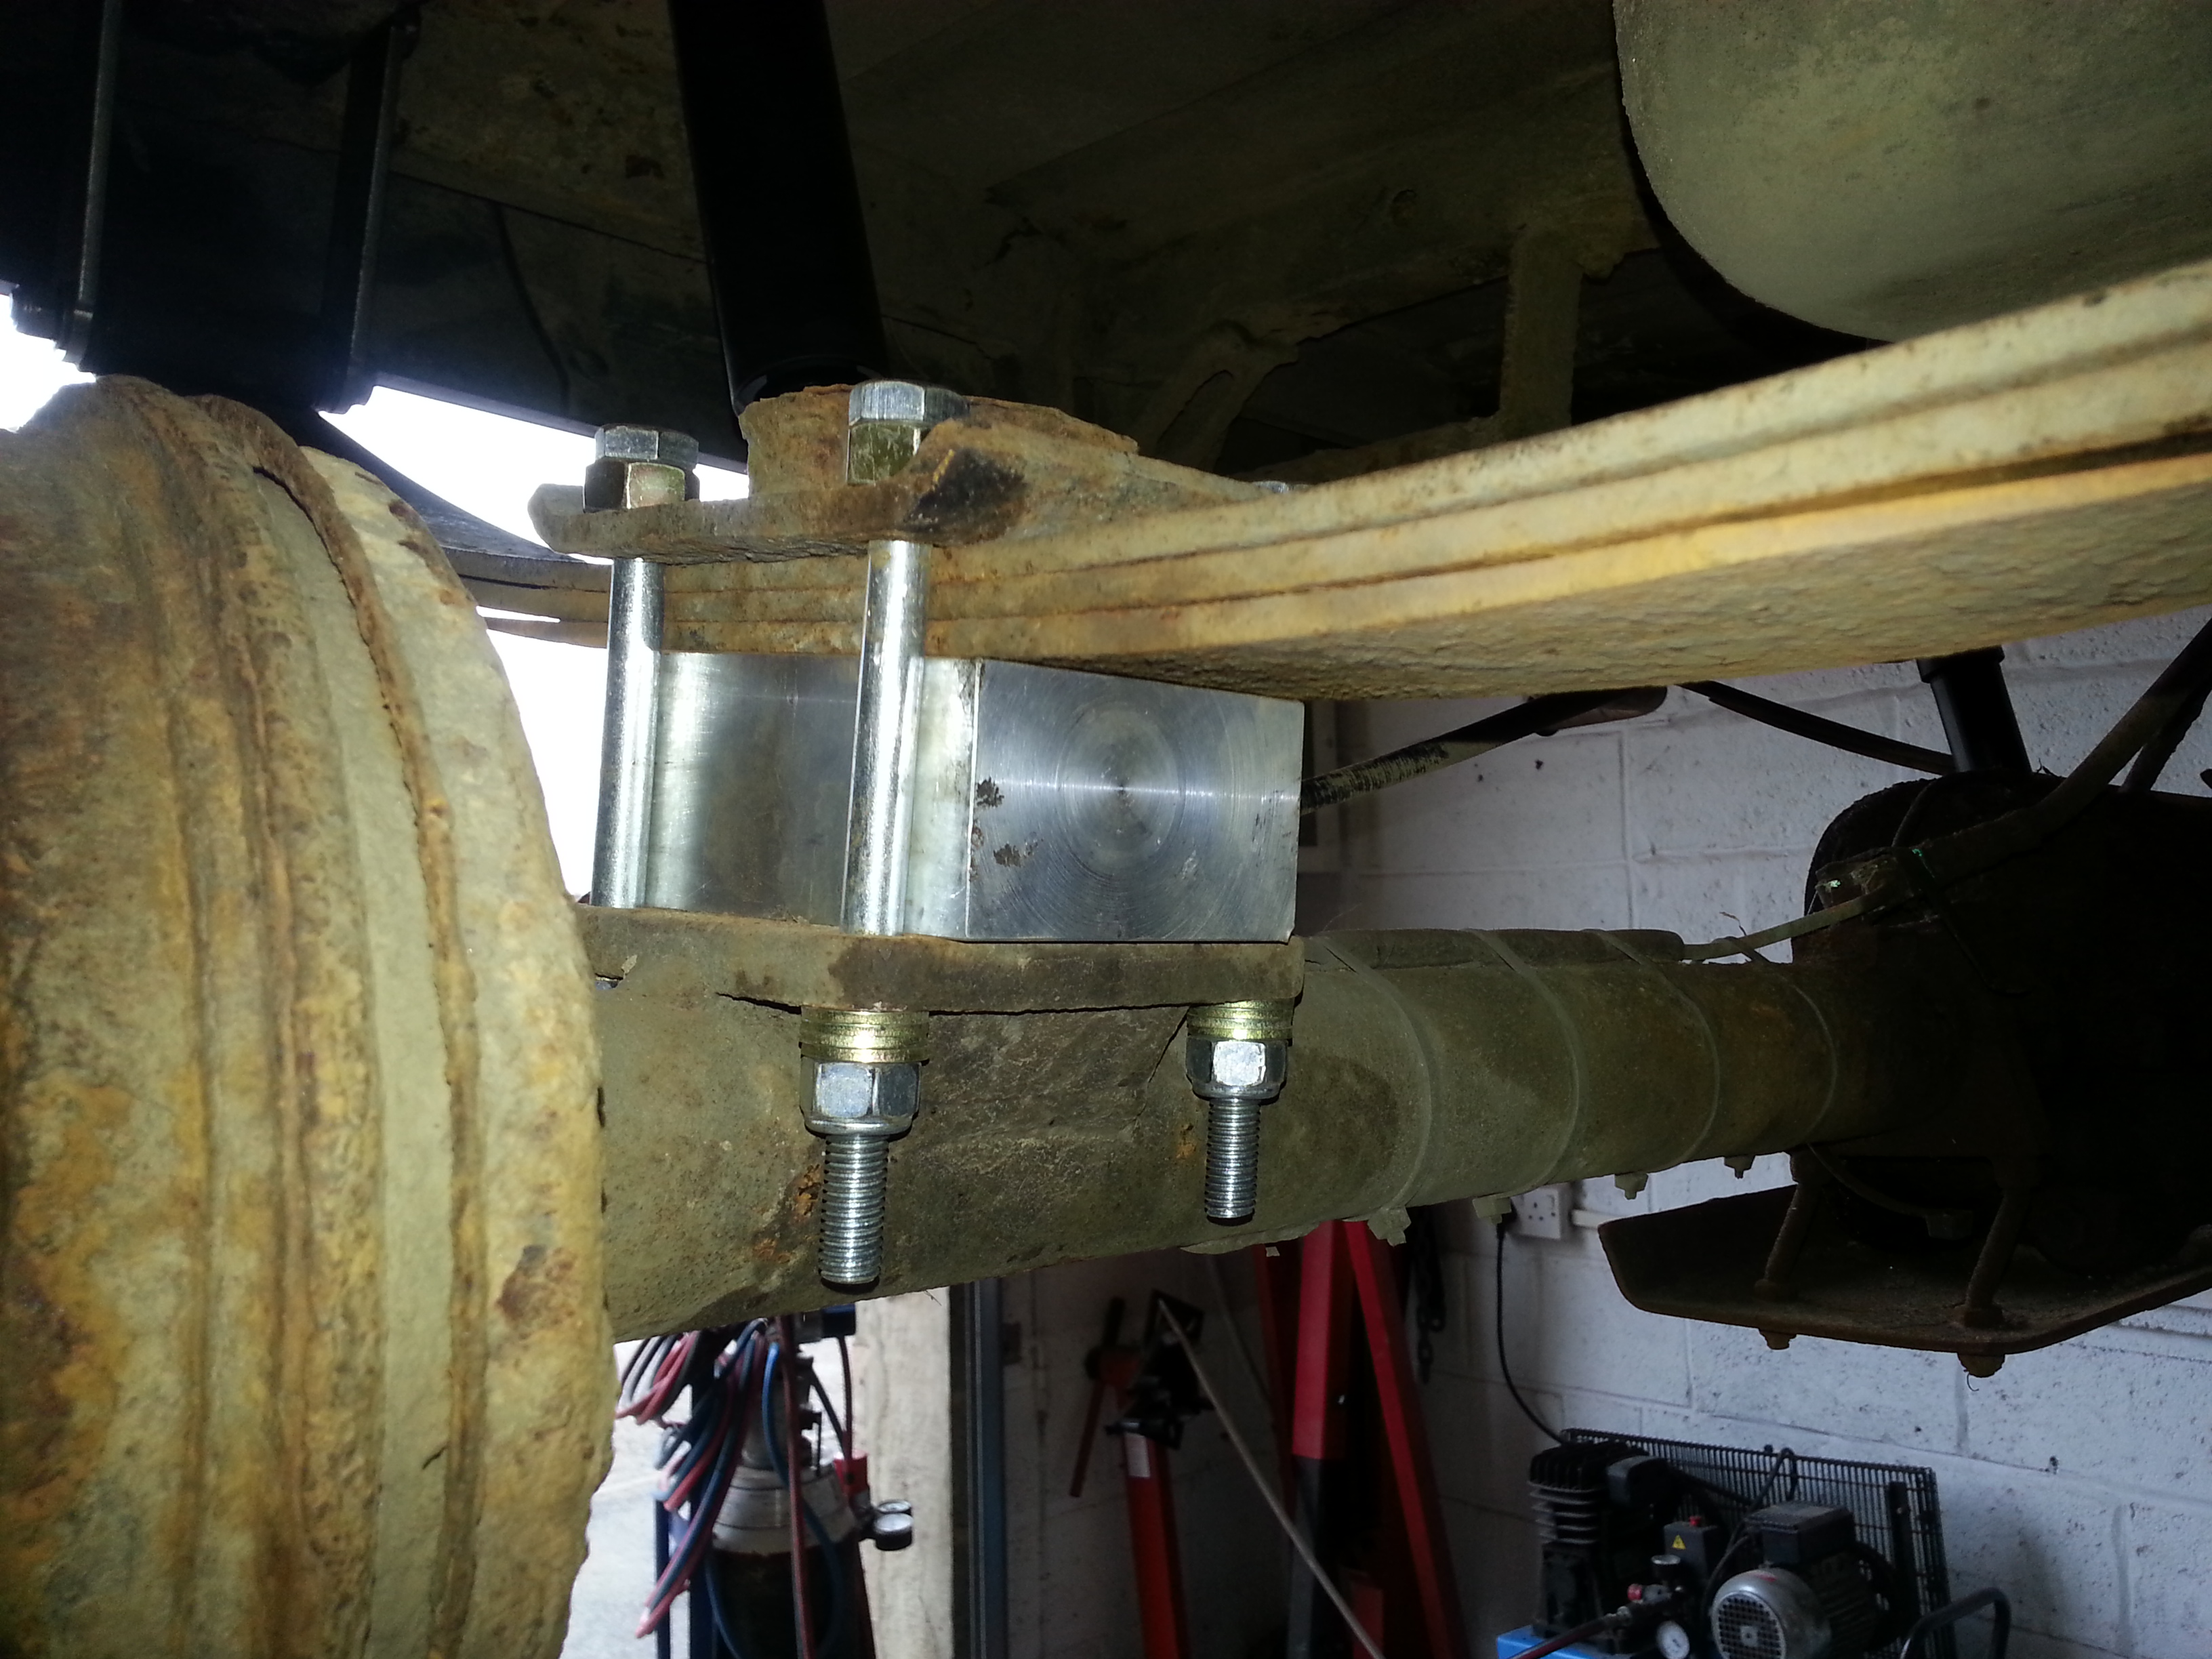
The new shackles bolted in without a hitch, then it was time to fit the leaf spring-to-axle spacer blocks....

...Alignment of the blocks was key to get the proper angle of the diff and prop shaft...
Then with the simple fitting of the 4x2 rear shocks the back end was pretty much back together...


I know what you're thinking, and yes I have left it here as a bit of an unfinished ending but read on...
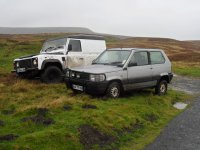
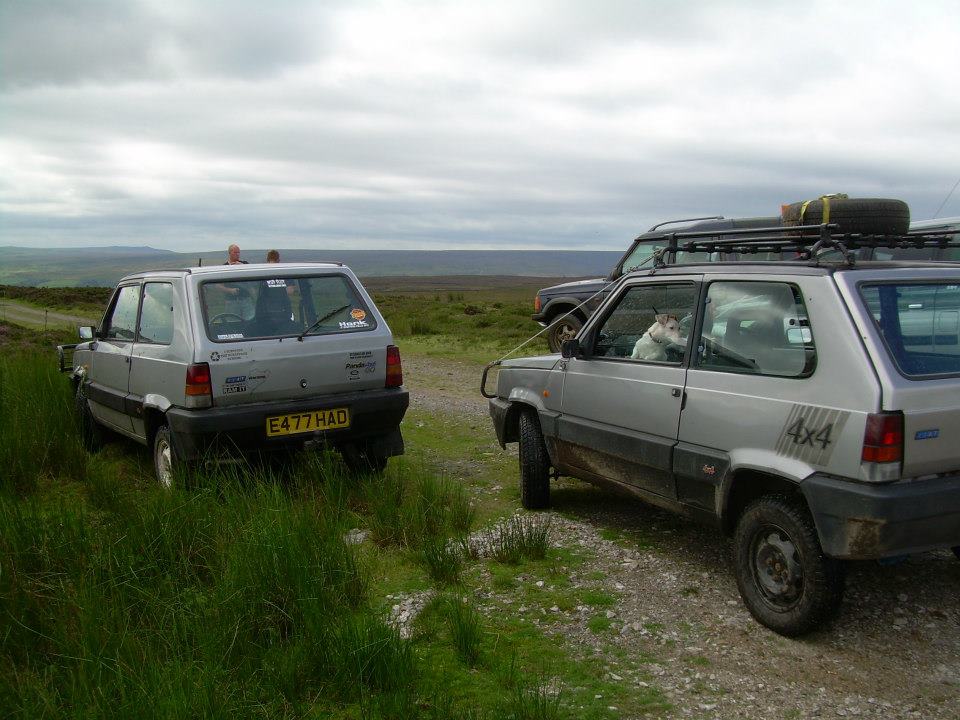
Part 7 - The Result...
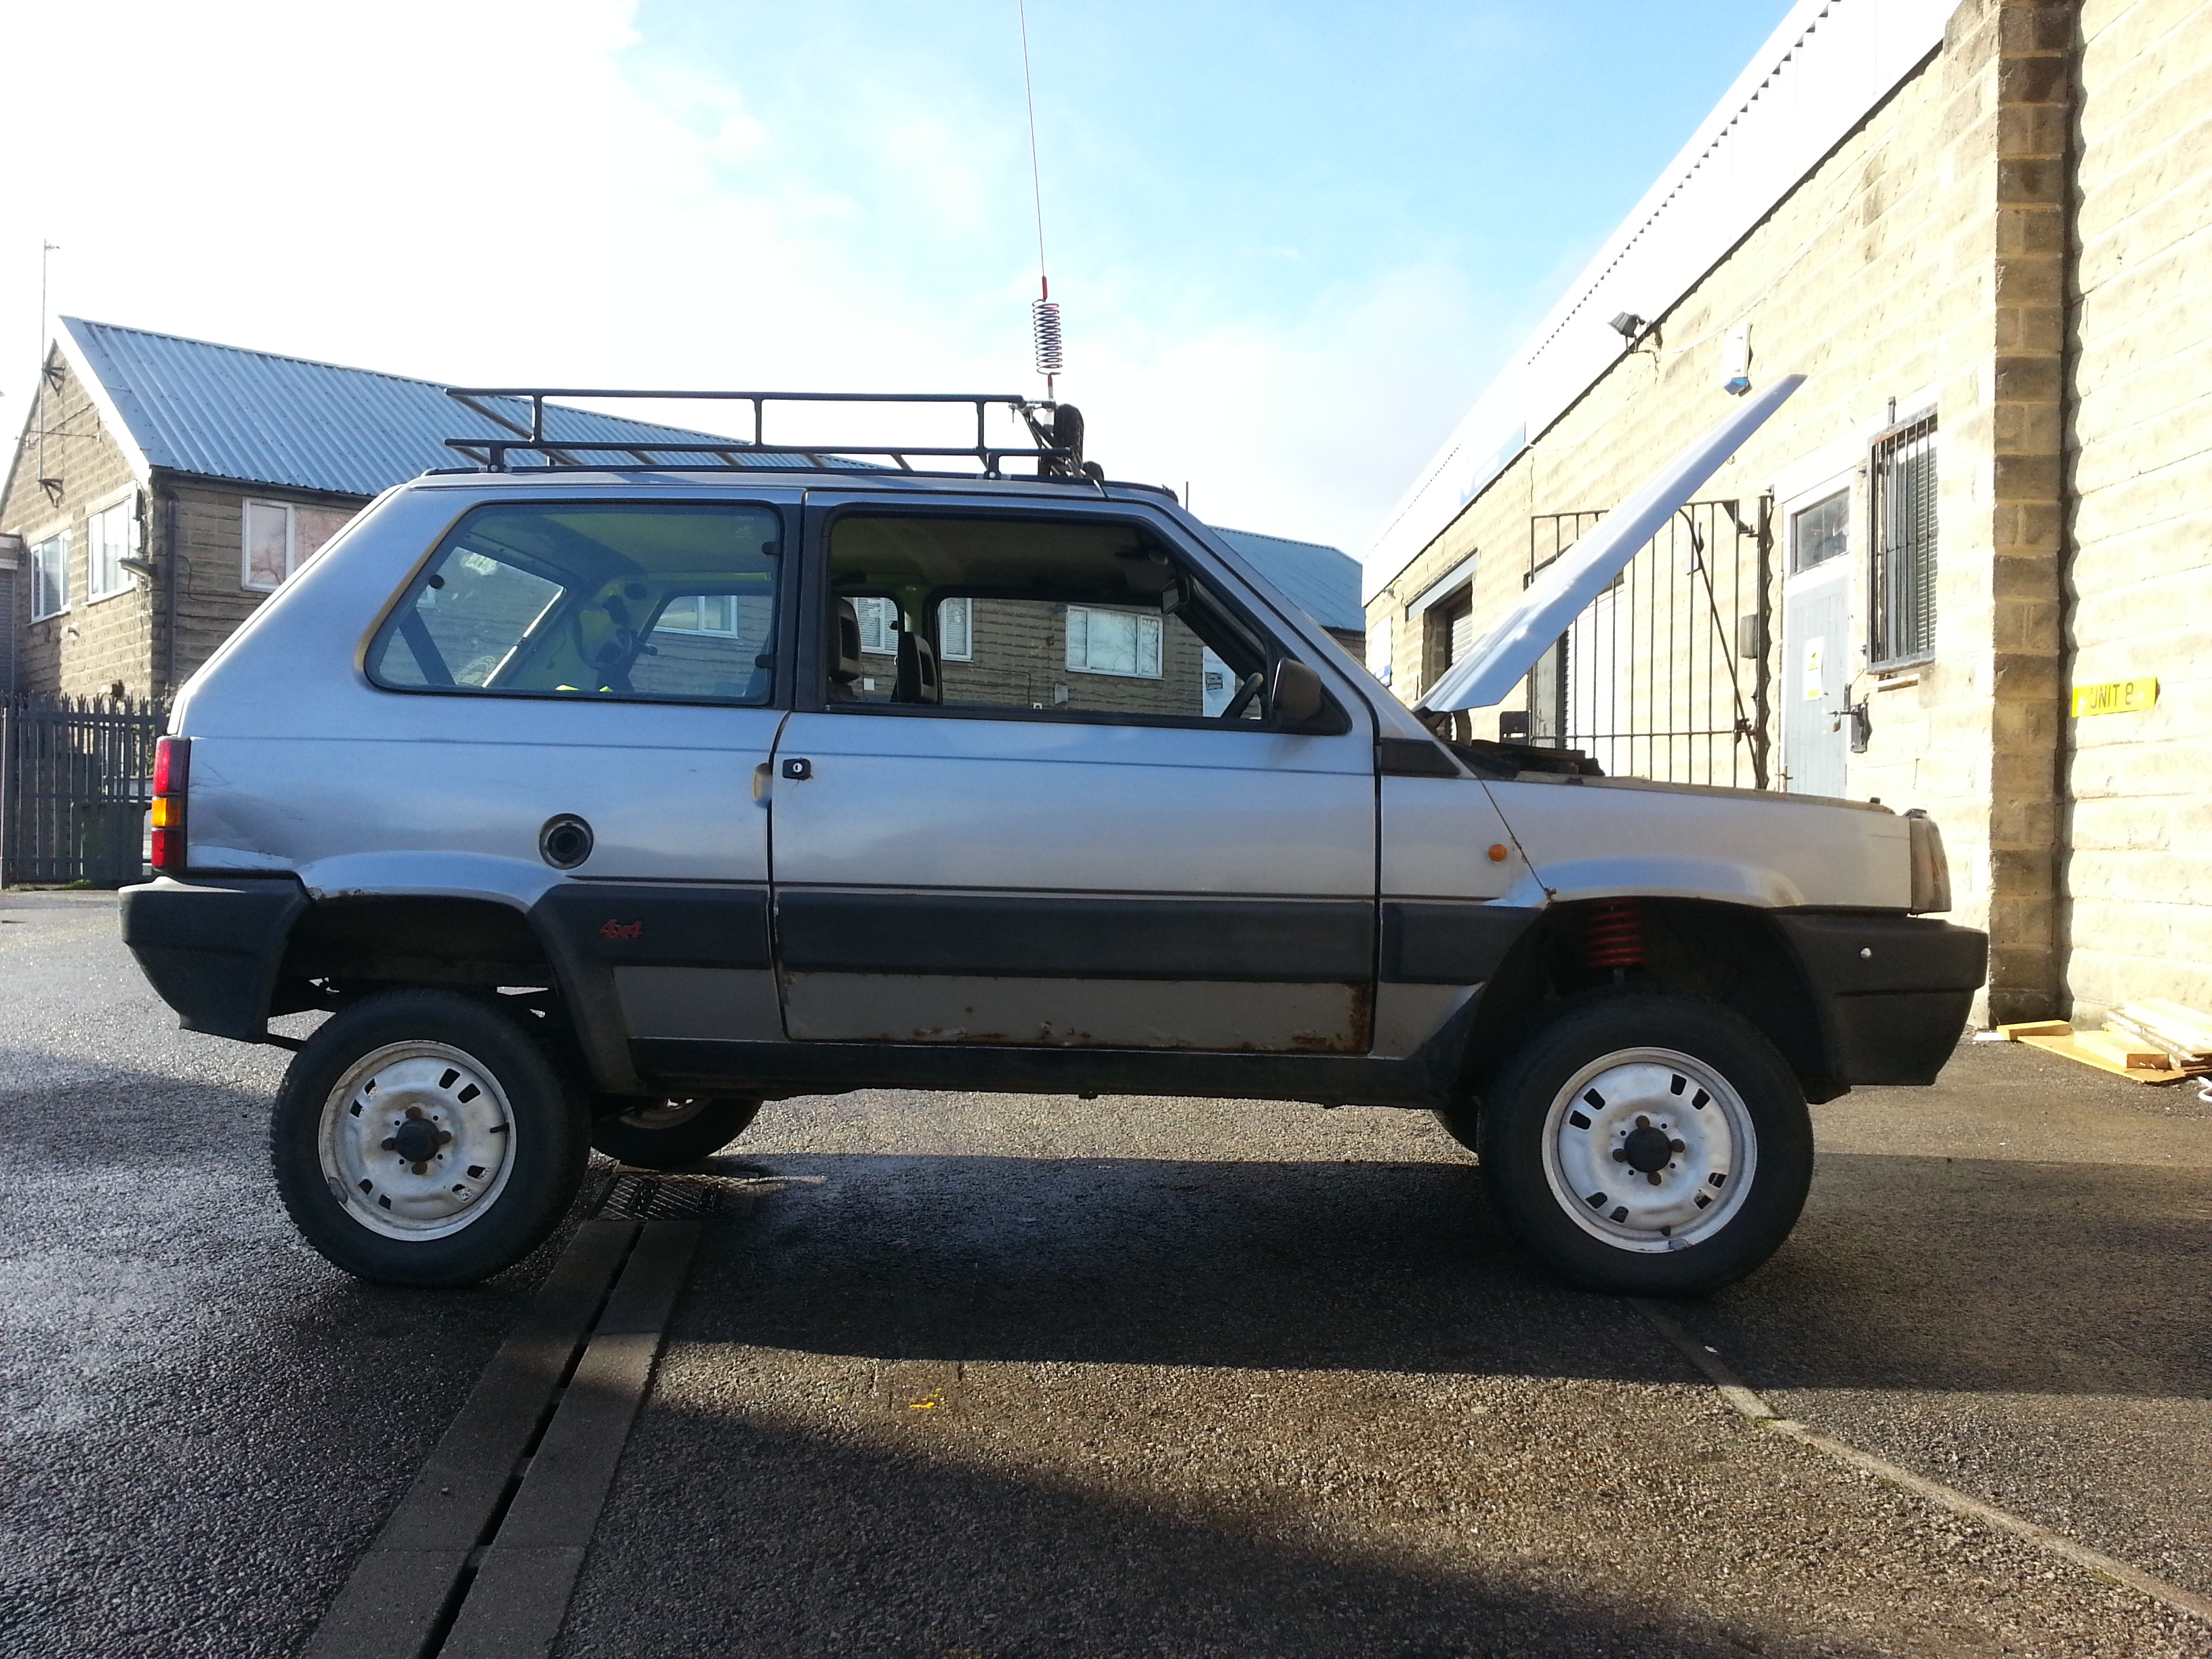

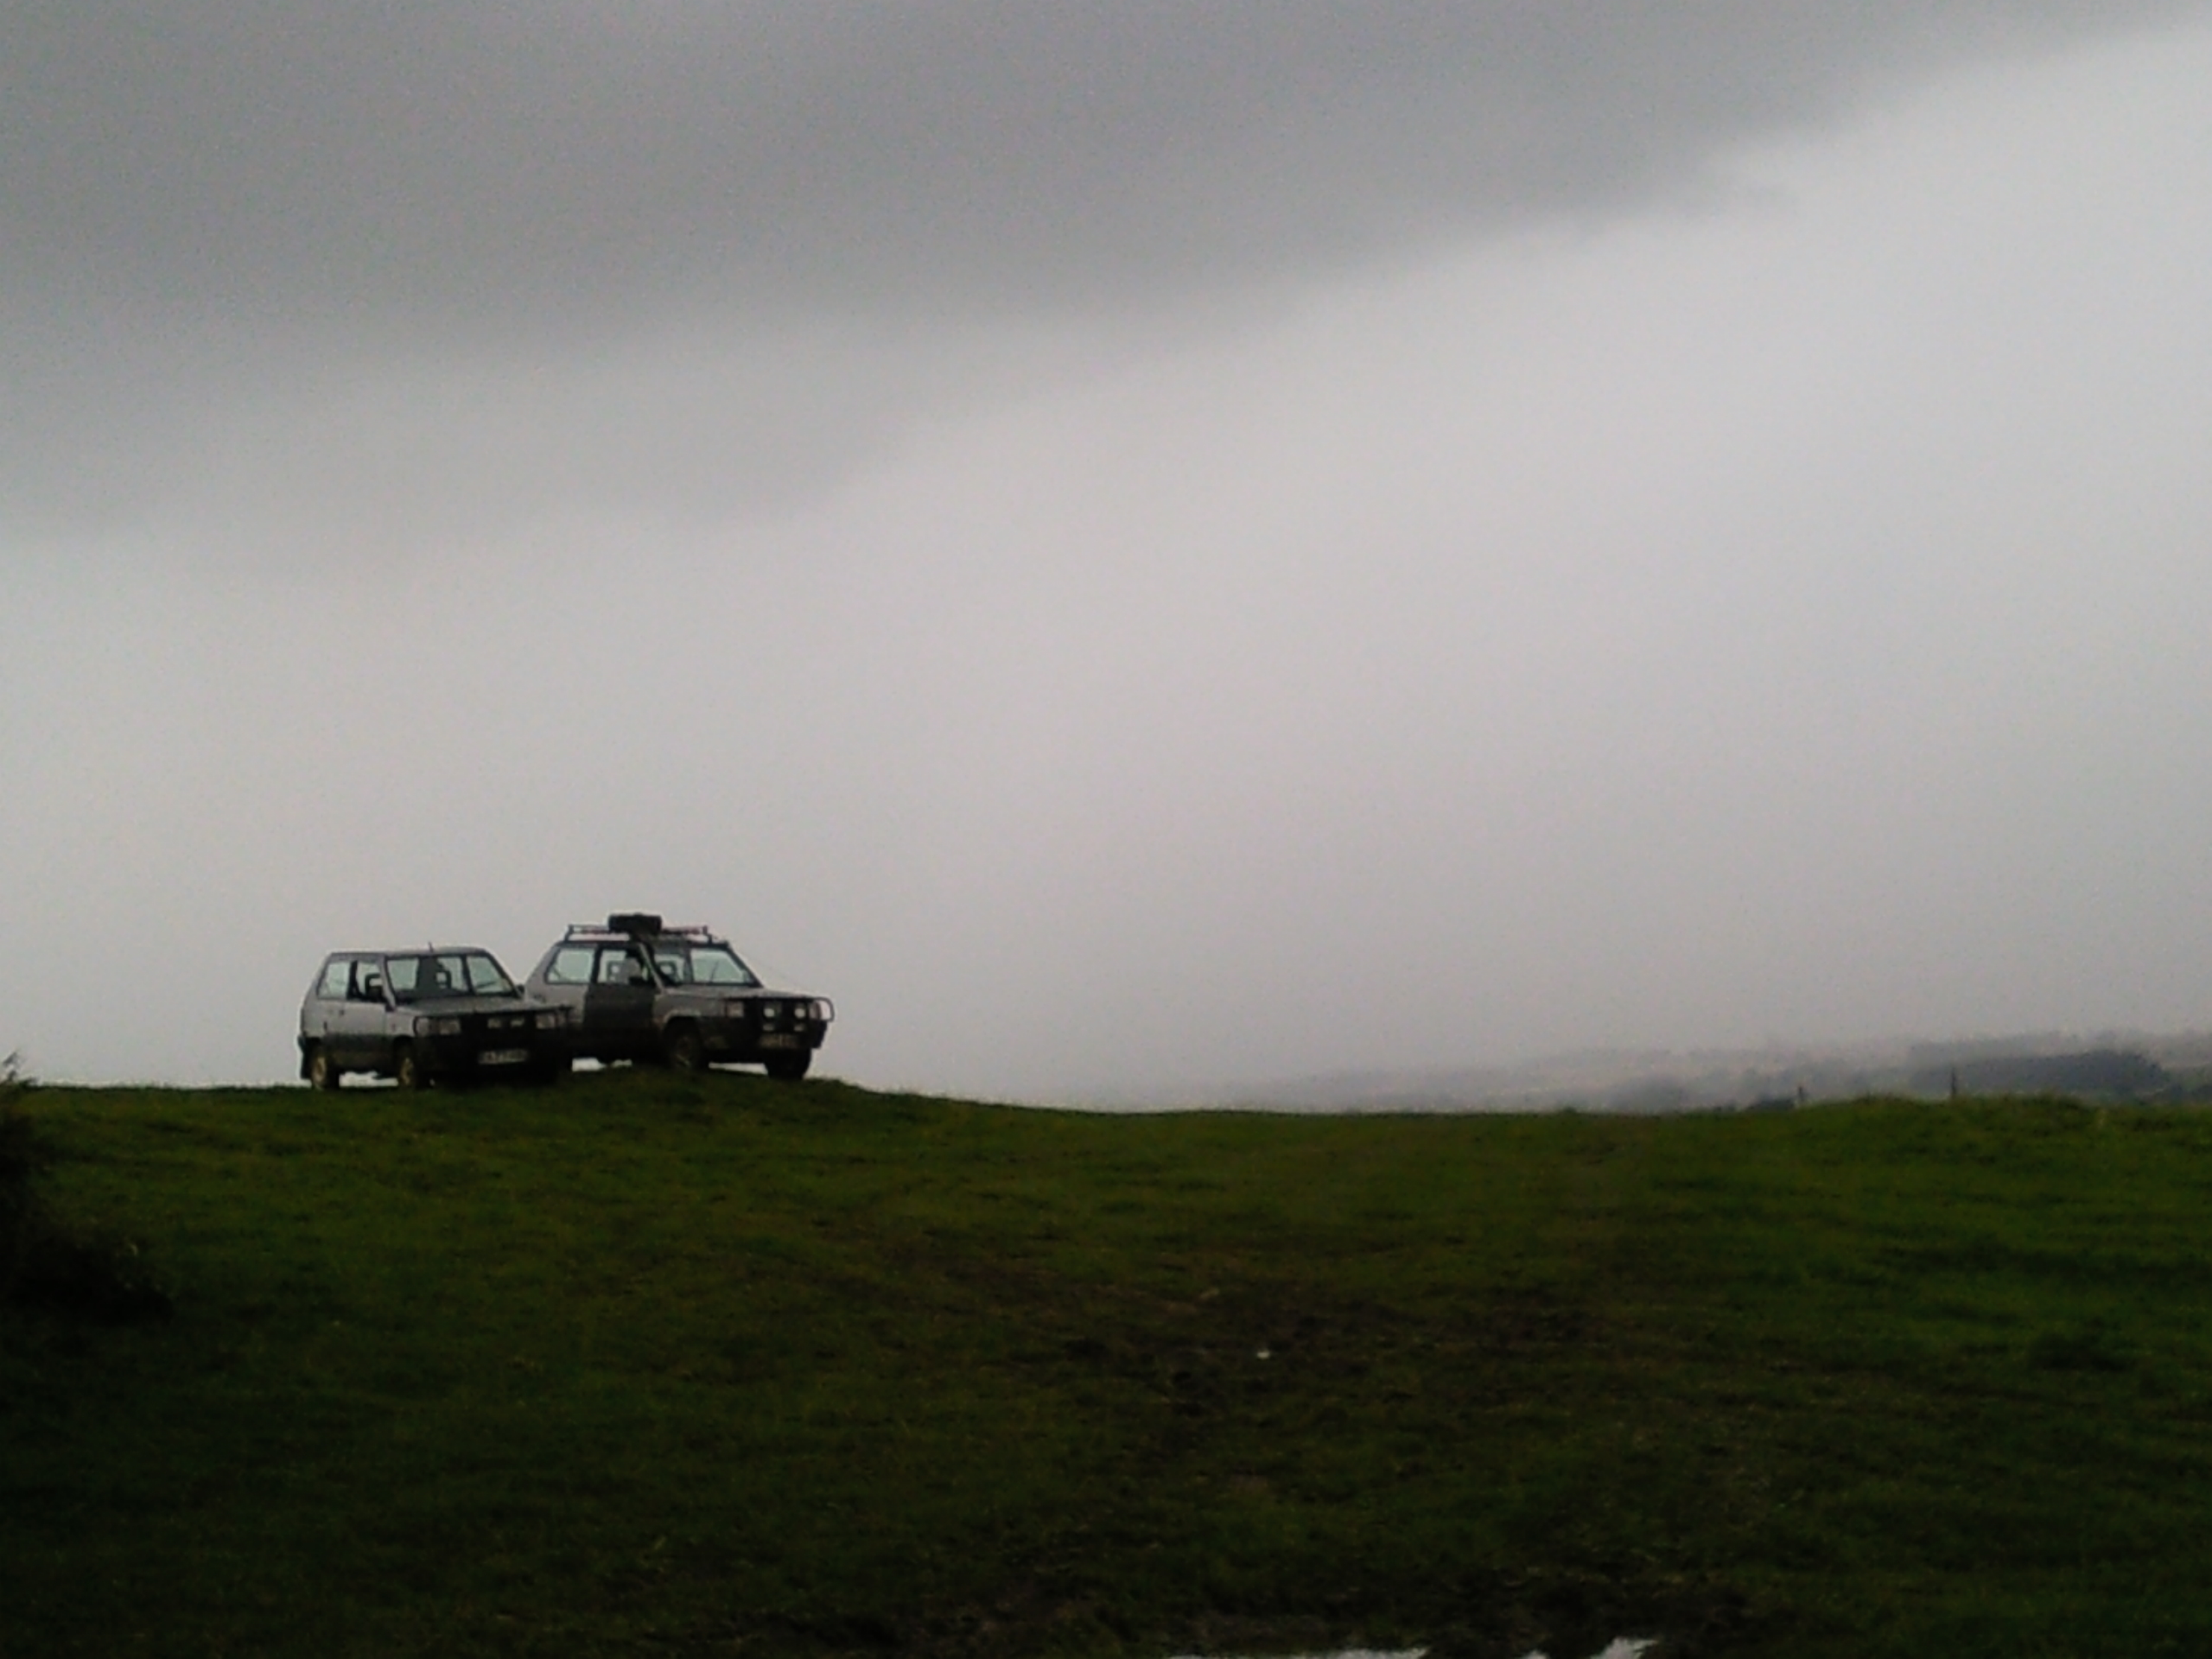
+ 3 Inches!
When I get the new wheels painted and tyred up we should be looking at that bit more aswell.
Part 8 - The resulting problems...
So yes the job went well but we had some issues along the way, we have also ended up with some...
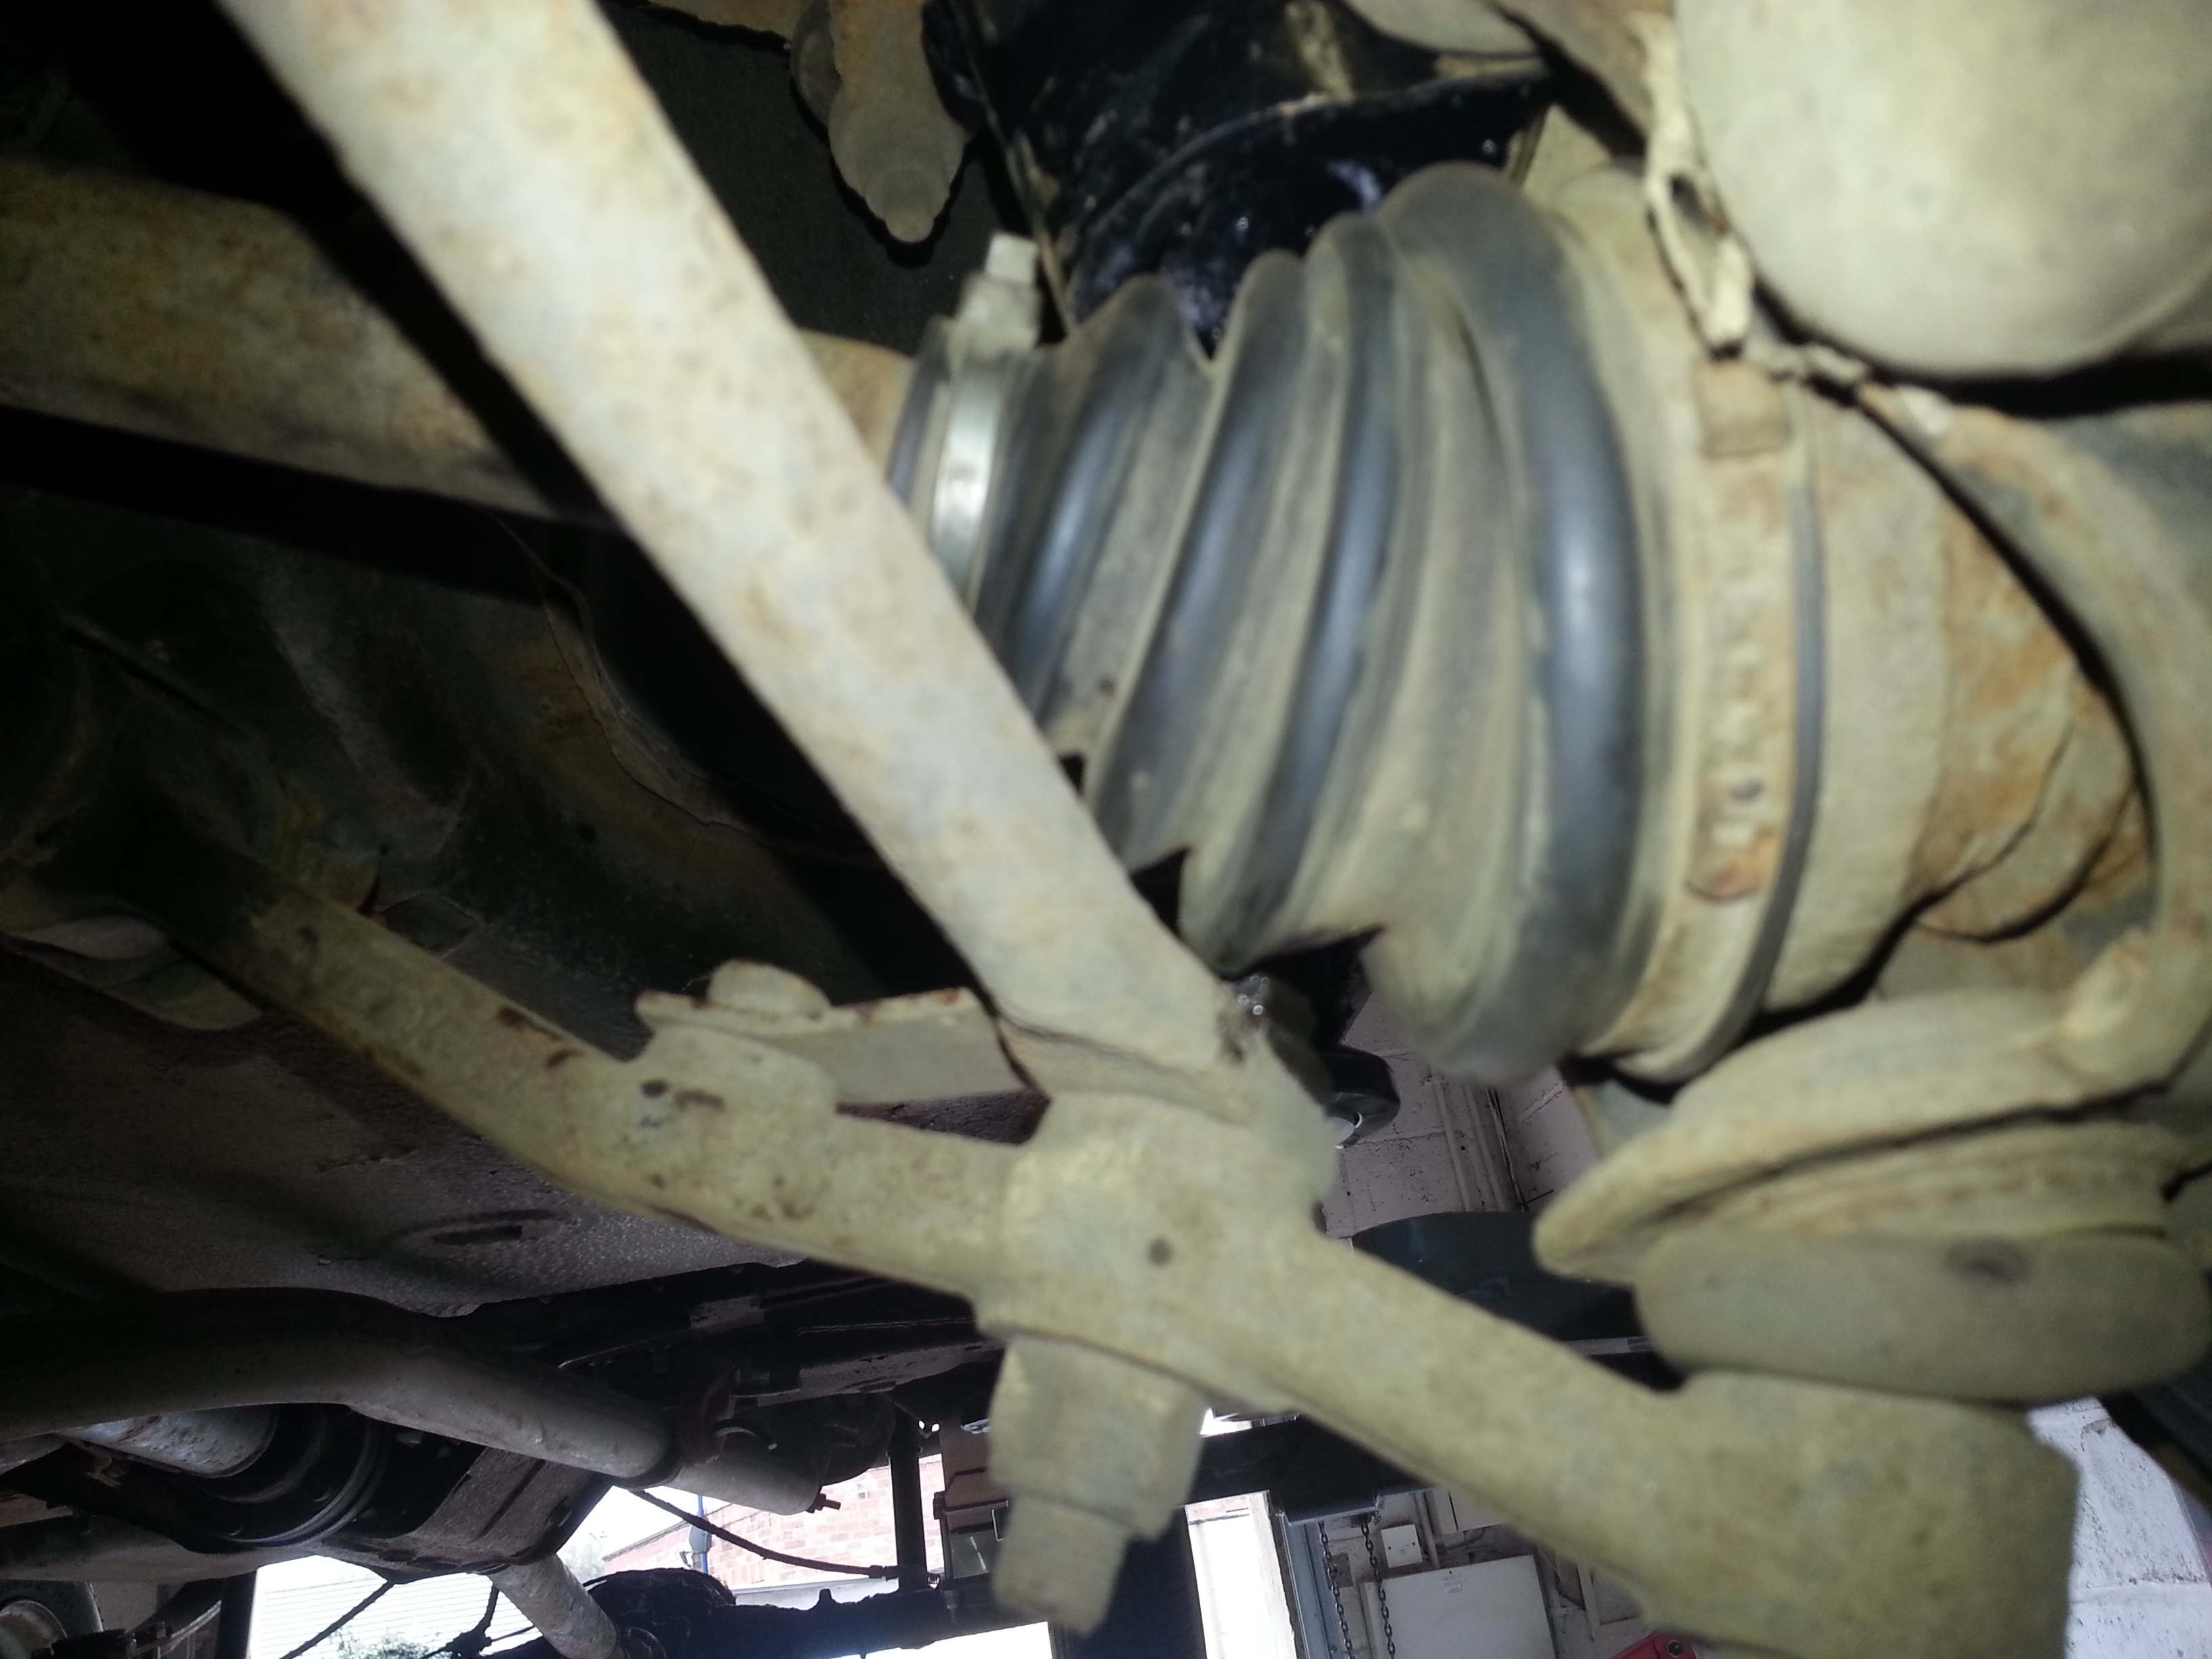
Due to the long drive shaft on the front driver's side now being at a significantly steep angle the sump guard has had to be removed otherwise on full articulation the drive shaft will catch on the framework (this is the standard framework aswell, not any of the extra bits that I have added to it. This will have to be modified now before refitting.
Also at full articulation the long shaft just to say touches the exhaust down pipe - this will be something to keep an eye on...

On both front sides, again on full articulation the outer CV boots just manage to touch the bottom arm where the control arm mounts - this shouldn't be too much of a problem as at full articulation I will (hopefully) only be travelling at a very slow speed. Again something to keep an eye on...
Both front brake flexi hoses and the single rear flexi which joins the rear axle are right on the limit of stretching at full articulation so these will need to be modified.
The handbrake cables no longer meet the mounts on the rear axle or the curved brackets which go into the back of the drums - this will also require modification.
The camber on the driver's side still needs attention, which is unexpected as both sides were marked and drilled out the same.
The tracking is REALLY far out, toe-ing out very badly.
We ran out of time in the workshop today to get these niggly bits finished but the car is very much drivable with no knocking, banging, grinding or creaking.
I will keep up with the thread regarding any mods that I do and indeed any more problems that we encounter!
So that's it for now, apart from to say thanks to Vern @
VmanC for answering my questions on camber values this morning at half past 8!
Watch this space as the story will continue