OP
OP
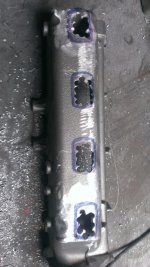
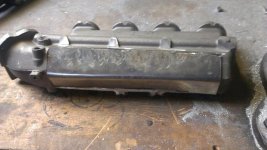
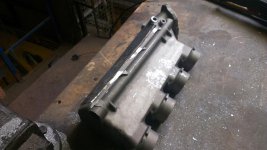
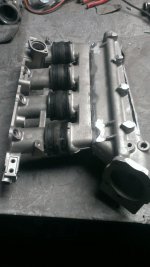
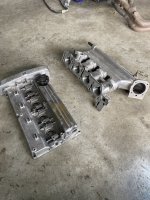
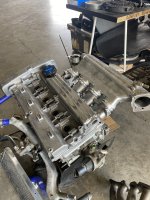
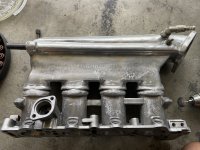
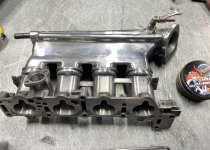
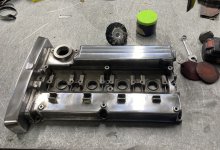
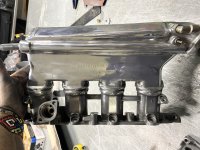
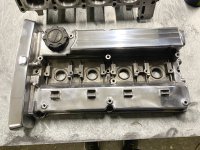
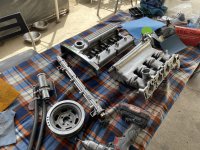
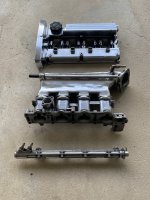
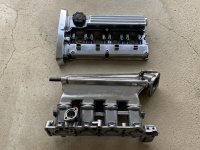
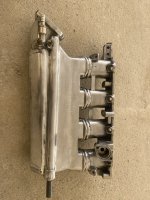
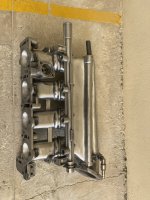
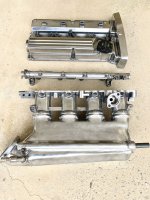
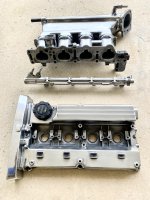
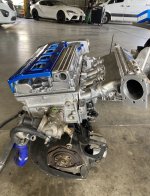
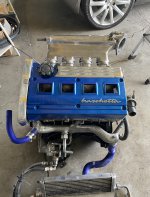
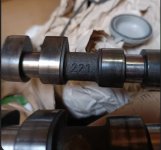
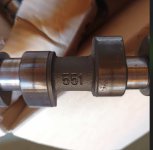
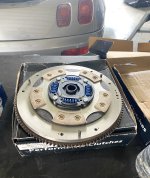
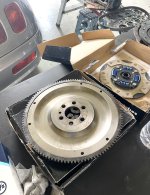
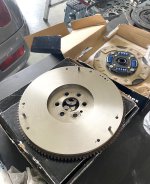
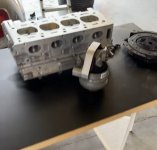
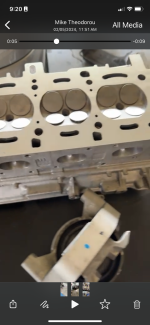
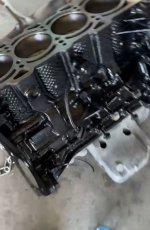
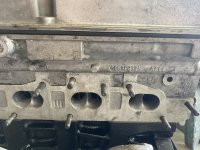
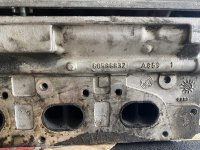
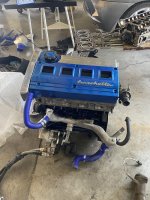
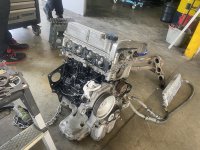
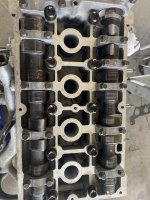
With all my existing mods to date and the new intake setup, new cylinder head and with new cams I hope to up the B power to 170bhp plus. for which should be nice.


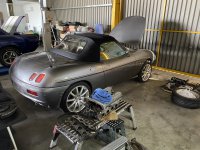
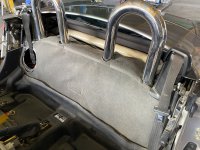
") easy fix but the difficulty is the removal of seats, trim and rear bulk head.
easy fix but the difficulty is the removal of seats, trim and rear bulk head. 


Chiming in, thanks for great inspiration!I am impressed, wonderful job well done..
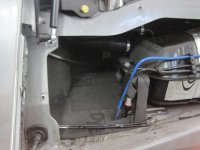
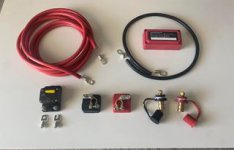
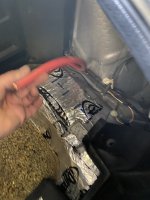
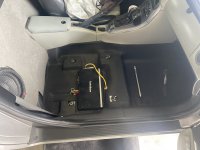
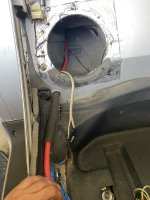
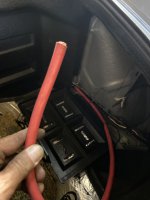
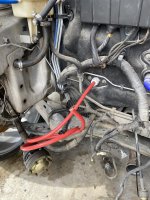
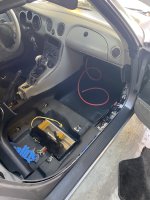
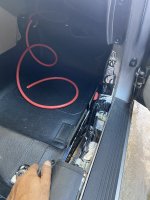
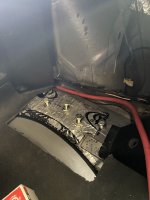
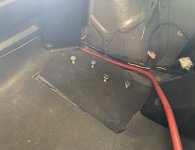
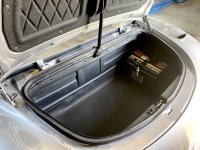
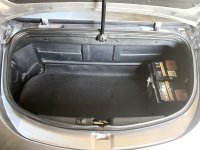
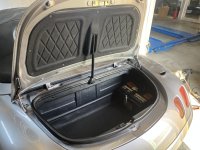
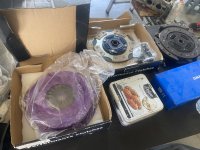
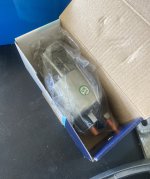
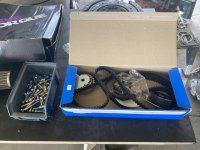
So the battery in the back is done , 0 gauge cables routed through the side trim and to the boot ,A Battery relocation to the rear will be part of the new mods and here is some of the parts purchased for this.
New battery -75amp
Positive/ negative terminal confections
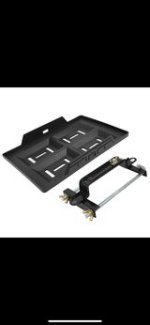
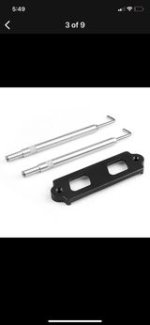
New tray and top holder
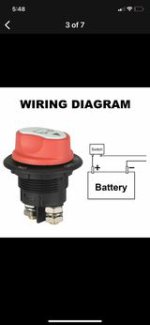
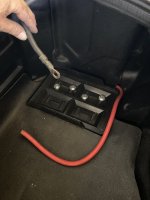
Battery cut off switch (this will isolate the battery when the B is stored up winter months)
5meters of 50mm /0guage Red Cable
1meter of 50mm /0guage Black Cable
8mm/10mm ring terminals for cables
300amp Trip switch
Positive Terminal Distribution block for engine bay connections.
Booster / Jump terminals for upfront in the bay.