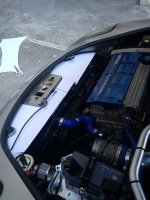
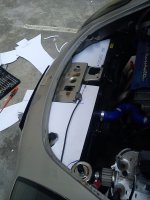
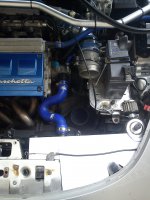
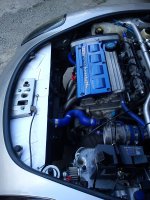
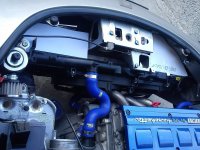
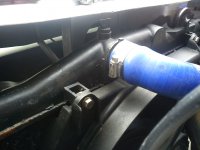
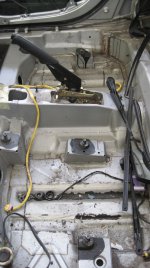
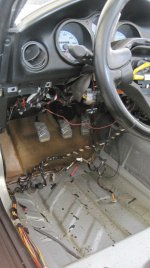
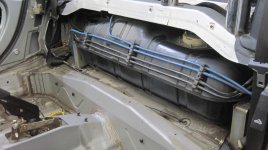
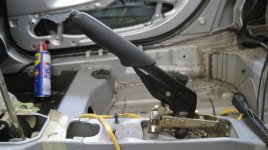
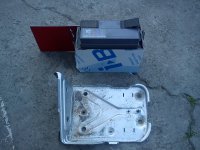
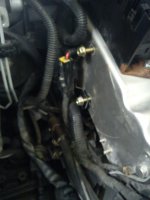
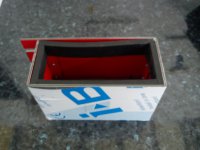
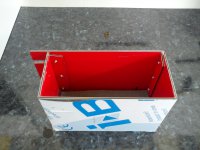
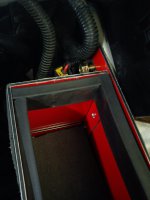
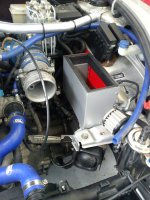
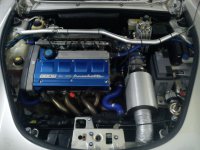
OP
OP
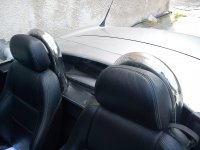
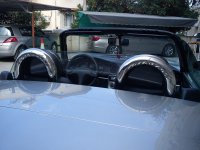
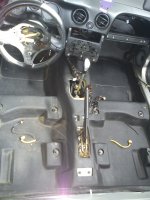
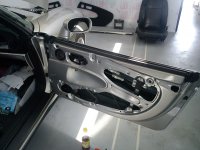
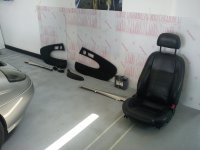
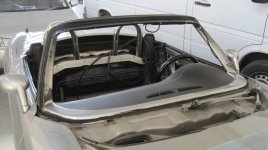
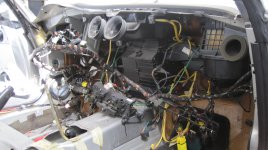
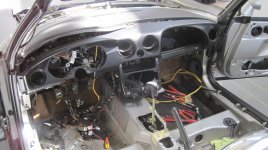
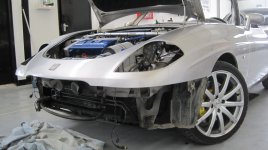
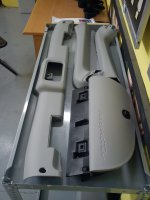
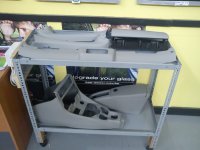
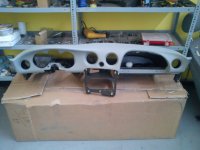
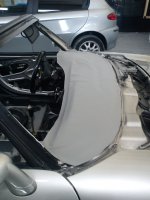
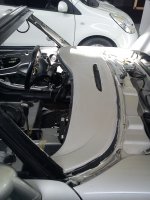
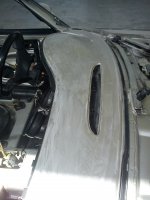
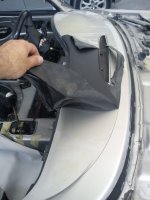
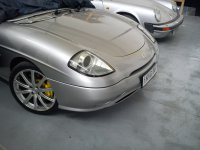
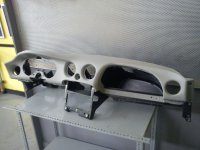
Barchetta limited edition! Grey dash and interior !
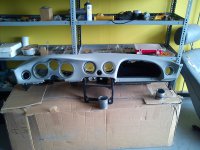
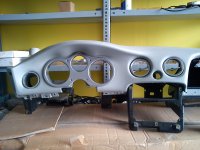
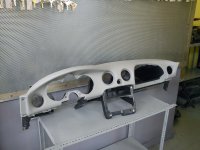
The leather coloniser has prepared the dash so far and Ive left other panels with him to do. More pics to follow as she progresses.")
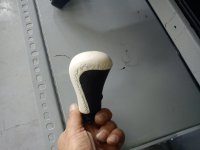
The wheel and gear knob in black and white are parts Ive had made for Bollie.
What do you think?
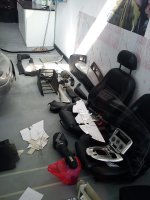
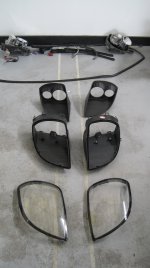
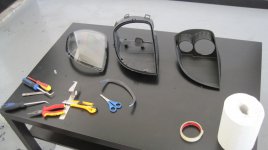
The leather coloniser has prepared the dash so far and Ive left other panels with him to do. More pics to follow as she progresses.
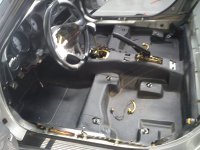
The wheel and gear knob in black and white are parts Ive had made for Bollie.
What do you think?
Attachments

Last edited: