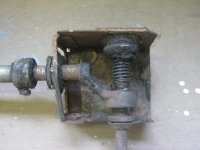
What a shame to paint them. ")


What a shame to paint them.

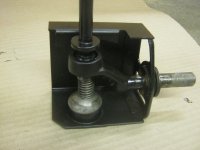
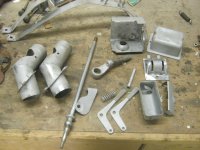
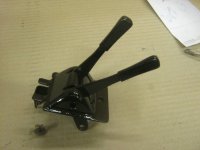
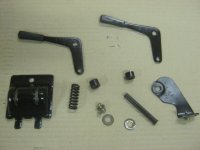
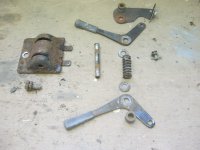
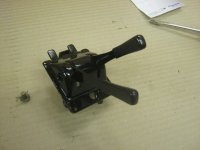
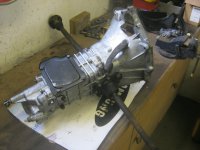
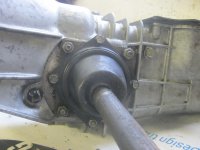
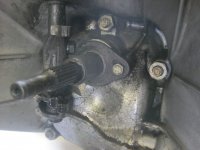
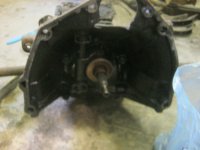
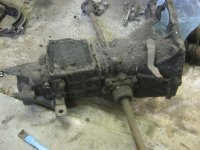
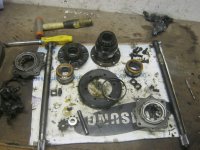
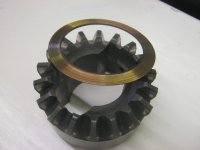
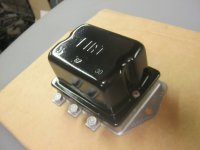
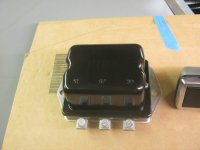
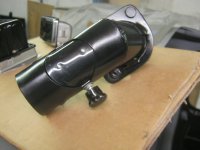
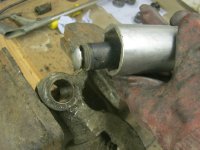
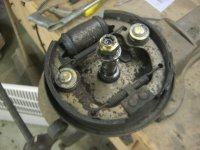
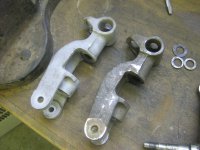
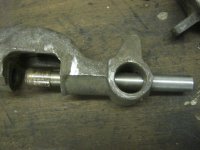
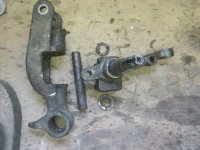
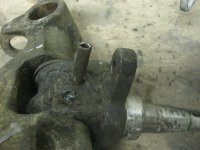
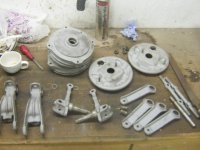
Lucky for me I am running out of parts to restore.Interesting seeing how complex such apparently simple mechanisms are. Glad I was able to turn a blind eye to those sorts of bits. It would have added years to my speedy restoration.
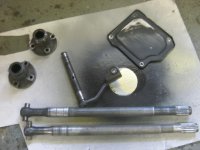
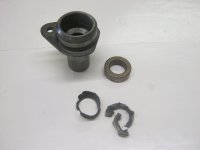
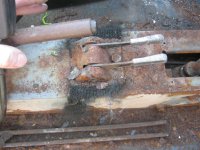
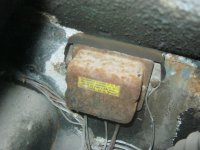
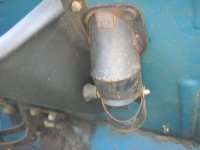
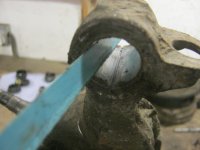
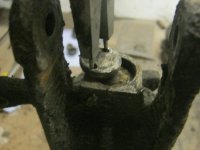
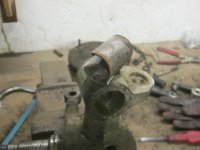
It's dangerous that sandblaster. in theory it speeds things up because you can avoid loads of rubbing and degreasing etc. but it makes such a nice job you will have to restore everything


Interesting seeing how complex such apparently simple mechanisms are. Glad I was able to turn a blind eye to those sorts of bits. It would have added years to my speedy restoration.
It's dangerous that sandblaster. in theory it speeds things up because you can avoid loads of rubbing and degreasing etc. but it makes such a nice job you will have to restore everything


 . Local (ie. British) touring targets this year as a practice for next year. I have had some interaction with a club planning a 500 mile tour of Scotland this year; I should reach 500 miles in the 500 this week.