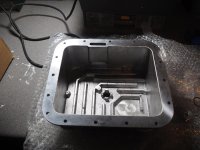
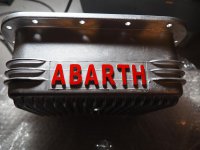
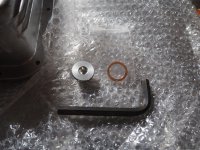
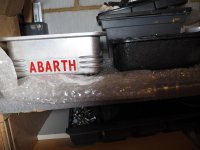
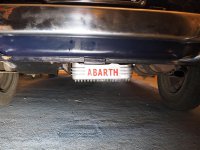
Right - I did the job over the past couple of days. As a reminder, the sump is the 3.5 litre 'Abarth' one from Motobambino, which came complete with alloy sump plug and copper washer. I had previously painted the Abarth lettering with Revell 'Ferrari Red' enamel paint (needed touching up again after I had fitted everything).
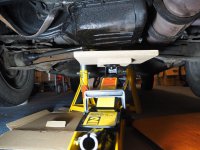
The undertray was still off form when I cleaned the oil filter so first off I jacked up the left hand side of the car and drained the old oil out first, then let it back down, jacked it up under the old sump and put axle stands under the suspension just by the pivot, to get plenty of access.
Undoing the sump bolts was easy (too easy?) maybe because the rubber gasket had some give in it. The remaining oil in the standard sump didn't look too bad, certainly no sludge, so maybe the engine has been reasonably well looked after
")
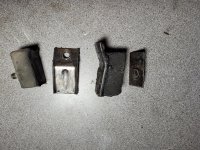
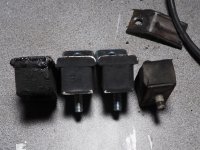
FYI I've included a pic of the old and new sumps side by side - the new one is 2-3cm deeper.
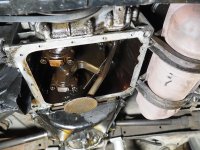
I cleaned up the mating surface on the bottom of the engine and went to put on the Permatex... only to realise that I had got Ultra Copper, intended for exhausts; though it
might have been OK, I decided to get something more appropriate and ended with a Wynn's product, which was the only one I could find in stock locally at 5pm...
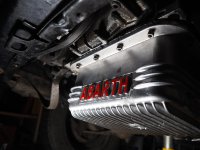
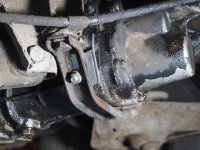
Per advice, I put the sealant around the outside half of the sump mating surface, then went round all the bolt holes to be sure of a good seal (hopefully!). The Wynn's calls for hand tightening the bolts, leaving for an hour, then fully tightening them, then leaving for 24 hours to fully cure, so that's what I did. I considered using the old oval washers but decided in the end to go all stainless all round: 20mm M6 cap head full-thread bolts, spring washers and flat washers. It looks nice and neat, and hopefully will do the job.
After a but of a rub down of visible engine and diff part to remove some of the encrusted oil+dirt, the final job was to refit the undertray, adding new screws where 2 had been missing.
Next day I removed the stands and let the car back down. After another day there are a few oil drips on the floor but I think that is from where it was still trickling out of the engine while there was no sump on. In the next few days I'll take it out for a bit of a run to burn off any residual oil on the bottom, then leave it to stand and check again, but fingers crossed!
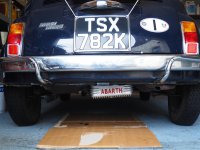
One thing I have noticed, which stands out with the shiny alloy of the new sump, compared with the old black one, is just how off-the horizontal the engine is. I've only changed the sump so I think it must always have been like this, backed up by what I can make out from previous photos of the back of the car. It looks a bit odd - are they all like this, or is something amiss? I guess it could be partly because it has been jacked up and on stands for a couple of days?