General Charmania - chapter two.

Currently reading:
General Charmania - chapter two.

None of those eBay links have worked Vernon.

Thanks Jon, don't know what's going on there so have edited post and put in my own description. (y)

I'm having trouble putting posts on tonight, my putah keeps freezing, must be the weather, so I'm having to do it in four or five small posts.
 
Last edited:
While I was on ebay I ordered 12 alloy wheel bolts and four locking bolts. Also a can of Autoglym wheel silver as the wheels need a tidy up before I fit them........


one of my jobs for the week.
 
Well the owner has finally met her car. Charmain came home for Christmas and for the first time saw her new Panda. She was very pleased with it, but lets remember, for the last couple of months she's been borrowing my CLX and 750L so I think Charmania was a little plain by comparison. I did describe my plans for it but I don't think she can visualise them very well. Anyway, she did love it as it was and wanted to take it with her when she returned to Hereford today. But she's gone back in the 750L, and I've resumed work on it :).

Today I will be mostly using a tin of paint and some sticky back plastic.


The wheels were rubbed down and prepared for painting during last week so today I was able to give them a coat of silver.


All that's left to do now is paint in the four black spokes and spray the whole lot with clear laquer.
 
So next up were the stripes. As previously mentioned, i'd decided to make these from vinyl rather than painting them, so I bought two viper stripe kits. the silver one is supposed to cover the full length of the car, whereas the grey stripes are a bonnet only kit. This seemed to be the cheapest way of getting the raw materials I needed.

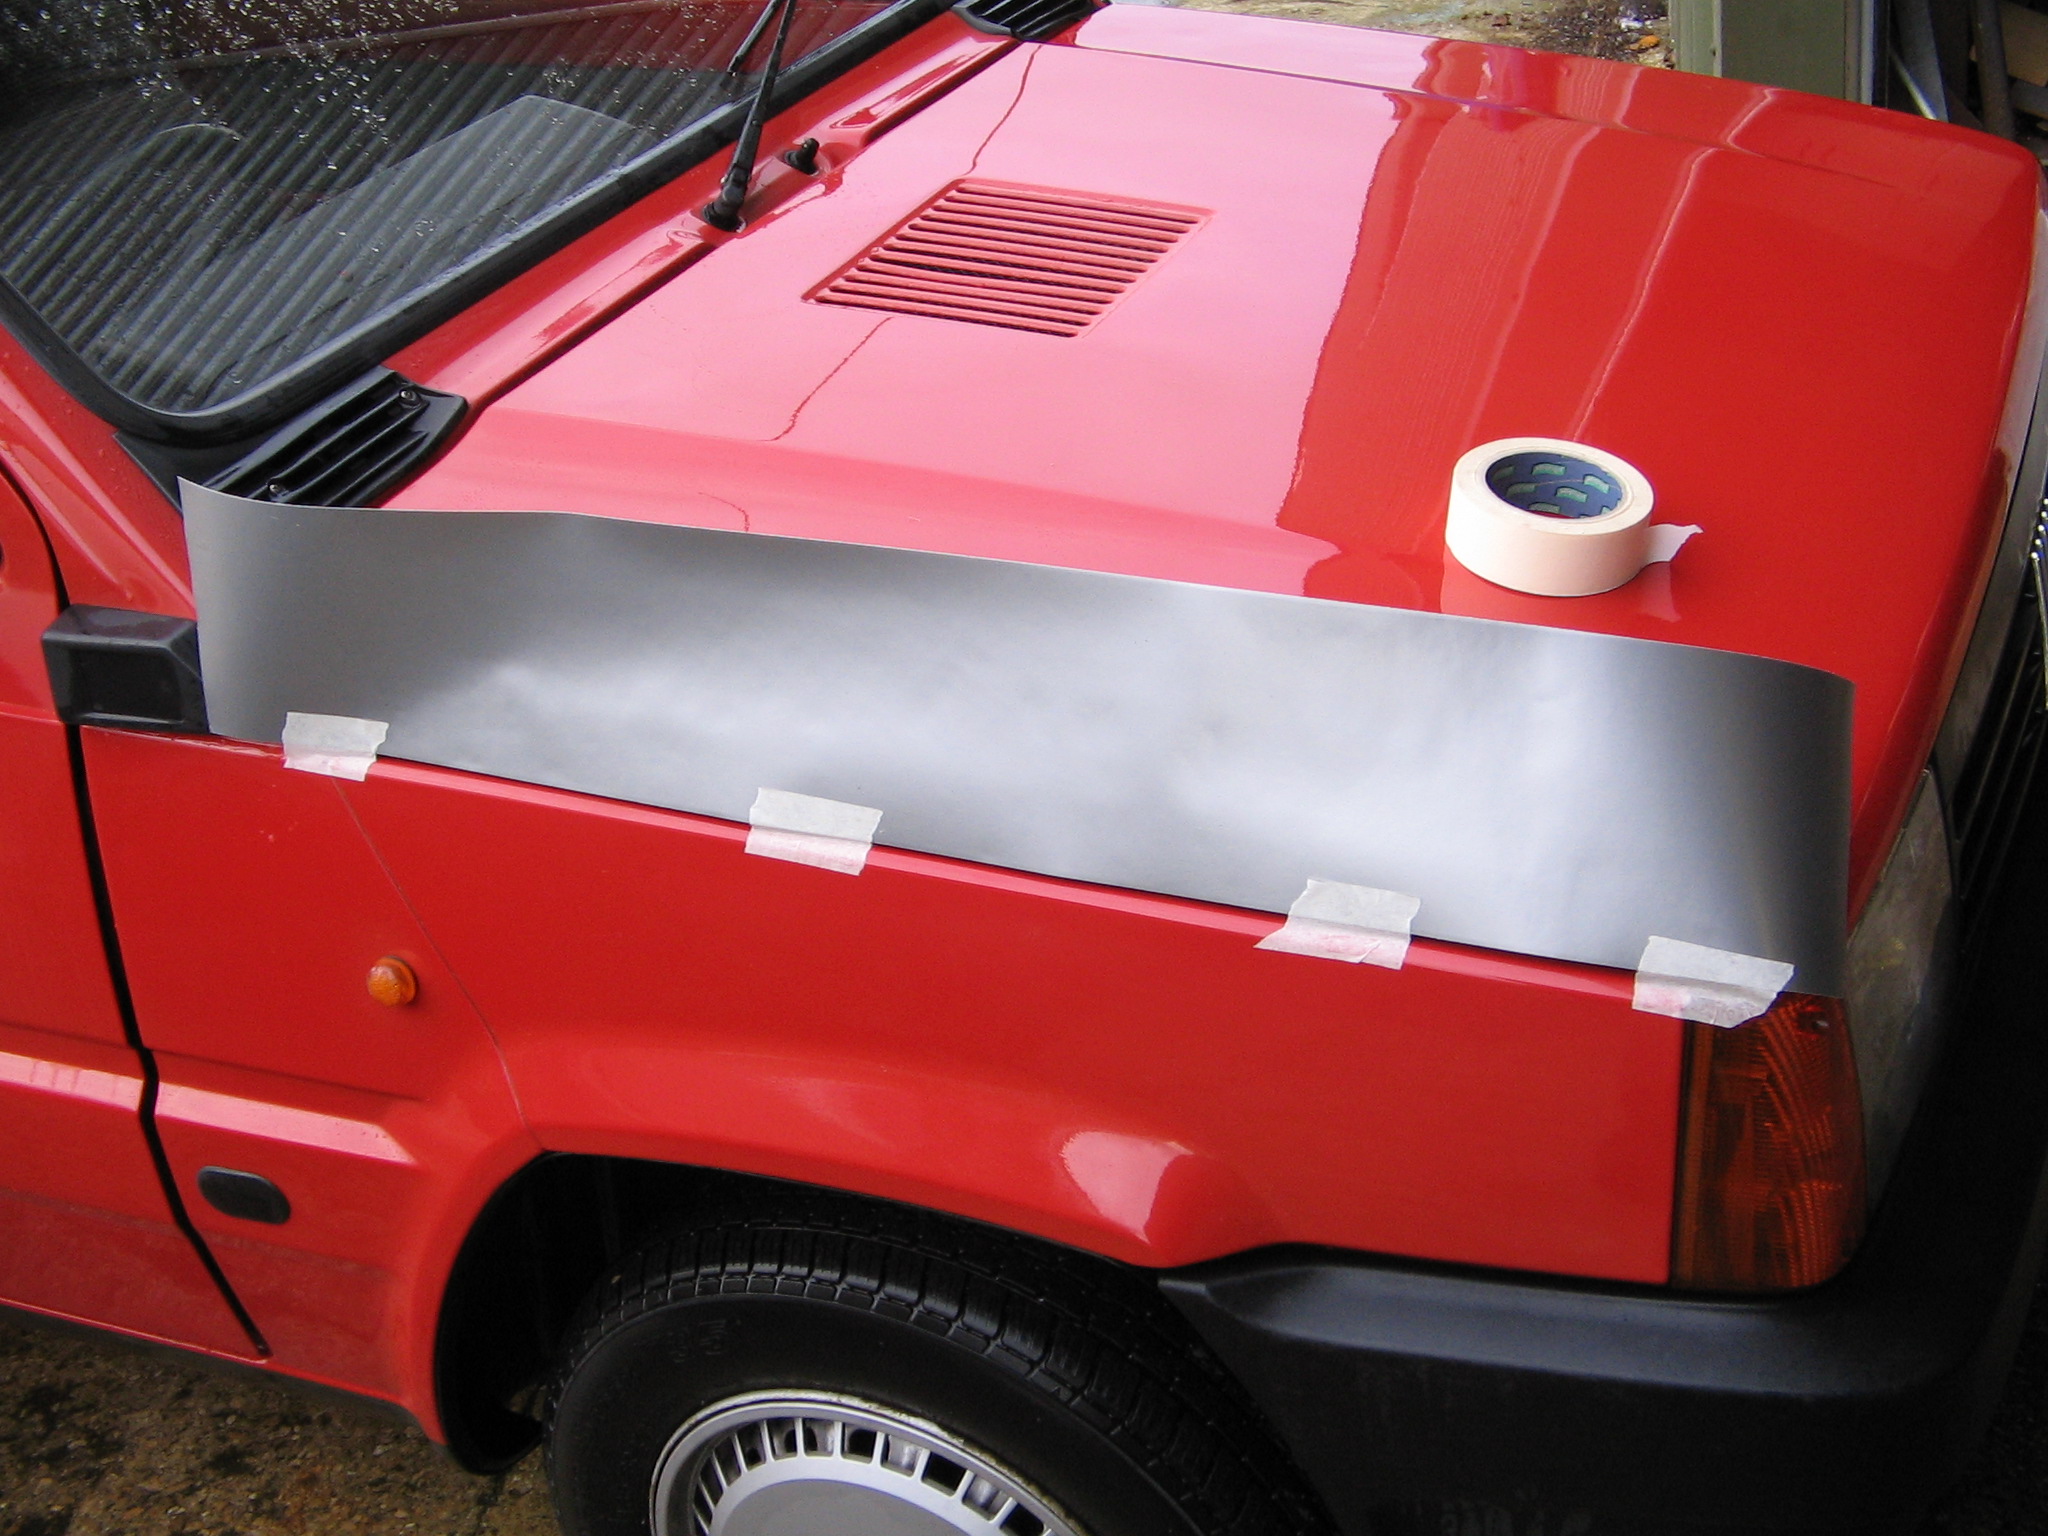
First job was to clean the areas to be covered with traffic film remover in order to strip off all the polish i'd spent so much time putting on it :(. Then cut a length of silver for the bonnet, line up the bottom edge, and hold it in place with some masking tape........


I then roughly marked out the top edge with a pencil, deliberately drawing slightly high.


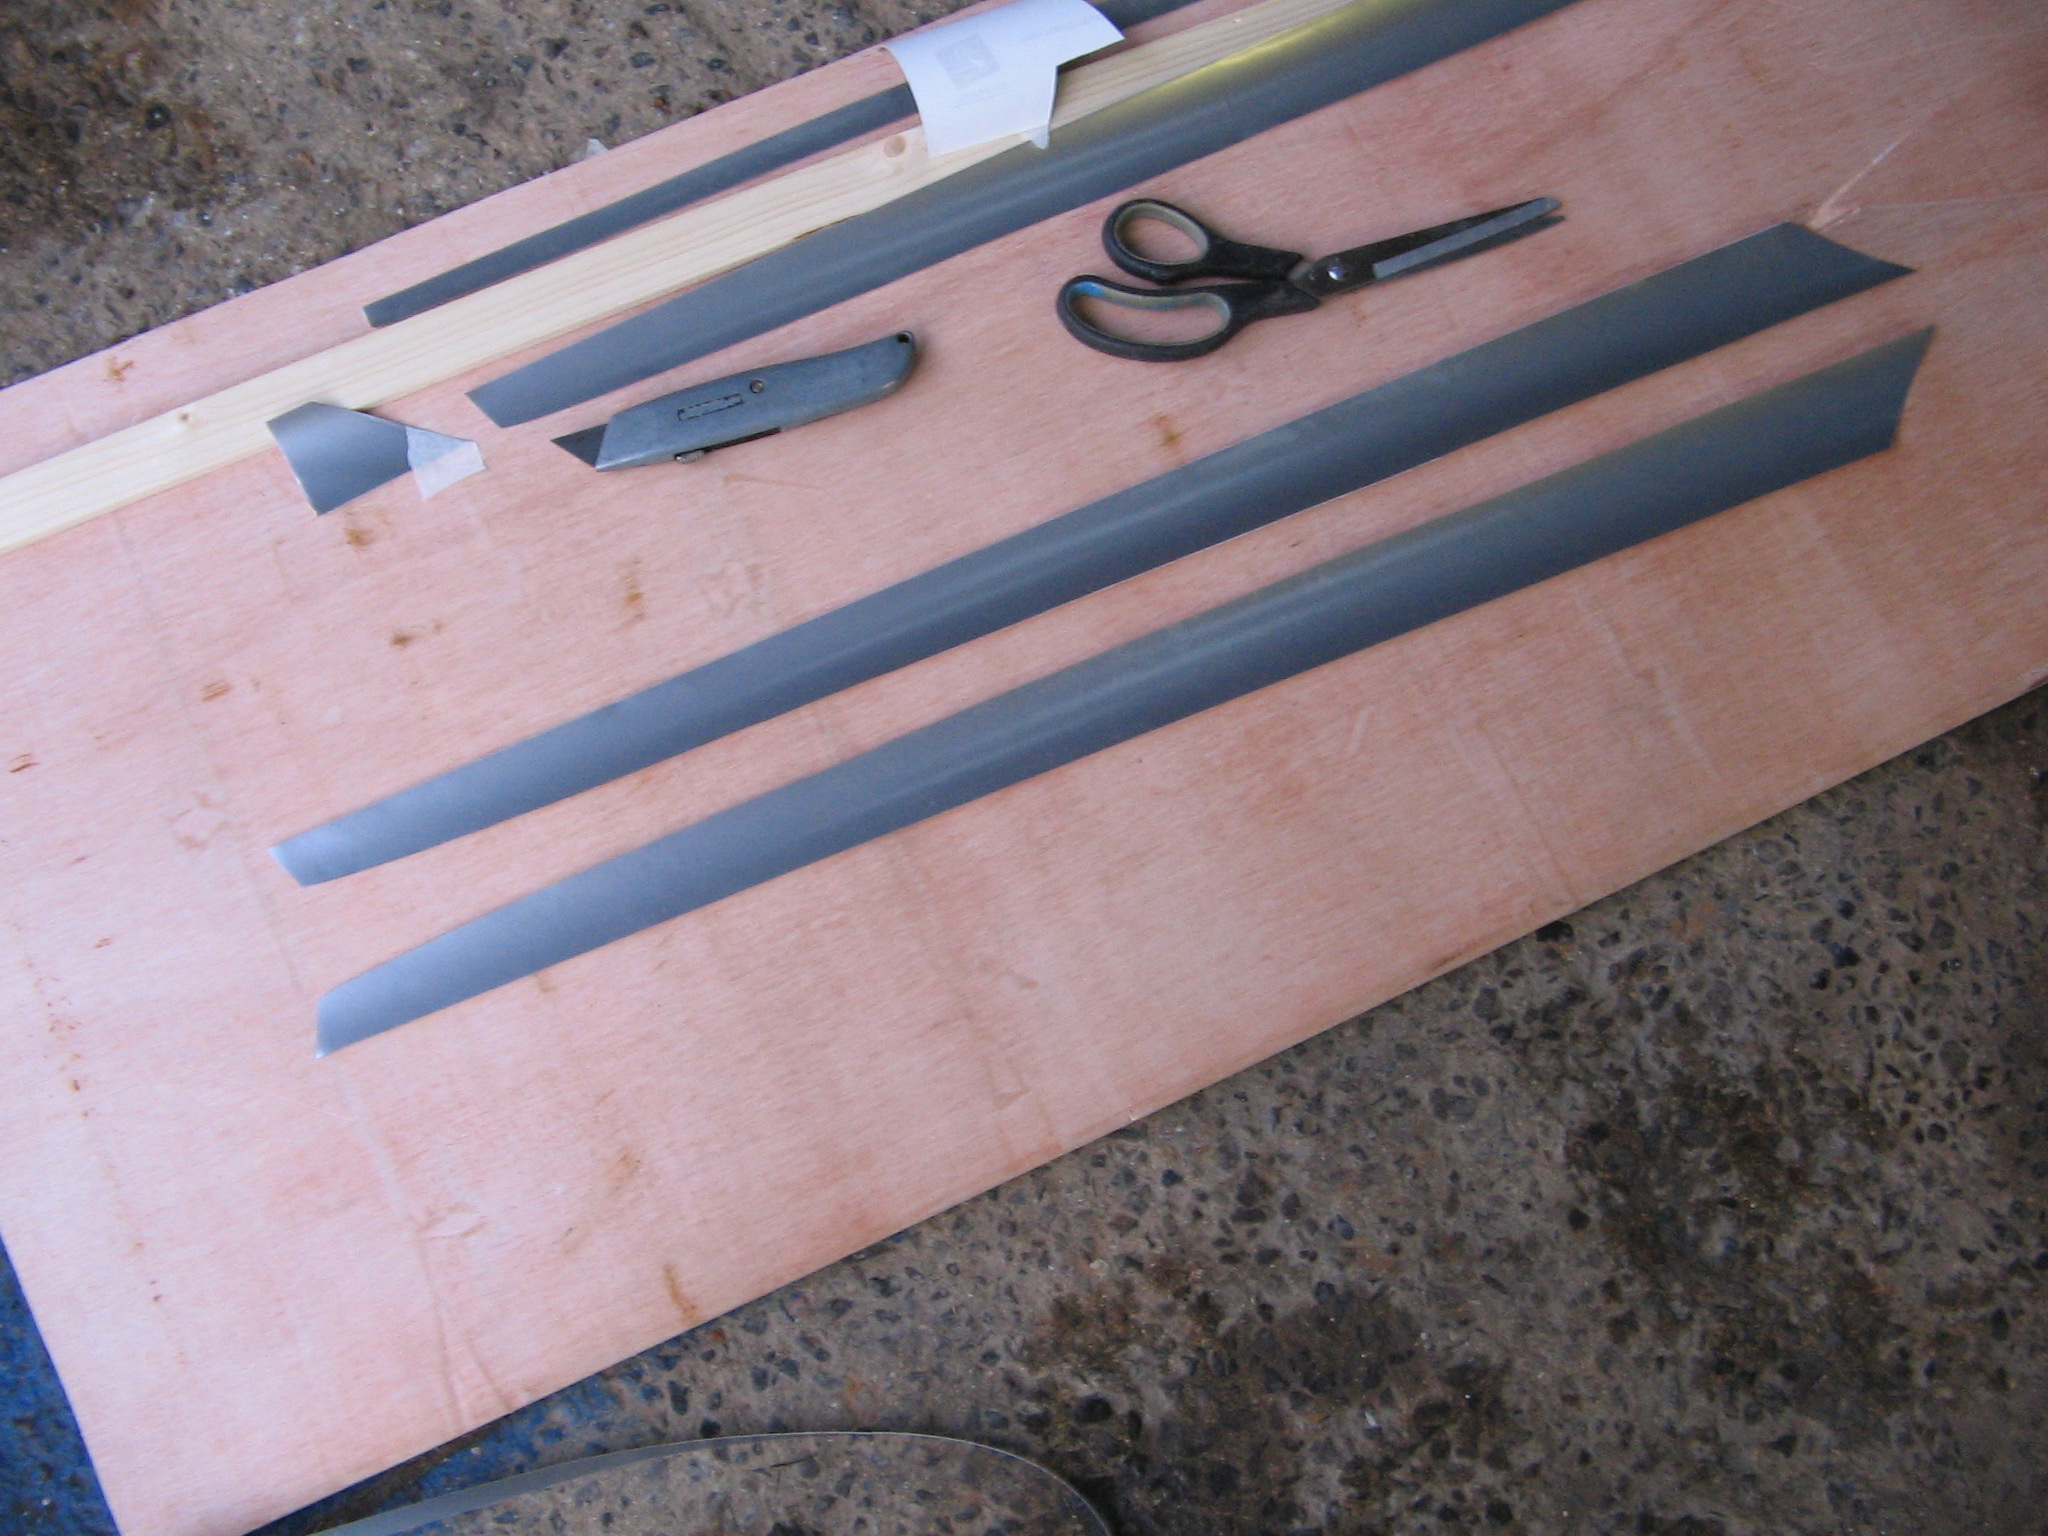
I then removed it and cut to size on the table, also using it as a pattern afterwards to cut the piece for the other side........


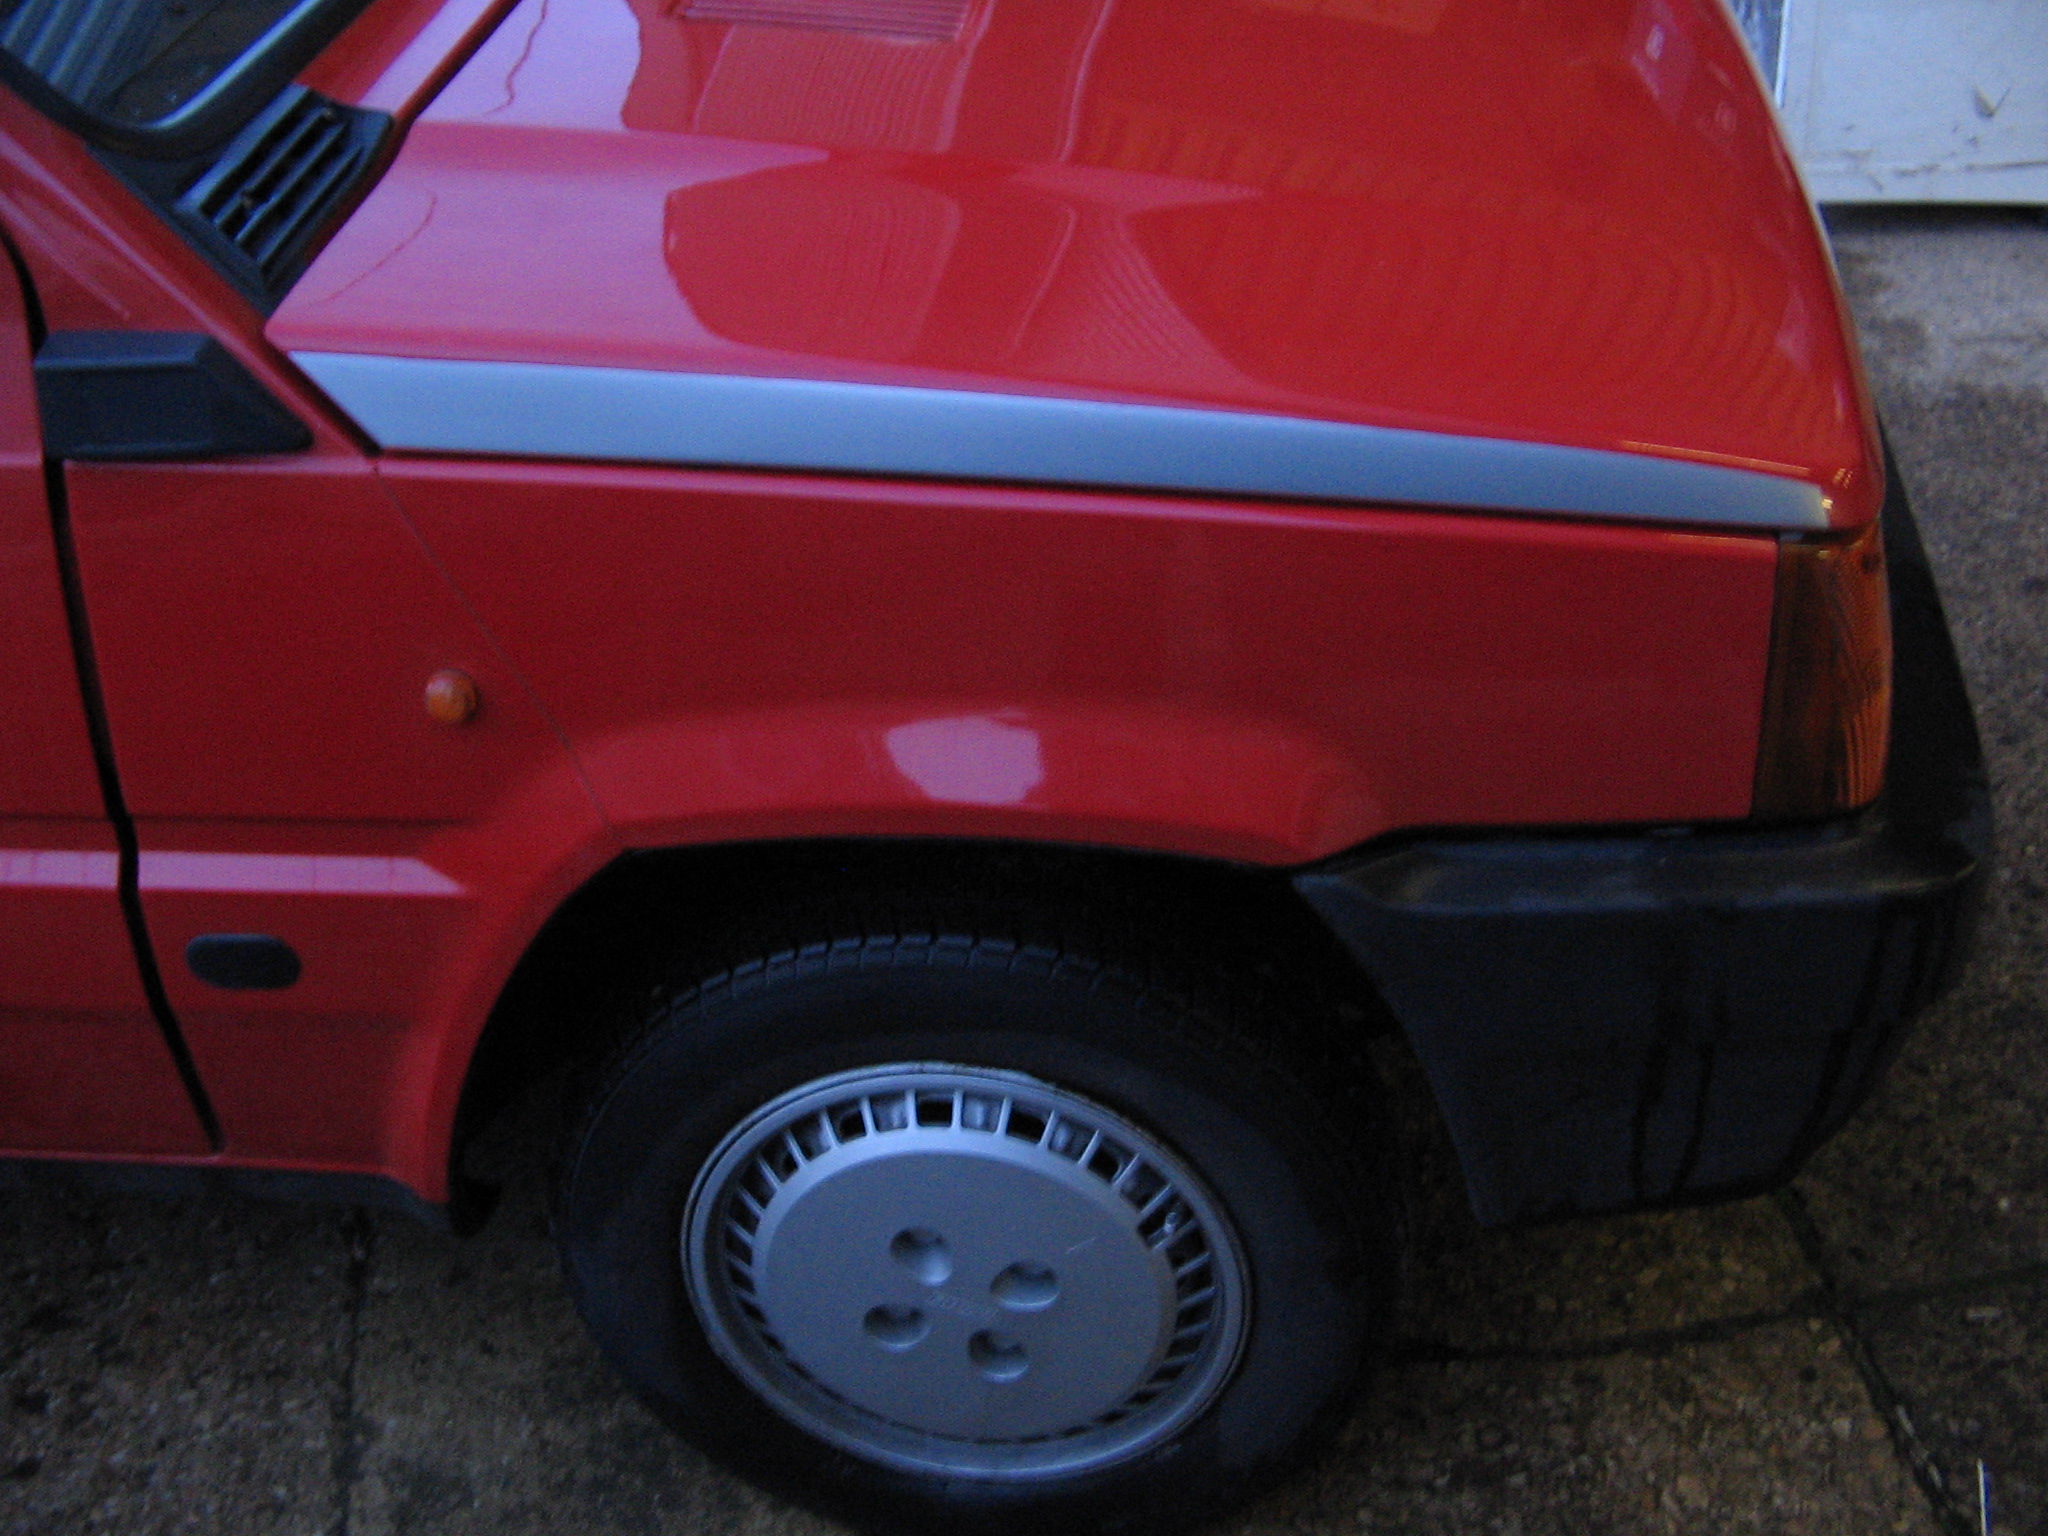
Next is to wet the area and, after removing the backing paper, wet the sticky side of the vinyl. You should add a spot of washing up liquid to the water to aid positioning but not much or it will reduce the adhesion. Then put the vinyl in place, line up and squeegee out the water and any air bubbbles with a cloth. Sunshine is supposed to dry everything out and finish the job, but in it's absense I carefully used a hot air gun........


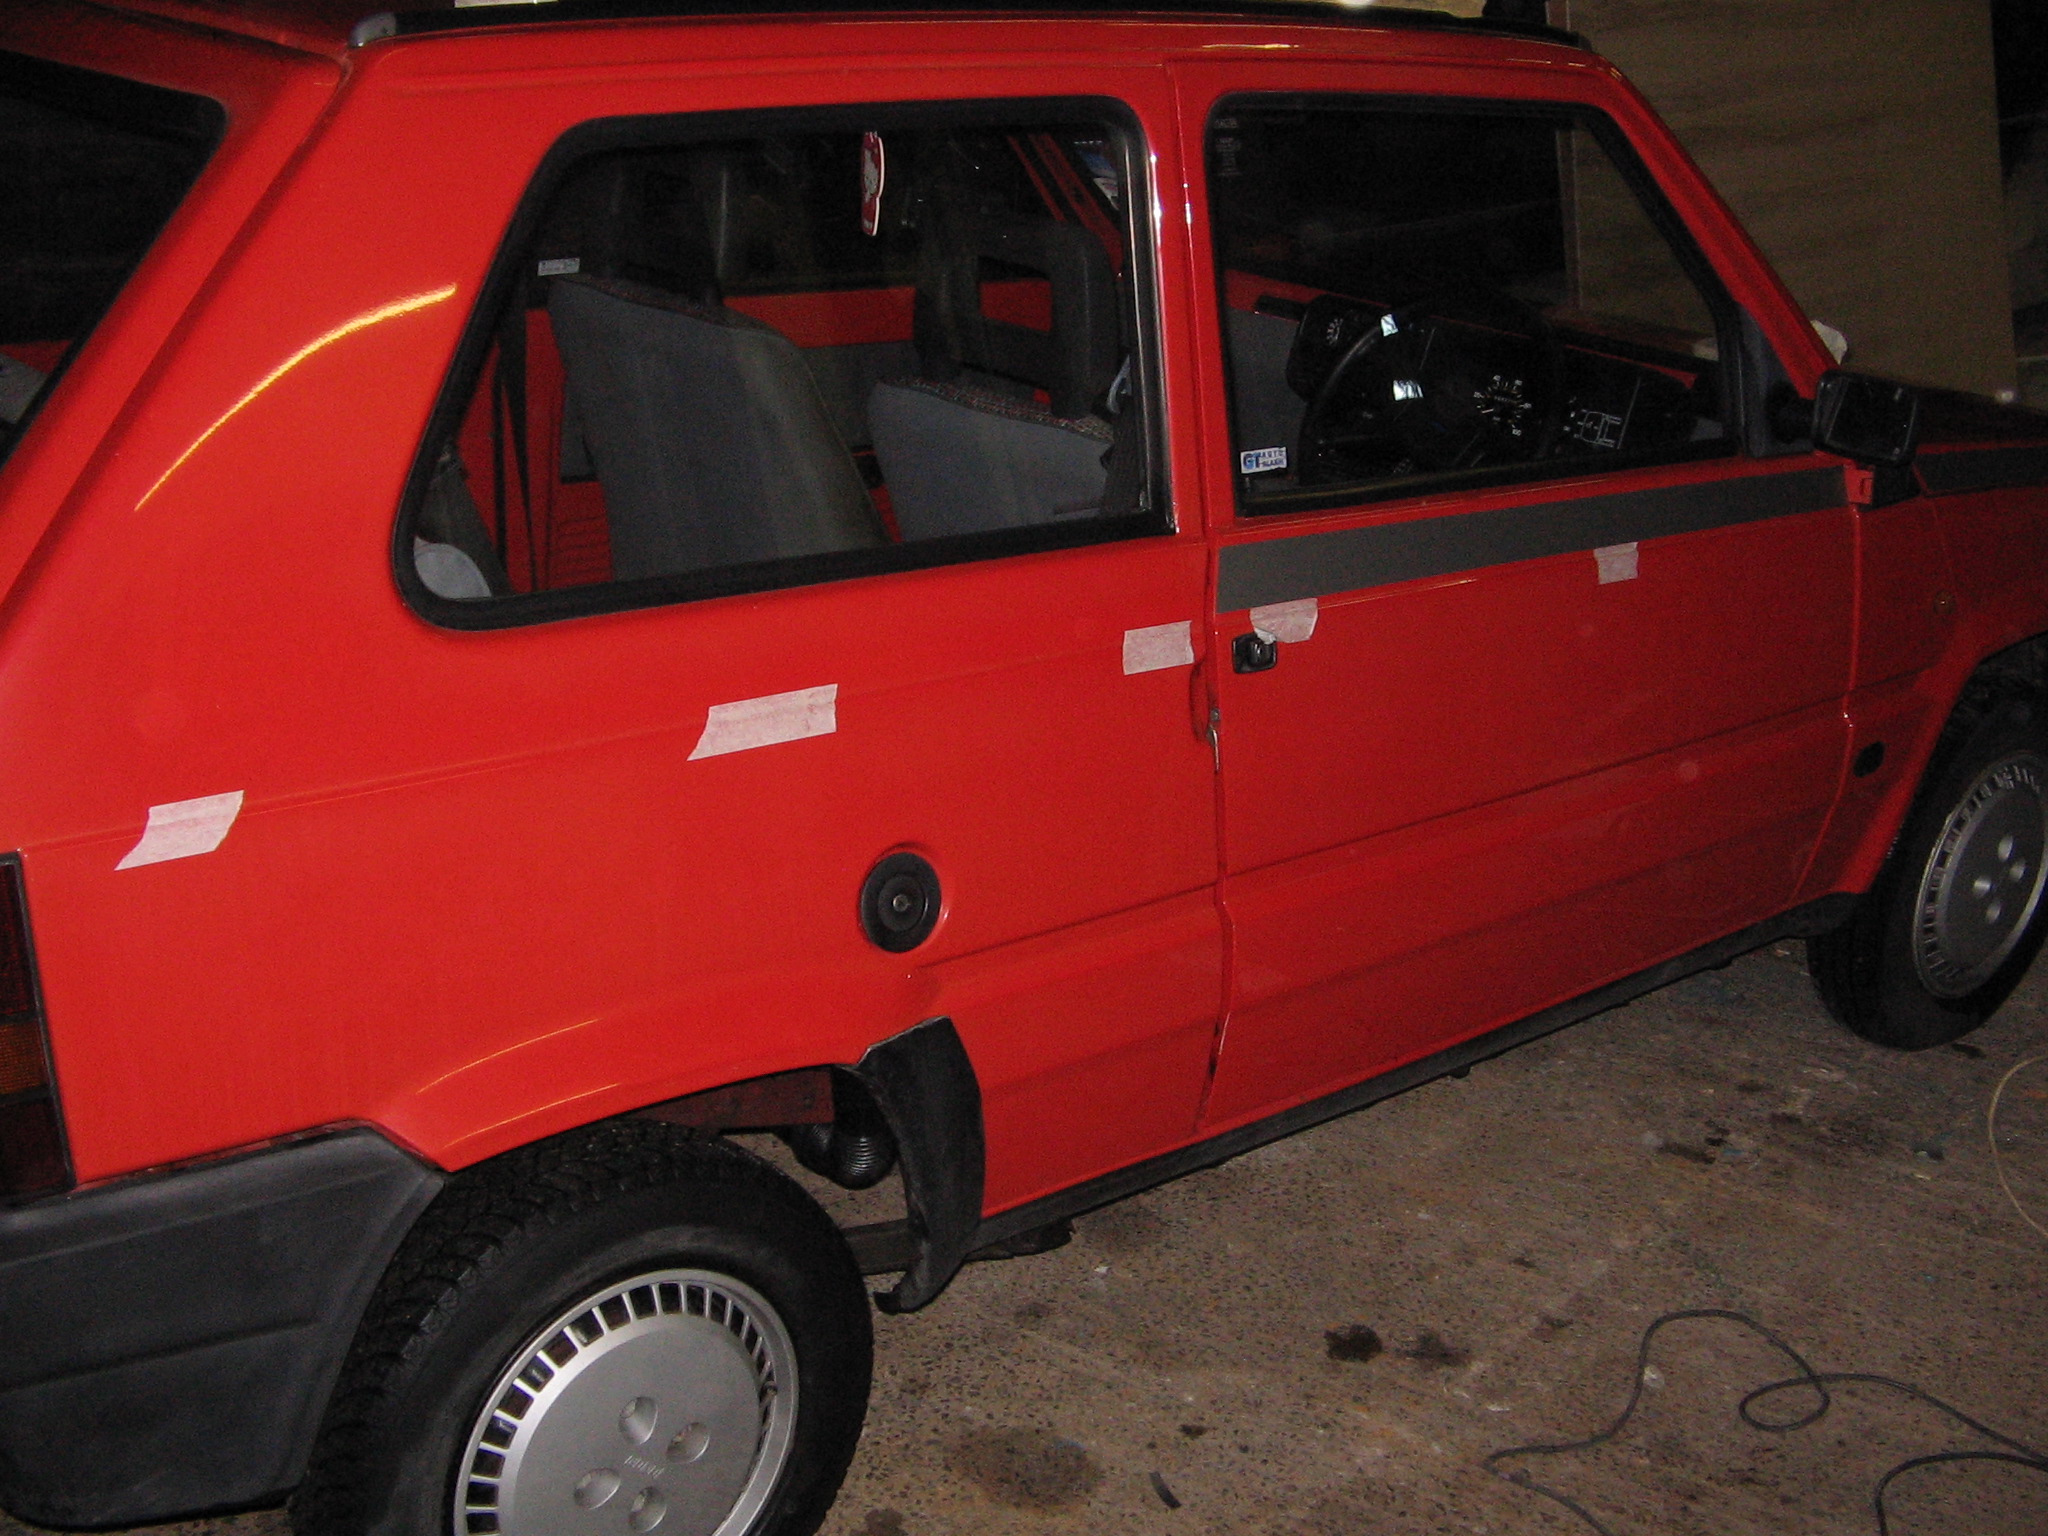
The rest of the side was measured out in one piece and the bottom edge lined up...........


I then pencilled in the end and top profile along with the door edges. Before removing to cut out on the table I marked where the bottom edge sits. Once cut the areas were wetted and each piece refitted and dried out.........


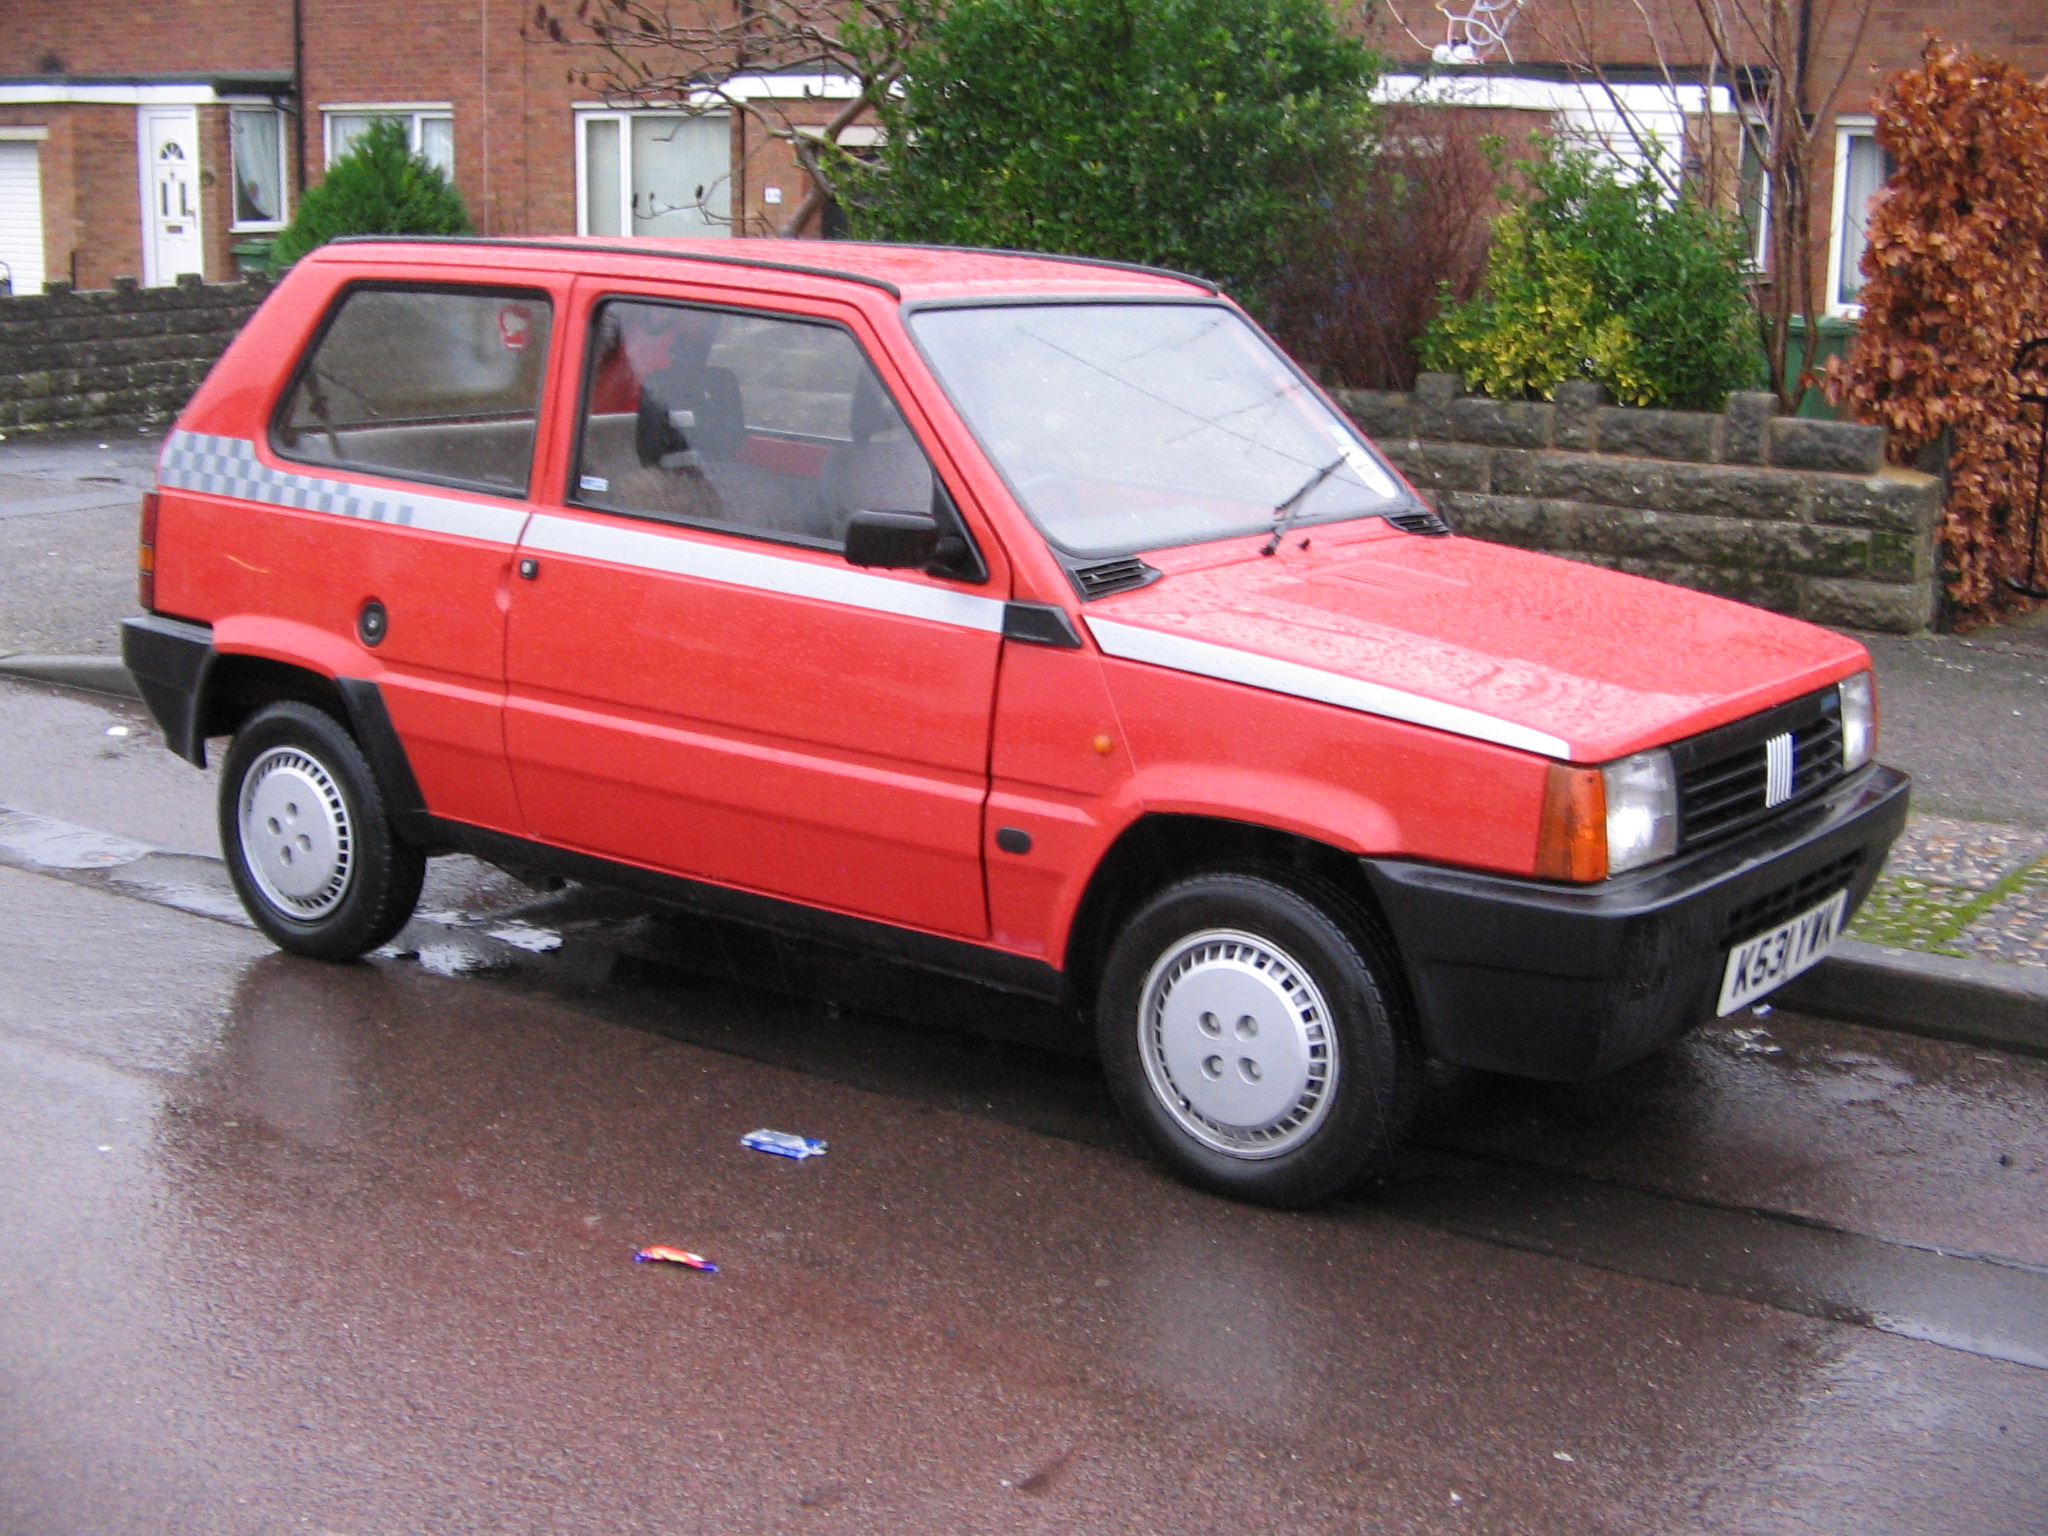
As you can see, it's getting quite late now, so the grey squares will have to be cut out and stuck on tomorrow to give a chequered flag effect at the back.
 
Looking good Vernon. when i get the roof done i'm think about chequered on the boot lid where you will be doing yours i expect. not sure if i will do any side vinyl though

Haven't made my mind up about the tailgate, but I'm pretty sure I won't go with more chequers, it might make it look a bit too much like a police car, or should that be Panda car ;).

Those wheels look very good and so does the bumper in the is it a case of back to black

No they're just as they came. I've deliberately not put anything on them as I'm going to paint them. Are yours black now?
That Autoglymm wheel paint was recommended to me by someone in a local Mini owners club. I find it very good for colour and coverage, plus it's formulated to go straight on without primer. I gave the wheel trims that are currently on it a quick blow over a couple of weeks ago and they came out very well for 20 mins effort (y).
 
I've deliberately not put anything on them as I'm going to paint them. Are yours black now?.

No I haven't worked on the Marbella for some weeks. Basically as I need to move things outside to work on it or I work on it outside. Either way it has either been Snow, Cold (-5) :eek:, or raining as in today.

My timeline is to have him ready for April 2010.
 
Well despite a very wet day I pushed on and, 48 little grey squares later, the chequers are on.


I'm still waiting for a grey pinstripe to arrive, and when it does shall be added. But even without it I'm sure the top speed has gone up by 10 mph, and acceleration is fantastic from the lights :eek:. No, really it is, I'm sure I'm not just imagining it! :p

The taller back section was four squares high, but it just seemed too big so I've trimmed it down by 38mm to three squares.
I've also kept the backing papers as templates in case I need to replace a piece in the future, good thinking eh?
 
Hi Vernon, she's looking good, I drove past the other day and you hadn't done the work yet; either that or I couldn't see it through the frost on my windscreen!! The wheels look great!

All the best, Luke. (y)

Cheers Luke, it's all been done over the last couple of days. Hope to have the wheels on by this time next week.
 
Update on costs so far.......


£103.00 purchase price.
£ 20.00 fuel for collecting.
£ 31.41 exhaust tailpipe.
£ 80.00 welding.
£ 5.75 4 x spark plugs.
£ 2.50 Oil filter.
£ 13.10 4lts semi synthetic oil.
£ 1.99 air freshener.
£ 6.70 hub bearing kit.
£ 6.99 silver viper stripes.
£ 5.72 grey viper stripes.
£ 4.25 grey pinstripe.
£ 20.49 Wheel bolts ( 12 x bolts, 4 x locking bolts ).
£ 12.00 Alloy wheels with tyres ( 13" x 4.5", 155/70R13's ).
£ 5.25 Autoglym alloy wheel silver paint.

Total £319.15.
 
Last edited:
Back
Top