IMG_1761.JPG

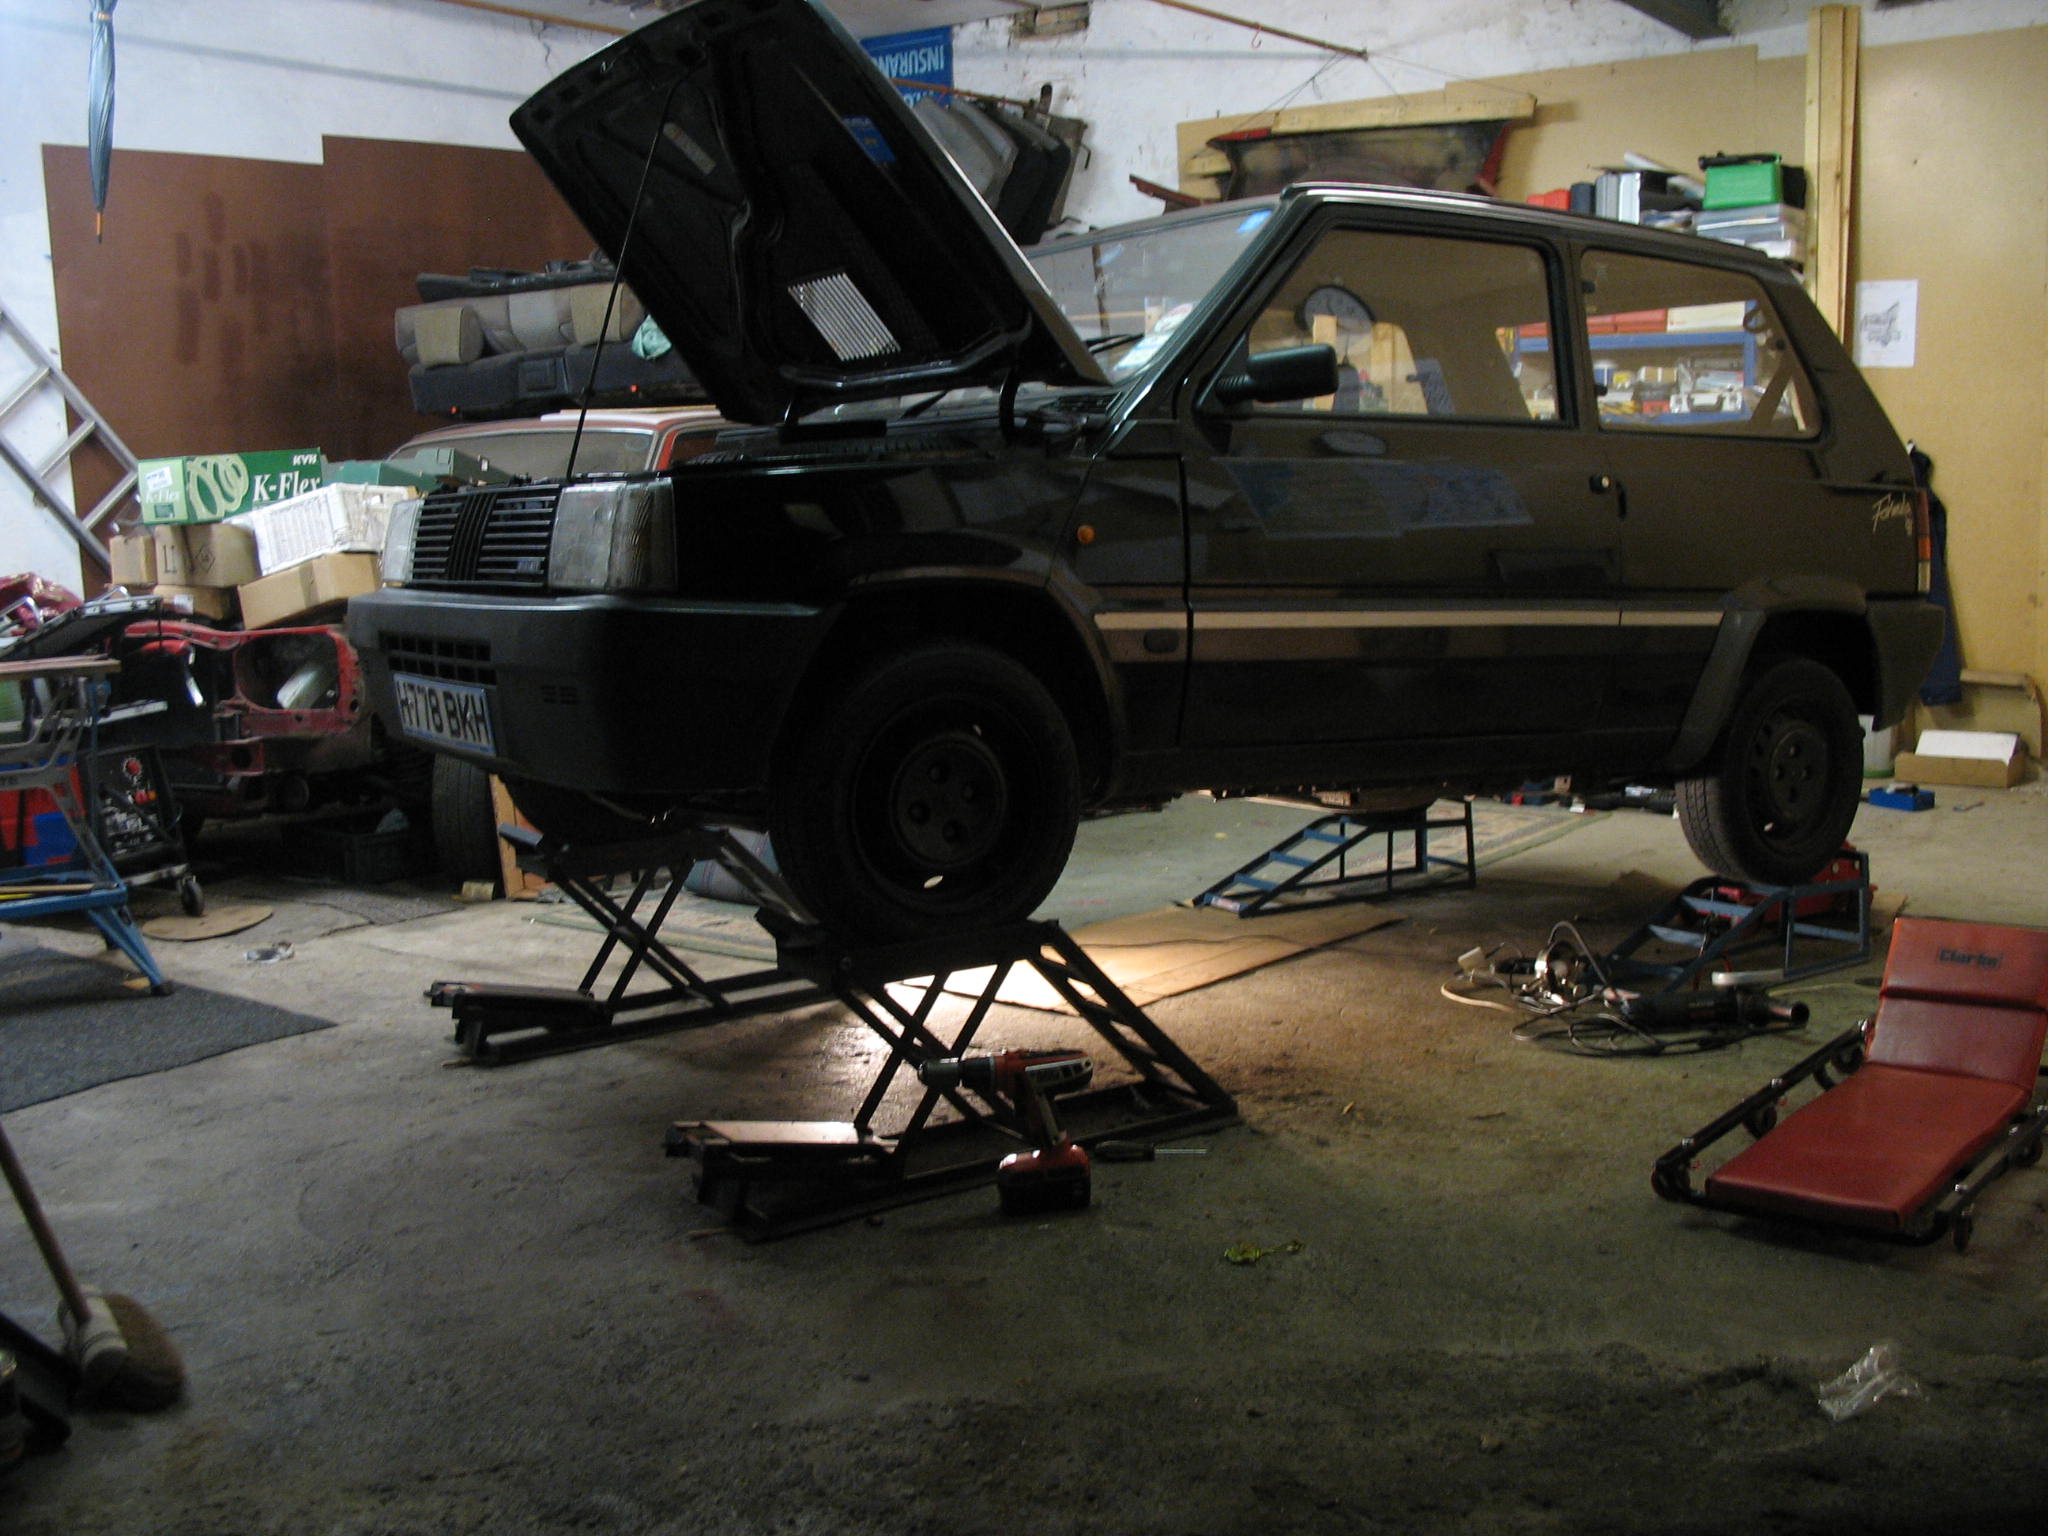
Panda (Classic) Black Panda Wanda 1000CL Formula 91

Introduction

Hi All,

After over 2 year on this forum I've finally decided to set members motors thread for my Panda as I'm currently doing some body works.
Some of them may have some benefits to other forum users, and it will be a bit easier for me to ask an advice.

As some of you know as seen my Panda personally it is not bad example, but as most of them she is not perfect.

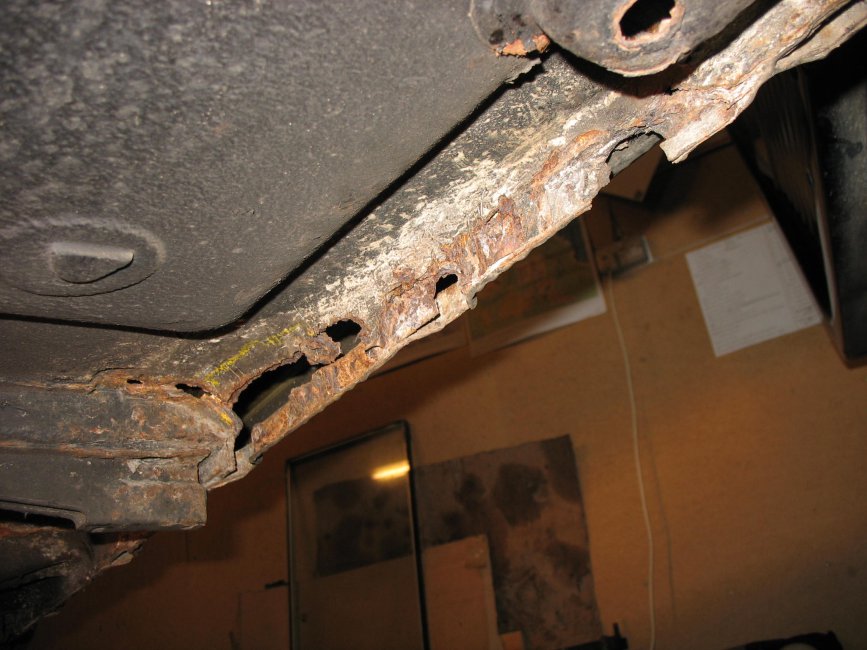
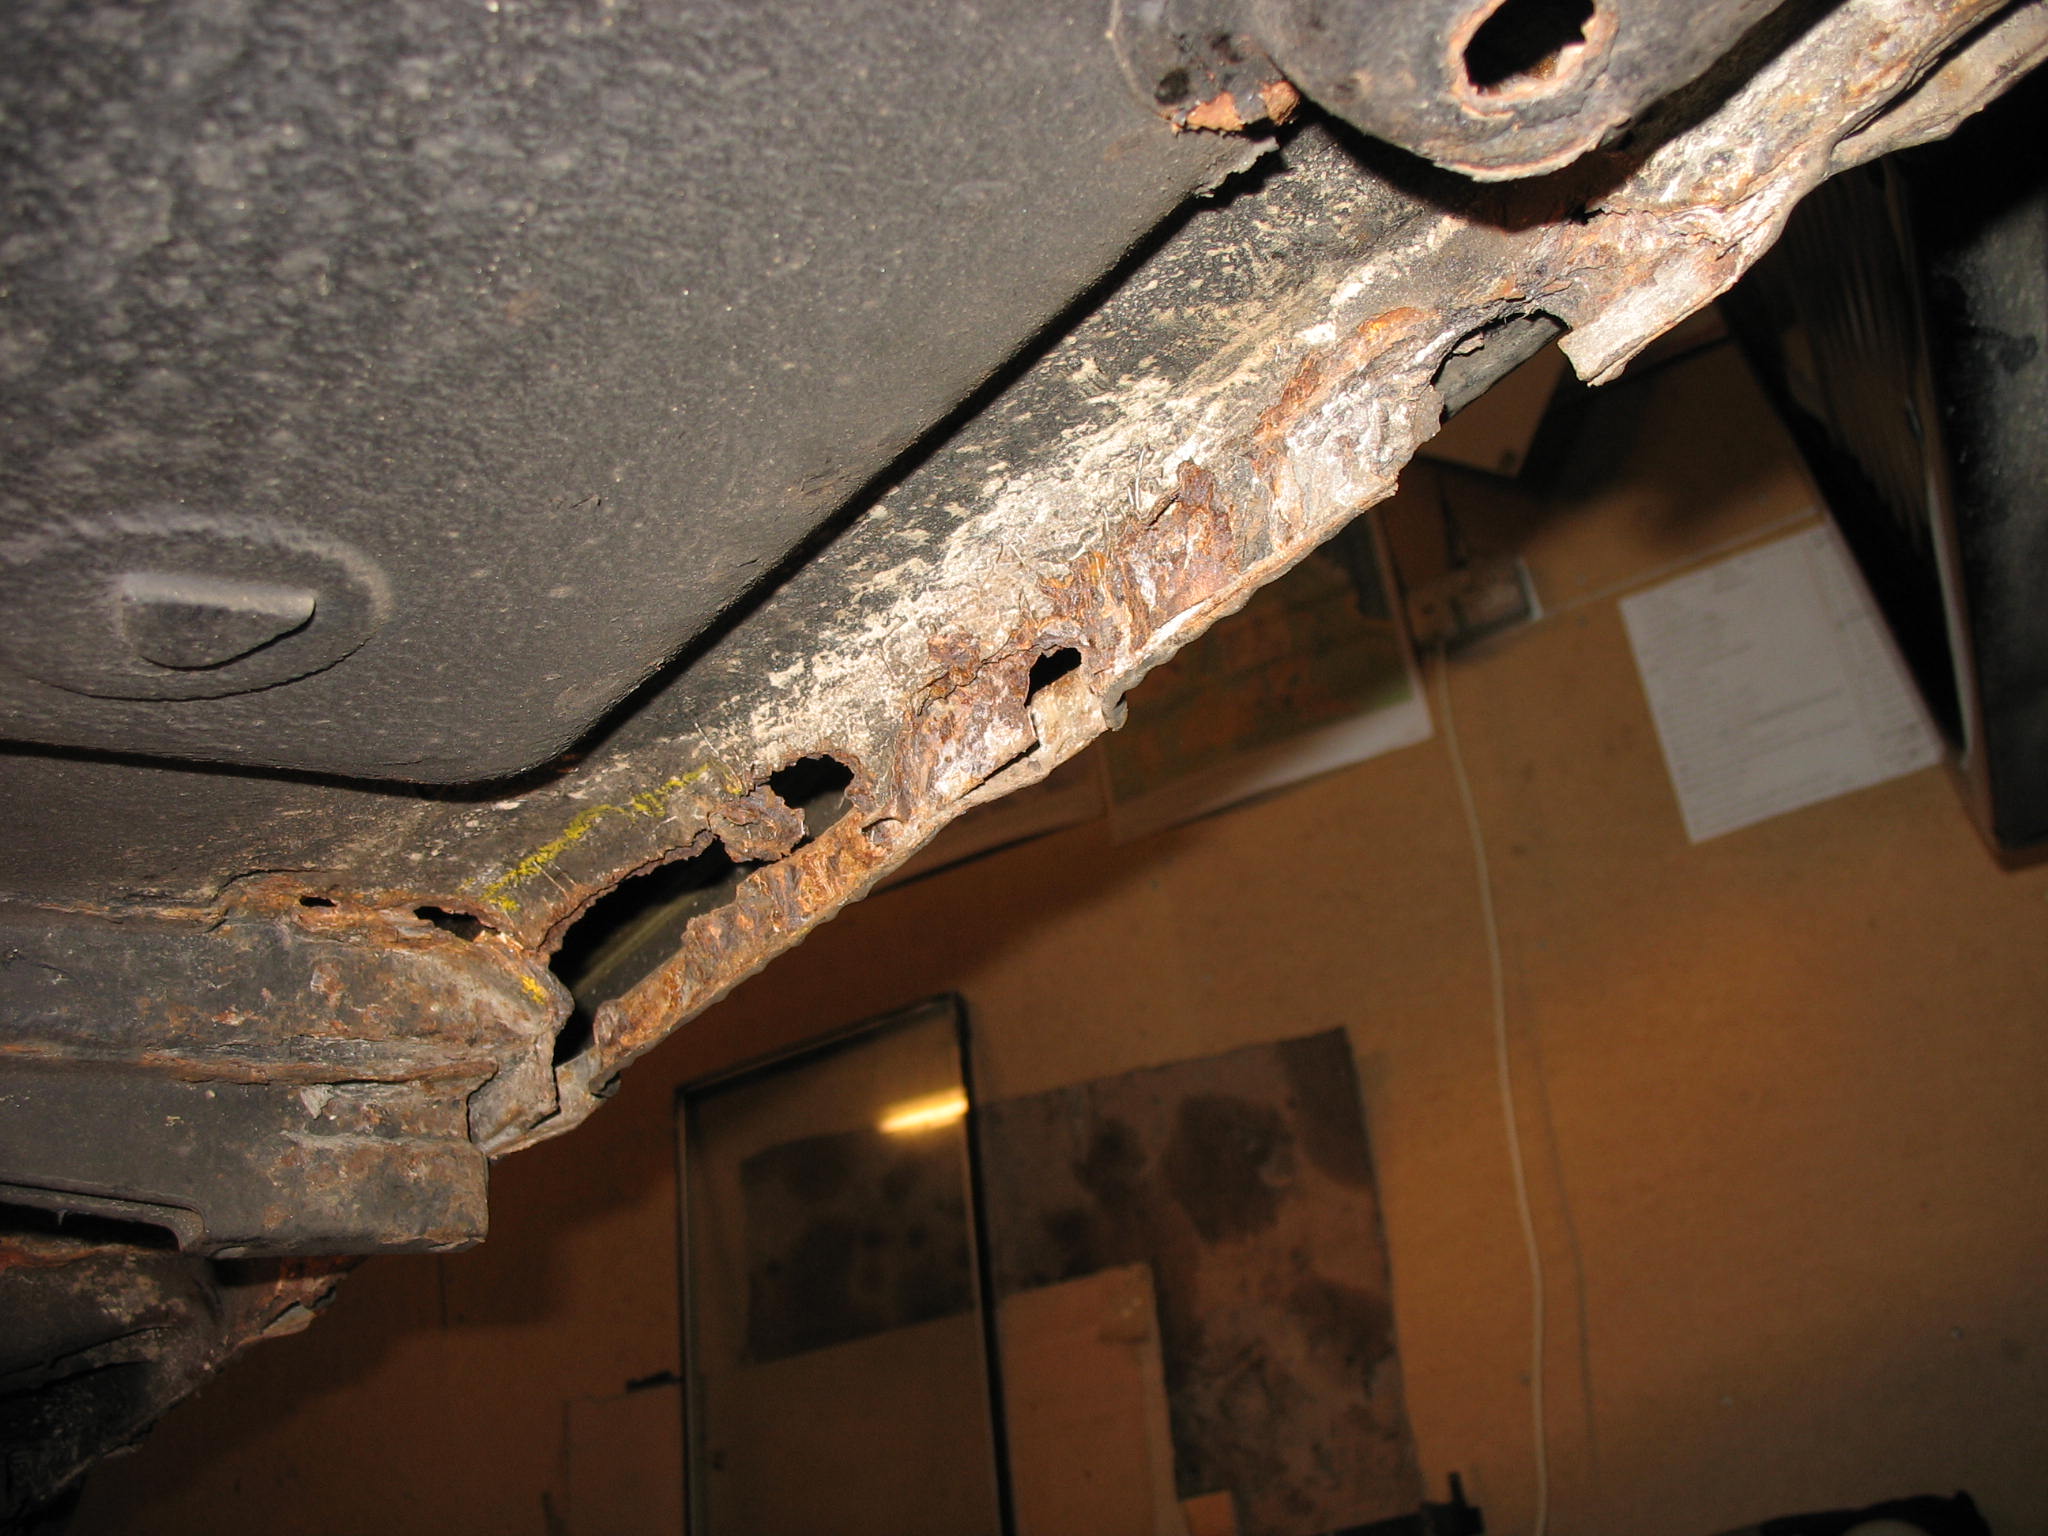
On the last MOT test this June I've been told by the tester that there is small rust hole at the inner sill/ floor recognized as an advisory.
So, lets have a closer look....

IMG_17703.JPG


At that time I was aware of small (20mm) outer sill bottom edge flange missing, but I was wrong as that was not the only one rust point.
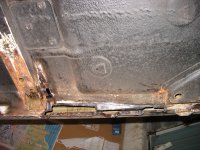
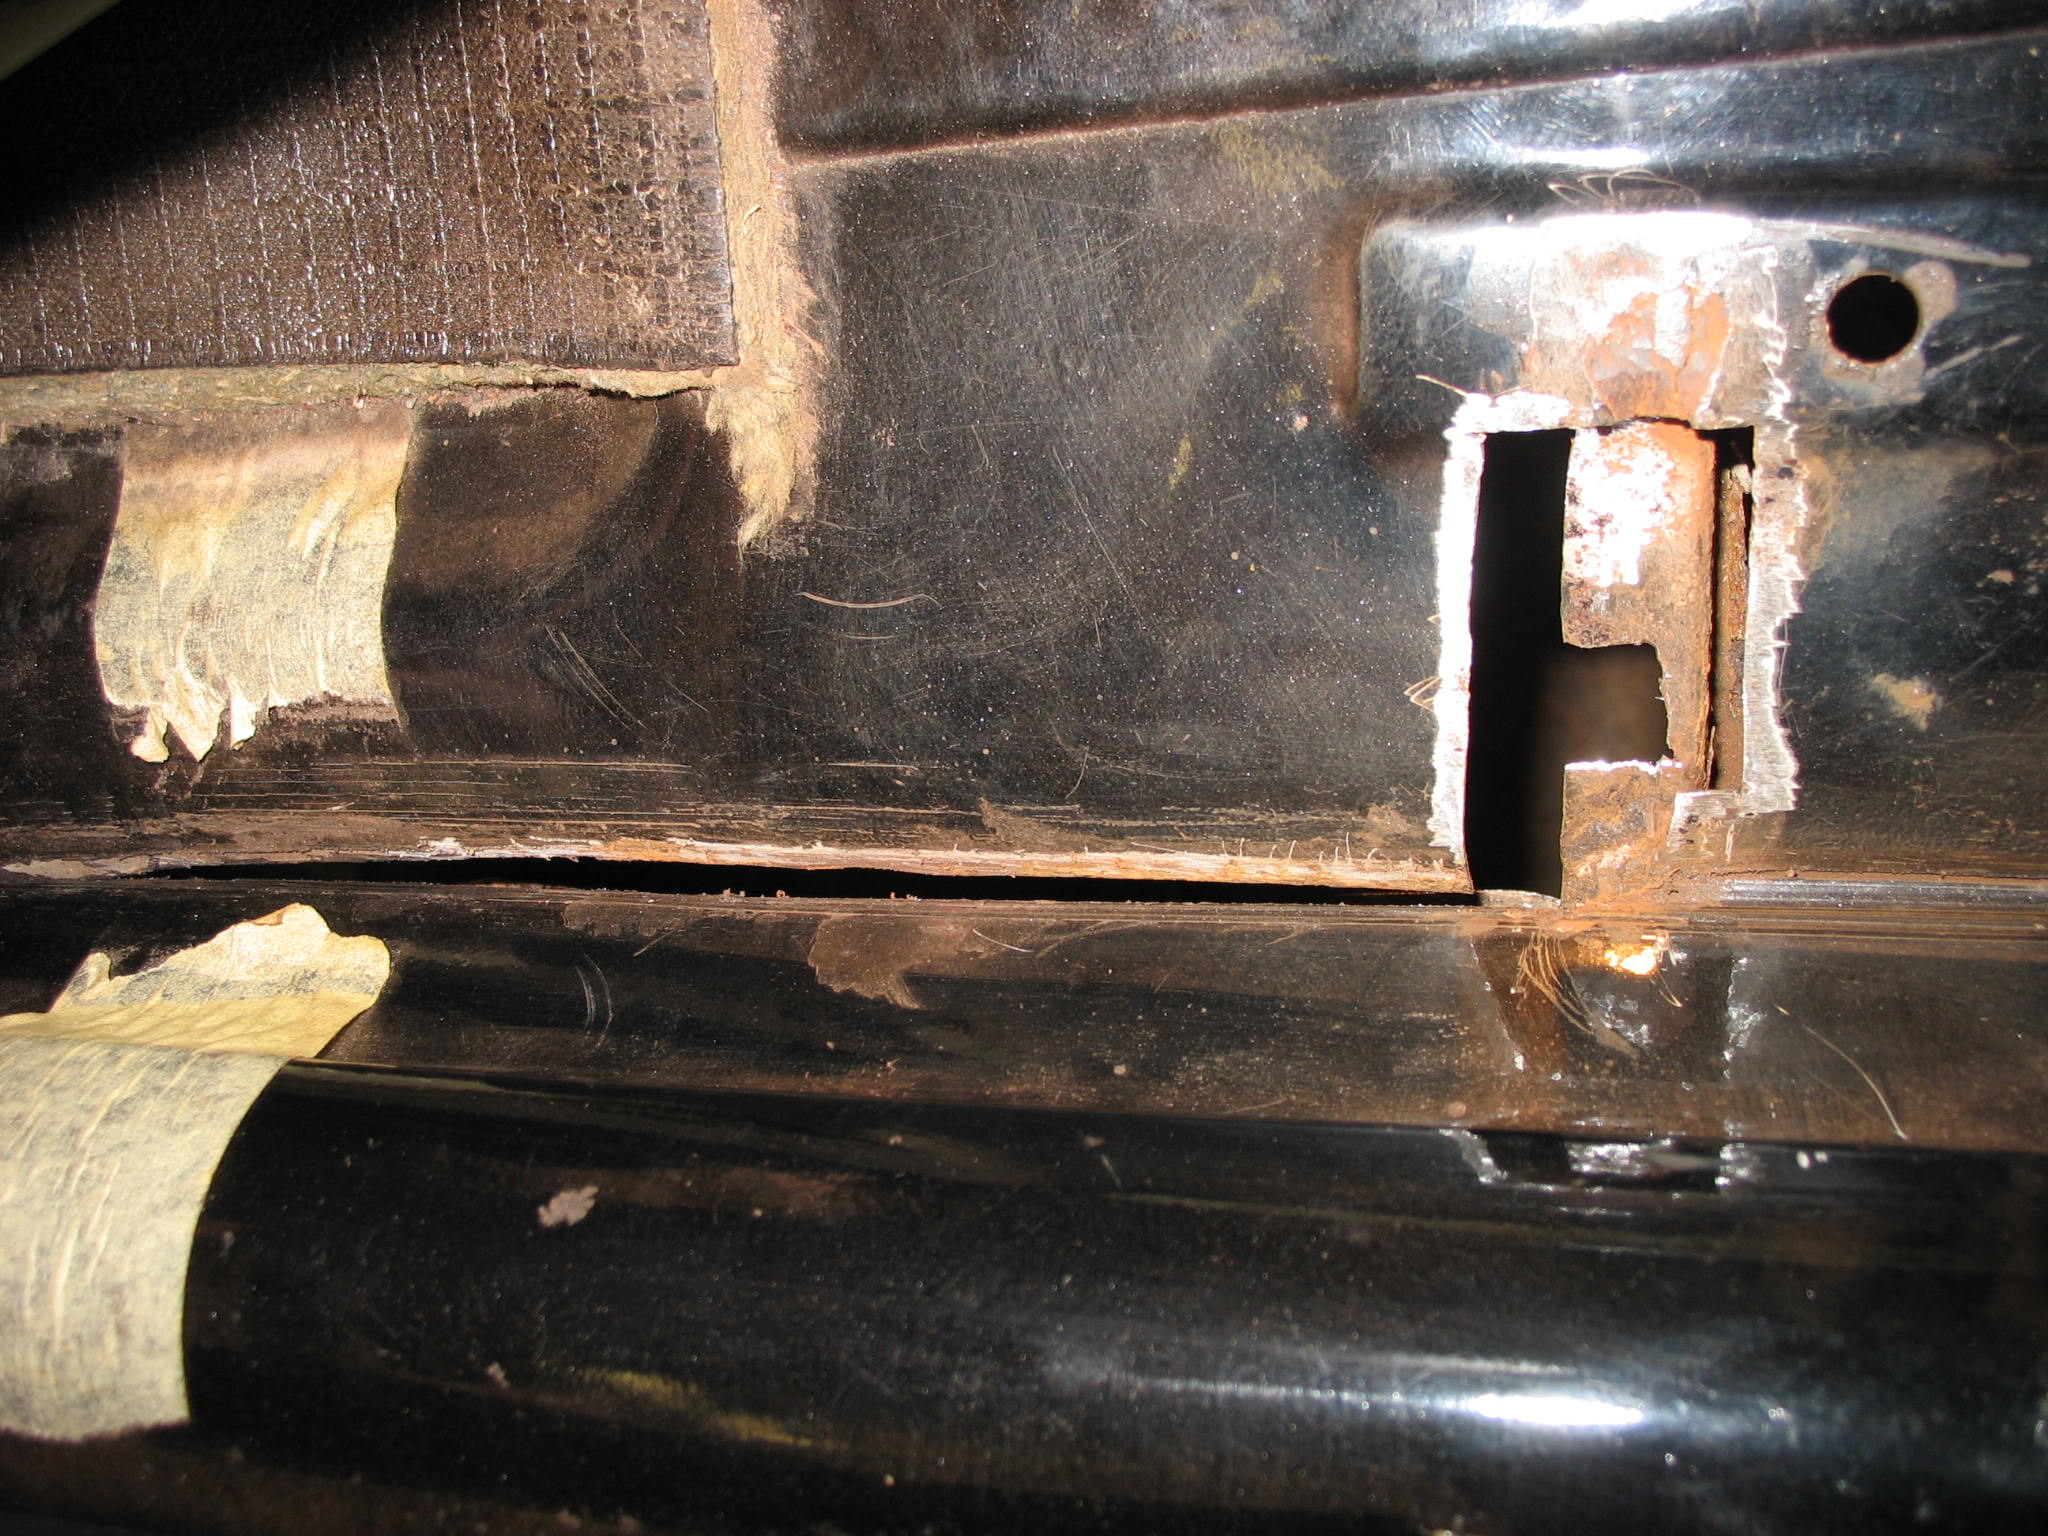
IMG_1761.JPG


Thats how it looked like, the hole was enlarge by only using my fingers - yellow marking is still visible. After having a play with screwdriver and angle grinder - situation seams to be under control.
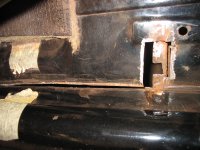
IMG_17631.JPG


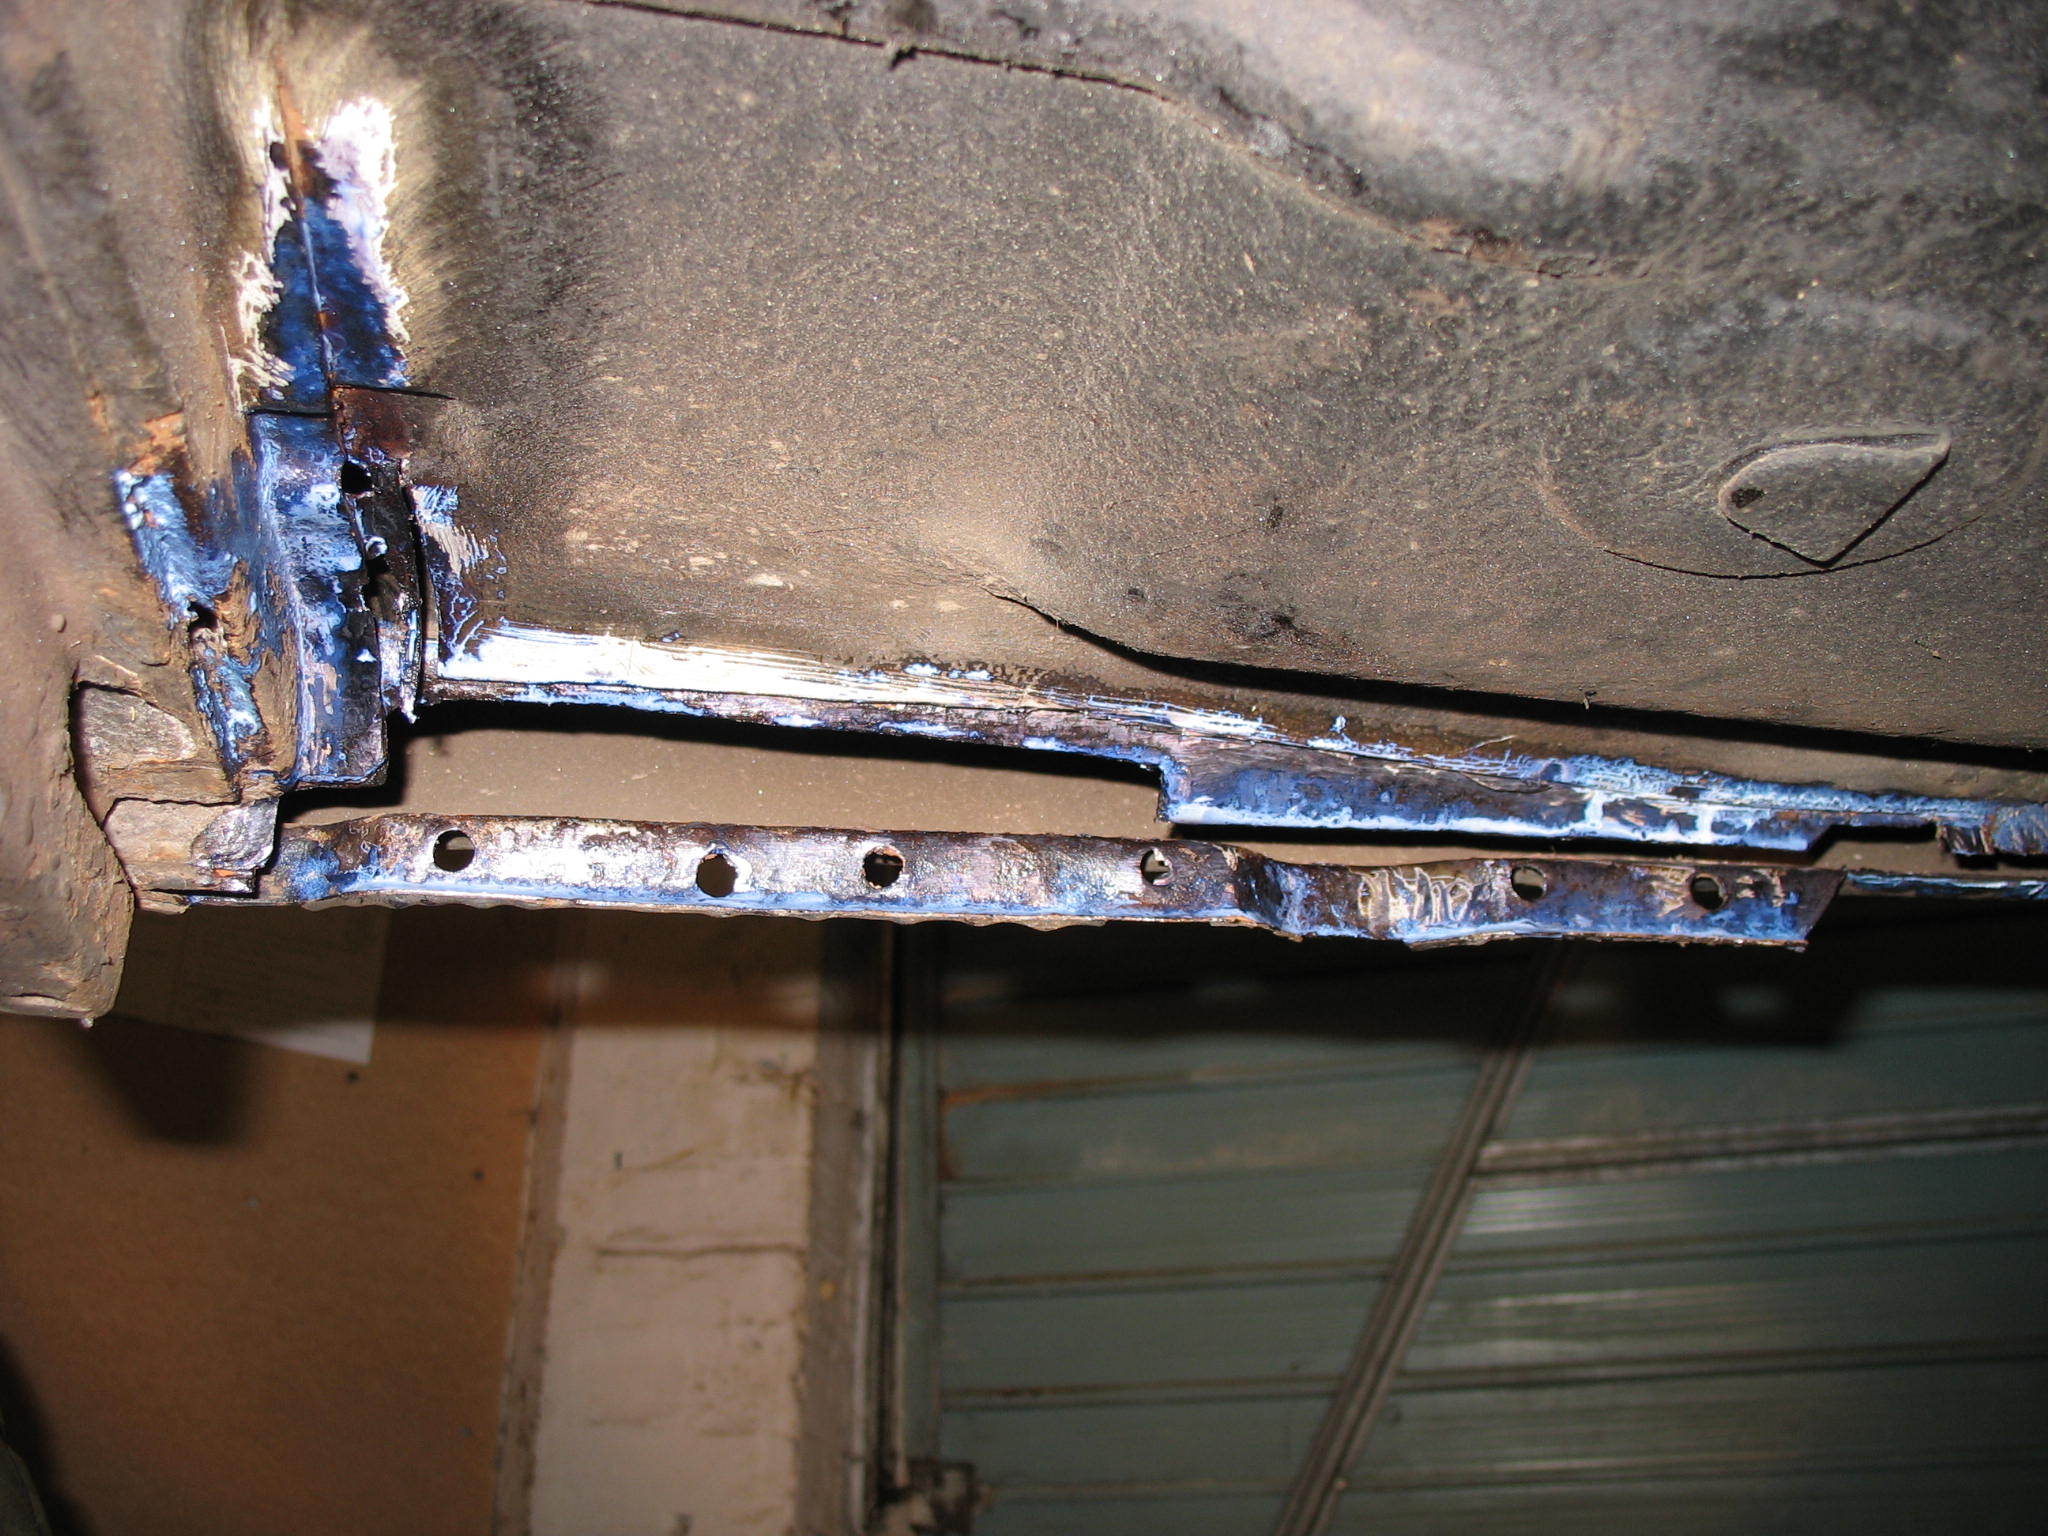
No, it's not.
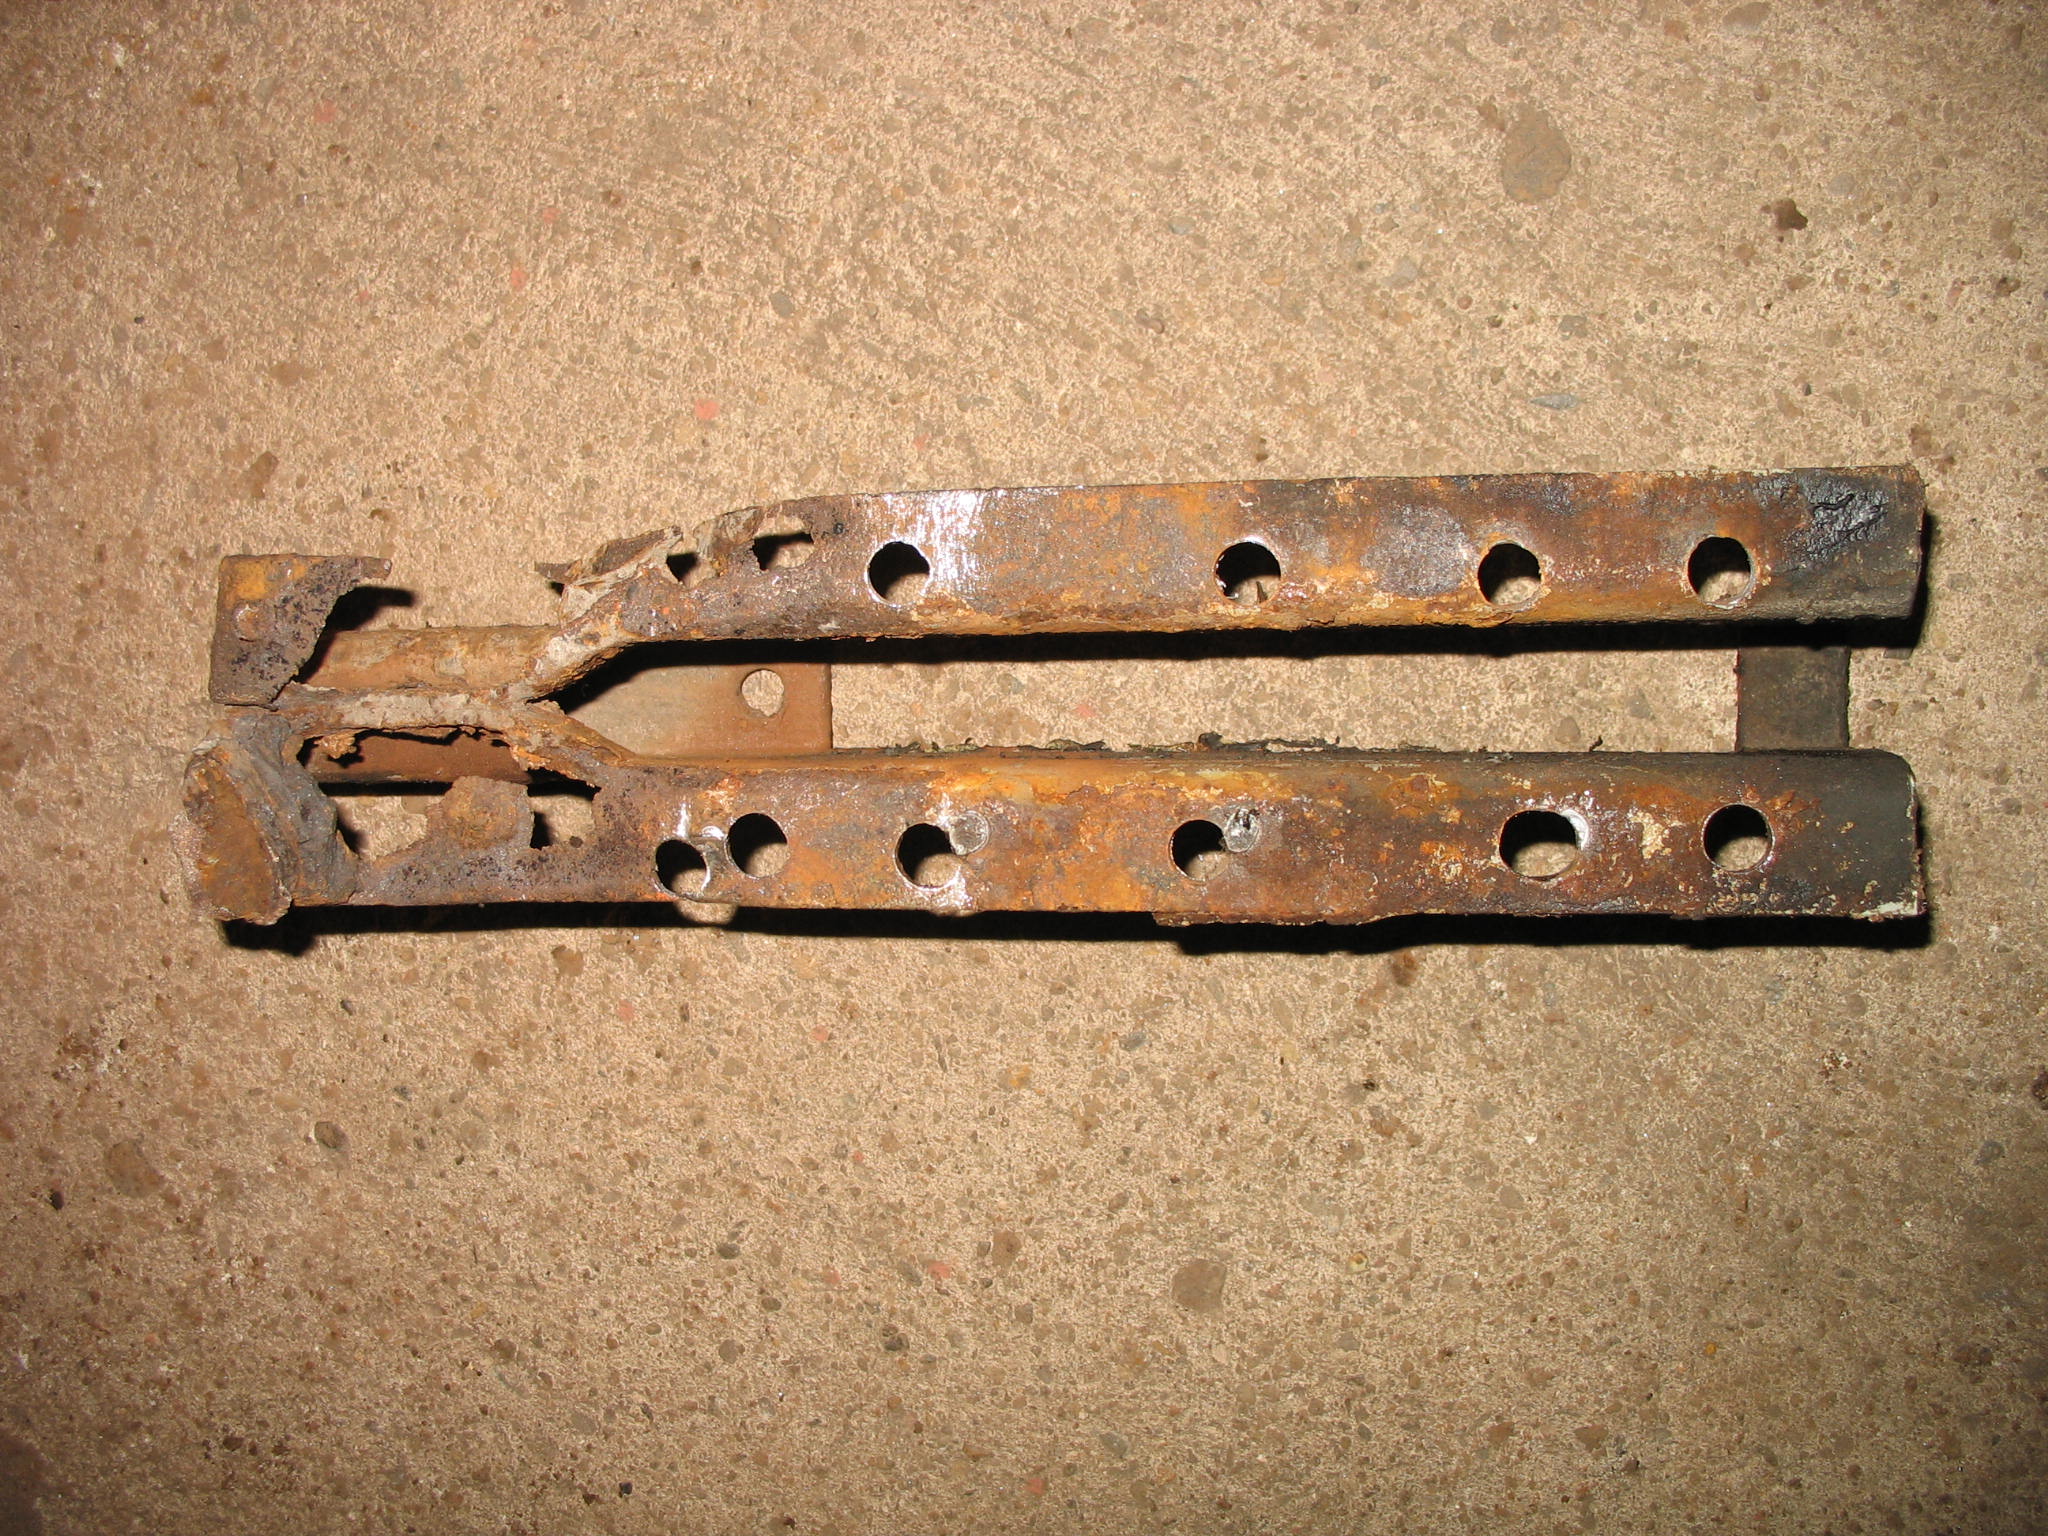
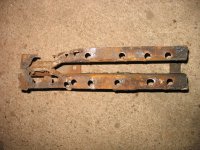
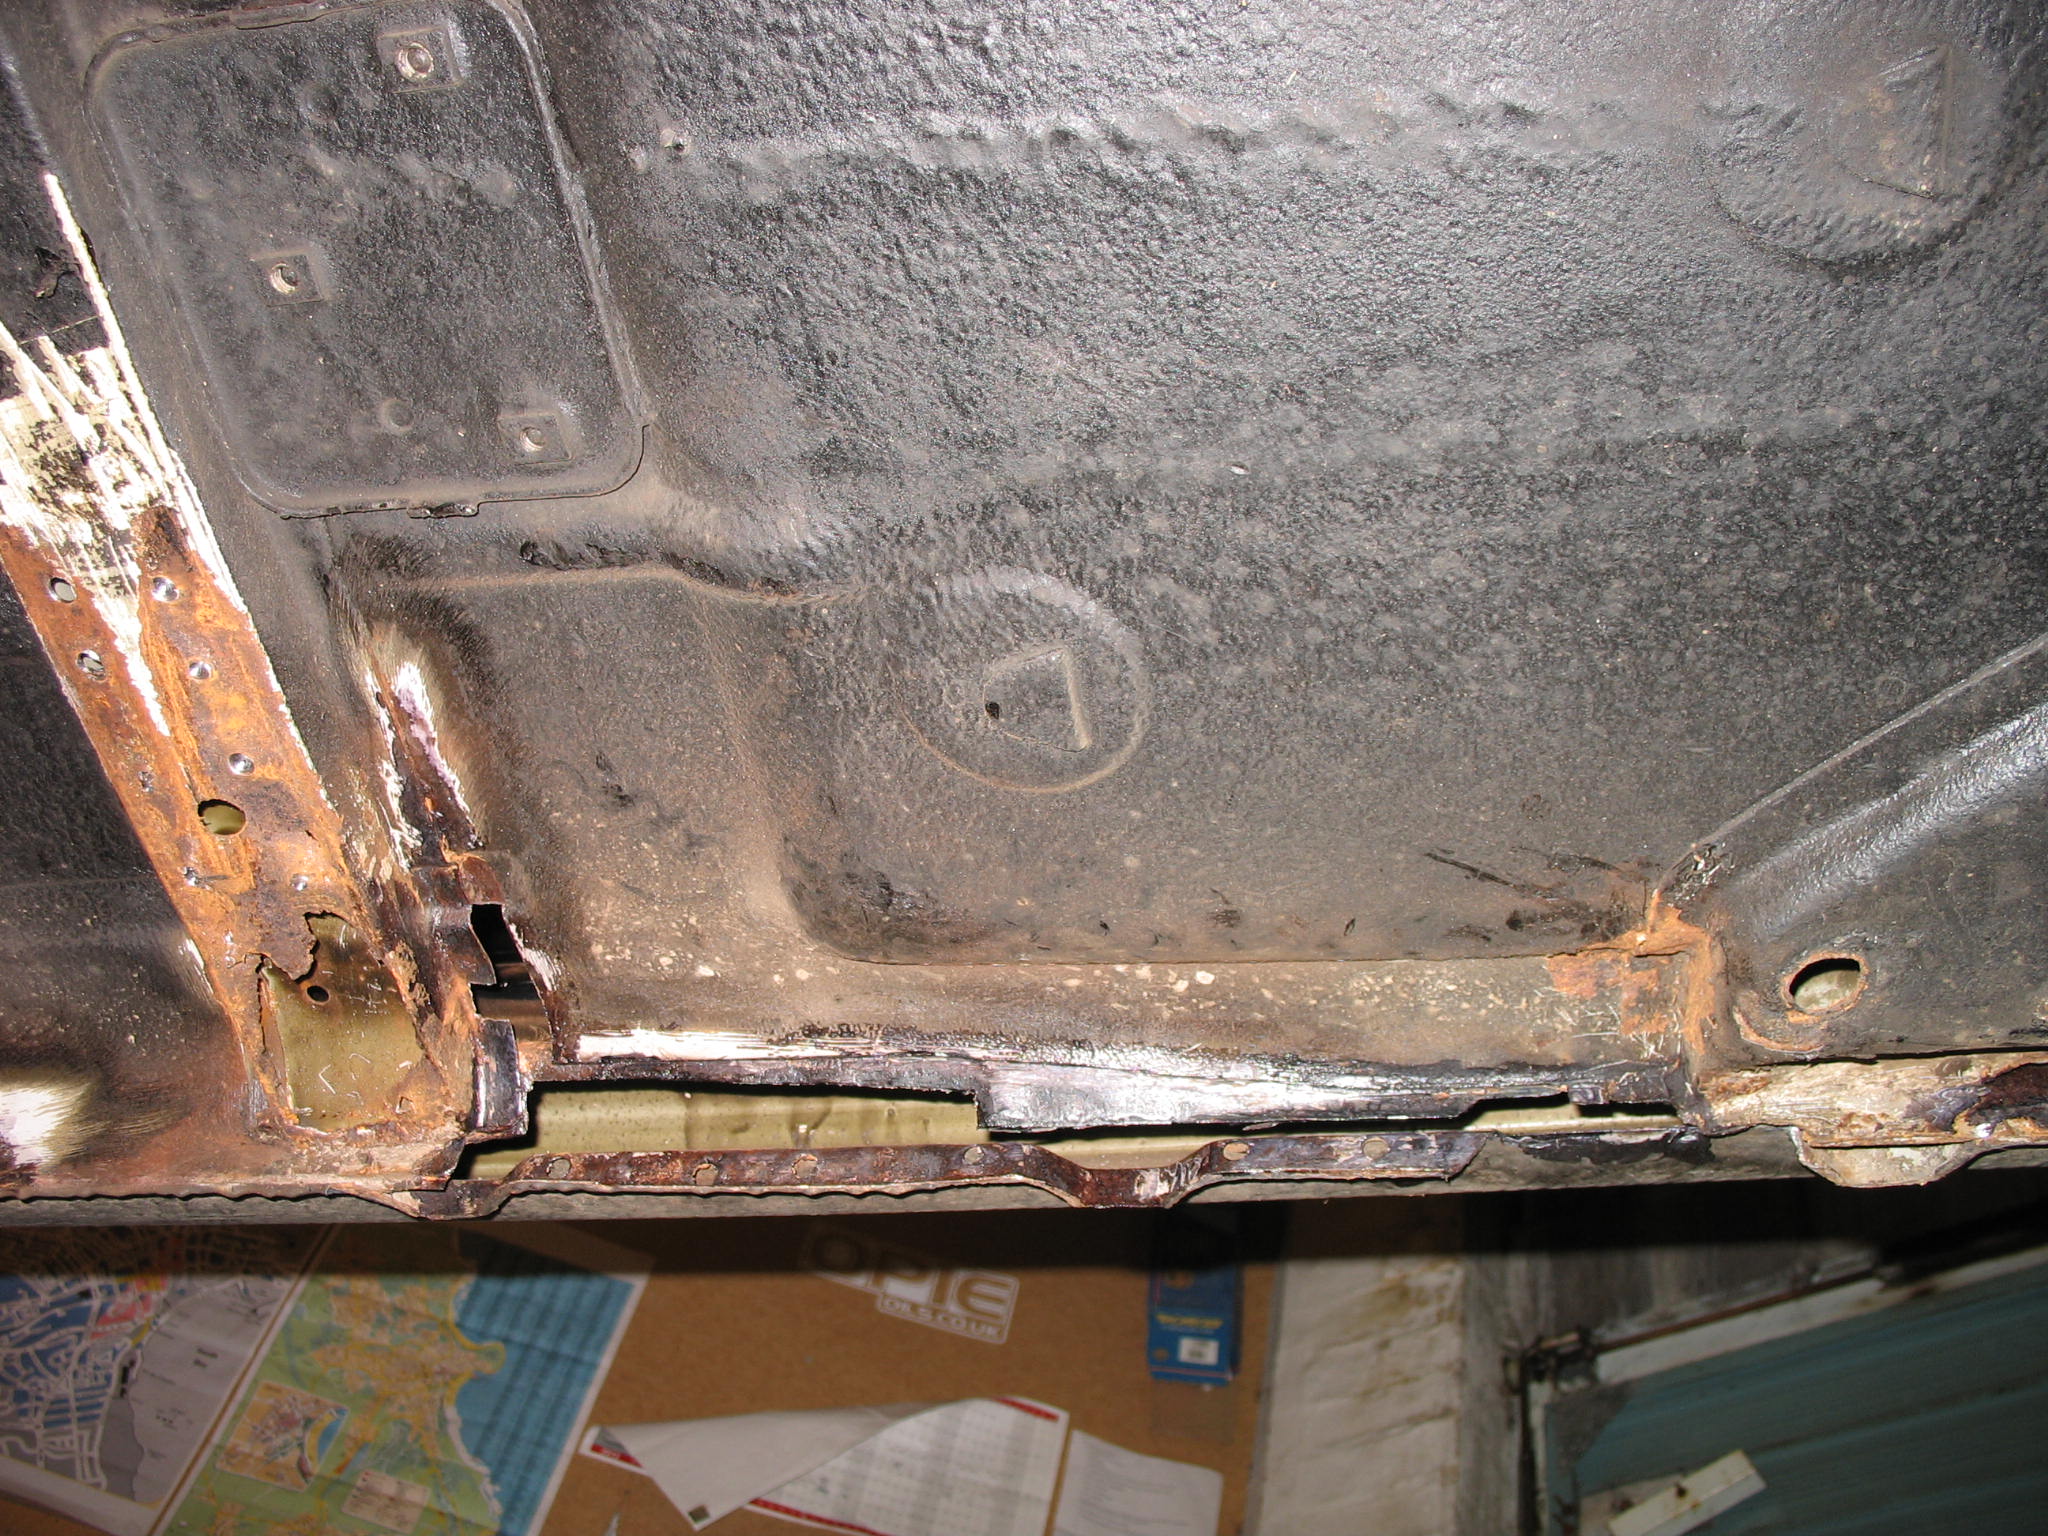
As you can see there is a right mess under the jacking point, and the far end of jacking point itself is badly corroded same as the cross membrane.
IMG_17752.JPG


IMG_17803.JPG

And the jacking point
IMG_17821.JPG


The following plan for is :
- cut the and of the membrane, to gain clear access to the floor and inner sill,
- repair floor and inner sill section under the membrane,
- weld in the rest of the floor and inner sill cut out,
- fabricate cross membrane section and weld it back in to original position,
- repair jacking point using 3mm thick steel,
- spot weld jacking point back to ori position,
- prepare surrounding area for stone chip paint, closed profile conservation, etc...

Now I'm after some 1.5mm steel sheet for the membrane rebuild, and 1-1.2mm for floor/sill.


Any suggestions, tips&trics are welcome.
First of all I want to say big Thank You to lightweightmick for his massive amount of help which i've received from him! Same to Sisley for his time outside during light rain.

Yes, that was a proper 15h driving marathon - that includes all the coffe breaks and safety stop checks, 550 miles half of that with Sisley's Sisley at the back. Driving conditions down the south were realy crap, but luckly no tick fog. Been seen by number of officers in their posh 13 plate 5 series but without any actions being taken against my person or my car + trailer.

The bull bar was a PITA but came of preaty easy and travelled in my estate boot togherther with 2 spare panda wheels, full set of tools.
Good thing is that the overall cost came up to £91 :eek: Good old Primera + LPG done the job without any issue.

The Sisley, does not look that bad, and I was expecting it to be worse then taht. Body wise I'm pleased enough - couple surface rust places and one hole in o/s outer sill as mentioned by Sisley in his very honest advert, every panel does have some blemish, dent, scratch etc. but that is exacly what I was after, no worries when out on lanes in action. Underneath look fine, covered with some underseal.
Mechanicly - first impresion - starter makes noise when on, engine is running rough - why? M5 bolt in vacum pipe, pre-Sisley owner had some play with disributtor so I assuming the timing is out of spec to overcome damaged vacum advance unit. Front suspention seems to be soft compared with the 2wd, bad thing is when sisley was a-framed i did noticed bad leak from inner gaiter shaft bearing seal hope is only the rubber bit as they are the OE 25 years old ones. Unfortunately roof rack and front head lampguards were taken off recently.
Interior is a bit tatty, not had much time to have a look at probably this weekend .
I'm not planning to start major works on the sisley now, as the Black 2wd has to be finished reasonably quick keeping the quality level.

ps.When i came back home my other half asked my one question - "... so, when we're going out for some offroad??? I was bloody shocked.

Where are some pics
IMG_18652.JPG

IMG_18672.JPG


When arrived at the destination point,
IMG_1870.JPG


I did not mention before but all four tyres are like this one, n/s/f was a bit low so potential slow puncture.
IMG_1871.JPG


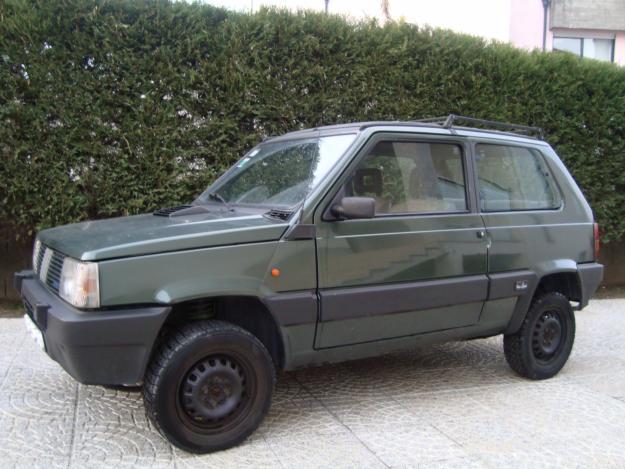
Will do my best to bring it to look like this, so I'm half way there.
sisley_ideal1.jpg
 
Fantastic, glad you got home safe and sound, sounds like an epic Panda mission:slayer: the Sisley looks like abit of a bargain to me too, it seems like I'm the last one of us who needs to get a roughish 4x4 for the next greenlaning adventure!

You lack of interest from the police backs up my theory of if you are not doing something silly then they won't be bothered, maybe if you had been towing the Nissan with the Panda if would have been a different story:p
 
:eek: So sorry... I forgot to offer a hot drink. I was a bit wrapped up in the moment and didn't give it a thought till you were pulling away!
Ooops, and I did forget to mention to make sure sure there was oil in the gearbox/final drive - I didn't check on Lucy and low oil level resulted in the nylon speedo drive gear breaking at the final drive end...
I'm really chuffed it all worked out for you though mate (y) :slayer:
 
:eek: So sorry... I forgot to offer a hot drink. I didn't check on Lucy and low oil level resulted in the nylon speedo drive gear breaking at the final drive end...
I'm really chuffed it all worked out for you though mate (y) :slayer:

No probs, i was tight on time, and the speedo was/is not working anyway.
But that leads me to think that due low level of oil caused by leak thru the gaiter/seal the box is making some noise as described by seller and the speedo signal take off went busted at the box end.

I'm guessing first point to look at.
 
Last edited:
No probs, i was tight on time, and the speedo was/is not working anyway.
But that leads me to think that due low level of oil caused by leak thru the gaiter/seal the box is making some noise as described by seller and the speedo signal take off went busted at the box end.

I'm guessing first point to look at.

As I recall the nylon drive gear is secured by a small allen screw. Without a good supply of oil the gear appears to get hot and twists and shears - well Lucy's did - I got one from a scrapper for a fiver
 
Lets get back to the original topic and Black Formula '91

As all the welding work was put on hold as the Sisley took my all attention - I need to keep focused and finish this one.

First one from previously prepered patches welded in, I was pretty scared to start with this one, but my worries were overcome by having a play with MIG settings, all went nice and smooth just one small hole burned thru. Did not fit perfectly - but i'm pleased. Bottom bend radius a bit to small - but I don't think anybody will notice ones covered with primer and stonechip paint.

IMG_1976.JPG
 
Last edited:
Done more welding yesterday and today, inner sill finished, front crossmember repaired, half of the floor patch welded in.
IMG_2008.JPG


Front cross member - small repair patch
IMG_20152.JPG


Floor section fabricated (1,5h)
IMG_20172.JPG


and welded in
IMG_20201.JPG


I'm pleased with the results so far
IMG_20243.JPG


IMG_20272.JPG


What's still to do is the remaining floor repair section and rebuild the jacking point cross member.
Nice. Very similar to what I will be doing this Spring on my 2wd.
Looking at the last 2 pictures of the sill repair, it looks like you have tack welded the top and side where it meets the floor, and spot welded the bottom edge. Am I right?
As a novice weldfer I have already discovered that after getting the repair panel cut and shaped accurately, the next hardest part is getting penetration of the weld but without burning through the steel, so that tack technique works best as a continuous bead seems impossible to achieve. Is it OK for the MOT man?
 
Yes, you're right.
As far as my knowledge goes this patching technique complies with MOT standards- bottom edge was originally spot welded- hence complies wit MOT. Top In my understanding you can tack weld just to hold the piece in right place, top edge is continous beed but not done at onece for obious reason. It is not butt joint, i went for 6mm lap joint with joggled edge for extra backing, no holes burt throught.

Ps. Can I ask you to edit above post and remove quoted pictures? As they are just one post above, it makes people enoyed to scroll thru them again.Cheers
 
Sorry - I just wanted to refer to your pictures.
I have no idea how to edit a post and remove the pics. If somebody else can do it (a mod?) if they think it's necessary, then please do it.
 
Sorry. I have been away last week.
I can't see edit function to remove pictures, but there are plenty of other examples where pictures from a post have been repeated so is it a cardinal sin?
 
Nice. Very similar to what I will be doing this Spring on my 2wd.
Looking at the last 2 pictures of the sill repair, it looks like you have tack welded the top and side where it meets the floor, and spot welded the bottom edge. Am I right?
As a novice weldfer I have already discovered that after getting the repair panel cut and shaped accurately, the next hardest part is getting penetration of the weld but without burning through the steel, so that tack technique works best as a continuous bead seems impossible to achieve. Is it OK for the MOT man?

I was under the impression any patch welding needed to be seem welded for the mot? You may get away with a stich overlap weld
That was the question I was originally asking. I know that you can spot or plug weld any join that was done that way originally, but otherwise a patch has to be seam welded (I think). But is it possible to seam weld with a continuous bead such thin steel?
 
Back
Top