My CD changer (A09 Blaupunkt, 5 disc unit) broke ages ago. The front panel just kept flashing alternate red then green etc etc. Reading other reports, I'm not the only one who has seen this.
Well I finally got round to taking it apart, to see if I could fix it. Today I can listen to CDs again !
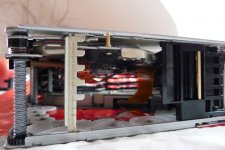
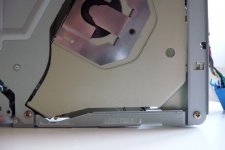
What was the problem ? Well the tray that holds and moves (up and down) a selected CD was out of alignment. It wasn't flat any more, but dipped in a corner.
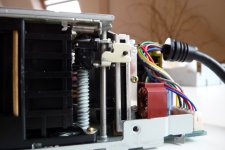
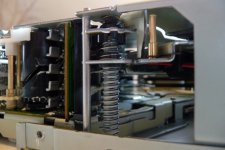
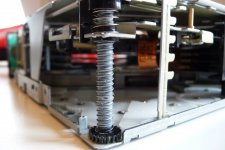
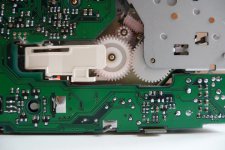
This puzzled me, because the tray moves up and down on three separate screw threads (like a nut riding up and down a bolt, when the bolt is turned). How did they get out of sync ? But they were, only slightly though. One screw thread is connected via an arm to a sliding resistor, the problem was, that one of the other screws was forcing the tray to hit the top of the casing, before this one was. So it didn't think the tray had moved enough. It then tried to drive the motor still to raise the tray, but I guess it has a motor over current protection, and once this tripped (because it was driving the tray against a wall so to speak), it shut down and flashed the front panel.
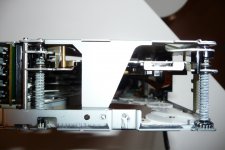
Syncing up the three screw threads was a bit awkward at first, but not really difficult if you are OK with mechanics.
I will post some photos, and guide later this evening. I'm out of time now.
Well I finally got round to taking it apart, to see if I could fix it. Today I can listen to CDs again !
What was the problem ? Well the tray that holds and moves (up and down) a selected CD was out of alignment. It wasn't flat any more, but dipped in a corner.
This puzzled me, because the tray moves up and down on three separate screw threads (like a nut riding up and down a bolt, when the bolt is turned). How did they get out of sync ? But they were, only slightly though. One screw thread is connected via an arm to a sliding resistor, the problem was, that one of the other screws was forcing the tray to hit the top of the casing, before this one was. So it didn't think the tray had moved enough. It then tried to drive the motor still to raise the tray, but I guess it has a motor over current protection, and once this tripped (because it was driving the tray against a wall so to speak), it shut down and flashed the front panel.
Syncing up the three screw threads was a bit awkward at first, but not really difficult if you are OK with mechanics.
I will post some photos, and guide later this evening. I'm out of time now.