Technical Engine swap progress

Currently reading:
Technical Engine swap progress

Joined
Apr 1, 2010
Messages
160
Points
36
Location
Gloucester, UK
After months of having my Punto sat on the drive doing nothing, I finally got around to starting the engine swap yesterday.

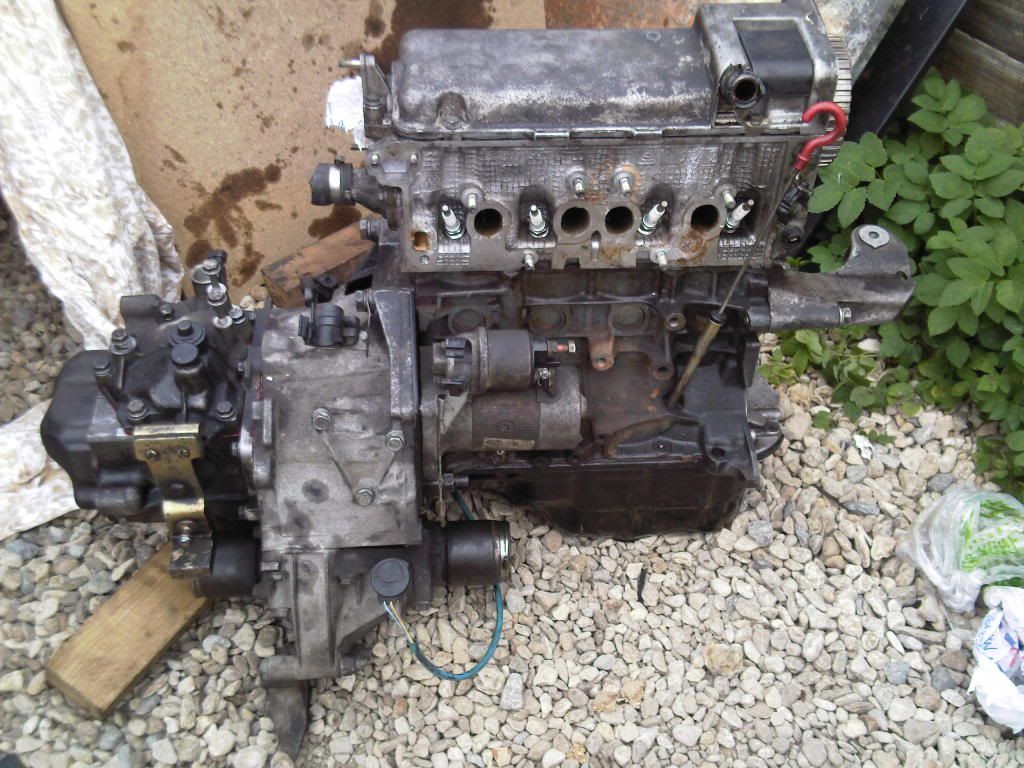
The original problem was that is was consuming oil rapidly and emitting horrid blue smoke when accelerating (when warm); the pistons and bores looked terrible so I opted for a new block. I got a 66Ker off eBay for £110 delivered, but this was sans gearbox and ancillaries.

I decided to take the bumper off to get the necessary clearance, I wasn't really happy with jacking the car up any higher (note the gravel driveway!). In the end it made it way easier to get to things.
2elgwvb.jpg


Loads of space now!
zt9gt2.jpg


Took the opportunity to change the old clutch and bearing. Friction plate had about 1mm of material either side left.
vmt6og.jpg

16iy149.jpg


Outstanding issues
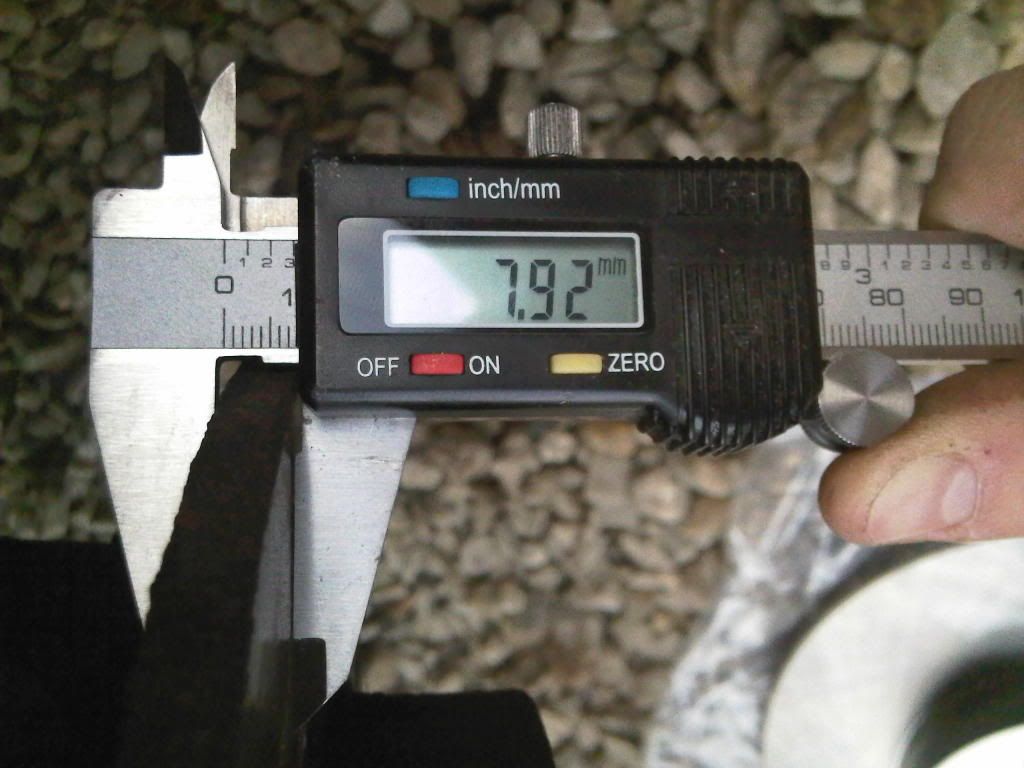
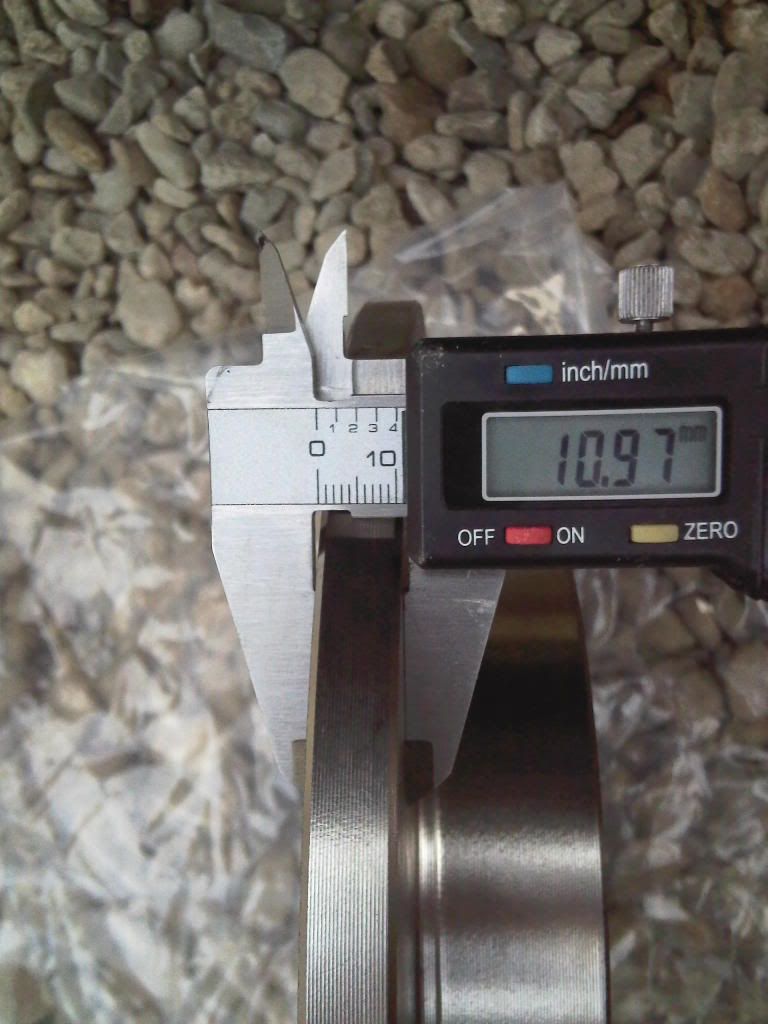
New engine is non-power steering; crank pulley is different and crank sensor hole is in the wrong place!? Do I have to swap the whole crank end-plate to get around this?

Nearside lower suspension strut bolt is seized into the swivel hub assembly, any suggestions on how to get it out? I sheared the nut off try to turn it, on the other end it rotates freely so I could swing the hub outward to get the driveshaft out of the gearbox but it is not budging.
 
Last edited:
The friction plate often outlasts the pressure plate. My HGT was the same.

Swap all the bits you need to swap to fit your engine ancillaries. Personally I would chock the back wheels with concrete building blocks and jack it up high on stands. The new engine can then be pushed underneath on a trolley and the car lowered down.

If its at all suspect, its worth swapping the radiator - soo much easier with the bumper out of the way. Do get a bag of large self tapping screws for the wheel arches and bumper. Most of mine had seized or were too corroded to re-use.

I presume you mean the bolts at the bottom of the strut. They get corroded so have to be bashed out. You will need a deep socket over the bolt head backed up with a VERY BIG hammer held by a friend. The drift out the bolt with a lump hammer and suitable size solid steel drifting bar. Lots of WD40 or diesel oil on the bolt will help
 
Last edited:
This is the plate I am on about. It houses the oil pump and crankshaft oil seal.
so4ymt.jpg


Cleaned with fairy liquid and a scotch pad, then blasted with a pressure washer. All clean now! (ps. I was naked when I took this picture :D).
2eycjs4.jpg


I really didn't want to disturb the new engine too much, but it seems I have to take the sump off to change this oil pump housing.

Also, I seriously ****ed the crankshaft gear when I was trying to remove the bolt. I locked it at the fly wheel end and gave it hella bash on the bolt - it seems it still wanted to turn and snapped the woodruff key off (and damaged the crankshaft locating groove).

Is it better to lock the crank at the gear instead to avoid this? I won't be using that oil pump housing so it doesn't matter if it gets knackered.


Some other questions:
What sealant for the sump?
What sealant for the gearbox housing? Was going to change the input shaft bearing while I had the chance
Is the input shaft bearing for mk1 and mk2 the same? I was looking in this thread and it gives the bearing listed as 6204-2RSH, which is cheap as chips on eBay (save about £12 compared to fiat).
 
Use Loctite 518 anaerobic sealant for everything. It wont set outside the joint to leave lumps that can potentially block oil galleries. Not cheap but VERY good stuff.

have you considered stoving the engine parts (unless modifying isn't on the plan :eek: )
 
Use Loctite 518 anaerobic sealant for everything. It wont set outside the joint to leave lumps that can potentially block oil galleries. Not cheap but VERY good stuff.
Indeed it is not cheap. Nevertheless I do not want to have to do the job again, so I bought the correct stuff. Incidentally, can I use this to seal the corners of the rocker cover gasket?

have you considered stoving the engine parts (unless modifying isn't on the plan :eek: )
Do you mean paint/powder coat them (that's the only definition of stoving I know :))? I had considered it, maybe if things start to go smoother I'll treat it to a lick of paint :).


Progress for this evening:
Got the crankshaft gear off the new engine (at the expense of a 13mm socket and my thumb though!) with the crank and woodruff key intact.

Managed to get the seized bolt in the suspension strut to turn (hoorah!) with a lot of effort applied, no luck drifting out more yet.
 
I presume you mean the bolts at the bottom of the strut. They get corroded so have to be bashed out. You will need a deep socket over the bolt head backed up with a VERY BIG hammer held by a friend. The drift out the bolt with a lump hammer and suitable size solid steel drifting bar. Lots of WD40 or diesel oil on the bolt will help

This worked well. Got my brother to use a 1m ratchet on the bolt while I smacked the sheared end with an old 1/4" extension bar. Lots of Plusgas and it was out within 15 minutes, easy peasy.
 
I'll just add about the rocker cover, you may as well re-seal the whole lot, I tried to patch it up on the corners but it never works, no matter how hard you try! Very cheap and takes 2mins.
Good luck with it all! (y)
 
what you changing it to?
I'm swapping it for an equivalent 1.2. At the start of the saga I was going to consider other options but my wife has now decided she wants a 5 door for driving her family about so it will be hers once this is done.

I'll just add about the rocker cover, you may as well re-seal the whole lot, I tried to patch it up on the corners but it never works, no matter how hard you try! Very cheap and takes 2mins.
Good luck with it all! (y)
I was thinking this. I'm glad someone else has already tried it! Cheers.


Took the gearbox apart on Saturday (no pics unfortunately), input shaft bearing was a bastard to get out; in the end I used a ball-joint splitter under the bearing (with the shaft pointing upward), used the casing for leverage, and gave it hella bash. It went flying up into the air.

Oil seal was a bit of a pig aswell; bent the new one a bit getting it in, but it's sat flush and the seal looks OK now.


Put the box back together with new sealant and now the input shaft is quite tricky to turn by hand? Oh dear. Can do it with a rag for grip but it was much easier before. All the gears select OK and the diff works fine. It was OK was it was apart.

Could it be due to the fact it has no oil in it? Someone also suggested I may have done the casing up too tight (there aren't torque settings in the Haynes, so I just did them 'tight').
 
Put the crank pulley on temporarily (still no oil seal) to turn the completed engine by hand. It seems fine in 2 forward gears and reverse; I'm not really sure how to select gears by hand so I just turned the big brass bracket thing, and pushed it in and turned it for reverse. Perhaps the knocks during assembly to the engine settled it.

Assembled engine
Photo-1028.jpg


Think these discs are past it (minimum in haynes in 9.2mm)
Photo-1031.jpg


New ones
Photo-1032.jpg


Side by side
Photo-1030.jpg
 
Last edited:
Did you see those drilled & slotted plated discs a few days ago. Not much more cost than the bare metal standard discs that soon look scruffy.
 
Put the box back together with new sealant and now the input shaft is quite tricky to turn by hand? Oh dear. Can do it with a rag for grip but it was much easier before. All the gears select OK and the diff works fine. It was OK was it was apart.

Could it be due to the fact it has no oil in it? Someone also suggested I may have done the casing up too tight (there aren't torque settings in the Haynes, so I just did them 'tight').

By tricky, i'm assuming that you mean tight / hard to turn. If so don't worry too much, ours was exactly the same when I done the bearing & oil seal. Once the oil gets pushed around it'll loosen up. As for the bolts, I just done them "tight" with a bit of threadlock on them..so far 2months and about 1200miles and everything is as good as new still.

bit daunting taking the gearbox apart, but in the end it was fairly simple and more ecconomical than buying a recon box (total cost approx £50 inc oil seal,bearing, g'box oil and cv grease + boot clips, Time taken roughly 6 hours that's box out, box split repaired and back in + loads of ciggy / coffee breaks. all done on drive with engine still in car, no "expert" tools such as winches etc just trolley jack, axle stands and the trusty clutch centering tool)
 
Back
Top