Well, it's back on it's feet again, a little unsteady at first but it soon got the hang of it..... surprising how quick they learn init

We were soon romping along and I don't mind sayin, it felt good to have it back.
Reasons why it's taken so bloody long are genuine: too many other vehicles to hand, holidays, work, weather and a bit of good slice of old fashioned laziness. There's honesty for you.
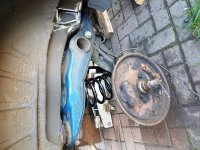
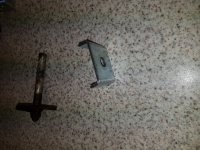
The list of parts used is longer than anticipated, but for those wanting to know:
1/ 1 pair Radius Bearings.
2. 4 Grease nipples
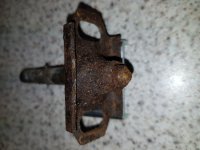
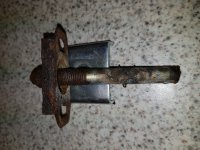
3, 1 pair new hubs
4, 1 set new brake shoes
5, 1 new brake adjuster
6, 1 set new brake springs
7, 1 pair new brake wheel cylinders
8, 1 litre Dot4 brake fluid
9, 1 Roll of Cuprinol brake pipe (25m x 3/16)
10, 1 bag of pipe connectors (comes in 50 bag - I only wanted 10)
11, 1 pair new flexible brake pipes
12, 1 pair new handbrake cables
13, 1 front new handbrake cable
14, 1 pr new road springs (in house)
15, 1 pr new shock absorbers (in house)
16, 1 set (4) new exhaust hanging rubbers
I estimate costs to be about £380 because some gear was already to hand but most purchased as needed.
Tools used: 8, 10, 11, 12, 13, 16, 17 and 32mm sockets and combo spanners. A good pair of pliers, Duck oil, (WD40 or similar will do) Copper/hide, Hammer and chisel, good flat screwdriver, light, roller jack and stands, wheel chocks, work gloves, rags, etc.
Also handy to have: gas gun, small pry bar, adjustable pliers and a mate.
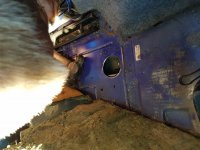
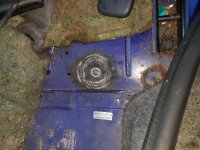
For anyone contemplating renewing their radius arm bearings:
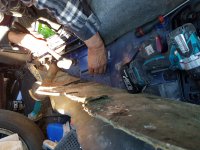
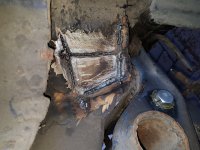
Once you get down to it, it's not a difficult job. I suffered because of the amount of rust that had accumulated, making some fittings impossible to shift, this is why I didn't remove the torsion bar. Some people have had a rough time replacing the bearings, others have had an easier task, mine were not as bad as I thought. Doing the job again, I would prefer working inside, it would have shortened the job a lot.
Estimating how long it should take... on a mission probably 2 days,
mine took a bit longer, about 3 months!
I'll go through my pictures and see if I can do a 'how to' but I believe that one already exists.
If anyone has any questions, etc, don't be afraid to shout.
All the best.
George