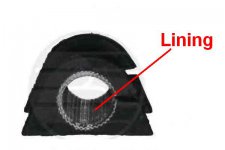
I did the bushes about 12 months ago, and at the time there seemed to be a lot of advice about anti roll bar bushes, and as the car was quite noisy over bumps and I was doing the lower control arms, I decided the time was right for a change. I bought a pair of bushes on ebay for about £20, and was unimpressed at first, but when I got the old ones out I realised the difference was more in the feel of the rubber than the shape.
All four screws broke off at the slightest turn of the socket, but my intention was always to replace them with stainless, so aside from drilling out the rubbish and re-tapping, no harm done there.
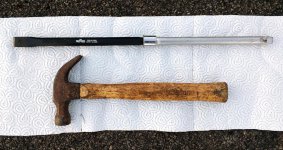
My useful tip on this topic though was regarding separating the 2 halves of the metalwork that holds the bush. I read all sorts of ideas about large drill bits and hacksaws, but I found my standard £25 multi-tool with a metal cutting blade separated the two pieces in less that 30 seconds, and removed the lip at the same time. Very satisfactory indeed. I refitted using stainless screws (standard thread unlike all the other fine threads in the suspension). Can't recall the size (I had an assortment), but there was enough sticking up out of the welded nut to add a stainless nut for a little extra purchase and to make the job look finished.
If you go the stainless route, the original screws had pointed ends to make it easier to get them back into the nut (the head of the nut is inside the subframe, so you are working with a long socket or extension at this point). As standard stainless screws will have a flat top, I think is it essential that you tap out the captive nuts with a sharp tap and run the intended screw through several times so you an confident it will go when you are lying on the floor rotating the socket and wondering why the screw won't catch the thread.