How to Install Sub and Amp into your Bravo
You will obvioulsly need a Sub, Amp and a wiring kit.
You will also need either a 10mm drill bit and drill or a long thick sharp screwdriver, a posidrive screwdriver and a 8mm socket and ratchet set.
You will obvioulsly need a Sub, Amp and a wiring kit.
You will also need either a 10mm drill bit and drill or a long thick sharp screwdriver, a posidrive screwdriver and a 8mm socket and ratchet set.
Where do the wires go on the Headunit?
On the back of the Headunit you should have an ISO plug with a number of wires. One of these wires is a 12v Live out, depending on your make of HU it will be blue or orange (my current one is blue, my previous one was orange, may be a totally different colour!!) This is where the thin blue wire, the remote live, goes.
Also on your HU, there will be ports, they look like the audio from your RGB on your TV. Your thick blue leads, the signal wires, go here.
Note they are two colours, Red and White.
Also note the ports on your amp will be two colours, Red and White.
Ensure the corresponding colours are connected together.
Getting the Live lead to the battery
Firstly remove the glovebox, to do this you need to remove the panel thats fitted by turning the clips to release the catches and pull the panel down, then remove the screws, release the lamp (if fitted) and pull a glovebox out.
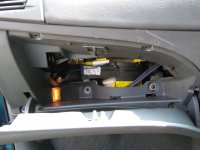
There is a large rubber grommet behind the glovebox, you either need to punch a hole in it, or drill a hole in it, if you have standard wires already in the grommet like mine I advise you to be VERY careful!!
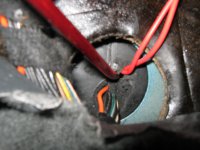
Punch or Drill the hole and feed the cable through.
As your fuse holder won't fit through this grommet and it's a bit difficult to pass it through the other side, a tip is to swap the ends on your live lead as I did and feed it from the passenger compartment. So the fuse holder is near the amp as opposed to the battery.
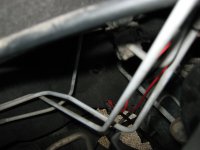
Running the cables to the boot
You need to remove the kick panel for this, so break out your posidrive and undo the two screws.
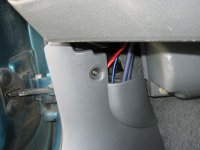
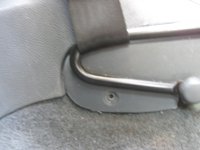
Pull off the panel, note it is held in by clips all the way down, don't force them as they WILL break! Push the wires down into the gap all the way along, not too far, just enough so they wont get caught by the clips.
Lift up the rear seat and undo the two screws,
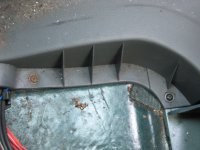
and with an assistant, feed the wires past the rear card and out through the lip near the screw.
Then feed the wires round the seat
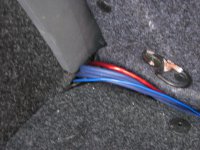
and into the boot.
Wiring the Amp
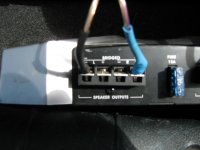
On the Amp, you will see a number of connections.
Your thick Red lead, the Live Lead, will go on the connection that says +12v.
Your thin Blue lead, the remote live, goes on the connection that says REM, or REMOTE.
Your Black lead, the earth lead, will go on the connection that says GND, or EARTH.
Next to these connections are another set of connections, for you Sub.
Depending on what channel amp you have will determine how many connections you have. If you are just running a single sub off your amp, then you need to "Bridge" the connections.
Basically that means take the negative connection on the far left hand side and put your negative speaker wire in there, and take the positive connection on the far right hand side and put your positive speaker wire there.
Earthing the Amp
Now, you will notice that there isn't an obvious place to earth the amp, I found two, either on the rear seat securing bolt
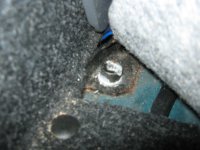
But these were seized on mine so I opted for a C Pillar to Body Securing Screw
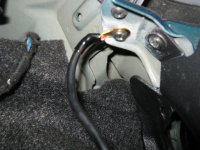
Remember to sand it to bare metal to ensure a good connection.
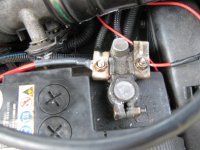
Now go back to the battery and connect the live lead to the battery
Fin.


