First you will need a screwdriver, i preferred to use a knife (table knife so it wasn't sharpe) and prize the vent out start from the window side and work you way round gentlely pull from the lip inside the vent or the moving part but this could be more risky if you pull to hard.
i also went and removed the rear ash tray surround which done by removing the ash tray inside to reveal one bolt undo that and pull, and the surrounds of the door lock pins which is just again a prize with a screwdriver to lift it off.
now you should see 4 clips or openings around the out edge, about 1cm down from the top the ones you need are the lower set of 4 clips. like this:
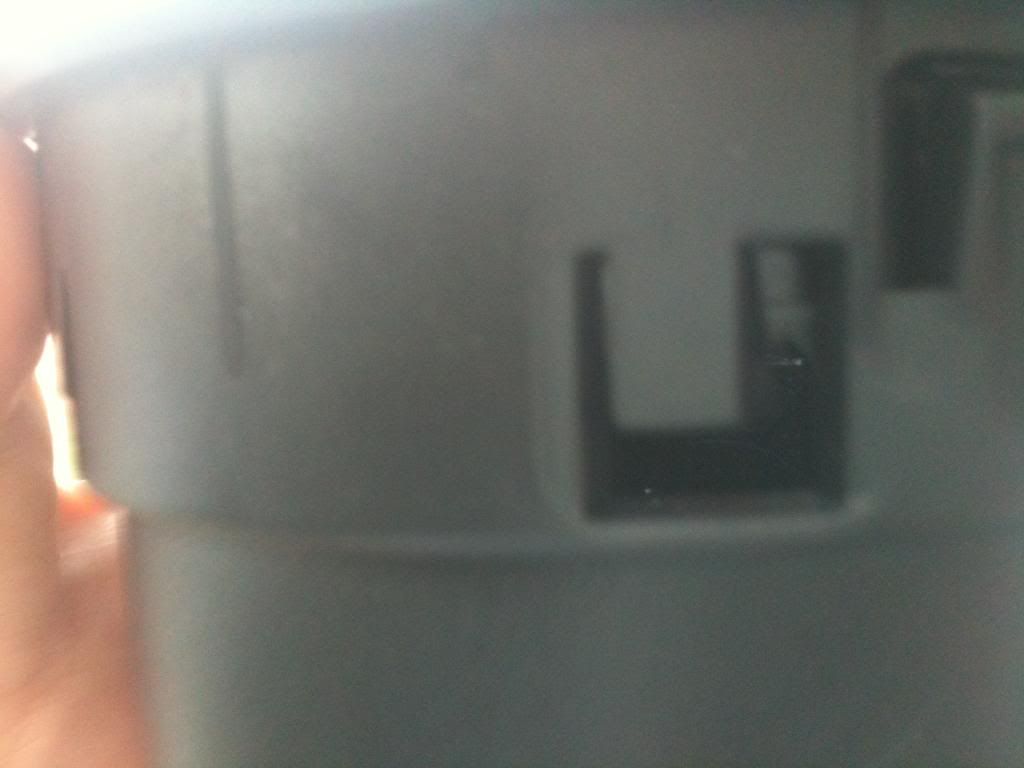
put a screwdriver under them, little watch and jewllery screwdrivers are best try to make a gap between the surround that you are going to paint and the rest of vent, i put a screw driver in the gap as well as i found it keep locking itself back inplace.
you should be left with the surround and moving vents/vent controls moving freely from the bottom part that is hidden when in the car, now if you look at the underside you will see a black flap with a rubber lip all the way round it.
do you see the clip and a pole connecting the control to this black flap, you nee to release this. close the vent control, this should close this black flap, now hold the top part by the surround you want to paint and pull untill it unclip from the black flap. YOU CAN ONLY SEPERATE THE BLACK FLAP FROM THE TOP CONTROL AND SURROUND WHEN THE BLACK FLAP AND VENT IS CLOSED.
SEPERATING THE SURROUND NEXT PAGE
i also went and removed the rear ash tray surround which done by removing the ash tray inside to reveal one bolt undo that and pull, and the surrounds of the door lock pins which is just again a prize with a screwdriver to lift it off.
now you should see 4 clips or openings around the out edge, about 1cm down from the top the ones you need are the lower set of 4 clips. like this:
put a screwdriver under them, little watch and jewllery screwdrivers are best try to make a gap between the surround that you are going to paint and the rest of vent, i put a screw driver in the gap as well as i found it keep locking itself back inplace.
you should be left with the surround and moving vents/vent controls moving freely from the bottom part that is hidden when in the car, now if you look at the underside you will see a black flap with a rubber lip all the way round it.
do you see the clip and a pole connecting the control to this black flap, you nee to release this. close the vent control, this should close this black flap, now hold the top part by the surround you want to paint and pull untill it unclip from the black flap. YOU CAN ONLY SEPERATE THE BLACK FLAP FROM THE TOP CONTROL AND SURROUND WHEN THE BLACK FLAP AND VENT IS CLOSED.
SEPERATING THE SURROUND NEXT PAGE
seperating the unit
now this is really annoying so remain calm, you need to find two section like this:
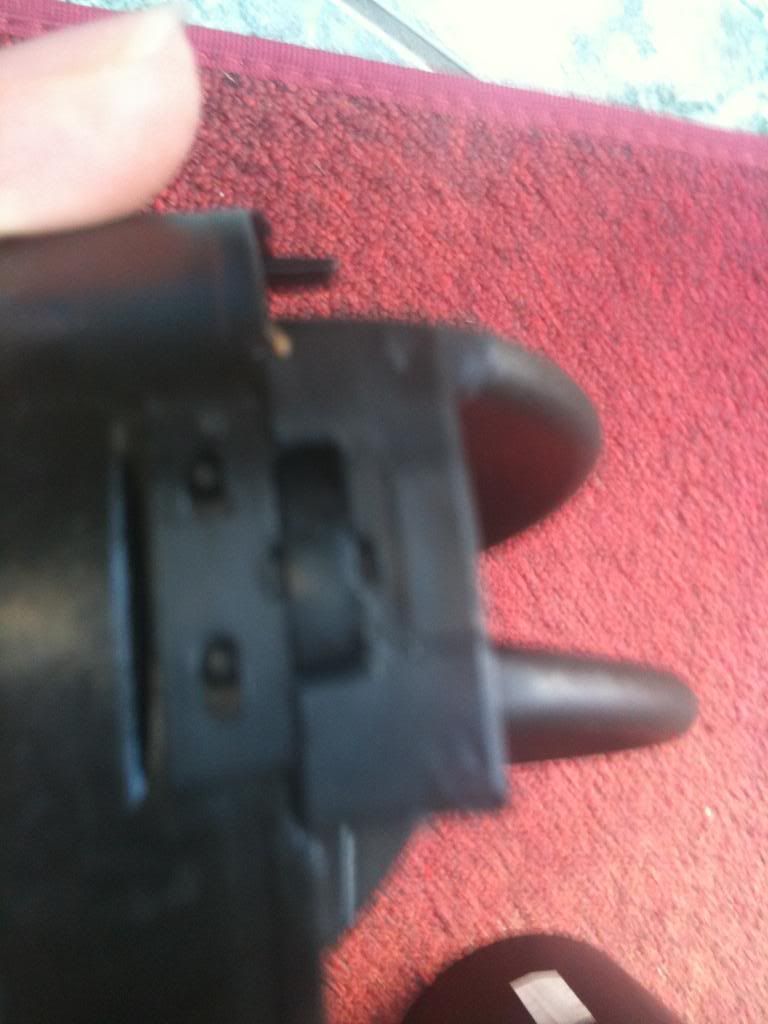
now one side will have a small bit of plastic over it and the other wont on the inside to the vent push a screw up between the parts (the surround and a slight darker, piece that it connect to) try moving it round carefully prize-ing as you go, close to one of the vent push the screwdriver up, and do the small with a second jewellery screwdriver (flat head, not phillips) on the opposite side then place on the floor or desk with srewdriver on the table and the top of the vent looking up and whil hold the sides not the surround and making sure the vents are open push down forcing the surround off. but be very careful as it is plastic!
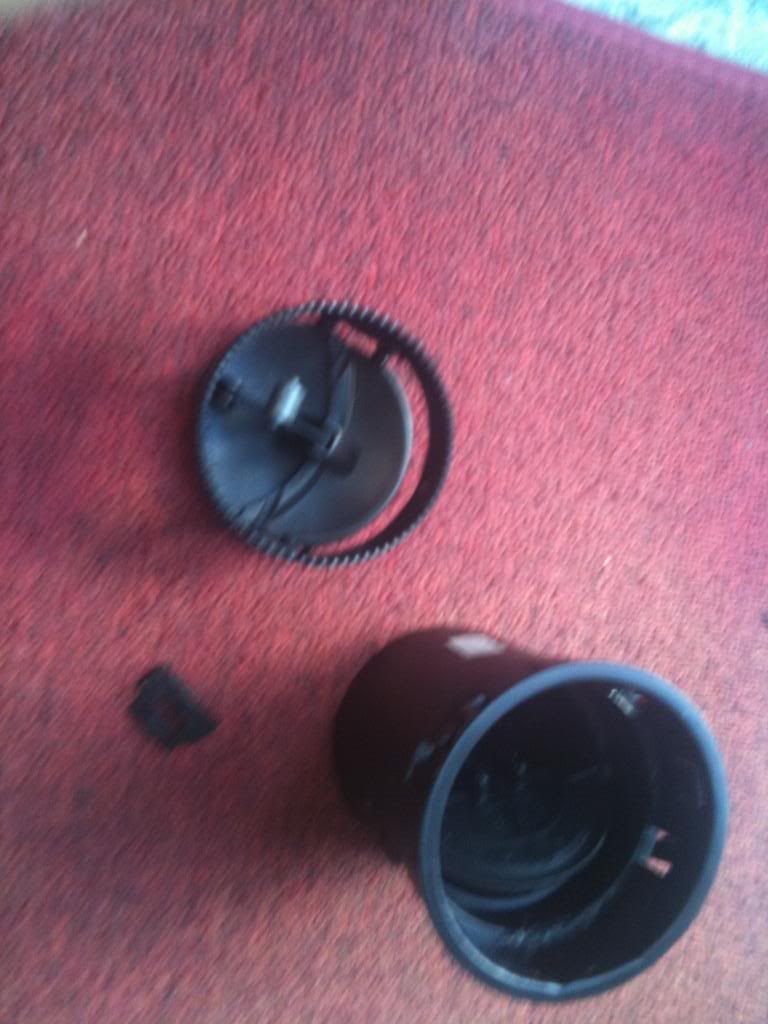
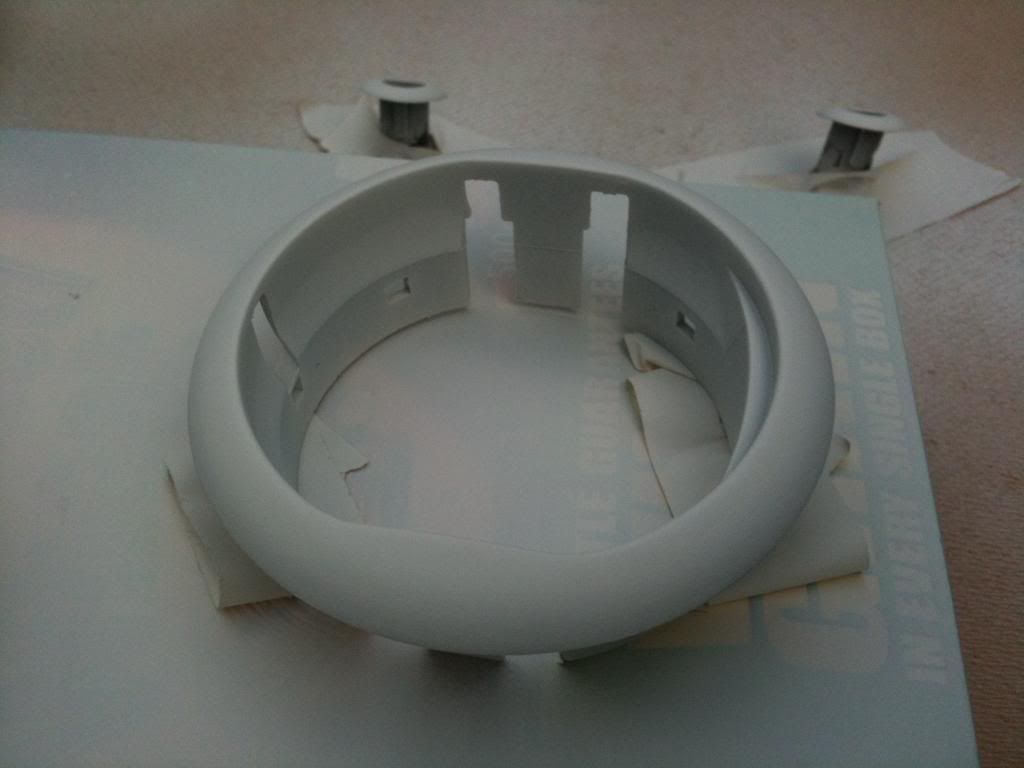
now you can remove that little piece of plastic, and you should be left with this,
plus the surround which isnt in the picture.
NOTE: THE PARTS INSIDE THE VENTS HAVE SOME SORT OF BLACK GREASE SO BE CAREFUL OF YOU CLOTHES AND FURNITURE.
painting
[/COLOR][/B]
Painting
give all you part you wish to paint a clean in fairy liquid, it will remove any grease and dirt. then dry and get some medium to fine wet and dry paper sand the surfaces down.
once smooth and prepped wipe down all the parts with a Tack cloth or paint prep wipe, i used a U-pol maximum tack cloth 59p from wilco direct motosave. this with get any dirt and grease off the surface.
place on card or something to spary on, i put some masking tape down just to keep it from moving.
then using a good quality PLASTIC primer, prime following the instructions i used hycote plastic primer in white. Try to do 3-4 coats, and never do too much on each coat otherwise it will run. allow 10-15mins between coats and 24hrs to harden.
now rub down with super fine wet and dry paper, that should be used wet for this and wipe again with a tack cloth. ensure the surface is clean, dry and smooth.
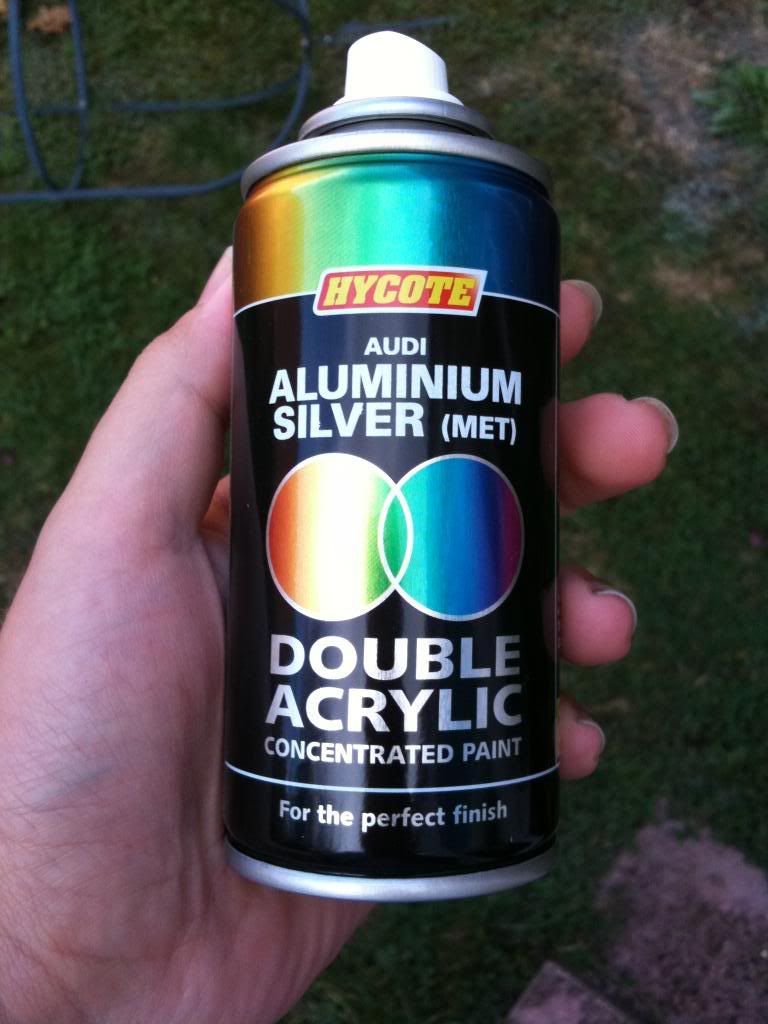
get you paint hycote double acrylic is best £3.79 from wilco direct motosave, for silver to match the centre console in a hgt or sporting use AUDI ALUMINIUM SILVER (MET).
Top tip:
before painting shake can as directed for 2mins, then using warm water in a mug place the can in it so around 2/3 of the can is under the water, leave for around 10mins. dry off and shake again for around a minute.") this should greatly reduce the risk of runs and allow the can to be at the optimum tempture for spraying
this should greatly reduce the risk of runs and allow the can to be at the optimum tempture for spraying
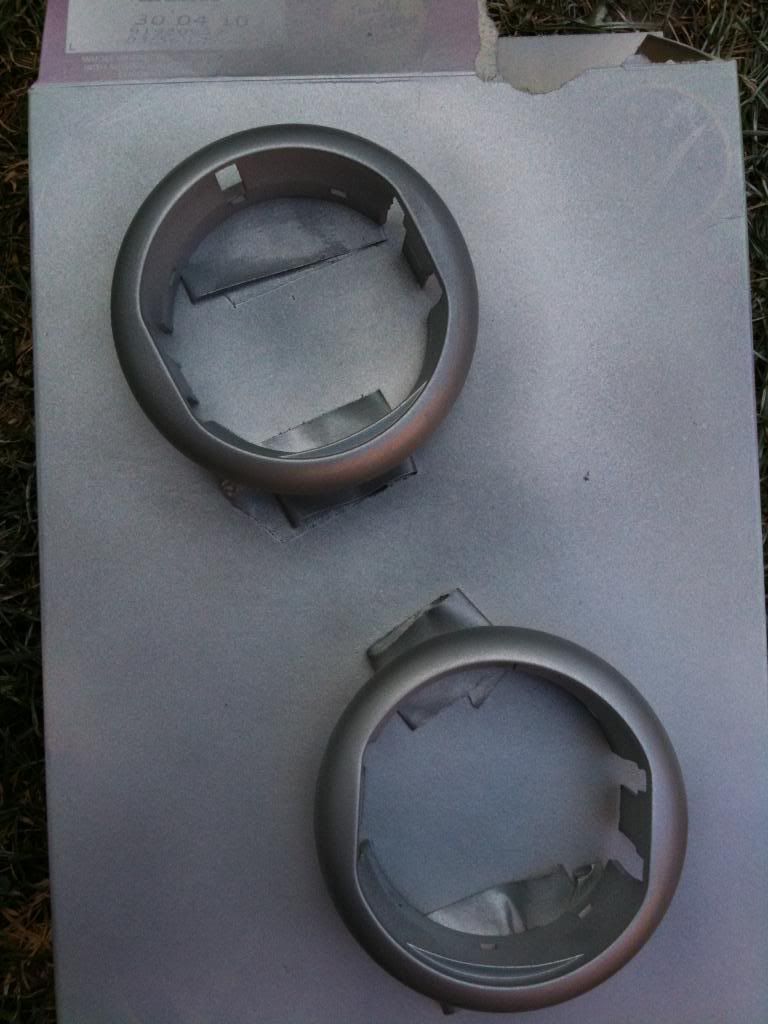
as with priming, remember lots of light coats not 1 thick coat. i did 4 coats, the best way to spray is long passes over the piece backwards and forwards, ensuring the whole piece gets some paint. again leave 10-15mins between coats and 24hrs to harden.
if you wish to laquer its up to you as these parts are not in high traffic areas im opting to not lacquer.
Painting
give all you part you wish to paint a clean in fairy liquid, it will remove any grease and dirt. then dry and get some medium to fine wet and dry paper sand the surfaces down.
once smooth and prepped wipe down all the parts with a Tack cloth or paint prep wipe, i used a U-pol maximum tack cloth 59p from wilco direct motosave. this with get any dirt and grease off the surface.
place on card or something to spary on, i put some masking tape down just to keep it from moving.
then using a good quality PLASTIC primer, prime following the instructions i used hycote plastic primer in white. Try to do 3-4 coats, and never do too much on each coat otherwise it will run. allow 10-15mins between coats and 24hrs to harden.
now rub down with super fine wet and dry paper, that should be used wet for this and wipe again with a tack cloth. ensure the surface is clean, dry and smooth.
get you paint hycote double acrylic is best £3.79 from wilco direct motosave, for silver to match the centre console in a hgt or sporting use AUDI ALUMINIUM SILVER (MET).
Top tip:
before painting shake can as directed for 2mins, then using warm water in a mug place the can in it so around 2/3 of the can is under the water, leave for around 10mins. dry off and shake again for around a minute.
this should greatly reduce the risk of runs and allow the can to be at the optimum tempture for sprayingas with priming, remember lots of light coats not 1 thick coat. i did 4 coats, the best way to spray is long passes over the piece backwards and forwards, ensuring the whole piece gets some paint. again leave 10-15mins between coats and 24hrs to harden.
if you wish to laquer its up to you as these parts are not in high traffic areas im opting to not lacquer.
replacing parts
youve done all your spraying now we need to put everything back. fit the vent back in place, Push the little rectangle piece of place on the correct side. open the vents it makes it easier.
start from the side with a rectangle cutout not the side which a lip, and line up the surround, slowing force the surround down. making sure to reconnect the vents in place as they may unclip and you wont want to take it apart again.
then push it down till it clicks.
done!
then it a case of lining up the vent in the car dash and pushing back.
note, i also pushed some vaseline into the clips at the side to making up for the grease i had wiped off, then spun the vent round to work it in.
heres where i pushed vaseline in:
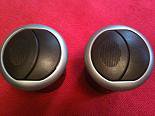
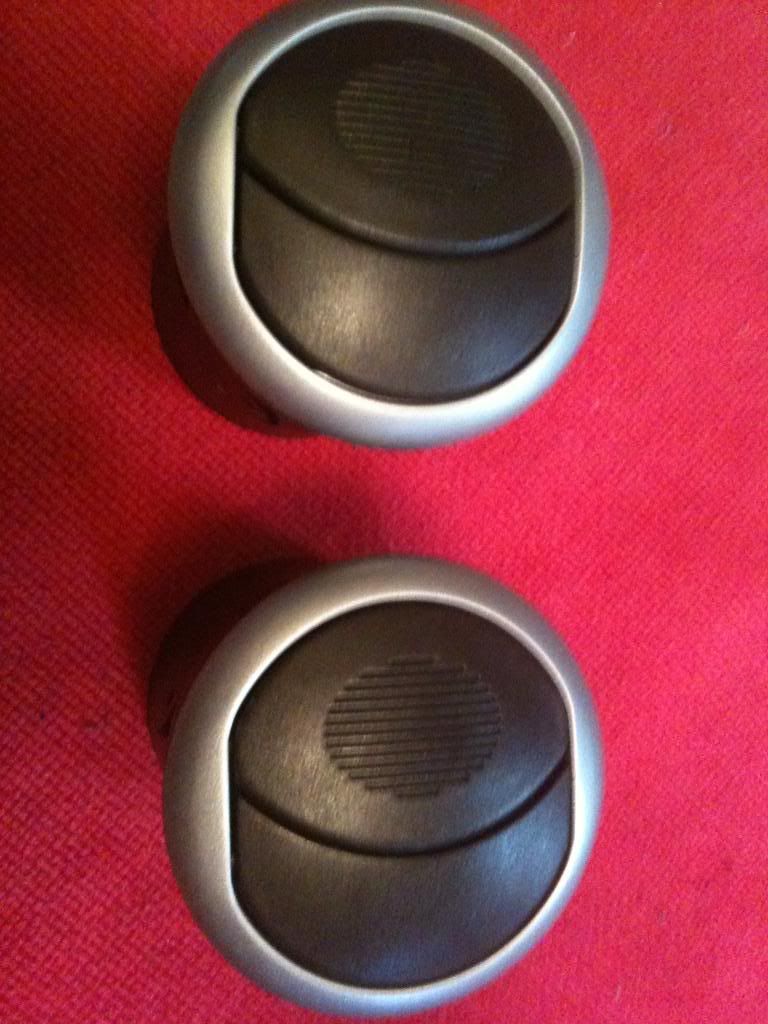
and heres the other parts i painted