This post contains affiliate links which may earn a commission at no additional cost to you.


You are using an out of date browser. It may not display this or other websites correctly.
You should upgrade or use an alternative browser.
You should upgrade or use an alternative browser.
General Do i have the worst Brava in Britain?
- Thread starter steve20vt
- Start date
Currently reading:
General Do i have the worst Brava in Britain?
OP
OP
steve20vt
Member
I looked at that.
I'm going to put Marea bumper, wings and grille on it.
As for the interior. It will end up having the coupe cloth seats in it with custom door cards.
The exterior will be done in white with contrasting black trim. Plastidip is much cheaper than a new paint job and is far simpler to apply and remove if I get bored of it.
This post contains affiliate links which may earn a commission at no additional cost to you.
OP
OP
steve20vt
Member
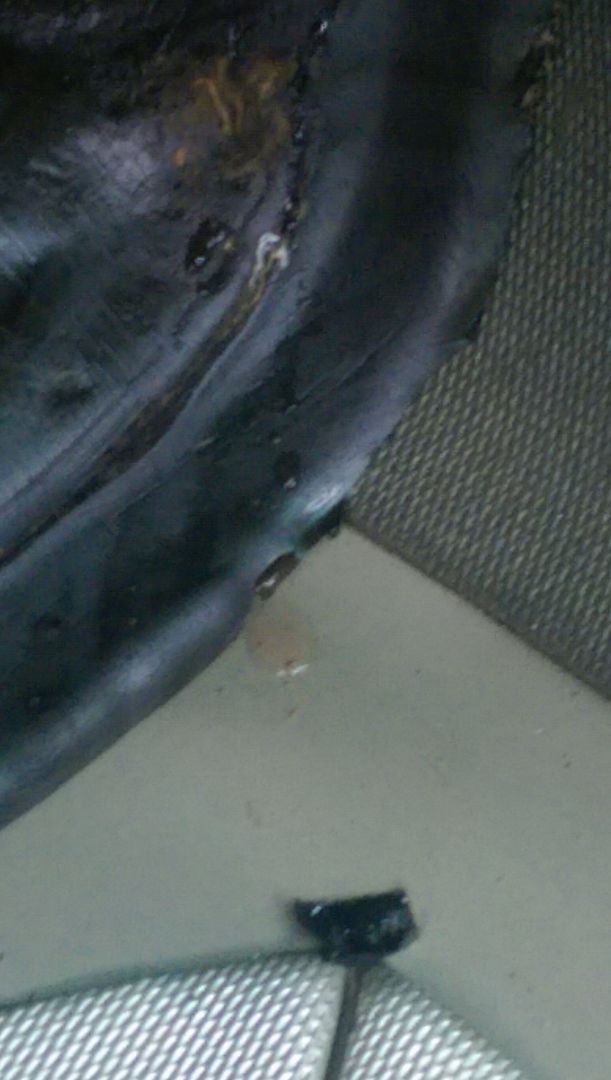
Looks like the heater matrix is the cause of the head gasket failure
I'm only using the car to do an 8 mile round commute to and from work as it still has half a tank of fuel in it, having stripped the interior the stinky dog smell has gone thank god.
I couldn't live with the disgraceful dashboard any more so while I had an hour spare last night I gave it a clean.
See the above pics for before......
And after
Last edited:
OP
OP
steve20vt
Member
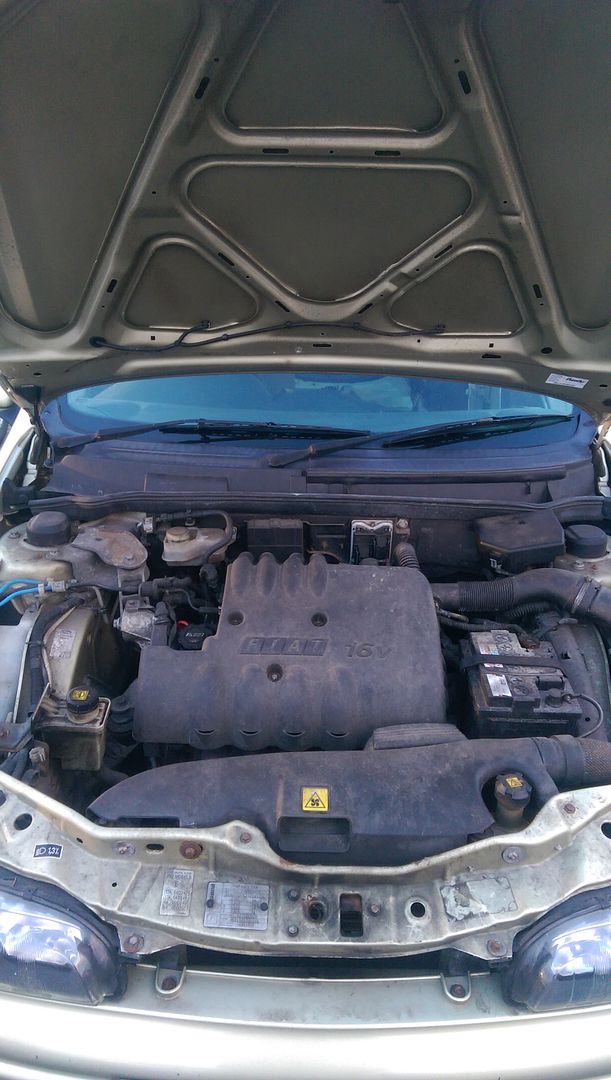
Little 1.2 engine, bless it.
OP
OP
steve20vt
Member
As I had to help out with a Honda civic most of yesterday, all I managed to do with the brava was get it in the workshop 
I have a day off on Thursday so I'll get stuck into it then.
I have a day off on Thursday so I'll get stuck into it then.
OP
OP
steve20vt
Member
Since I couldn't get the brava in the workshop at the weekend because Hondas are so unreliable lol, I did a bit of cleaning up of some parts that will be fitted in the garage at home.
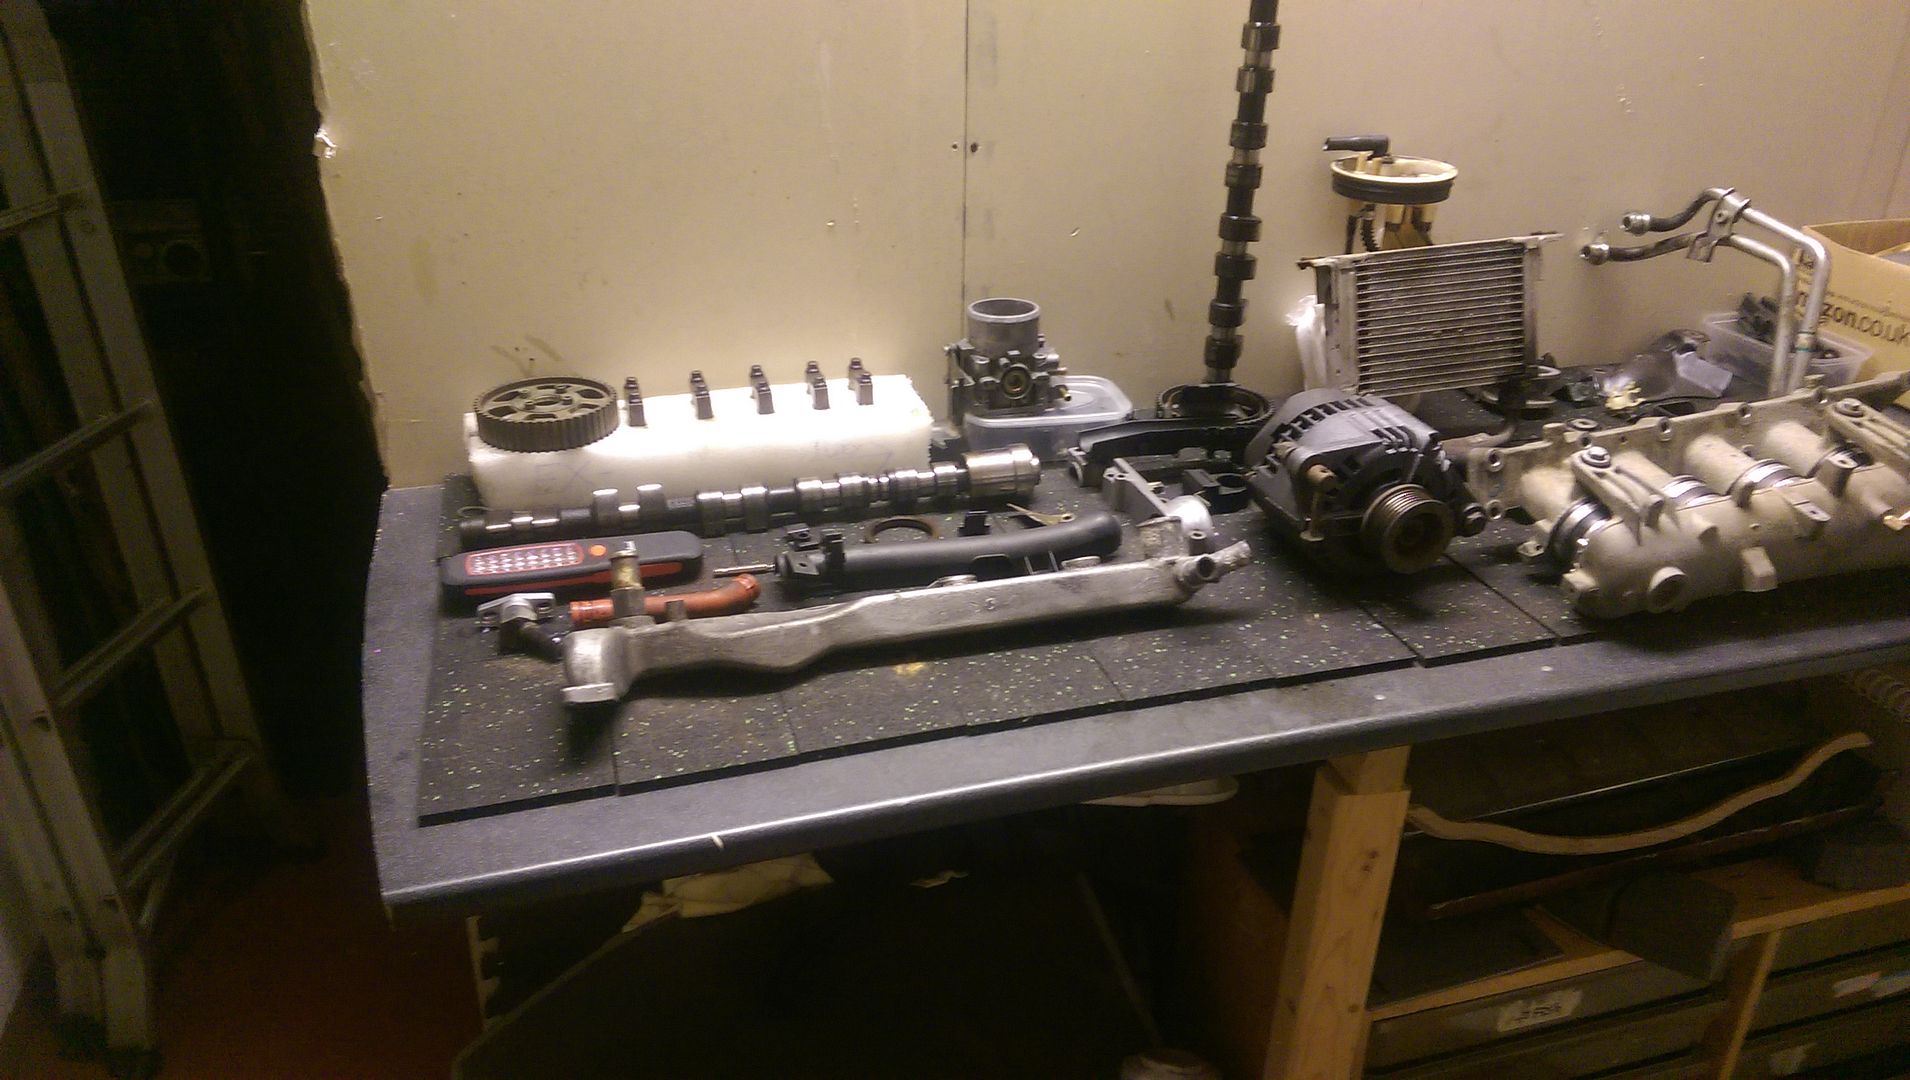
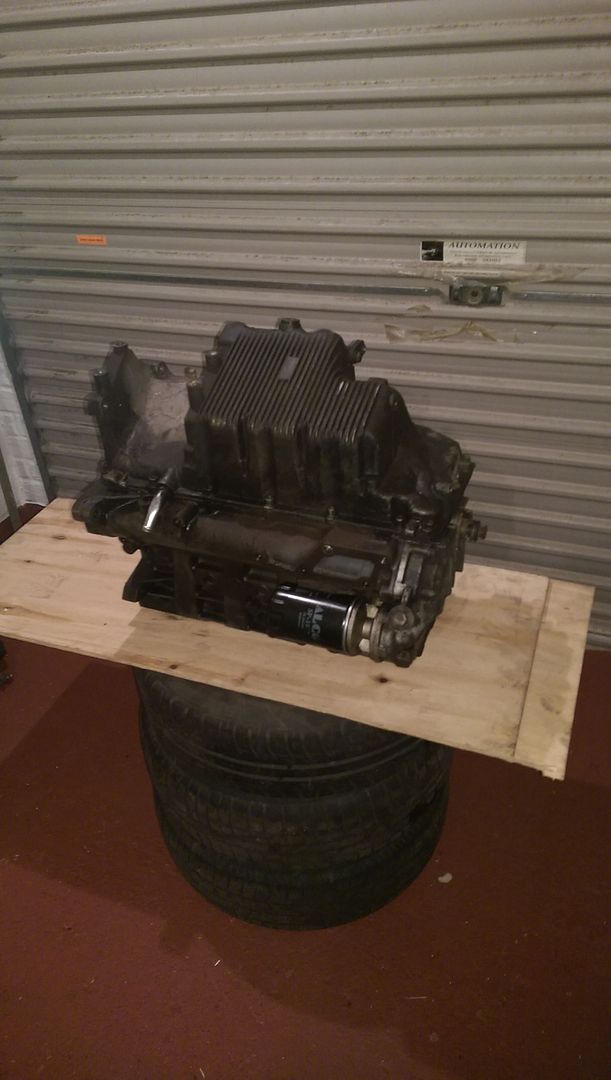
And the engine that's going in from my coupe.
And the engine that's going in from my coupe.
I think the 1.2 16v is a great little engine, and despite its neglect and failure I'm sure you could quite easily fix the HG and head and sell it on to keep another car on the road....
OP
OP
steve20vt
Member
I've got a punto with a poorly 8 valve engine that I could put it in. They are quite a nippy little engine and pack a decent amount of power for their size.
OP
OP
steve20vt
Member
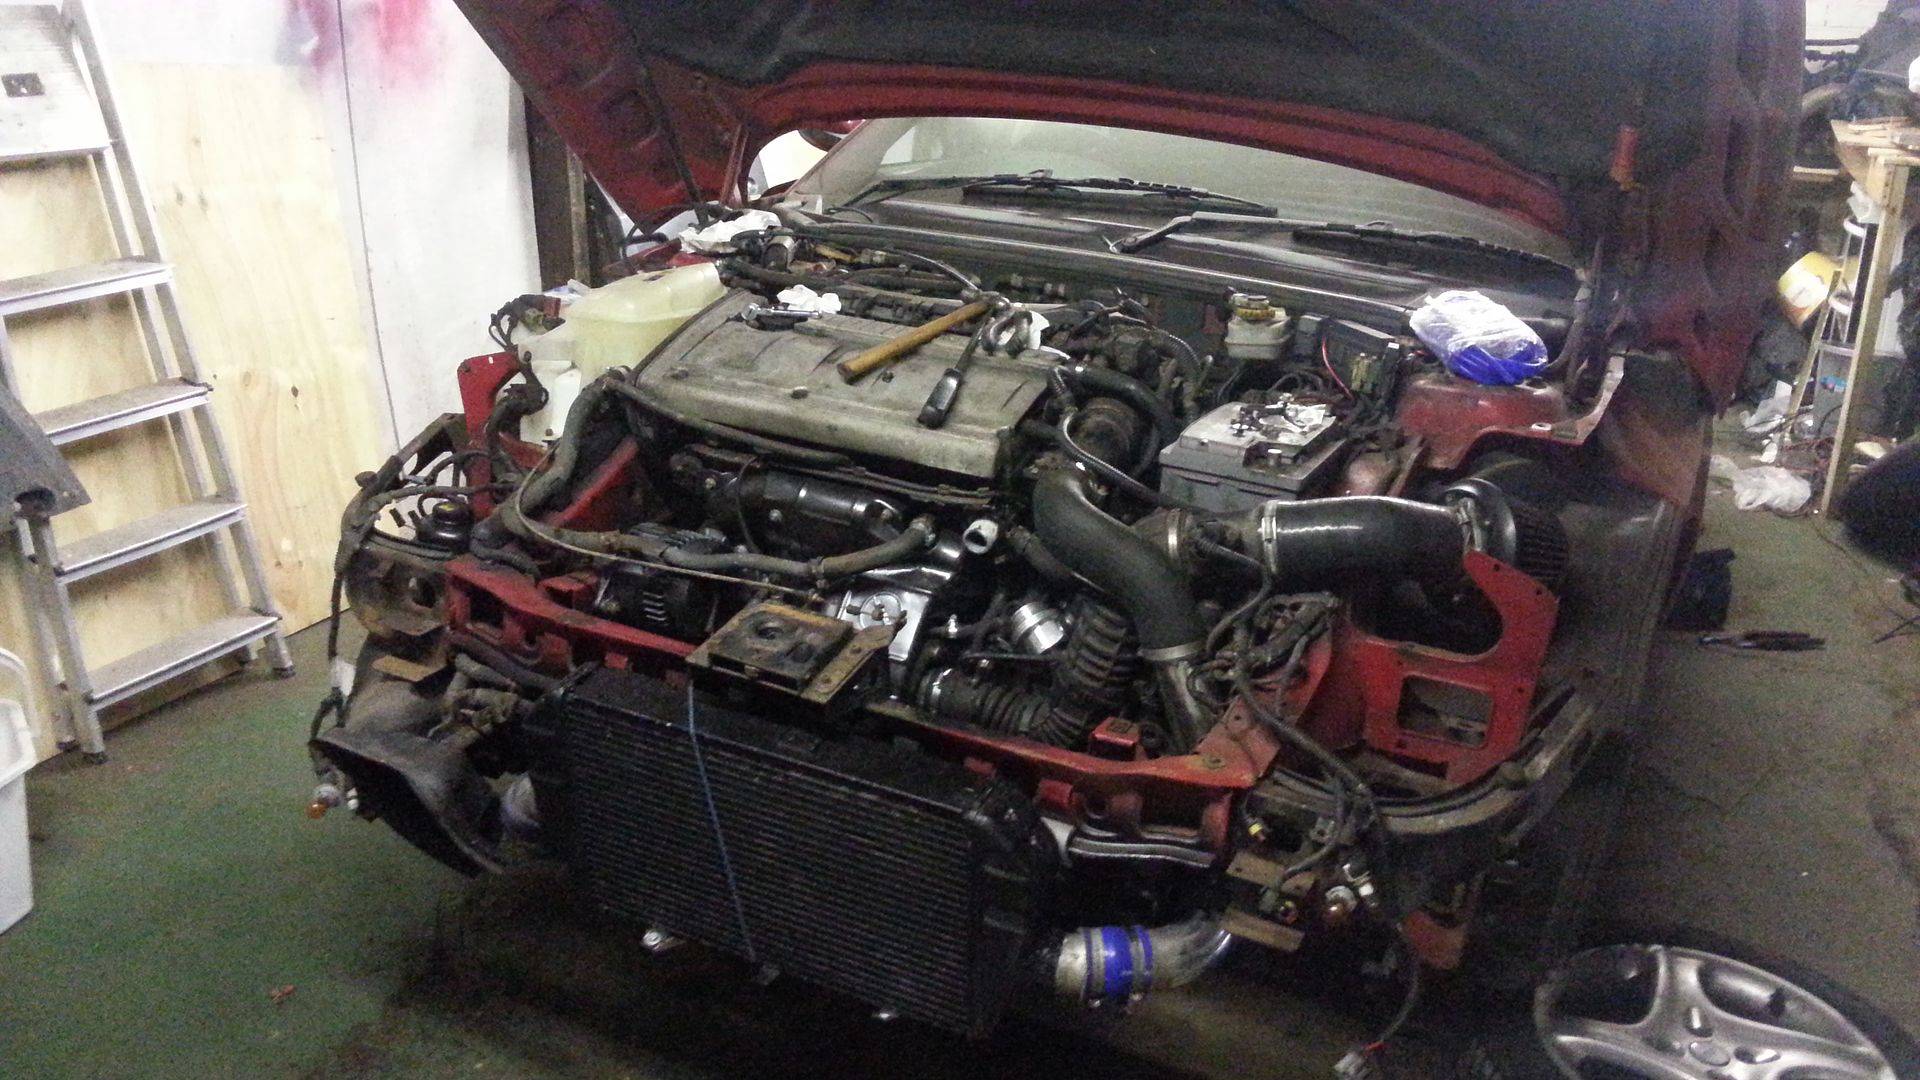
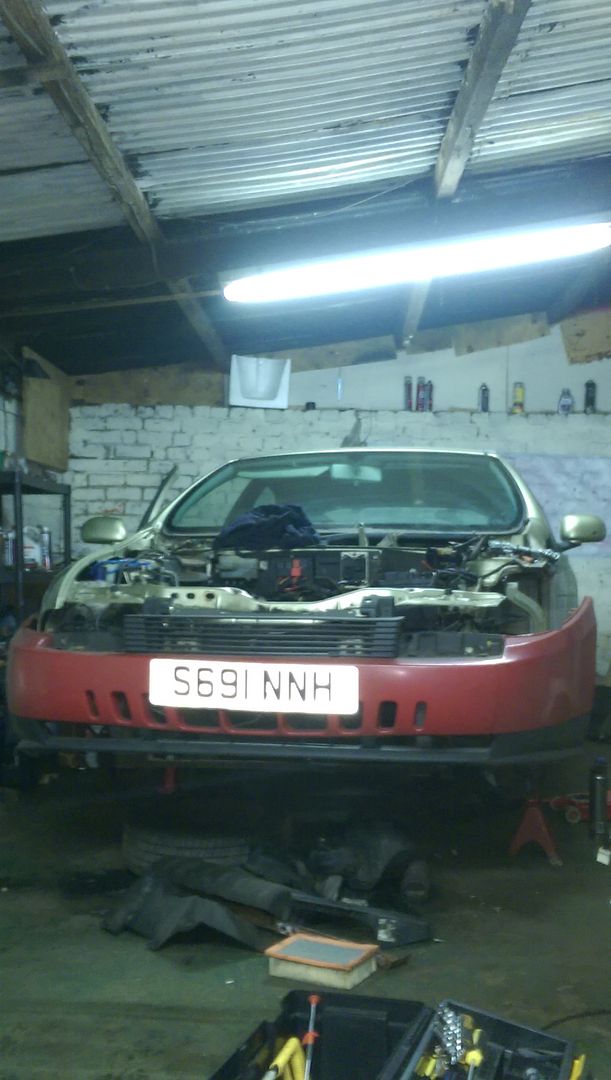
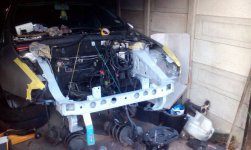
Finally got the brava in the workshop.
The engine and box are
Out
Next job to do is remove the front subframe, have a good look at the mounting points and clean up the engine bay before transplanting all the brackets and bits and bobs the 20vt needs.
Might need a couple of new engine mountings as I sheared the coupe front gearbox one.
And the other ones are a bit ropey. May invest I. Some vibratechnics jobbies.
The sump was rotten on the brava, and I think the head is cracked so I'll most likely weigh that in.
It's done its job and needs to make room for the main event.
The wiring looks like it will be a fun job. I've got a couple of surprises in store for the interior
More updates later in the week.
OP
OP
steve20vt
Member
I've got some weight saving ideas floating around too. The battery is heading for the boot and the bravo pas is heading for the bin, as will the over complex coupe pas system.
I'll be going all French with the steering.
I'll be going all French with the steering.
Nice I would defiantly move the battery out of the engine bay as well.
I would defiantly move the battery out of the engine bay as well.
OP
OP
steve20vt
Member
I had the day off work today for a hospital appointment, so with that out of the way it was down to the workshop to get stuck in.
I removed the complete wiring loom from the coupe, my theory is that if I can get the engine to run on the floor of the workshop (on a cradle) then I can isolate the wiring I'll not need, then just incorporate what's needed into the brava.
Sounds simple enough till you try and connect the looms together on the floor lol
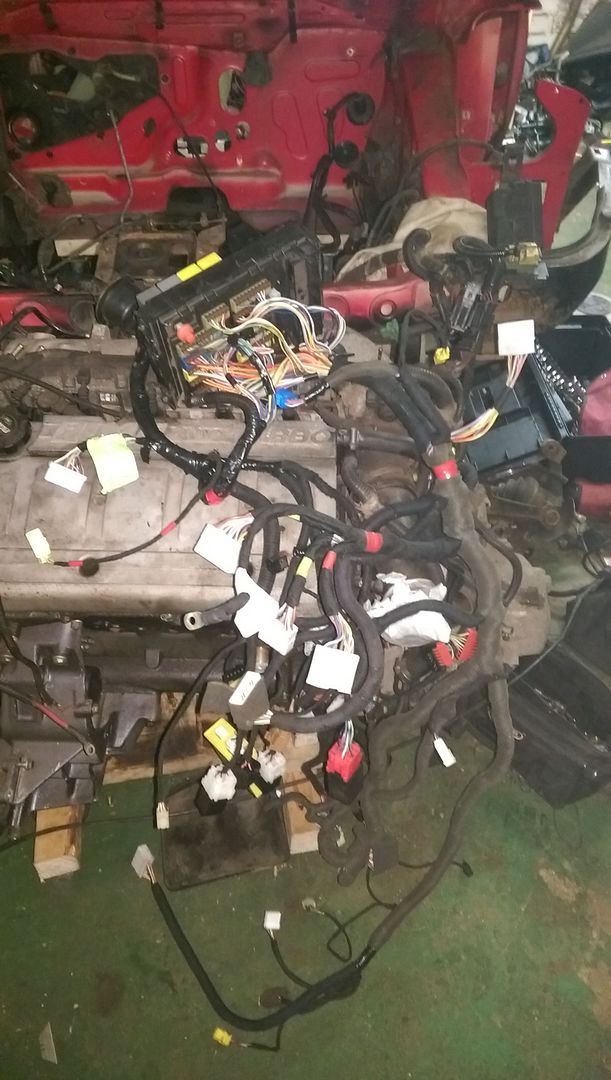
OP
OP
steve20vt
Member
Meanwhile...
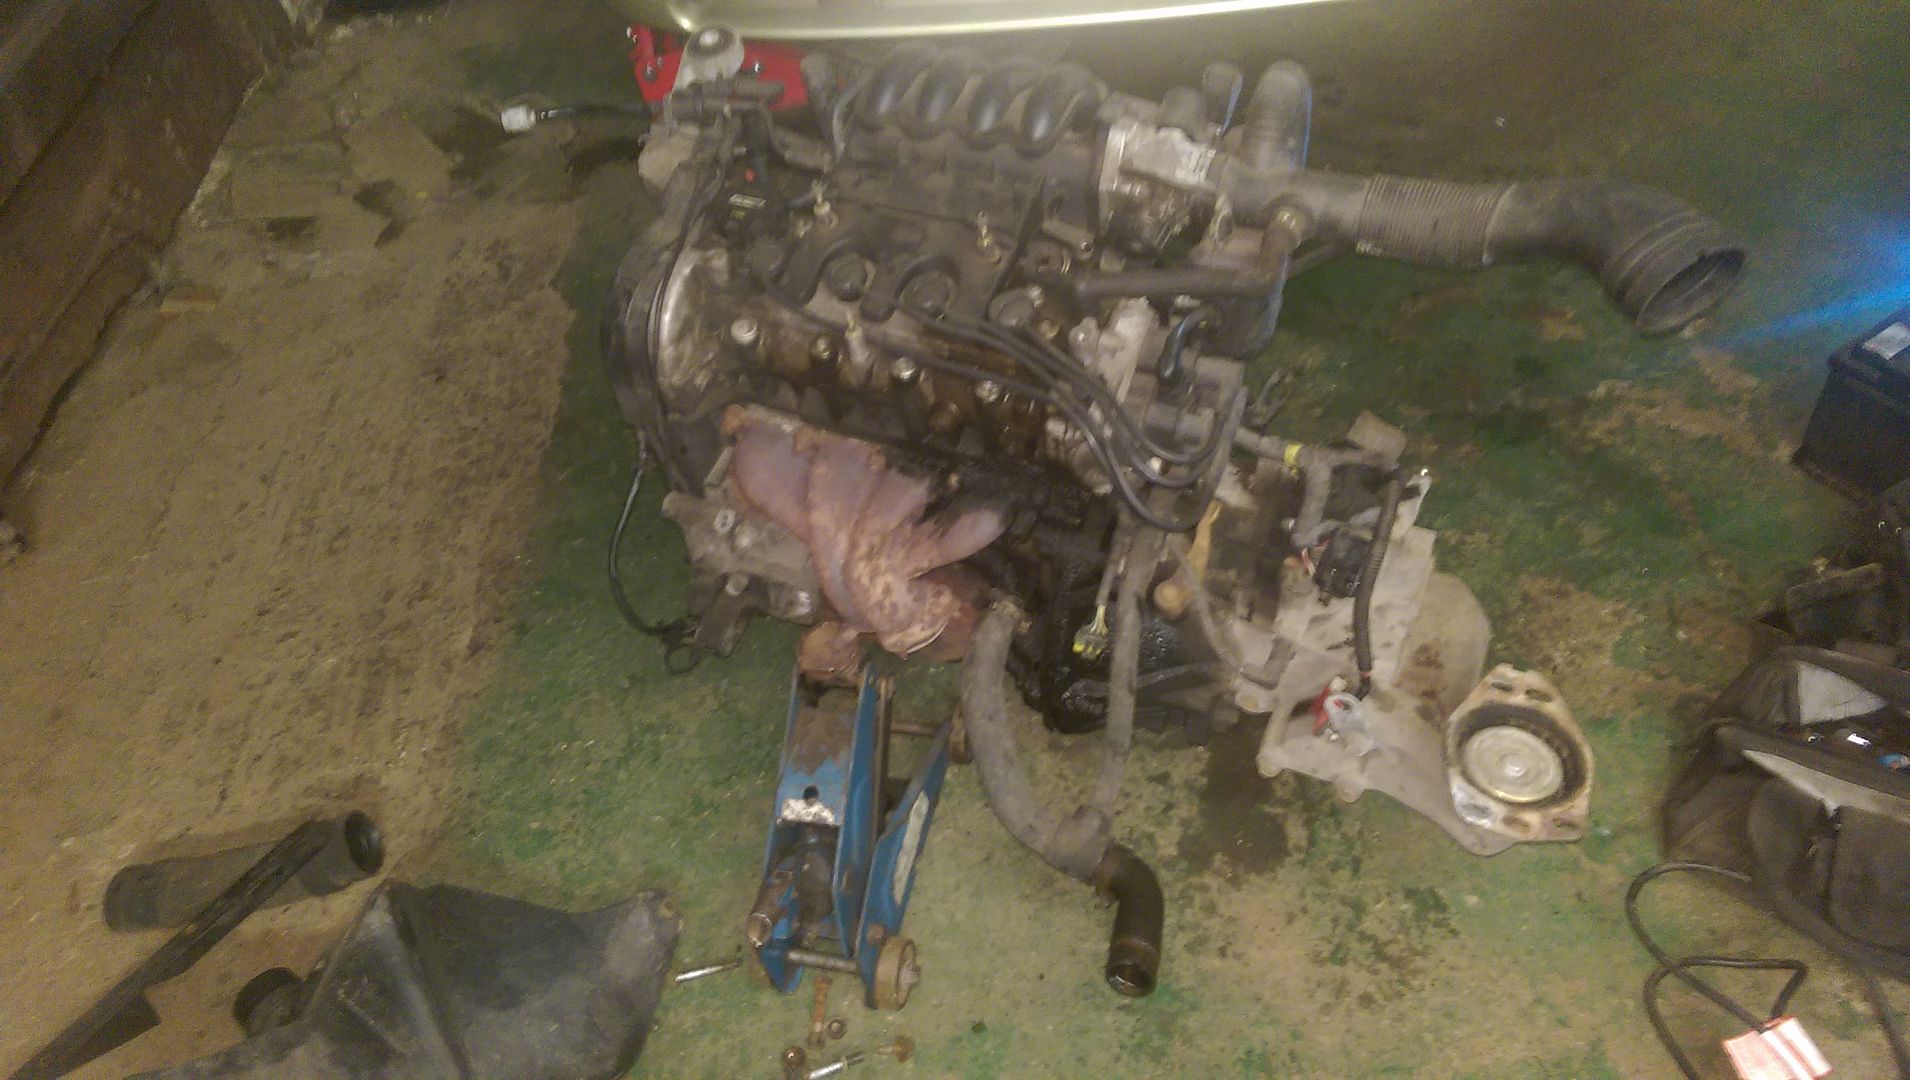
In the garage at home I have another 20vt engine in a state of disassemble.
This engine has done less miles than my coupe engine. And my plan is to fit that engine in the brava, while I fettle this engine at home.
But depending how quick things get done it could well be that this engine makes its way into the brava.
OP
OP
steve20vt
Member
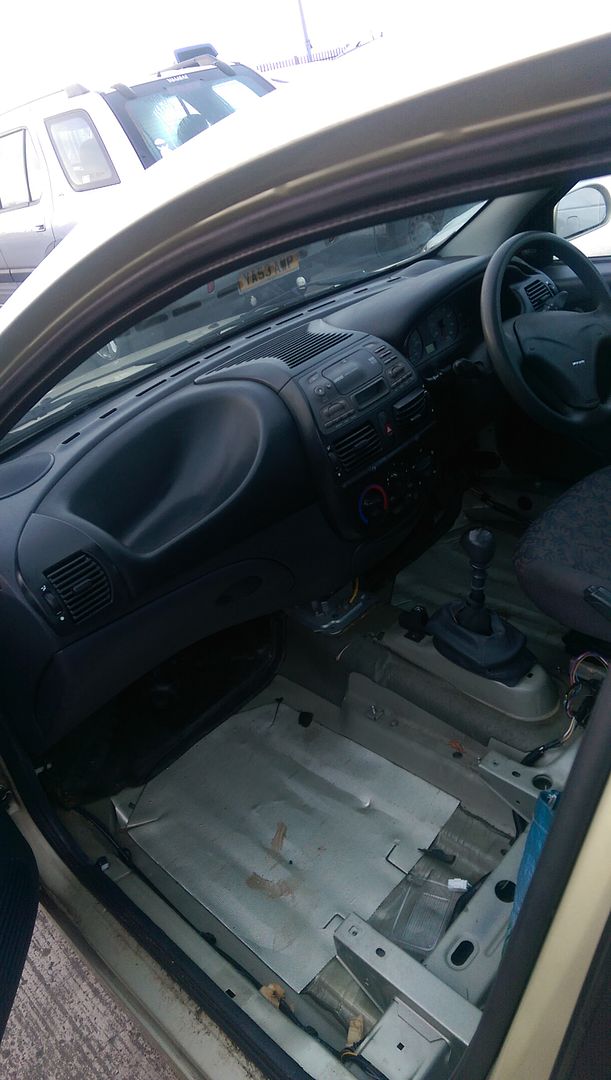
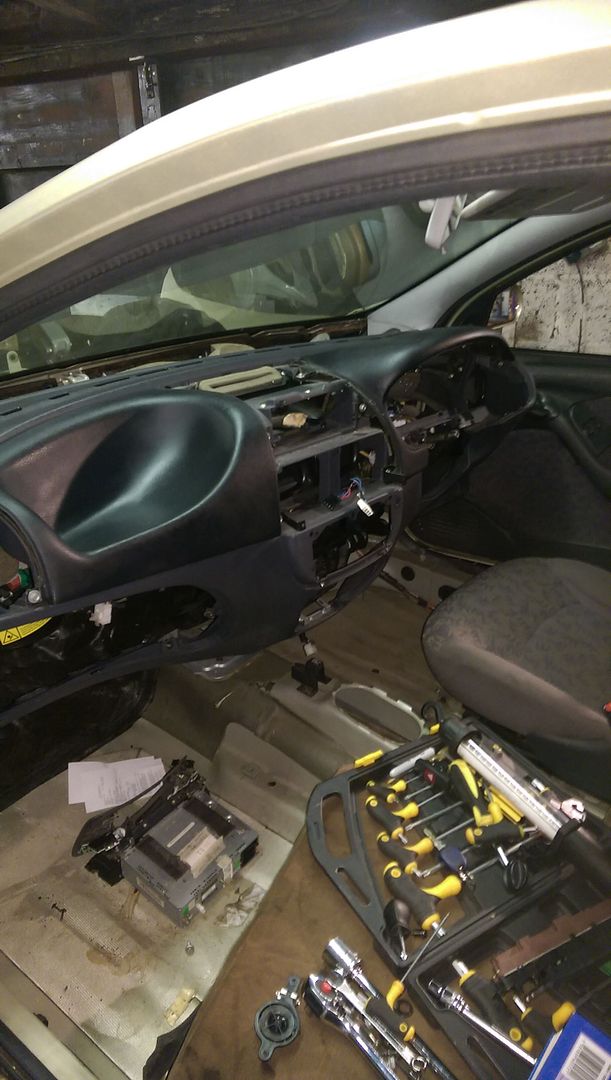
I've had two days holiday so got stuck into the brava, I'd pulled the engine and box out, then secured some wiring and tested all the car electrics to make sure everything still worked. All was good.
I turned my attention to the dashboard next, not only did I need it out for the wiring job, but also to remove the heater box to replace the leaking matrix.
The dash was surprisingly easy to get out, MUCH easier than the coupe dash.
And removed
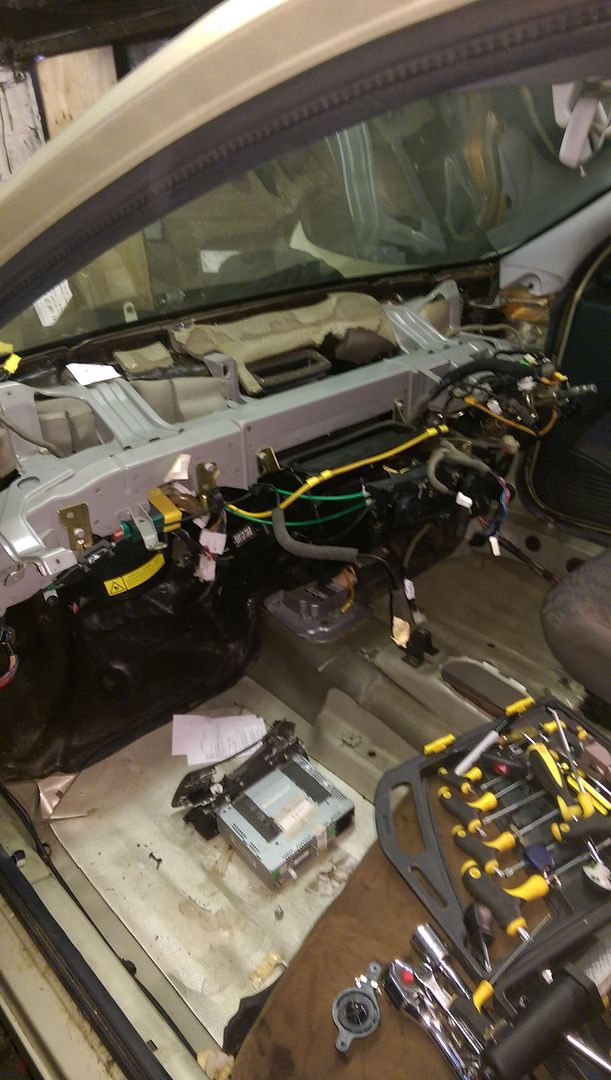
And much less wiring than my coupe, once the heater box was out it was time to take the matrix out

I turned my attention to the dashboard next, not only did I need it out for the wiring job, but also to remove the heater box to replace the leaking matrix.
The dash was surprisingly easy to get out, MUCH easier than the coupe dash.
And removed
And much less wiring than my coupe, once the heater box was out it was time to take the matrix out
Last edited:
OP
OP
steve20vt
Member
Couldn't resist.
OP
OP
steve20vt
Member
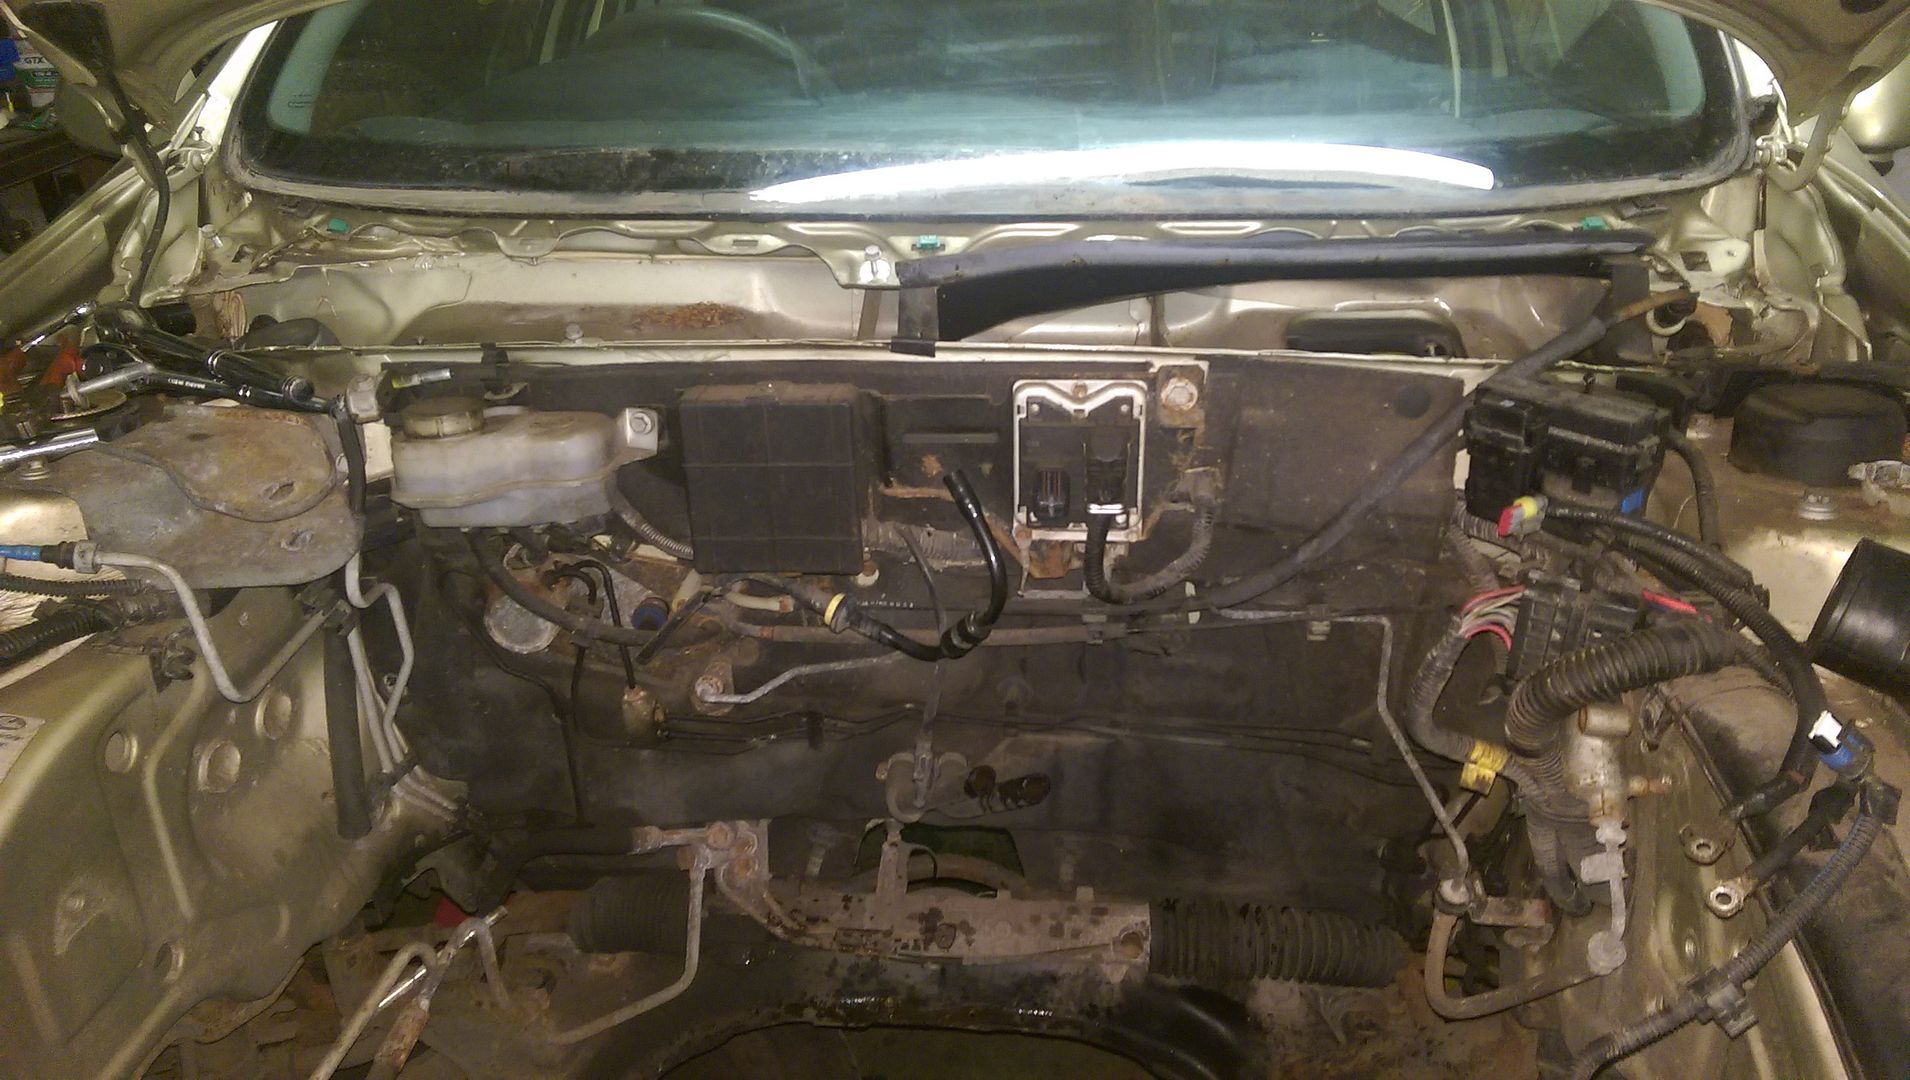
Once I was satisfied that all the electrics worked, it was time to remove the redundant engine loom, and make sure everything still worked, again.
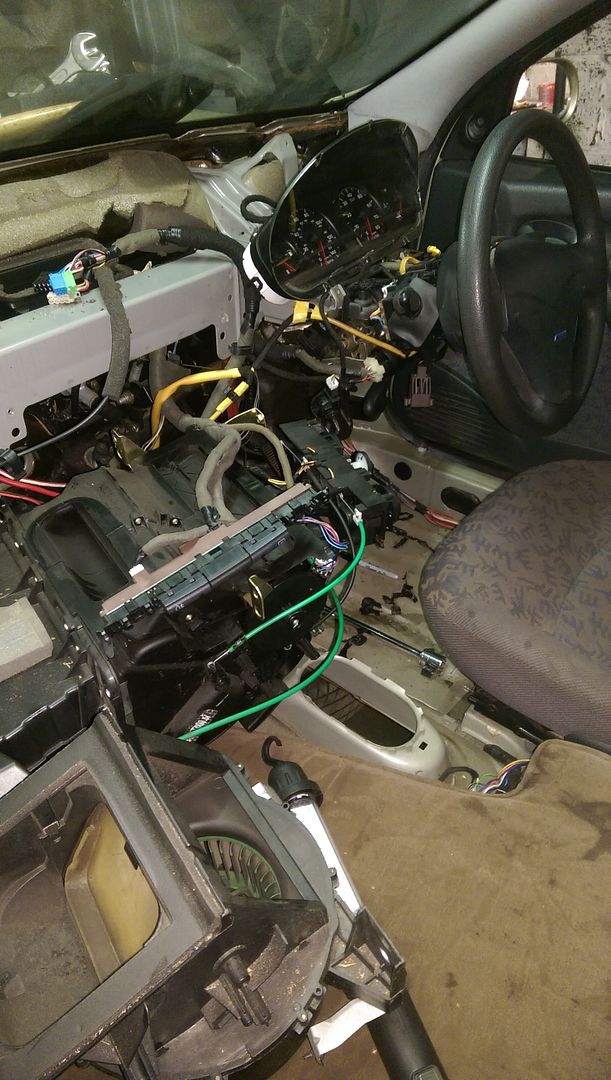
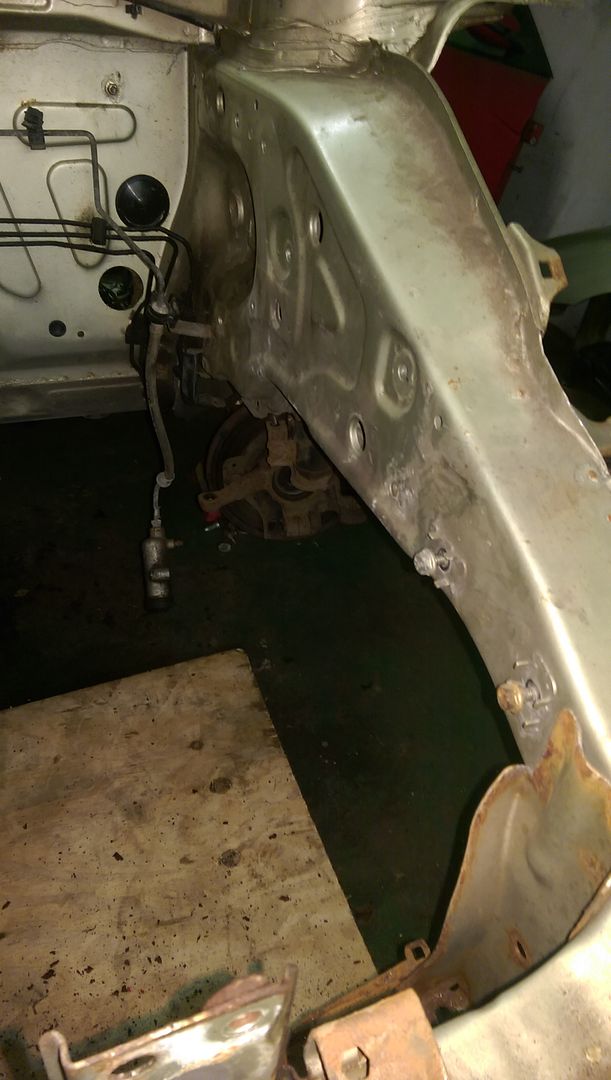
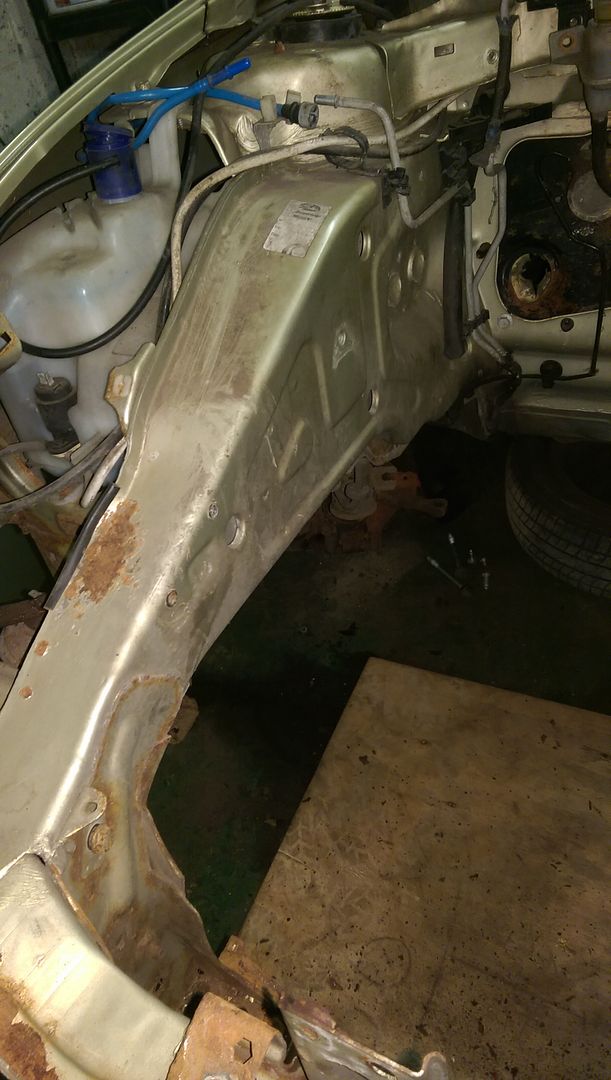
Next it was time to have a clean round the engine bay, I unclipped, unplugged and unbolted all the wiring and earths in there.

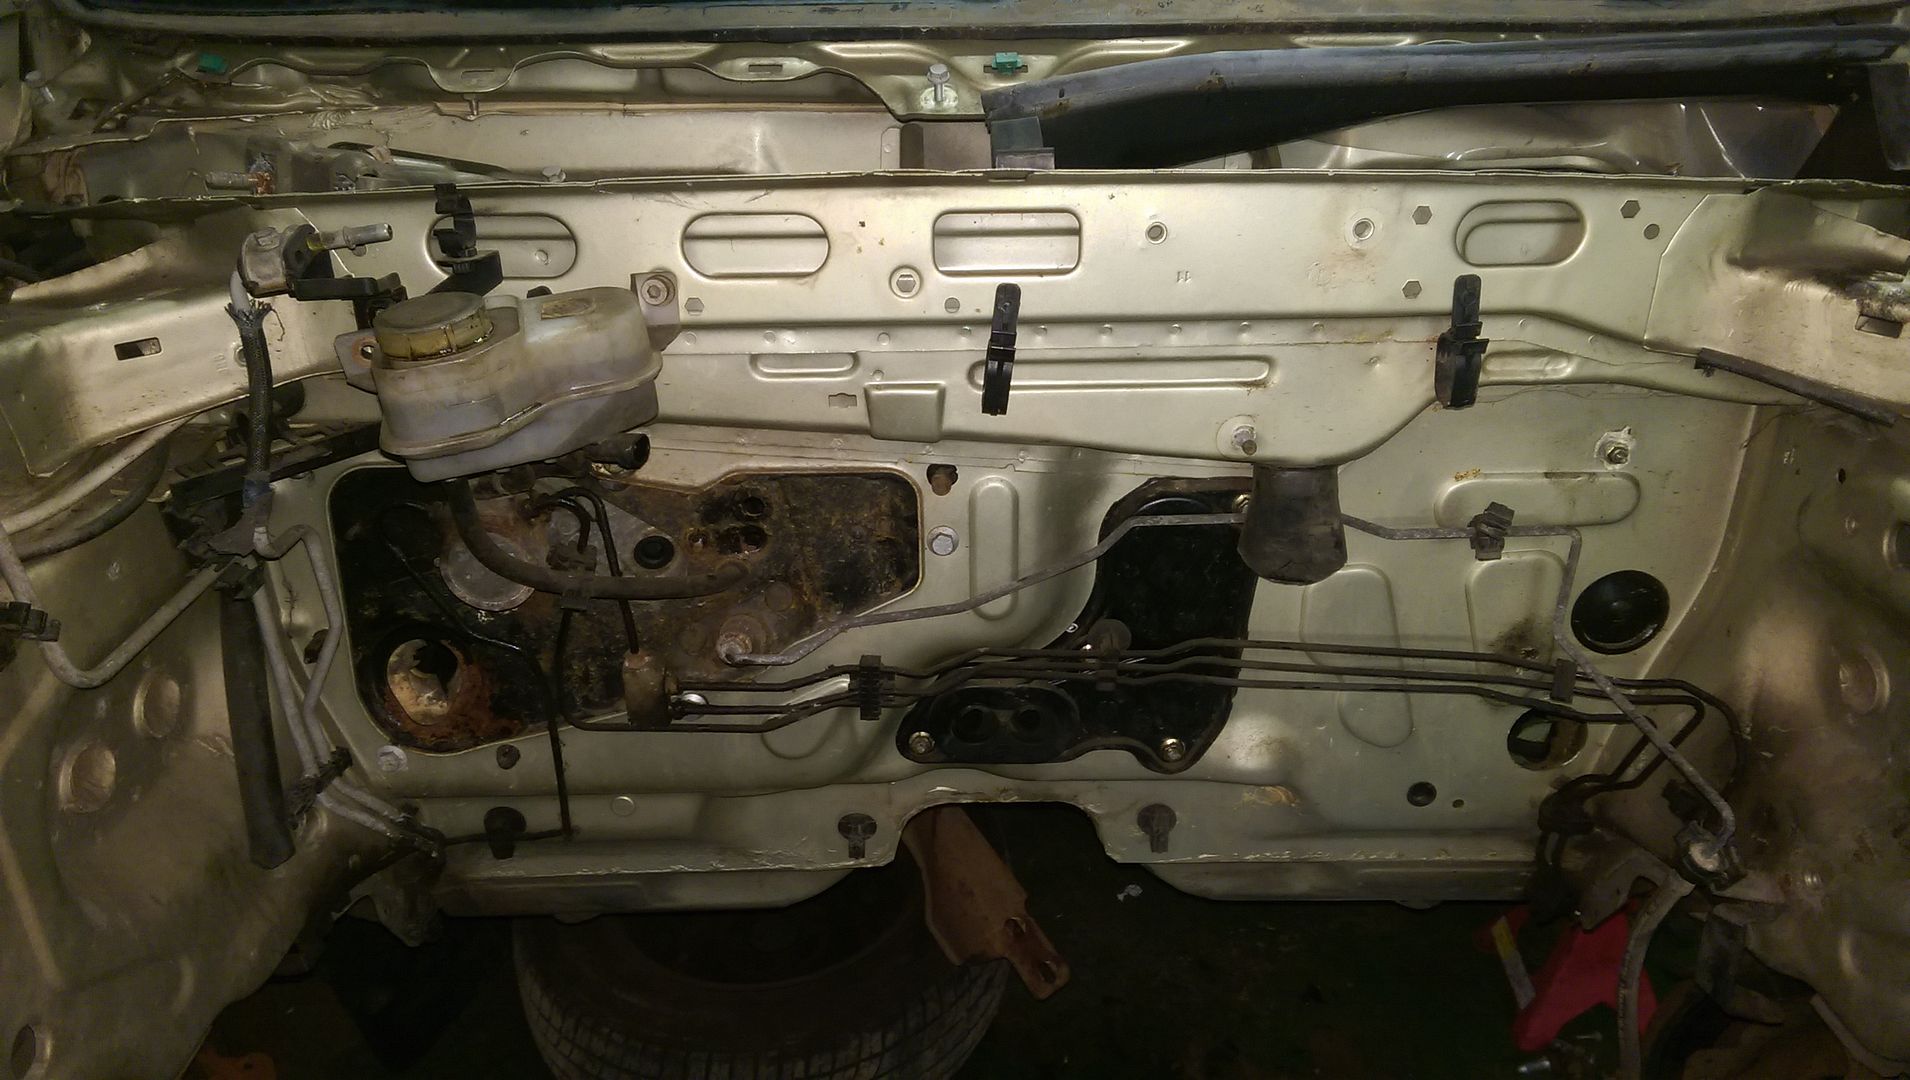
Usual rusty bit

Chassis legs looking okay, just a smidge of surface rust
The interior as it stands at the minute.
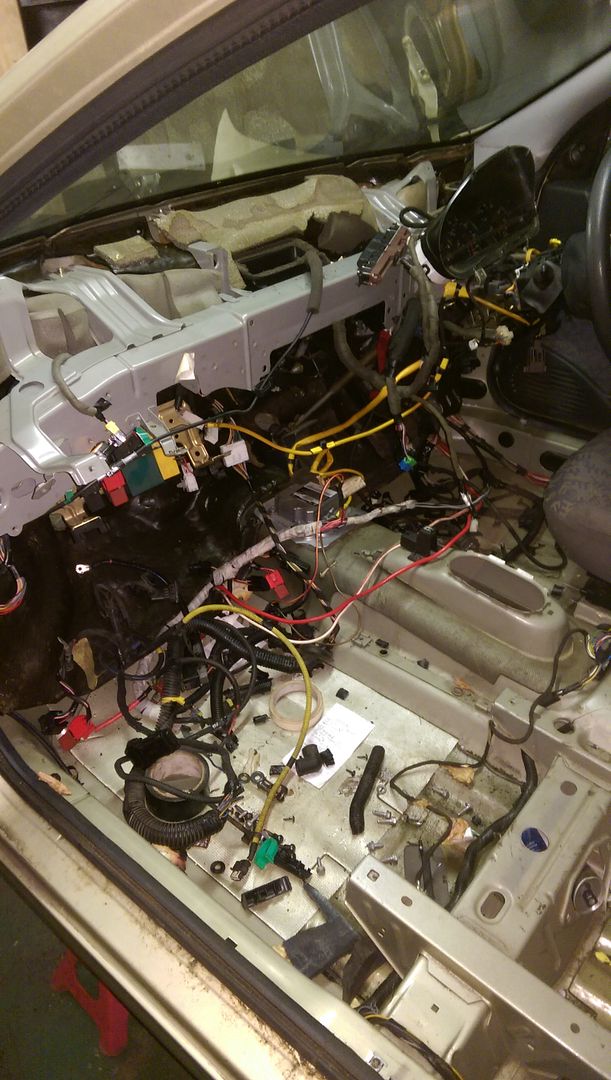
Next it was time to have a clean round the engine bay, I unclipped, unplugged and unbolted all the wiring and earths in there.
Usual rusty bit
Chassis legs looking okay, just a smidge of surface rust
The interior as it stands at the minute.
Last edited:
Fantastic!
OP
OP
steve20vt
Member
That's a rusty little Brava , quite surprised
And makes me even more happy that mine was so clean
My grit blasting equipment will be arriving next week, I'll make up new sections for the wing supports, replace the slam panel and make a new radiator support.
You should see my coupe, that's got rust issues.
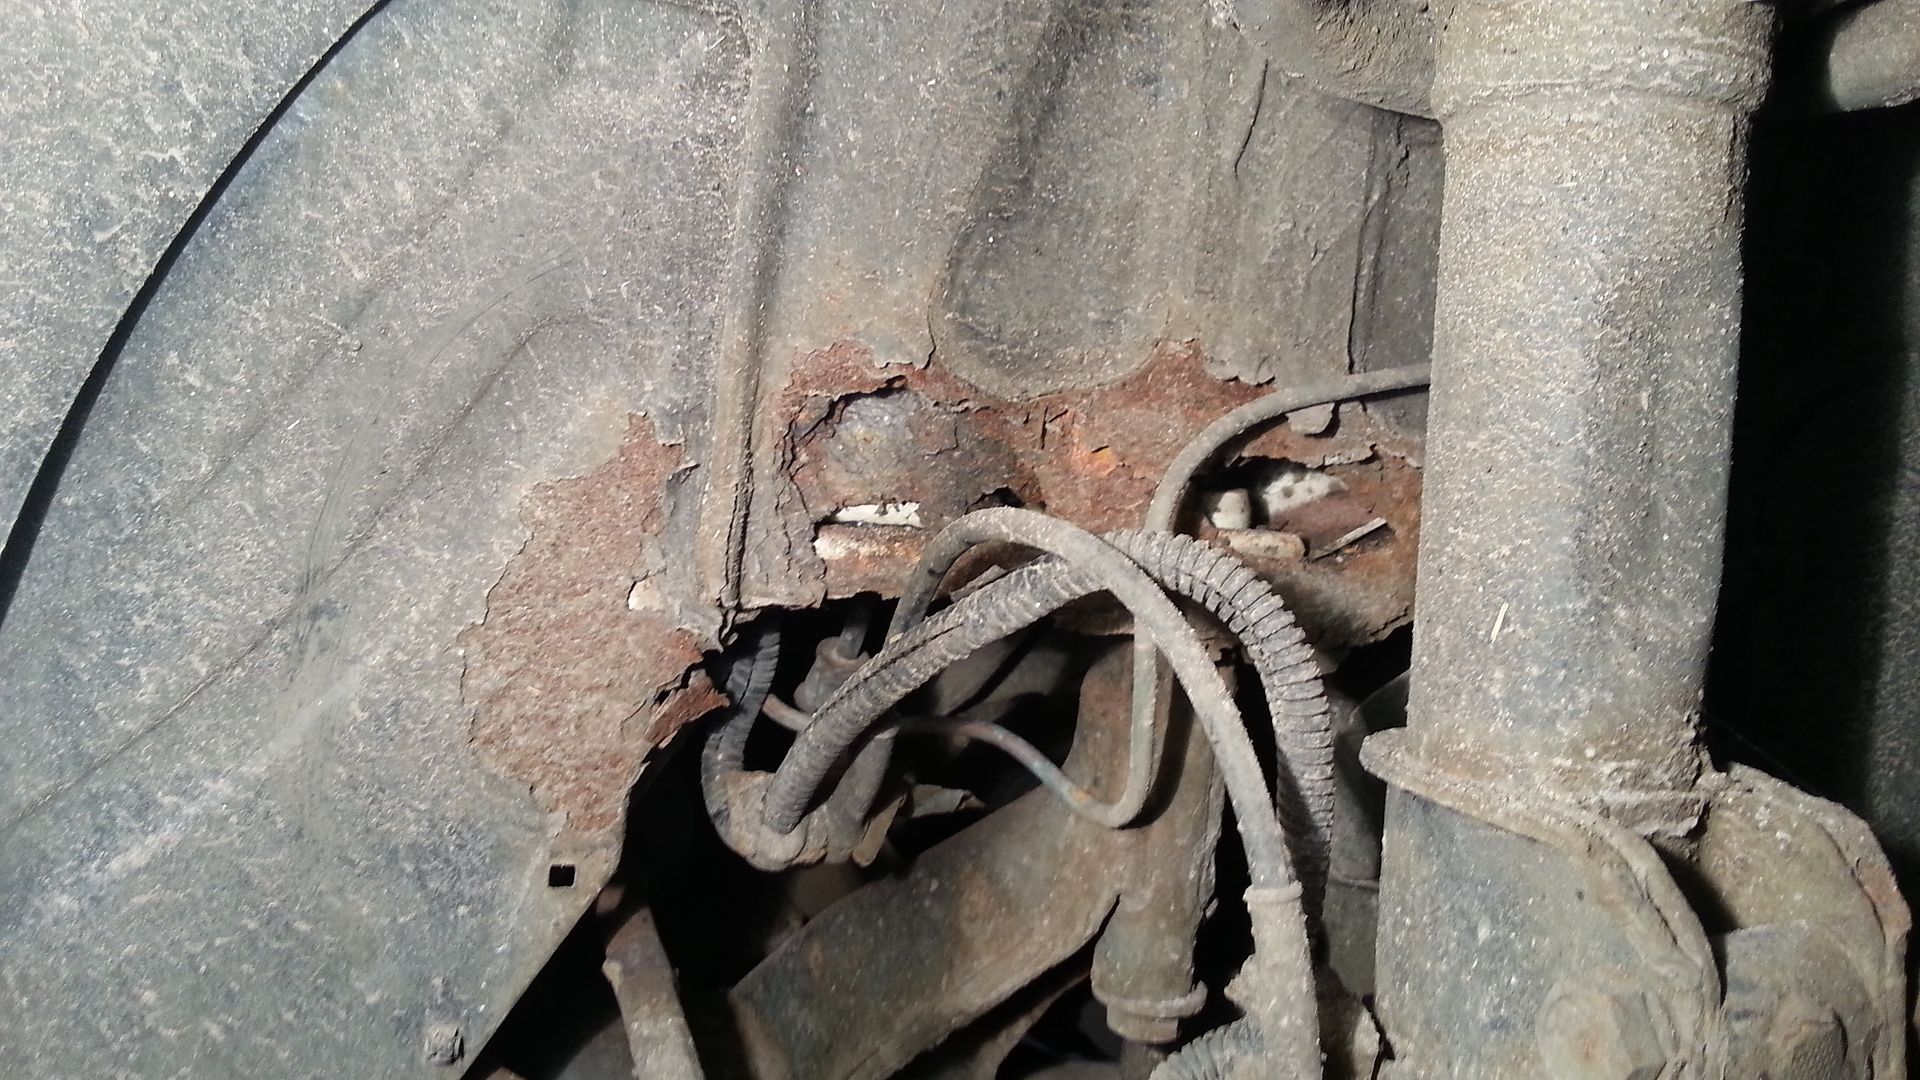
My marea and brava are really good in this area.
OP
OP
steve20vt
Member
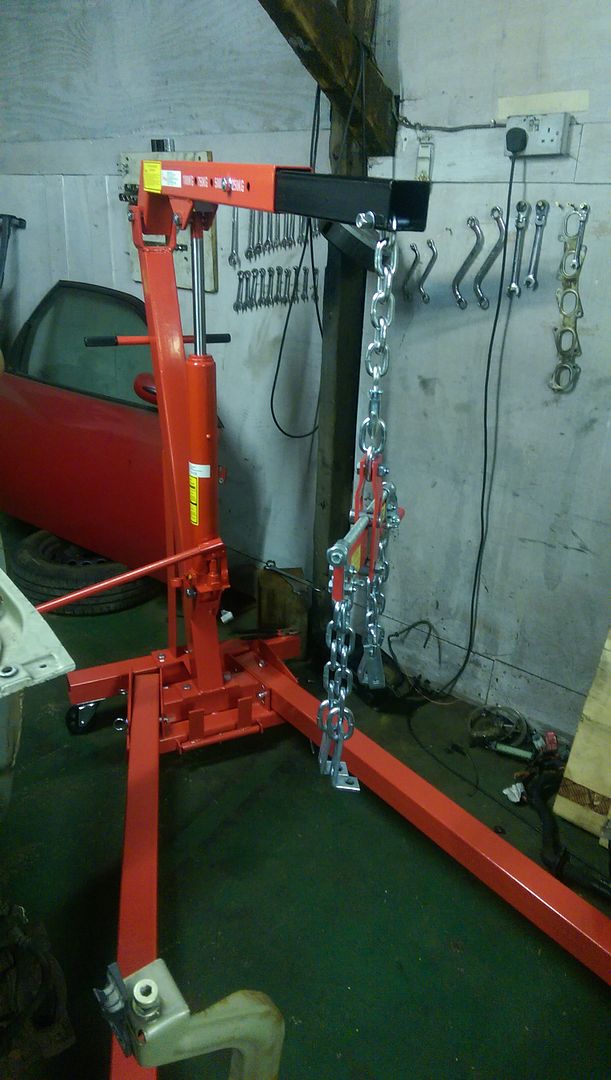
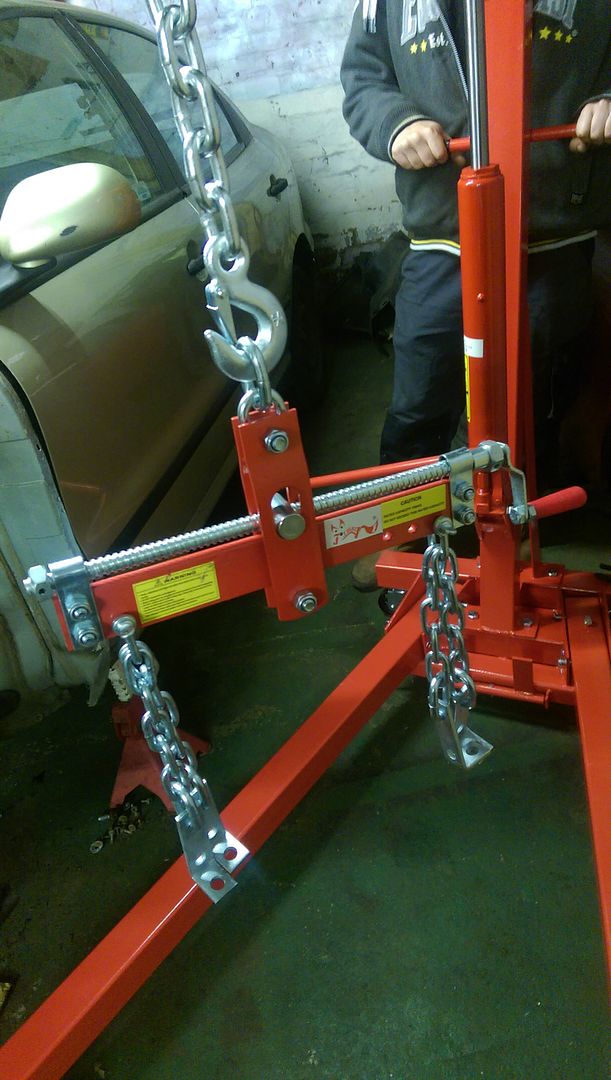
Haven't done much this weekend. Got a new toy.
I started cleaning the engine bay. When my grit blasting media gets here we plan to take the car out the workshop and blast the whole engine bay. Treat the rust, and repaint the bay.
I started cleaning the engine bay. When my grit blasting media gets here we plan to take the car out the workshop and blast the whole engine bay. Treat the rust, and repaint the bay.