

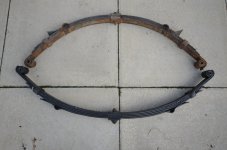
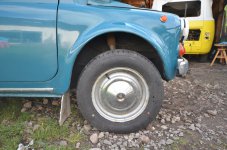
Hi Folks, this is my first post on this Forum. Just installed new stock 5 leaf front spring on my 1965 Autobianchi Bianchina Cabrio (Fiat 500 L platform) Spring appears to be dimensionally identical to the original, however the front end sits about 1 1/4 inch higher than before, measuring from the floor to the bottom of the spring to body clamp as per Fiat Manual. Can I expect the spring to settle if I drive it a bit before doing the final alignment. I have searched the Forum , but cannot find anyone who has had a similar issue.
Your thought would be appreciated!!
Your thought would be appreciated!!
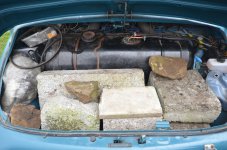
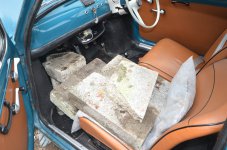

 Mind you, on further inspection of the pictures, it doesn’t actually look like you managed to remove all of it. It might have been quicker to leave the original contents in situ as it probably weighs more than the rocks, sorry ballast.:idea: