General New guy old Uno overhauling the creaky bits 56k

Currently reading:
General New guy old Uno overhauling the creaky bits 56k

Thanks, I guess beauty is in the eye of the beerholder.

Today I am getting into more trouble than I should.
IMG_4016.jpg


It took me probably like two and a half hours to get the two nuts holding the side support arms, off... those square ones that slot into the bumpber, whoever designed those deserves to be shot in public.

Anyhow, the bumper came off like the manual said it would.
Grill off, take out bumper screws near radiator.
Then remove the three screws under the bottom lip (well Mine still has one screw :) )
Next remove the wheelwell guards from inside, have a size 6 spanner handy for that.
And finaly remove the nuts holding the side arm, , bumper and chassis together. You don't have to take the arm off where it meets the engine bay.
I had to though as my one arm was totaly bent. I straightened it out some in a vice, then turned the vice into a bench grinder and cleaned up the rust, then primed and resprayed.

IMG_4030_1b.jpg


IMG_4032.jpg


Ok, time for more work.

I'm also makeing a new centre bottom braket out of some plate. and still have to make a plan for replaceing the completely missing bracket.
 
Last edited:
And finaly remove the nuts holding the side arm, , bumper and chassis together. You don't have to take the arm off where it meets the engine bay.
I had to though as my one arm was totaly bent. I straightened it out some in a vice, then turned the vice into a bench grinder and cleaned up the rust, then primed and resprayed.

IMG_4030_1b.jpg


IMG_4032.jpg

Are those side arms for bracing the bumper ends (with those damn captive bolts) with the inner wing/ chassis? Interesting how they are a different design to the UK spec Unos which use a tube with flat 90 degree ends rather than pressed steel like yours. Good work nonetheless - keep it up!
 
Nope they are the same as the ones in the UK ;)

They are MK2 type :p


MK21.jpg


Chas I thought you’d goten more acquainted with MK2 parts after breaking a couple.. :p

I was surprised when I found round bar type when I removed my MK bumper having previously removed a couple of MK2 front bumpers.

MY MK1 bumper was held on by the 2 front screws, no lower mouns as they plastic was missing, one rear upper square back stud and a zip tie on the other corner!!
 
Nope they are the same as the ones in the UK ;)

They are MK2 type :p


MK21.jpg


Chas I thought you’d goten more acquainted with MK2 parts after breaking a couple.. :p

The mk2 70SX me and Jai broke had the round bar type bumper supports, as did Ucof's mk2 45 that we broke recently. Both were early mk2's, so maybe the pressed steel design superseded them in later models? :confused:
 
Thanks for the interest and compliments...
Update time.
IMG_4018.jpg

With the bumper off it was clear I would have quite a job to get it back on as the mounting brackets were gone or in the act of leaving.
IMG_4026.jpg


IMG_4027.jpg


So, I made some supports from scrap steel plates I got from someone who was throwing it out... which is why the middle support only has one nut on the top.
I tried useing the pop rivet gun, but it just pulls the rivets through the metal, which is why I settled for screws and washers. I also made the other corner support nice and wide in the bottom to hold those two cracked pieces in place as well as doing a small crack repair on the other side.
IMG_4034.jpg


IMG_4035.jpg


All screws were run through an appropriate sized die until the nuts could be spun on in a single flick of the finger and the given some Q10 before I started reassembly.
IMG_4053.jpg


Sadly it still hangs on one side, but I found the culprit.
IMG_4037.jpg

The bottom steel bracket where the corner screw goes through is bent back from the corner impact the previous owner had. Not much but just enough to move the anchoring point down a bit. I guess I can try and take it off again this weekend and see if I can do what we call in the computer industry, a small technical adjustment... with a hammer. I think it will lift it slightly, and then I guess I can see if I can't get the other corner to hang just a few mm lower, its rather tight towards the bottom of the light cluster, at the moment. I just screwed everything in without trying to balance it or anything.

On the plus side, its tight as a rusted nut and I no longer need to go through the dip in my street at 30km per hour to prevent the bumper scrapeing, as it doesn't sag with innertia any more.
 
Last edited:
Lol!, Thanks I guess.

I'm a little lazy so far today, but I have been experimenting with electrolytic rust removal, useing some bicarb of soda and a small battery charger. My sacrificial plate is quite small so I hardly use 1 amp.

Here is a little rusted clamp that went in for about 30 minutes, more time will make it cleaner, to remove the dark oxide layer a short soak in coke will do. Then bake in oven at low temp for 2 hours to drive hydrogen from the iron or it may become brittle... think snaped off flanges...

IMG_40781.jpg


IMG_40791.jpg

Just wiped with kitchen towel, not washed yet.

For more on how to do it check youtube for electrolytic rust removal clips.
 
Last edited:
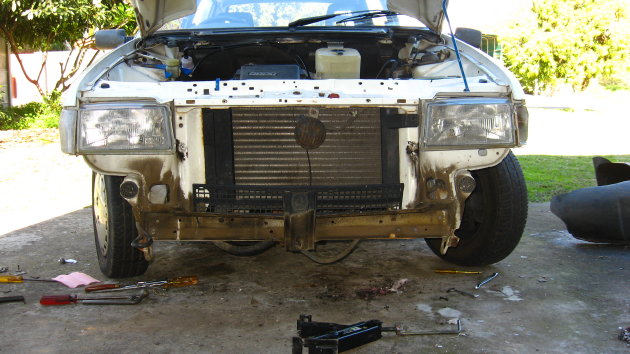
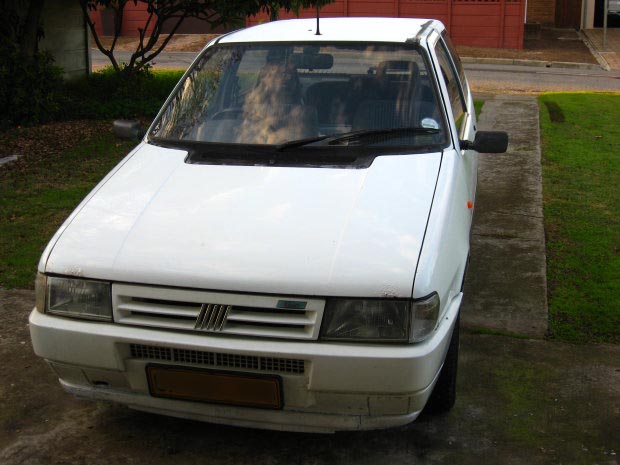
Hey there, today was bumper off time again.

The problem as perceived....
IMG_4082.jpg


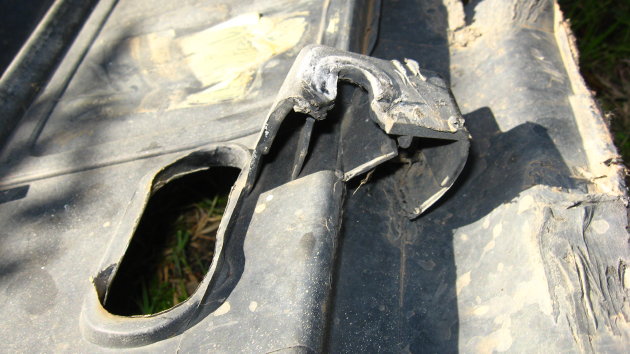
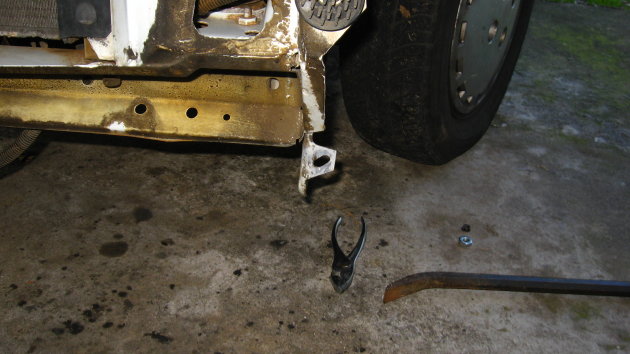
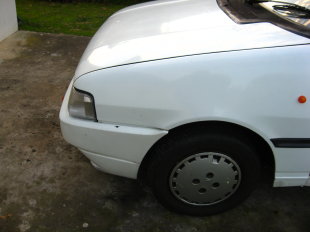
Bumper mount bent back too far...

IMG_40841.jpg


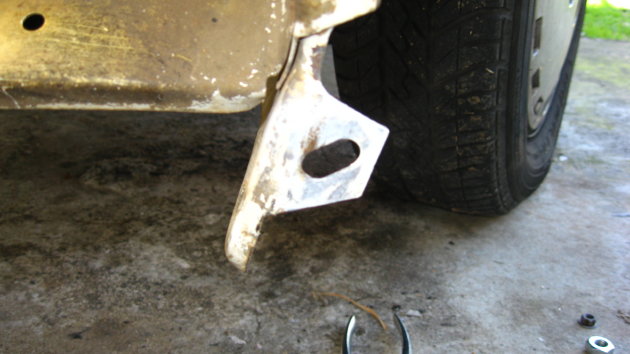
I adjusted it with a crowbar, very little force was needed, or much less than I anticipated.

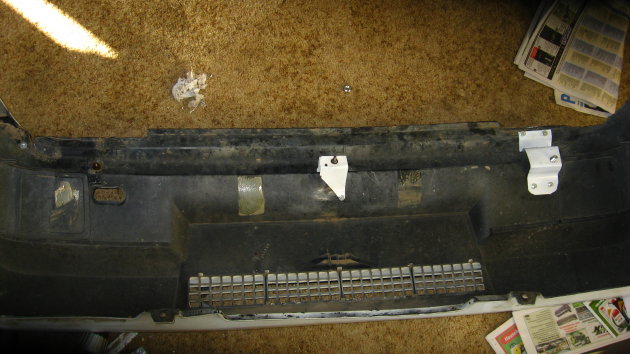
On refitting the bumper, I saw that the problem was more complex.

IMG_4093.jpg

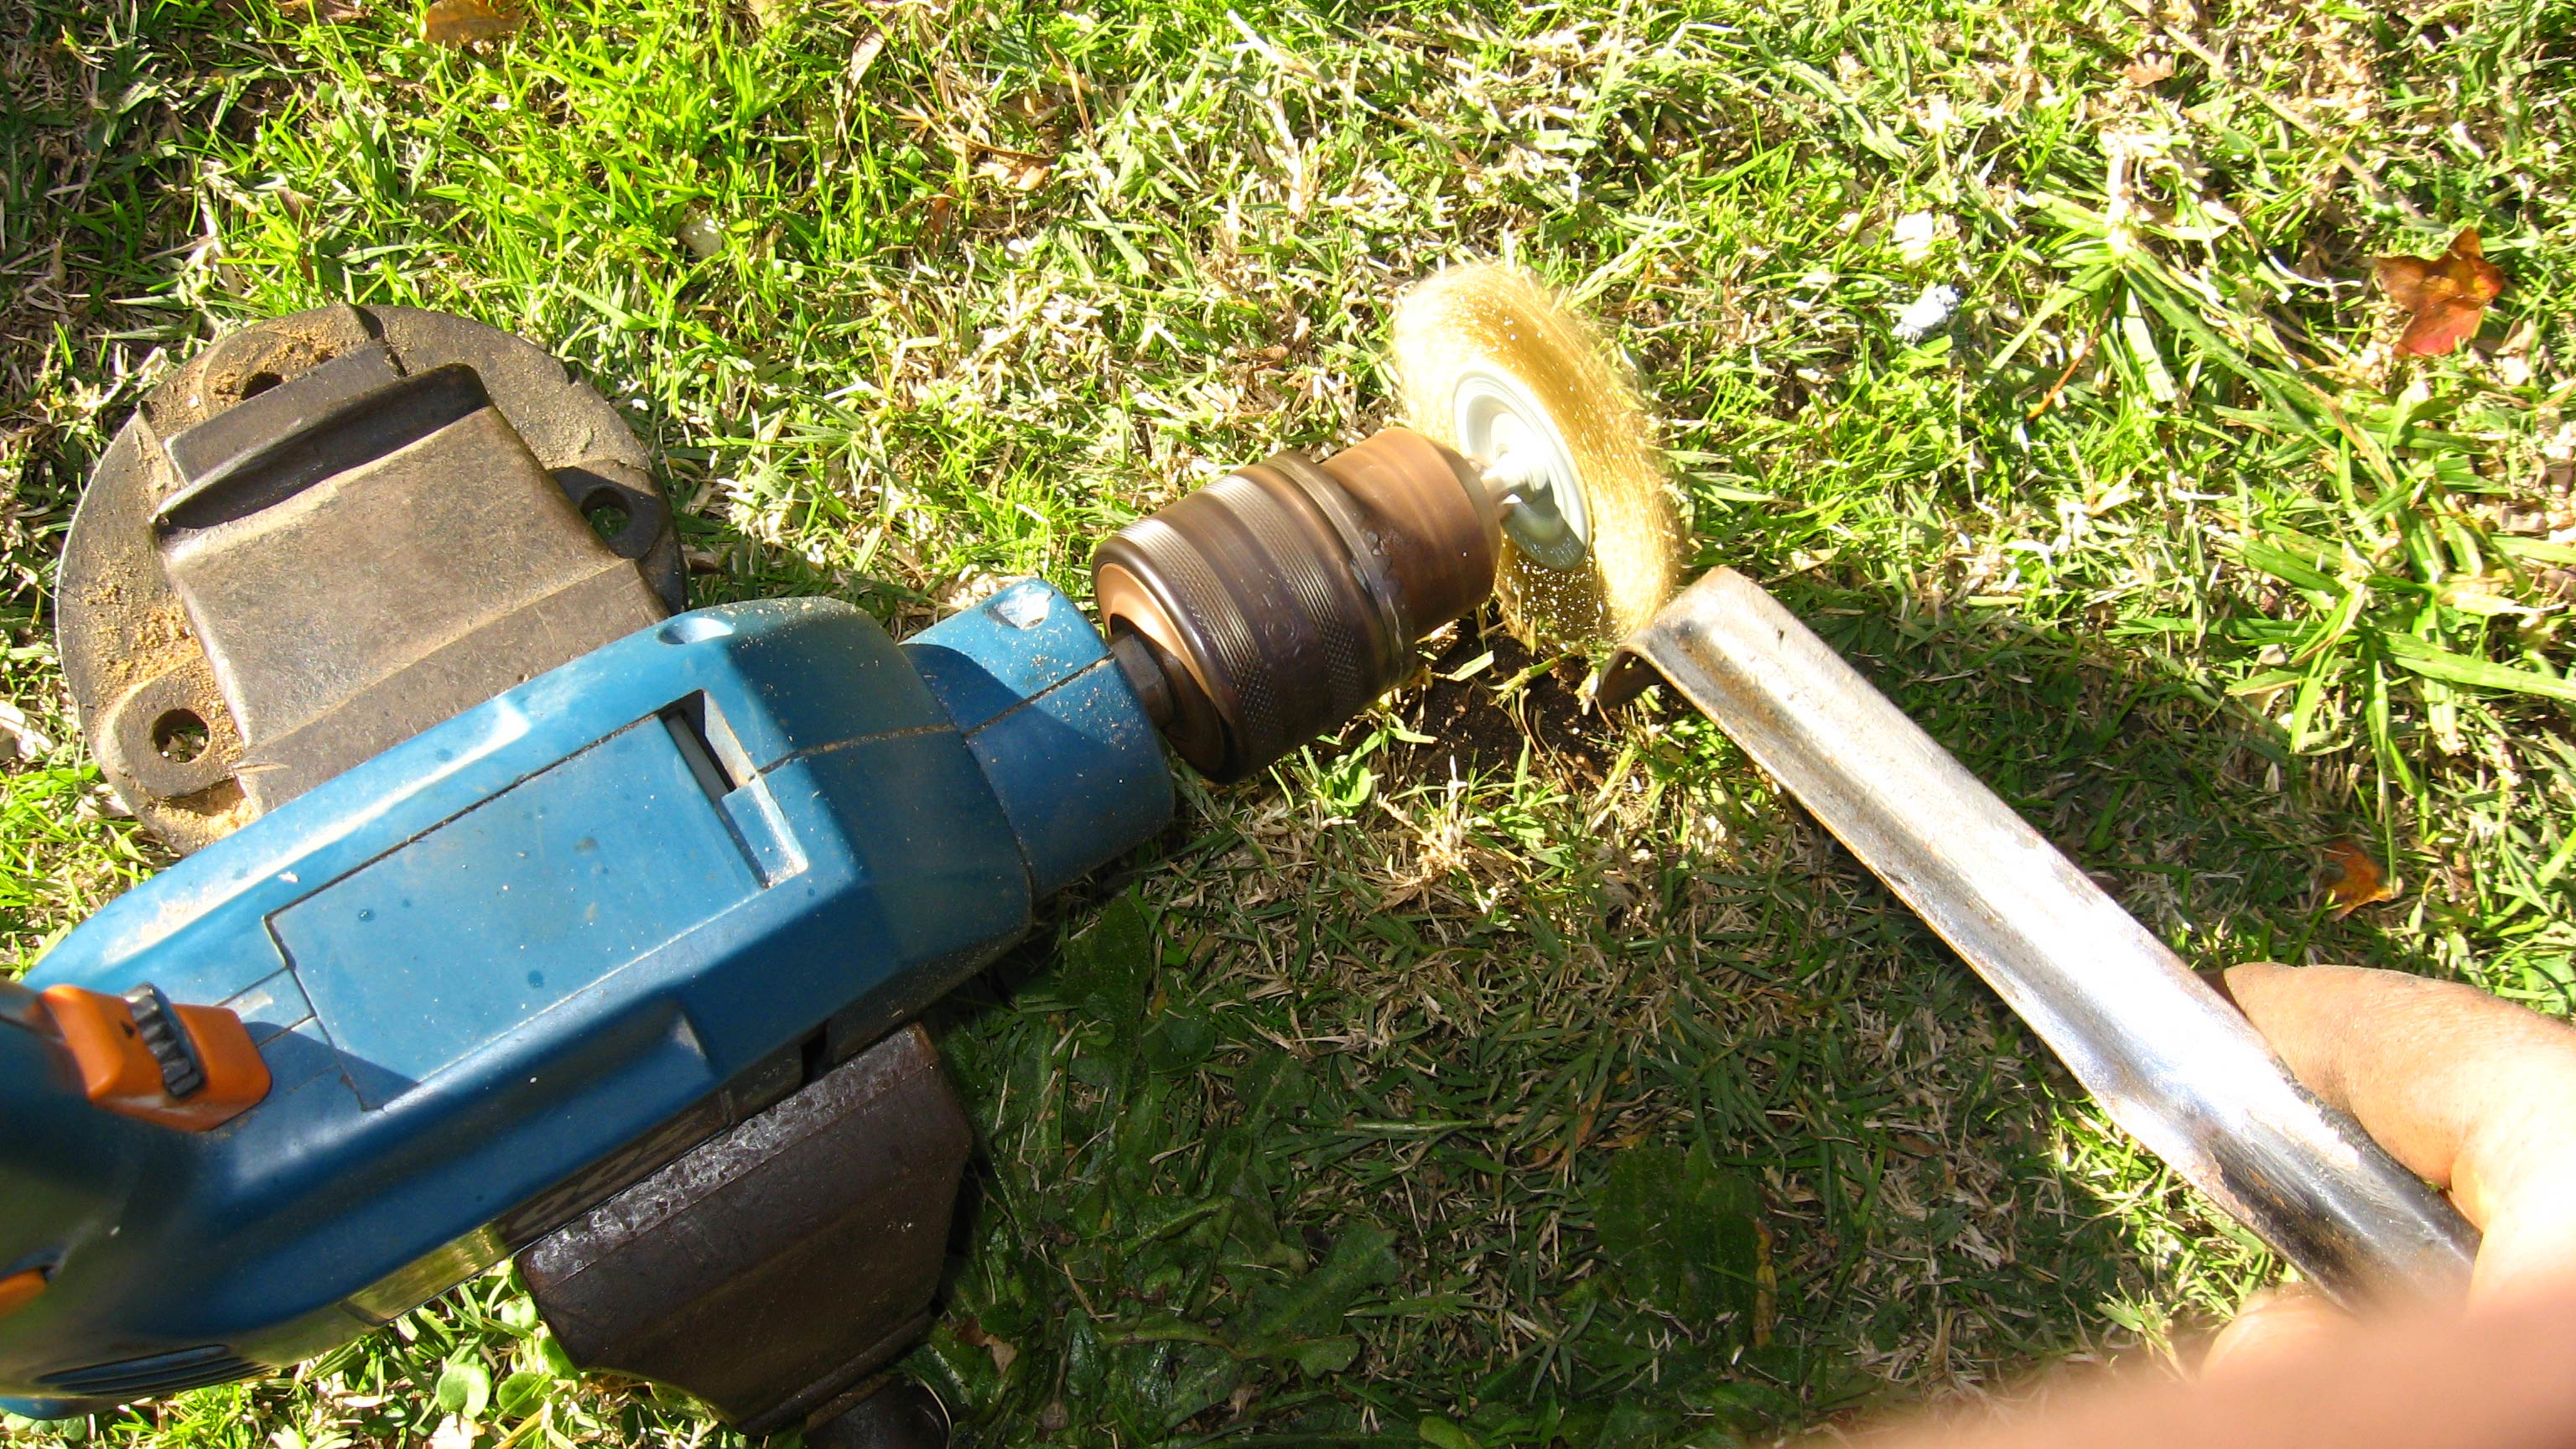
For one, the high side was riding on the tow hook, which I removed for an electrolityc derusting.

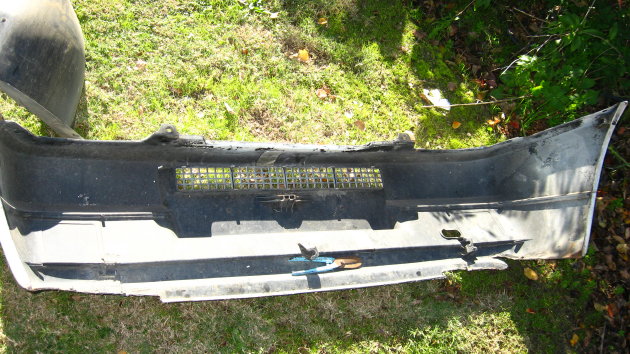
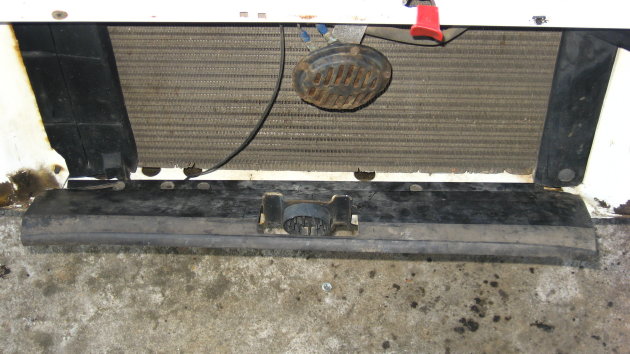
I also found the piece of plastic I found floating infront of the radiator once and pulled out. To the best of my deductive powers it has to go in like this?
IMG_4089.jpg


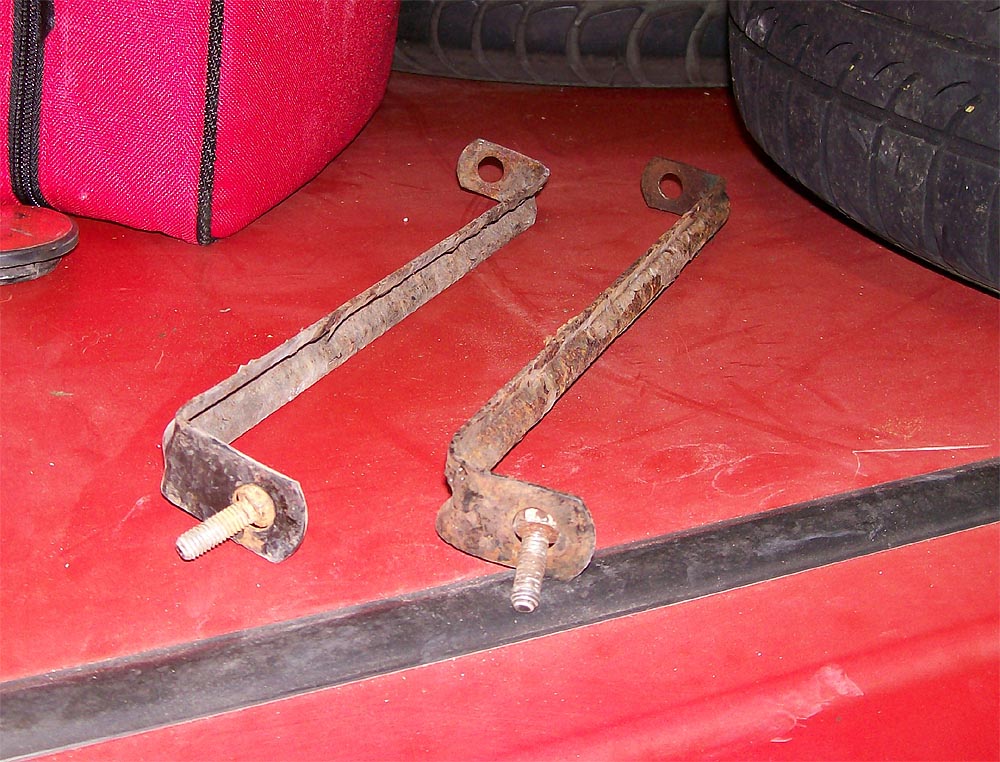
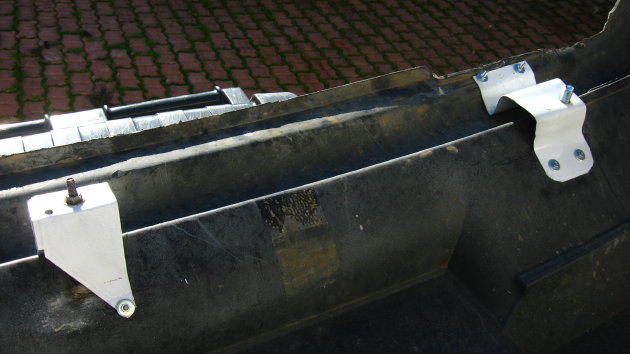
Refitted the bumper and it was clear I would now have to make a new hole on the side with the fat DIY nut, if I was going to lift the corner, so, I removed the bracket, redrilled and fitted it again, also inserting a nut between the mount and the bracket as a spacer.

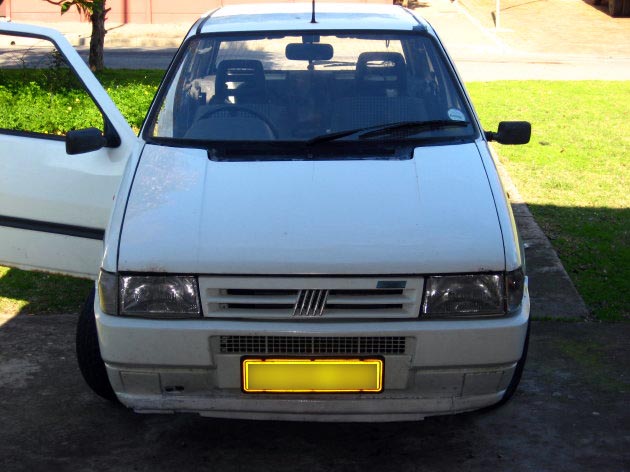
As you can see its much more even now, although it is still slightly high on the "high" side. When I refit the towing hook I will bend that side again to lower it slightly. Sadly I'm being forced to go watch the glitter**** bats movie with my wife, so thats the end of today's work.

IMG_4098.jpg


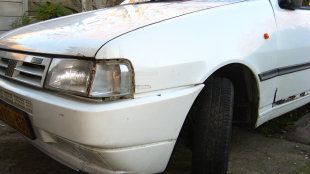
I guess I can start thinking about replaceing the corner indicator now then.
 
Last edited:
I never understood what those three round plastic spikey things on the bumper were..

:S

...but yeah, that plastic thing goes on like that.
 
Naah, it has to be that shape to be horisontal to the ground, and make it from the chasis to the hole in the bumper.

Check what it looks like today, my electrolis dish was only deep enough to take the base.
IMG_4107.jpg

Removed from dish and hosed down.

IMG_4108.jpg

Rubed down for about a minute, soaking in the morning sun.
 
Hi, thanks, well I have seen a guy do a whole chasis subframe in a tub he made of some plastic sheeting.

There is of coarse an even safer, but slower method that is even better as it overcomes the line of sight issue inside tubes etc... and that is to soak rusted parts in a mixture of 1 part molasses to 9 parts water. Lighty rusted panels would take a week to 14 days, best to remove and scrub loose particulate off once in a while to get to the bottom of thick rust crusts etc...

Oh yeah, update on the car, got a replacement corner indicator for that broken one today. Yipee, must have been driving like that for 2 years now. Viva Afrika
 
Last edited:
Photo time
The before and beafter
IMG_4058.jpg
IMG_4115.jpg


IMG_4118_1.jpg


Sadly when I started it this morning the engine made a big knocking sound, and is idleing like a lawnmower at the moment. Will take it to my guy just now.
 
Back
Top