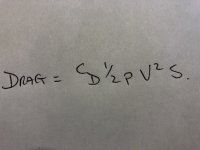
Right, now that I've sorted the aerodynamics of the mod it's time to crawl under the motor. Winter is playing tricks with the temperature and as it's some 12degC at
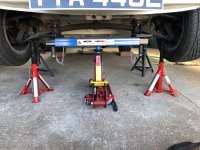
Right, now that I've sorted the aerodynamics of the mod it's time to crawl under the motor. Winter is playing tricks with the temperature and as it's some 12degC at the moment I shall set to. I have raised the front of the car to the maximum I can with my new lifting beam and used four axel stands as safety. I have to admit that I'm not as lithe as I once was and crawling around on the cold garage floor only adds to the discomfort


However, modding comes with it's pluses and minuses and you have to accept the negative to get the positive - some of the time!!!!
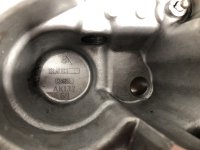
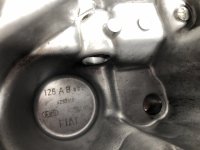
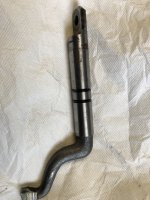
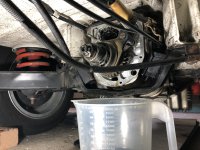
The speedo cable, clutch cable support and gear shift lollipop all came off easily, with the gear shift I elected to select reverse gear and then dismantle the lollipop from the aft - gearbox end only, this leaves the lollipop in position to simply bolt on again once the gear selector is correctly in position. You will notice from the pic that I am using a 126BIS gear selector that has two oil seals (never leaked) A tap with a rubber hammer and a tad under 600ml of oil is lost in the process. I have included an internal view of the two gearbox housings for part number reference. I've left it to drip overnight and will reassemble everything tomorrow, there's only so much crawling around I can manage at the moment


.
more later.
Ian.
View attachment 401262View attachment 401263View attachment 401265View attachment 401266View attachment 401267
the moment I shall set to. I have raised the front of the car to the maximum I can with my new lifting beam and used four axel stands as safety. I have to admit that I'm not as lithe as I once was and crawling around on the cold garage floor only adds to the discomfort


However, modding comes with it's pluses and minuses and you have to accept the negative to get the positive - some of the time!!!!
The speedo cable, clutch cable support and gear shift lollipop all came off easily, with the gear shift I elected to select reverse gear and then dismantle the lollipop from the aft - gearbox end only, this leaves the lollipop in position to simply bolt on again once the gear selector is correctly in position. You will notice from the pic that I am using a 126BIS gear selector that has two oil seals (never leaked) A tap with a rubber hammer and a tad under 600ml of oil is lost in the process. I have included an internal view of the two gearbox housings for part number reference. I've left it to drip overnight and will reassemble everything tomorrow, there's only so much crawling around I can manage at the moment


.
more later.
Ian.
View attachment 401262View attachment 401263View attachment 401265View attachment 401266View attachment 401267

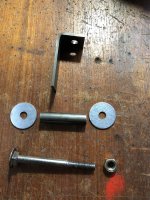
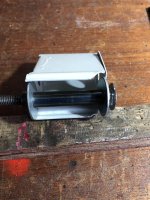
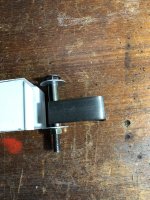
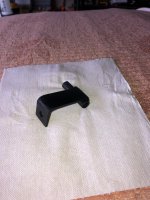
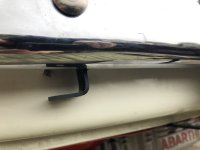
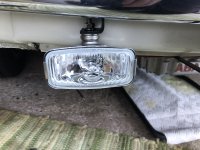
 So methinks I'll fit a home made bracket onto the bumper securing bolt and wire the whole thing into the oil cooling fan supply to avoid overloading the original wiring loom!!! I've obtained some 12mm (o/d) mild steel pipe with a 2mm wall so that should accommodate the bumper bolt at 8mm (o/d) and some 25mm x 3mm flat mild steel bar to fashion the simple L shape mount. 25mm width will give me sufficient room between the body work and the bumper. All I need now is a little time with a ruler, saw and my faithful MIG. The forward gearbox housing from a 126 BIS with a working switch is a simple change, but I did need to swap the switch as the plug on the original was broken. For some reason I cannot post .JPG pics so I'll get back later.

