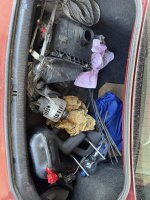
IMG_3838.jpeg

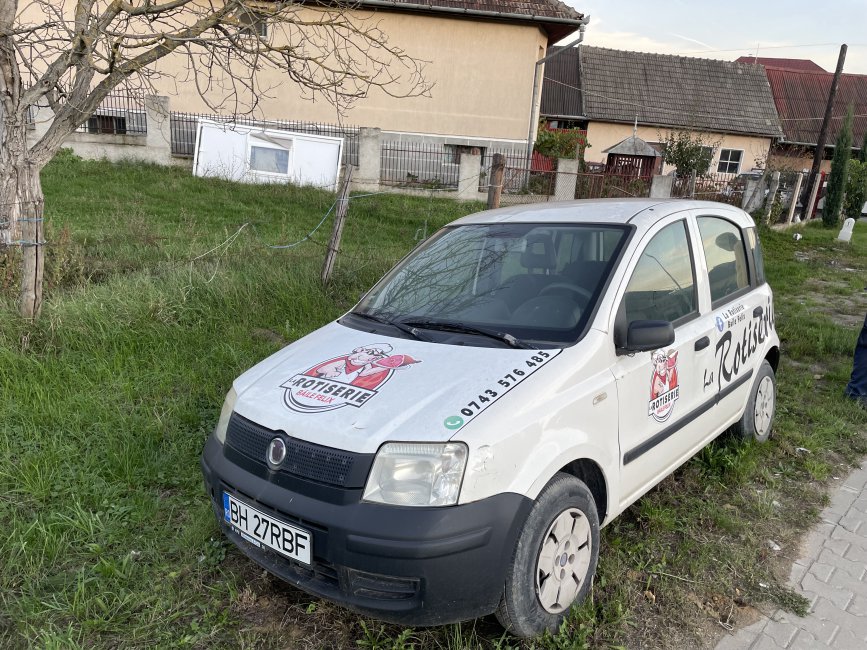
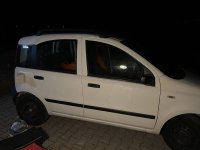
Panda The Marshmallow is getting ready

Introduction

Hello all,
Im new to this forum and so I’m reaching out, saying hello and looking forward to learn and maybe even contribute.
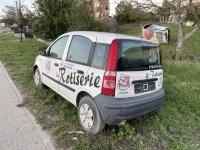
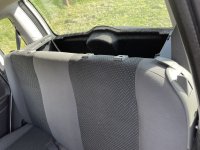
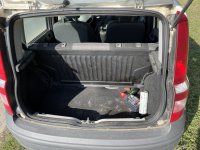
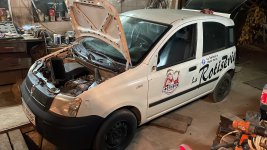
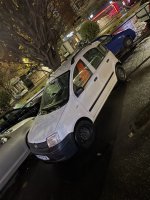
I just purchased a beat-up Fiat Panda II (169), 1.1 gasoline and I’m in the process of fixing it up.
It had a rough couple of years, sitting outside, seizing up and planta trying to grow through it.
New battery in, replaced alternator and belt, oil and filters, wipers’ mechanism and a lot to go… I’ll post more pictures as I progress.

So, Hello once more, happy to be here and see you around.
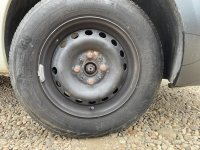
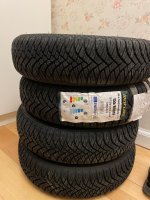
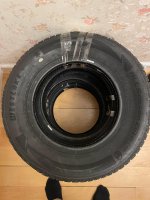
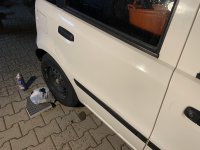
In preparation for the Winter, the Marshmallow got new tires as the old ones were... close to not be called tires anymore :)
Also, the radio from TEMU arrived and is now installed. For 25$... it kicks high enough:
- Radio, AUX, BT, SD, USB, car-kit function over BT, remote control and above all else, plug and play - love it.
The speakers are sh1t3 but they do the job, so I'm happy with the purchase.
 

Attachments

  • WhatsApp Video 2024-11-12 at 15.58.23.mp4
    946.7 KB
  • WhatsApp Image 2024-11-12 at 15.58.23 (2).jpeg
    WhatsApp Image 2024-11-12 at 15.58.23 (2).jpeg
    350.3 KB · Views: 17
  • WhatsApp Image 2024-11-12 at 15.58.23 (1).jpeg
    WhatsApp Image 2024-11-12 at 15.58.23 (1).jpeg
    252 KB · Views: 17
  • WhatsApp Image 2024-11-12 at 15.58.23.jpeg
    WhatsApp Image 2024-11-12 at 15.58.23.jpeg
    214 KB · Views: 17
They look not far of my full snow directional tyres

Except mine are very soft rubber so can not be driven on dry roads without over heating
 
Last edited:
Took the Marshmallow to service, changed the distribution and water pump, replaced some rubbers underneath (don’t know the english terms), but they held the grease on the spinning rods. Also had a leak from the gearbox joint.
Added oil, replaced coolant, replaced a few suspension elements…
Quite cheap if you ask me: 300€ in parts and labor.
Next up…
Removing the stickers, fixing the radio antena, buying the front metal bumper as it is missing (probably after a crash), and it’s close to being done.
Full tank to full tank, i’ve got a 7l/100km in gas consumption. More than my diesel Audi A3, but for a petrol car, I think it’s decent.
More pics to come soon.
 
That's great news :)
7l/100km in gas
Seems high to me (about 40mpg), unless it's all city driving?

Maybe the chunky tyres are pushing it up, but much more than 6l/100km I would start to think something is wrong. I get around 5.6l/100km or 50mpg (my computer thinks it's 4.7 but it's lying).

Any brakes sticking and getting hot?
MAP sensor cleaned?
 
Last edited:
That's great news :)

Seems high to me (about 40mpg), unless it's all city driving?

Maybe the chunky tyres are pushing it up, but much more than 6l/100km I would start to think something is wrong. I get around 5.6l/100km or 50mpg (my computer thinks it's 4.7 but it's lying).

Any brakes sticking and getting hot?
MAP sensor cleaned?
Hello @rmjbn1 , it’s primarily city driving. The new tires didn’t get more than 100km yet and the brakes seem fine.

I should check that MAP senzor but I don’t know what that is or where it’s located.
 
Held by one T25 bolt on the inlet manifold

Cable throttle are on the right hand side near the throttle body as per video above when looking from the front

The others are here other side


I have never need to disconnect the electrical wire to clean it, the wire usually long enough to just pull it out, I have never taken the airbox off


Spray with it point pointing down reduces any chance of oil getting on the circuit board
 
Last edited:
Held by one T25 bolt on the inlet manifold

Cable throttle are on the right hand side near the throttle body as per video above when looking from the front

The others are here other side


I have never need to disconnect the electrical wire to clean it, the wire usually long enough to just pull it out, I have never taken the airbox off


Spray with it point pointing down reduces any chance of oil getting on the circuit board
Thank you for your support!
 
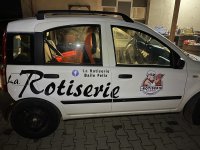
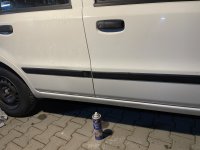
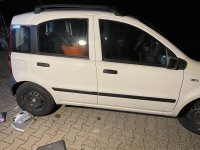
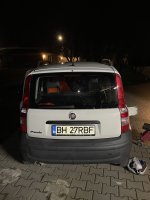
Today was about aesthetics.
I found a set of roof bars and proceeded to install them, however, the Marshmallow had other plans in store for me 😅
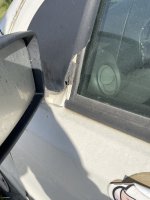
3 out of the 4 plastic bolts broke when trying to remove them, so a 5 minutes job turned into a 1hr hustle.
Then I proceeded to replace the broken antena with a used one. Went smoother than expected.

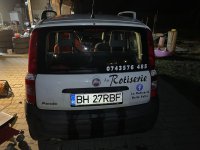
When the sun came down, I was left with a task that I had from day 1: removing the stickers.

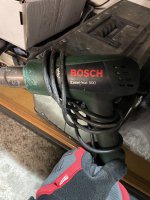
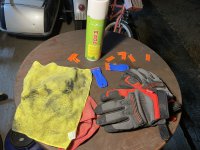
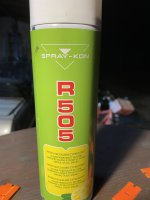
For about 4 hours I worked intensely on scraping every single letter and symbol, sprayed and scraped the remaining glue and after that, using a clean microfibre cloth to finalise the job.

I’ll leave you with a few before and after.

PS: there was a terrible paint job so removing the stickers also revealed more flaws.

It is what it is. It can still drive, even with a bad paint job.
 

Attachments

  • IMG_4597.jpeg
    IMG_4597.jpeg
    1.7 MB · Views: 889
  • IMG_4595.jpeg
    IMG_4595.jpeg
    4.2 MB · Views: 415
  • IMG_4596.jpeg
    IMG_4596.jpeg
    1.5 MB · Views: 2,568
  • IMG_4585.jpeg
    IMG_4585.jpeg
    2.4 MB · Views: 414
  • IMG_4586.jpeg
    IMG_4586.jpeg
    2.8 MB · Views: 415
  • IMG_4590.jpeg
    IMG_4590.jpeg
    2.8 MB · Views: 2,618
  • IMG_4591.jpeg
    IMG_4591.jpeg
    3.1 MB · Views: 2,220
  • IMG_4587.jpeg
    IMG_4587.jpeg
    1.5 MB · Views: 415
  • IMG_4589.jpeg
    IMG_4589.jpeg
    2 MB · Views: 2,844
  • IMG_4592.jpeg
    IMG_4592.jpeg
    3 MB · Views: 2,675
  • IMG_4599.jpeg
    IMG_4599.jpeg
    2 MB · Views: 2,485
any suggestion for a roof rack so I can carry tools and stuff?
I think the choices are to either fit aftermarket cross bars to the roof rails you have, or there are genuine transverse bars that bolt on in place of the longitudinal rails.
Some info here:
 
I think the choices are to either fit aftermarket cross bars to the roof rails you have, or there are genuine transverse bars that bolt on in place of the longitudinal rails.
Some info here:
Thanks. I’ll look around some more.
 
Back
Top