General Seat Panda Terra

Currently reading:
General Seat Panda Terra

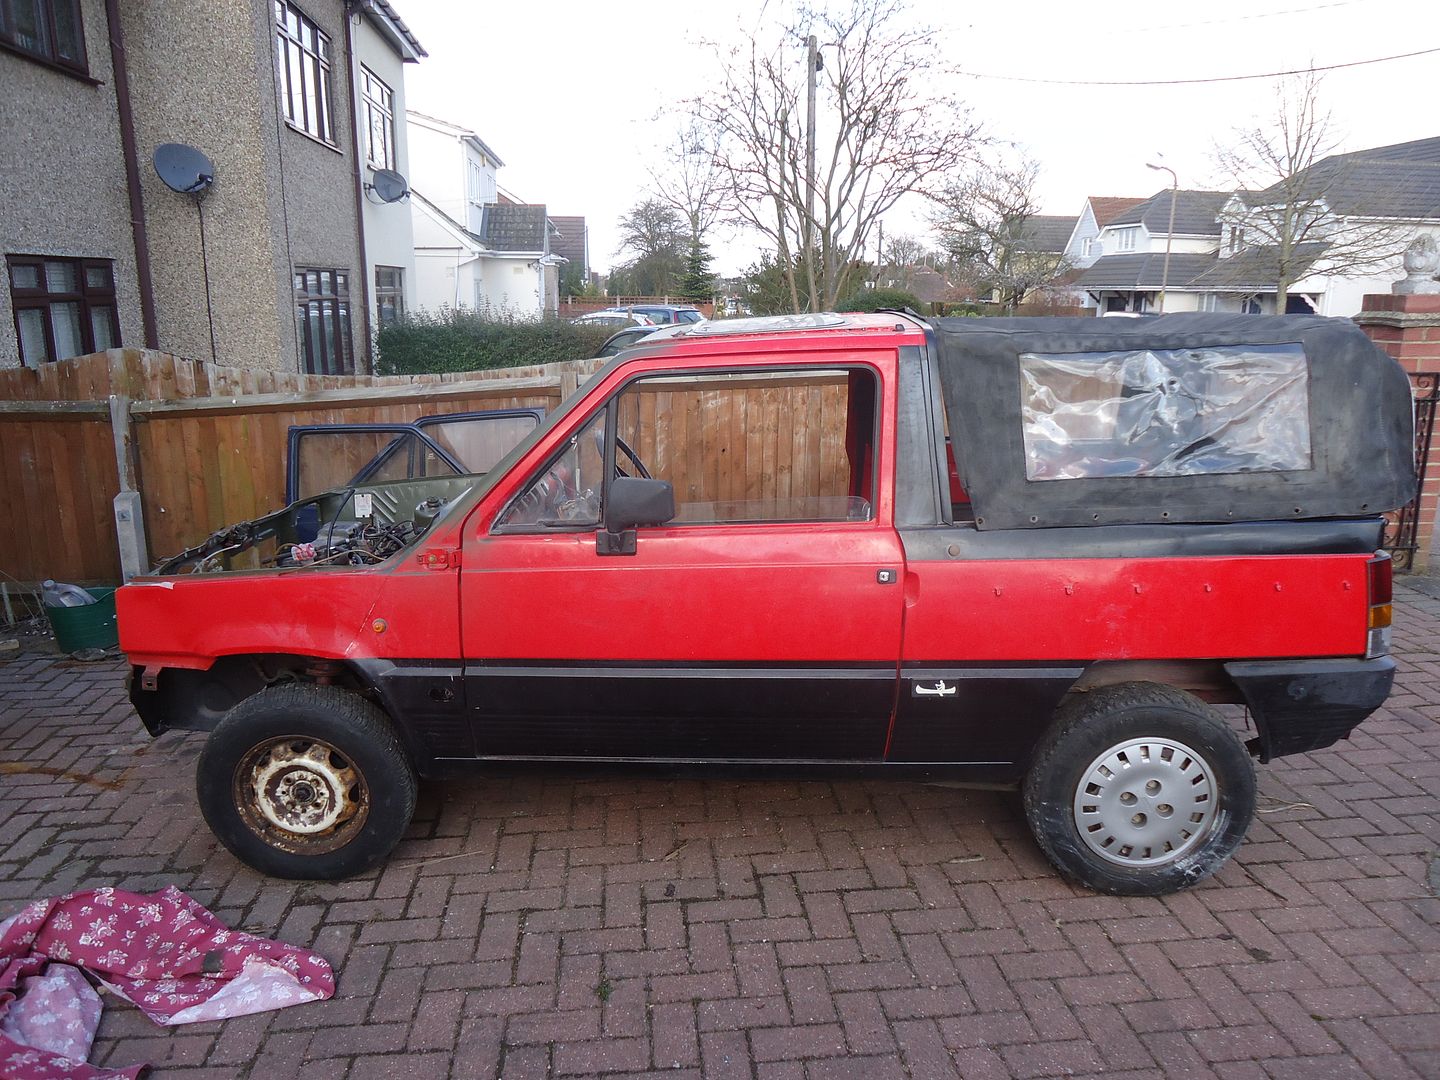
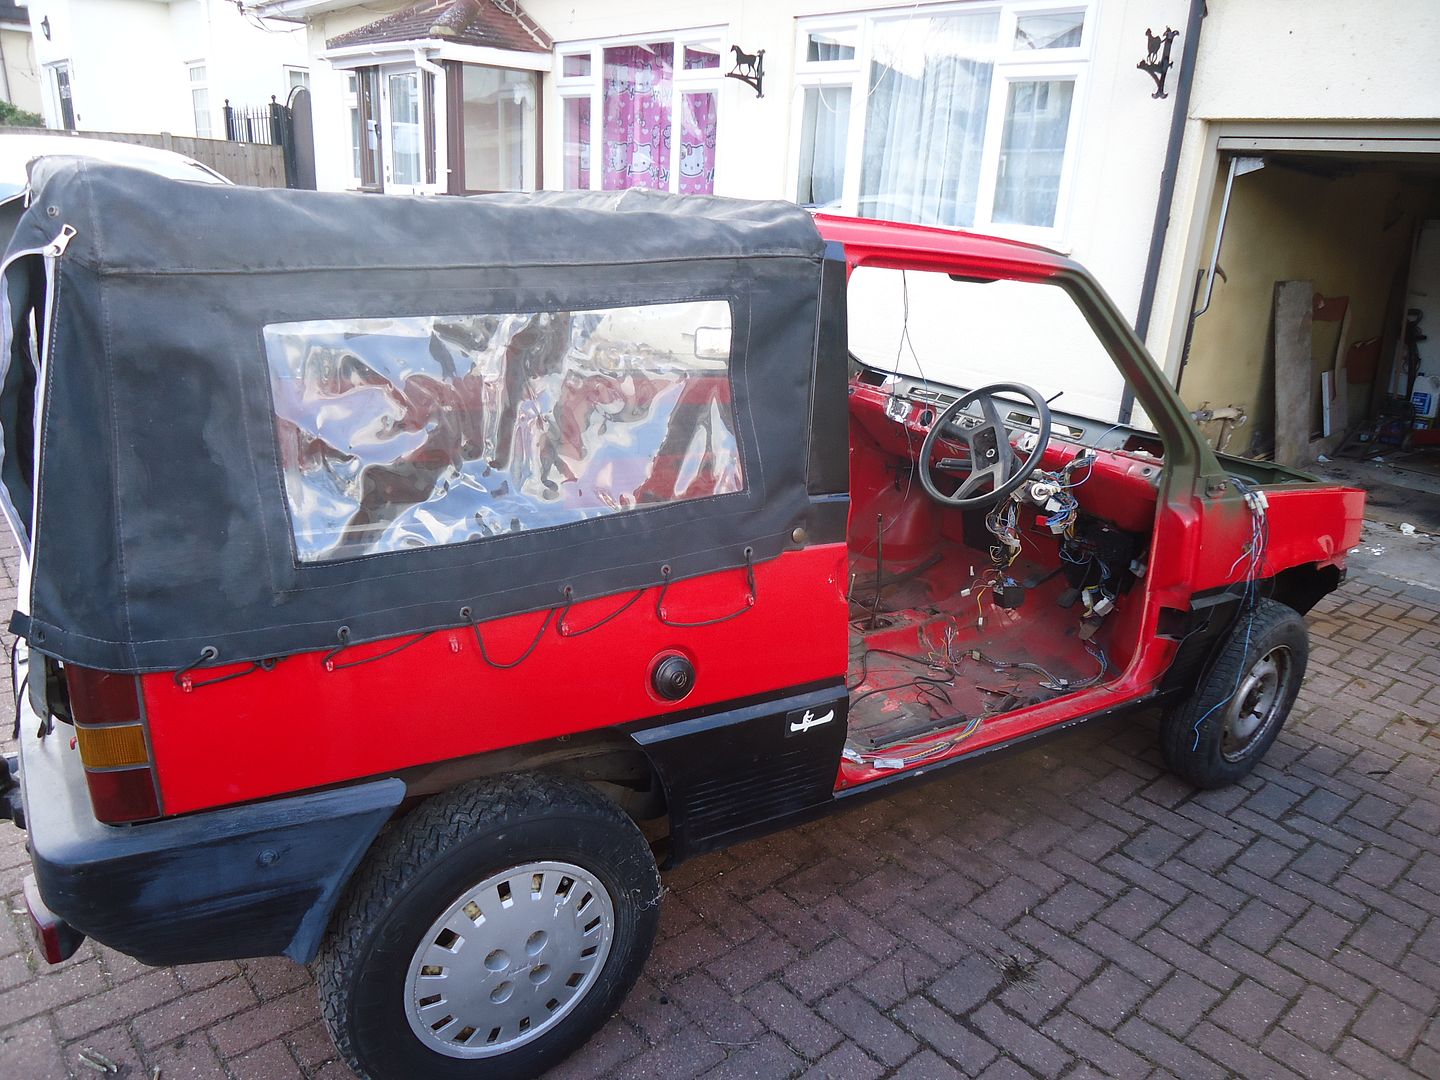
Back in the real world I have spent another very pleasurable afternoon crawling under and over the little car.

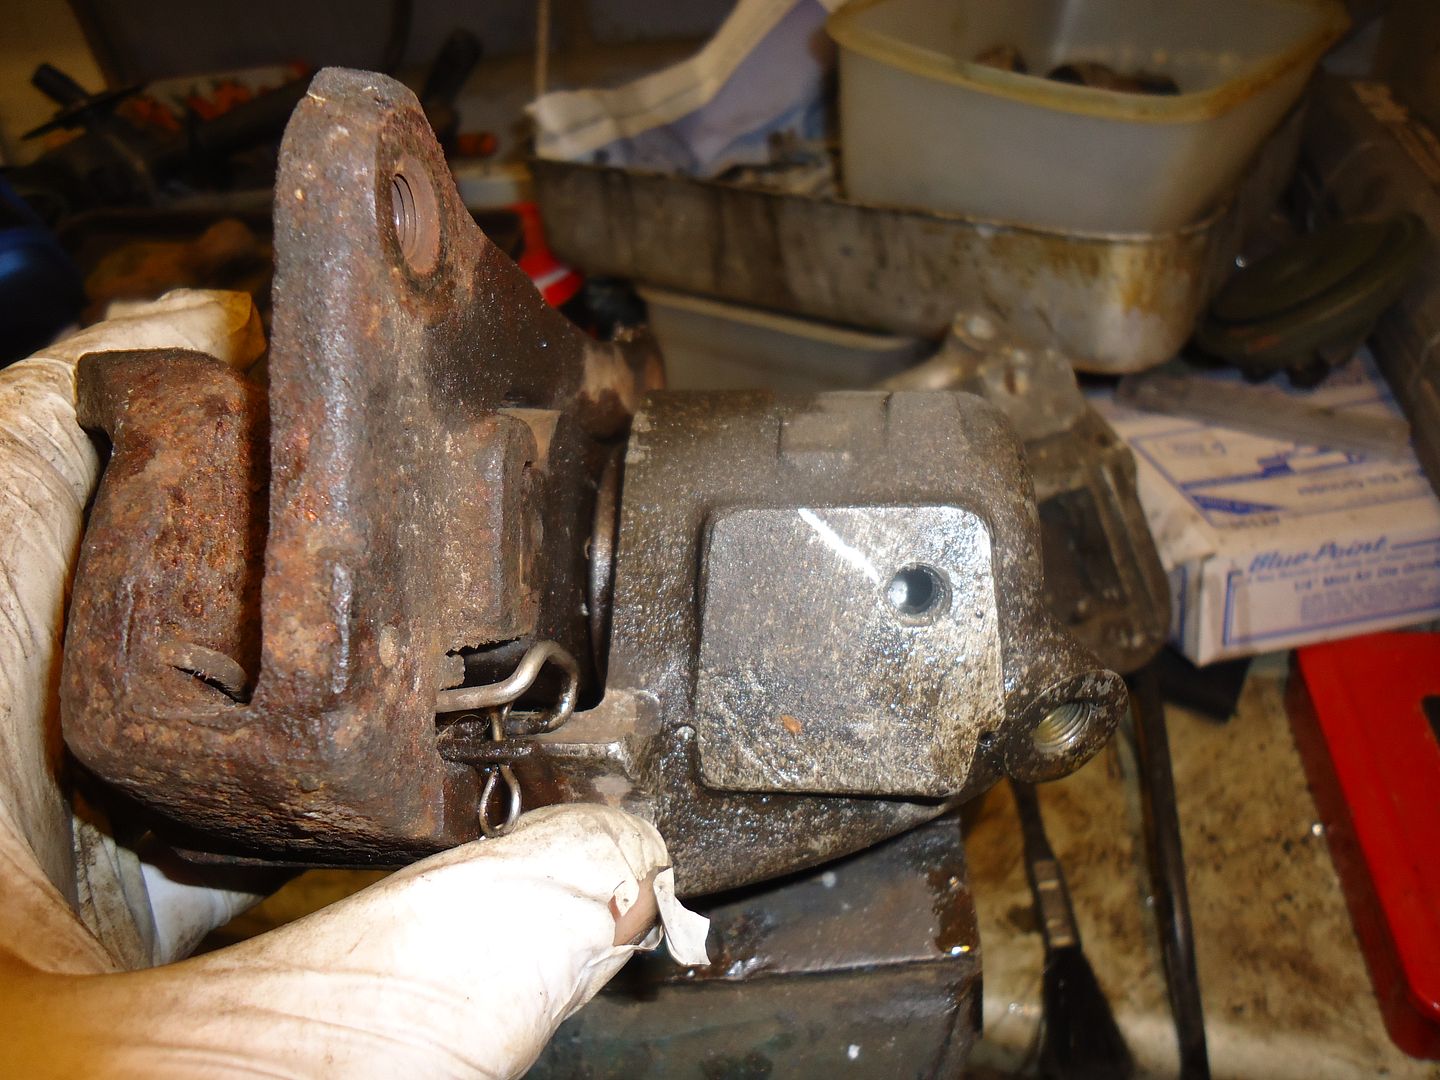
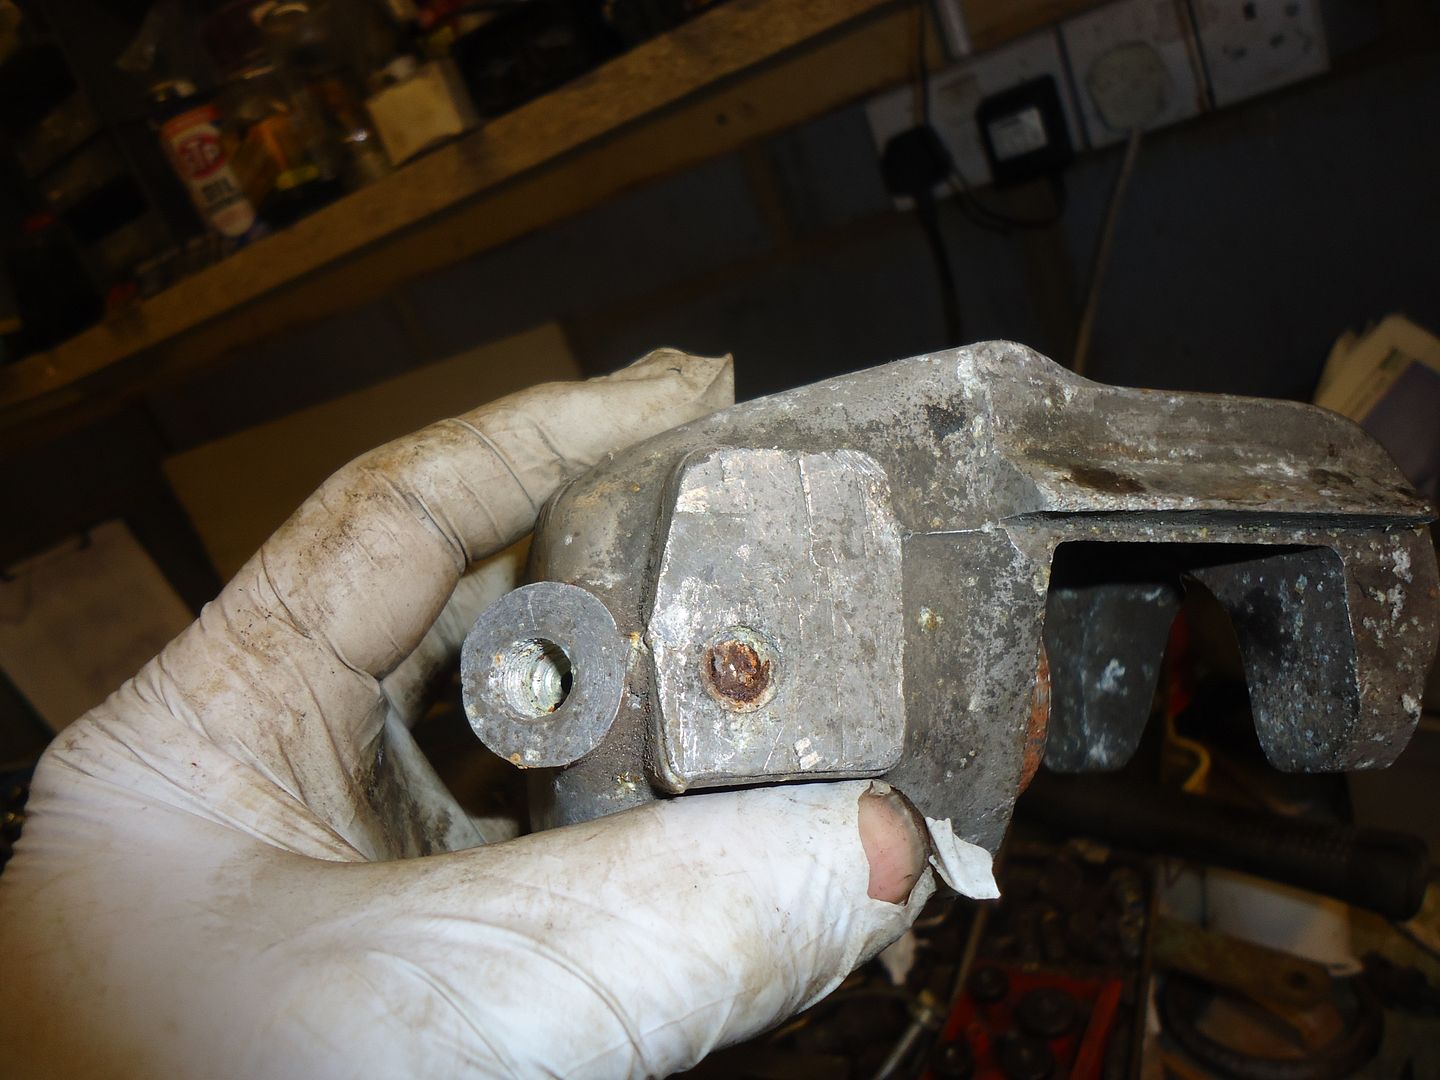
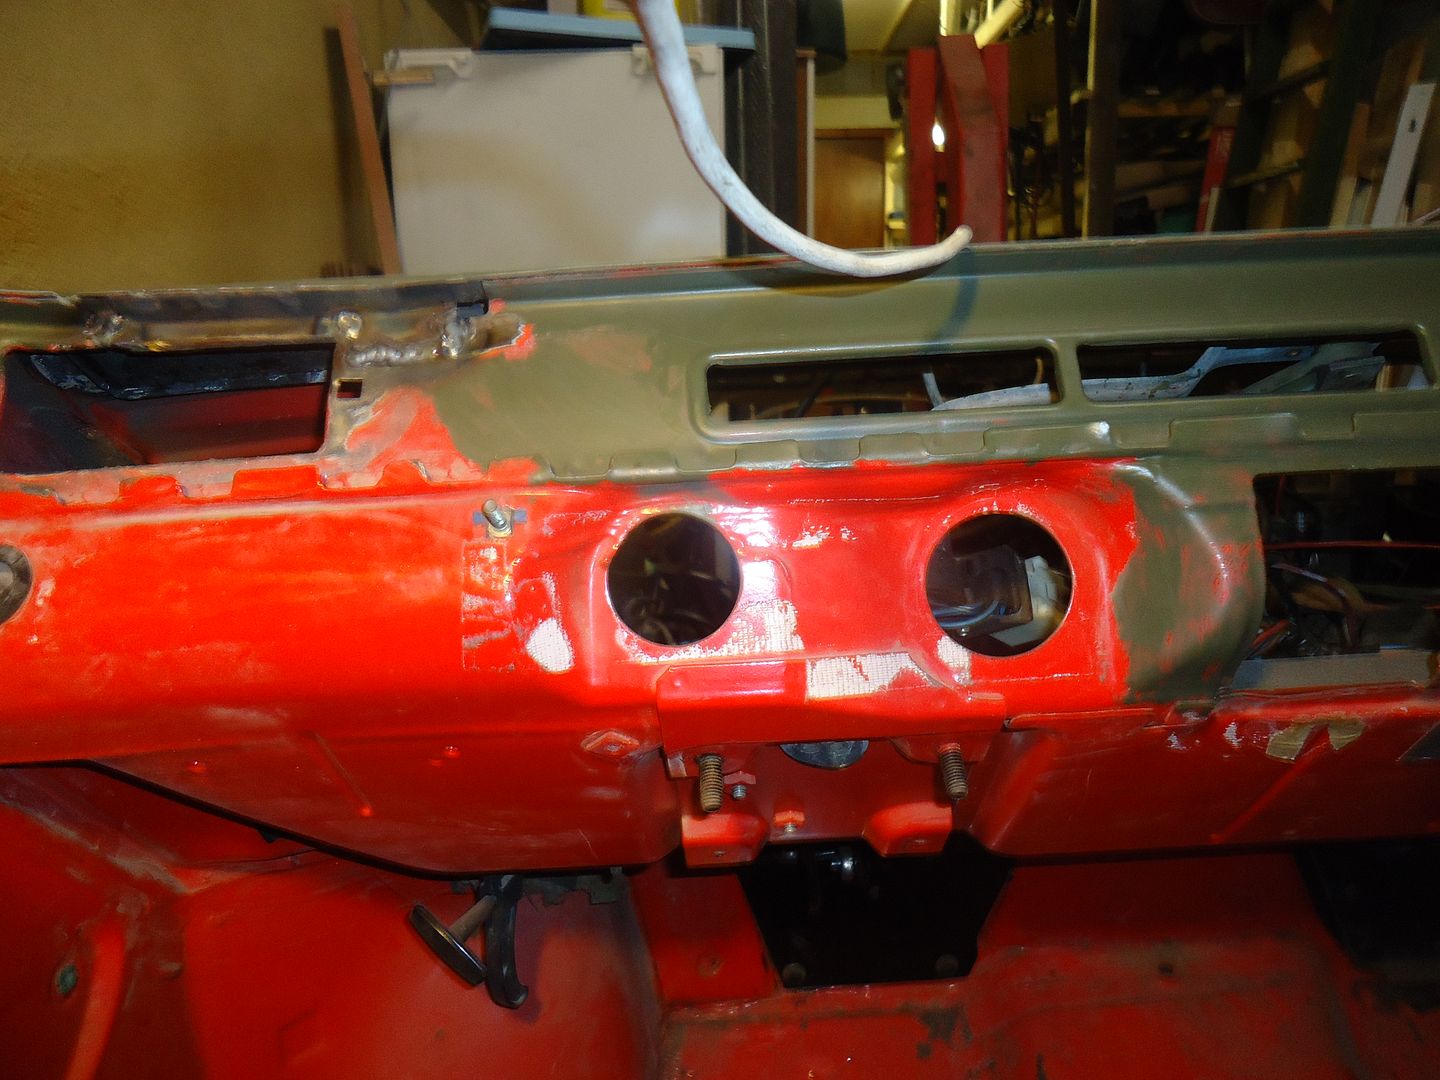
I have no shame in asking where the hell the blo*dy speedo drive was because if I hadn't been told I probably never would have found it.! Amazing that with the car on ramps and the servo unit over the gearbox there isn't an angle from which I could actually see the drive point. Only after Vman & John directed me did I find it by feel. Guffaw; how I laughed.

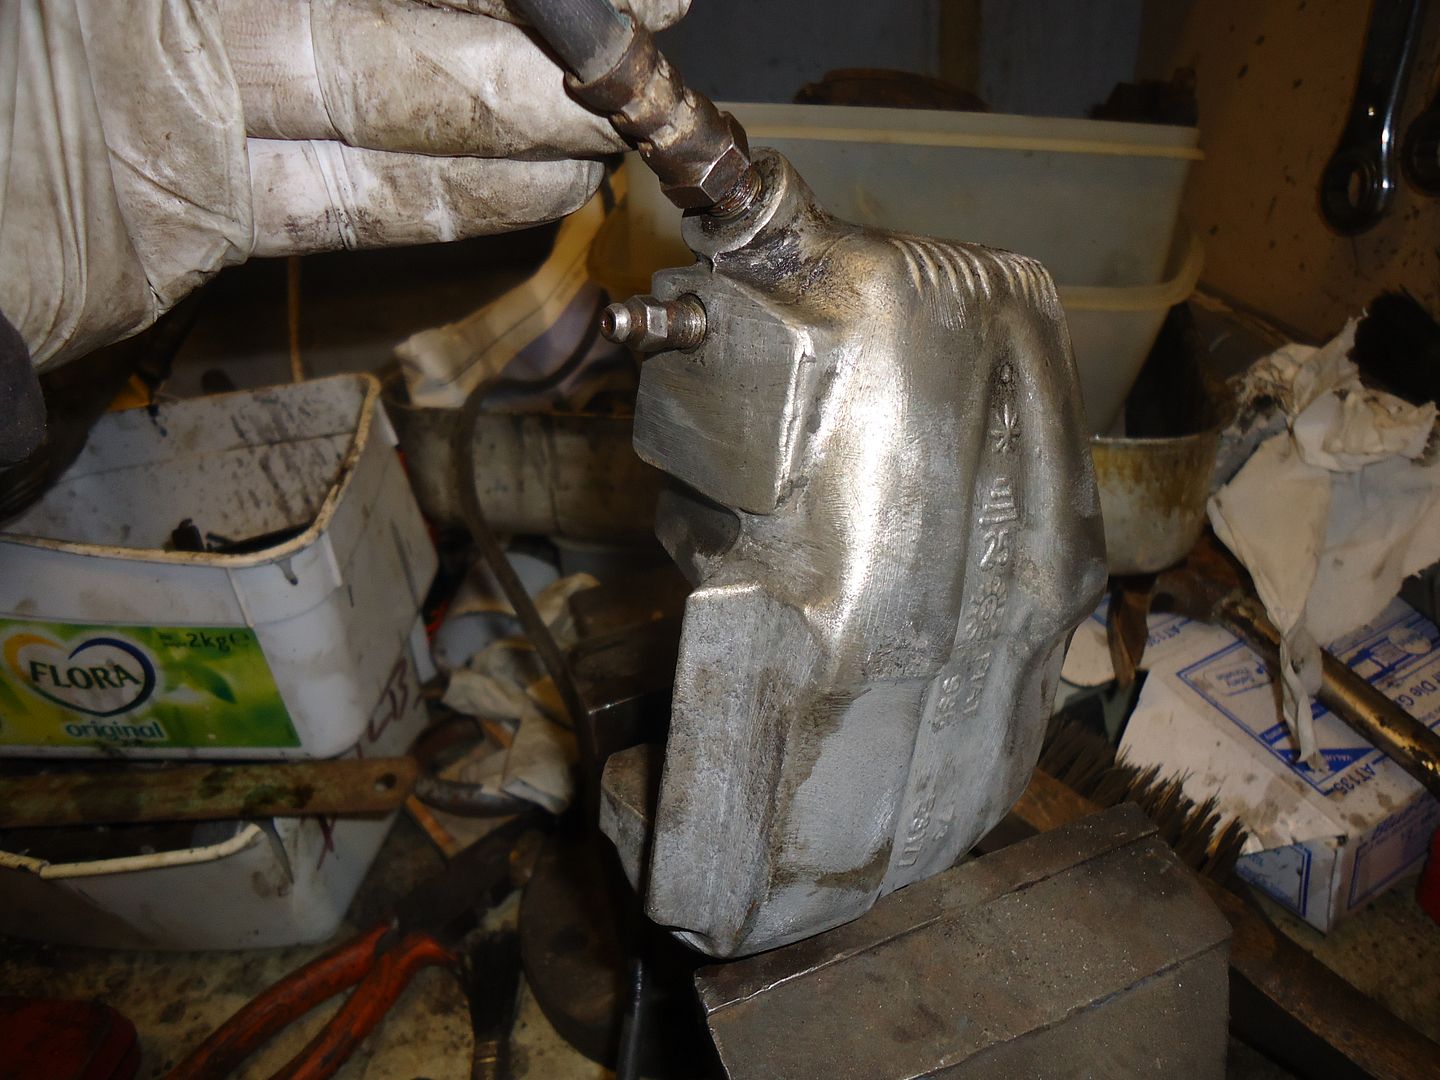
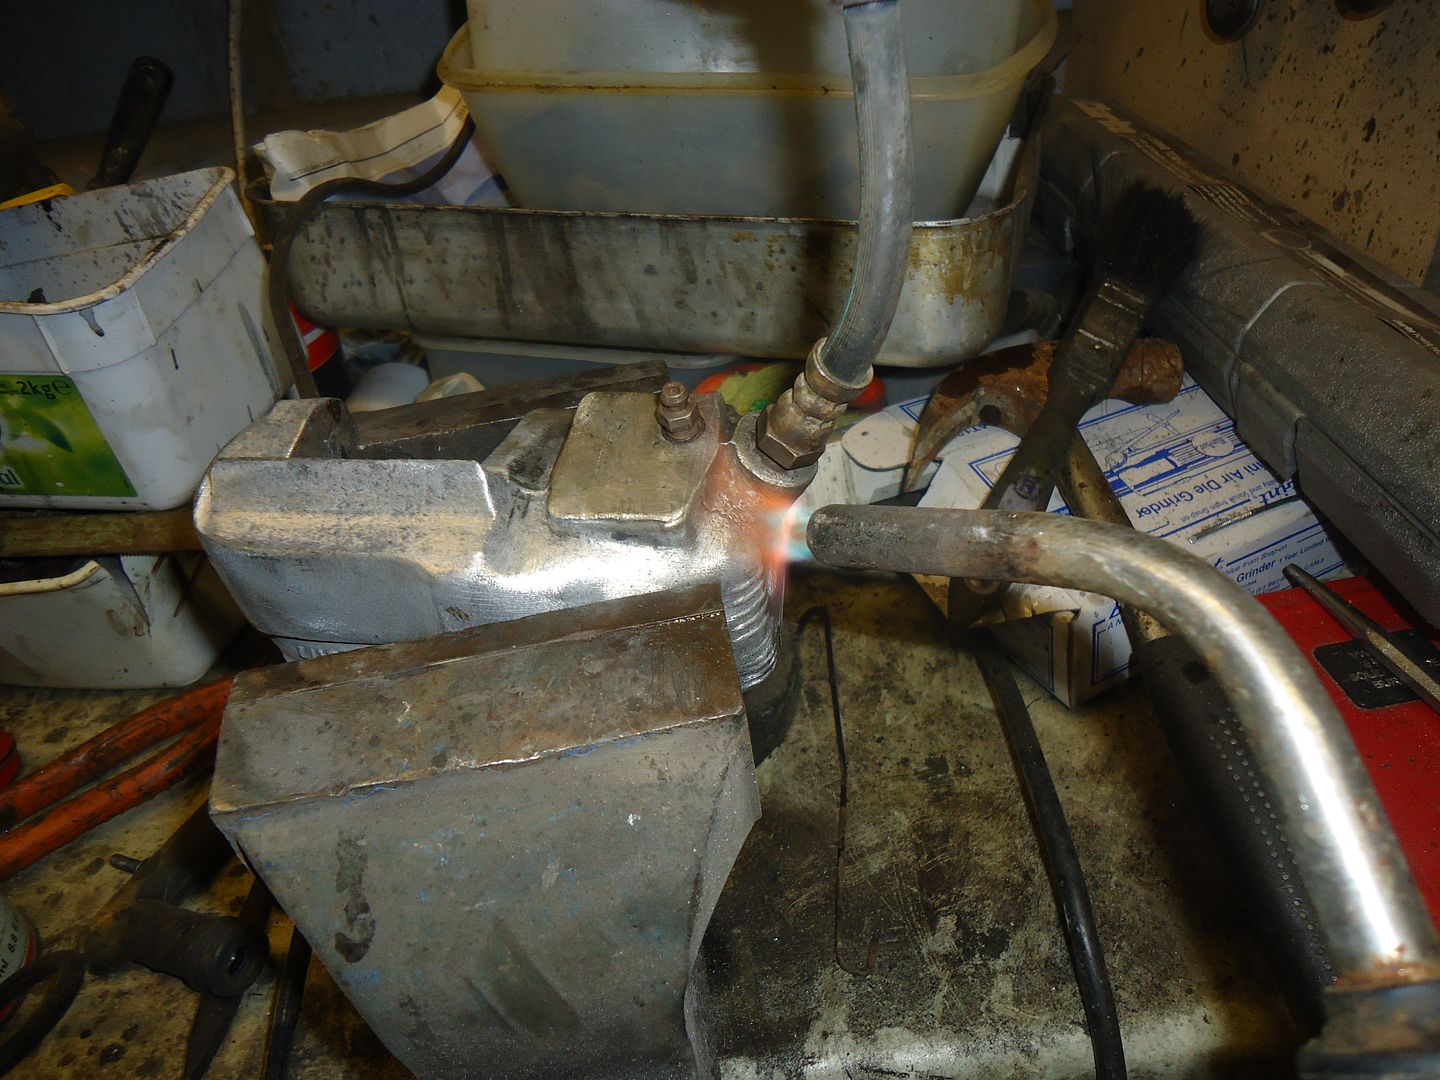
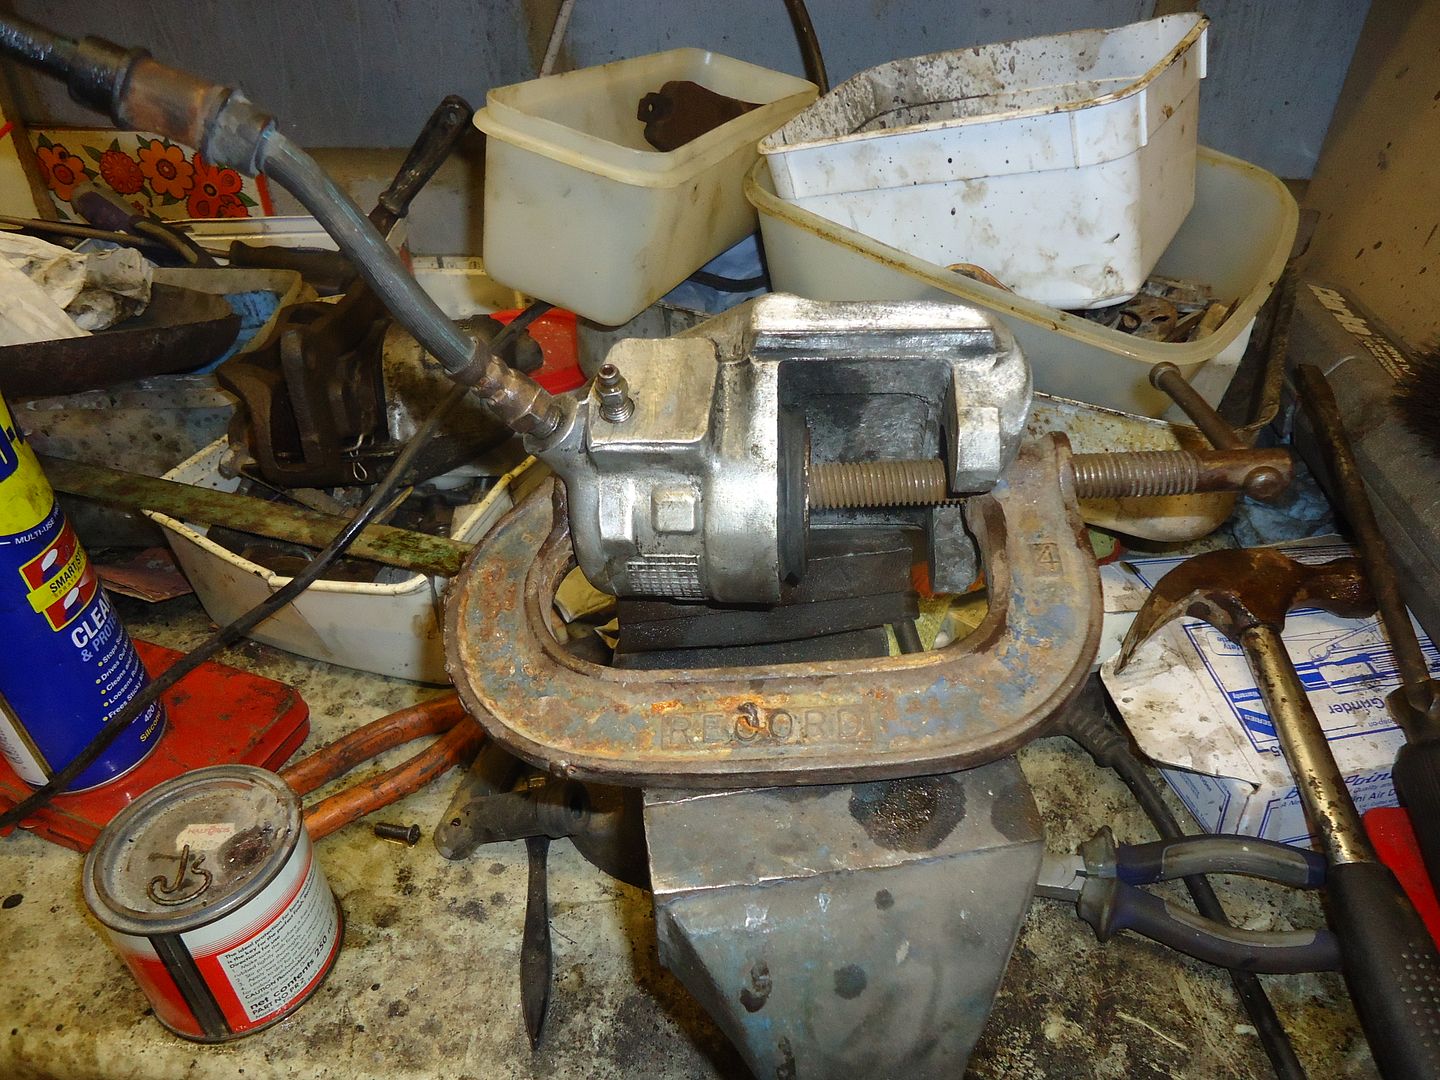
I finished the brake system. I haven't replaced every original pipe although I will over time.

DSC01146_zps15219594.jpg


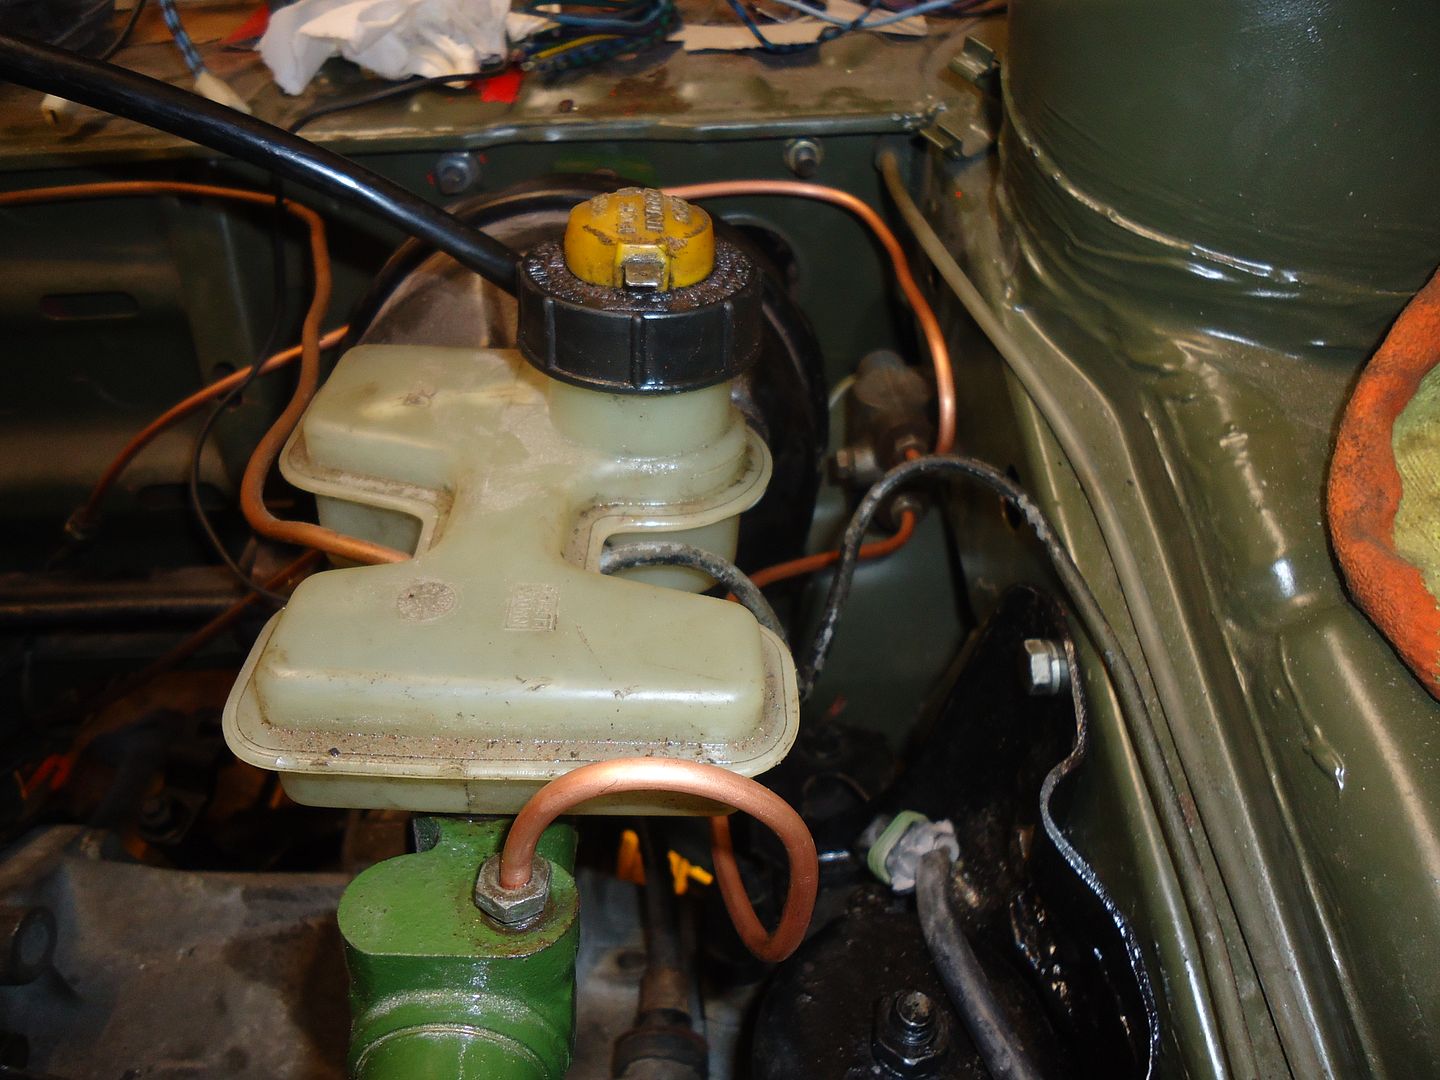
The final pipes to make were to the brake pressure device (reduces hydraulic effort to the rear brakes to stop them locking up) which you can see nestling down on the right between the inner arch and the servo.
You might notice that I haven't replaced the nearside front brake pipe.
I will do this later when I will also change the front flexi pipes. The original metal pipe is intact but wouldn't be if I tried to seperate it from its rubber companion.
So I will leave well alone for now and just worry about getting the system working.
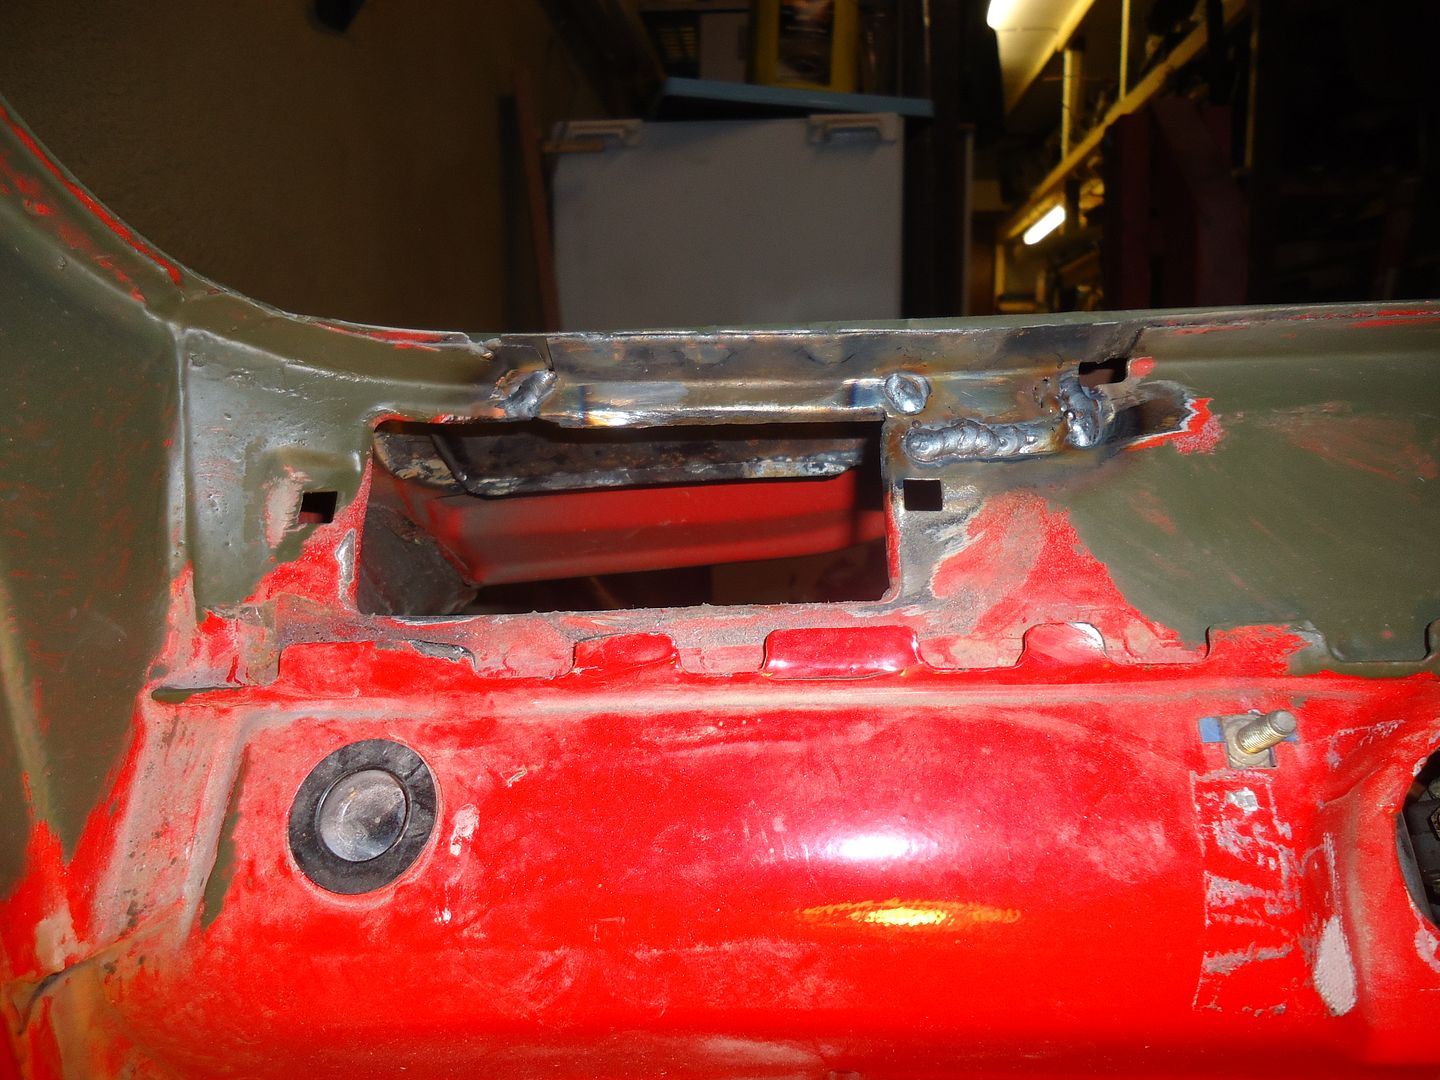
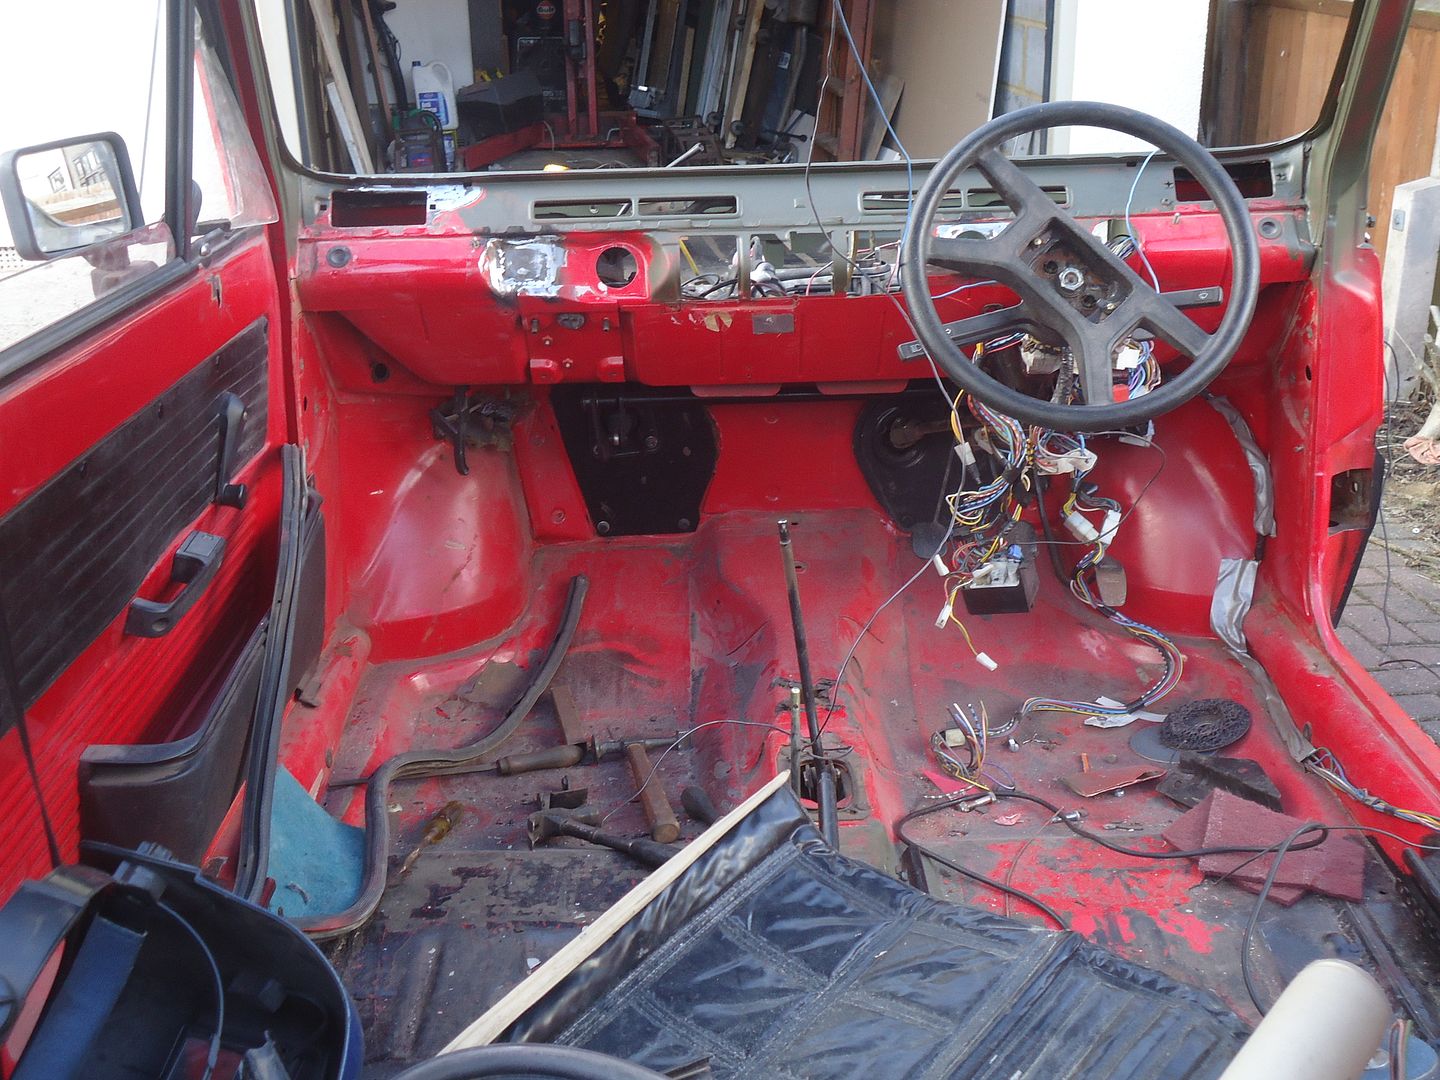
As the result of efforts all round (and the fortunate yet accidental discovery of another link rod) I think I have sorted the 4x4 gear linkage.
I kept thinking that the operating leaver would be where the previous owner had cut a hole in the floor, but of course that was a bum steer and it actually locates behind the regular gear lever.

DSC01148_zps36ce9596.jpg


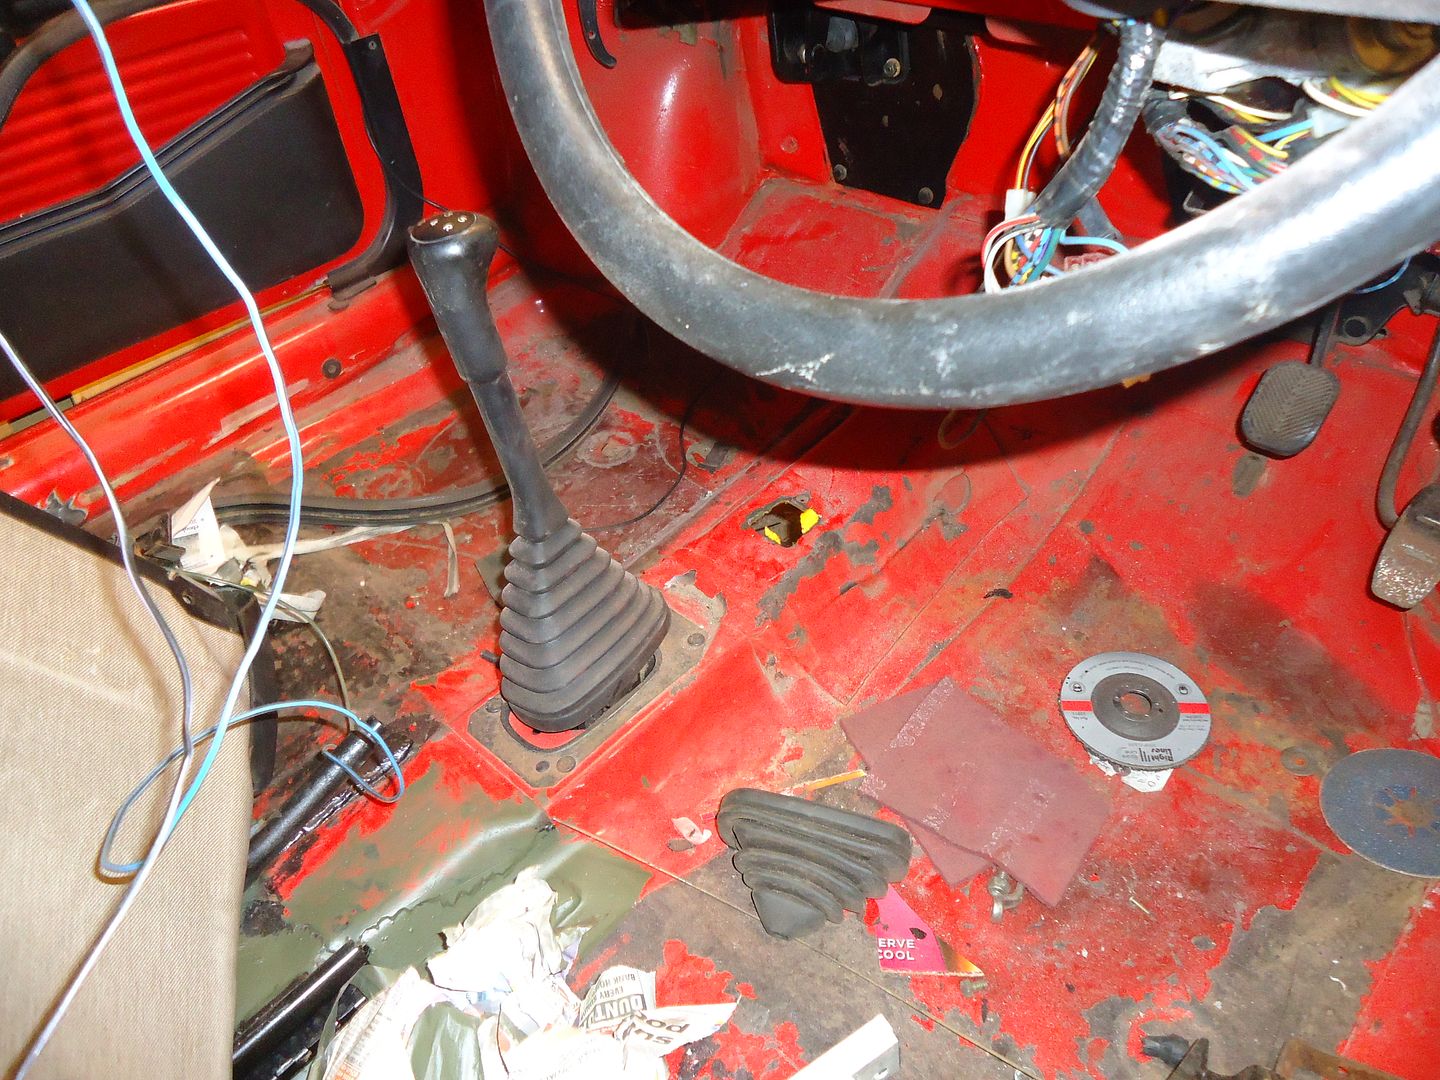
Bizarrely enough the 4x4 linkage bracket holes were already there (as from original) just covered over with the sound dampening tar pad. Weird or what? It's an '83 model so they must have always planned the 4x4 version.

So I just have to drill a hole to allow the selecter rod through.
DSC01151_zpsb6b8f6a9.jpg


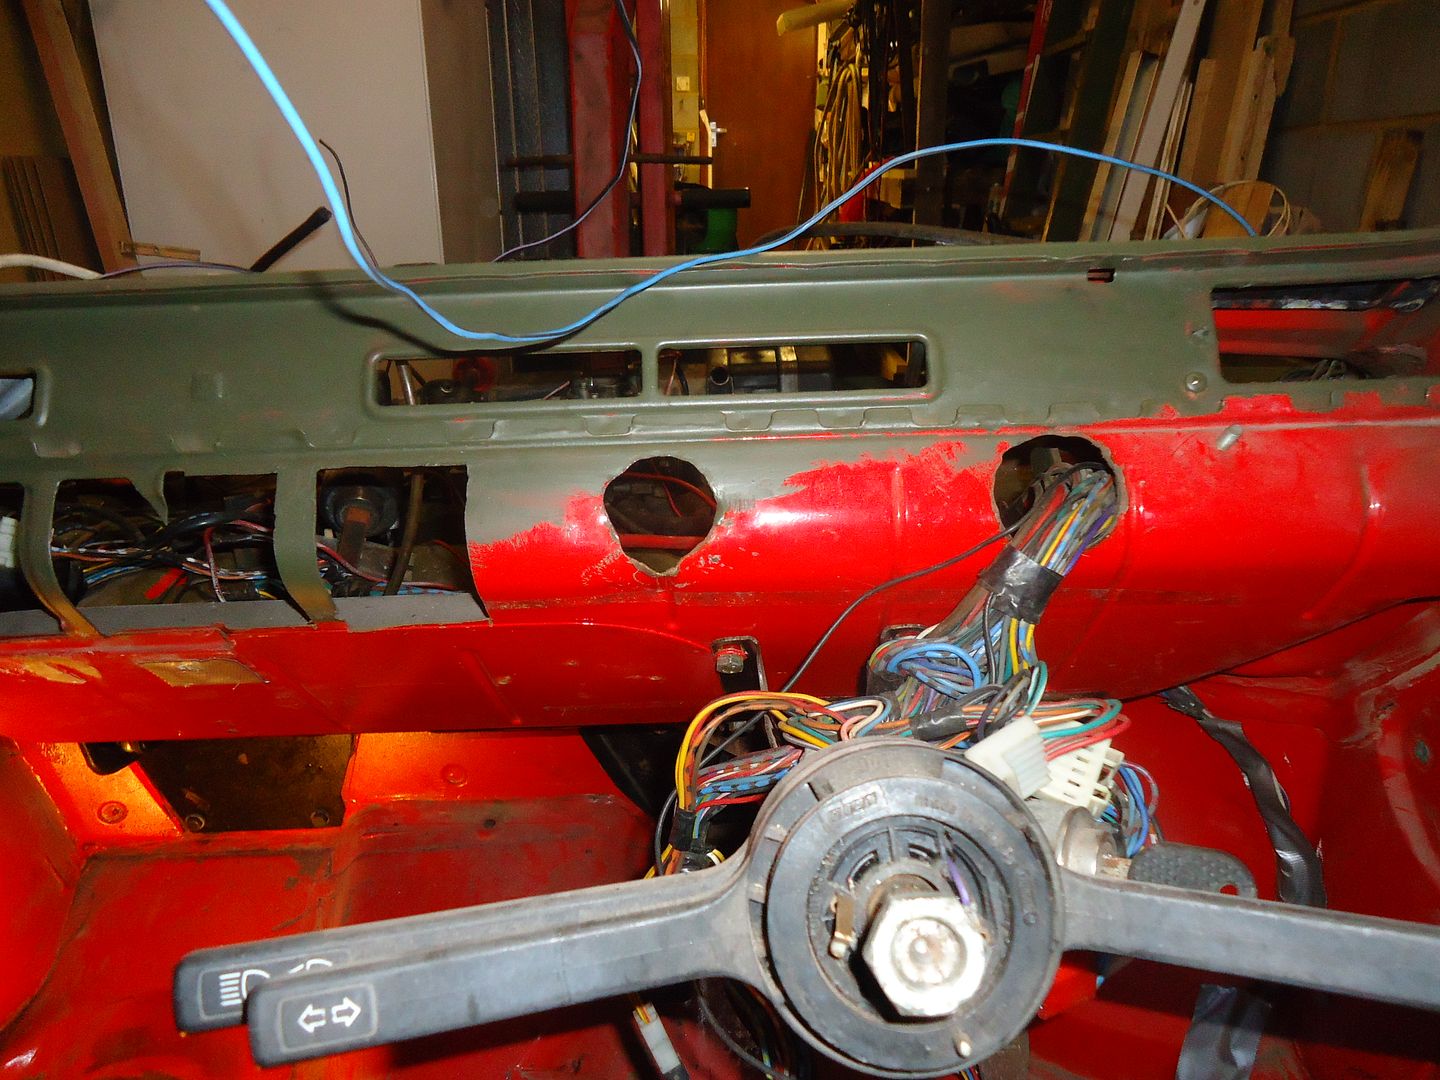
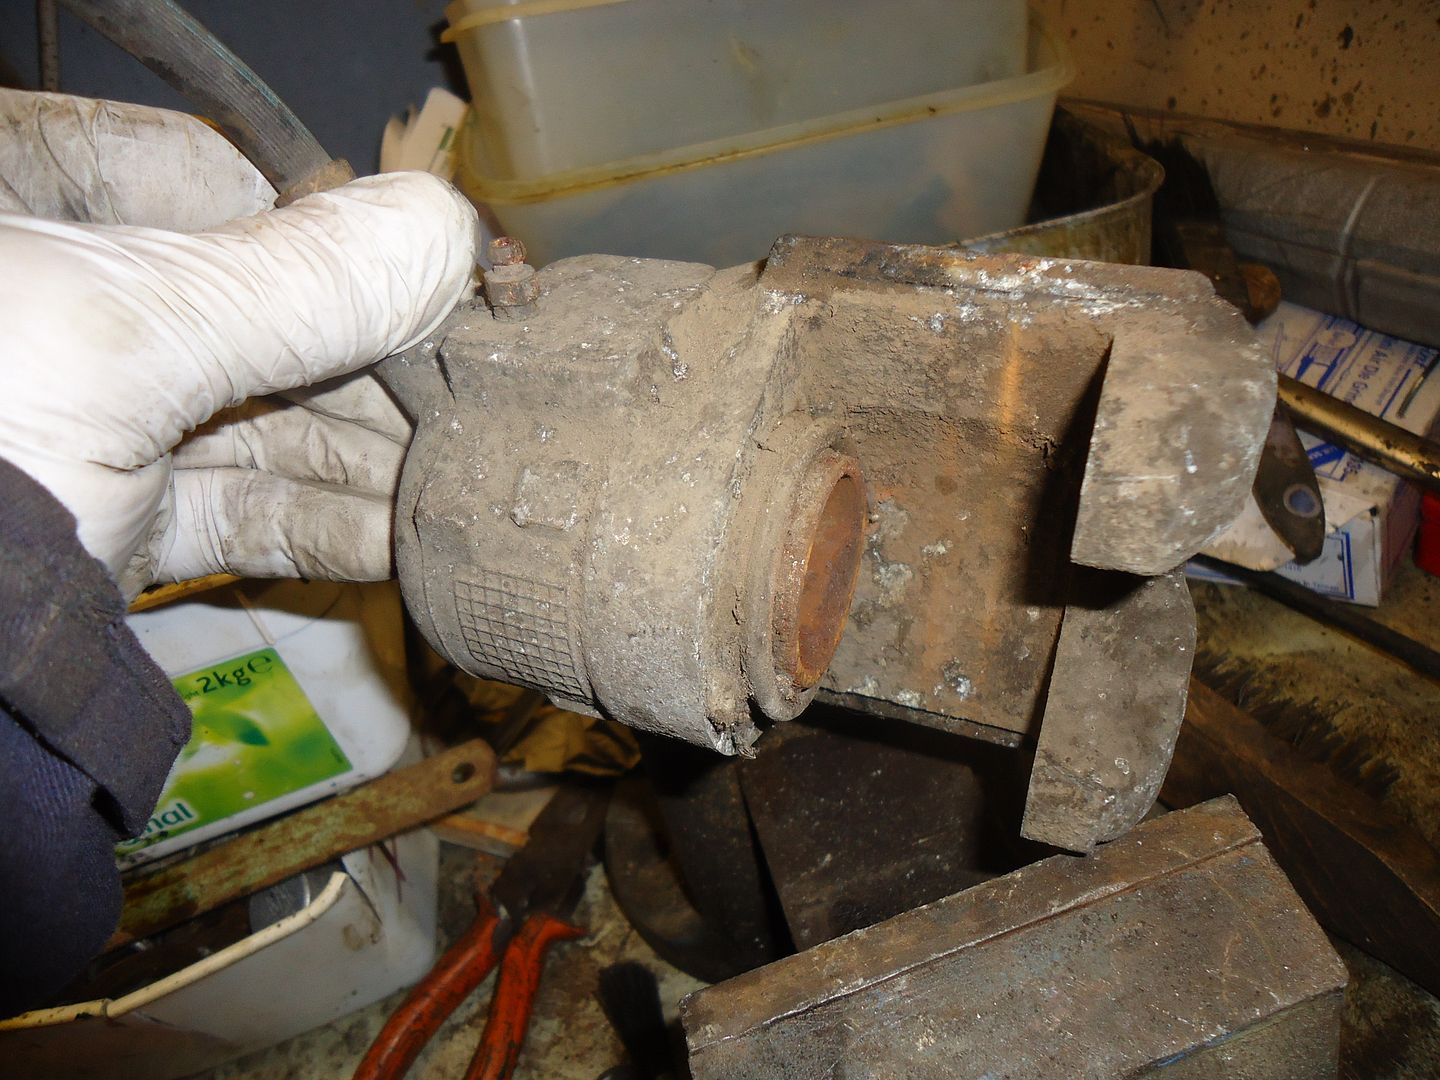
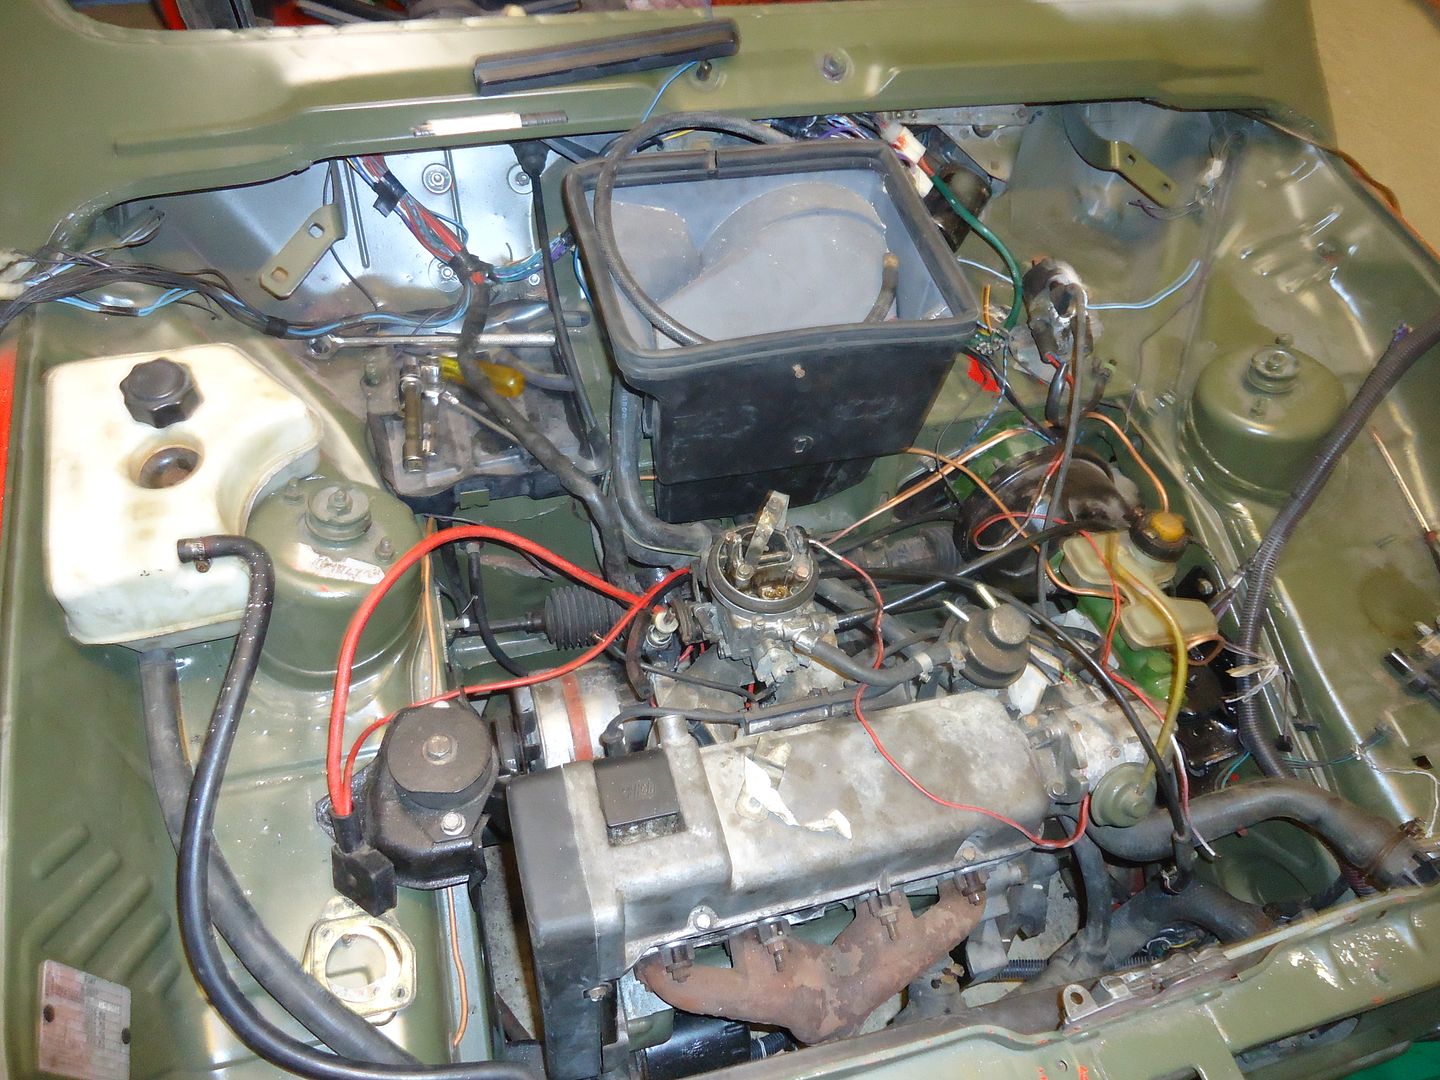
Bit of a nuciense having to remove the alternator. I was so smug in remembering to fit it prior to installing the engine. Almost guarantee it would't work I suppose.

I have started laying the wiring loom in, fitted the carb, hooked up the throttle and attached the fuel pipes.

So this project isn't far from running.

Although there is a million an one jobs to do yet, it feels much more downhill with the engine working.

The initial plan is to get it driveable before I attach the 4x4 rear axle and prop. Not for any great reason other than I can do that as a seperate job.

Exciting times.
 
Last edited:
Today it rained and I have a very bad bout of 'ManFlu'

So I popped over to 'Pandasport', who already has a cold, and source an altrernator and crucially a rotor arm as a temporary replacement for the one I busted fitting the engine.

And after fitting these bits I went back to him for a fuel pump....

And when I got back to the car I set up a can of petrol, flopped the supply and return into it ran a live from a remote battery(via jump leads) which went to the starter motor, solid state coil and carburetter solienoid. And with a little bit of bared wire from the trigger on the starter motor. I did this...................

[ame]http://i1077.photobucket.com/albums/w472/alixcompo/MOV01153_zpsf28eecf7.mp4[/ame]


It may be possible to view this if you click on 'Photbucket Videos' and 'download'
 
Last edited:
I've not been well y'know...!

Blo*dy manflu and Spring having turned into an Arctic white out hasn't done much for my enthusiasm.
Although I have been looking forward to an afternoon on the little car; it turned out to be something of a mixed bag.
Following the success of Friday's in augural firing up of the wee beastie, I really thought that progress might start to speed up a bit.

I marked and drilled the hole for the 4x4 selector lever. It went very well.

DSC01161_zpsa2081163.jpg


Not bad. So with excited antisipation I dug out the assorted exhaust parts..... And discovered that the 4x4 back box had rotted out. I hit it with the grinder. Repairable; but I didn't have any thin plate with me.
Ho Hum; I'll do the center section....... No connector bit with the springs that comes from the twin downpipes off the maifold.
Ho Hum I'll bleed the brakes up. Nipples instantly sheared off the front calipers.

As the car is in daughters garage I have no easy outs. So I attempt drilling the 1st nipple out.
Drill bu .5mm stages I started at 3mm fully expecting the drill bit to bite and flick out the bleed nipple residue.
When I got up to 6mm and could actually see some original thread I thought I could tease out some detrious with a pointy thing.
I didn't and gave up.

DSC01158_zpsbba8937d.jpg

DSC01159_zpsf26e6162.jpg

Oh.... Havent I got a spare caliper in one of the goody boxes. 20 minutes later I find a caliper whichnot only has a snapped off bleed nipple but also a snapped off 'Easy Out' so that's a bit of a non starter.

DSC01156_zps7db842a8.jpg


Did I say I haven't been feeling very well..? By now my relaxed afternoon was finding me somewhat freezing cold and pretty pis*ed off.

If in doubt 'Weld'...... It's warm as well.

The passenger side lower winscreen corner had a fairly extensive repair and I'd rather decided that on the inside of the frame, where the fresh air vent is, would get an 'Araldite' repair on account it was fiddly and fart-arse and I couldn't be bothered. Oh yeah; in a moment of gay abandon when the temperature has risen above freezing for five minutes (since last October) I'd put a bit of 'not bad' paint around the outside as well.
In desperate moments when common sense says "Go out to the van and get that big hammer you like so much and smash this little ****** just to let it know who's boss" it is always good to do something that is fiddly and fart arse and makes you consentrate.

DSC01162_zps967745ad.jpg


I found just enough light sheet to make the section and looked for my Molegrips to hold the section in place while I welded it.
Ah; Molegrips are clamping the fflexi brake hoses. Bug*er.
Have you noticed that since they seem to have banned proper light bulbs, now we have to suffer those damn aweful economy things, in our lead lamps, that save the planet but don't actually put any light out until just as you turn them off to go home.?
So here I am with the 'Save the planet' lead light under my arm, holding the repair plate in place (out of sight) and welding with my right hand.
It went very well but the plate was in the wrong place. Guffaw, how we laughed.
Amazing how swearing and throwing things can redeem any situation

I should have packed up then really; but it's always important to end on a high...

The guy who I bought the car off was very enthusiatic and had made a start on the left to right hand drive conversion.
Those of us who have removed the entire dash and wiring from a Panda will know that it leaves two big holes, one of which the wiring loom pours through and the other where the speedo cable grommet locates.
The guy had blasted 2 big rough holes for this purpose. The wiring one doesn't make any odds but the speedo one is a bit critical as there are some locating/locking prongs.

DSC01164_zps91dbe467.jpg


So the obvious answer is...........

DSC01163_zps0a46ecd1.jpg

DSC01165_zps8235d226.jpg


Cut out the nice hole........ And weld it into the horrid one.

DSC01168_zps53189e29.jpg


The only point of real interest is where I blanked off the donor hole.

DSC01167_zps53e08180.jpg


If you tack a scrap piece in then it's much easier to hold in place while you weld it in.

DSC01170_zps43453db3.jpg


I suppose it is progress. It felt a lot more like..... Sometime you have to do something really futile just because you can.........
 
I can remember helping a friend with an X19 ( the actual car that's in the Haynes manual) sort his brakes, he too sheared off a brake nipple. He took it to a local engineering firm to have it drilled out, which they did, but in the process they went about 10mm too deep and destroyed the taper at the bottom of the hole where the nipple seals :bang:. They hadn't realised they'd done this and charged him for the work. The caliper was now scrap of course, and I suspect yours are too. Shiny new calipers do look lovely though :).
 
I've done more than my fair share of drilling our broken nipples; which is to say I'm pretty careful over how deep I drill.

I've brought the caliper home and I'll try to run a tap through to clear the threads.
Then I will drill them out to the next bleed nipple size and re-tap them.
Then I will probably throw them in the scrap bin.

Whenever I go to see 'Pandasport' he leaves very knowing comments laying about, which are like little land mines which I invariably tread on a day or so later.
Last week he said, as I was leaving. "I've got some brake calipers if you need them.....
 
So what if I did drill a bit deep with the caliper...............


Anyhow; Got those Marbella doors from Turbo_pip today. Great condition. I have removed the exterior plastic covers to reveal the loverly rust free ribbed door bottoms.
I just have to fill the 'clip' holes change the quarterlights and paint on some of that lovely NATO green satin.

The doors came as spares with the Sidsley he has just bought.

And he has family in Italy.
Turbo_pip really is this forums favorite person.:)

DSC01172_zps9d2ac2d9.jpg
 
Well; now there is a turn up the sun was shining and I was supposed to be going away for a couple of days; which got cancelled at the last minute.
Hmm, what could I do.? Oo I know; play with toys........
-----------------------------------------------
Yes 'Vern' I drilled out the calliper too deep and couldn't be arsed to start on the other one.
So it was straight round to 'Pandasports' to borrow a couple of old callipers until funds allow for some nice re-manufactured jobbies. 'P'S' is also a font of all Panda knowledge, so a chat every now and then saves days of blundering blindly on. Not that it stops me blundering on; just to say that when it all goes wrong I remember what he'd said.

DSC01174_zpsc29460ac.jpg

DSC01175_zpsc0c6cb2c.jpg


First up was to clean things up with a rotary wire brush. Two minutes later and..

DSC01178_zpsc9e5bc67.jpg


I cleaned them up first so that I didn't bake any crud on because this was the next stage

DSC01177_zpsd841f37e.jpg


Carefully applied heat for just a minute or so; only hot enough that you wouldn't be sure whether to touch it or not.
Aluminium has a much faster expansion rate than the steel bleed nipple and hose fitting and before you know it both loosenened with no drama.
Never try to wind the threads staright out after they have been siezed; back and forth with lots of WD40 and out they come.

Callipers that still have fluid in them are usually recoverable. Next thing is to push the piston back into the body to make sure it moves and to make fitting the pads easier.

Good old 'G' clamp. Nice even pressure and no struggling.

DSC01180_zps8786e341.jpg


It is worth noting that as the clamp tightens and the piston moves the some dirty, stale, old and contaminated fluid will be displaced. So mind your coffee cup isn't directly under the hose...... Yuck it tasted blo*dy horrible.
 
Last edited:
And there is more.

After re-fitting the callipers and a quick bleed to encourage a bit of brake effort, we have them..... Working brakes.. Rah.....

And..... For the first time since I bought this car in November 2012, I actually wheeled it out of the garage.

DSC01181_zps22c07b91.jpg

DSC01182_zpsa6332622.jpg

DSC01184_zps38ab2338.jpg


Here are a couple of pics I included for Vern who was asking about the rear construction.

DSC01185_zps0486c236.jpg

DSC01186_zps750865c2.jpg

DSC01190_zps73978c66.jpg


Can anyone tell me if these 'side plastic liners' in the rear are standard to the Terra or Sisley items please?

DSC01187_zps33993ec3.jpg

DSC01195_zps88d734e8.jpg


A few general pics

DSC01188_zps6b237448.jpg

DSC01196_zpsf7e65227.jpg

DSC01197_zps6a4c5eea.jpg

DSC01198_zpse3e80d1d.jpg


And finally.... I got the heater unit re-fitted, pipes for the cooling system, expansion tank and loads of bits and pieces.

DSC01200_zps59b537a8.jpg

DSC01201_zpsf37d8dd8.jpg
.

The built is on that downhill run now where I am having to buy/aquire lots of obscure bits and pieces.

Tomorrow I start the exhaust hunt.

Has anyone got any pics of the radiator mounts please. No idea what I'm looking for. Especially top mounts/clips??.

Had a really good day. Probably on account of starting it relaxed. Fantastic....
 
Inside plastic liners where on both models...guess those are seat ones. Good to see the pics and have to say I like the red. Be interesting to see the green when it's all over. Are you using a std panda rad from the fire model??
 
Yeah, full width rad. I have the MK2 fittings screwed to the body.

I keep buying red vehicles and have got a bit traumatised.
Anyway perhaps next year it will be yellow or......... Who knows.
Interesting to note that the manufactures stamp on the inside of the doors is 'Fiat' . Did they supply parts for 'Seat' to kit build.?
 
Last edited:
Oooooo, I would be tempted to have a loud beach type colour. Or even a desert beige with spray stencil palm trees on the rear quarter "a la WW2" I'm sure there was a another pic of your type of seat/panda on here somewhere with a spray scene down the side. Just remembered...it's in a thread about google street view.
 
Oooooo, I would be tempted to have a loud beach type colour. Or even a desert beige with spray stencil palm trees on the rear quarter "a la WW2" I'm sure there was a another pic of your type of seat/panda on here somewhere with a spray scene down the side. Just remembered...it's in a thread about google street view.

It's in this thread..........

https://www.fiatforum.com/panda-classic/295020-new-game.html

Do these rad mount pics help?


Back
Top