Yes they are Sisley panels, I've got the same ones in both of mine. Your front seats are from a 4x4 though, just not a Sisley.


You are using an out of date browser. It may not display this or other websites correctly.
You should upgrade or use an alternative browser.
You should upgrade or use an alternative browser.
General Seat Panda Terra
- Thread starter Alixcompo
- Start date
Currently reading:
General Seat Panda Terra
After my very average afternoon getting nowhere yesterday, and my subsequent plea for help on this forum, I went of to visit my new best chum this morning.
He contacted me via the forum and invited me round to look at his Panda to take measurements and photos of the seat mounts.
Talk about an education. The font of all Panda knowledge and a positive zoo full of fine examples of the mark.
I learnt more about Pandas in an hour than I have in the last ten years of occasion ownership and fettling.
Scariest point was when he suggested that I measure the wheelbase of mine against one of his in case my floorpan was based on the Terra van; in which case it would have been longer than the car and my 4x4 prop would have been too short.!
While I love talking to people who know loads of stuff, this wasn't exactly what I wanted to hear.
Fortunately my wheelbase 'is' the same.

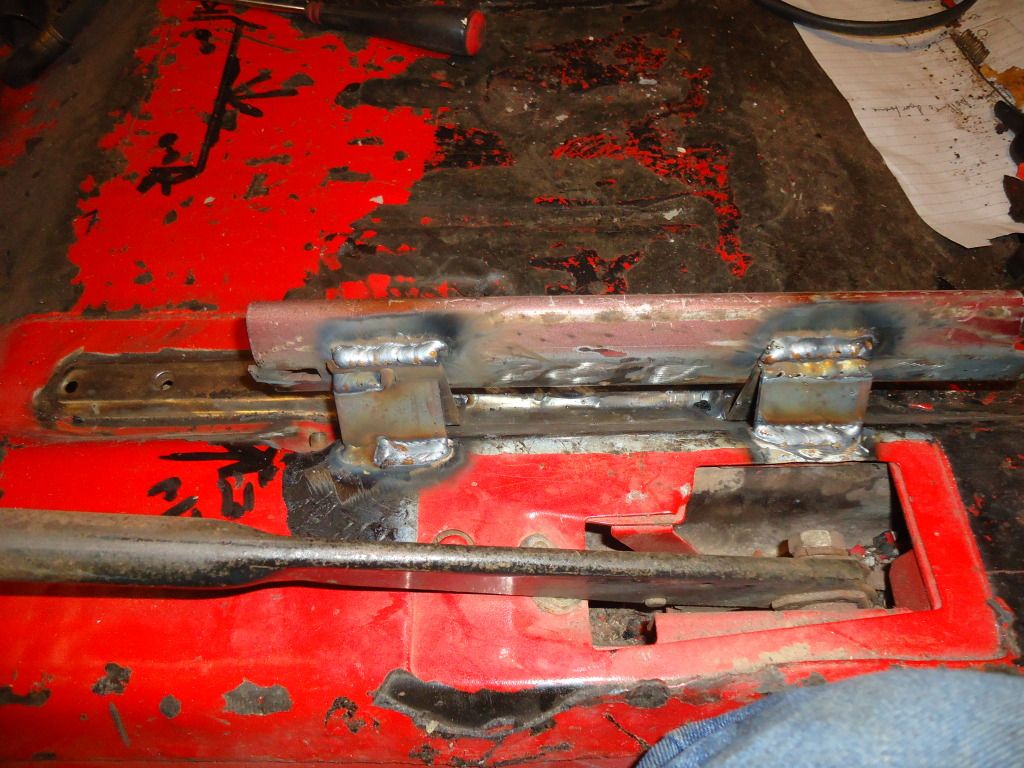
Armed with my new information I was able to position the MK2 drivers seat mounts. I was keen to use these as I don't like the idea of bolting seat to the floor so they can bounce up and down with the terrain.
It would seem that the MK1 and MK2 floor pans differ slightly (or at least mine does) in the transmission tunnel seem to be squarer on the MK2 and the drivers footwell/floor flater.
However. I now have a very solid seat mount albeit rather ugly. I had to make two brackets which are functional rather than attractive.
Happy to have some progress though.
And due again to my visit I have been able to sort out my engine mounts and get them positioned as well.
A good day........... Thanks to the forum.
He contacted me via the forum and invited me round to look at his Panda to take measurements and photos of the seat mounts.
Talk about an education. The font of all Panda knowledge and a positive zoo full of fine examples of the mark.
I learnt more about Pandas in an hour than I have in the last ten years of occasion ownership and fettling.
Scariest point was when he suggested that I measure the wheelbase of mine against one of his in case my floorpan was based on the Terra van; in which case it would have been longer than the car and my 4x4 prop would have been too short.!
While I love talking to people who know loads of stuff, this wasn't exactly what I wanted to hear.
Fortunately my wheelbase 'is' the same.
Armed with my new information I was able to position the MK2 drivers seat mounts. I was keen to use these as I don't like the idea of bolting seat to the floor so they can bounce up and down with the terrain.
It would seem that the MK1 and MK2 floor pans differ slightly (or at least mine does) in the transmission tunnel seem to be squarer on the MK2 and the drivers footwell/floor flater.
However. I now have a very solid seat mount albeit rather ugly. I had to make two brackets which are functional rather than attractive.
Happy to have some progress though.
And due again to my visit I have been able to sort out my engine mounts and get them positioned as well.
A good day........... Thanks to the forum.
Those seat rails look like they have come from a Sisley...that car must have been well cut up.
Your interior light is a bit big though....must drain the battery when you open the door..
I a custom vehicle kinda guy.
With this vehicle I am going for 'amusing yet offensive' where I can.
You are right about the light though. It is a bit urban survivalist.
Maybe I'll try mounting it somewhere else. (Or fit an extra battery)
Those seat rails look like they have come from a Sisley...that car must have been well cut up.
I could run through the story but I may bore you to death.
Are you sitting comfortably......... Once upon a time..... etc etc
Those seat rails look like they have come from a Sisley...that car must have been well cut up.
Once again I am in awe; how can you possibly tell that seat runner is Sisley..?
Once again I am in awe; how can you possibly tell that seat runner is Sisley..?
Not as difficult as it seems.....it's the colour.
Had a good day on the car today. Capped off the old seat mounts and got the passenger side rails in


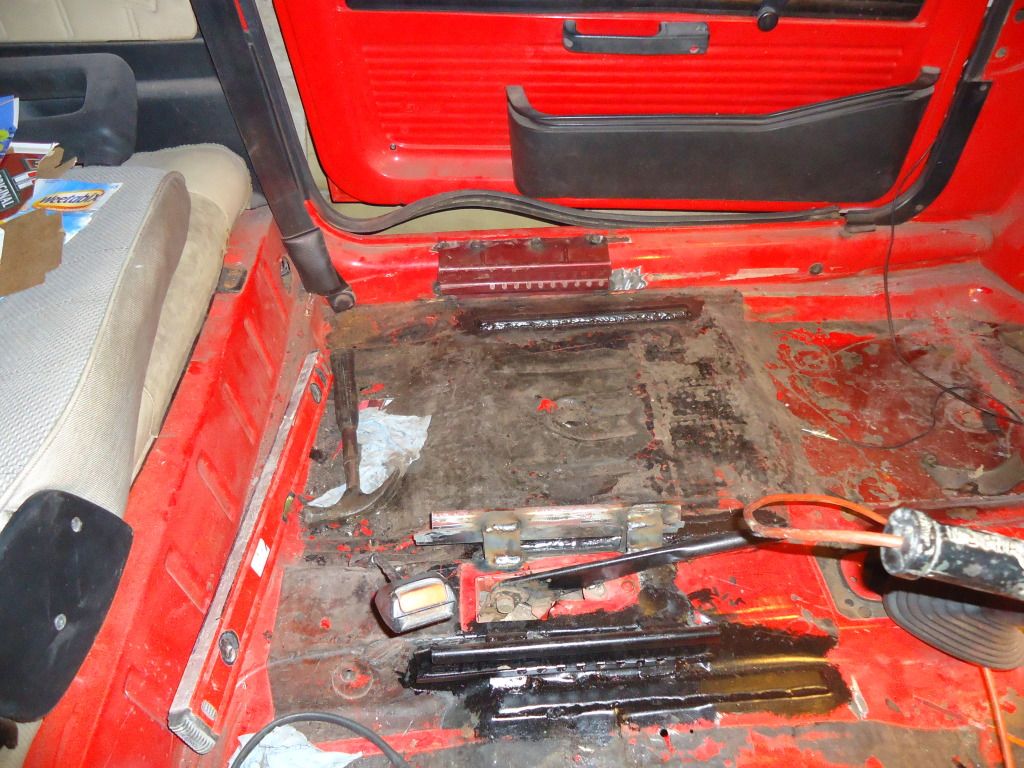
I used 3mm strip for the old mounts. While it may be overkill I don't like the thought of a natural crush zone under my buttocks. So the floor is nice and strong now.
I popped a bit of 'bondo' over where the front vents used to be.
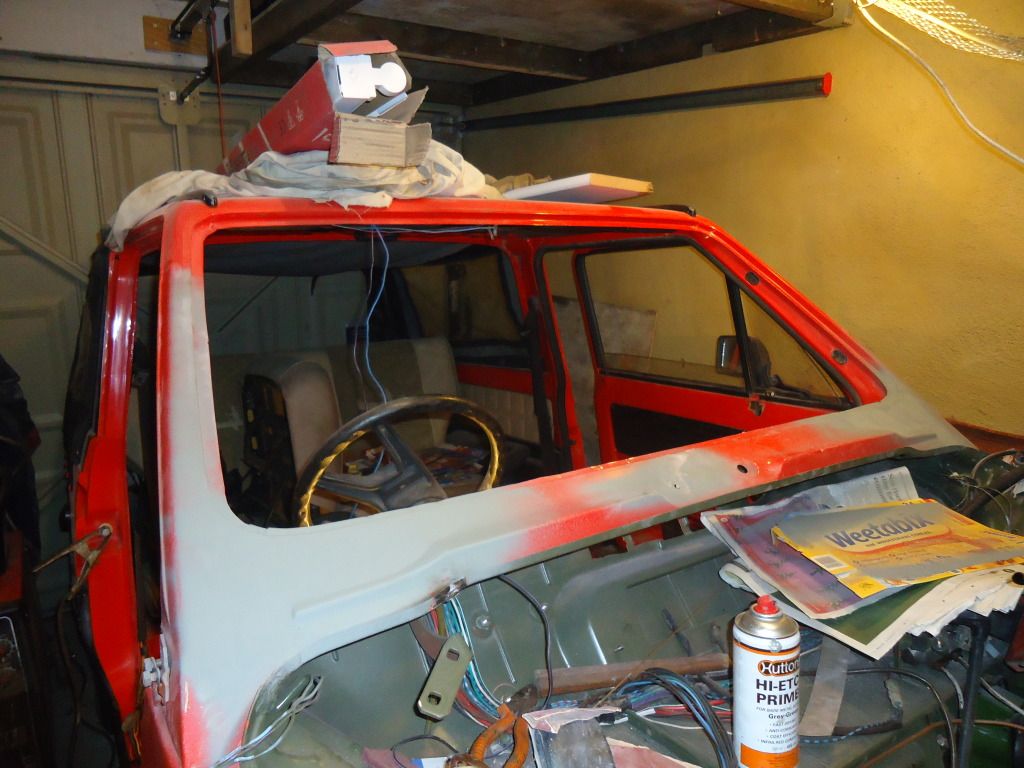
I'm going to get a bit of colour around the windscreen opening and see if the front looks odd. I have even considered cutting the back off the vents and sticking them back over the top so it looks authentic but will have less of a rust trap. Who knows I suppose I could post the pics and put it to a forum vote..!
Getting fairly close to fitting the engine & gearbox which I'm really looking forward too
I used 3mm strip for the old mounts. While it may be overkill I don't like the thought of a natural crush zone under my buttocks. So the floor is nice and strong now.
I popped a bit of 'bondo' over where the front vents used to be.
I'm going to get a bit of colour around the windscreen opening and see if the front looks odd. I have even considered cutting the back off the vents and sticking them back over the top so it looks authentic but will have less of a rust trap. Who knows I suppose I could post the pics and put it to a forum vote..!
Getting fairly close to fitting the engine & gearbox which I'm really looking forward too
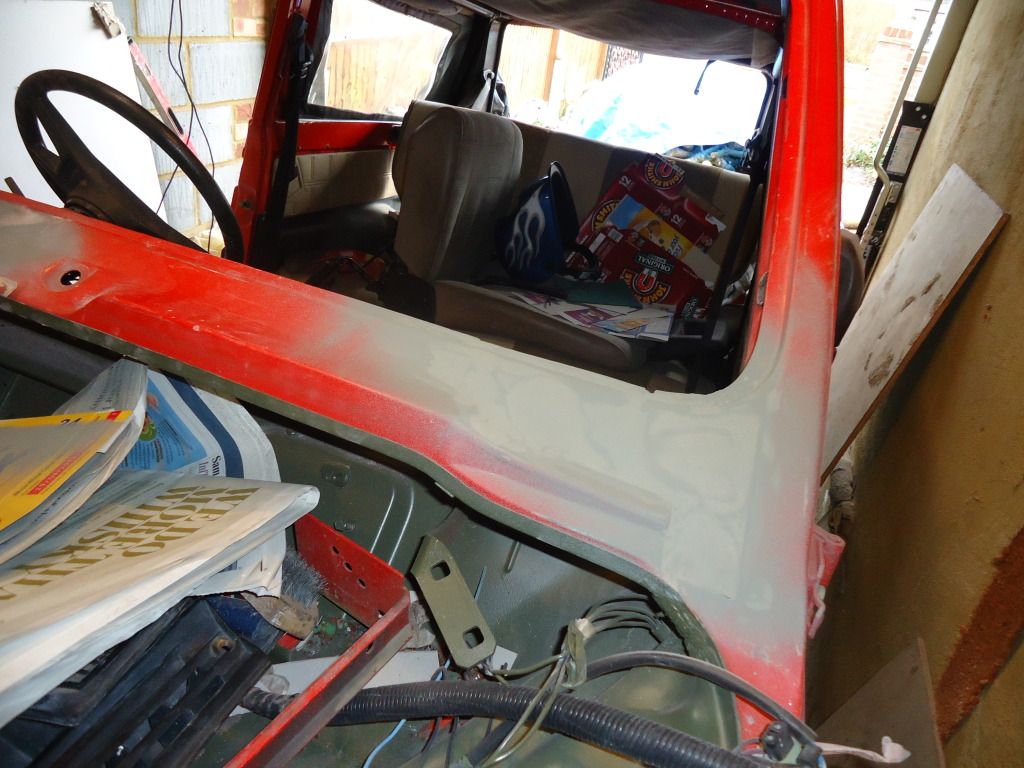
Although I've always liked the fresh air vents I think what your doing is right and the look you now have is normal and good. After all there are big fresh air vents in the car called windows. Or in your case a big bit of missing roof..
Great Work going on here. I'm really looking forward to seeing this little beast finished
Although I've always liked the fresh air vents I think what your doing is right and the look you now have is normal and good. After all there are big fresh air vents in the car called windows. Or in your case a big bit of missing roof..
Ah yes I also have opening quarterlights. Smug smug. (I'll probably break them next time I open them now.)
Ah yes I also have opening quarterlights. Smug smug. (I'll probably break them next time I open them now.)
I love quarterlights, had them in the old landy and MK1 of course, very handy when I used to smoke, shame not all marbellas have them :I
Great Work going on here. I'm really looking forward to seeing this little beast finished
Many thanks. I really do appreciate all the support I have found on the forum.
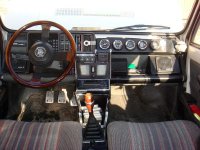
Another quandry I have is do I have the standard fabric dash;
do I have bare metal;
do make something else. (I really don't like the flat home made ones)
do I have bare metal;
do make something else. (I really don't like the flat home made ones)
Another quandry I have is do I have the standard fabric dash;
do I have bare metal;
do make something else. (I really don't like the flat home made ones)
Fabric dash FTW!
second thoughts - This:
Attachments
Last edited:
Another quandry I have is do I have the standard fabric dash;
do I have bare metal;
do make something else. (I really don't like the flat home made ones)
Ooo.... Heresy, don't like the throw everything in fiat hammock..
Fabric dash FTW!
second thoughts - This:
Not bad; but I'm not converting it back to left hand drive
Ooo.... Heresy, don't like the throw everything in fiat hammock..
No and then again yes.
It would be easiest to have a hammock but but........
It's twice in one day that I have mentioned this guy.... Crashtest is his user name... He built a fantastic 4x4 full of mods.. Find his build thread and check out how he did his dash...worth a look.
No and then again yes.
It would be easiest to have a hammock but but........
Its ok...we will stick you in our wicker man when you come to panda camp and burn you if you don't keep it..:devil:
Similar threads
- Replies
- 1
- Views
- 128
- Replies
- 5
- Views
- 450