ok... firstly i must say.. this is a massive pain in the bum so dont try it unless you have alot of patience!
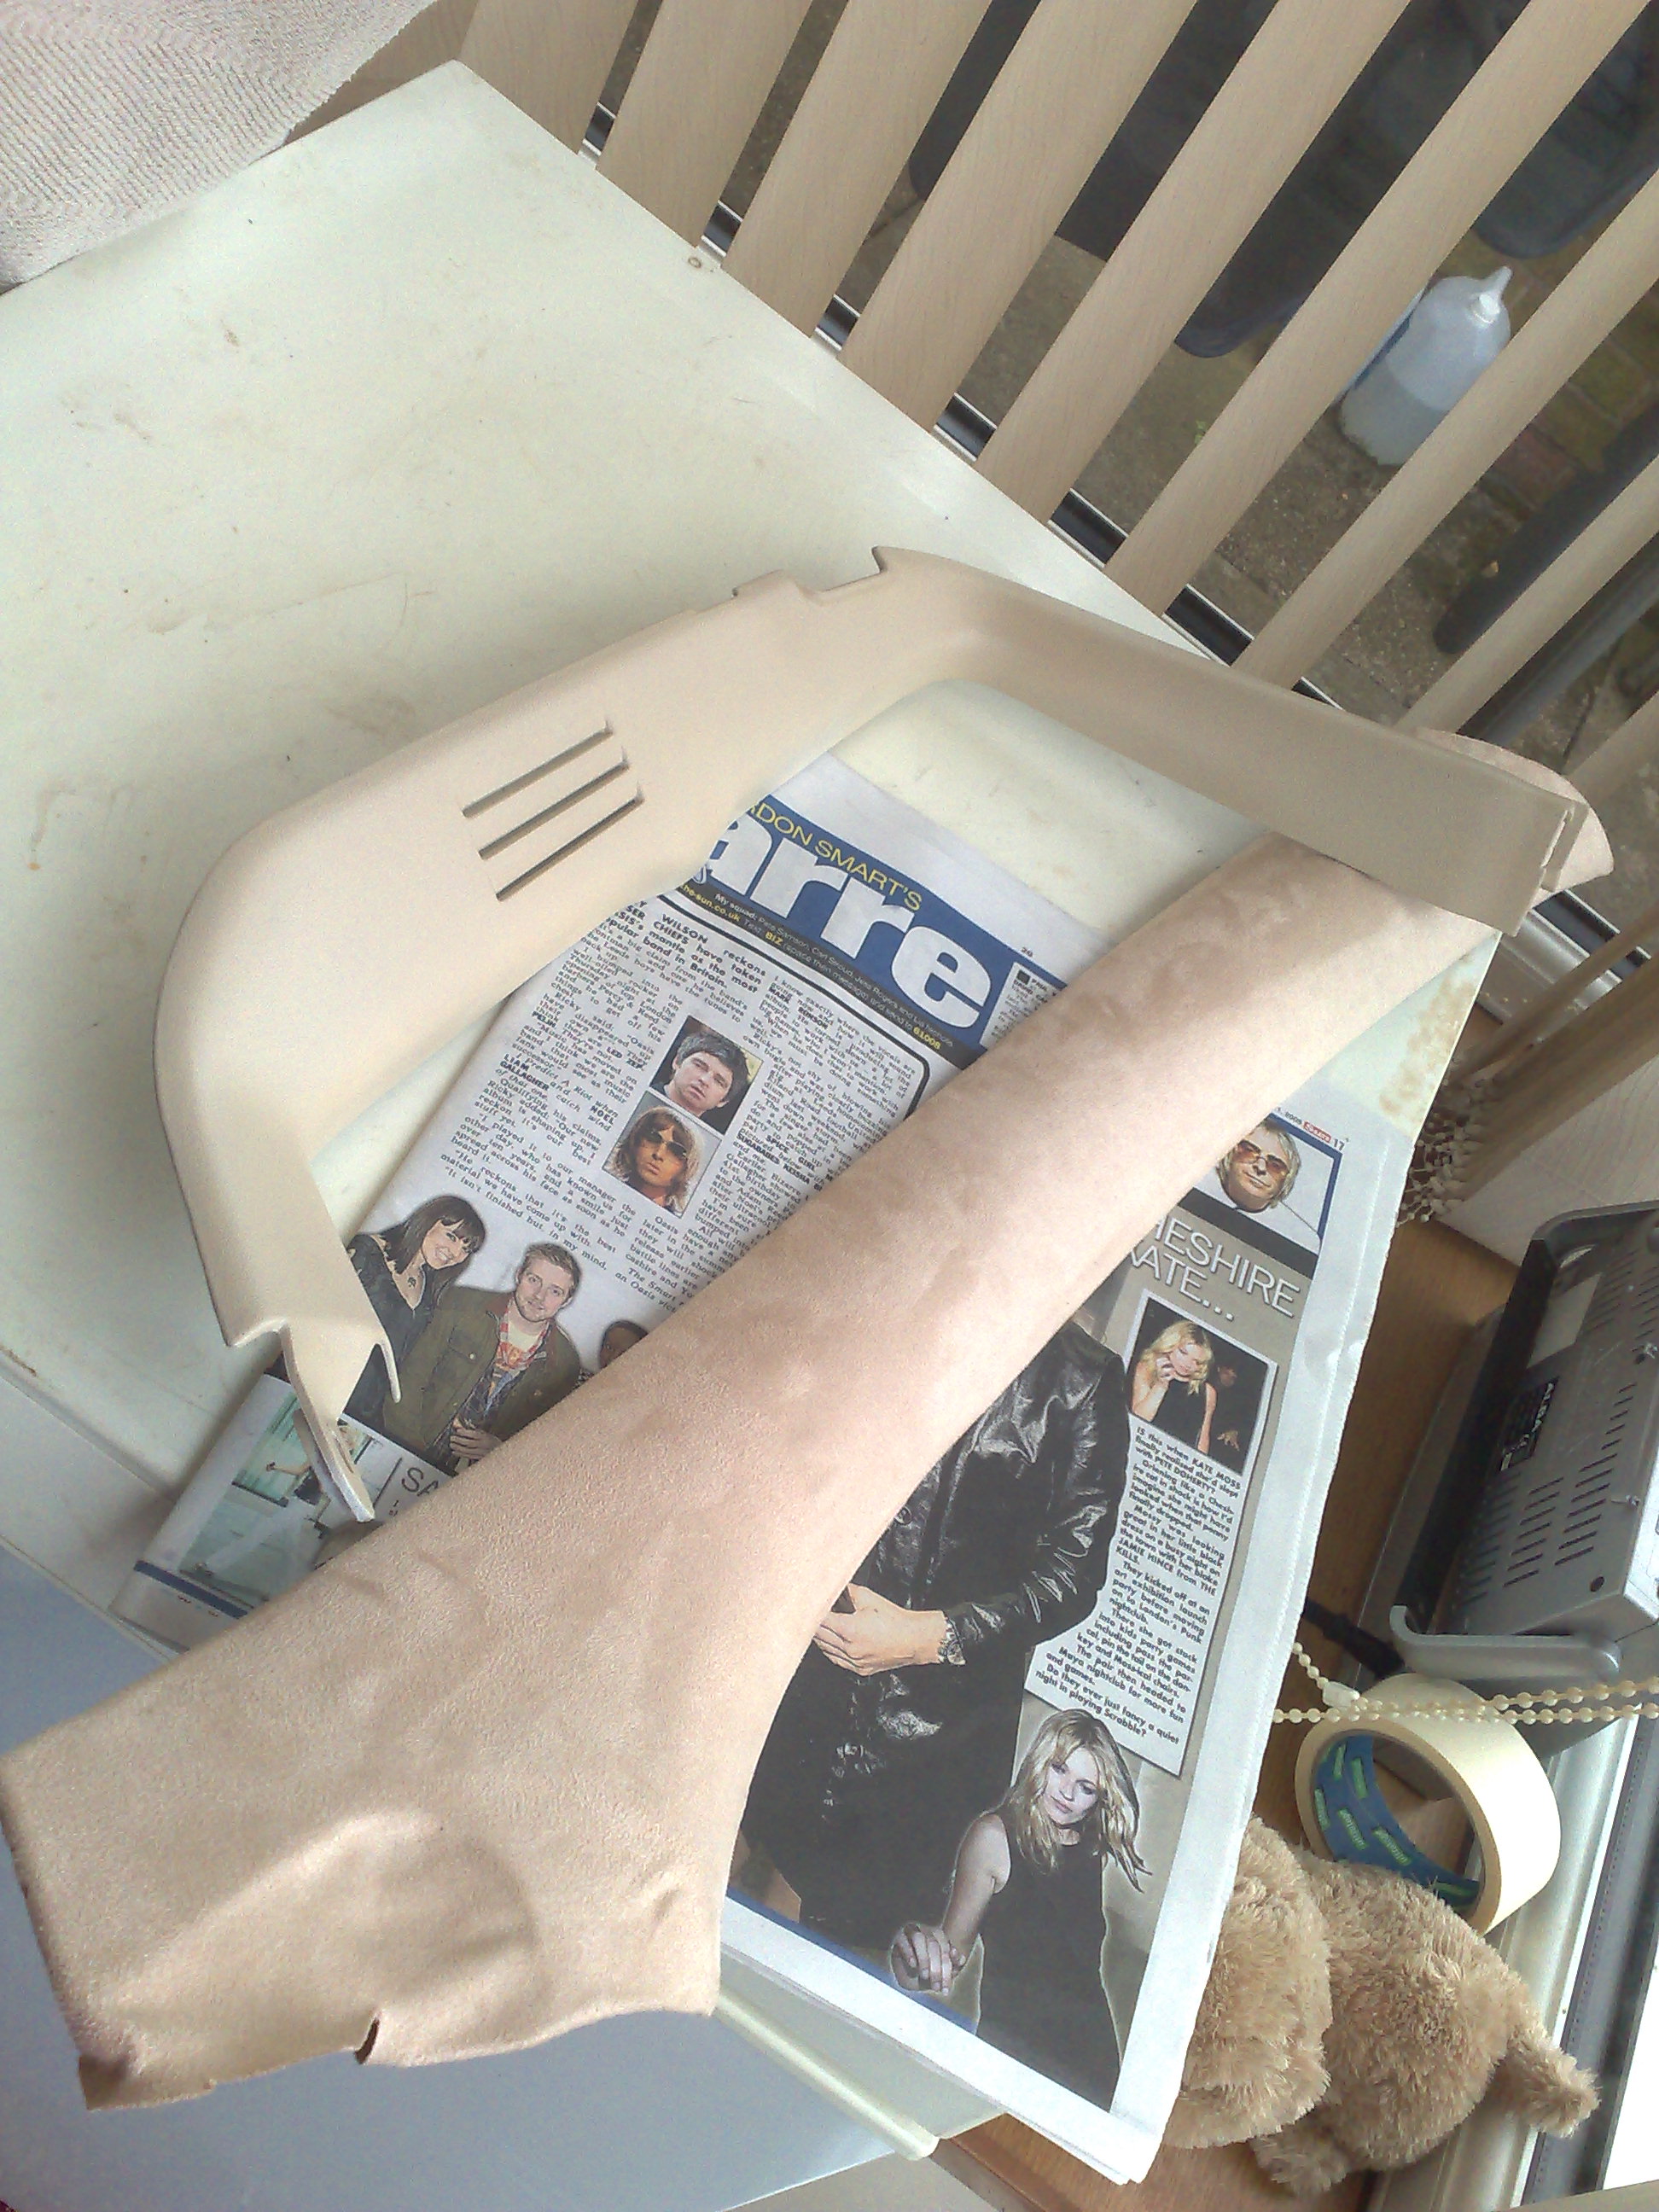
ok so ive decided to retrim the pillars, roof lining and a few other bits in bravobeastie in cream suede.
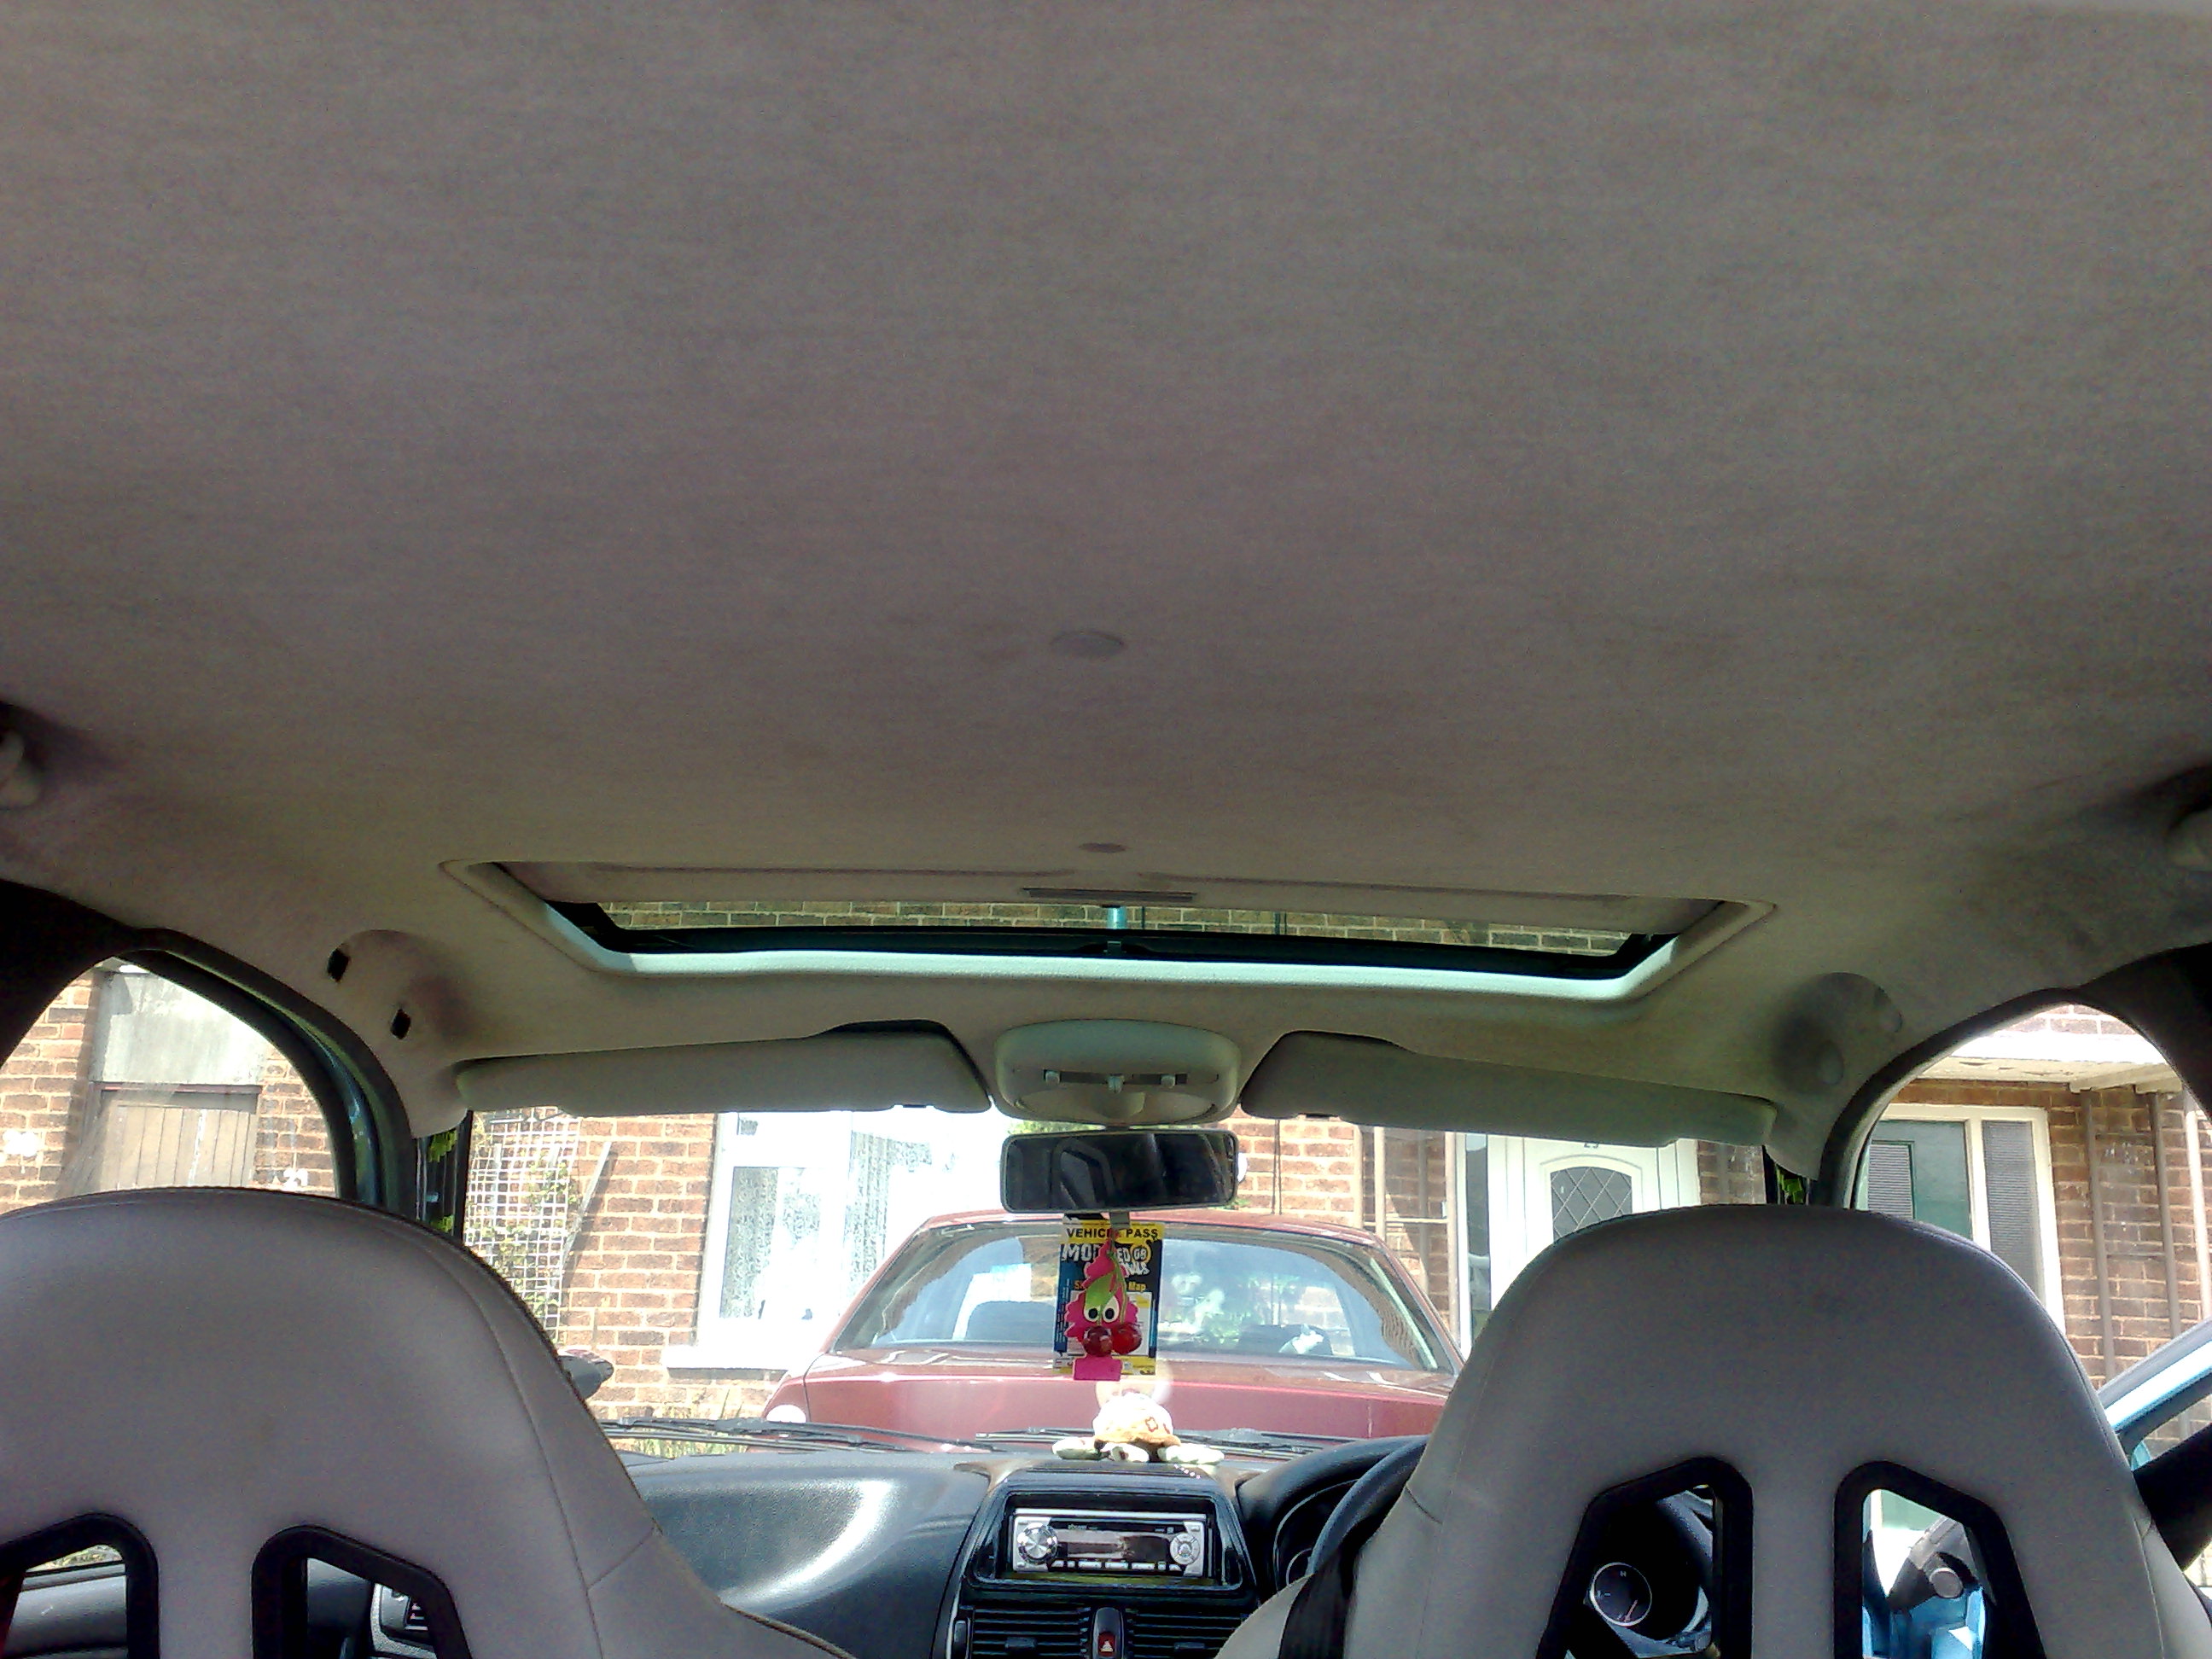
roof lining is pretty gross, so new one will be kept much cleaner!!
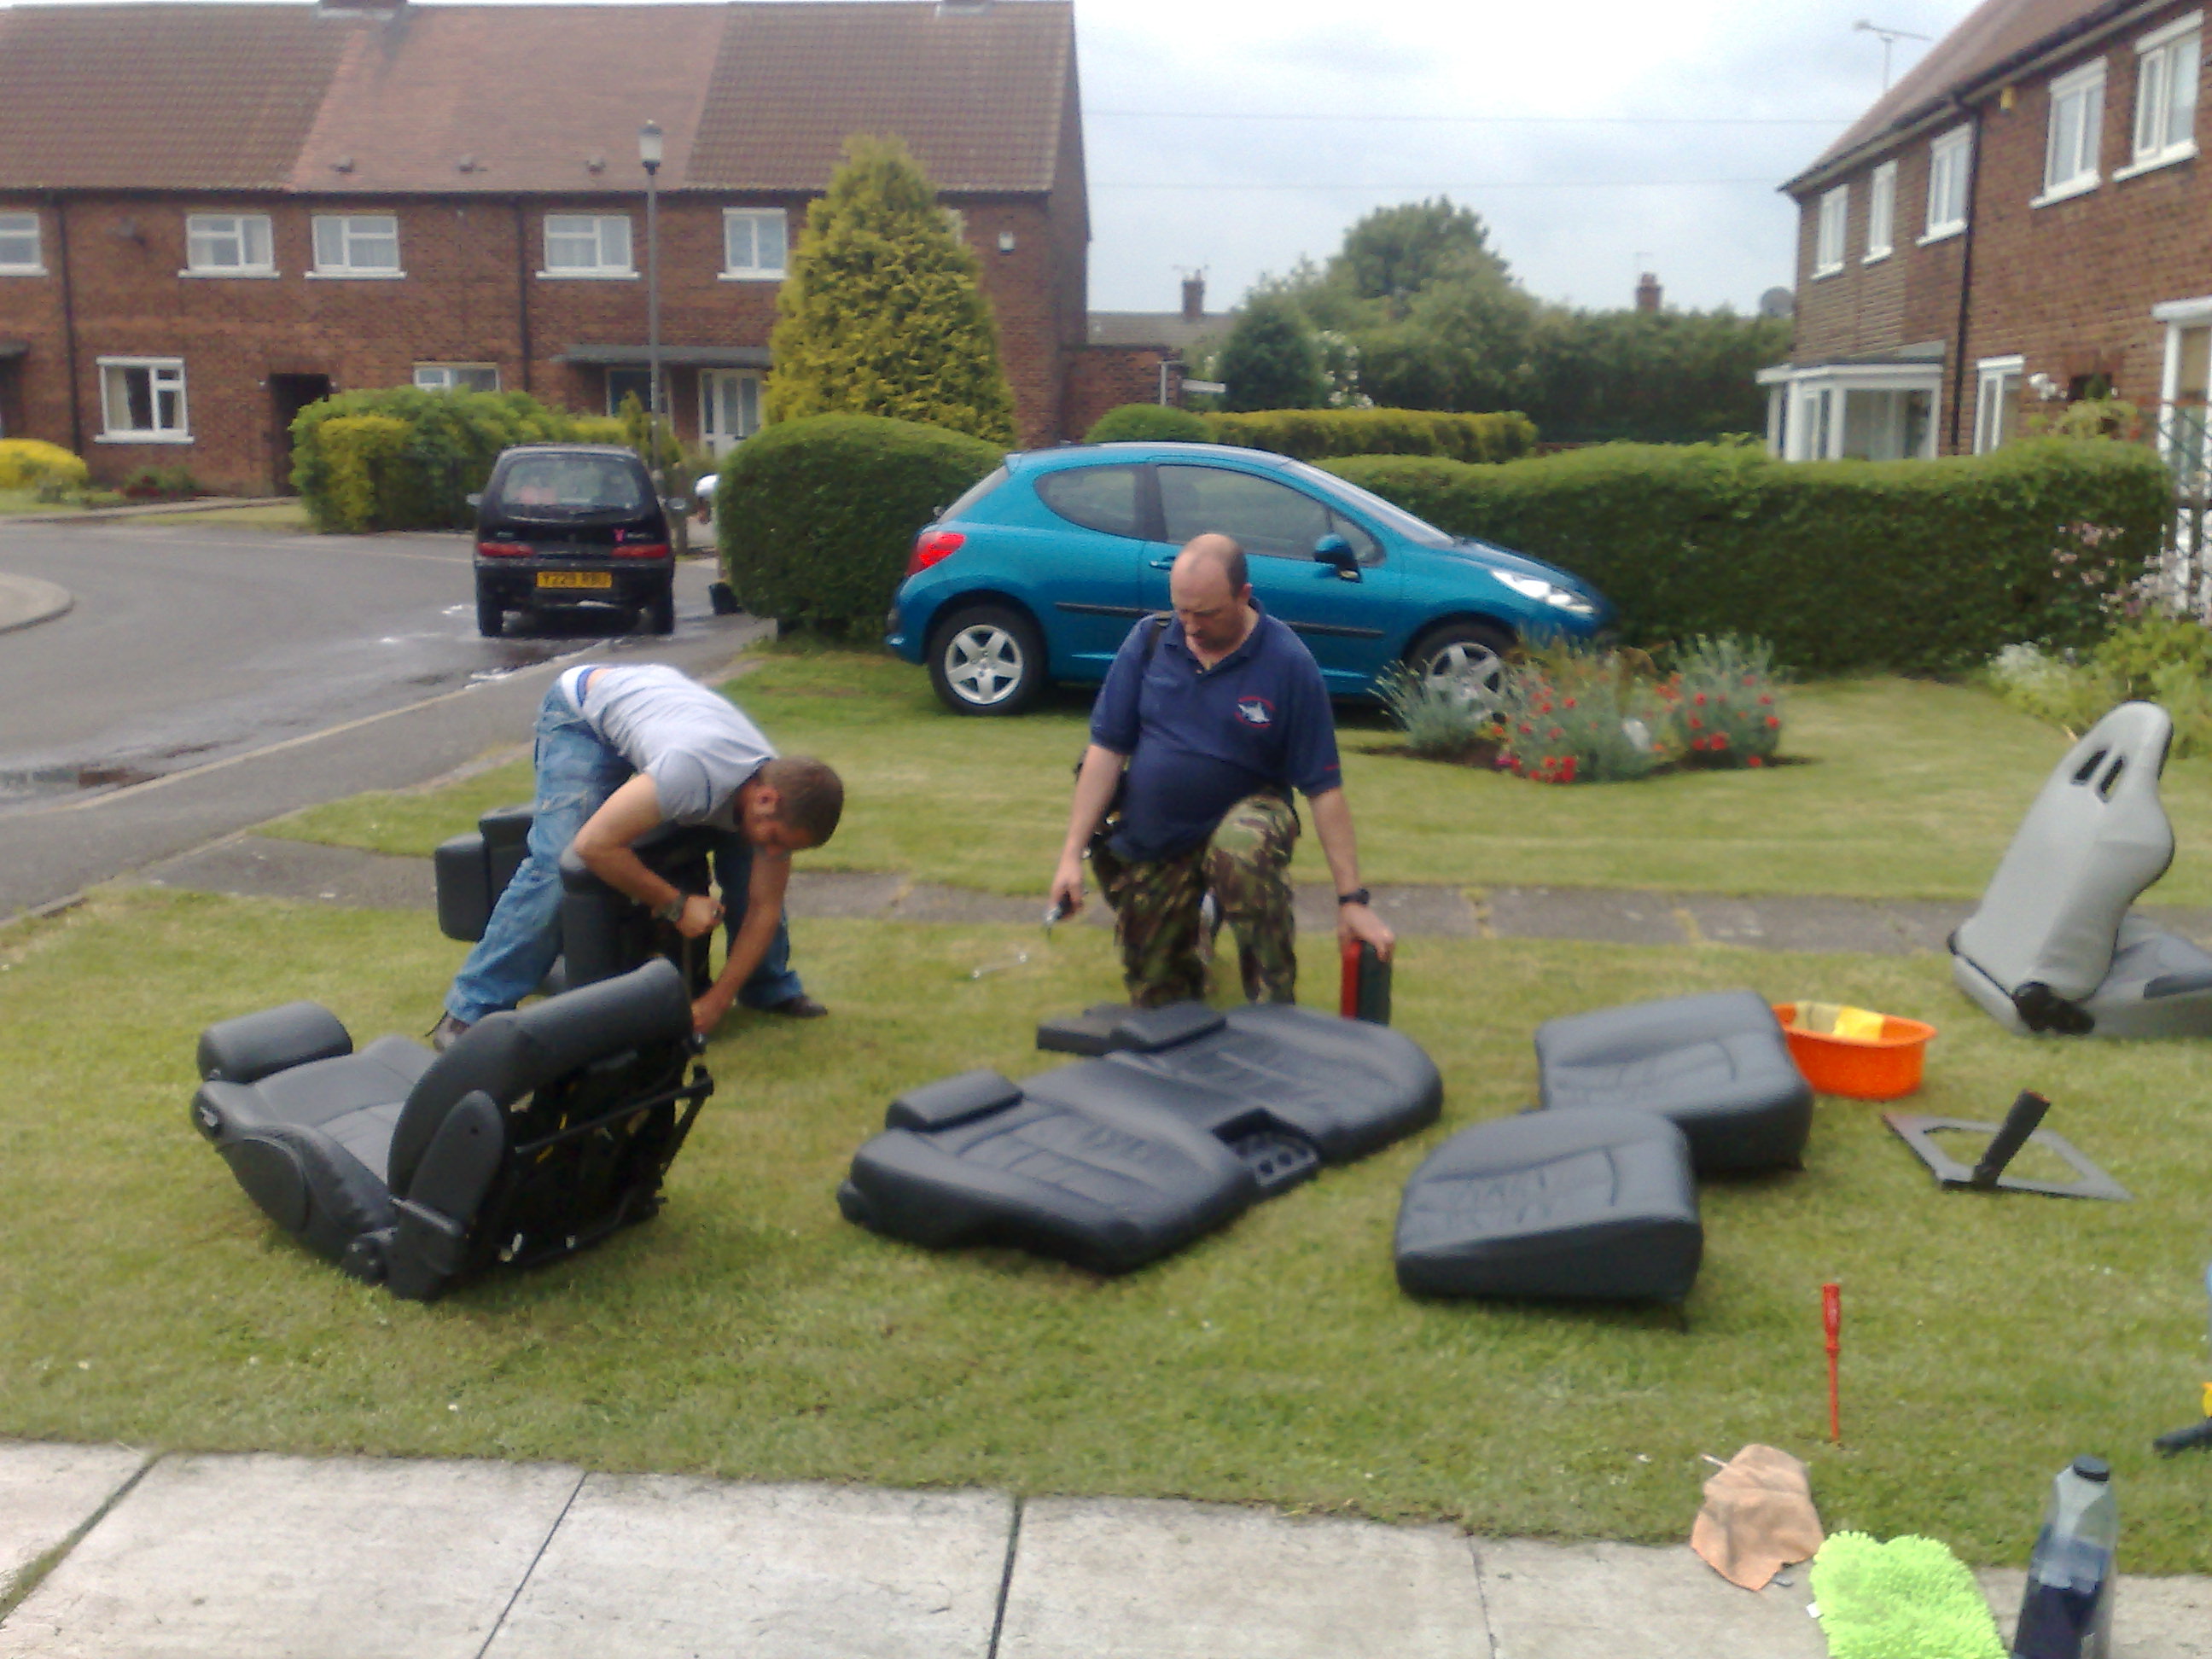
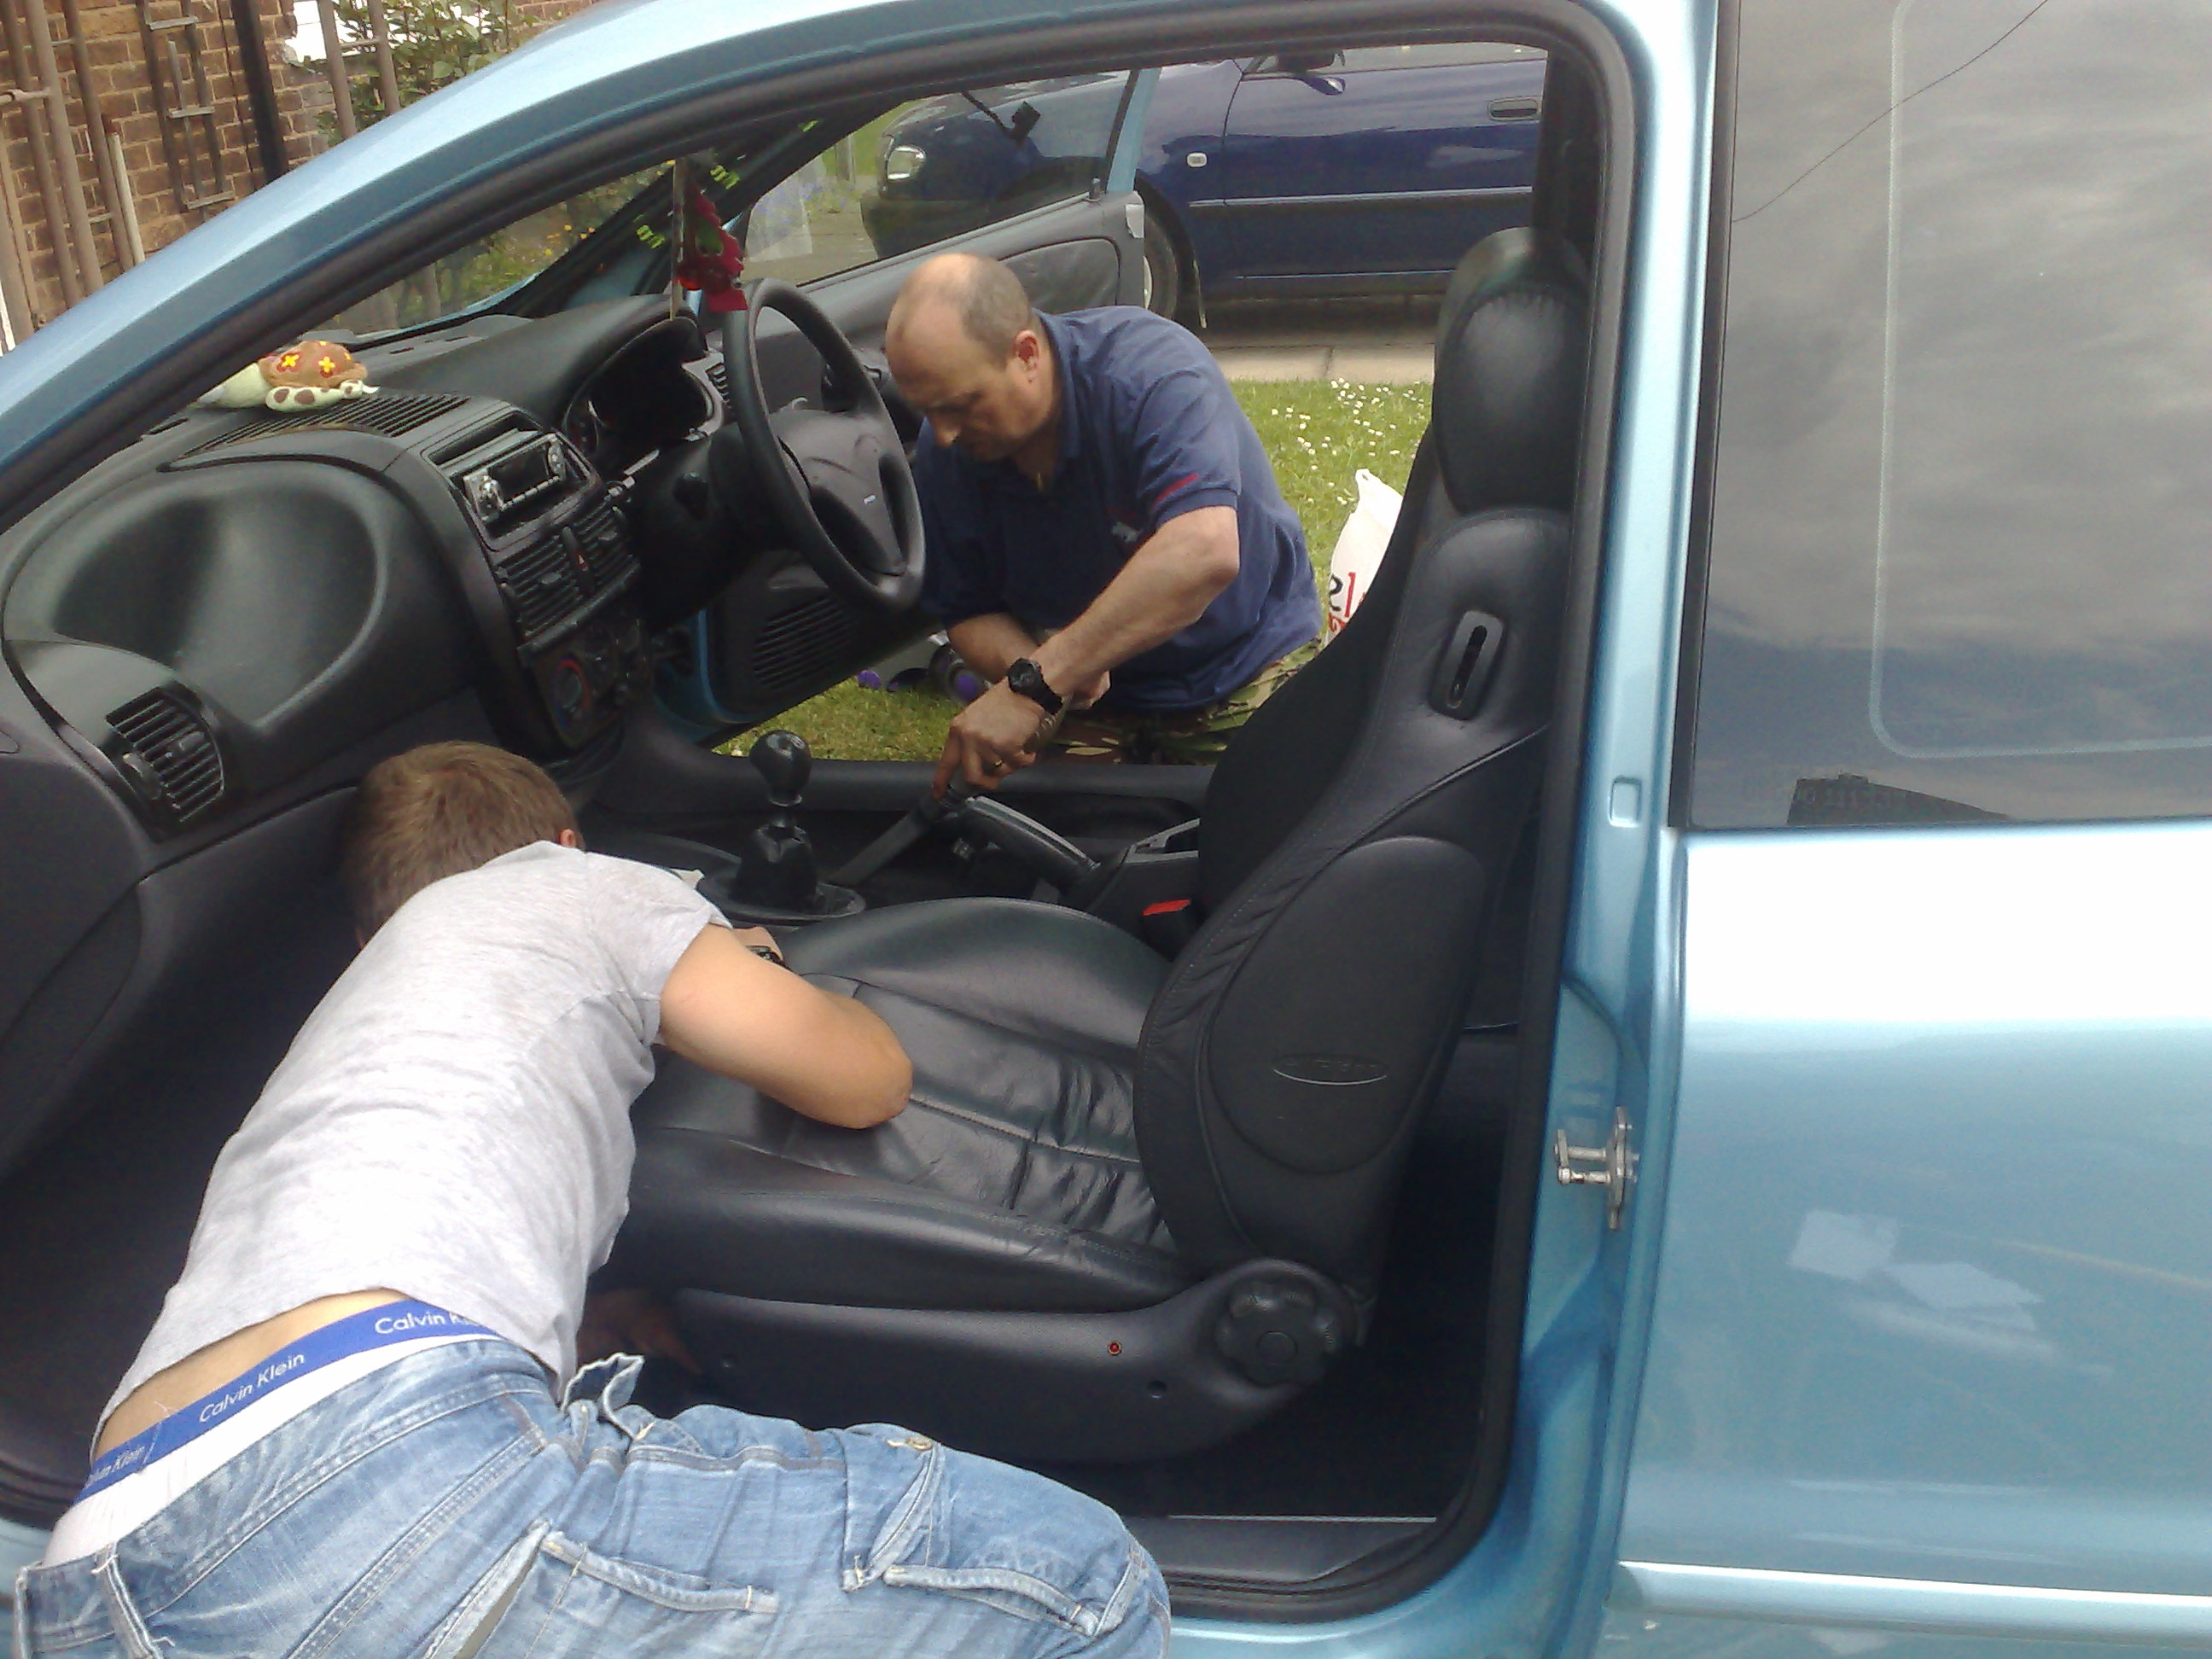
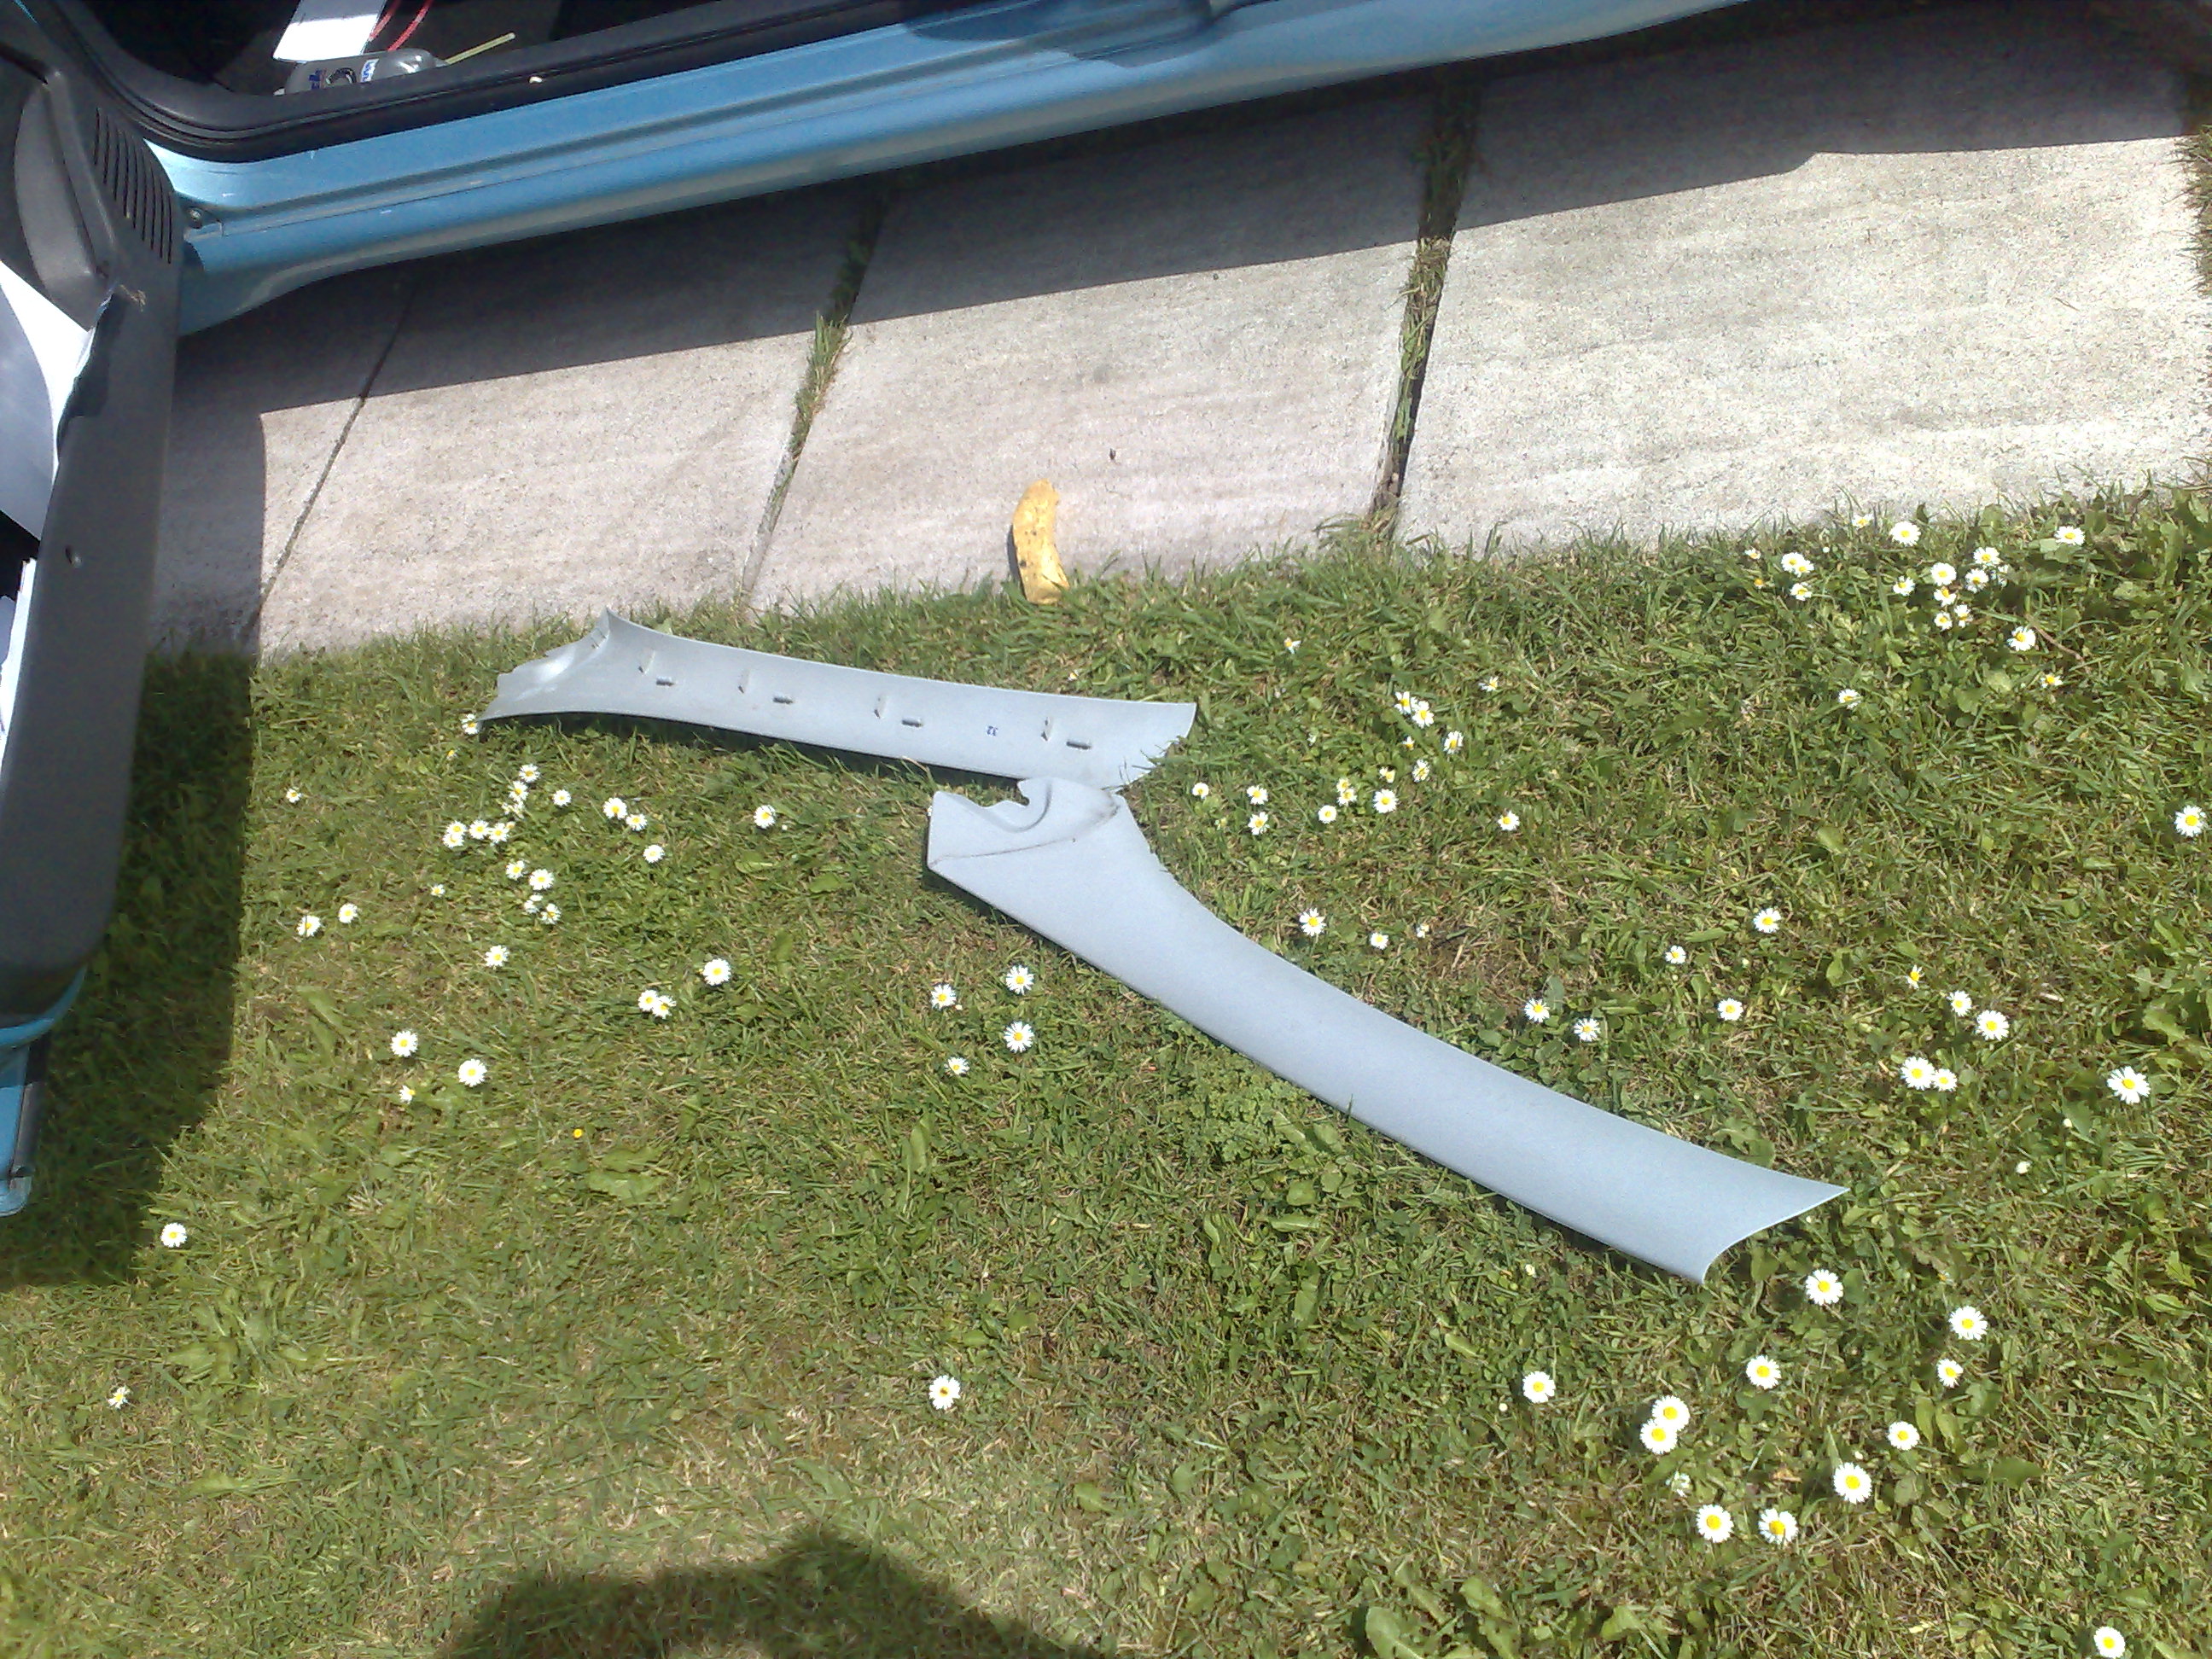
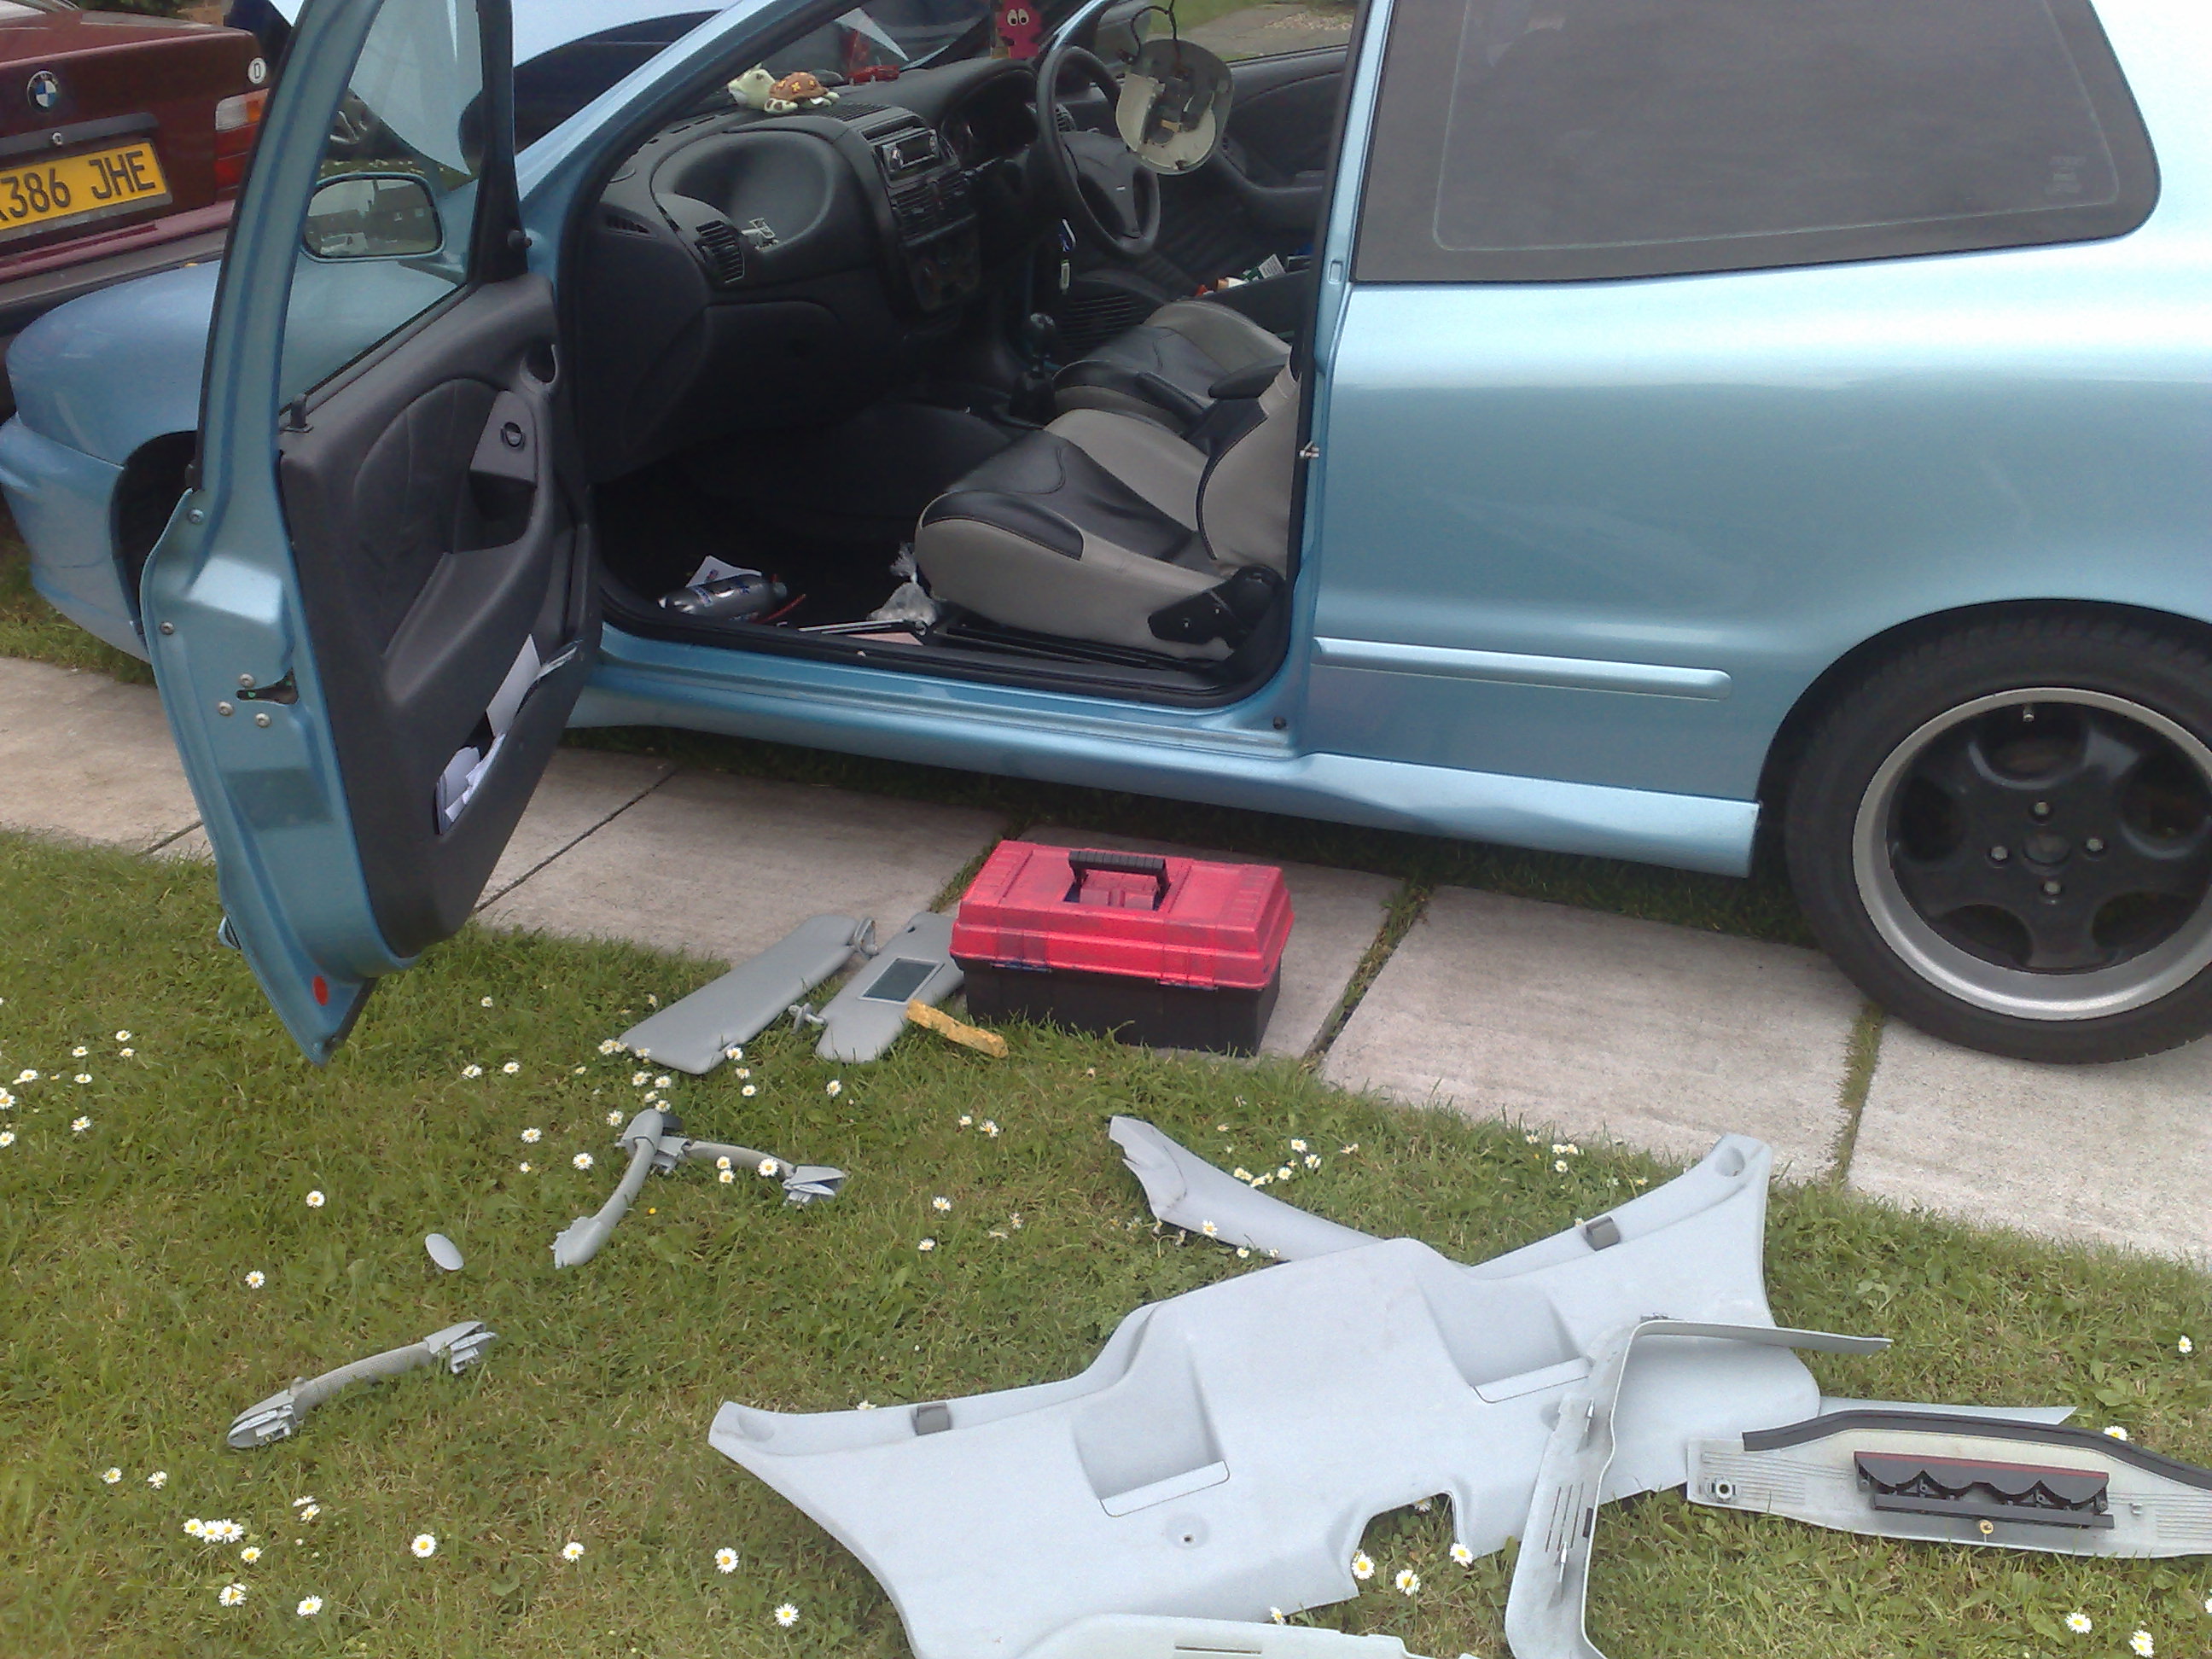
first i had to start at pulling away all the pillars and things, front pillars easy enough, but then it started to get trickey
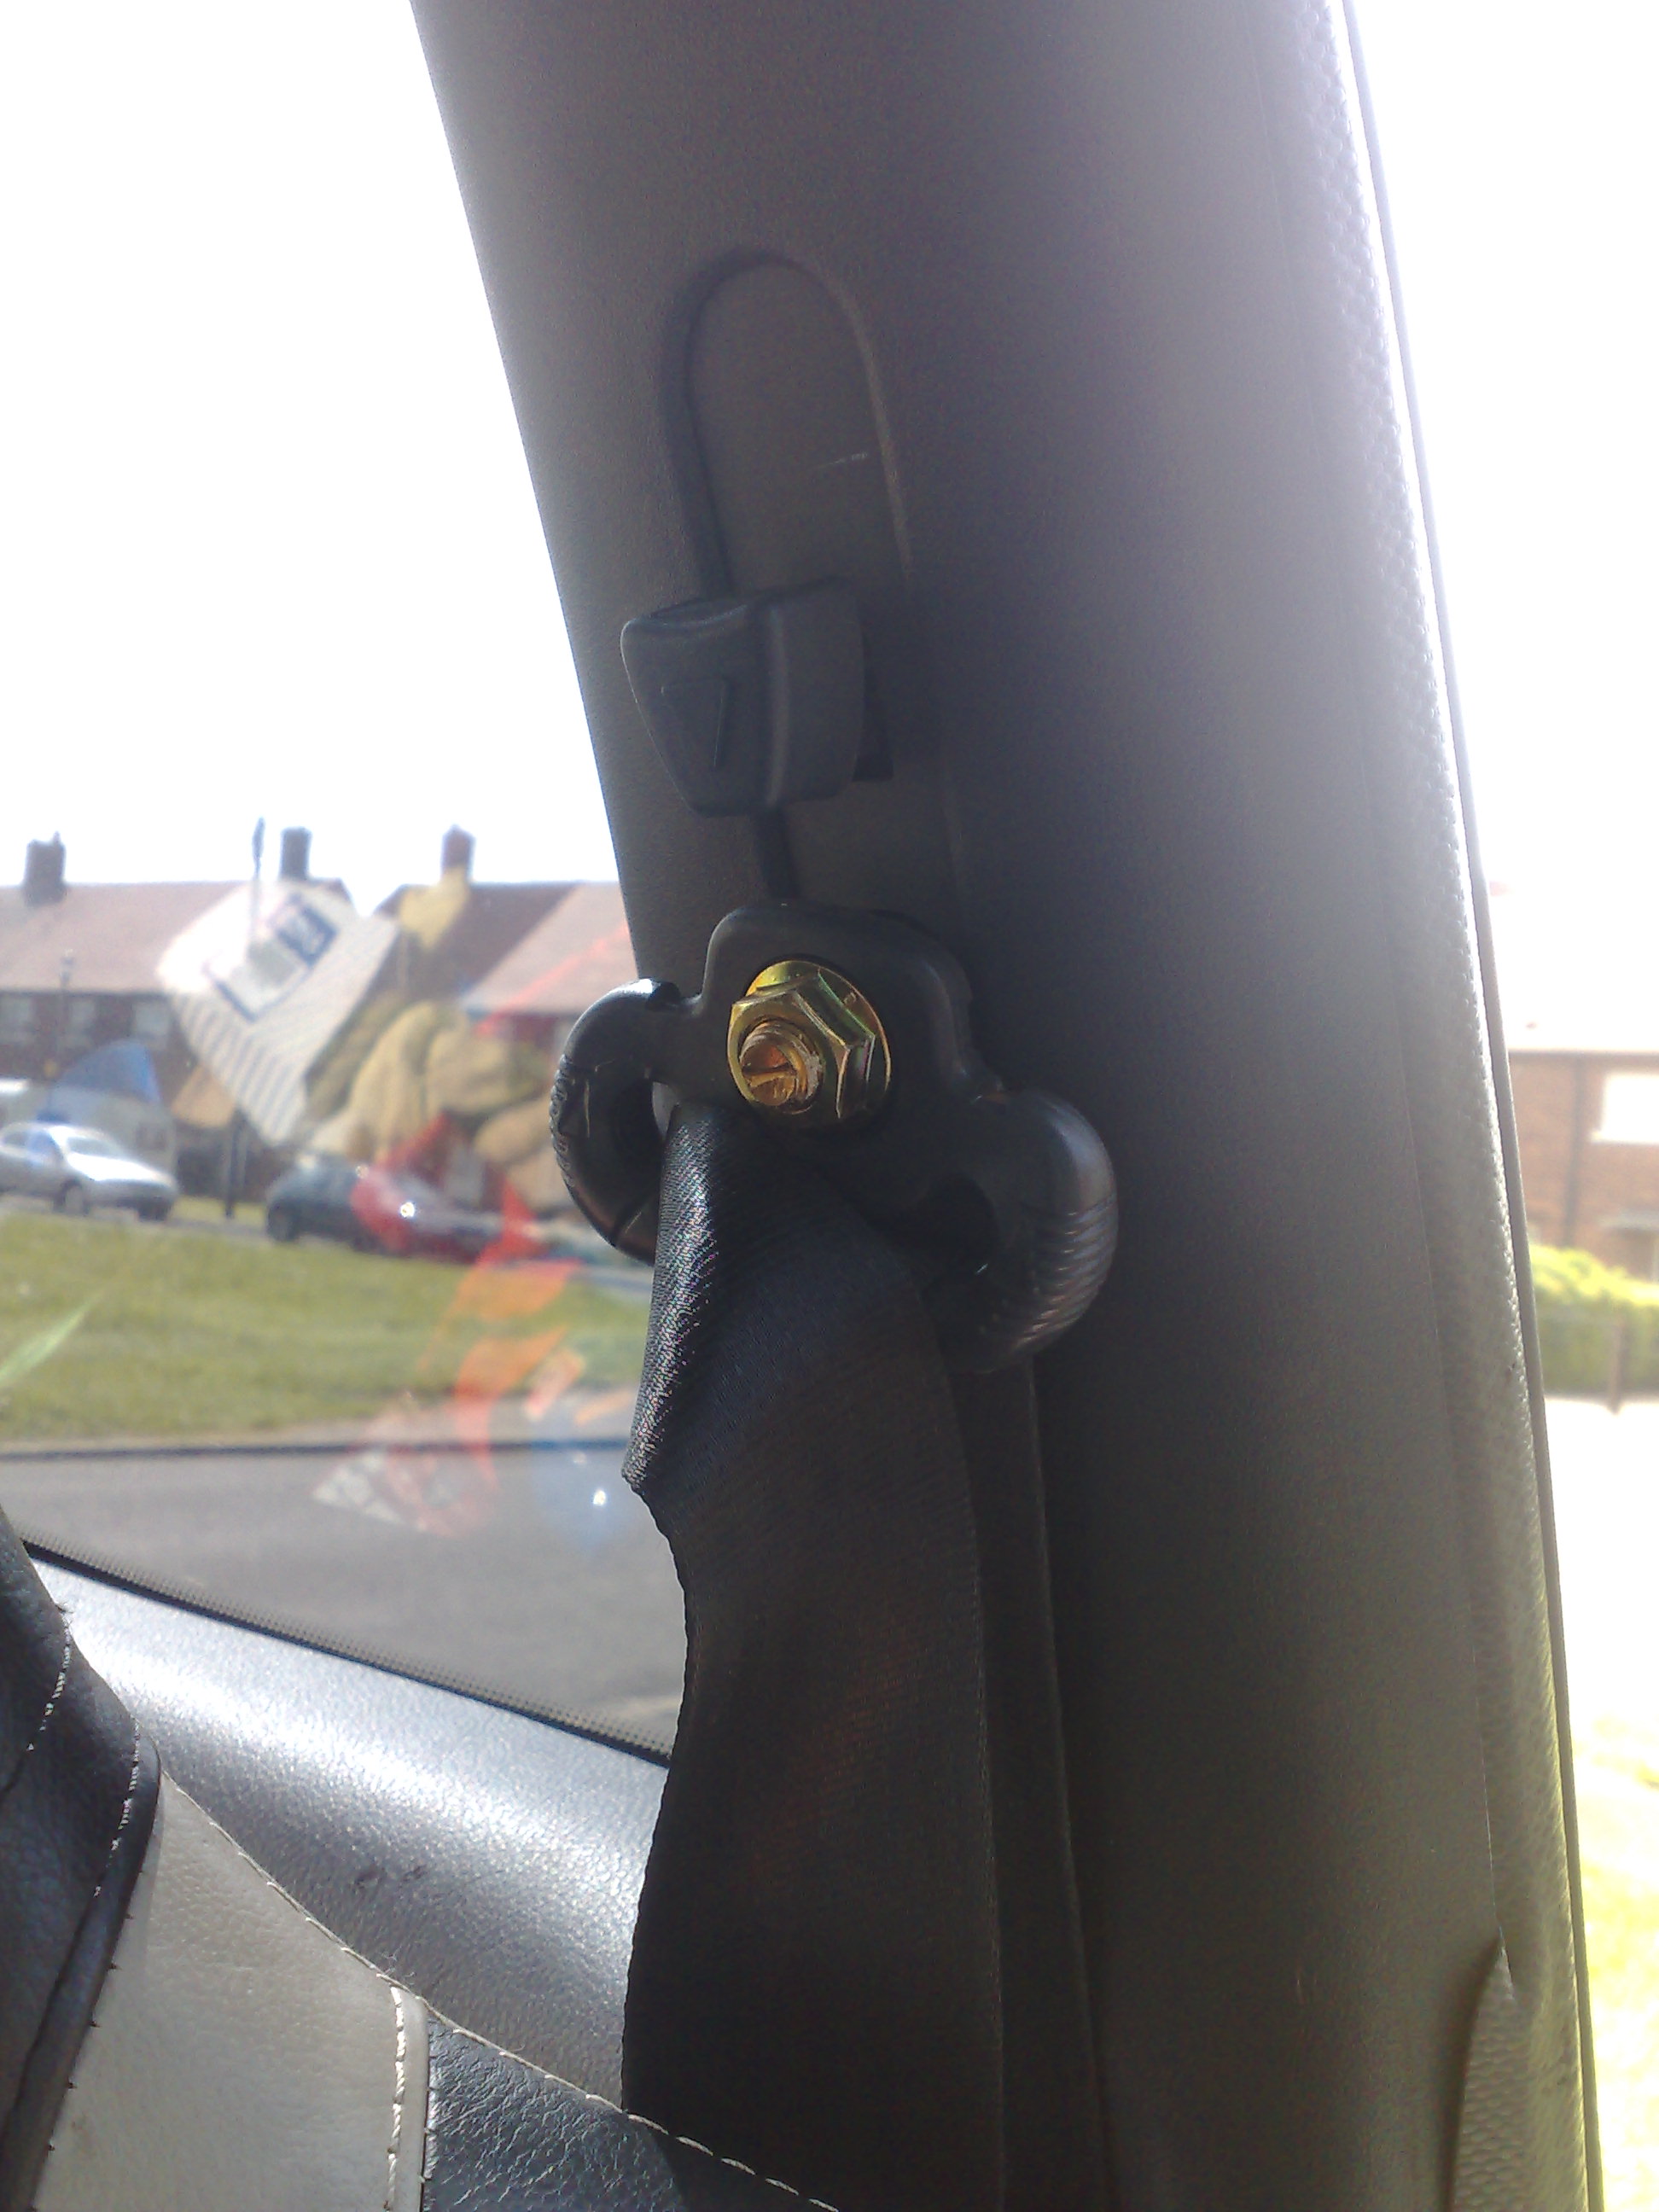
the B pillars were a pain.. had remove the seat belts at the top to get them off, but then it was fine...
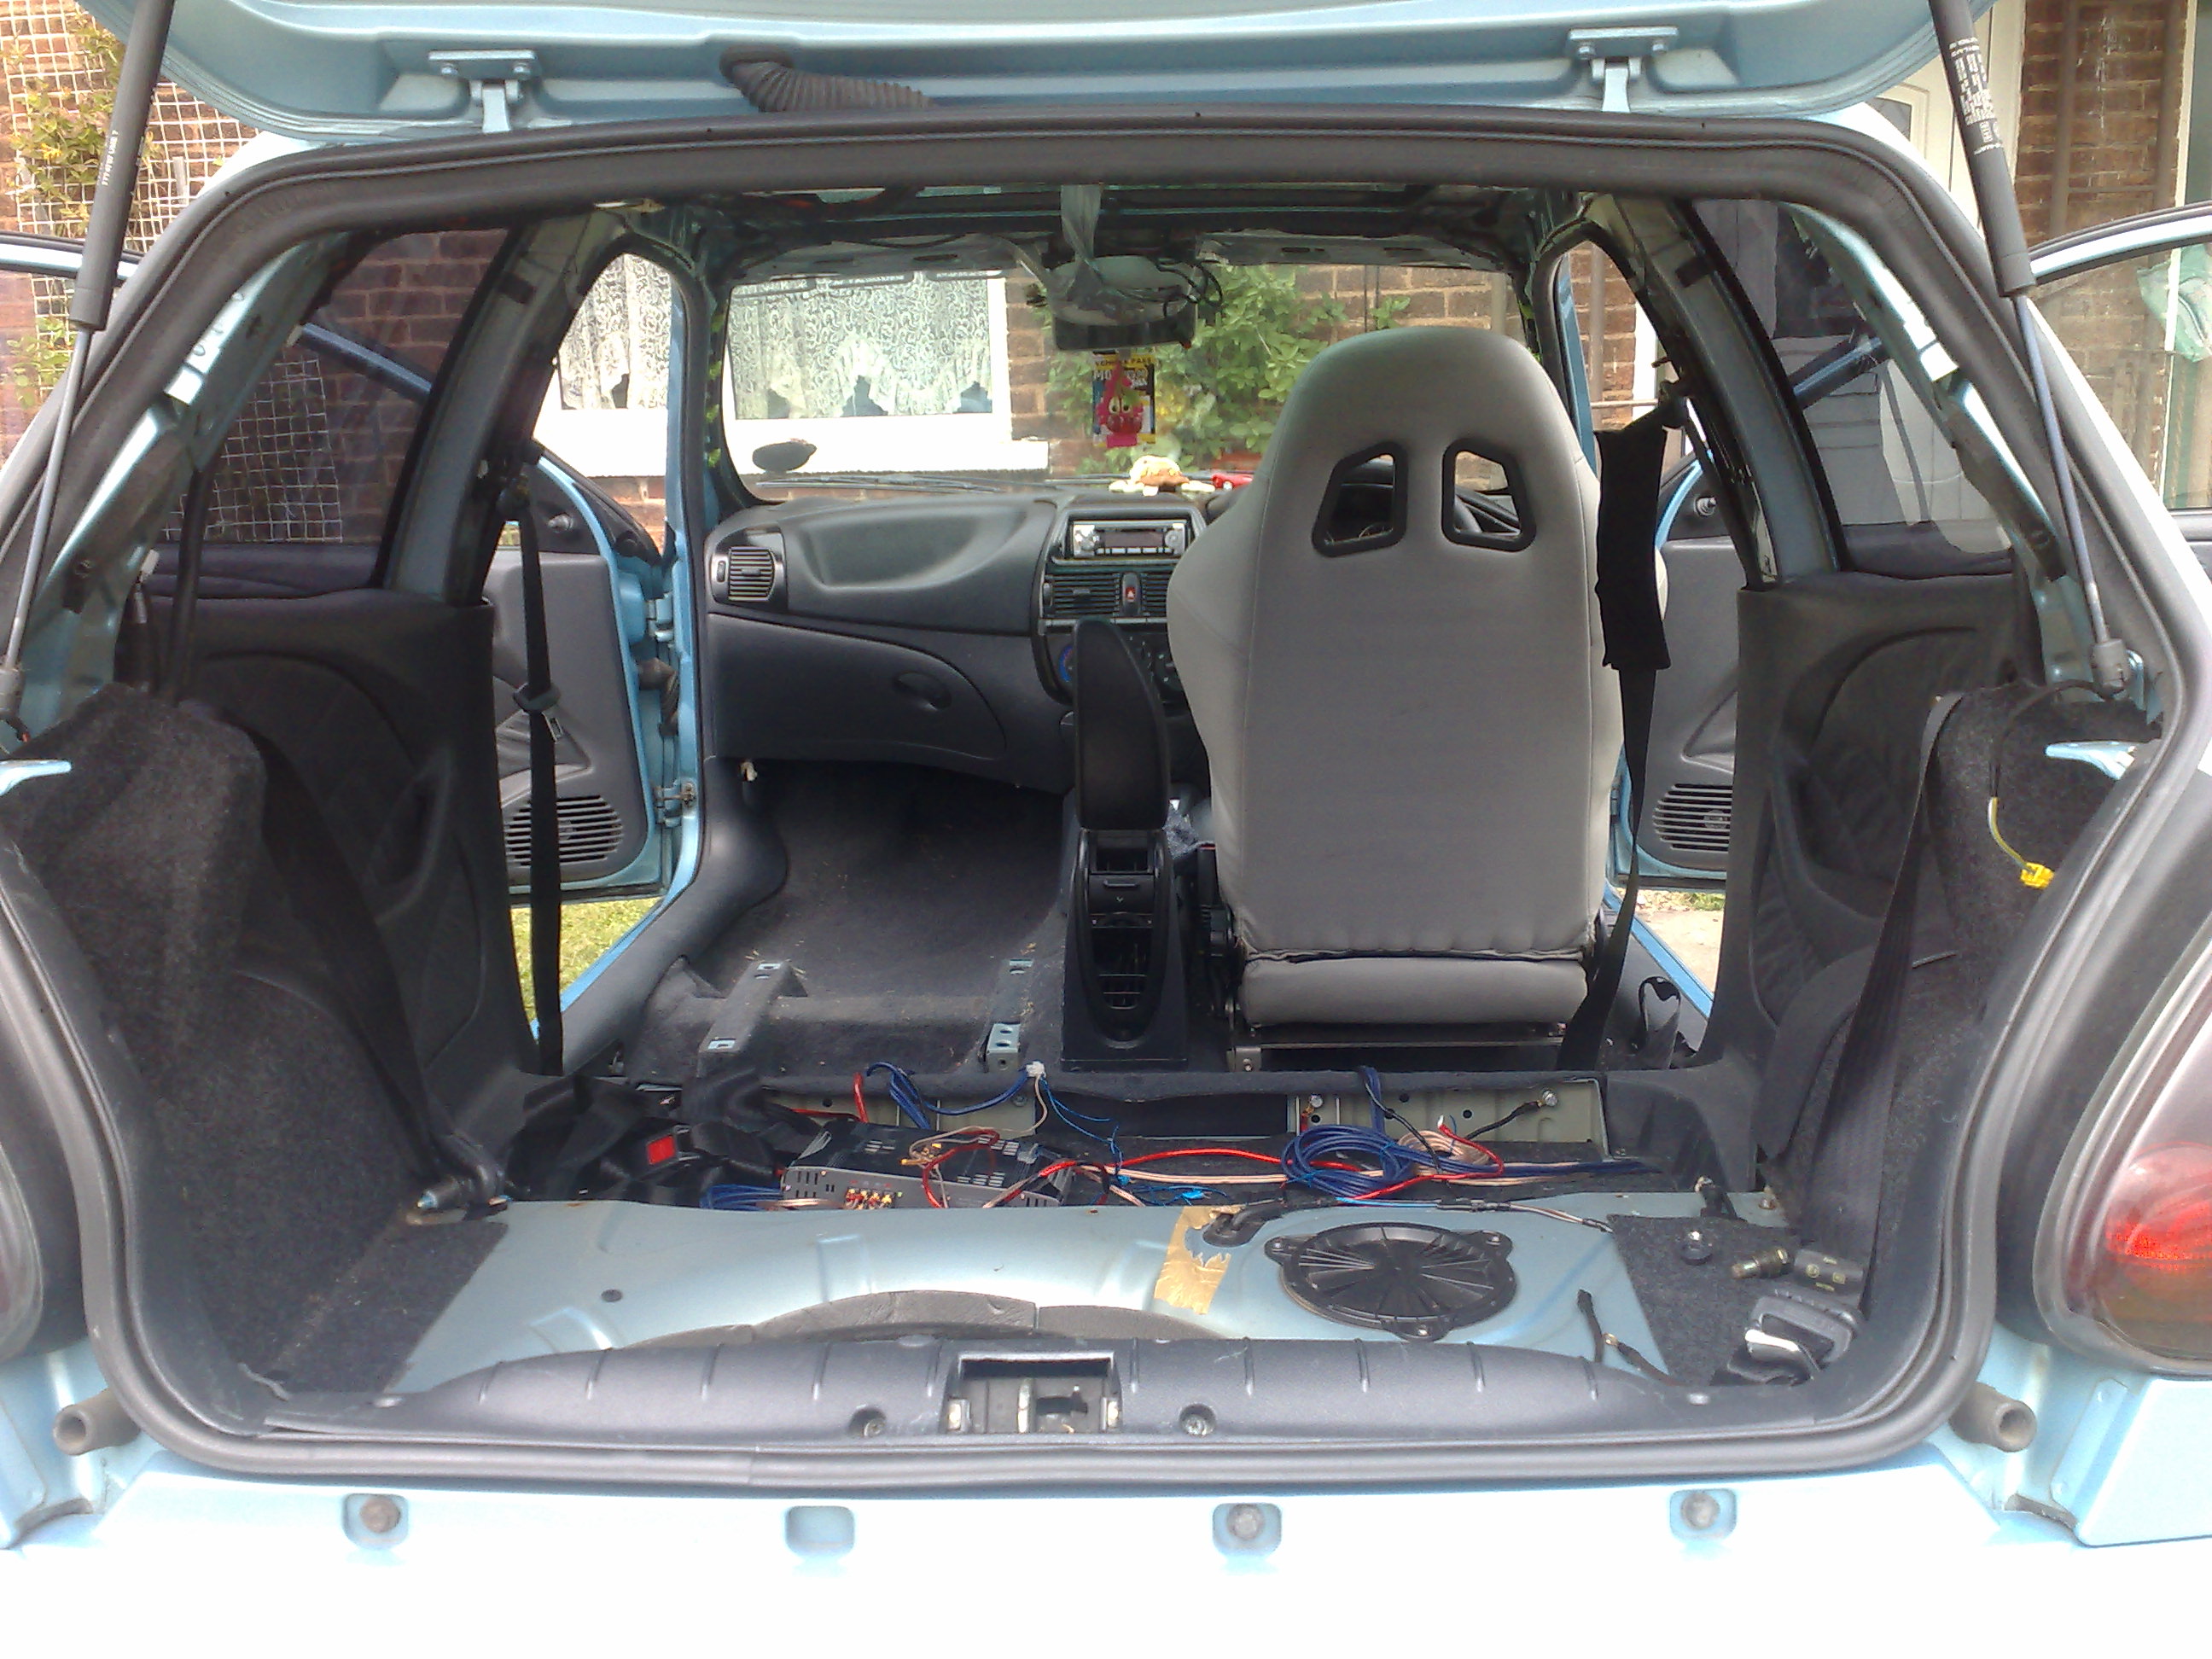
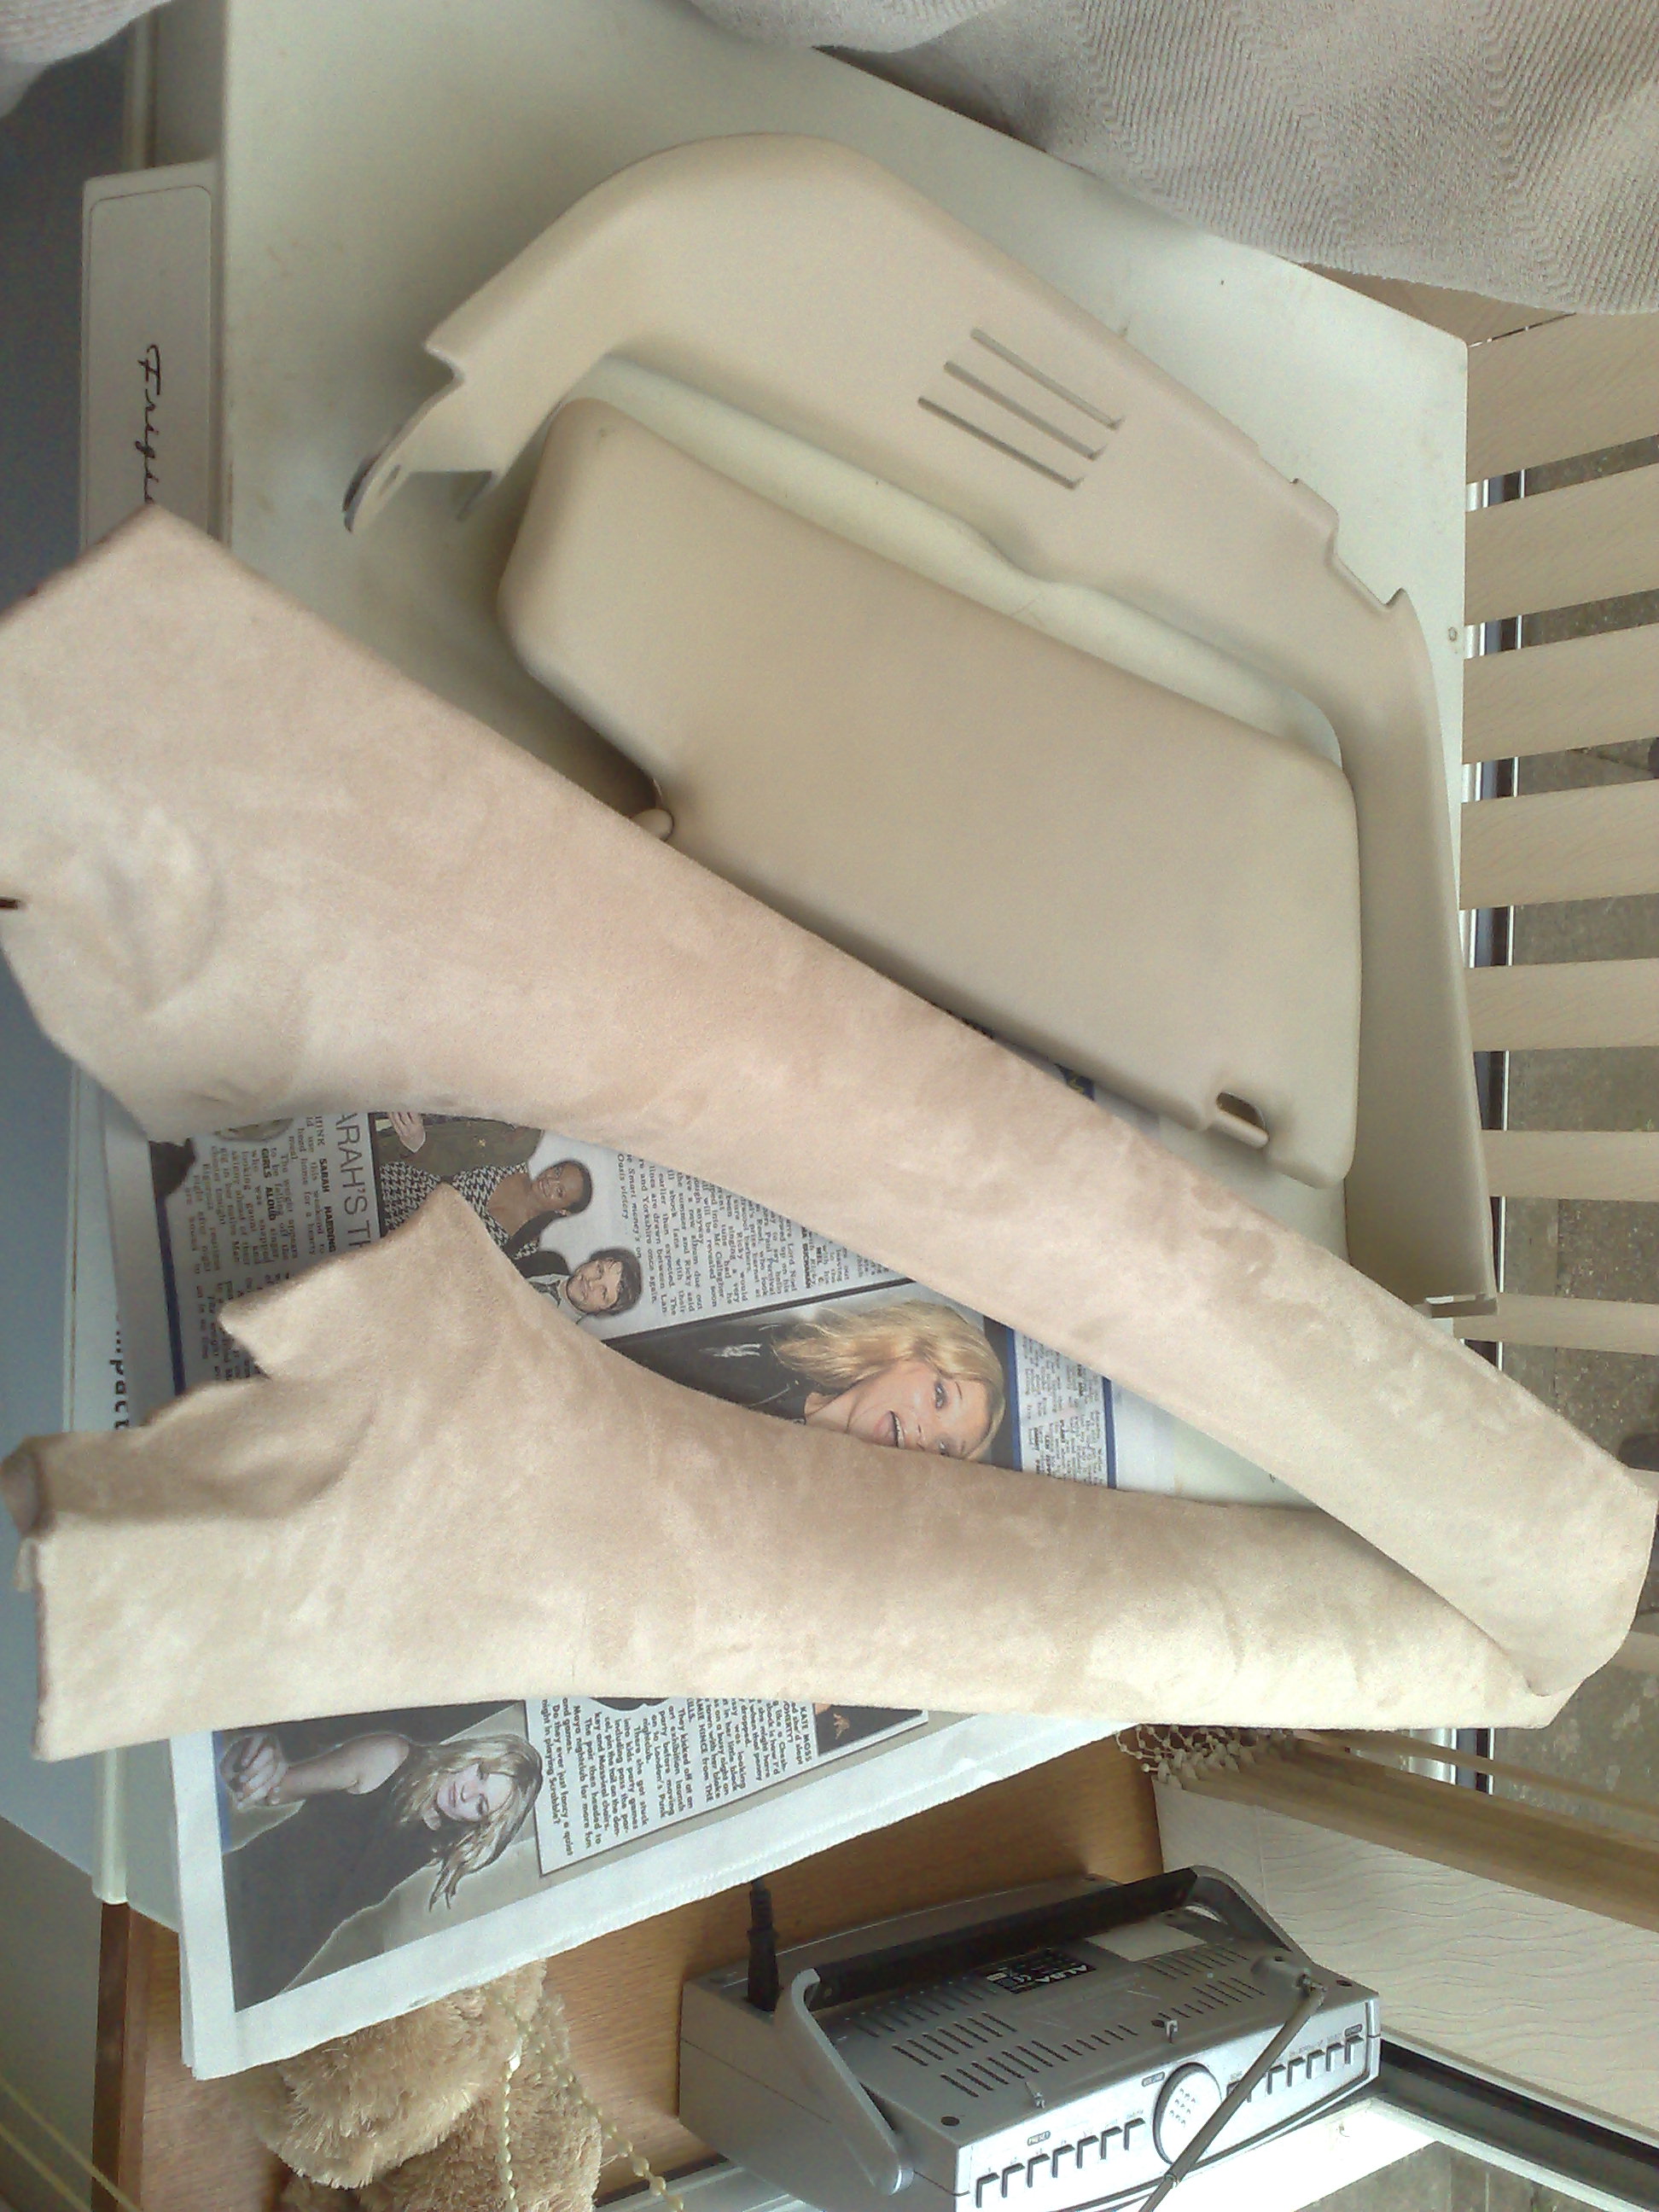
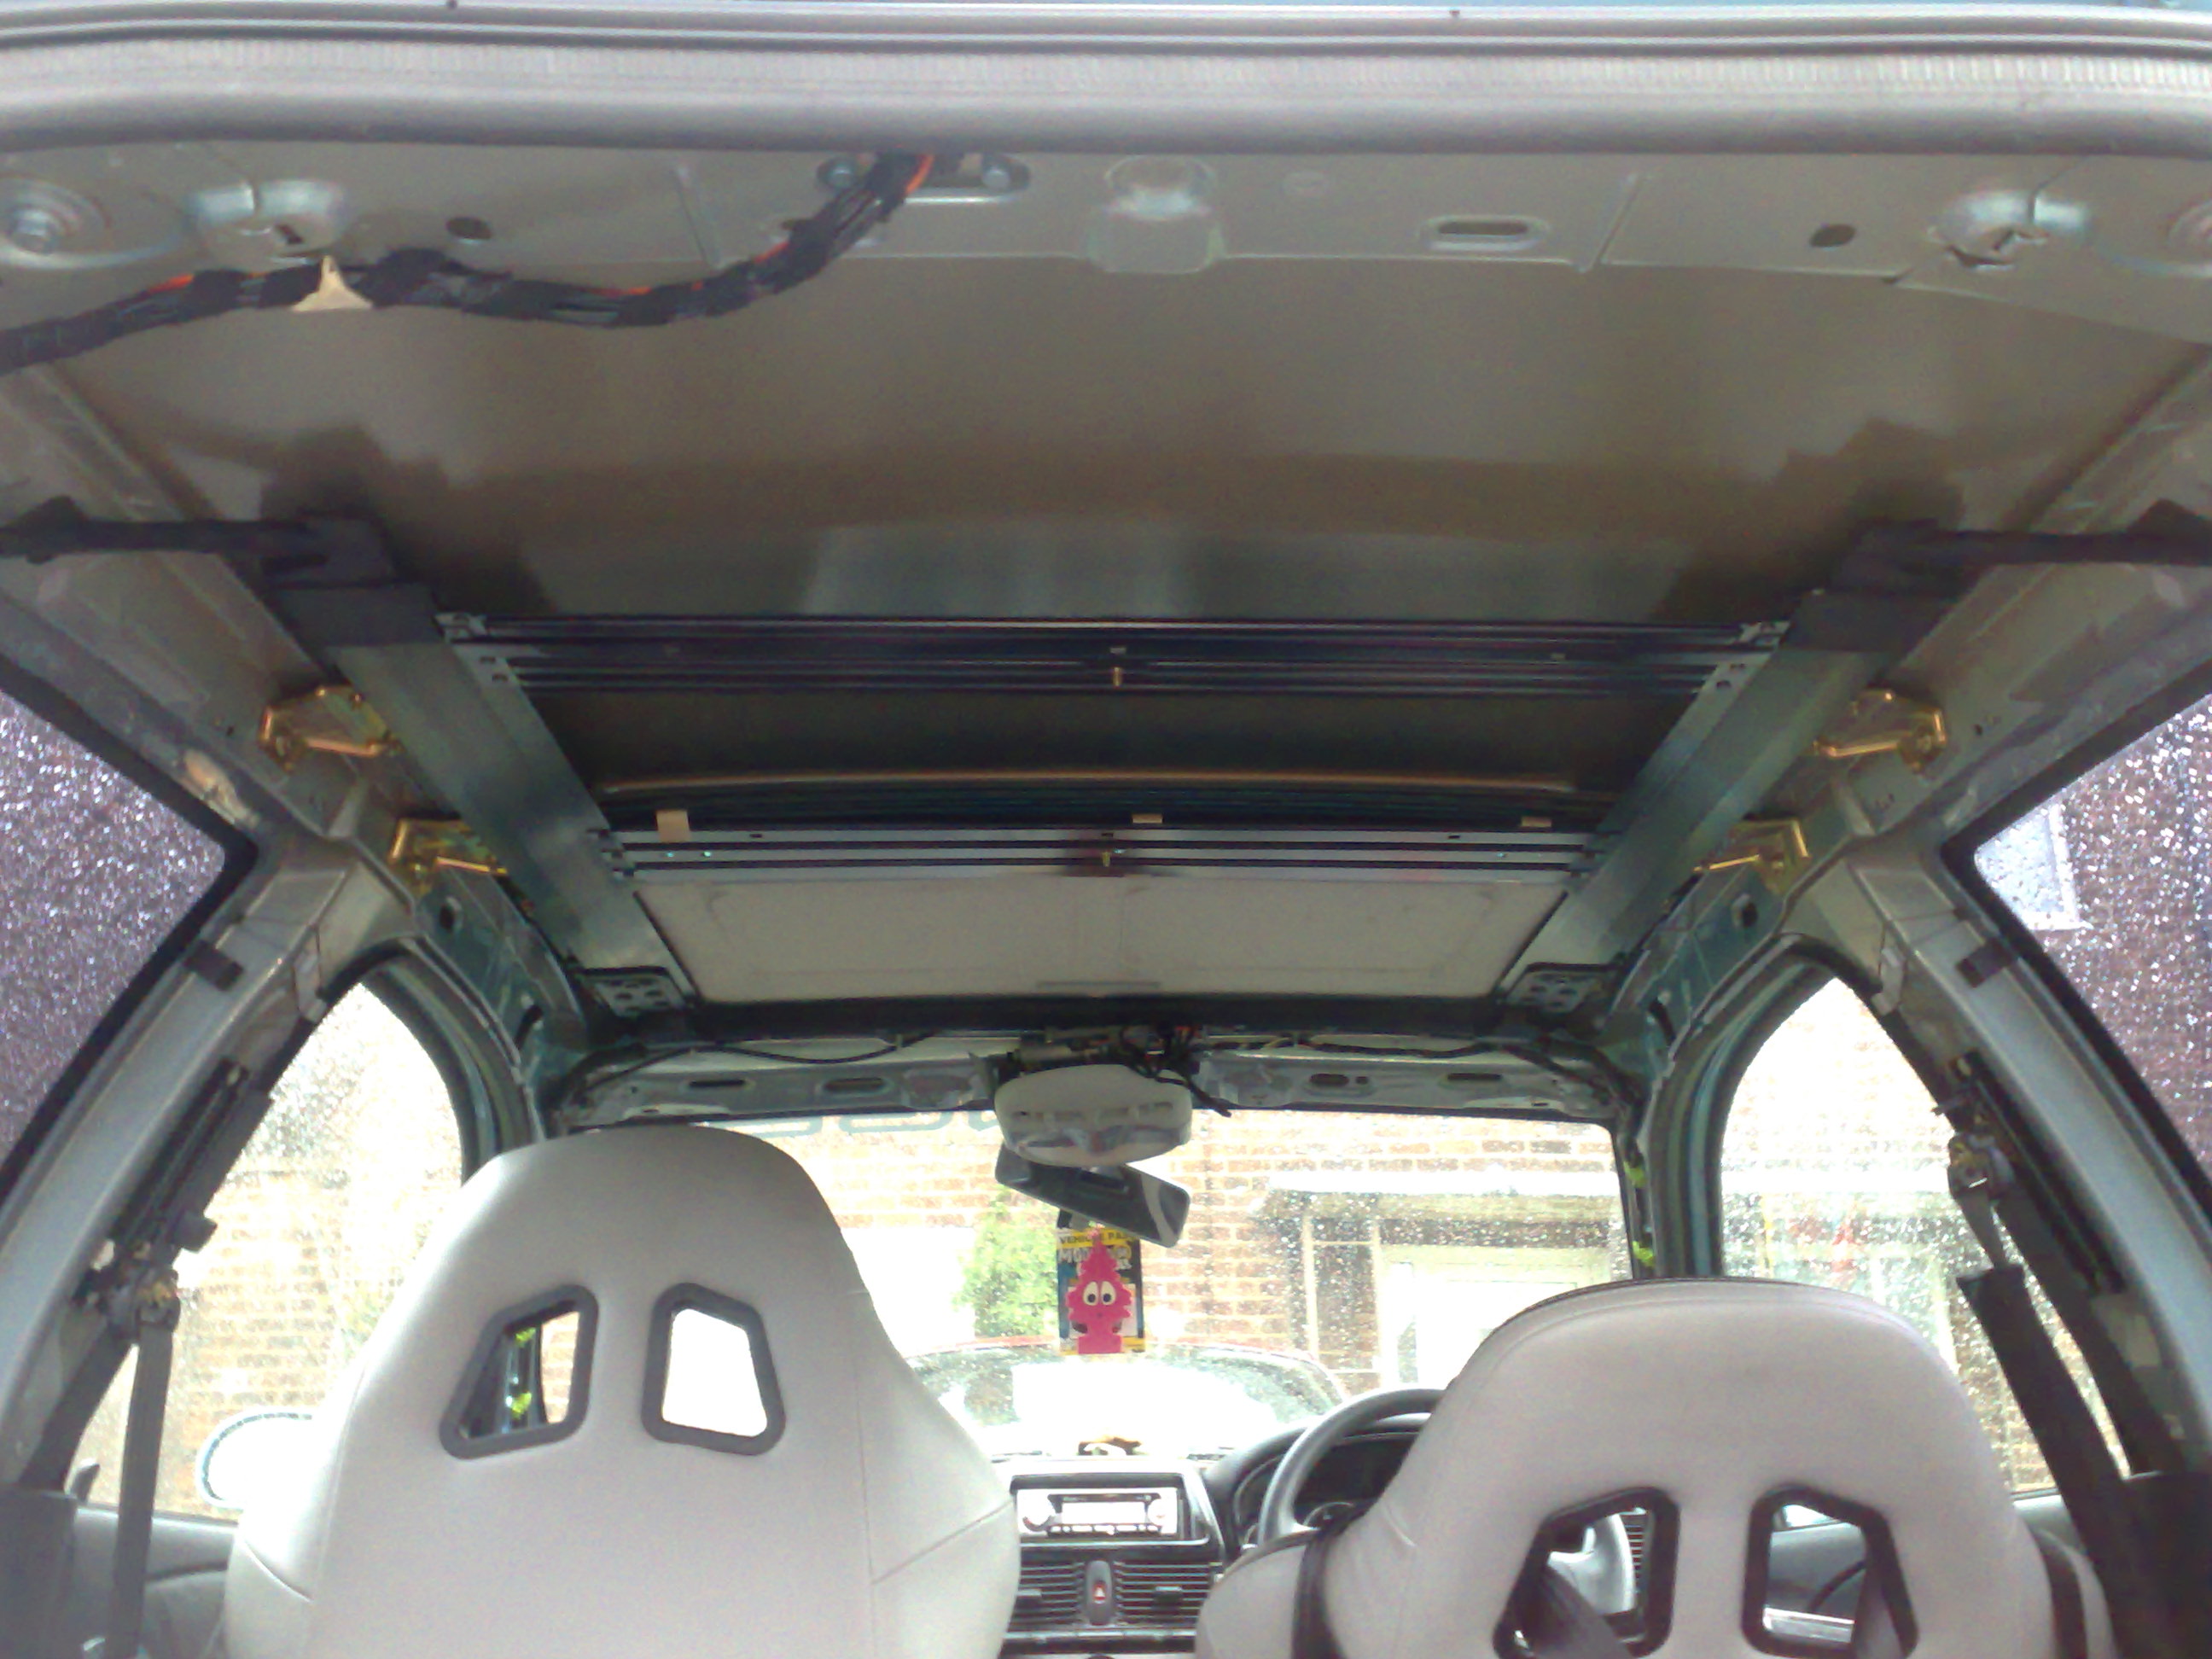
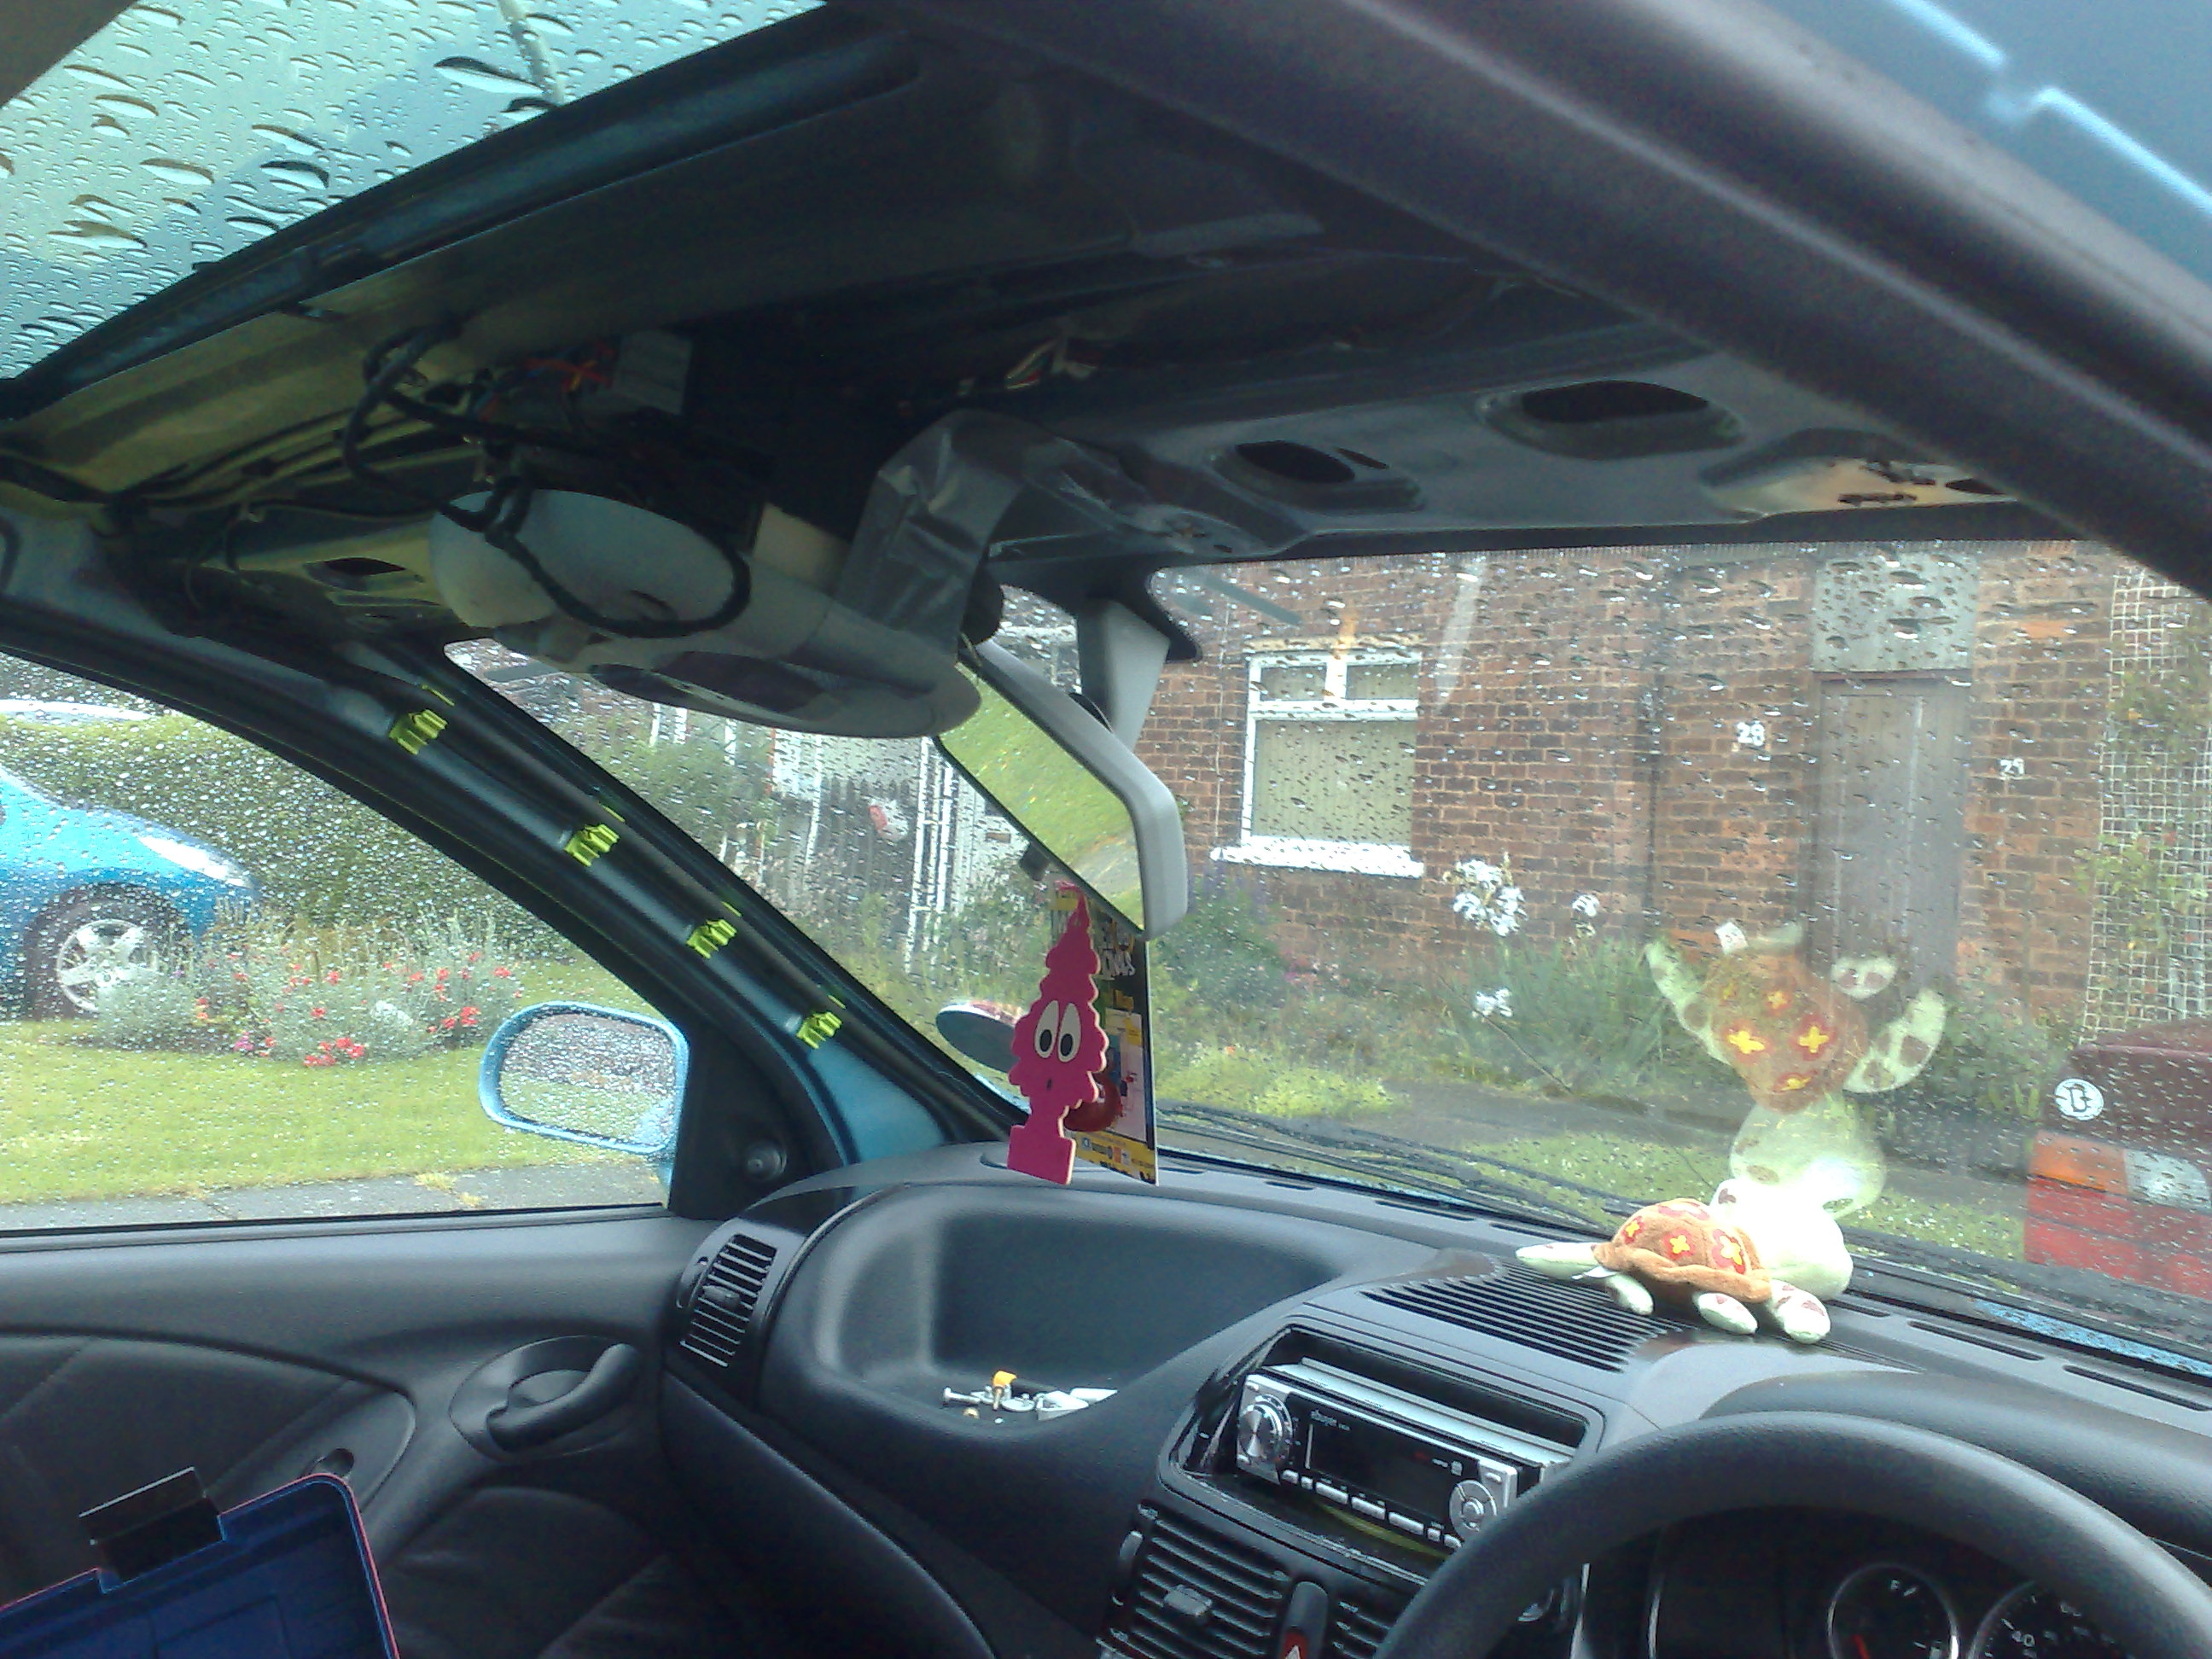
went on to to the boot, so got all that trim off, and got the sun visors and the interior light bit off.. can see it dangling in the pic below lol
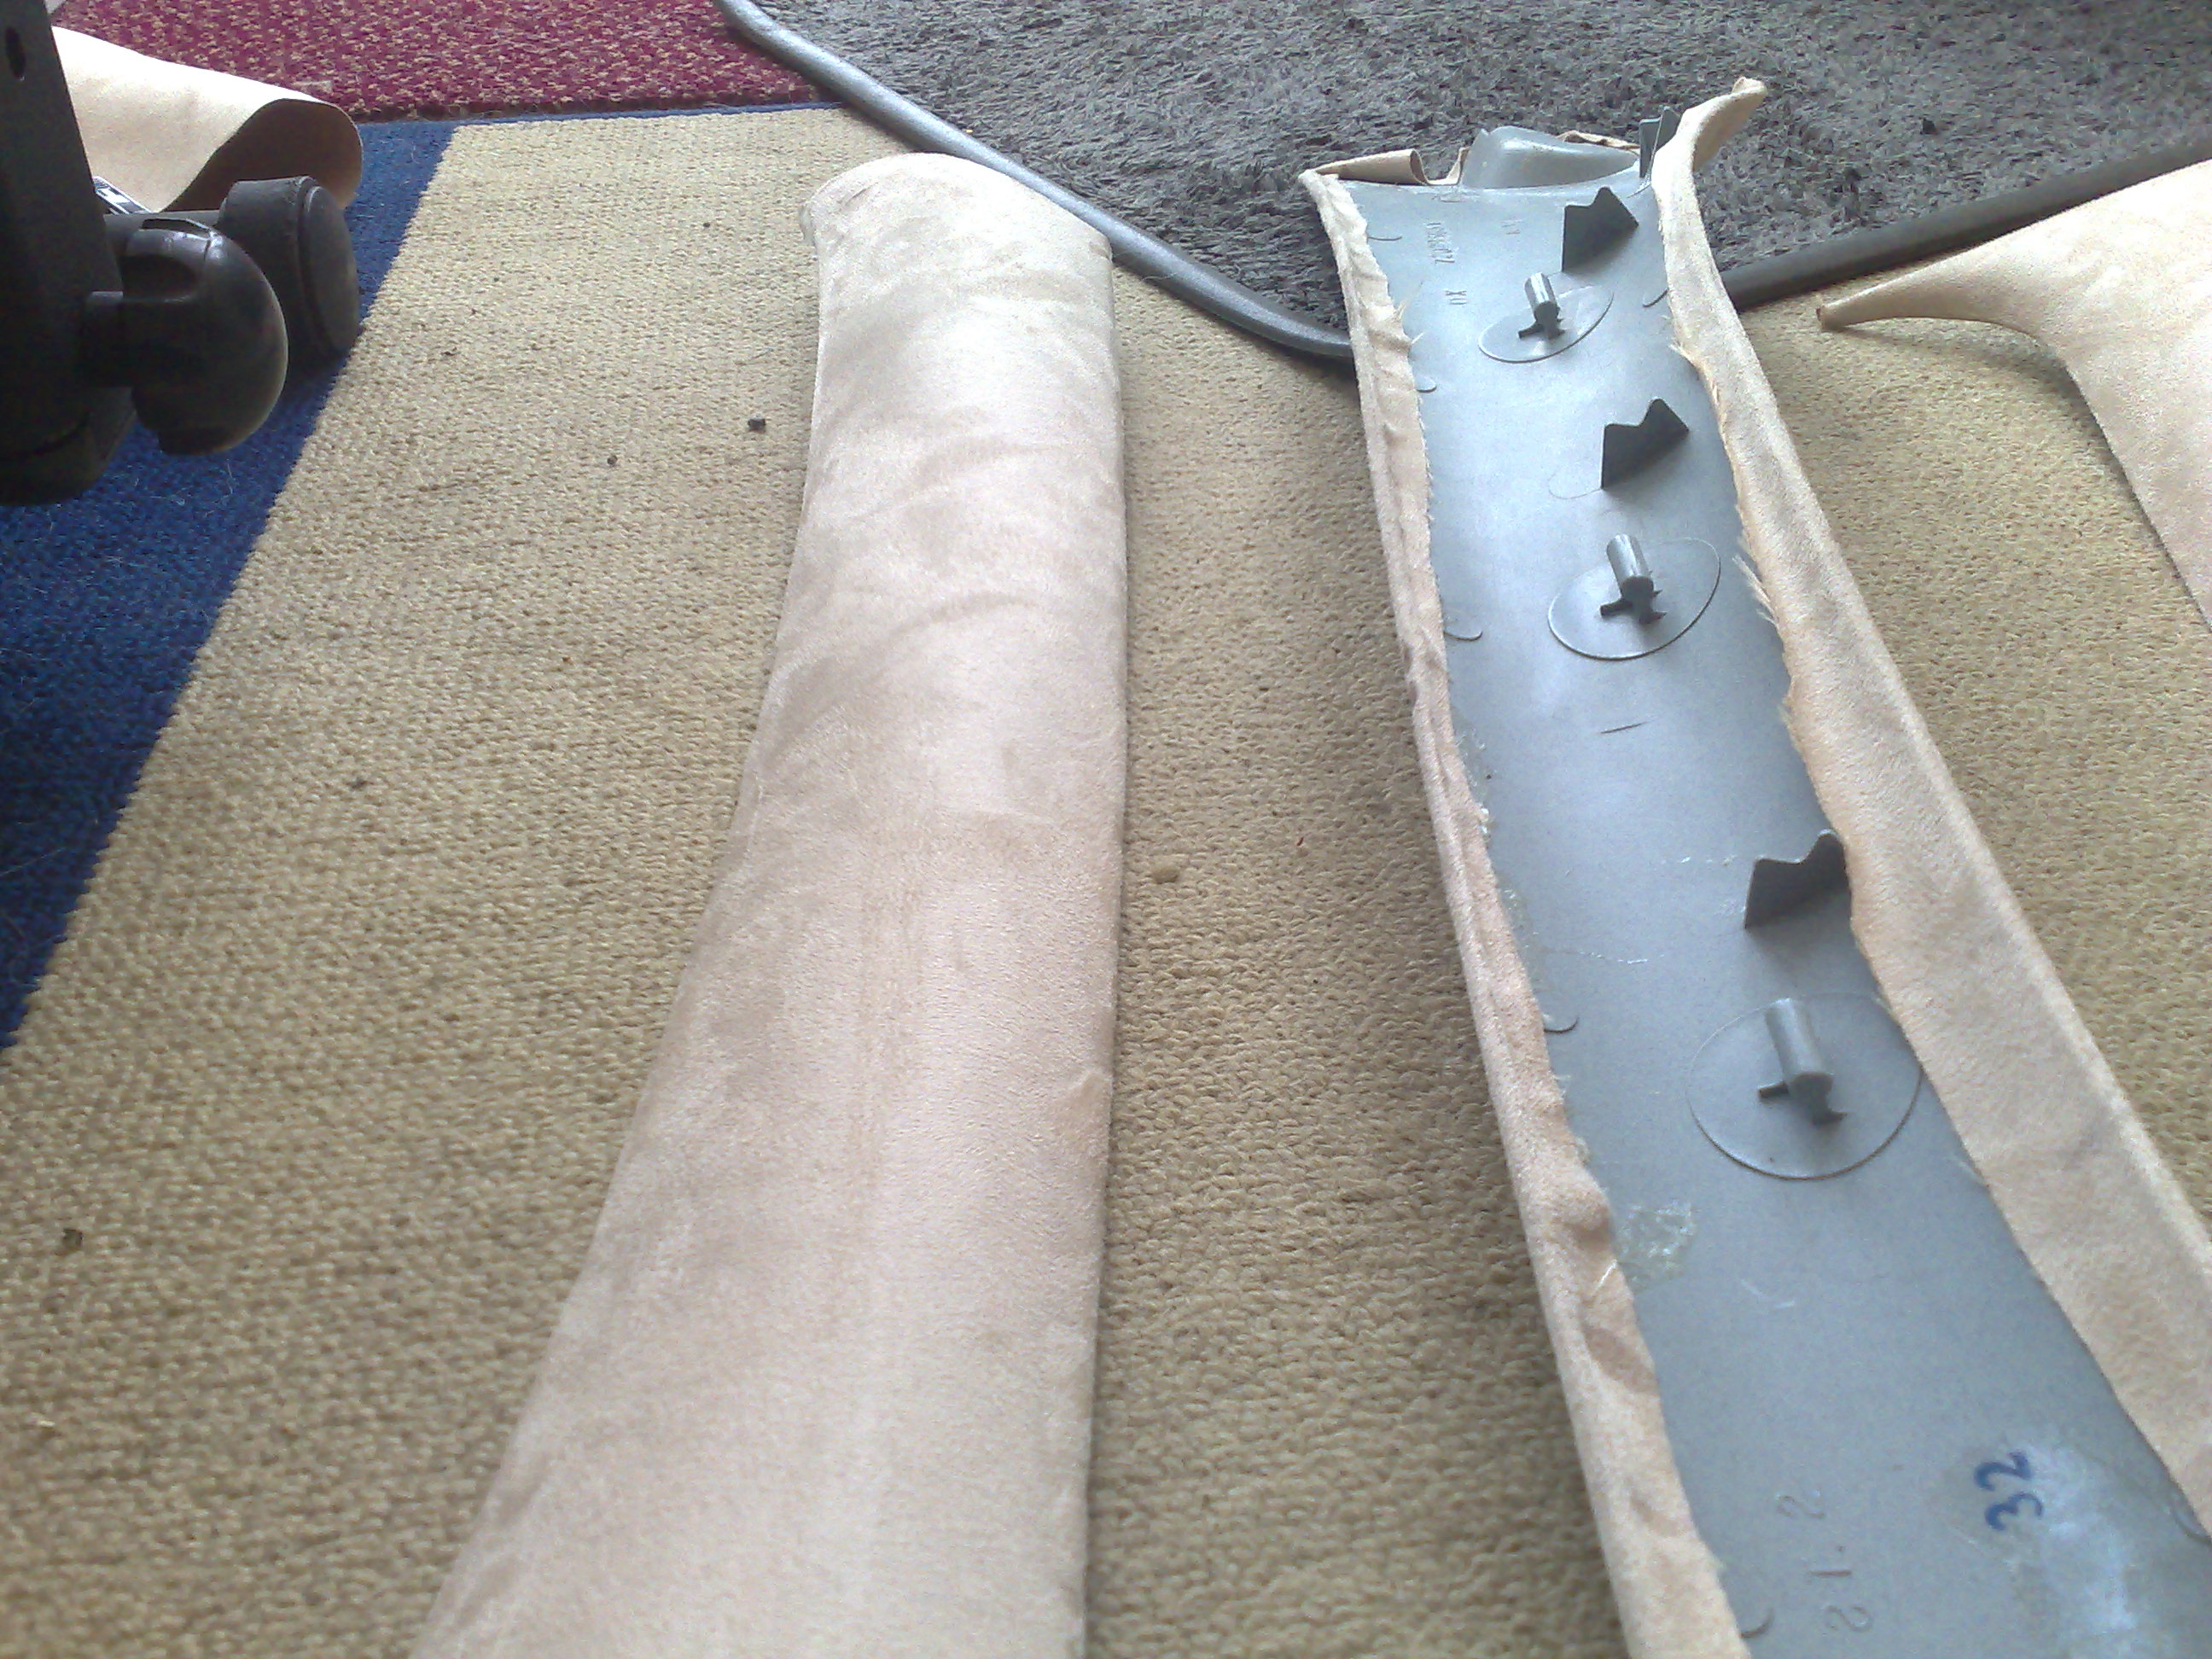
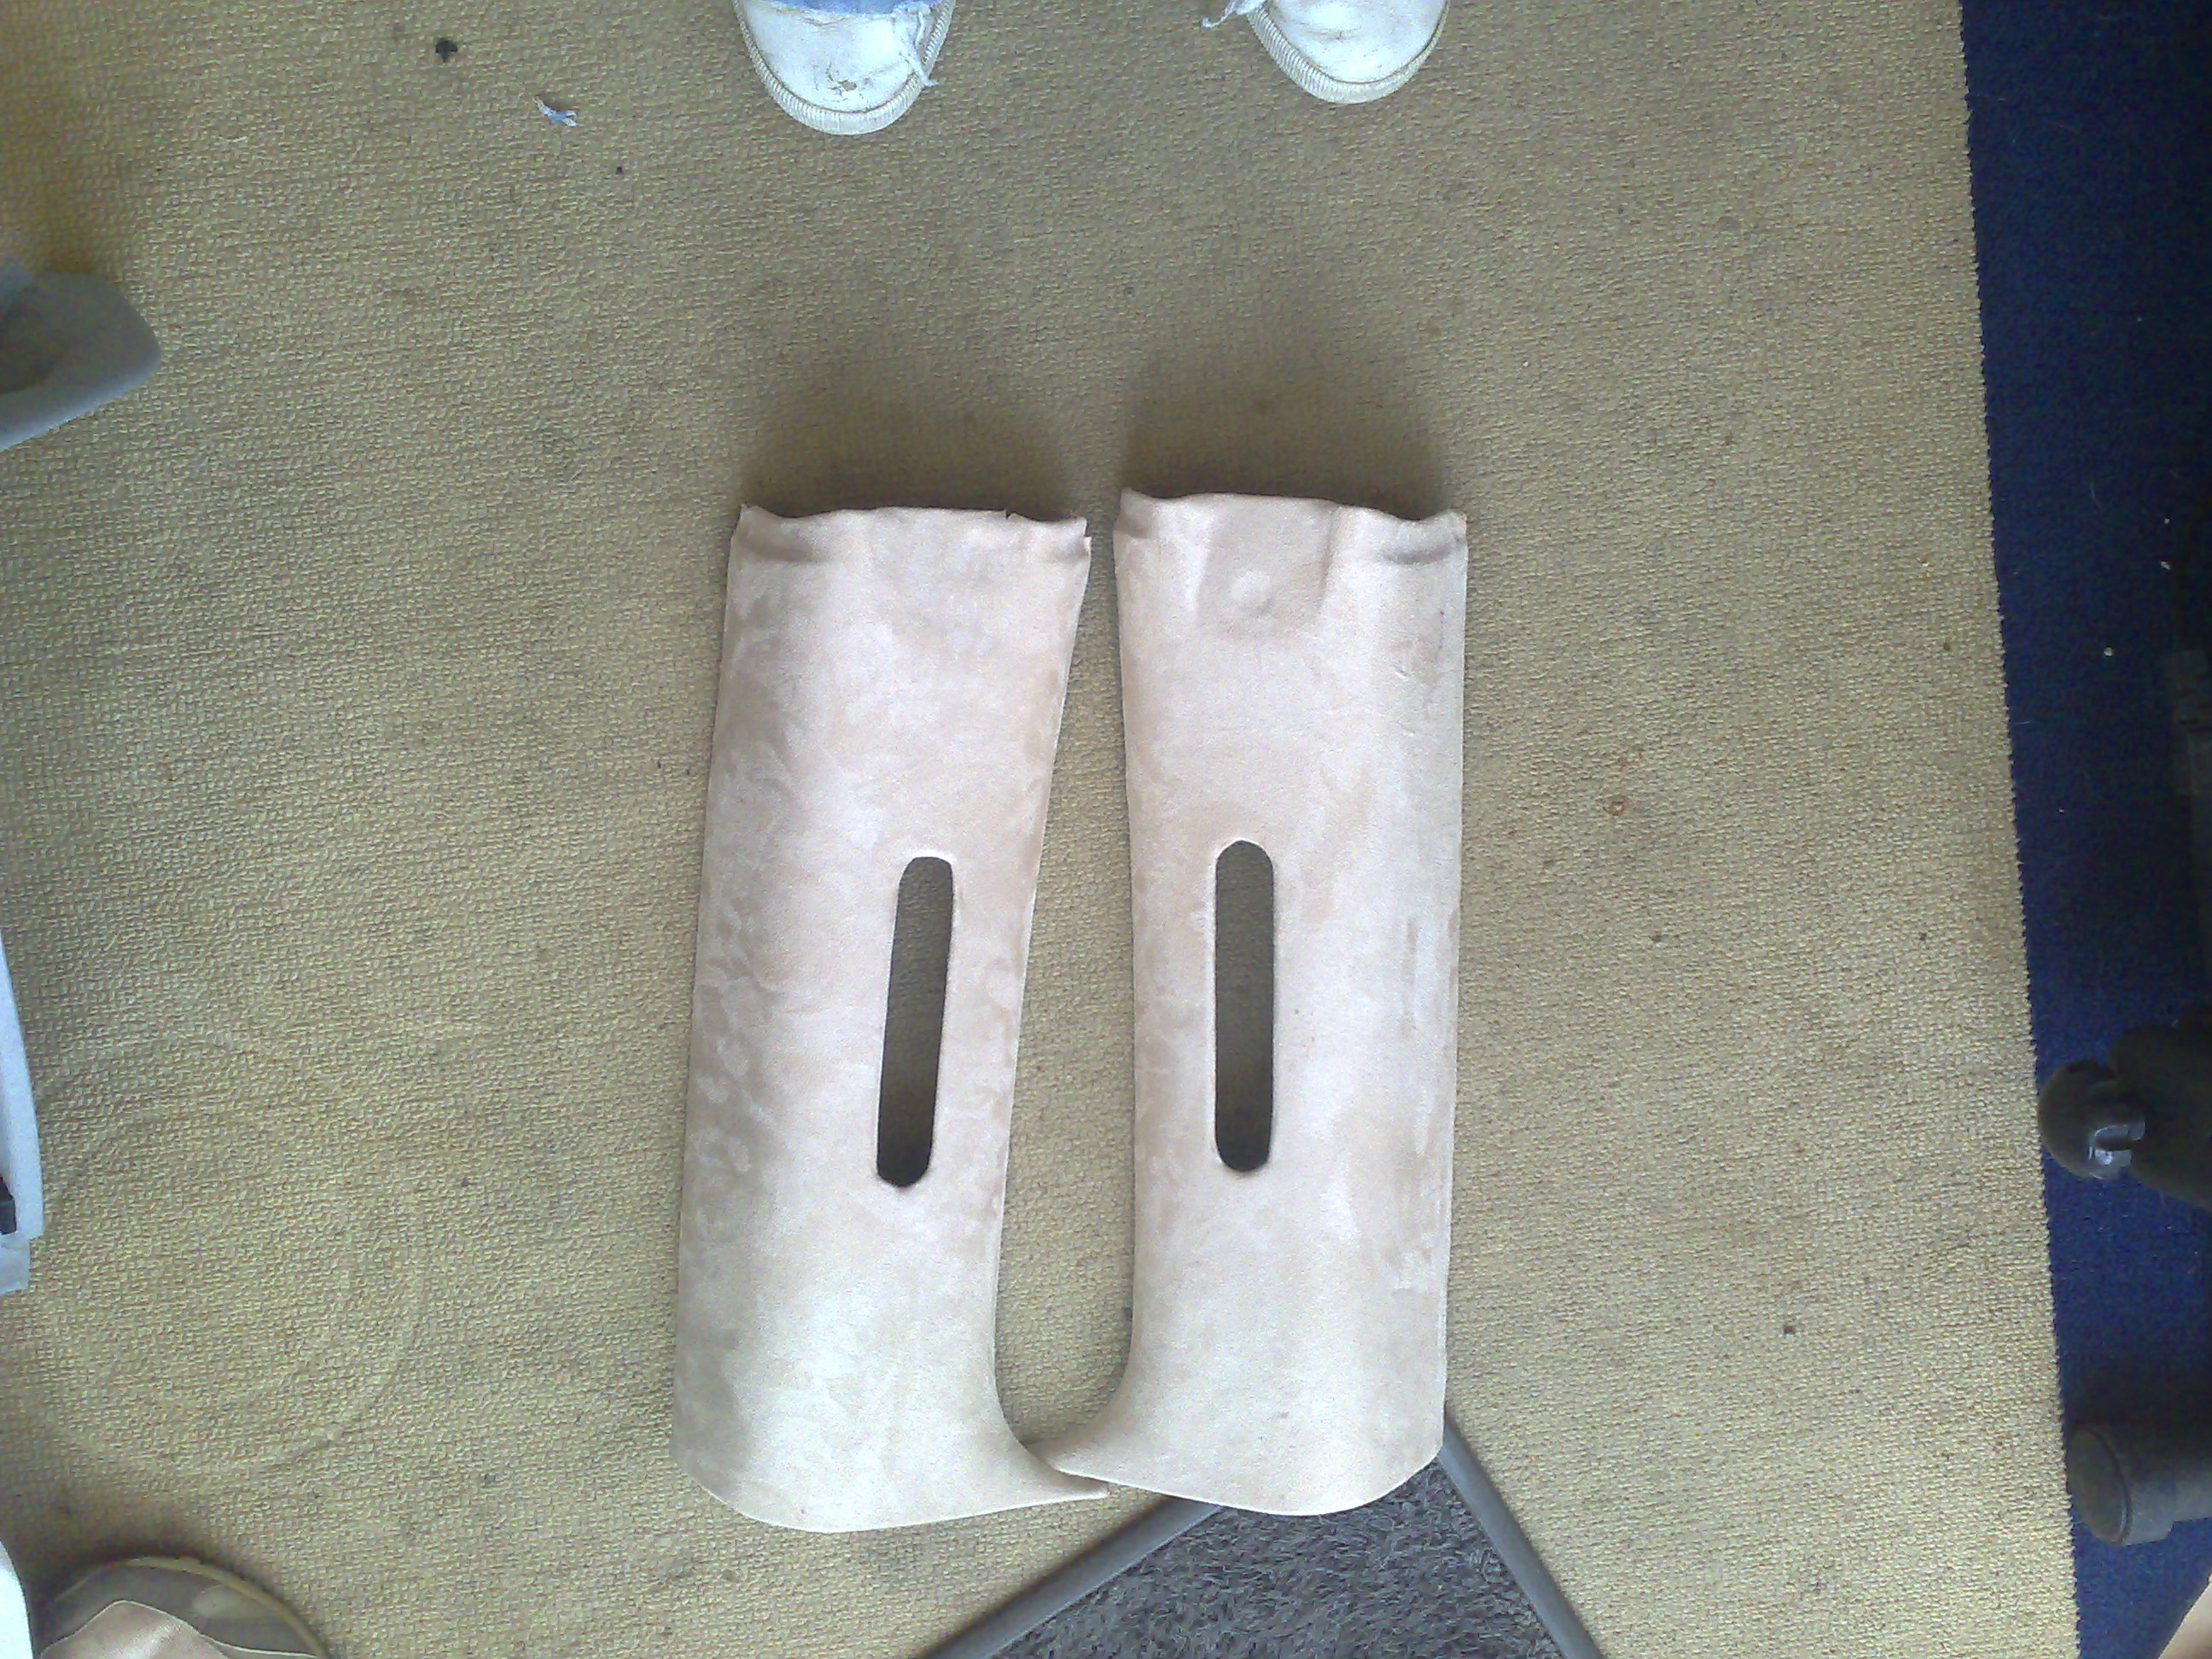
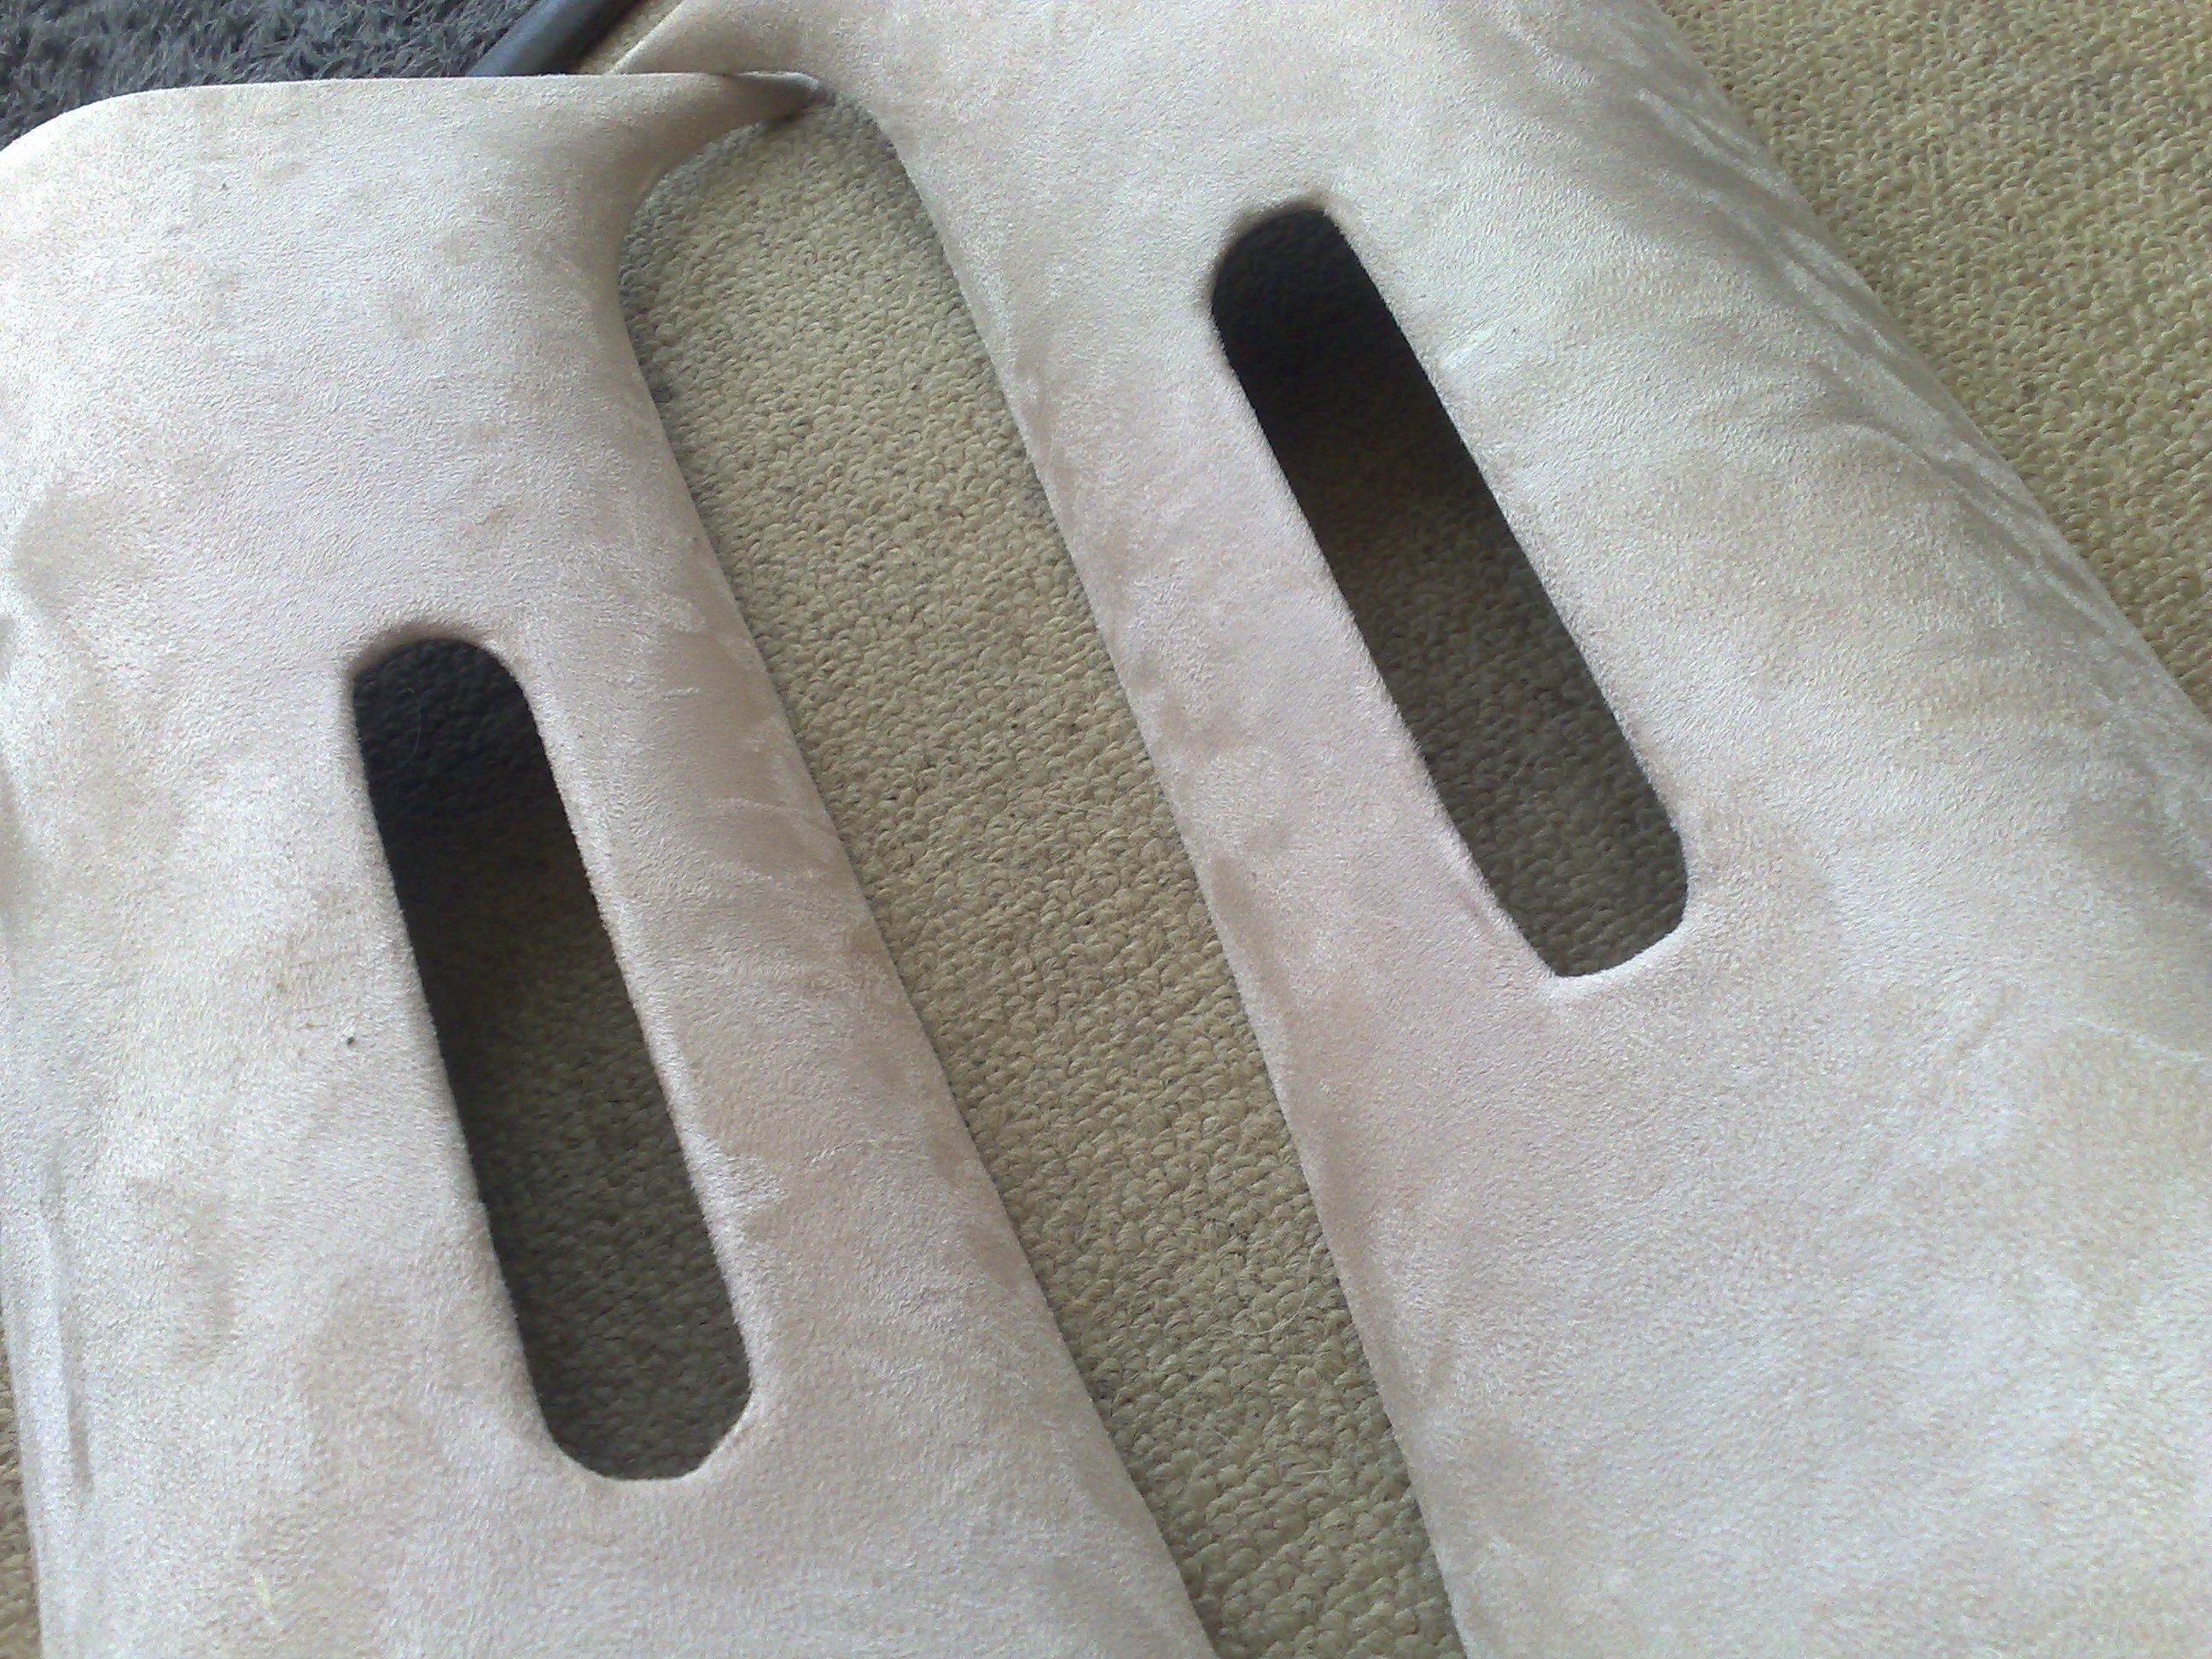
the rear speaker mould thingies were a pain in the BUM to do... not got any pics unfortunatly, but the bravo people will know... the rear seat belts go through a slat in the pillar/speaker mould type thing thats at the back... and was a right head scratching moment trying to figure out how to get them off... but i managed it!!
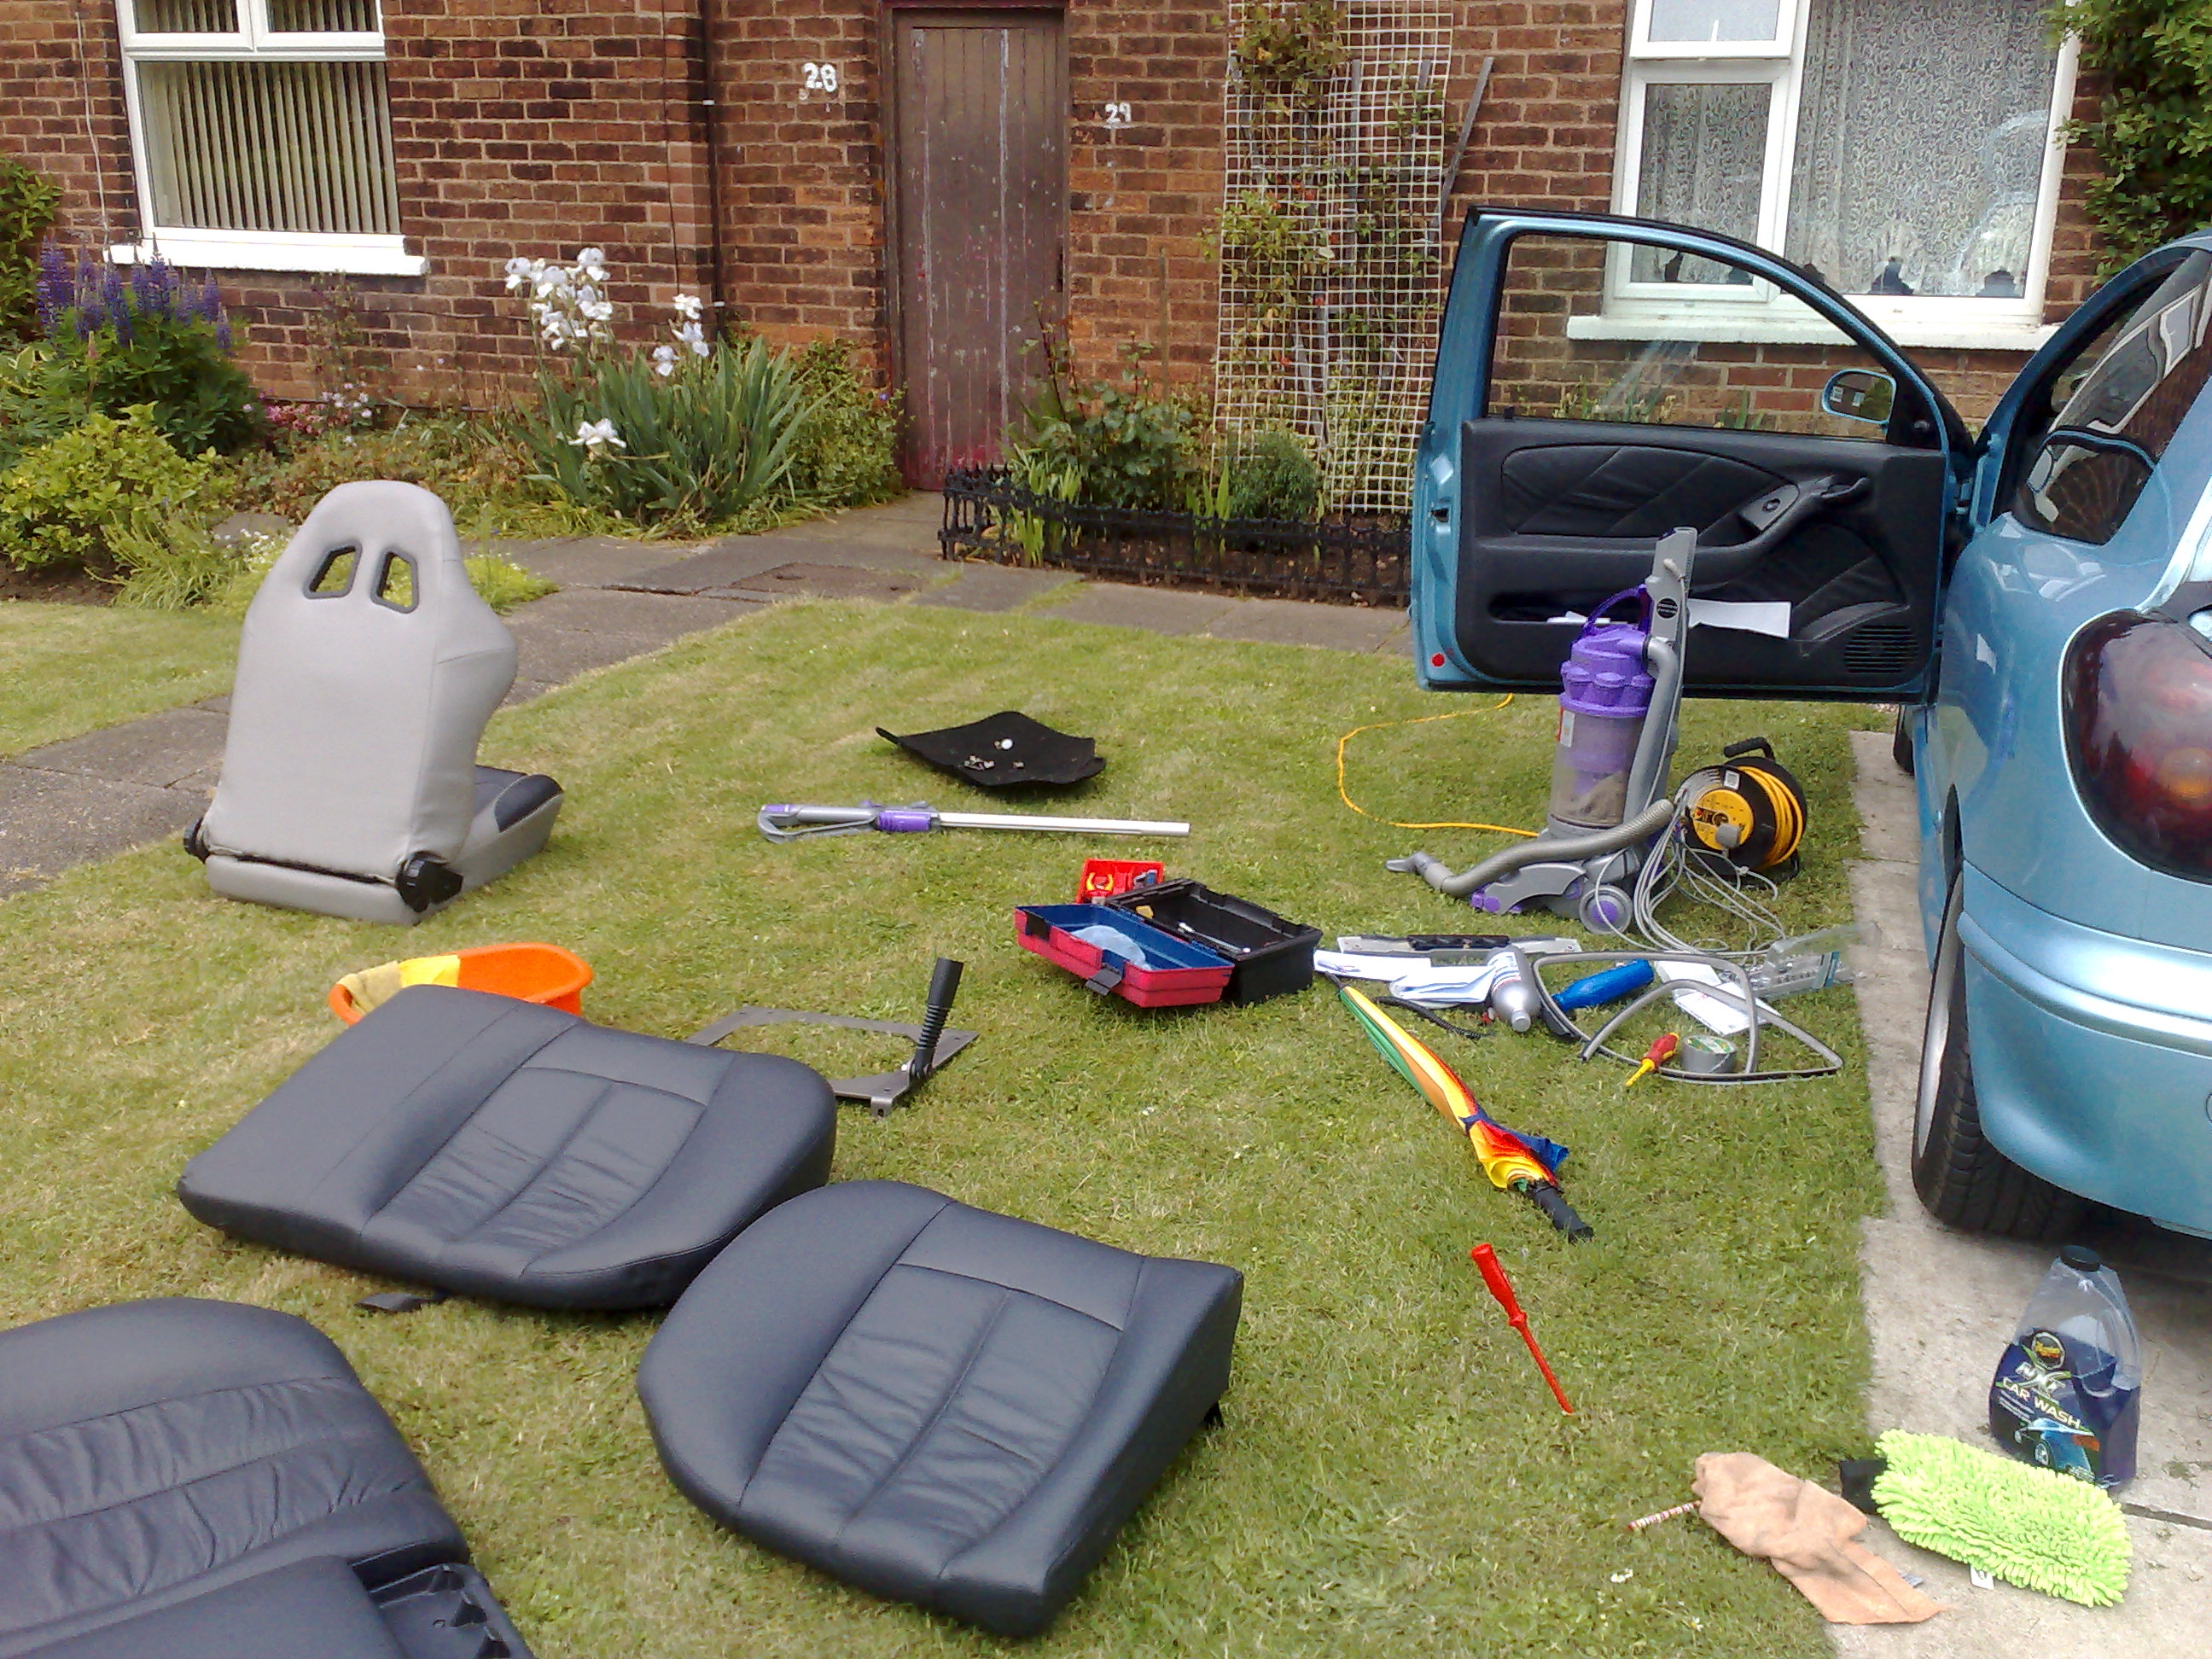
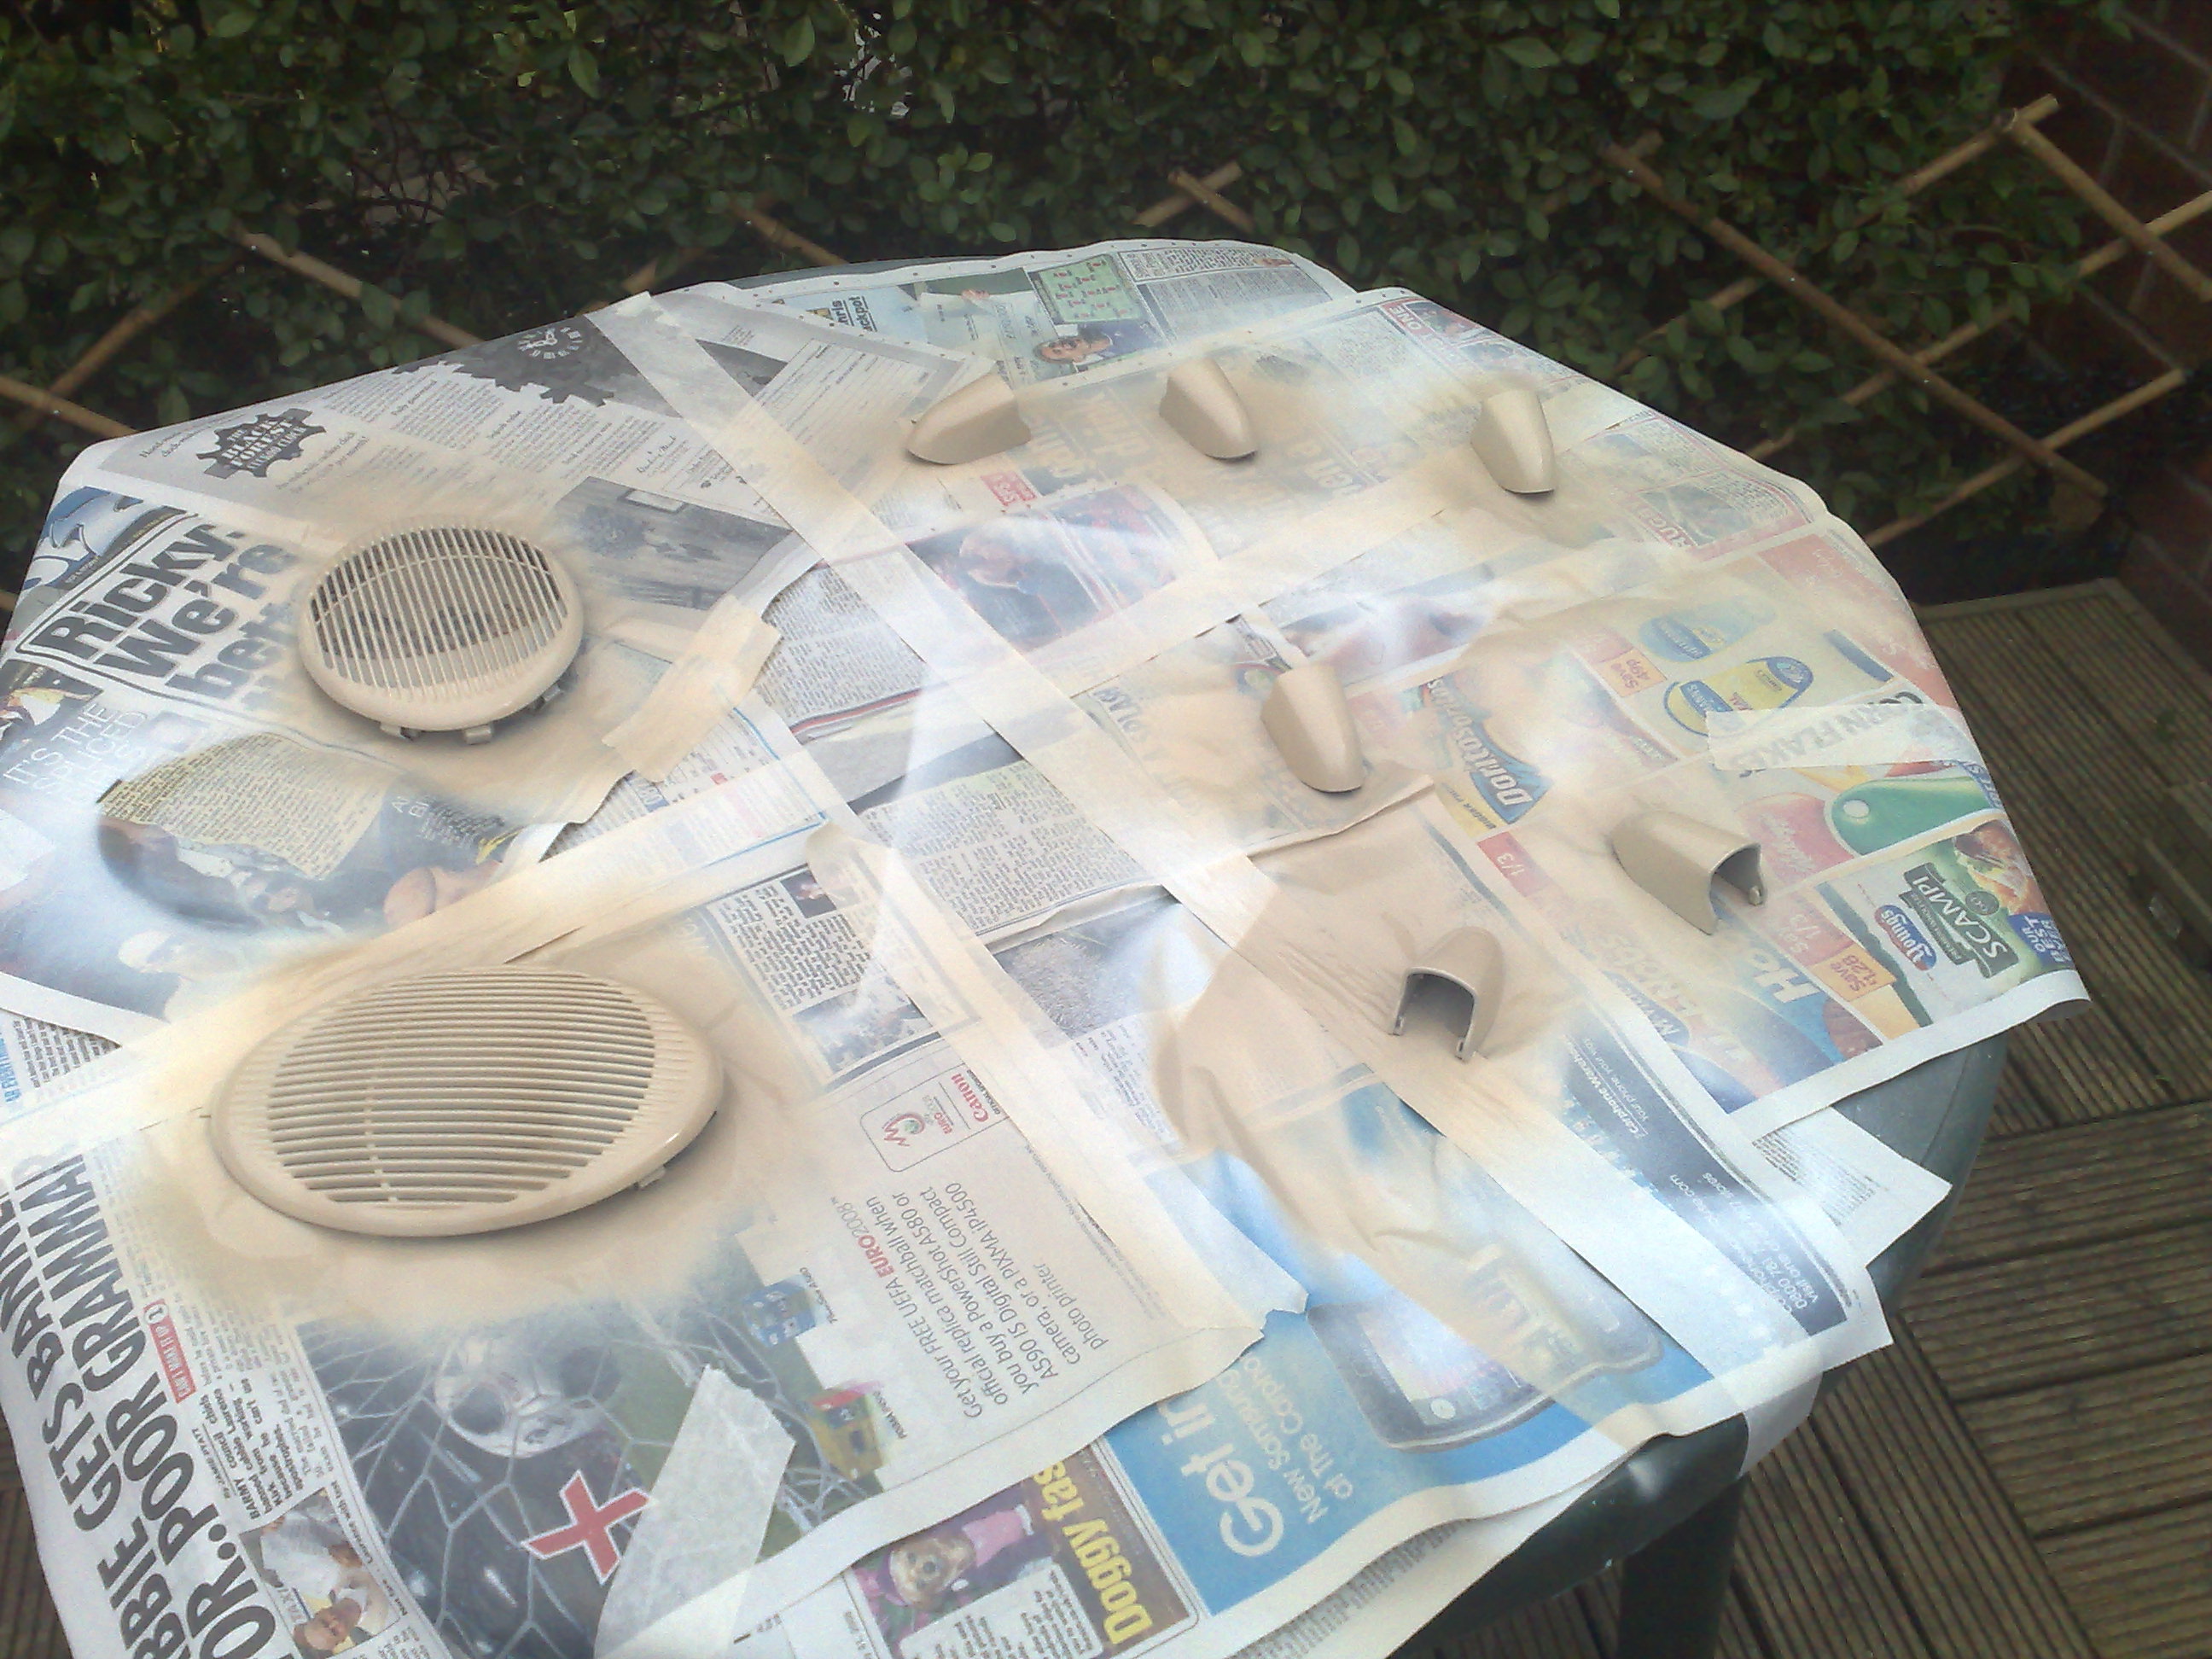
so all the pillars and other trim bits are off!
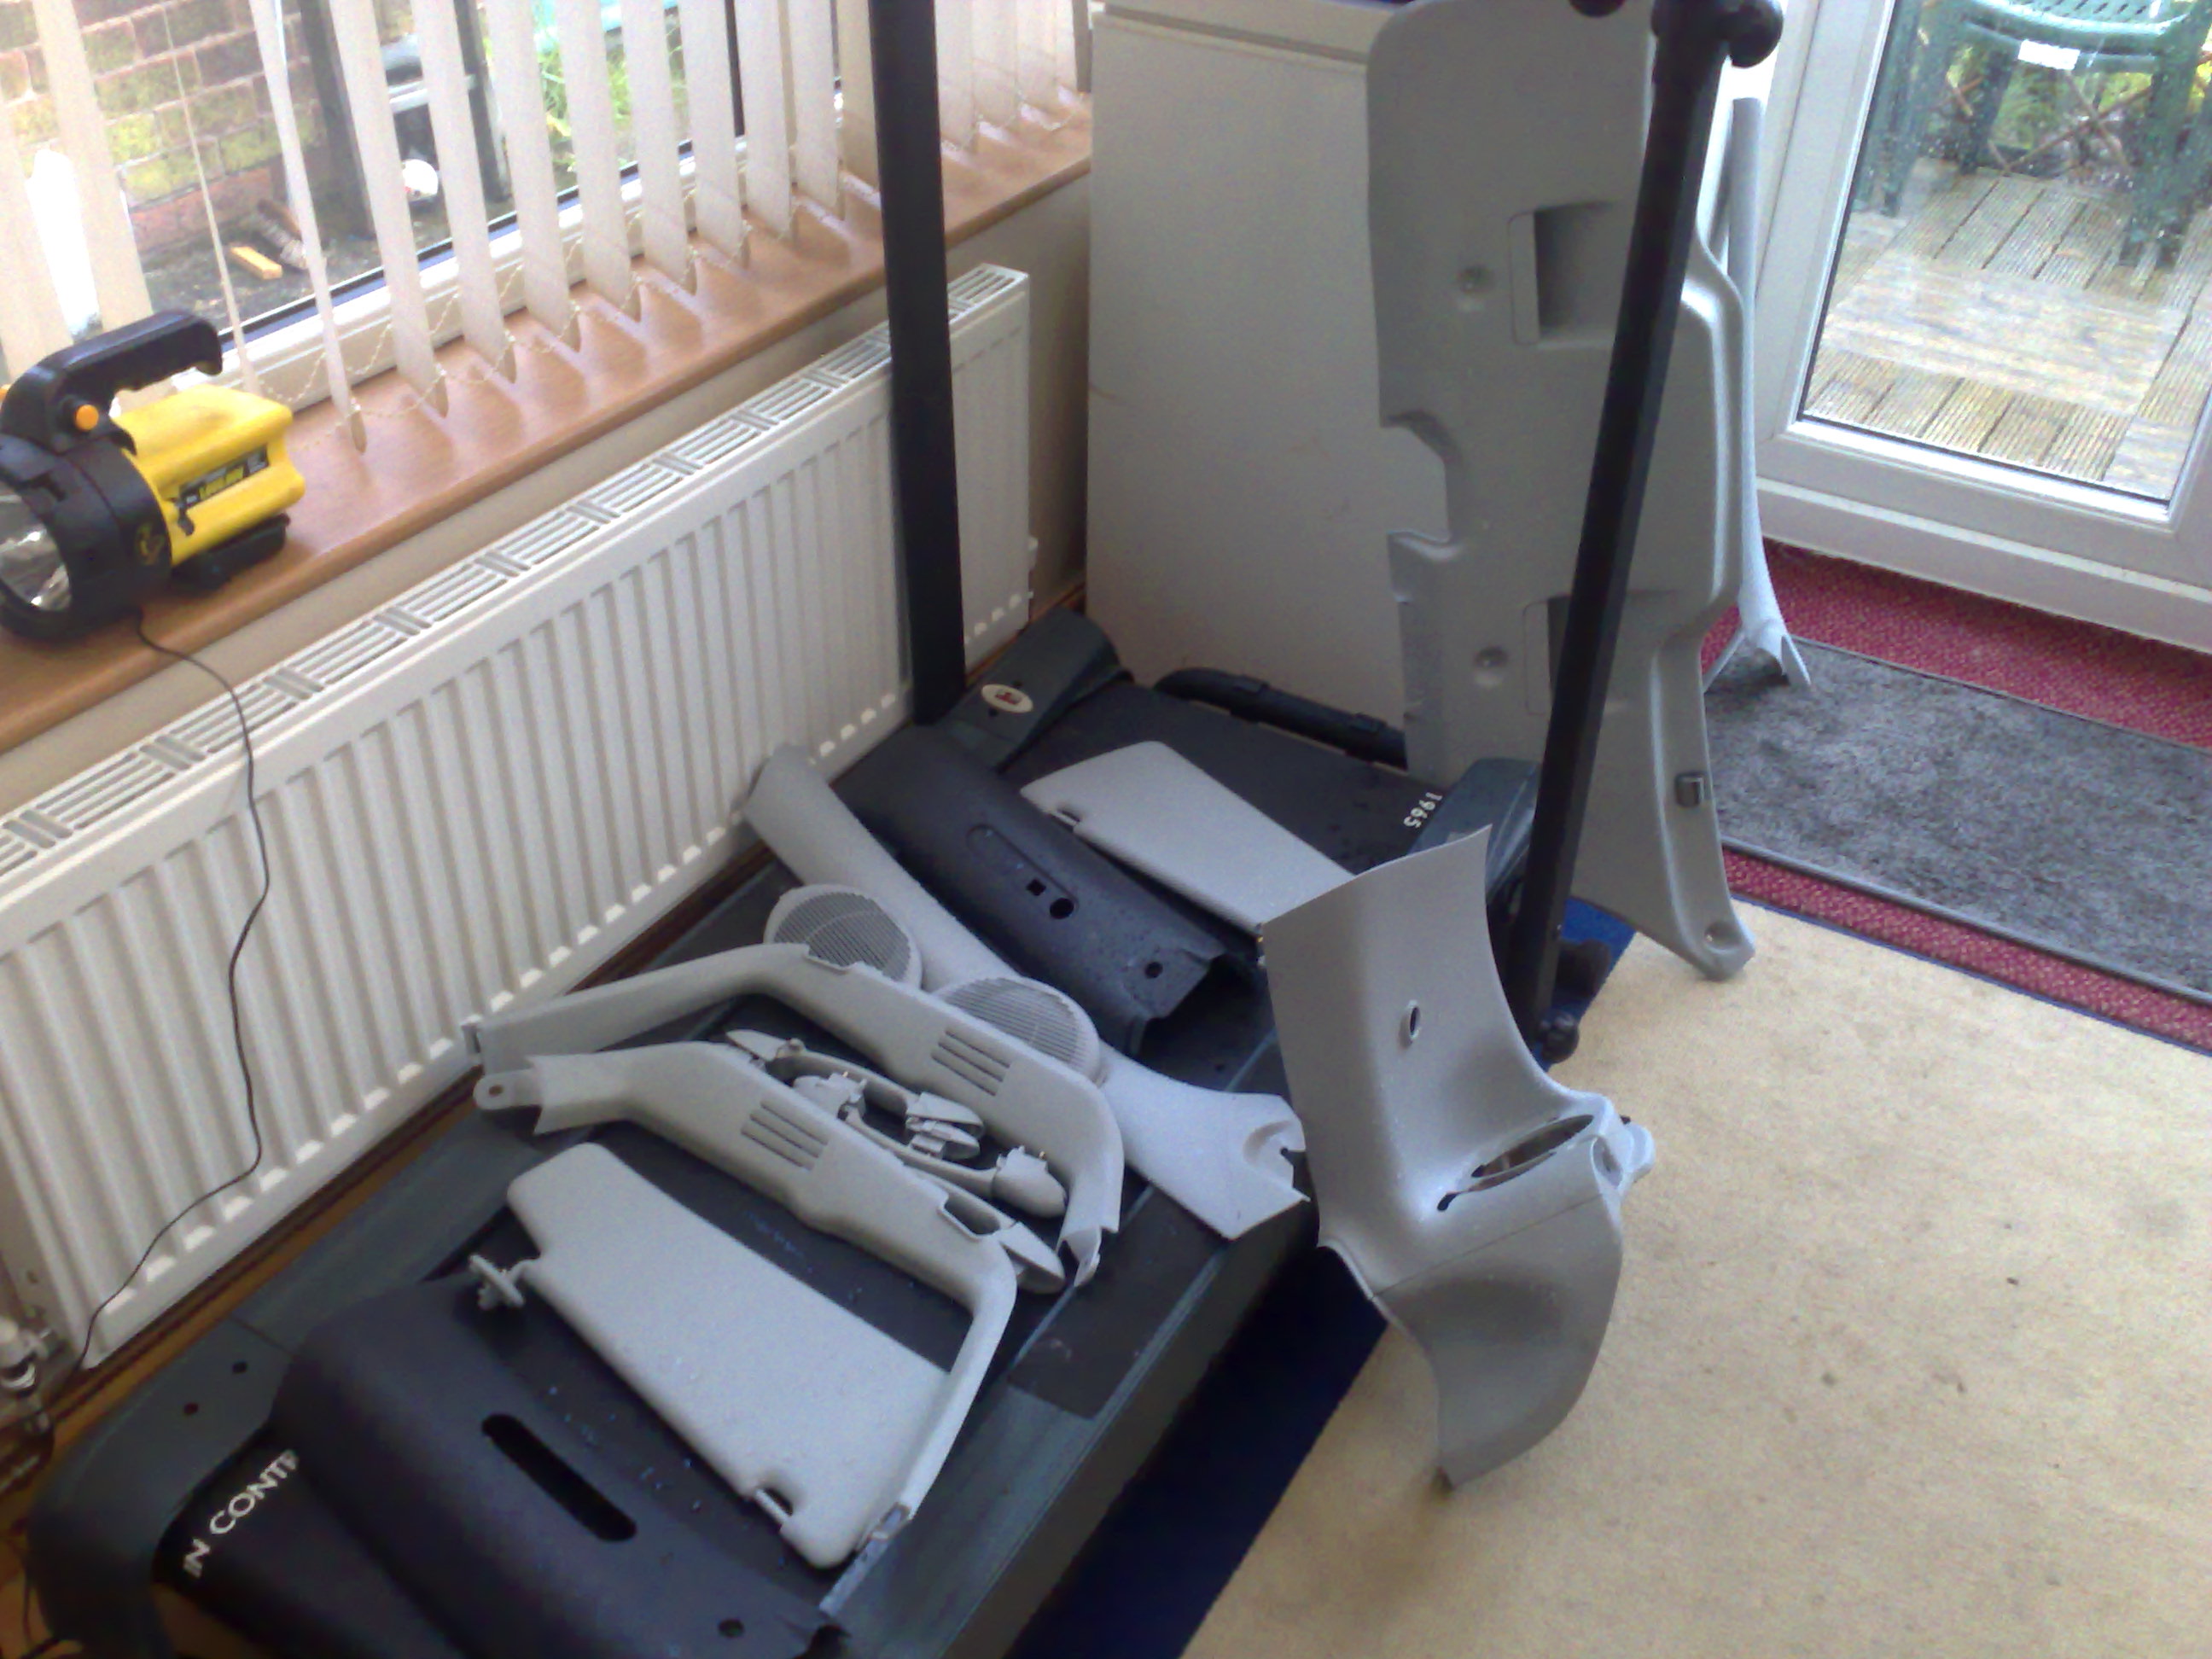
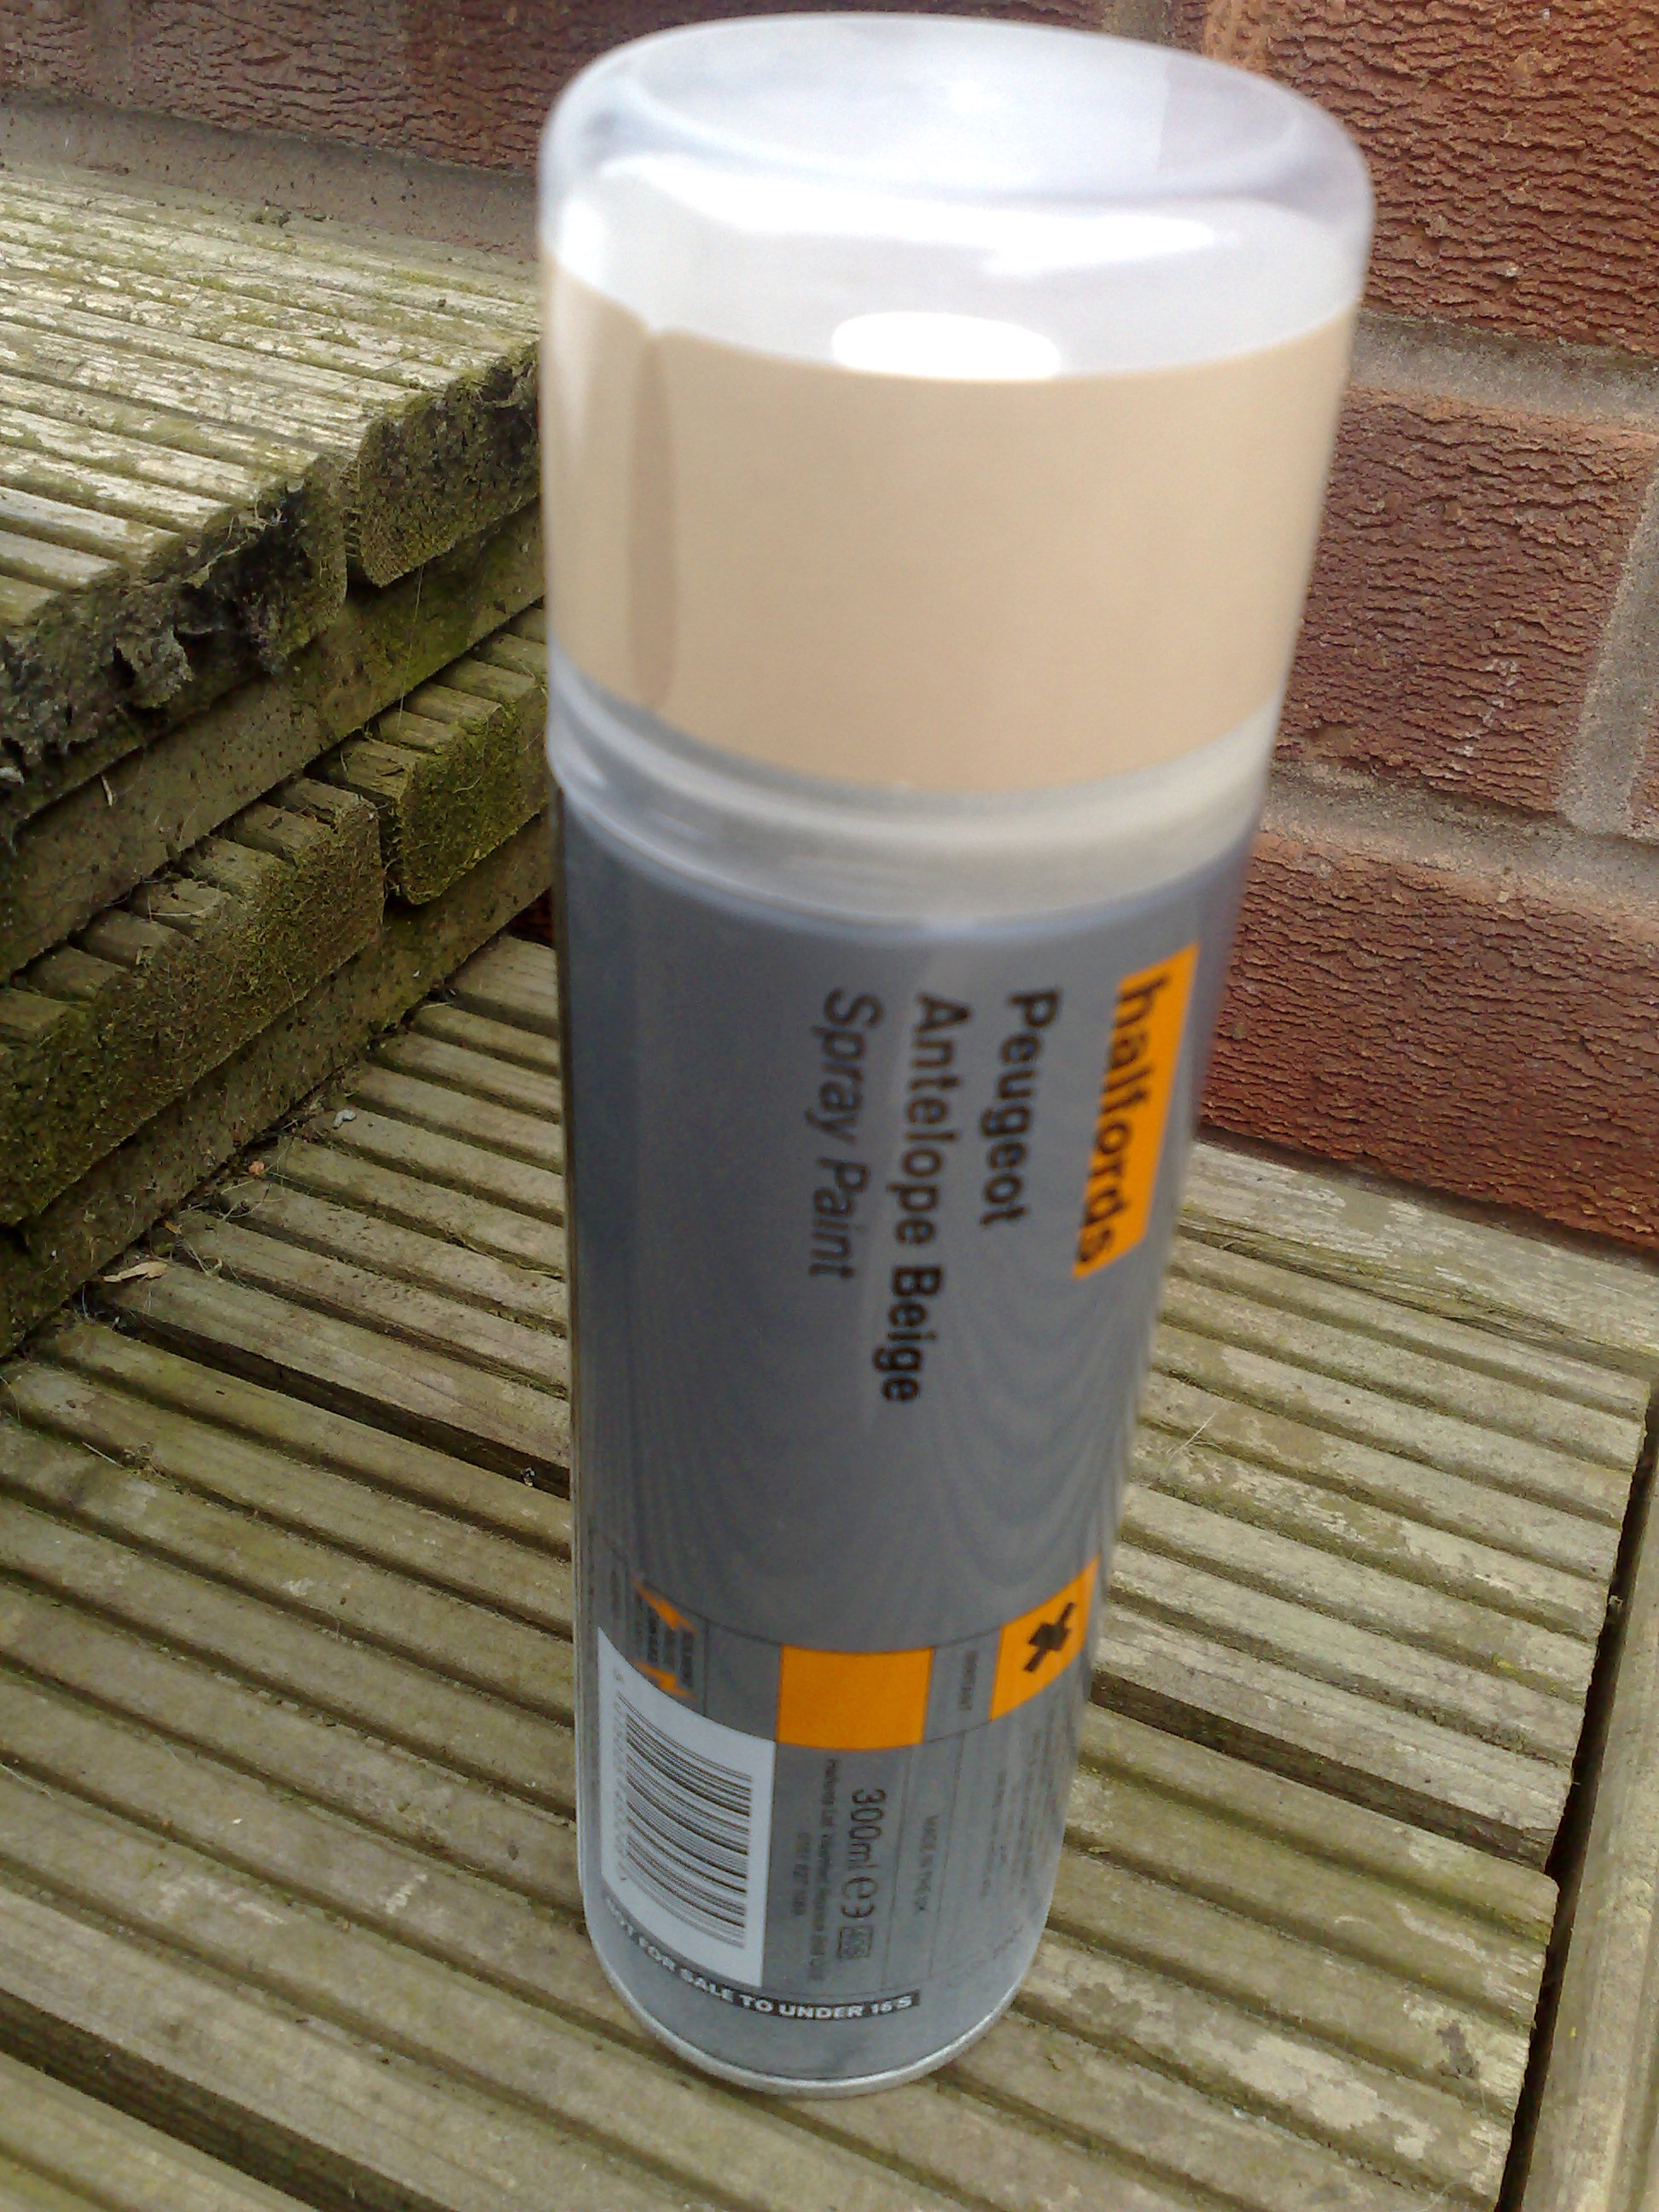
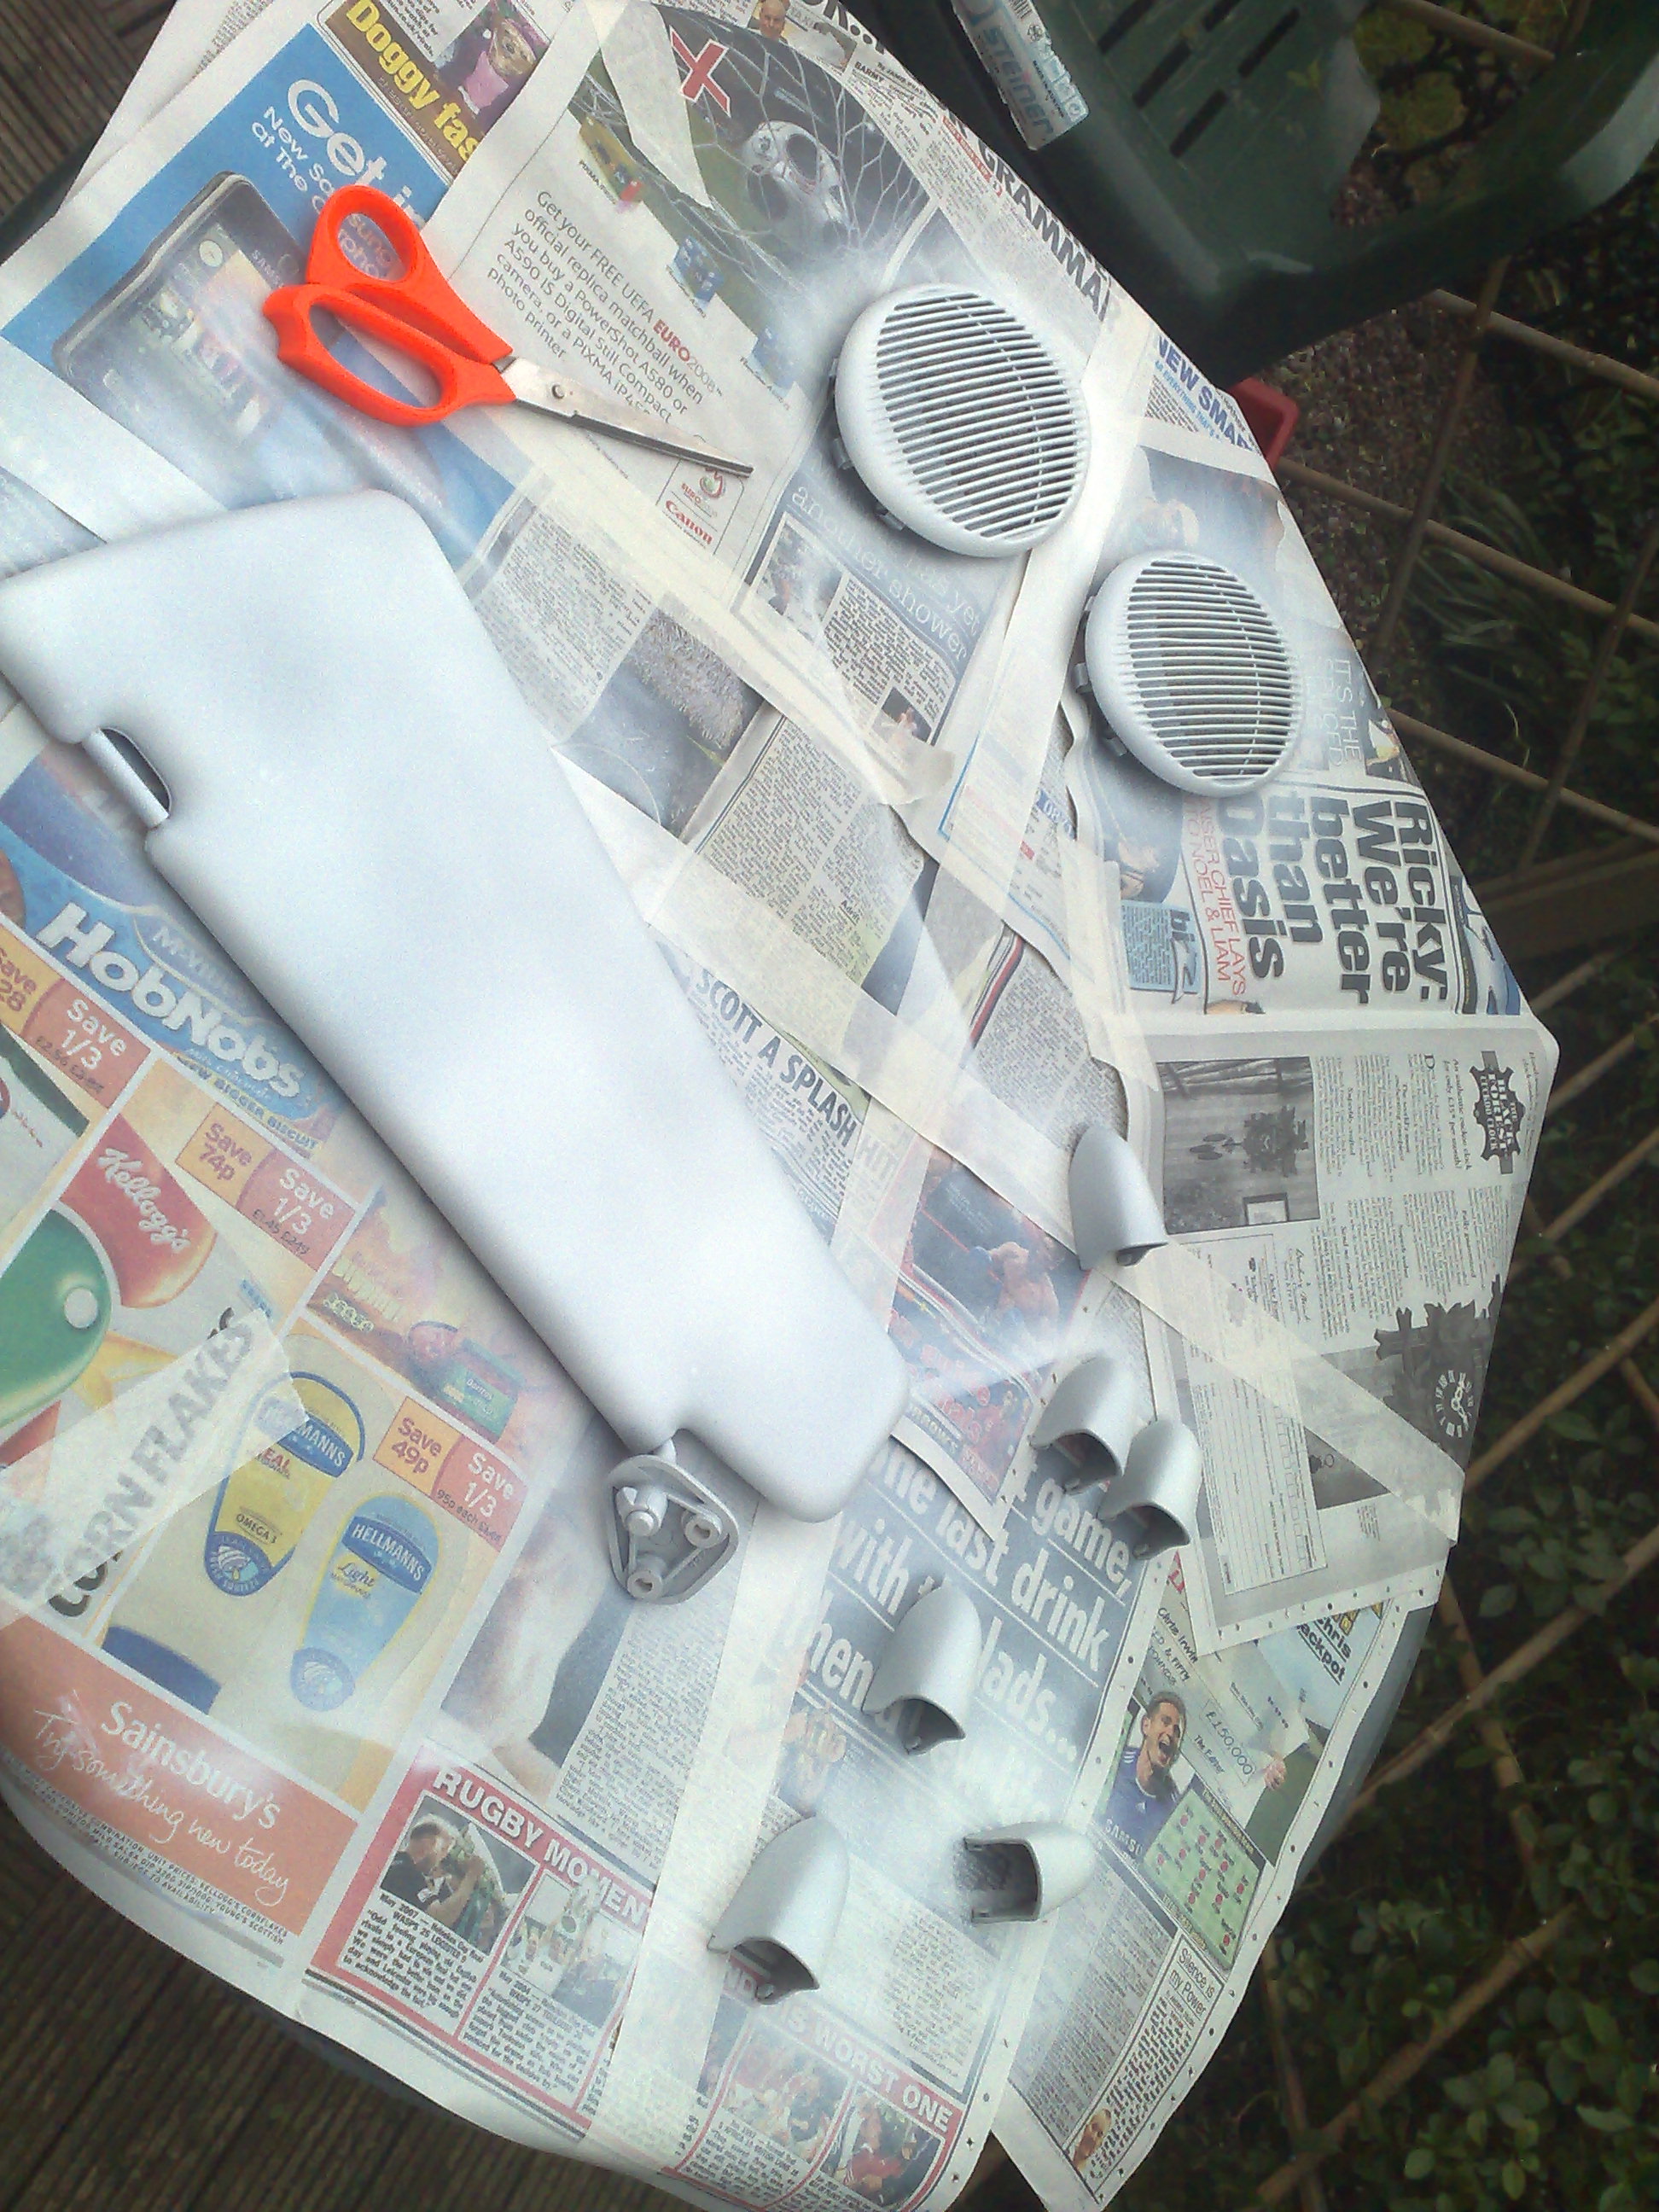
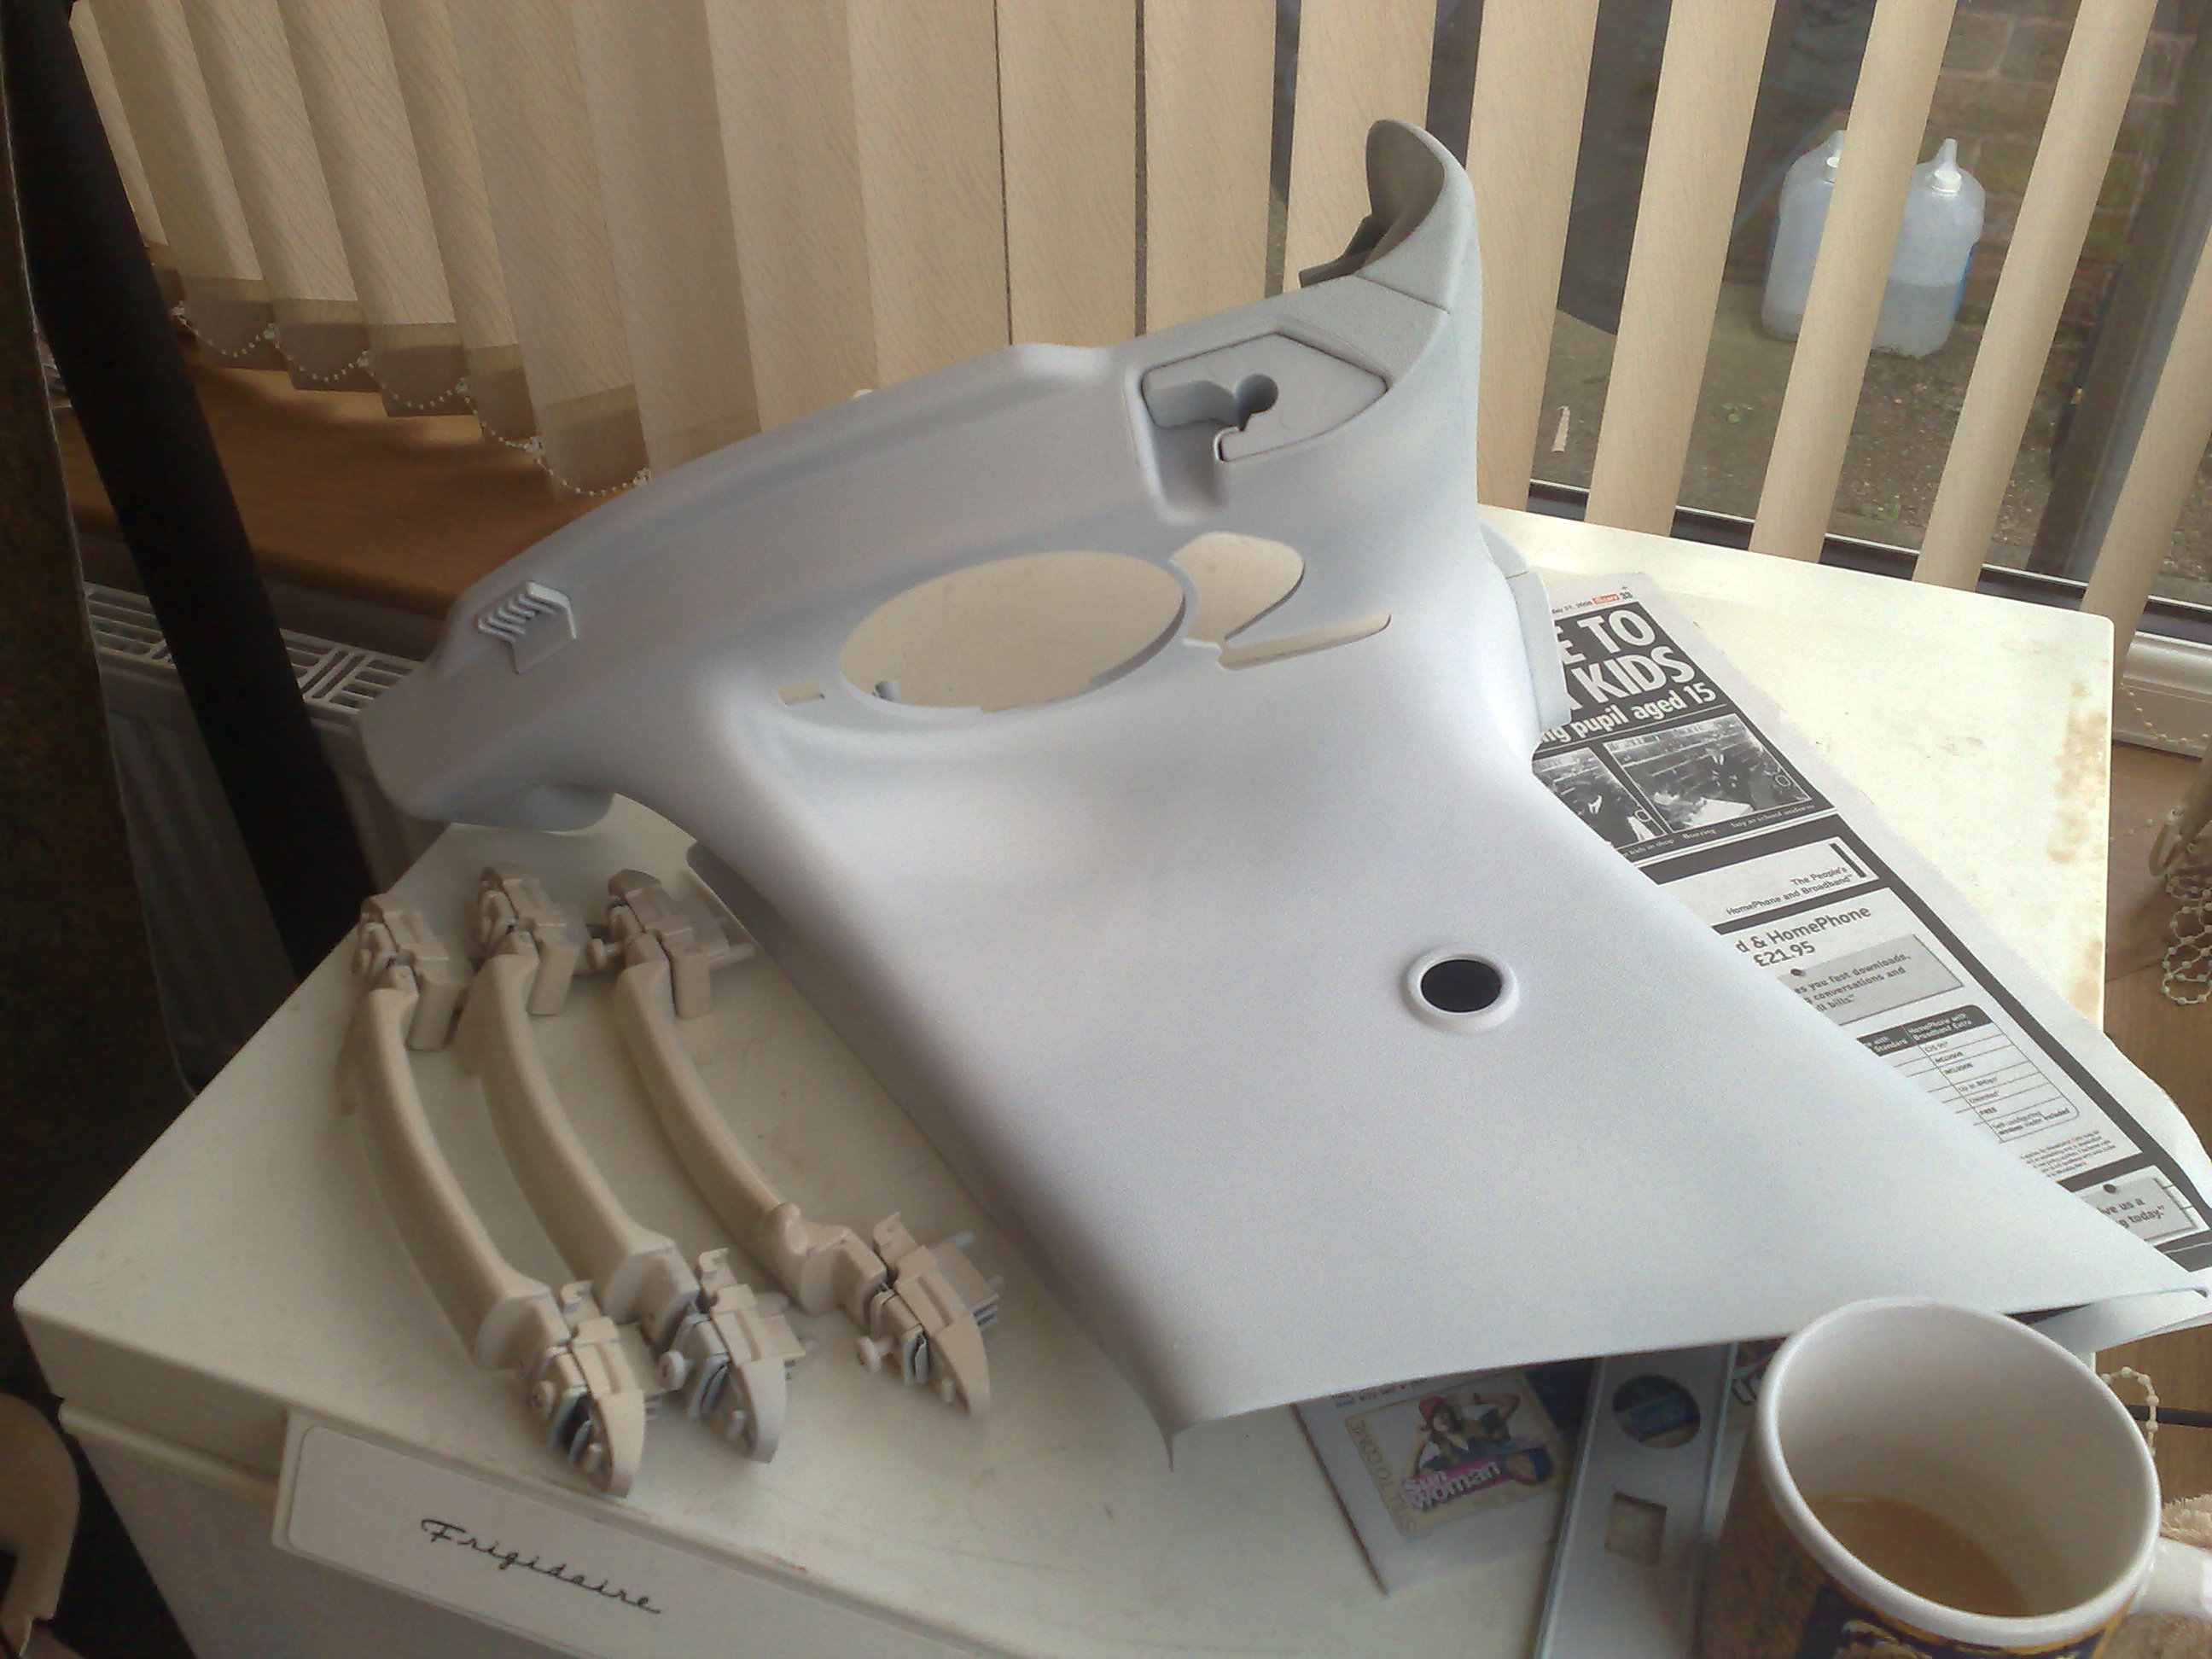
one of the bits are gonna be a pain to trim, but im gonna give it a go and anything that i cant cover in suede, im gonna get a paint made up that is a colour match for the fabric and just paint them
so i had a sit down, and nursed some wounds... getting the jesus handles off were a pain.. they have little covers over the screws which are a b*tch to get off, and while trying to pry them off with a flat head screw driver i stabbed myself in the finger... kinda under the nail too so that hammered for awhile and i swore really really loud!! lol
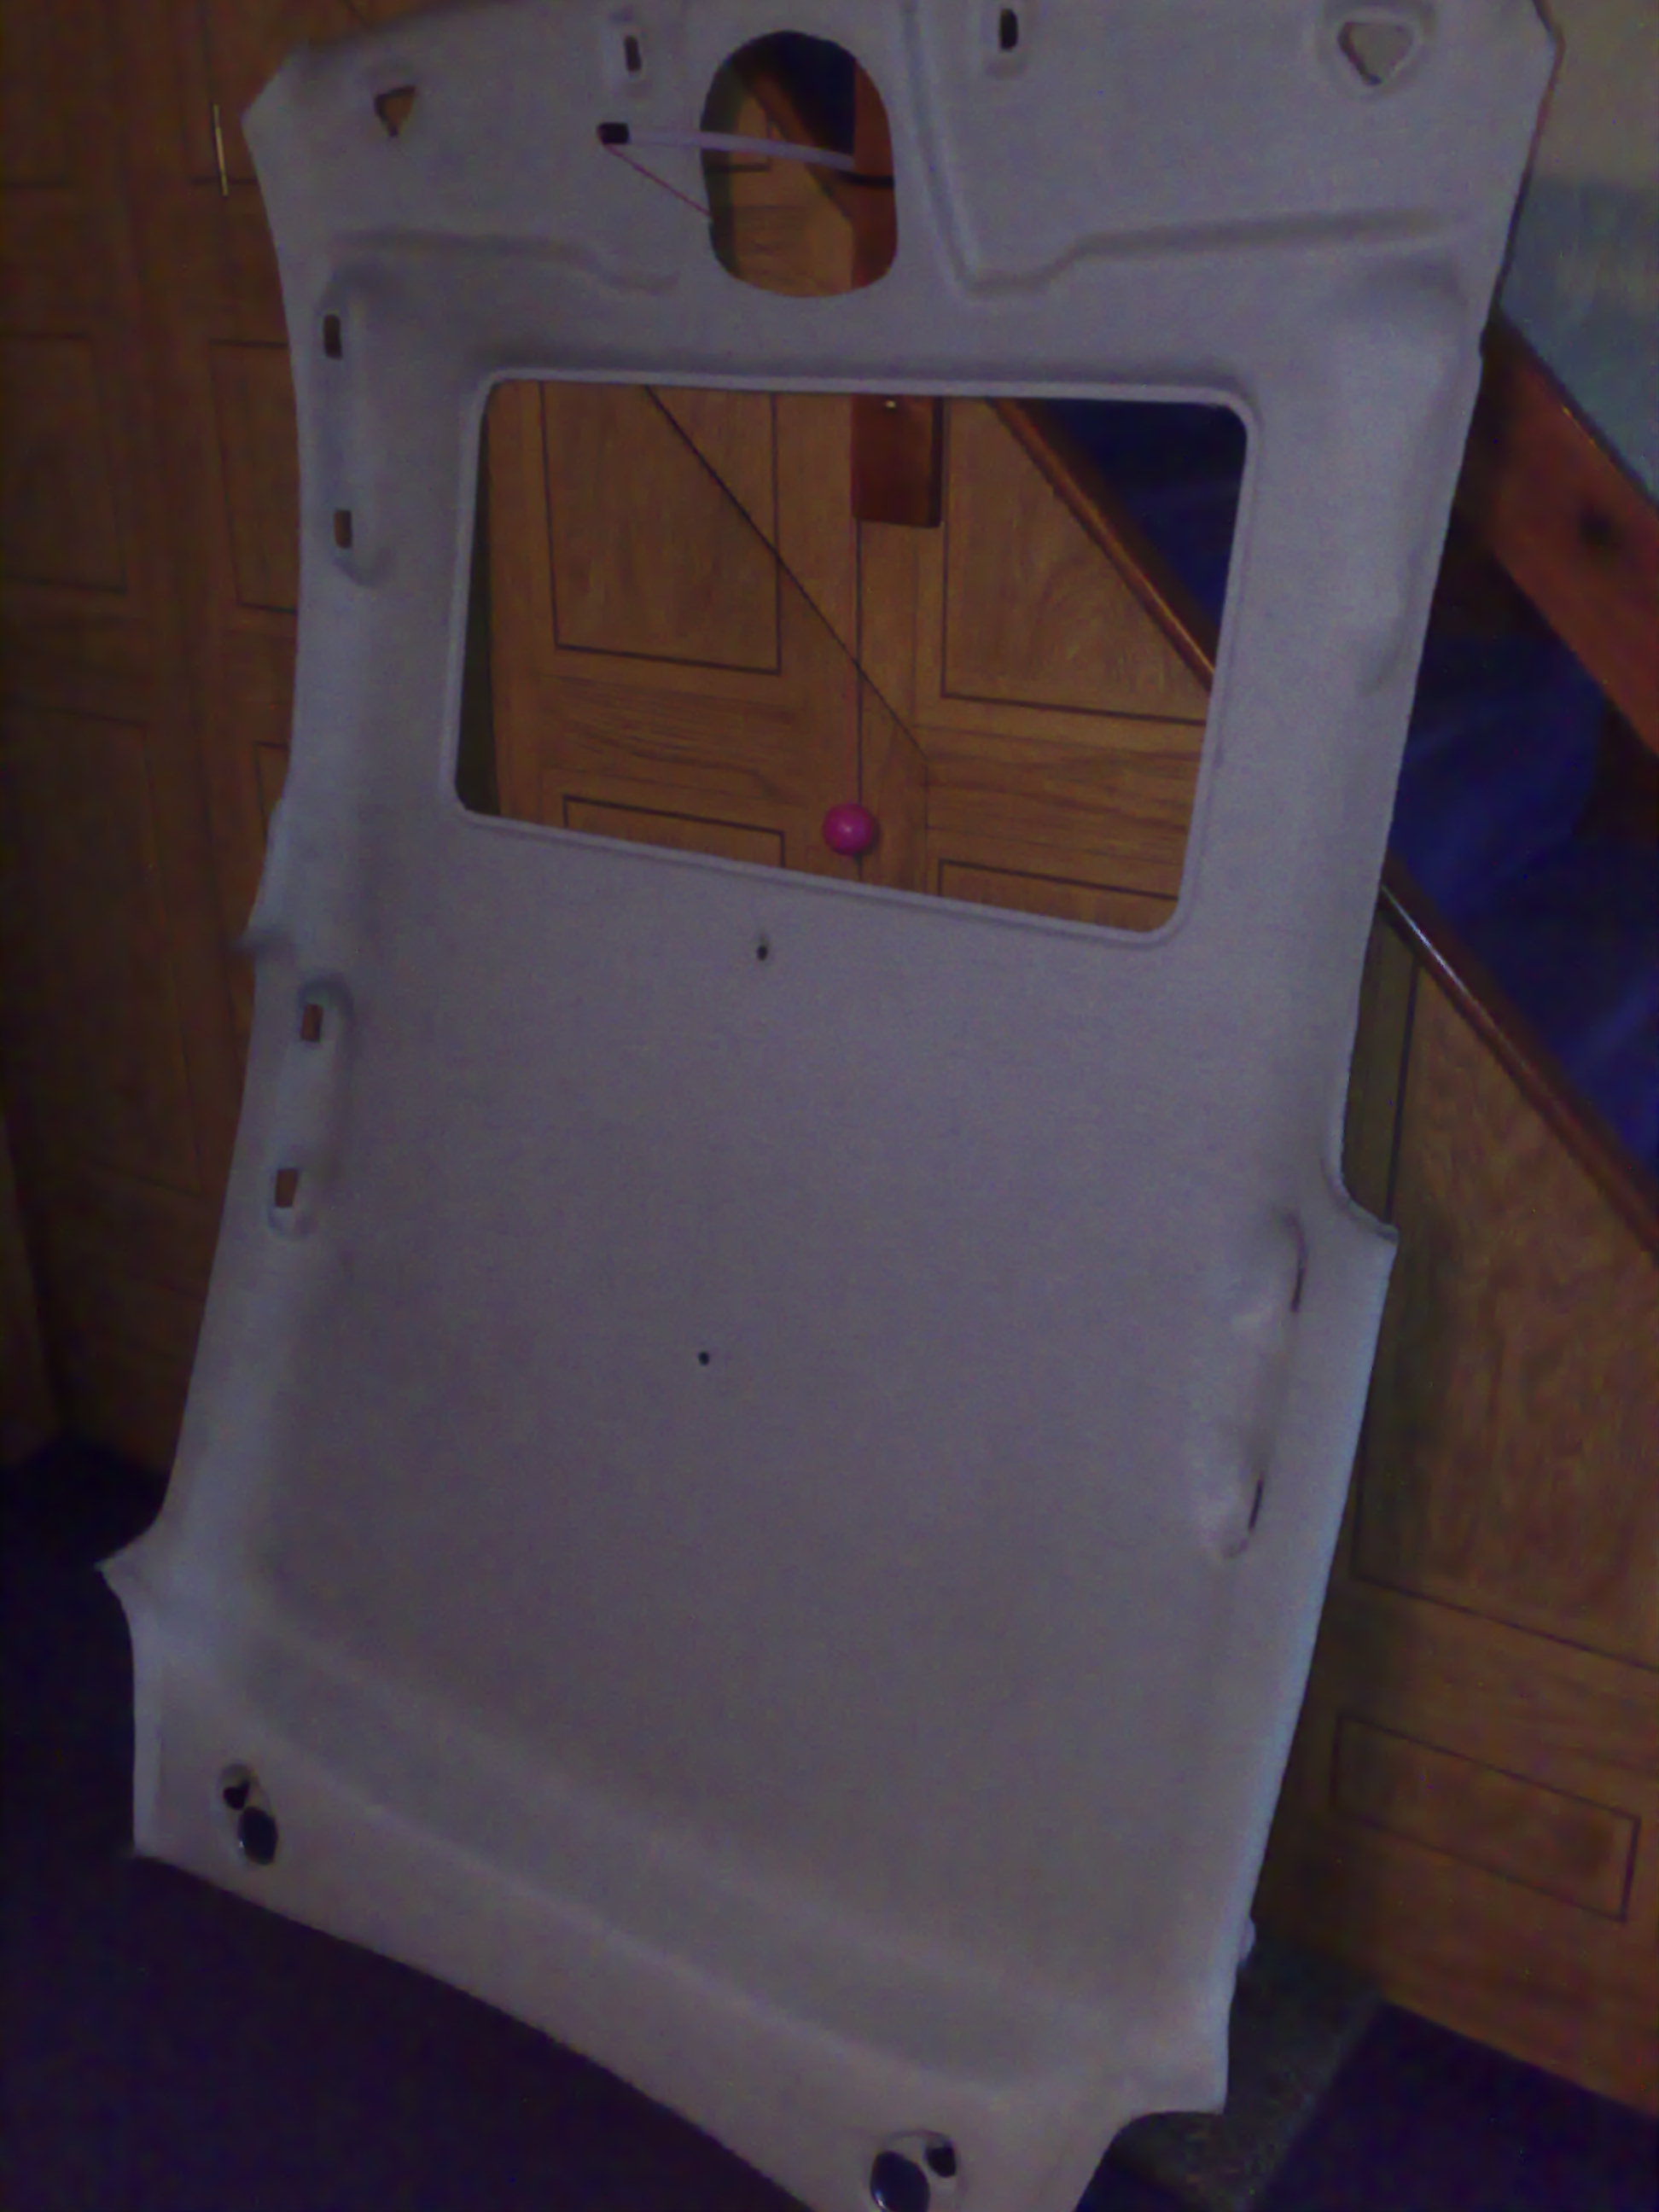
after the sitdown i got back out (in the rain) and janked the head lining down!!
i couldnt quite figure out how to get the blind thing that covers the sun roof off so i sent my dad out and he got it off
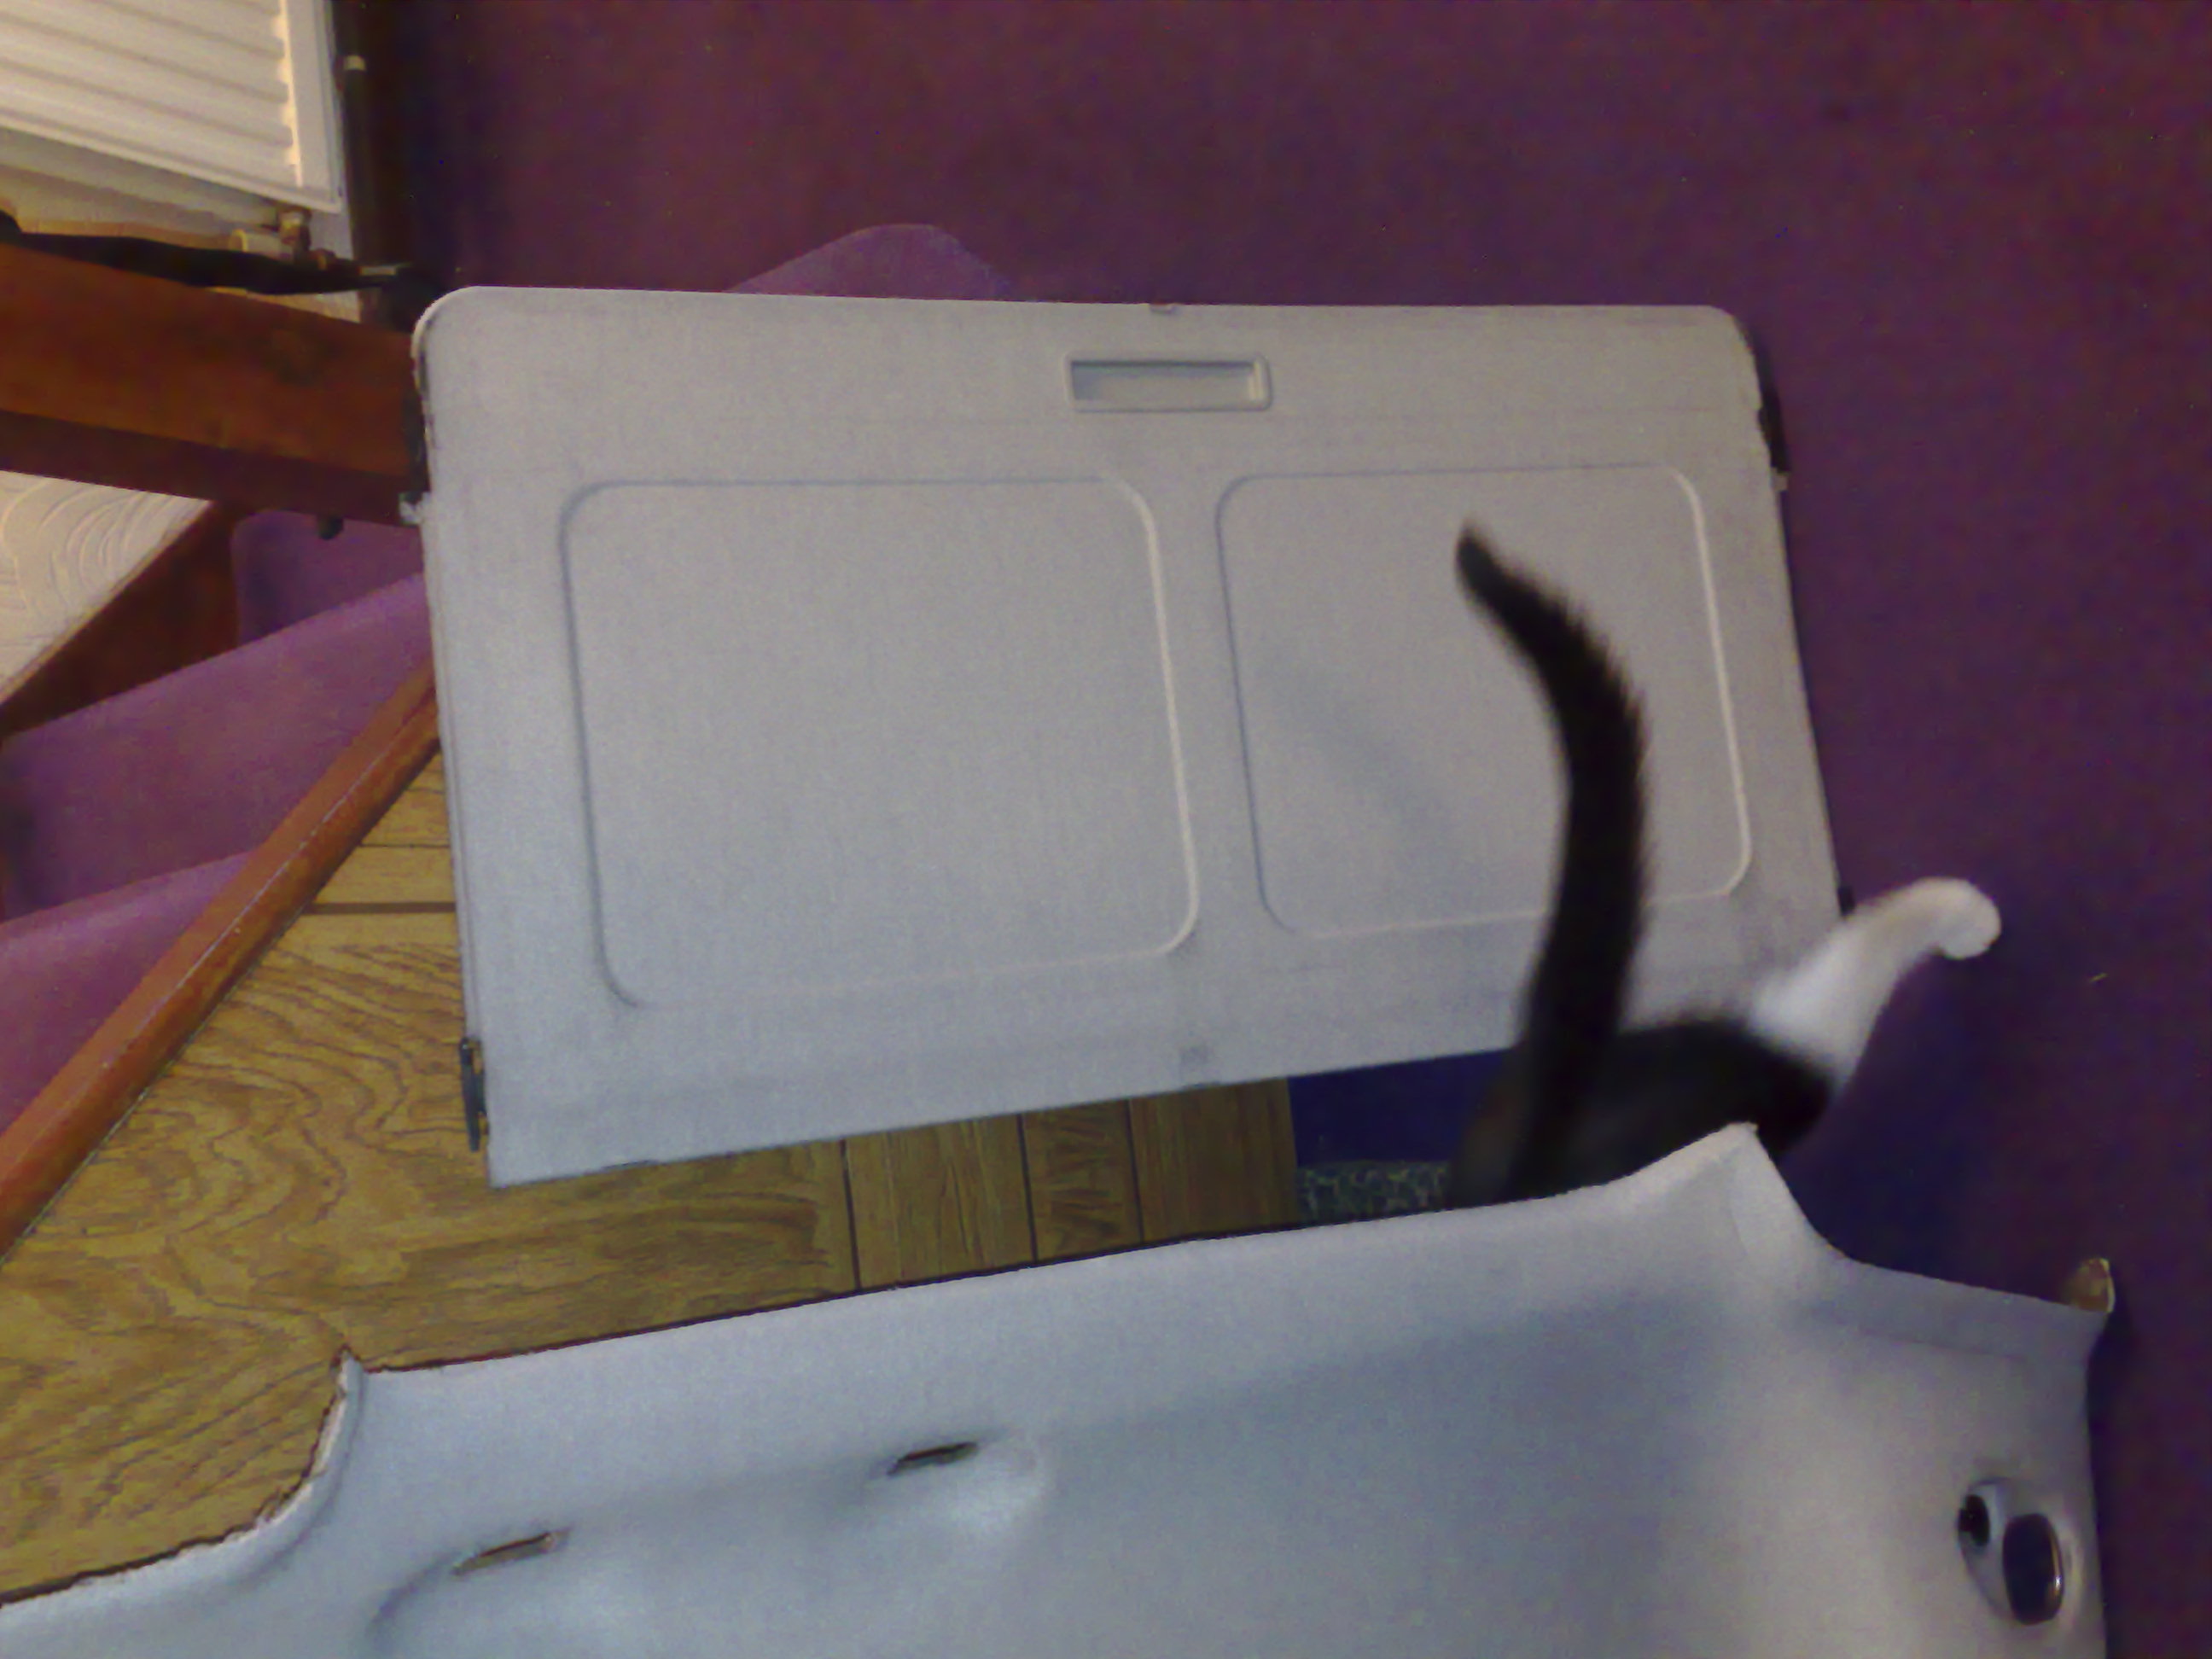
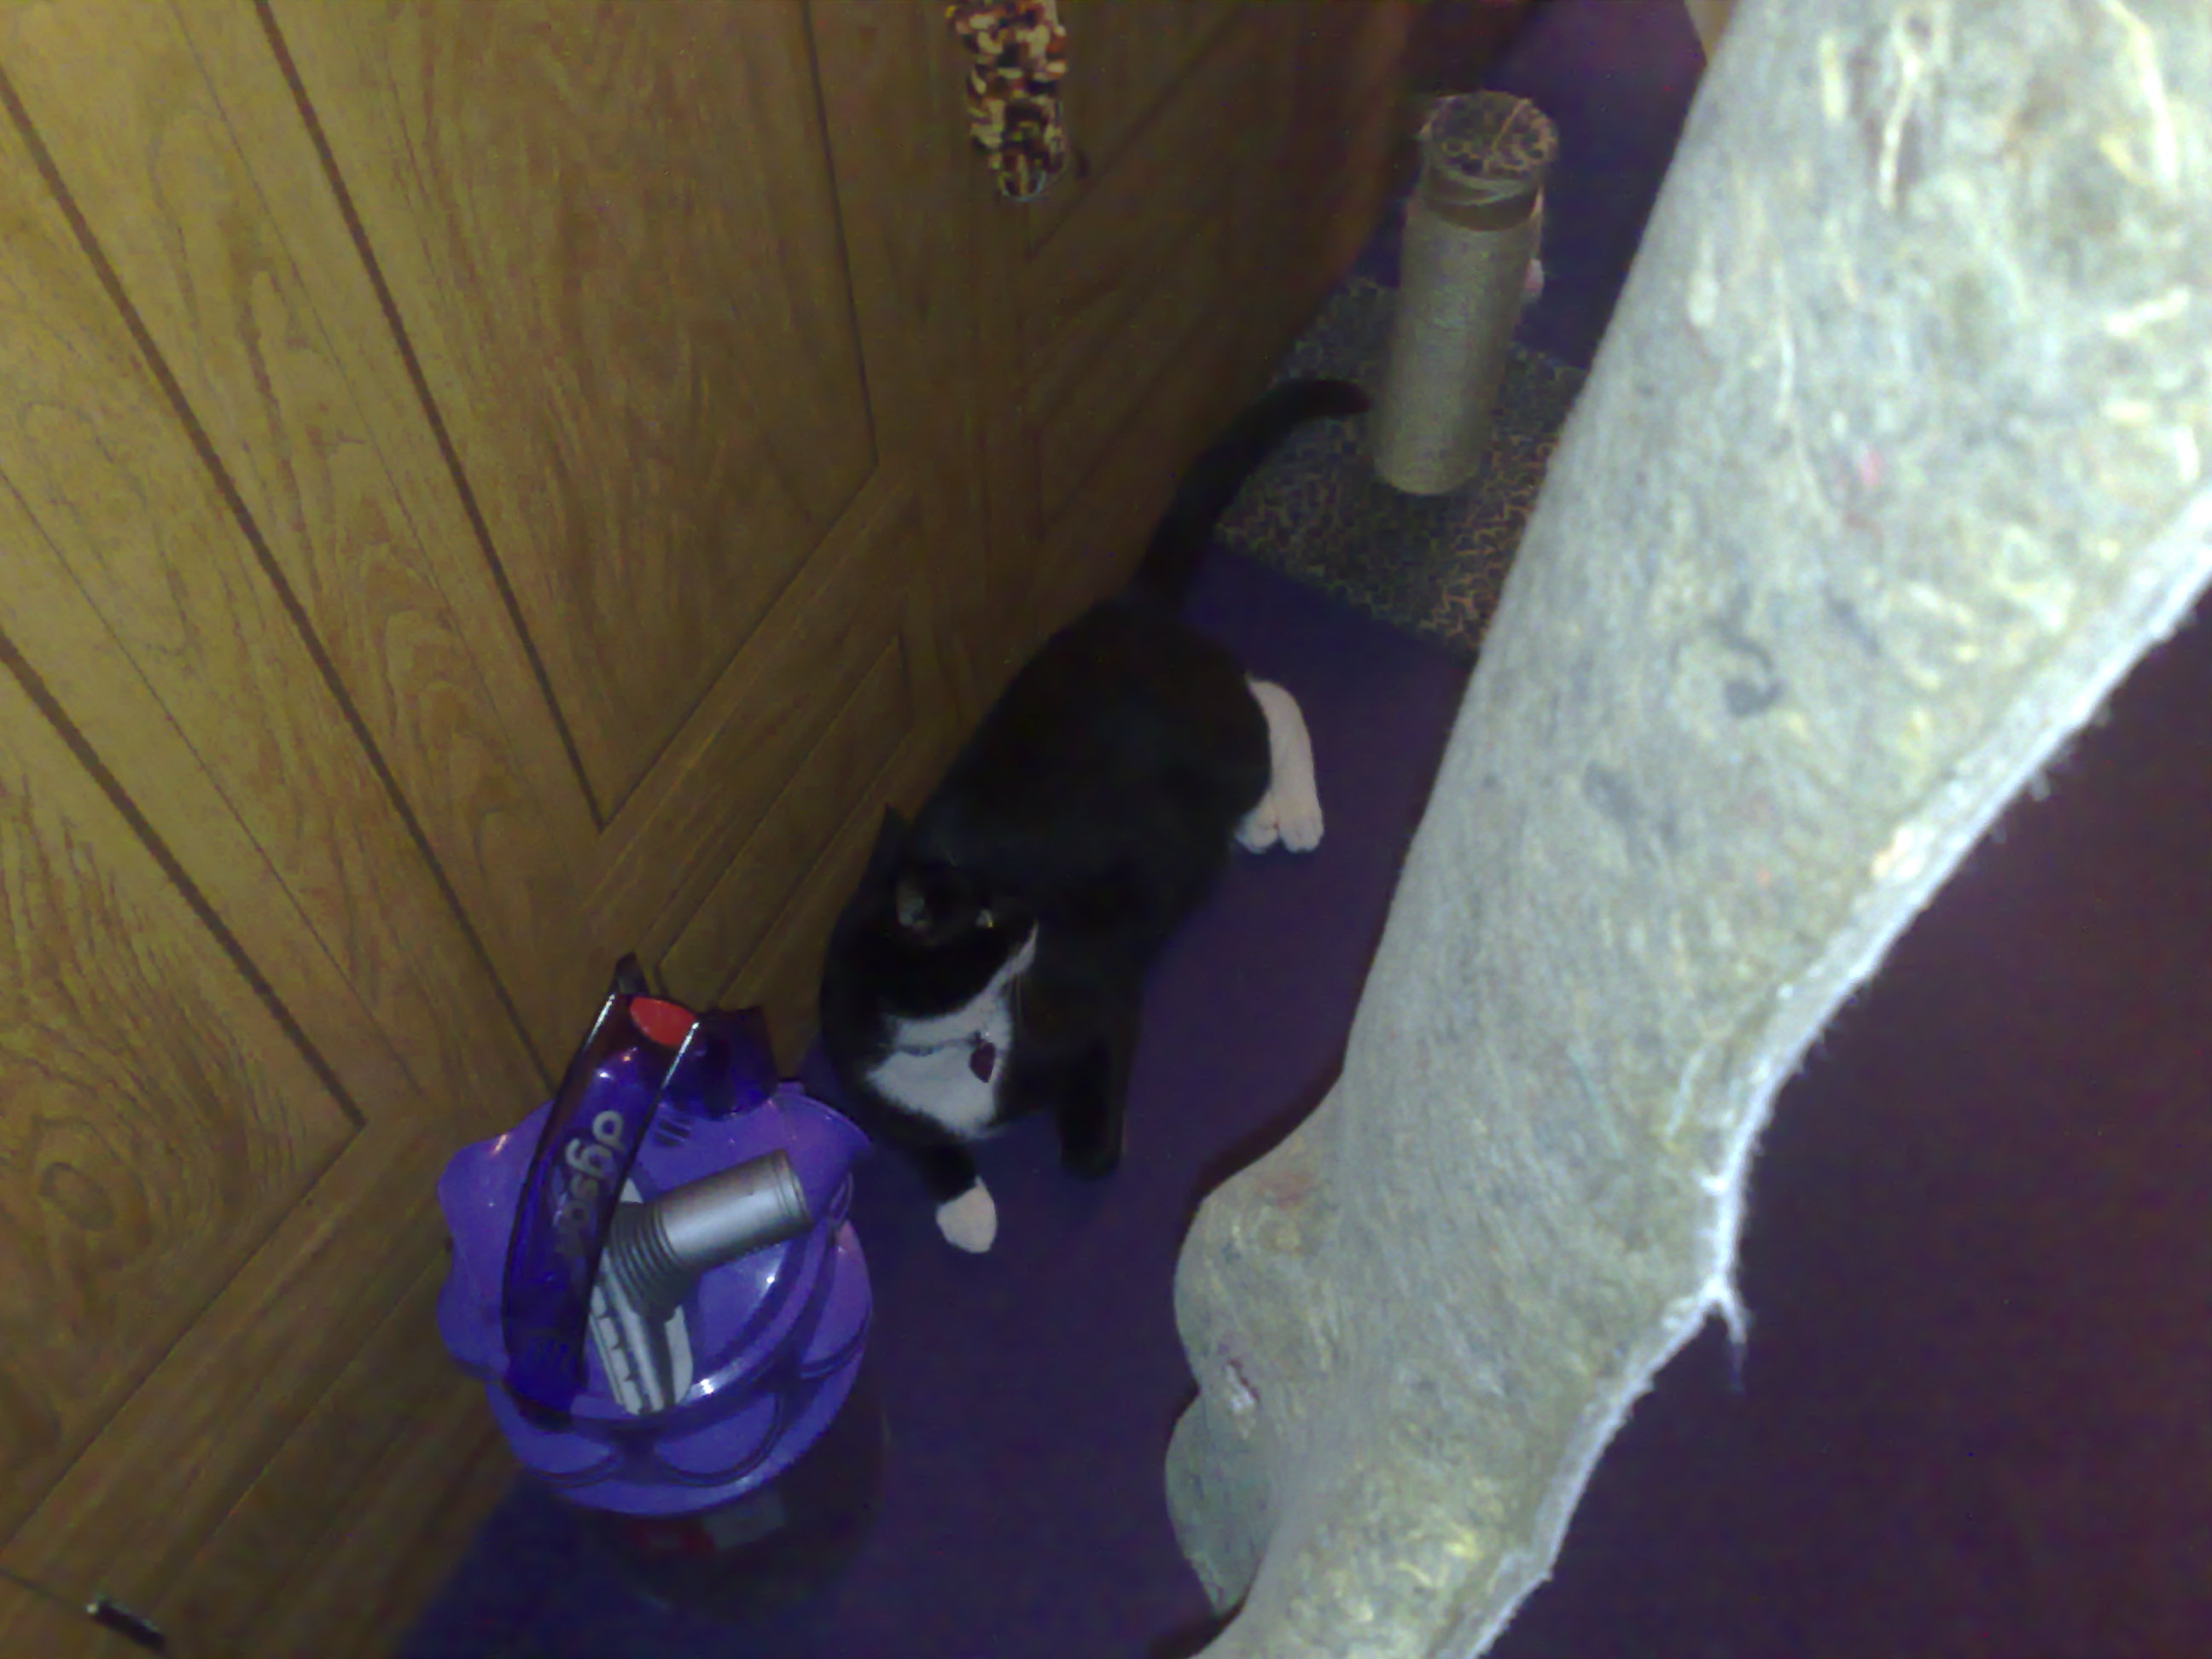
excuse Tipo's leg... he decided he'd like to take up residance behind the roof lining propped up in the living room LOL
after some skill full duct taping because i just couldnt figure out how to dissconnect the light thing.... we're good for the next stage once the fabric actually arrives which should be tomorrow!!
ok so ive decided to retrim the pillars, roof lining and a few other bits in bravobeastie in cream suede.
roof lining is pretty gross, so new one will be kept much cleaner!!
first i had to start at pulling away all the pillars and things, front pillars easy enough, but then it started to get trickey
the B pillars were a pain.. had remove the seat belts at the top to get them off, but then it was fine...
went on to to the boot, so got all that trim off, and got the sun visors and the interior light bit off.. can see it dangling in the pic below lol
the rear speaker mould thingies were a pain in the BUM to do... not got any pics unfortunatly, but the bravo people will know... the rear seat belts go through a slat in the pillar/speaker mould type thing thats at the back... and was a right head scratching moment trying to figure out how to get them off... but i managed it!!
so all the pillars and other trim bits are off!
one of the bits are gonna be a pain to trim, but im gonna give it a go and anything that i cant cover in suede, im gonna get a paint made up that is a colour match for the fabric and just paint them
so i had a sit down, and nursed some wounds... getting the jesus handles off were a pain.. they have little covers over the screws which are a b*tch to get off, and while trying to pry them off with a flat head screw driver i stabbed myself in the finger... kinda under the nail too so that hammered for awhile and i swore really really loud!! lol
after the sitdown i got back out (in the rain) and janked the head lining down!!
i couldnt quite figure out how to get the blind thing that covers the sun roof off so i sent my dad out and he got it off
excuse Tipo's leg... he decided he'd like to take up residance behind the roof lining propped up in the living room LOL
after some skill full duct taping because i just couldnt figure out how to dissconnect the light thing.... we're good for the next stage once the fabric actually arrives
which should be tomorrow!!
Last edited: