General onyx firefly picture of car collected today

Currently reading:
General onyx firefly picture of car collected today

cheers steve, will take more picks after windscreen fitted and dash.

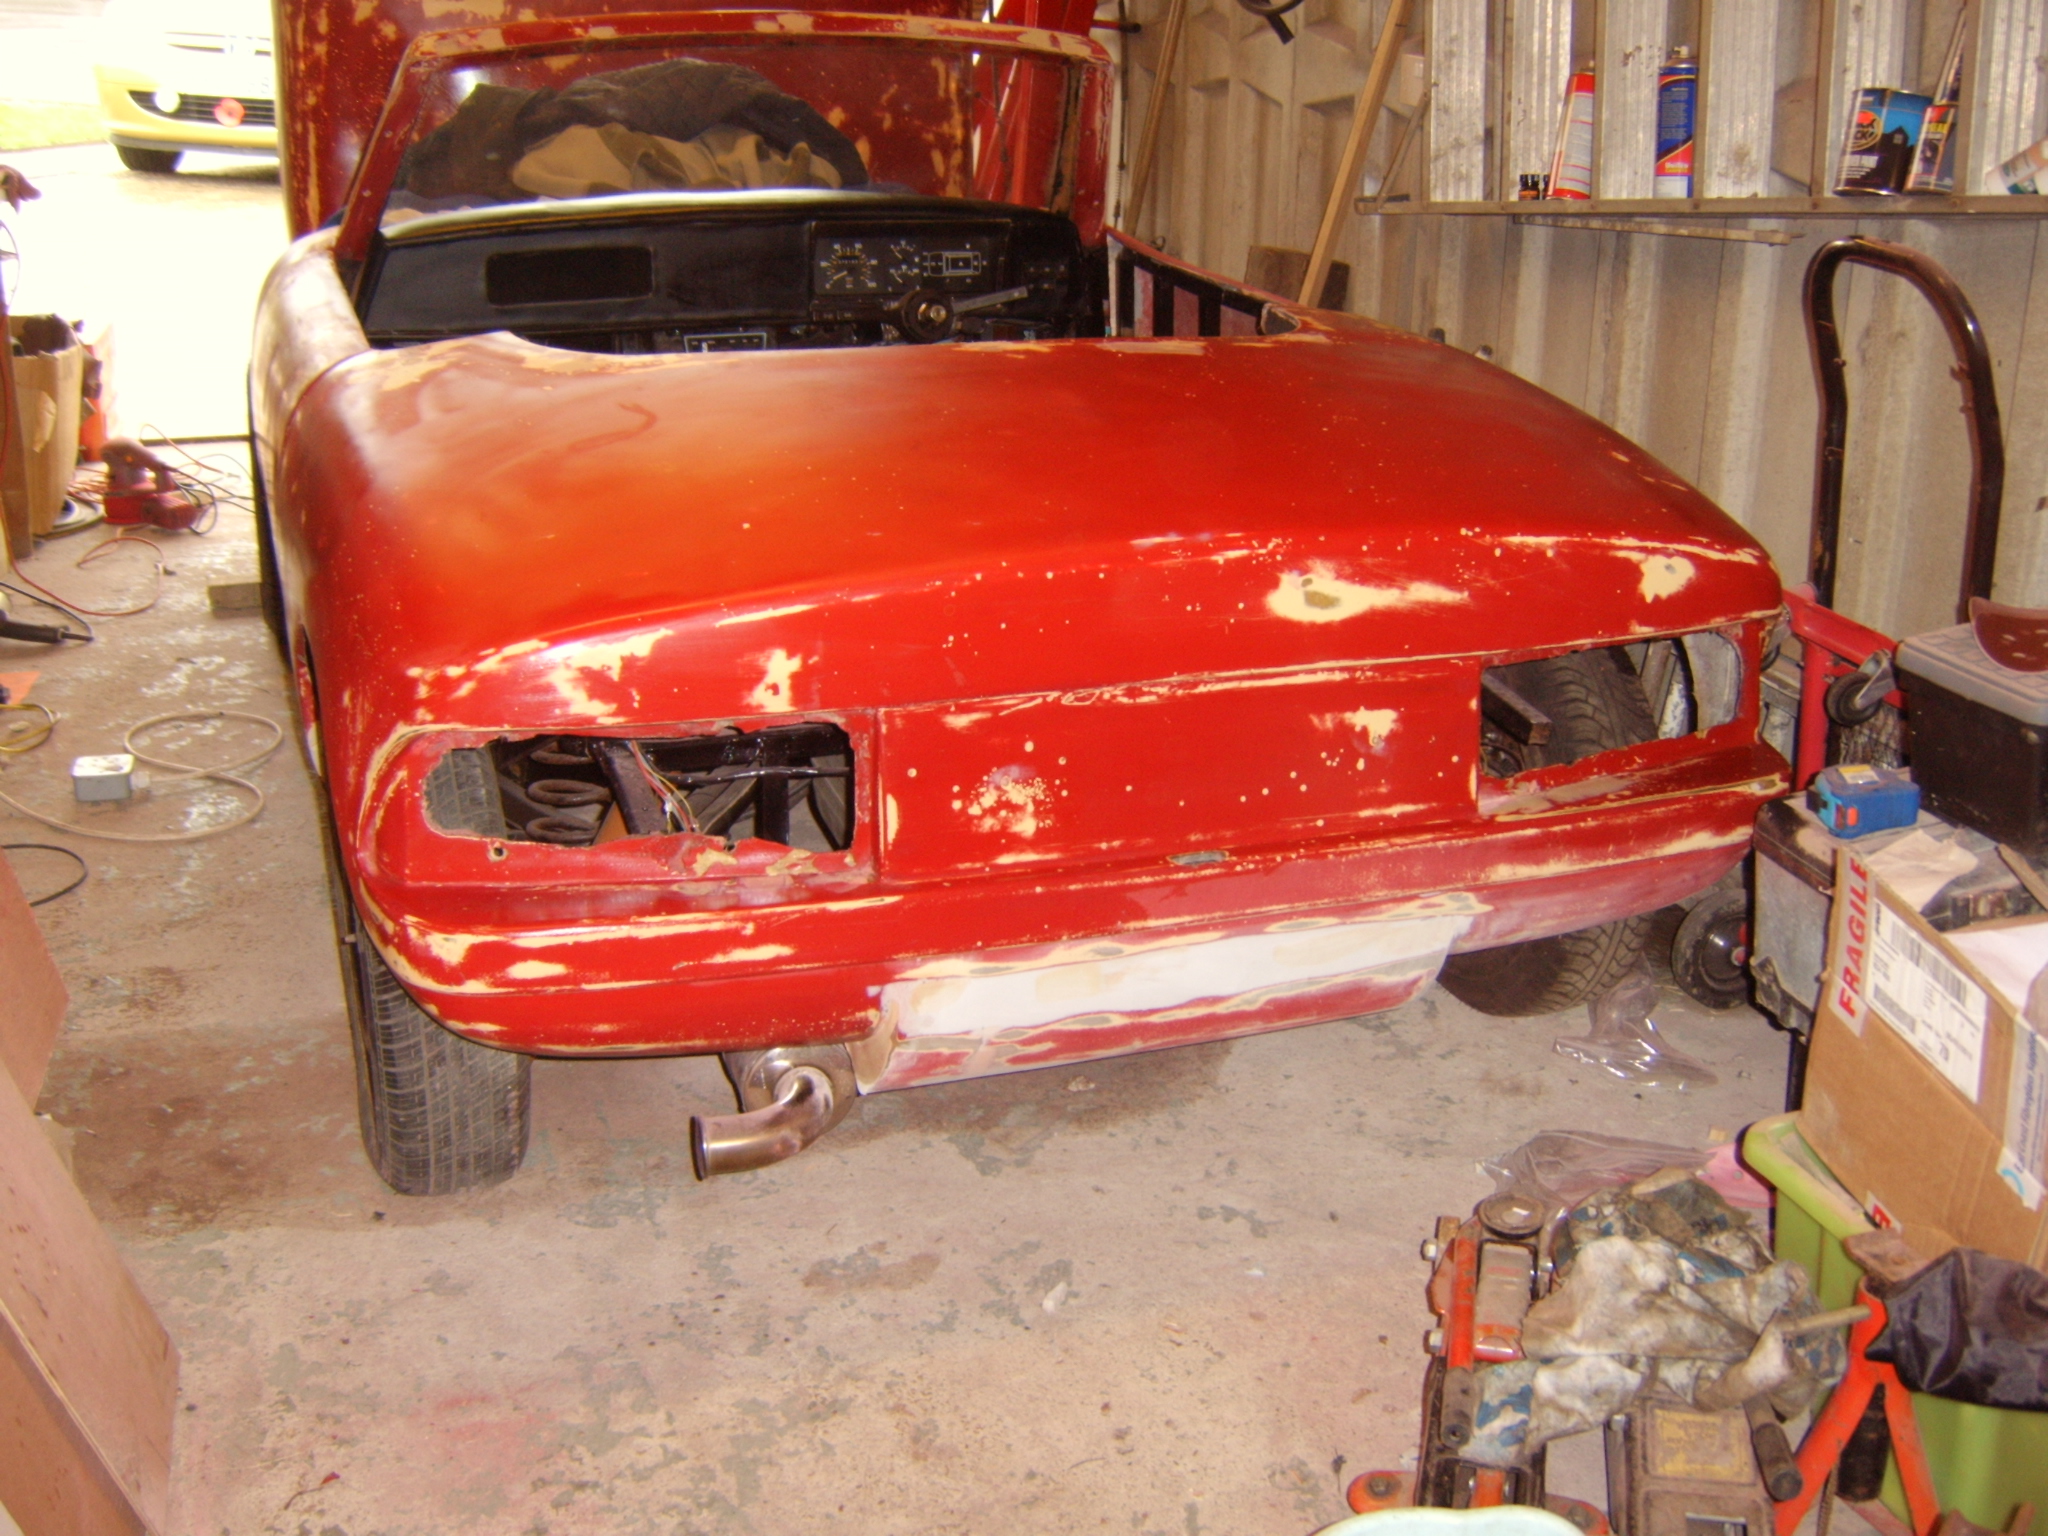
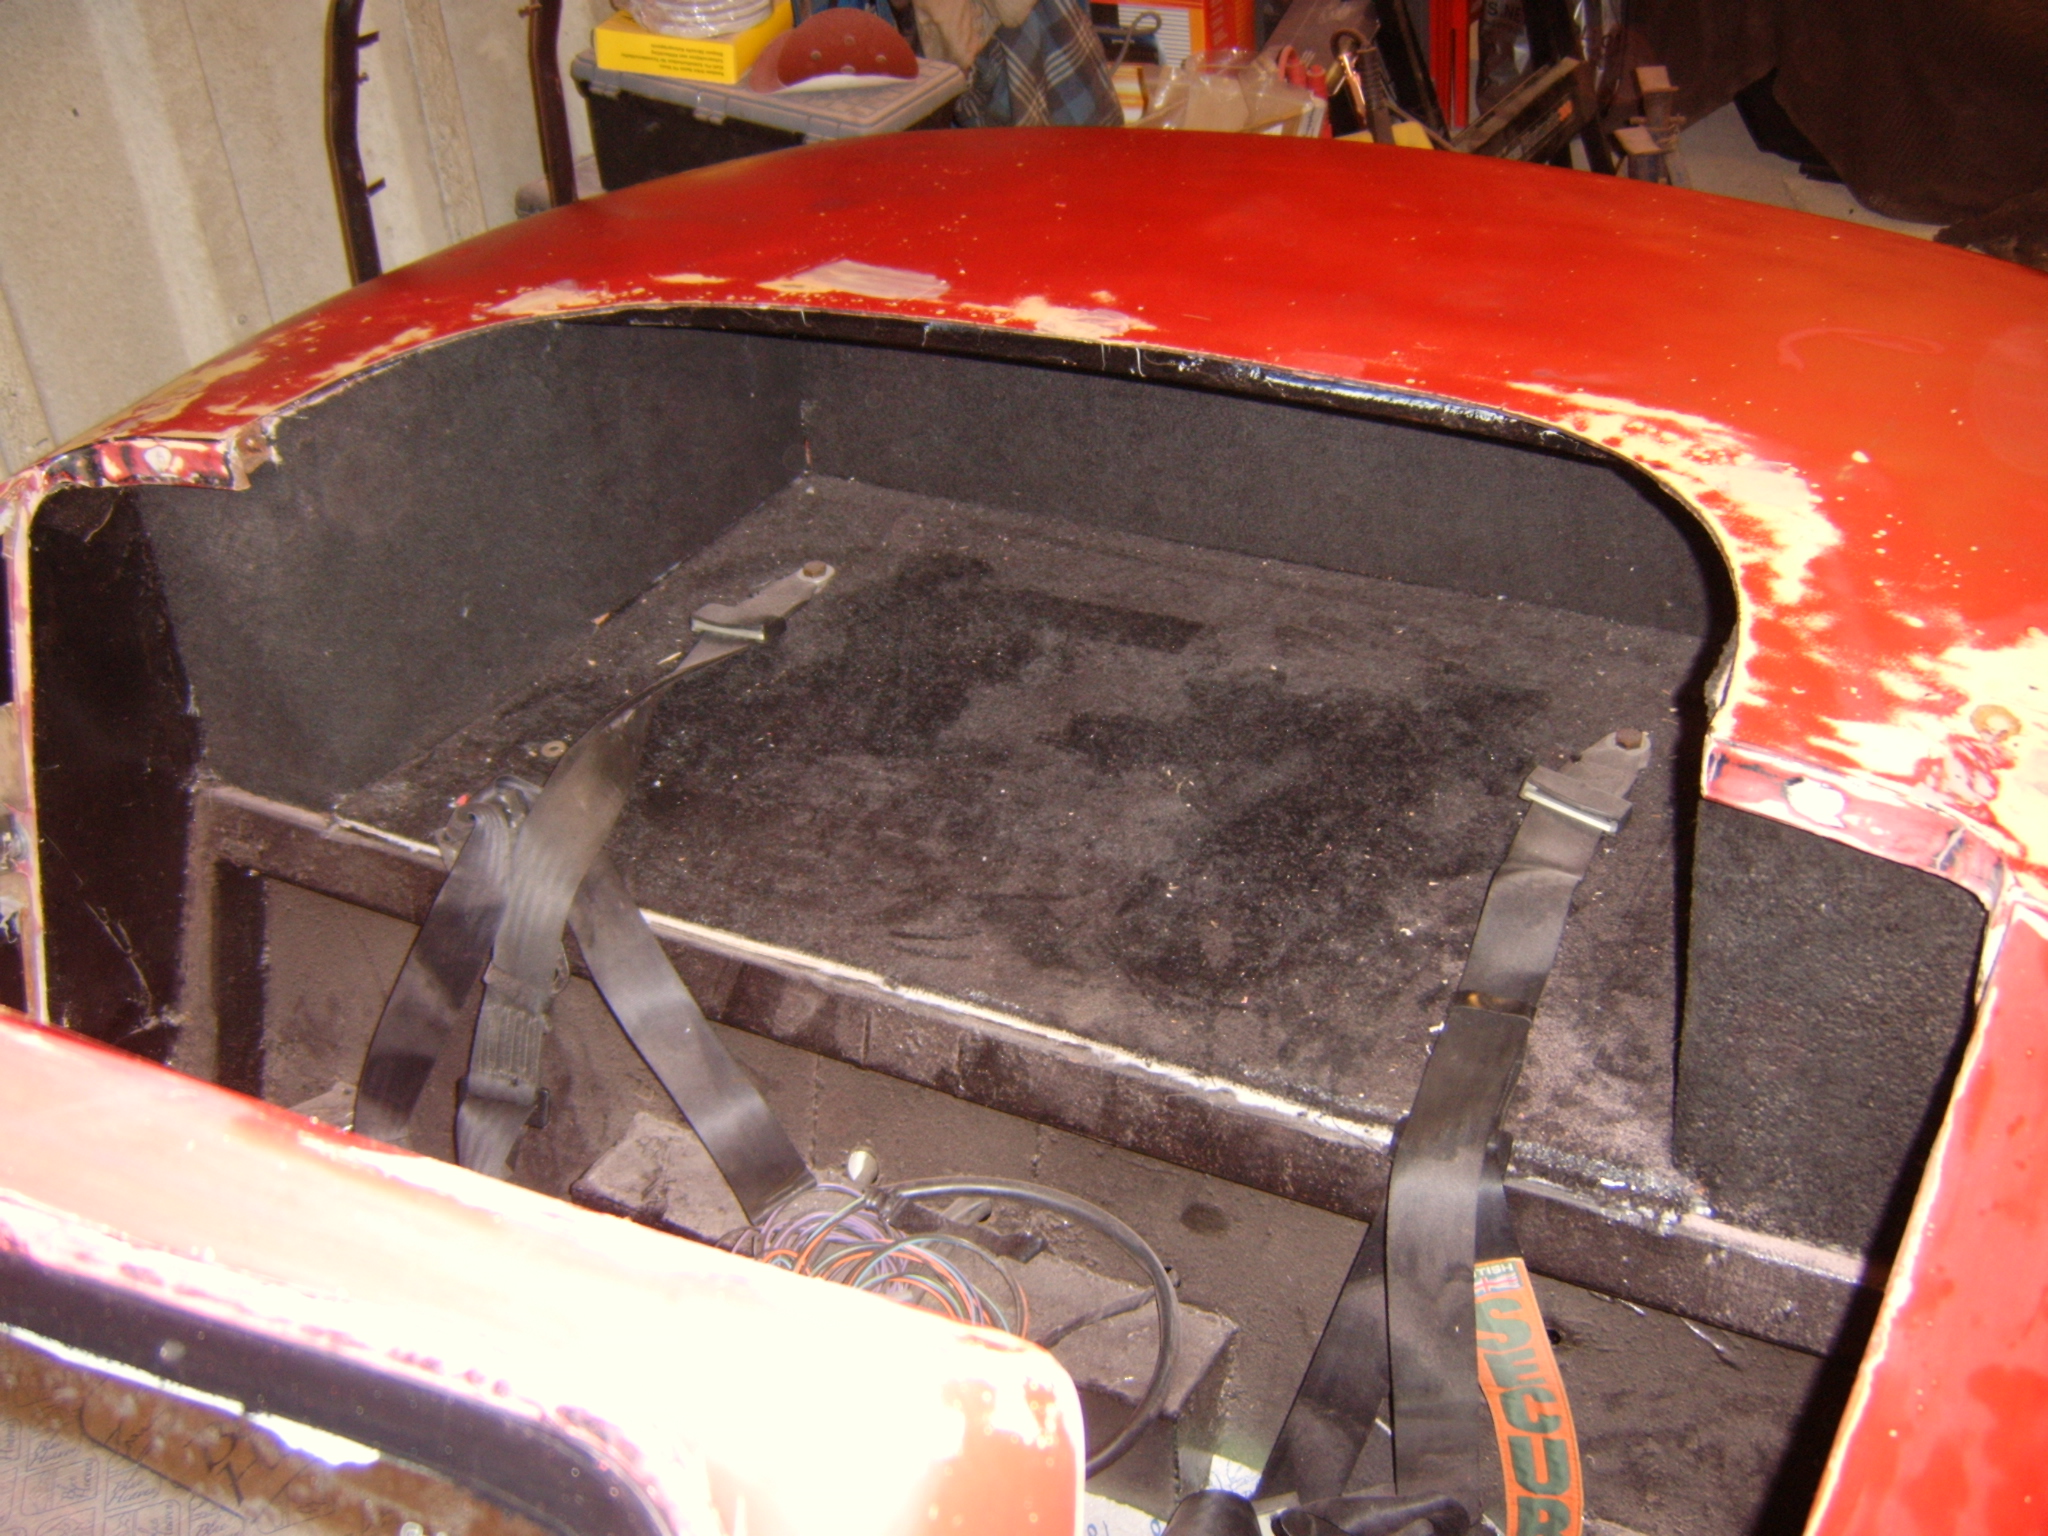
yes the rear, i welded more uprights and then boarded it out with bars across top to support the rear fibreglass body...

really need to design some inner wheel arches tho to be sure....looking at a blue plastic barrel cut aprox 6-8 inches and fitted with flat bar welded to uprights.that way its fitted to chassis not body.

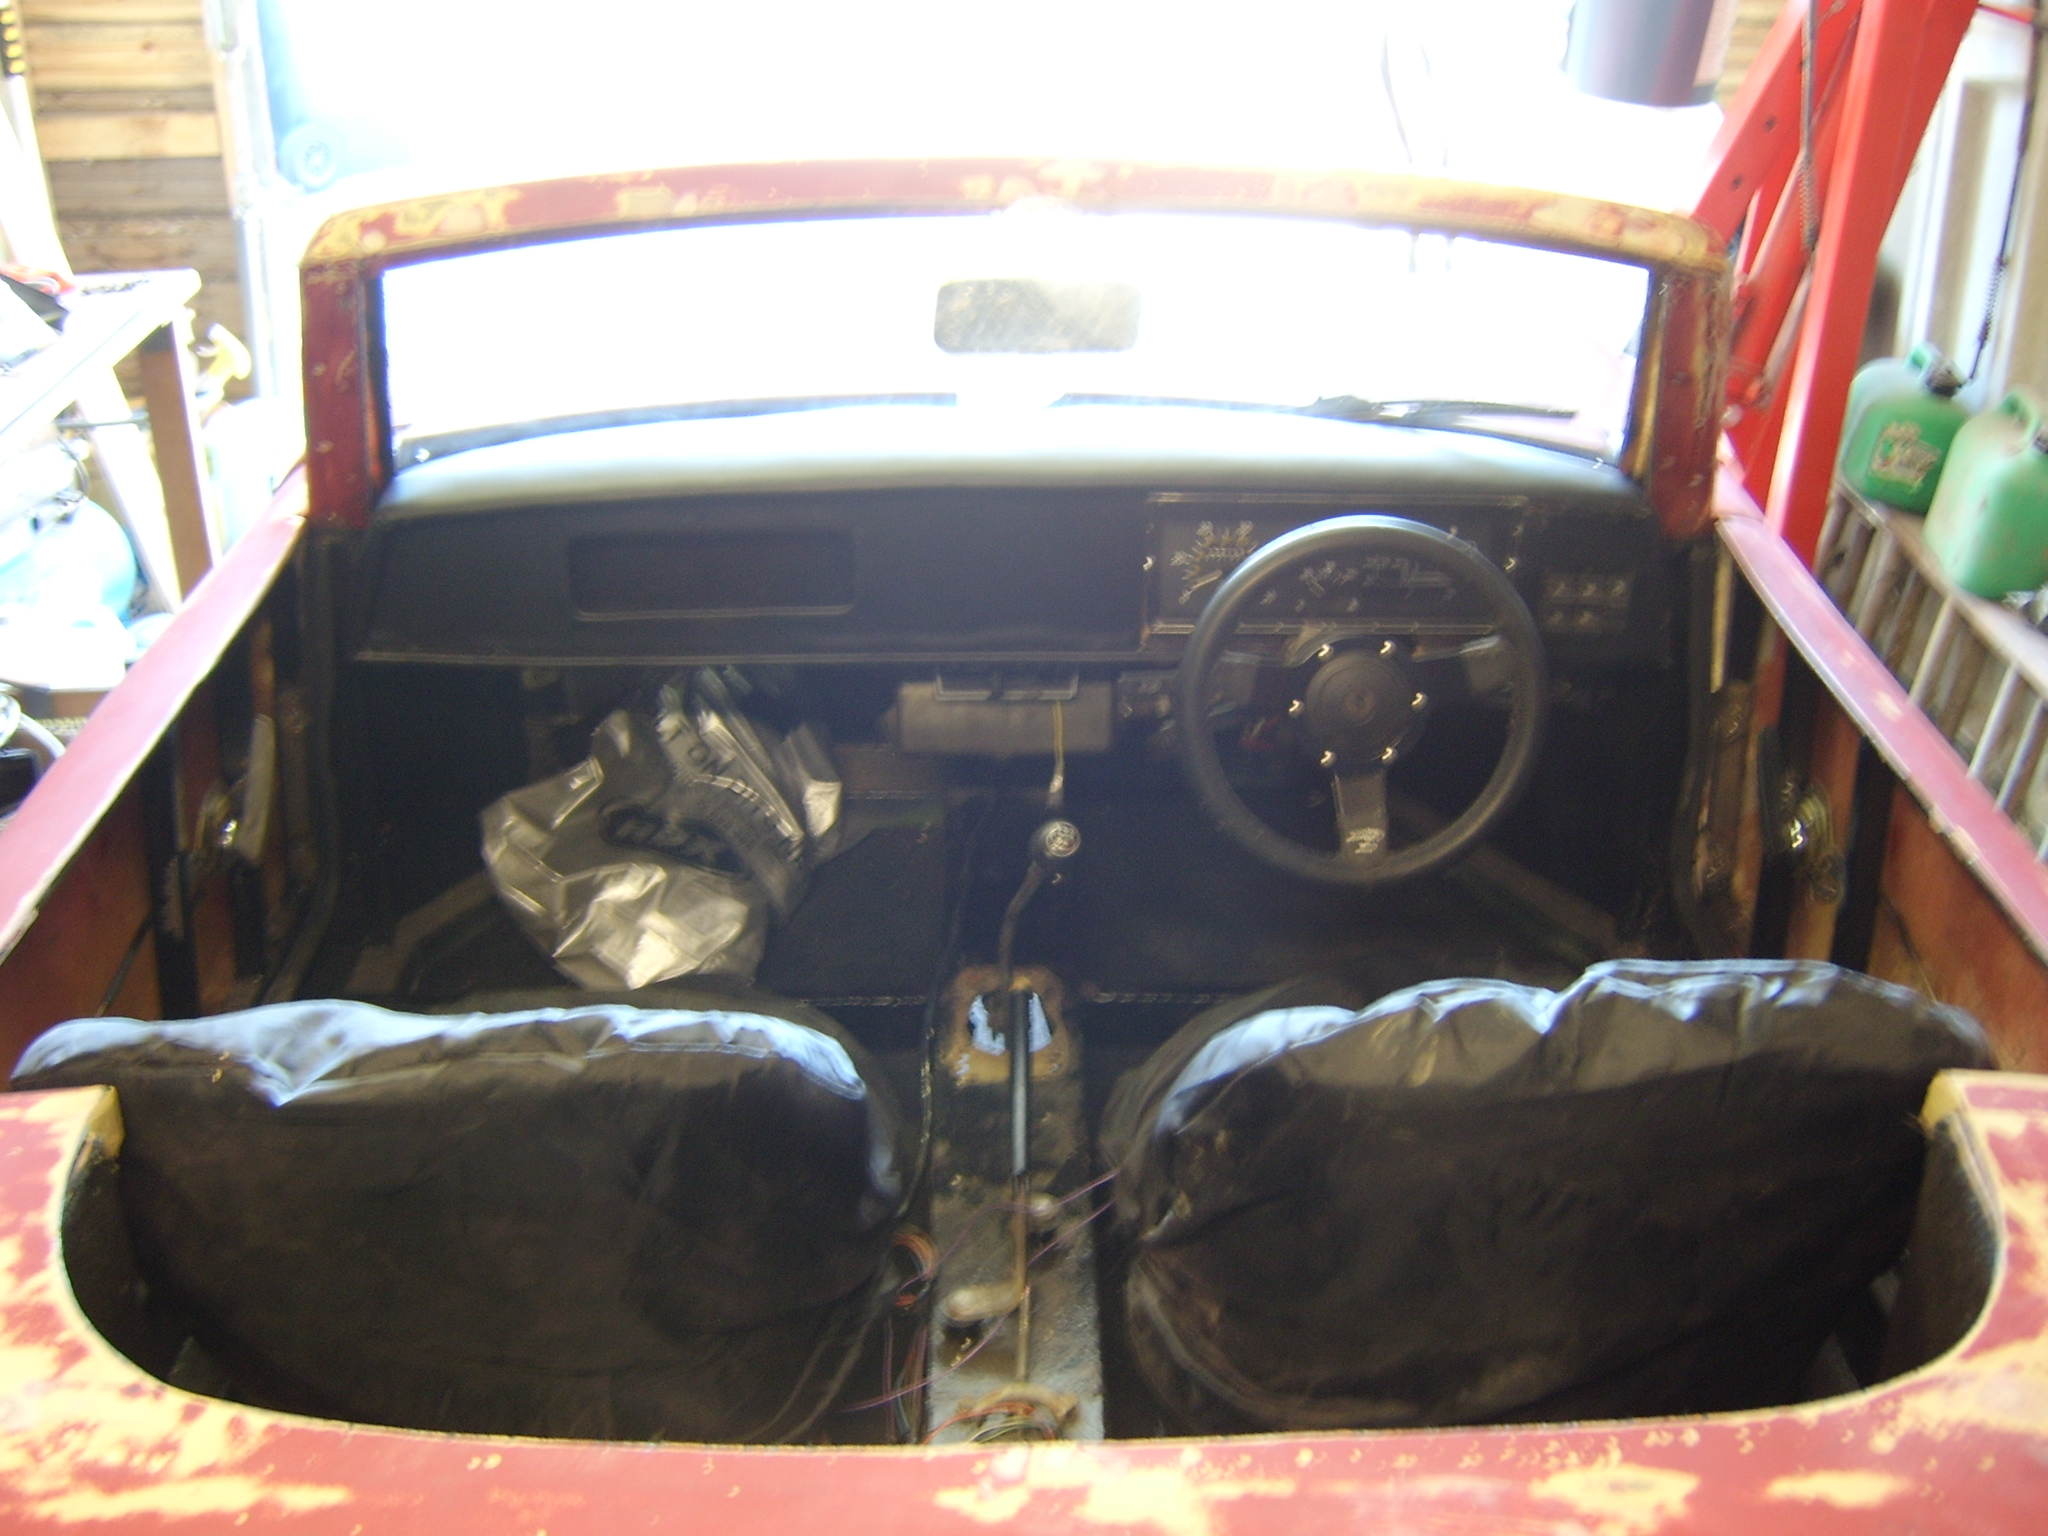
will do a propper run and vid when steering column fitted properly...

yes it does sound mint......vvvrrroooommmmmmmmm.

kevin
 
How did it feel to you Kevin? I thought I could certainly feel the lack of weight as it will go on tick over without stalling even when you let out the clutch fairly quickly, and when you rev it it seemed to leap away, thats the reason I'm trying to keep it as light as possible. Power to weight equals exeleration agility and speed, thats what I'm after, should even be more economical. It's interesting that your going to bond in the screen I thought it easier to fit the rubber seal. It was a bit of a struggle I must admit but I feel it just looks better than I could have acheived by bonding it. Never done anything like that before.:)Steve
 
Just another thought how are you going to get at your rear lights as on mine the only access is through the boot behind the seats? Steve.
 
there will be room under the rear as its not boxed in to the fibreglass, so can lay on back and get hand in there easy. thats why i was thinking of a blue barrel to cut out the curve shape for the wheel arch.

was thinking of rubber seal but not know which to get to fit to car....also cutting the fb down to correct size......

i am going to pre fit glass with little rubber blocks at bottom and sides, then mask of the inside and draw round with a marker, then put masking tape upto line, cut off rest so the bond can touch the screen so when i push the screen in the bond will squash out on inside, smooth off and then remove tape, should be a clean line.

then on out side leave an indent so when i paint the car i can mask off the edge on outside and fill in with bond, smoote of with soft plastic scraper and remove tape, should be a clean line again......

well thats the idea anyways..

the car does feel very light but will test properly when screen n dash fitted so i can put column back and wizz up the street properly....

another vid will be taken,,,

kevin
 
Well it sounds like you've got it figured out The person that had built the car first off had done pretty much what you intend I think, but when the screen got smashed I wasn't sure I could do that. Also thought if it got broke again it would be easier to replace. I was thinking about cutting out a boot lid but will probably leave that for a later date, it's a real sqeeze to get at the rear lights through the boot space, but it's done now. Think the barrel idea should work pretty light too. All the best Steve.:)
 
Looking good Kevin, its the surface preperation that you do at this point that will determine how the final paint work looks. It has to be very flat, any imperfections will show. Unlike metal you can not sand back to the bare metal once you have gone through the jell coat it has to be built back up with filler untill flat, I sprayed a matt black from a tin on repaired areas then sanded back, wherever the paint rubs off is a high point and has to be built up again untill the paint sands off evenly. Once you start spraying it's the same as a metal car. Nice work so far, your catching me. All the best Steve:D
 
I have got a few pics but have to admit I hav'nt done a great deal of late, got bogged down with other things. I have to push the car out of the garage to work on it due to lack of space, it seems that whenever I get time it's freezing or pouring down. Have got some time in may hope to get cracking and nearly up to m.o.t. standard then. Still have seat belts to get and a few other minor parts. On mine the upper seat belt fixing is a nut welded to the roll bar, might be an idea on yours. Little jobs keep cropping up like a small leak from the cam cover, it seems these unforseen things take longer than the big jobs. Still smiling. Steve.:slayer:
 
ok guys, need help here.

i need to move my fuel filler cap, i am glassing up the side hole and want to relocate the cap to be on top.........but i need to locate a new fuel filler cap/neck from alloy or steel but cant find any thing right....

any ideas anyone......

kevin
 
Kev
You could look at a Triumph TR4 filler cap as it mounts flush on the centre of the car and its a flip top design
Dave
 
Well all the lights are working, wiper, washer, horn....

whats so special about that you ask......

i had to rewire the rear end for the sierra lights, used the blocks from an old wiring loom and had to solder to mine........what a job...

all sanded down, carpet in and seats in.......screen in......

as you can gather by now its not far off MOT attempt, gonna be hoping to get it booked in within the next 10 days becaus i have a friend who has blagged the 2nd,3rd of june for me to use his work place to spray the car......will be fun.

will post some picks of it all together befor MOT and spraying, then some after....

just to keep you updated....

kevin

PS, Steve, did you use an isolator before primer paint., will be going shopping for paint this weekend ready....not sure how much i will need and of what.
HBP
Paint
Clearcoat
thinners

cheers.
 
Hi Kev no I just rubbed everything down Filled it in as mine had a lot of damage as the guy before me thought that an an angle grinder was good on glass fibre, it is'nt. I used basic primer filler, 1 litre was enough. then as mine is a candy mettalic I used about 1 and a half litres of base coat, this is not thinned down then about 1 and a half litres of laquer, this was bought in a 5 litre tin. So plenty left. Hope this helps. Get the base absolutely flat before you spray as you can't hide any imperfectionds with the paint no matter how hard you try. Believe me I know. Good luck. Steve.
 
Well i got my BOB from a cinq....

£10 from motorhog in doncaster, well happy can do the stuff to finis off under the bonnet,

i finished wiring the front light yesterday so all wiring done bar the brake pedal switch.

things to finish for mot:-

fit wiper(found that the splines are worn)
secure pod in dash
bolt the harnesses in
re bleed brakes

and a general double check over......not much really but its booked in for friday 1st at 10am for MOT.......nervy moment.

all goes well then its painting on the sat/sun....

will take some picks today in the sun.

kevin
 
well this is how it looks to date, not put headlights yet in case they get damaged, these are sealed beam units and good quality...

just few minor jobs left.
bolts for harnesses(side fixing bolts)
new pipe for bob and get cone filter for now
finish the bespoke filler spout
re bleed brakes to make sure
cant think of owt else at mo....

took it up the street today as well, man it felt good to drive it, went quick n all.

kevin


Try putting some bearing lock on the worn splines of your wiper. It's worked on other cars and you can still get it off if you have to.
 
Hi guys, the onyx is been painted at the moment so was thinking of things i need to check.

1, it rides high at the front and after reading emails from the chap i got it from said he chopped the front springs down to equal the ride hight, now i feel i may have to do same or is it best to get new smaller springs....

2. i get the dreaded injector light on dash, can anyone advise as to which lambda sensor i need, it currently has a 4 wire one fitted to a 998 spi 1994 panda parade engine with 2 black connectors at other end.


3. i noticed a wining(not constant) from the gearbox and struggled to get into third(its the 750 4 speed box fitted to the 998 engine), was going to change the oil for sure but could i open the gearbox and have a look, if so what to look for ???in regards to the internals or best to take to gearbox shop.

if i have to fit the 5 seed box(with internal cable driven) it means removing the engine as i need to modify the steering rack position for the bracket that the levers to connect to ( its too low down at moment) so its a full job if i have to,

could lower springs whilst engines out to do gearbox change.

any thoughts anyone

kevin
 
Last edited:
Can't really help with the gearbox problem, but if your running full length front springs you will certainly have to cut them down. Mine are six and a half inches. this gives a gap up two and a half inches from the top of the wheel to the arch with the bonnet in it lock position. Mine has fourteen inch wheels so might be slighly bigger using thirteen inch wheels. The car will probably settle a bit more when I start to use it. I found this with other kit cars. Cutting down the springs not a problem as the car is lighter now so no longer needs the full travel. Hope this helps. Steve.
 
Back
Top