General New Member, Uno Cento

Currently reading:
General New Member, Uno Cento

bouval

New member
Joined
Mar 3, 2013
Messages
19
Points
3
Greetings Fiat land!

I am new here and would like to intro myself

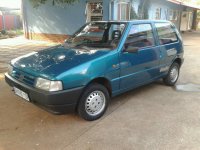
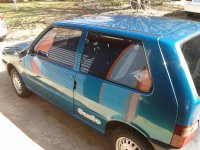
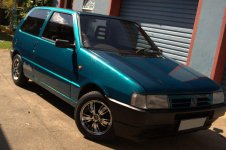
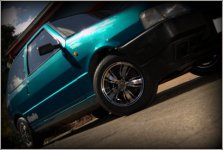
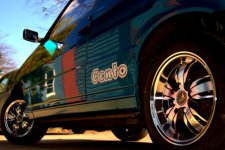
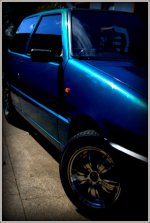
I own a green 97 Uno Cento. My children affectionately named it Snot and its nickname stuck :rolleyes:. Snot is my second Uno, I had a real gem of a modded Uno Fire in my university days. Hopefully Snot wont stay to stock for very long either. I have some ideas for the interior and wheels :idea:
 
Hi Alex

My Uno is actually metallic green, but you have to love a child’s mind. Anyway, Snot should be back from an engine replacement this week. I upgraded Snot’s 999 to an 1108. And 10hp if I remember correctly.

My red varsity Uno’s mods:
1.2 Mpi engine from a Fiat Palio
Palio dials and aftermarket tacho
15” Wheels and 195/45 15 rubber
Autostyle grill
Custom hood
Custom exhaust system
Huge Sound
40mm drop all round.
The 1.2 was good for around 170 kph on the 1108 gearbox.

I won’t go that route again with this Uno. I am too old for bleeding eardrums, bruised kidneys and speeding fines. I plan on 13” chrome wheels, and some cowhide on the seats. The interior needs some tlc. Maybe some ICE, window tint…
 
How about 14" Maserati Biturbo wheels. ?
gbfd-24.jpg
 
@ johorridoh
Sweet.:yum:
Those are the biz mate, pity they are not 13's though.
 
Snot is still in the workshop :(. I miss my car. Anyway if I drill into the metal of the car, what is the best way to prevent tin worm aka rust? I got a sweet audio unit as a gift from my family:D. I need to get +12v into the cabin and have to drill throug the firewall. The Cento model is super basic and doesnt have an audio harness. Any help is welcome
 
Last edited:
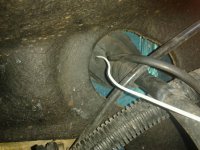
There will 100% be a grommit in the bulkhead already where the loom goes through or the throttle cable, you do not need to drill anything, or just get a feed from something inside the car, on the mk2 uno's in the uk the basic looms had the connectors for things that were on the bettermodels so you may fine a plug with a +12v feed inside the cabin somewhere.

Dan
 
Thank you for the info Dan

Snot is back from the shop!!:)
The 1108cc sounds very good. Pulls nicely too. I will post pics tomorrow after Snot has been washed. :eek:.
 
Here he is. Ladys and gents introducing my Uno Cento, Snot!
1362809338763.jpg
 
Last edited:
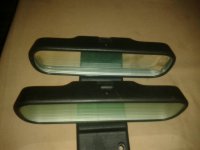
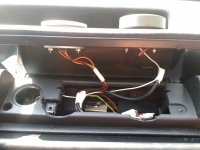
I did some breakers yard diving yesterday. Spot the difference
1362820072252.jpg
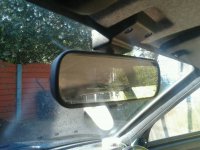
Nice
1362820139923.jpg

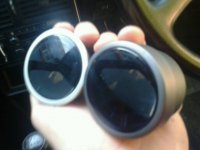
Did someone say Wall-e?
1362820213788.jpg

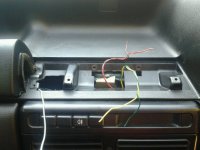
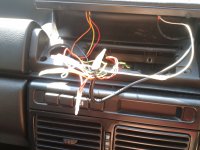
Green wire goes to.........uhh??:confused:
1362820274645.jpg

Nice one Dan. Thanks mate
1362820364487.jpg

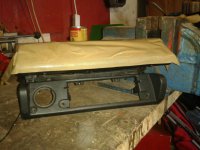
Ashtray cover prepped for surgery
1362820464762.jpg

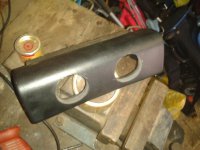
After surgery
2013-03-09 09.34.30.jpg

Yikes! Uhhhh green wire does what?:eek:
2013-03-09 10.15.43.jpg

All better.(y)
2013-03-09 10.22.42.jpg

Nice one!!:slayer:
2013-03-09 10.27.45.jpg
2013-03-09 10.28.25.jpg
 
Last edited:
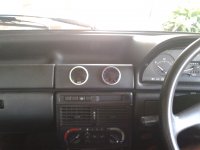
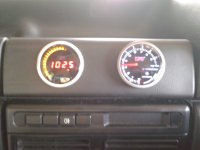
Yes just like EssexUno said, I found +12V and GND on the fuse box in the cabin. Just imagine all 6'3" of me behind the dashboard :D. The dial kits only had about 200mm of wiring loom, so the soldering was a real pain. The white wire from the engine bay is the tacho pickup on the coil negative.
 
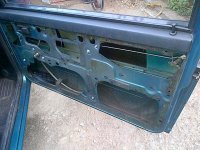
These door cards are in a bad state. Most of the plastic retaining clips on the driver side is broken or missing. I can see the inside of the door when it is closed. :eek: The passenger side is no better.........
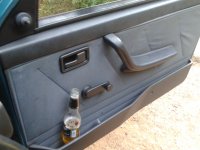
2013-03-22 16.17.46.jpg
Another beer and few minutes later.
IMG-20130322-00107.jpg
Uhh....a bit messy:eek:
IMG-20130322-00108.jpg
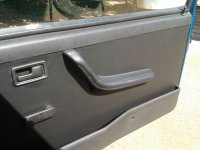
15 years of use made the door cards very dirty:eek:. The new vinyl was a gift from my wife:yum:
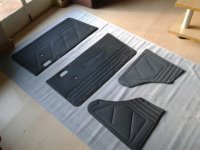
2013-03-22 16.57.15.jpg
Time to prep the cards. The old plastic is removed from the cards. The smooth side (old inside of the cards) will be covered, see next pic. I cover all the holes with some heavy duty tape.
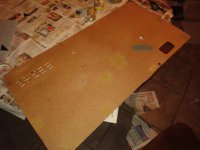
2013-03-22 20.09.16.jpg
The lines on the cards are where the old plastic was attached. The new vinyl is glued to the old inside of the cards. The vinyl will show absolutely every imperfection, prep well!! Leave at least 2 inches of overlap... and use loads of contact adhesive...
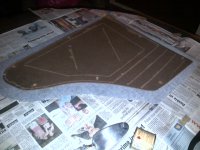
IMG-20130322-00112.jpg
A couple of hours and some very sore fingers later. Some advise here, beer and contact adhesive fumes does not mix together well......:spin::nono:
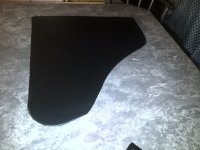
IMG-20130322-00111.jpg
The next day.
I test fit all the cards. note the small exposed area on the right that the old plastic used to cover...
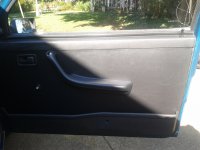
2013-03-23 08.46.45.jpg
Sweet ass:slayer:
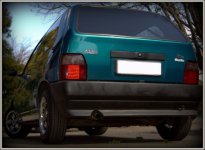
2013-03-23 09.40.18.jpg
 
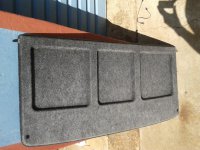
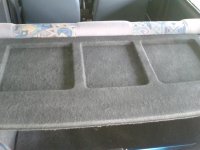
The parcel shelf has been hit hard by the sun.
1backbord.jpg
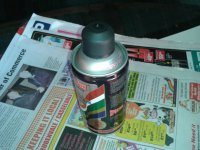
Some cheat spray:eek:
2PaintCan.jpg
Not bad....
3BackbordInCar.jpg
 
Snot is high!!:D
Ha Ha
4SnotHigh.jpg
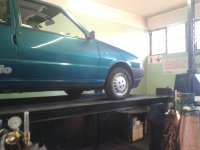
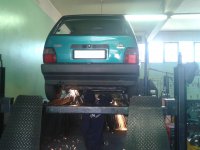
Some exhaust mounting hooks were made from bolts. I found some broken rubber exhaust mounts as well. FIXED:slayer:
5OnRamp.jpg
 
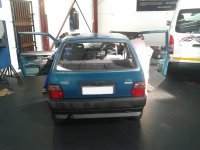
It was a busy weekend for Snot
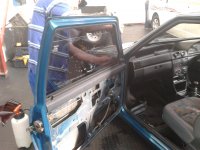
7TintDismantle.jpg
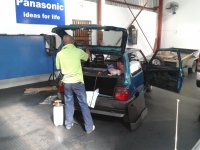
The workshop techs busy dismantling the doors
8DarkTintProc.jpg
9TintBackWindow.jpg
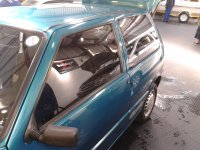
Time for window film!! I chose 35% VLT still legal in South Africa(y)
10TintDone.jpg
Done, great job.
11TintOutside.jpg
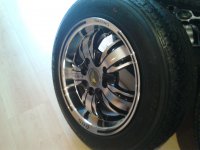
The tint is great but those wheels are bit off...:eek:
6NewBoots.jpg
Sweet. I got 13" wheels with 165/65 boots
12WheelsButtUp.jpg
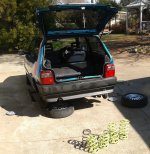
Snot with his butt in the air:). New 40mm lowering springs ready to go. The car sat to high on the stock springs. Then my mobile battery died:mad:, sorry no more pics of the springs install.
17WheelBrag5.jpg
Looking good Snot old boy.

Some brag pics. Rock star!:slayer:
13WheelBrag1.jpg
14WheelBrag2.jpg
15WheelBrag3.jpg
16WheelBrag4.jpg
 
Last edited:
I know it has been ages since my last update......... my apologies :eek:

Anyway here are a few more mods I did

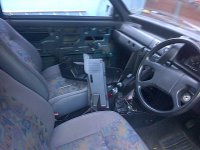
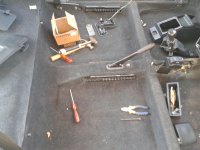
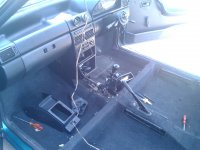
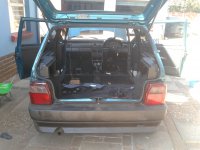
Old Snot's interior was stripped...
Ints1.jpg
ints2.jpg
This is hard work.... :p
Ints3.jpg
And messy...

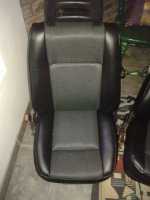
The seats were re-upholstered... looks great!(y)
seat1.jpg
The roof liner got the same spray-can treatment as the parcel shelf

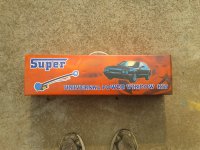
Power windows!
Nice kit... everything needed is included
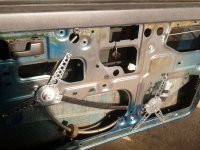
pw1.jpg

The winding mechanism is secured with self-tapping screws
pw2.jpg

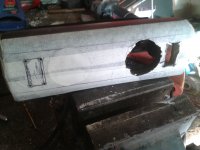
The ashtray came out again for more surgery.
Pw3.jpg

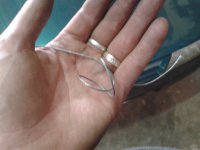
My improvised plastic hole saw. Ha ha. It got the job done...
pw4.jpg

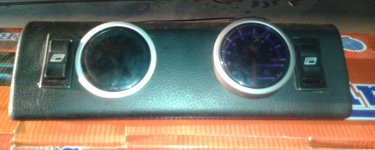
The switches sits snug on both sides of the tachometer and clock
pw5.jpg

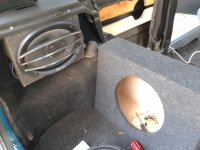
Time for some speakers.
Sub box and the 6x9's
I made some brackets to hold the 6x9 boxes secure in place
spkrs1.jpg

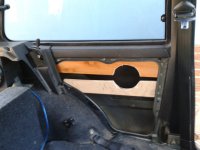
I made rear speaker mounts from some cutoff timber pieces
spkrs2.jpg

But the result is OK
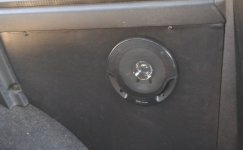
6" mids.
spkrs3.jpg
 
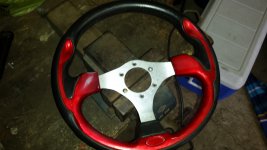
Time for a new Steering Wheel

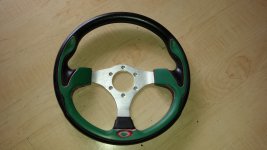
I had this red one from my old Uno.... but the color wont match Snots new black interior.
swe1.jpg

After an hour or two of sanding and rubbing....:rolleyes:
swe2.jpg

Masked of.....
swe3.jpg

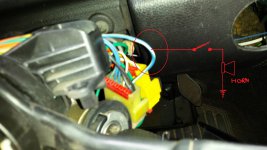
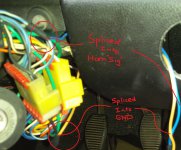
Then I noticed that my new steering hub adapter does not have a proper grounding point for the horn. $%&#@( piece of cheap #*@$#..... OK new plan. The horn switch will move to the dash next to the steering wheel.

The basic diagram of the horn system on a Uno
swe4.jpg

The brown/blue wires, will be connected to the steering wheel horn switch
swe5.jpg

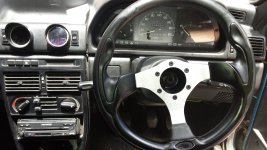
The steering wheel is installed after a few coats of paint.... not looking to bad...:p
swe6.jpg
 
Back
Top