Superb effort Katie---major progress from when I first met you and looked over your car. Will be good to see it around at some of the local shows, of which we have quite a few up here in the North.
Thanks Tom. We can't wait to show it
")


Superb effort Katie---major progress from when I first met you and looked over your car. Will be good to see it around at some of the local shows, of which we have quite a few up here in the North.


Really glad to see you haven't given up Katie.
I know how you feel with these long projects.
Sometimes life changes from when you start a project. That's why there are so many unfinished projects hidden away or sold off.
There are times when you just need a break and times when you just don't seem to be getting anywhere.
Im really impressed with the work that you have completed yourself and you should be extremely proud.
For the level of detail you have gone for I think you have taken the correct option for getting the shell finished.
Its a hell of a lot of work to get the bodywork right. And then to paint it yourself you run the risk of getting the finish wrong, runs, dry paint, contamination etc.
Im sure you would have succeeded but at least you will get it finished and 2 pack is better than cellulose in my opinion.
As you know I have had my last 2 projects sprayed by a professional. I used to paint cars for a living but I know the cost of equipment and the paint (especially if it goes wrong).
Now you will be able to get your garage clean ready for when your car comes back all nice and shiny.
Keep up the good work.
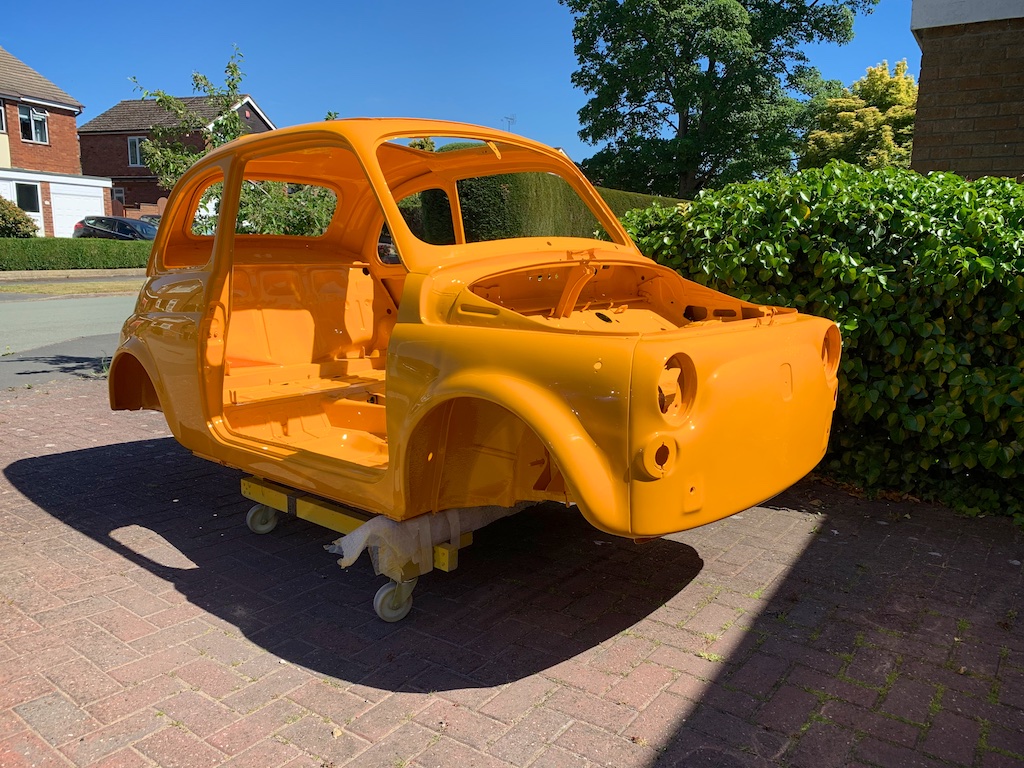
We have learned a lot so far from doing this project. Besides the skills, one of the main things is learning what we are good at and what we enjoy doing. We make a great team as these are different for each of us. The bodywork was enjoyable to do for the first few months and progress was satisfying but after 2 years, that changed. The project started to restrict the use of the garage due to the dust and felt a bit like a burden at times. That was a shame as we have loved doing the rest of the project. I am now convinced that we've done the right thing and next time (if there is one) I would make that decision earlier in the project. Apparently, for good coverage, I chose the worse colour and it requires more coats than usual. It does look amazing though 


Simply amazing
^^^ x2 I couldn't put it any better. Really excellent and an inspiration to us all. :worship:
A couple of tips (a little late, I know, but you might try them in future?):-
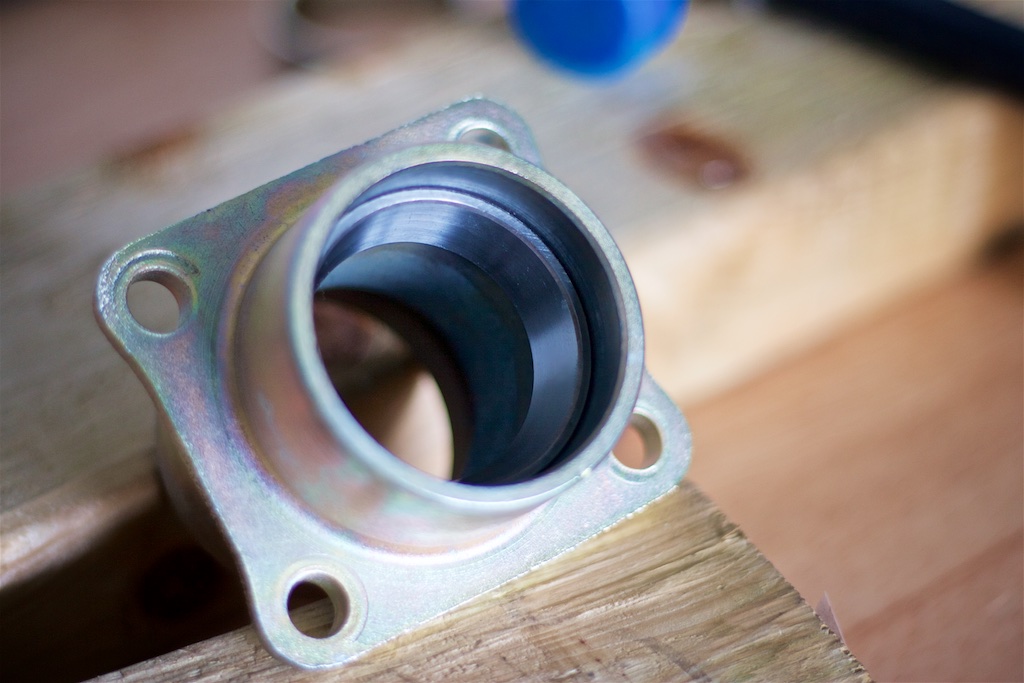
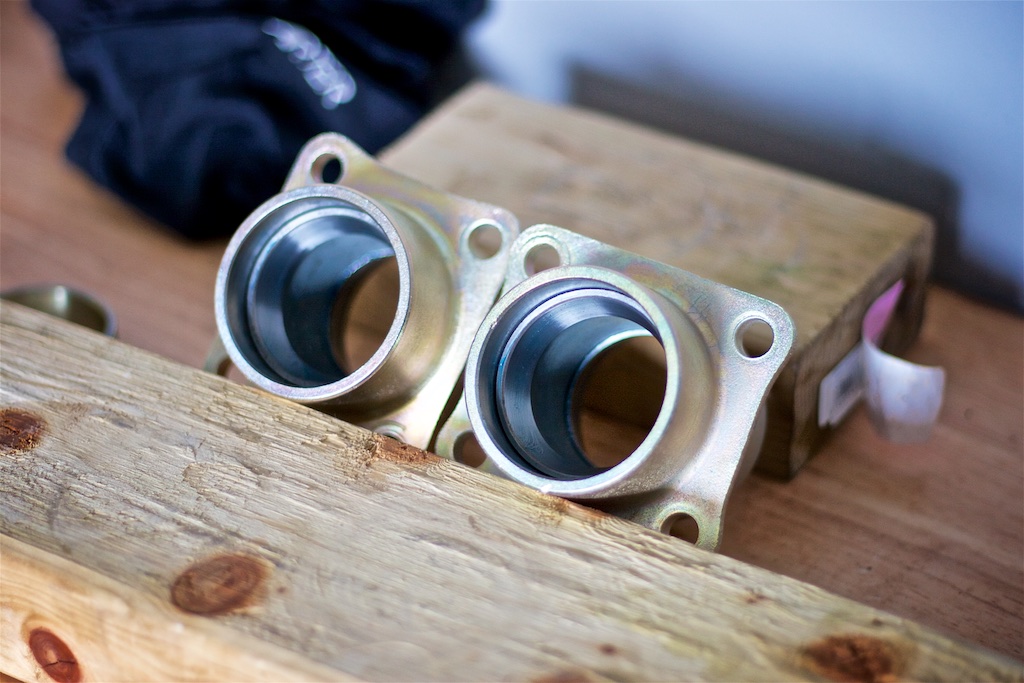
When using special tools to press out e.g. suspension bushes, use the largest diameter threaded rod that will fit through the bush holes, I suspect you could have used 10mm on the 500. Alternatively, omit the threaded rod and just squeeze the special tools in your bench vice. (the old way for removing/refitting bushes was to use a small and a large socket in a bench vice).
When masking up complex shapes, I've used grease/petroleum jelly applied with a finger or a small brush instead of tape. After the paint has dried, simply wipe away the grease and the unwanted paint.
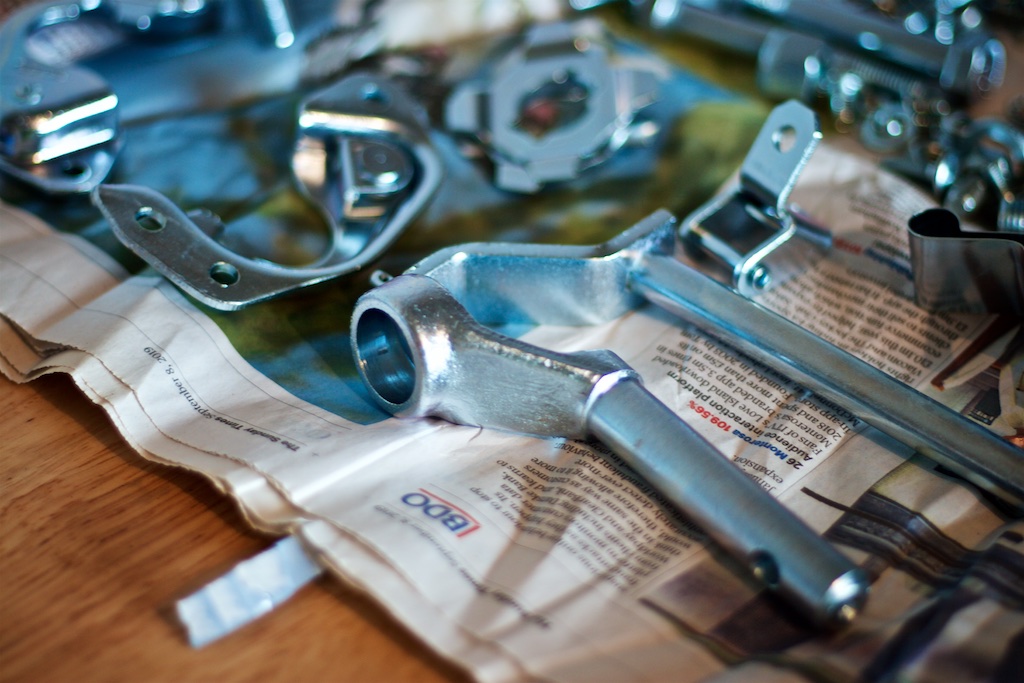
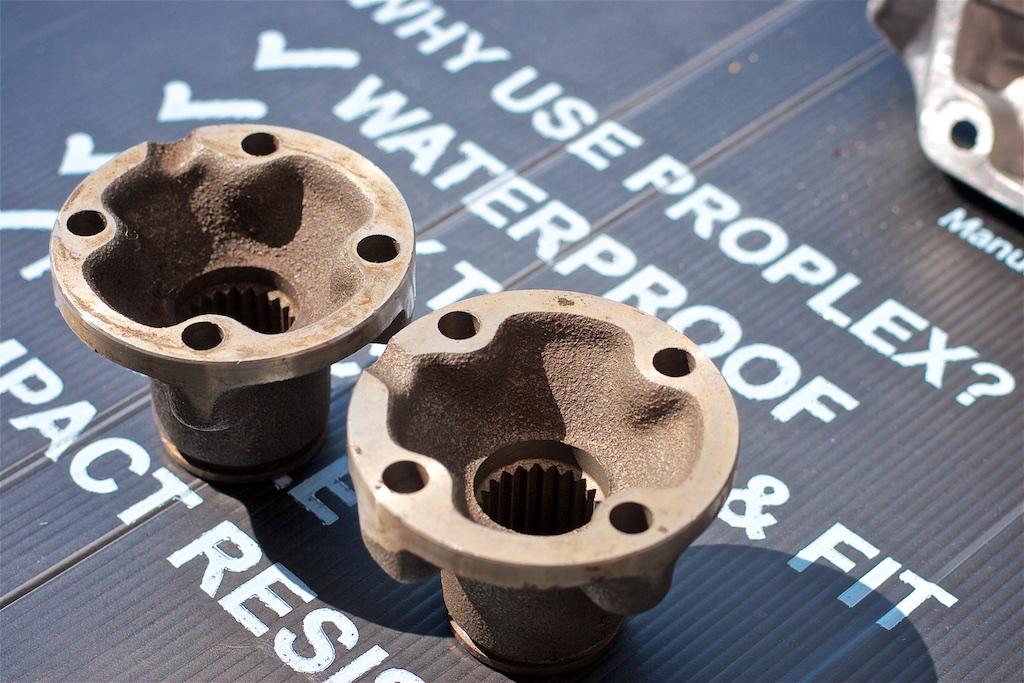
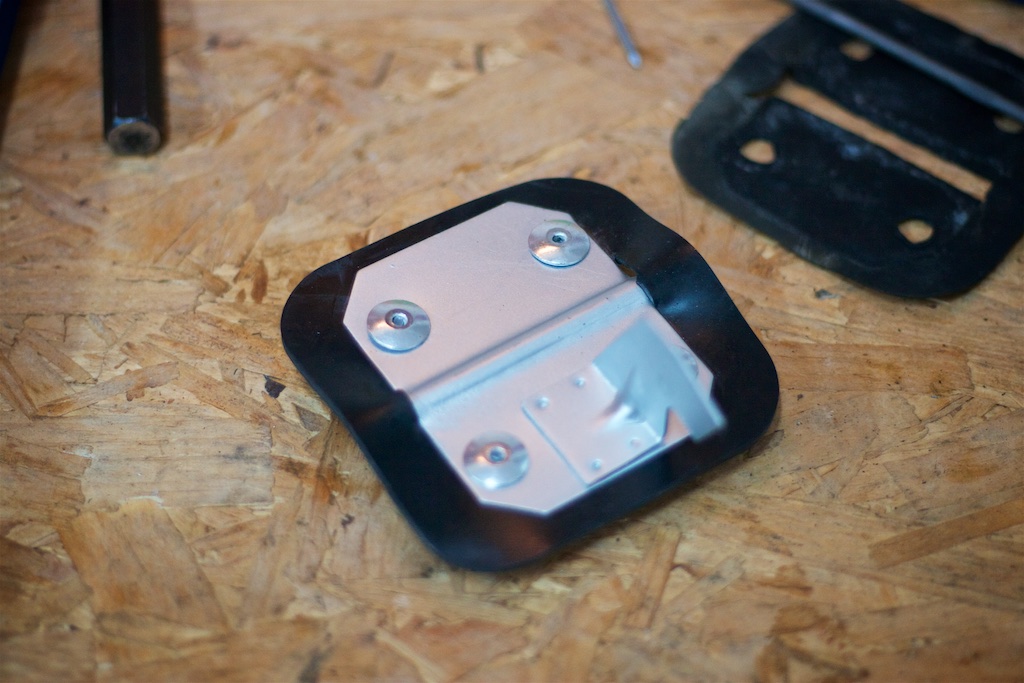
You did a lovely job on those brake drums, they're now almost too nice to be hidden away behind the wheels!
One nice touch, that you might consider? :- If 'Buzz' hasn't yet received his new coat (of paint), you might still have time to get a metal model of the 500, mask off, sand/prepare and prime it and give it to the bodyshop to spray in the exact same colour as your car. This way, you'll always have an exact model replica of 'Buzz'.
Al.
But will Katie be able to find 'the model' that has been made to her exacting standards? Or, will she want to strip it down and re-build it?


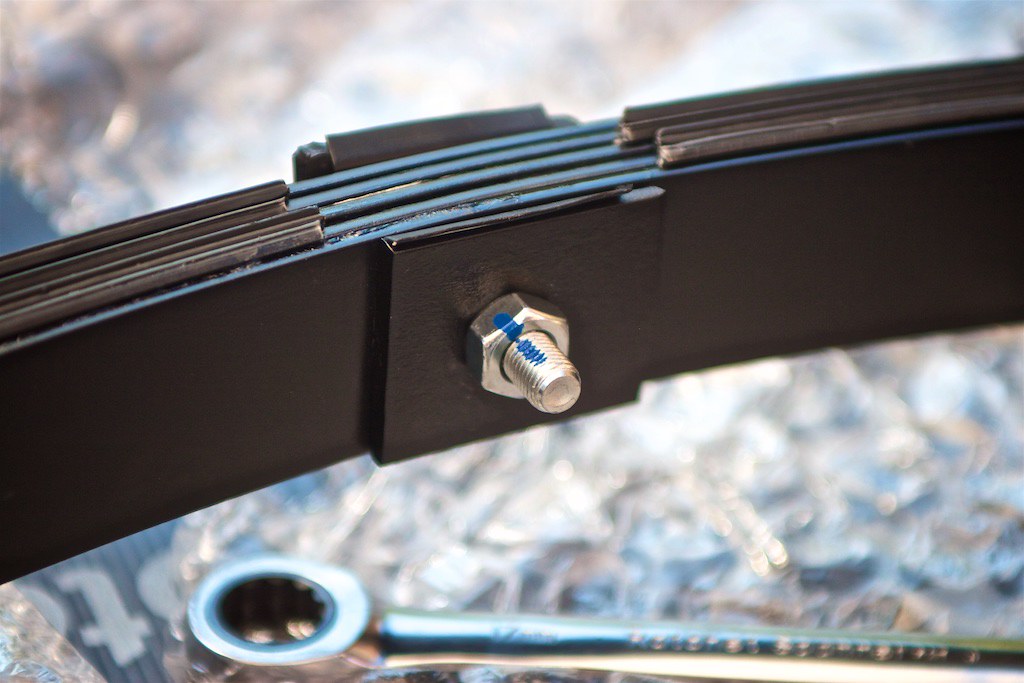


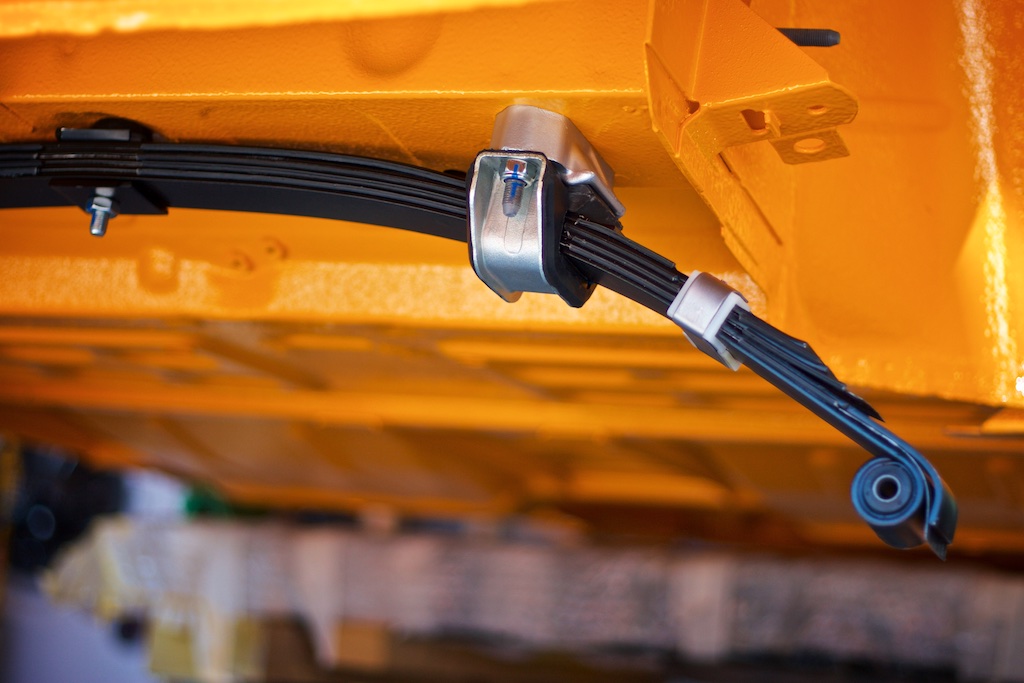
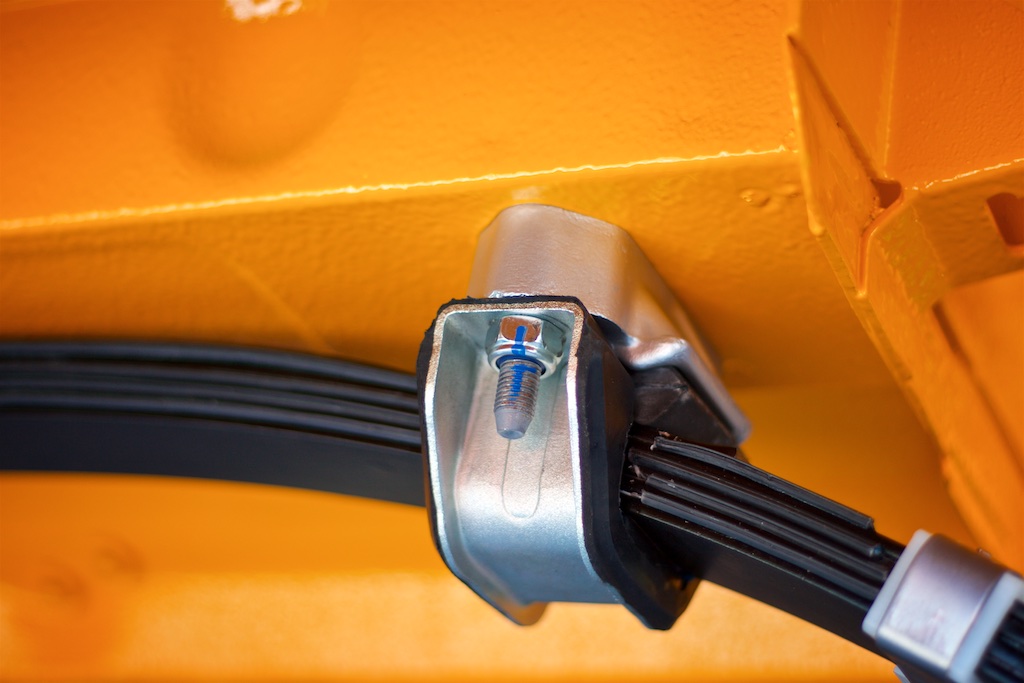


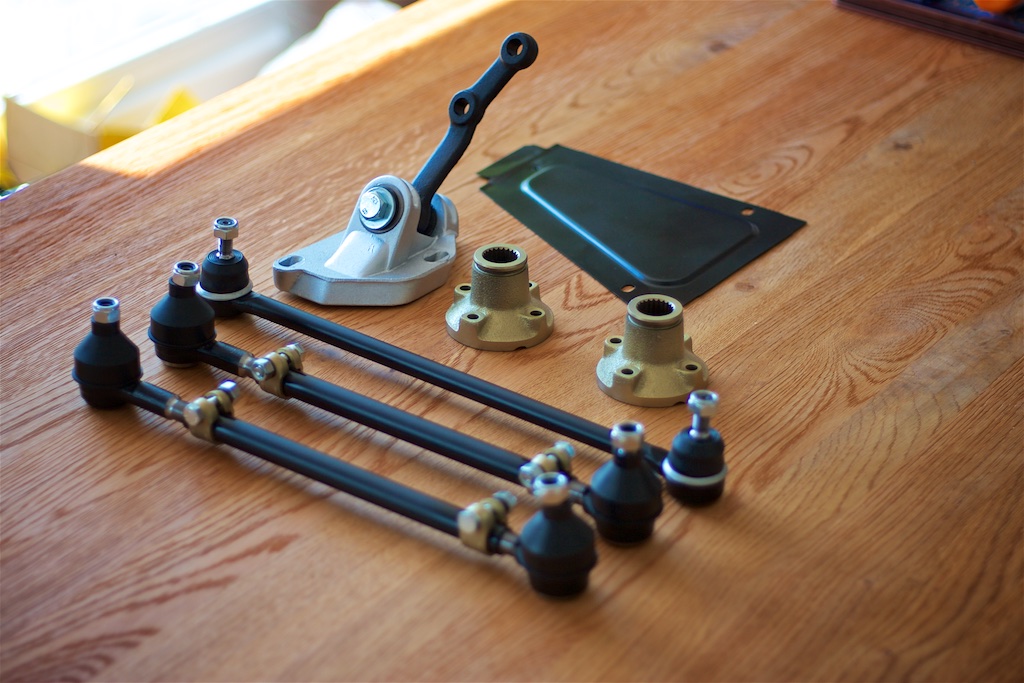
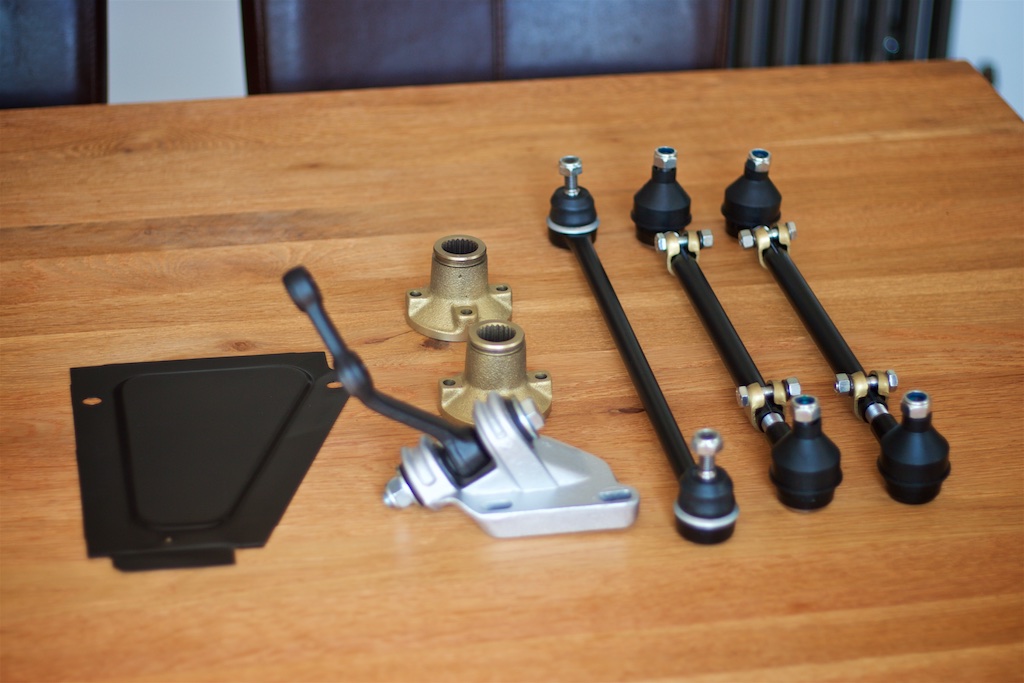
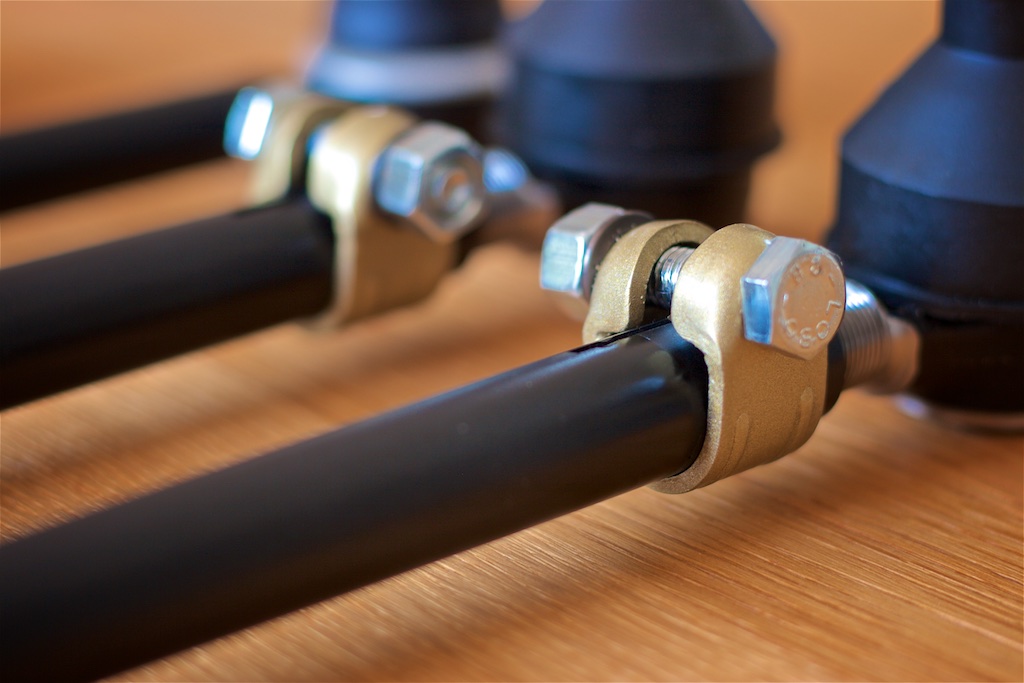
Katie, not meant as a stupid question----is your front spring the original (i.e.ex factory) or is it an 'after-market' spring (patern part)? The reason that I ask this is that very few of the 'patern' parts have the top leaf in the middle---they can be up to 10mm out! If the top leaf is not correct, the locating 'humps' will not corectly locate the spring, which will give you a real headache when it comes to setting up the wheel-alignment. The trick is to measure the distance between the centre of the the locating 'hump' (in the top leaf) and the centre of the bush at the end of the spring---this distance MUST be exactly the same. The cure is fairly simple, just a bit tedious. The reason I know about this? I suffered this problem when we re-built the front-end of my car.
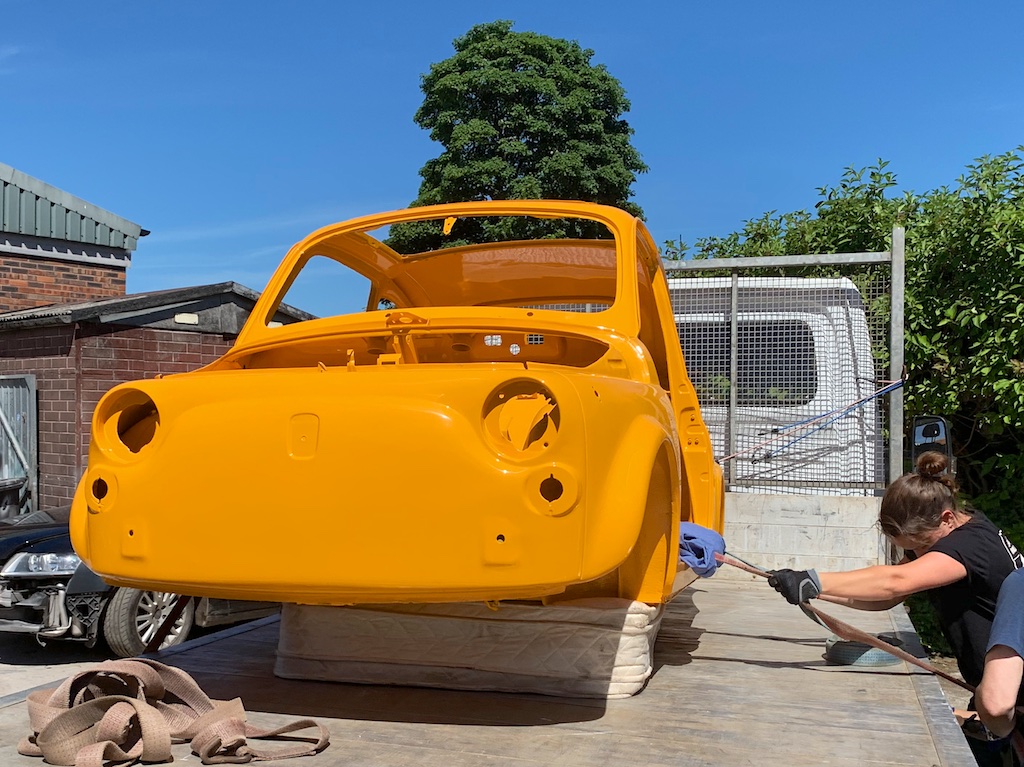
Looking great! and very orange