20170329_140234.jpg

Panda (Classic) I'm Back With The Panda 750L 1991

Introduction

My Story

Hi folks, its been a while since I had a panda after selling Purple Haze the Parade and Engelbert the Sisley (to Freebo ) the former I sold because my wife was pregnant and I felt (wrongly) that I needed a bigger (and to my mind at the time safer) car for ferrying my son and wife around in.

A very short while after I sold the pandas I developed Generalised Anxiety Disorder, I have had it now for nearly 2 years and I am FINALLY starting to get better it seems. The paranoid thoughts that I was going to put my son and wife in danger in the panda were part of this in my opinion.

Selling the Parade was a huge mistake on my part (and as older forum members were know it was subsequently written off in a low speed crash by the new owner) though the Sisley is much better off with Freebo as he appreciates the 4x4's (they are not to my taste on the open road but are amazing in a field IMHO) and I have regretted it. I have not had a car for some time now partially due to my illness and partially due to the fact I have lost my job due to my illness, though as forum members will remember I am a Youtuber too.

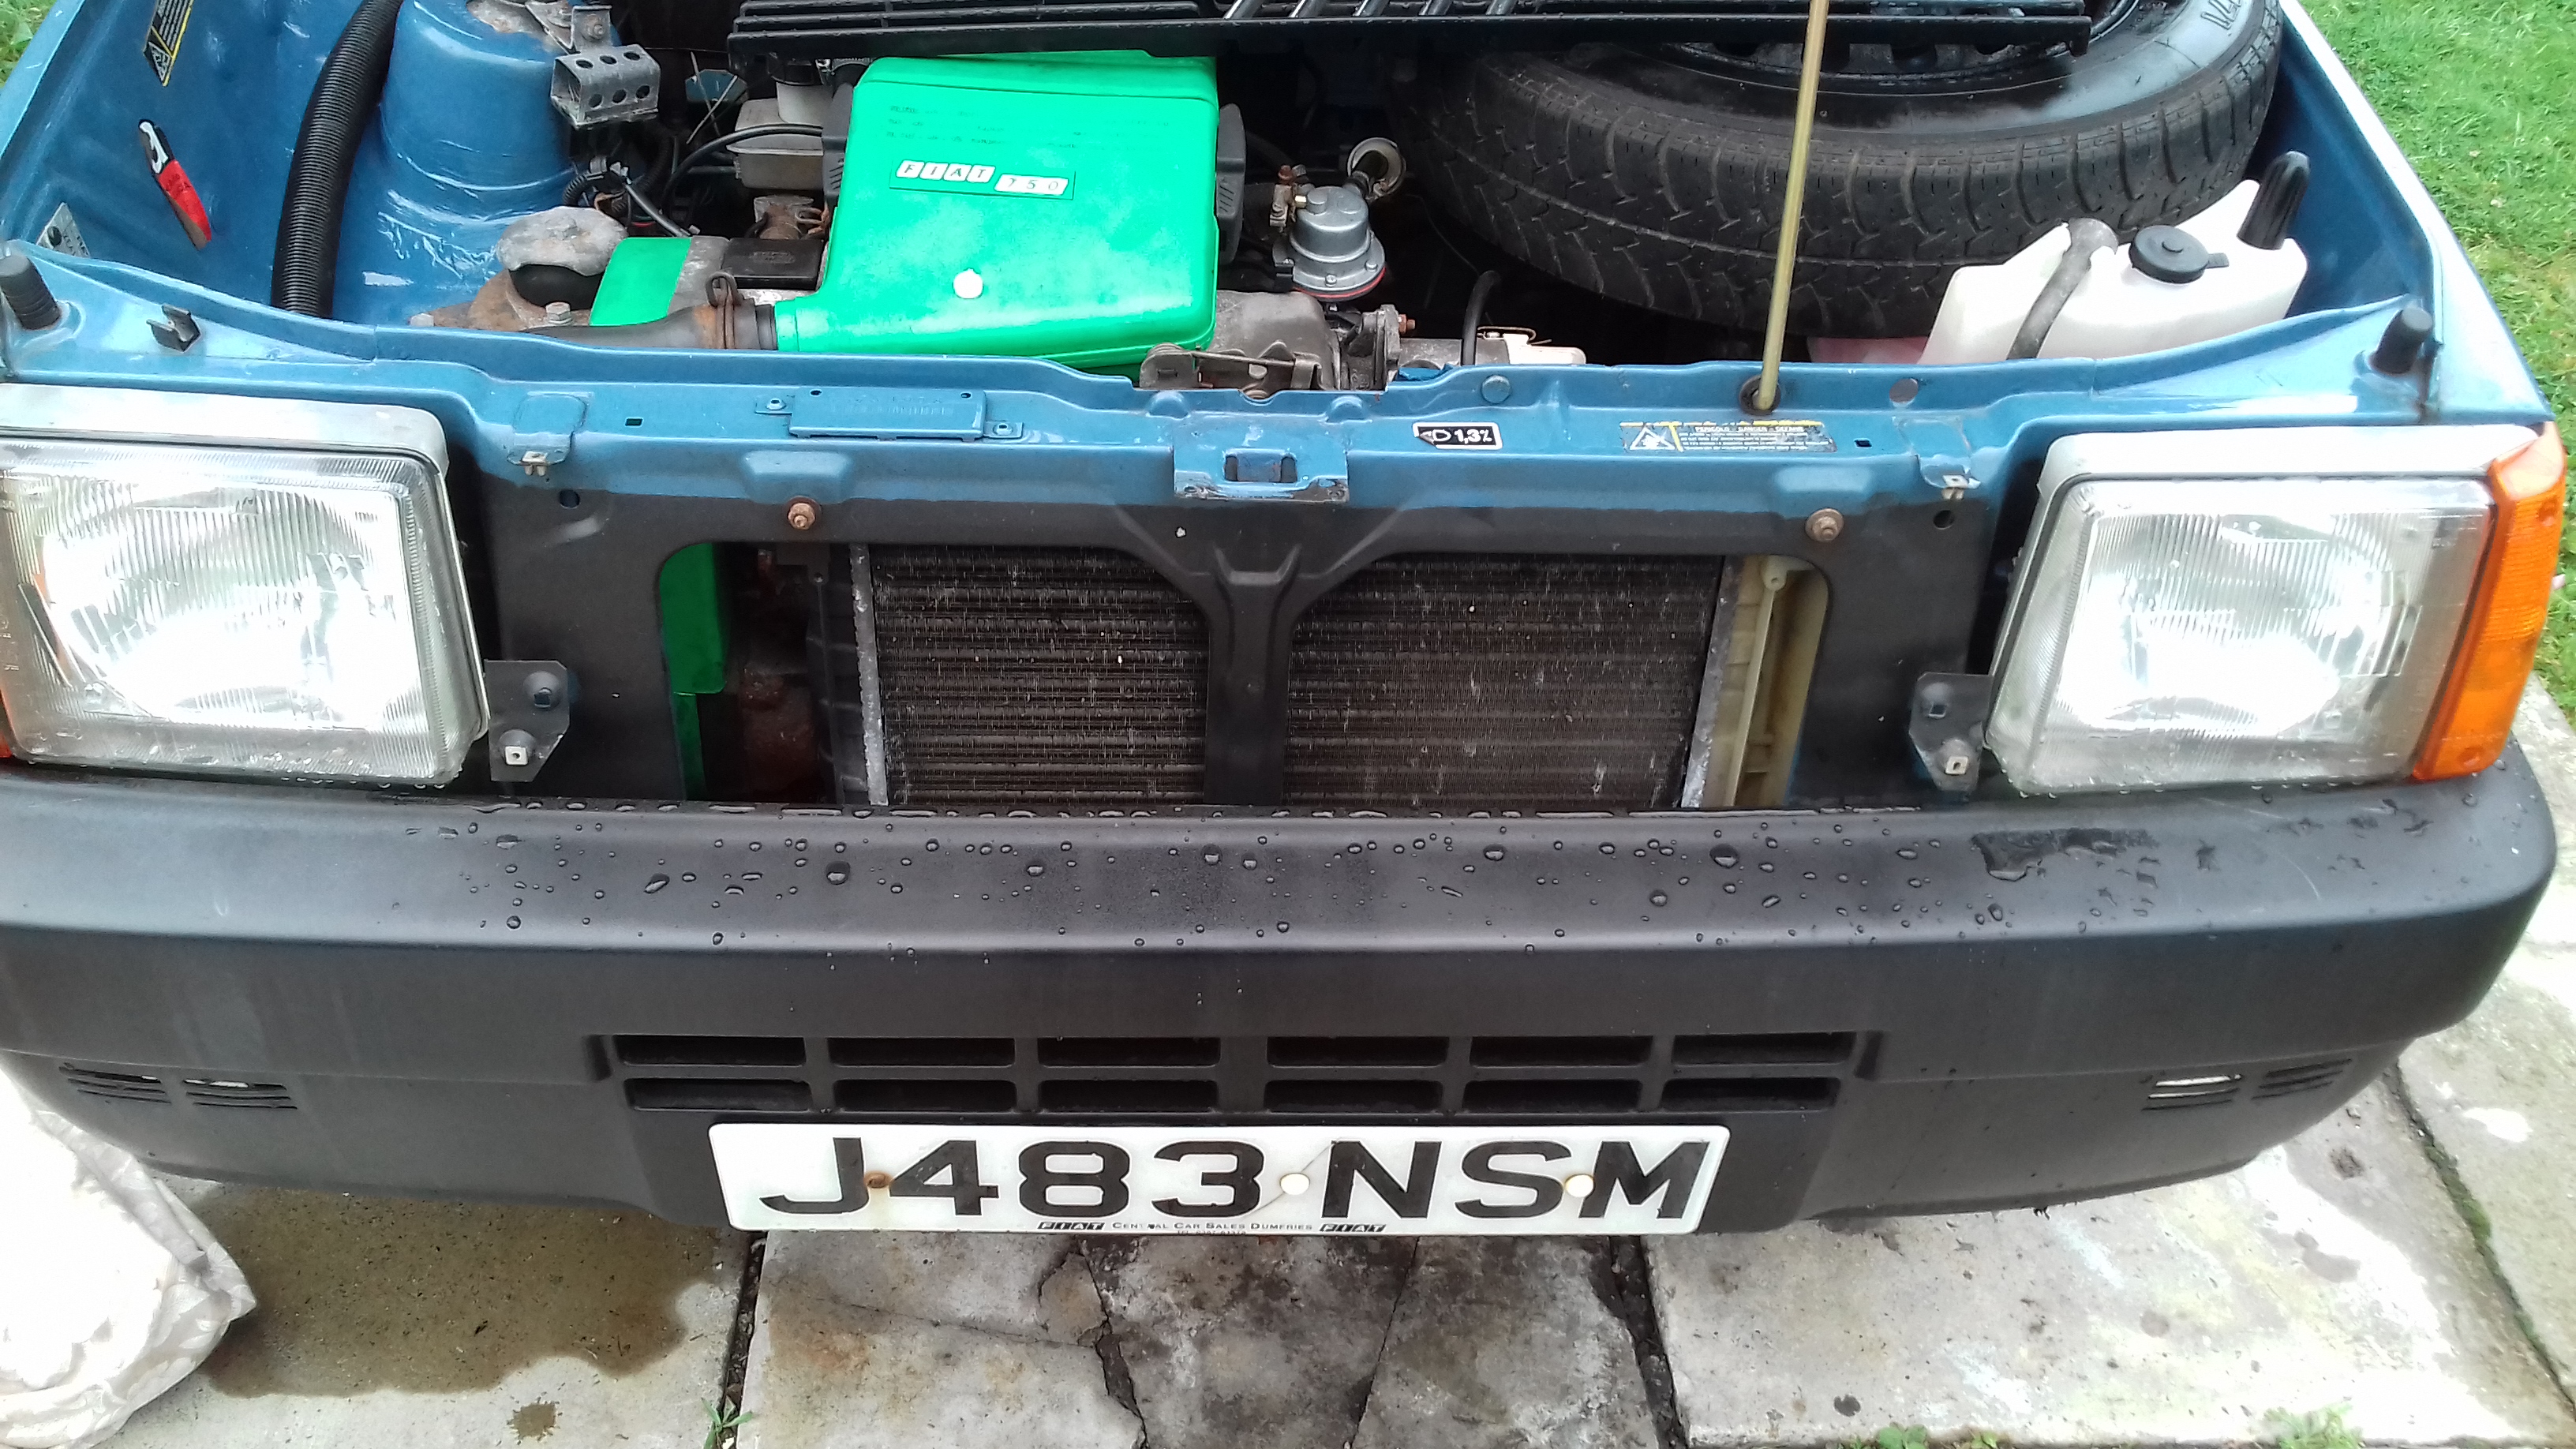
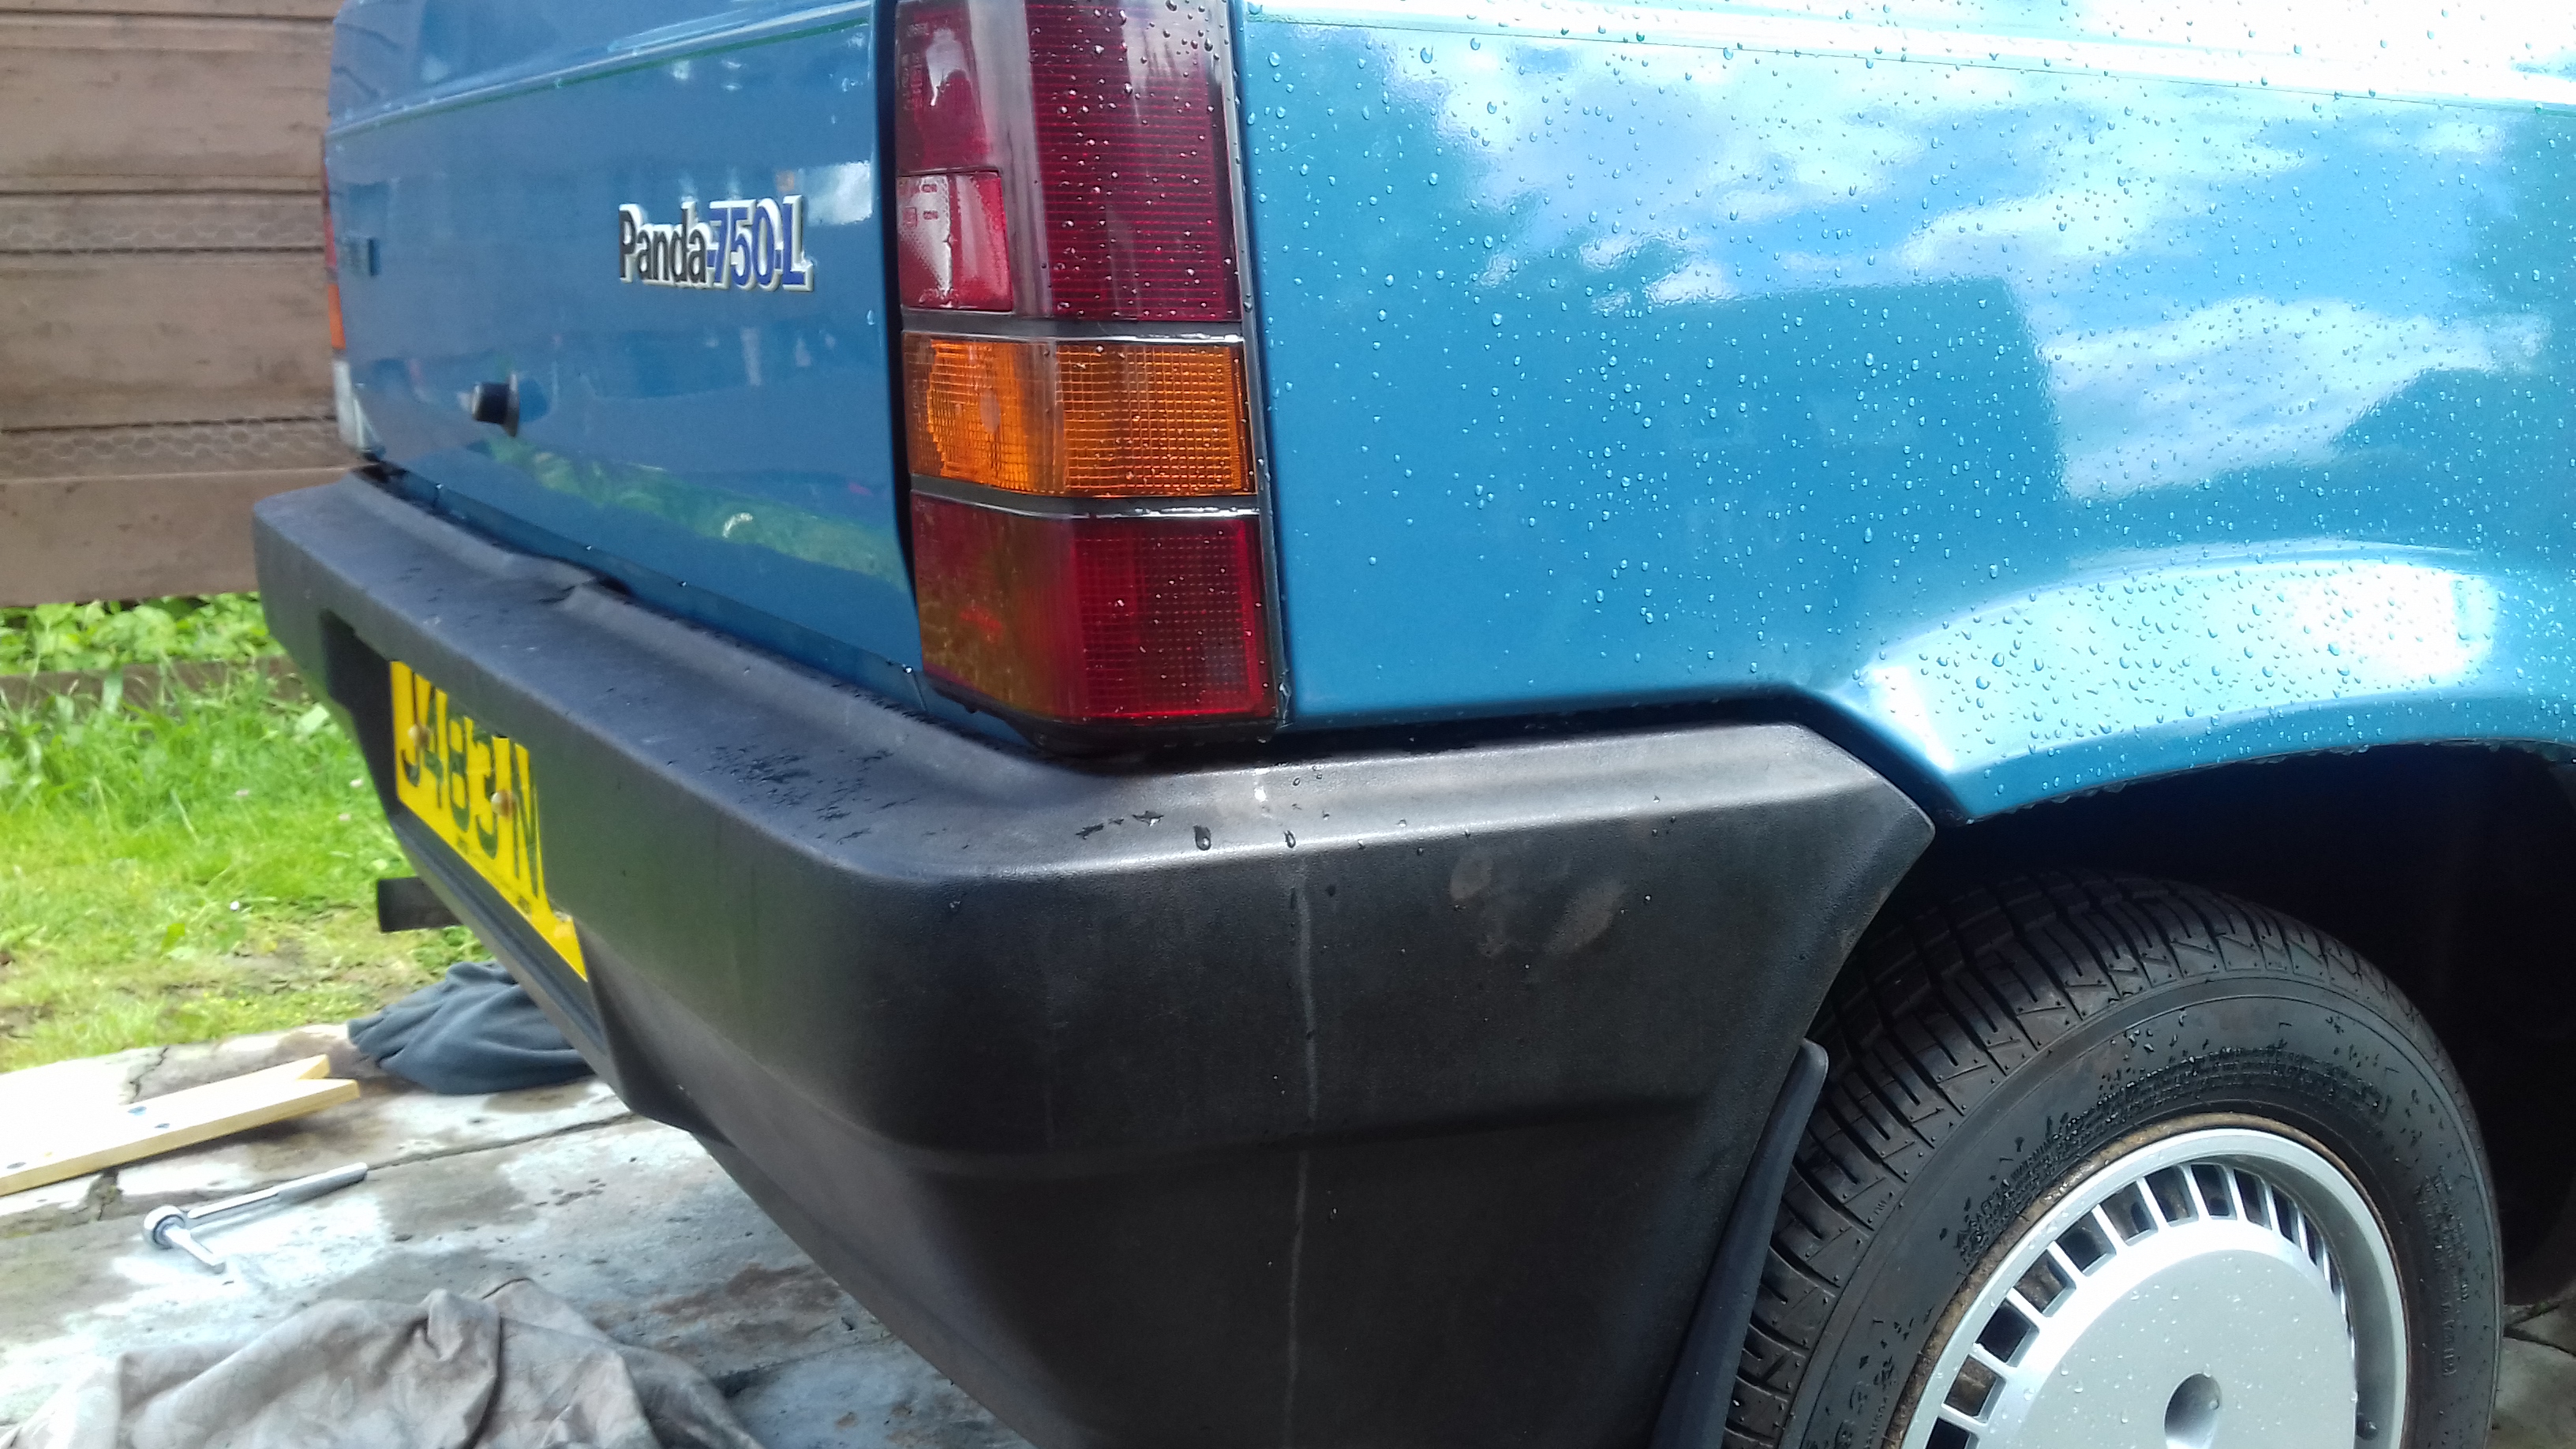
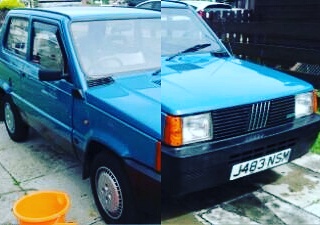
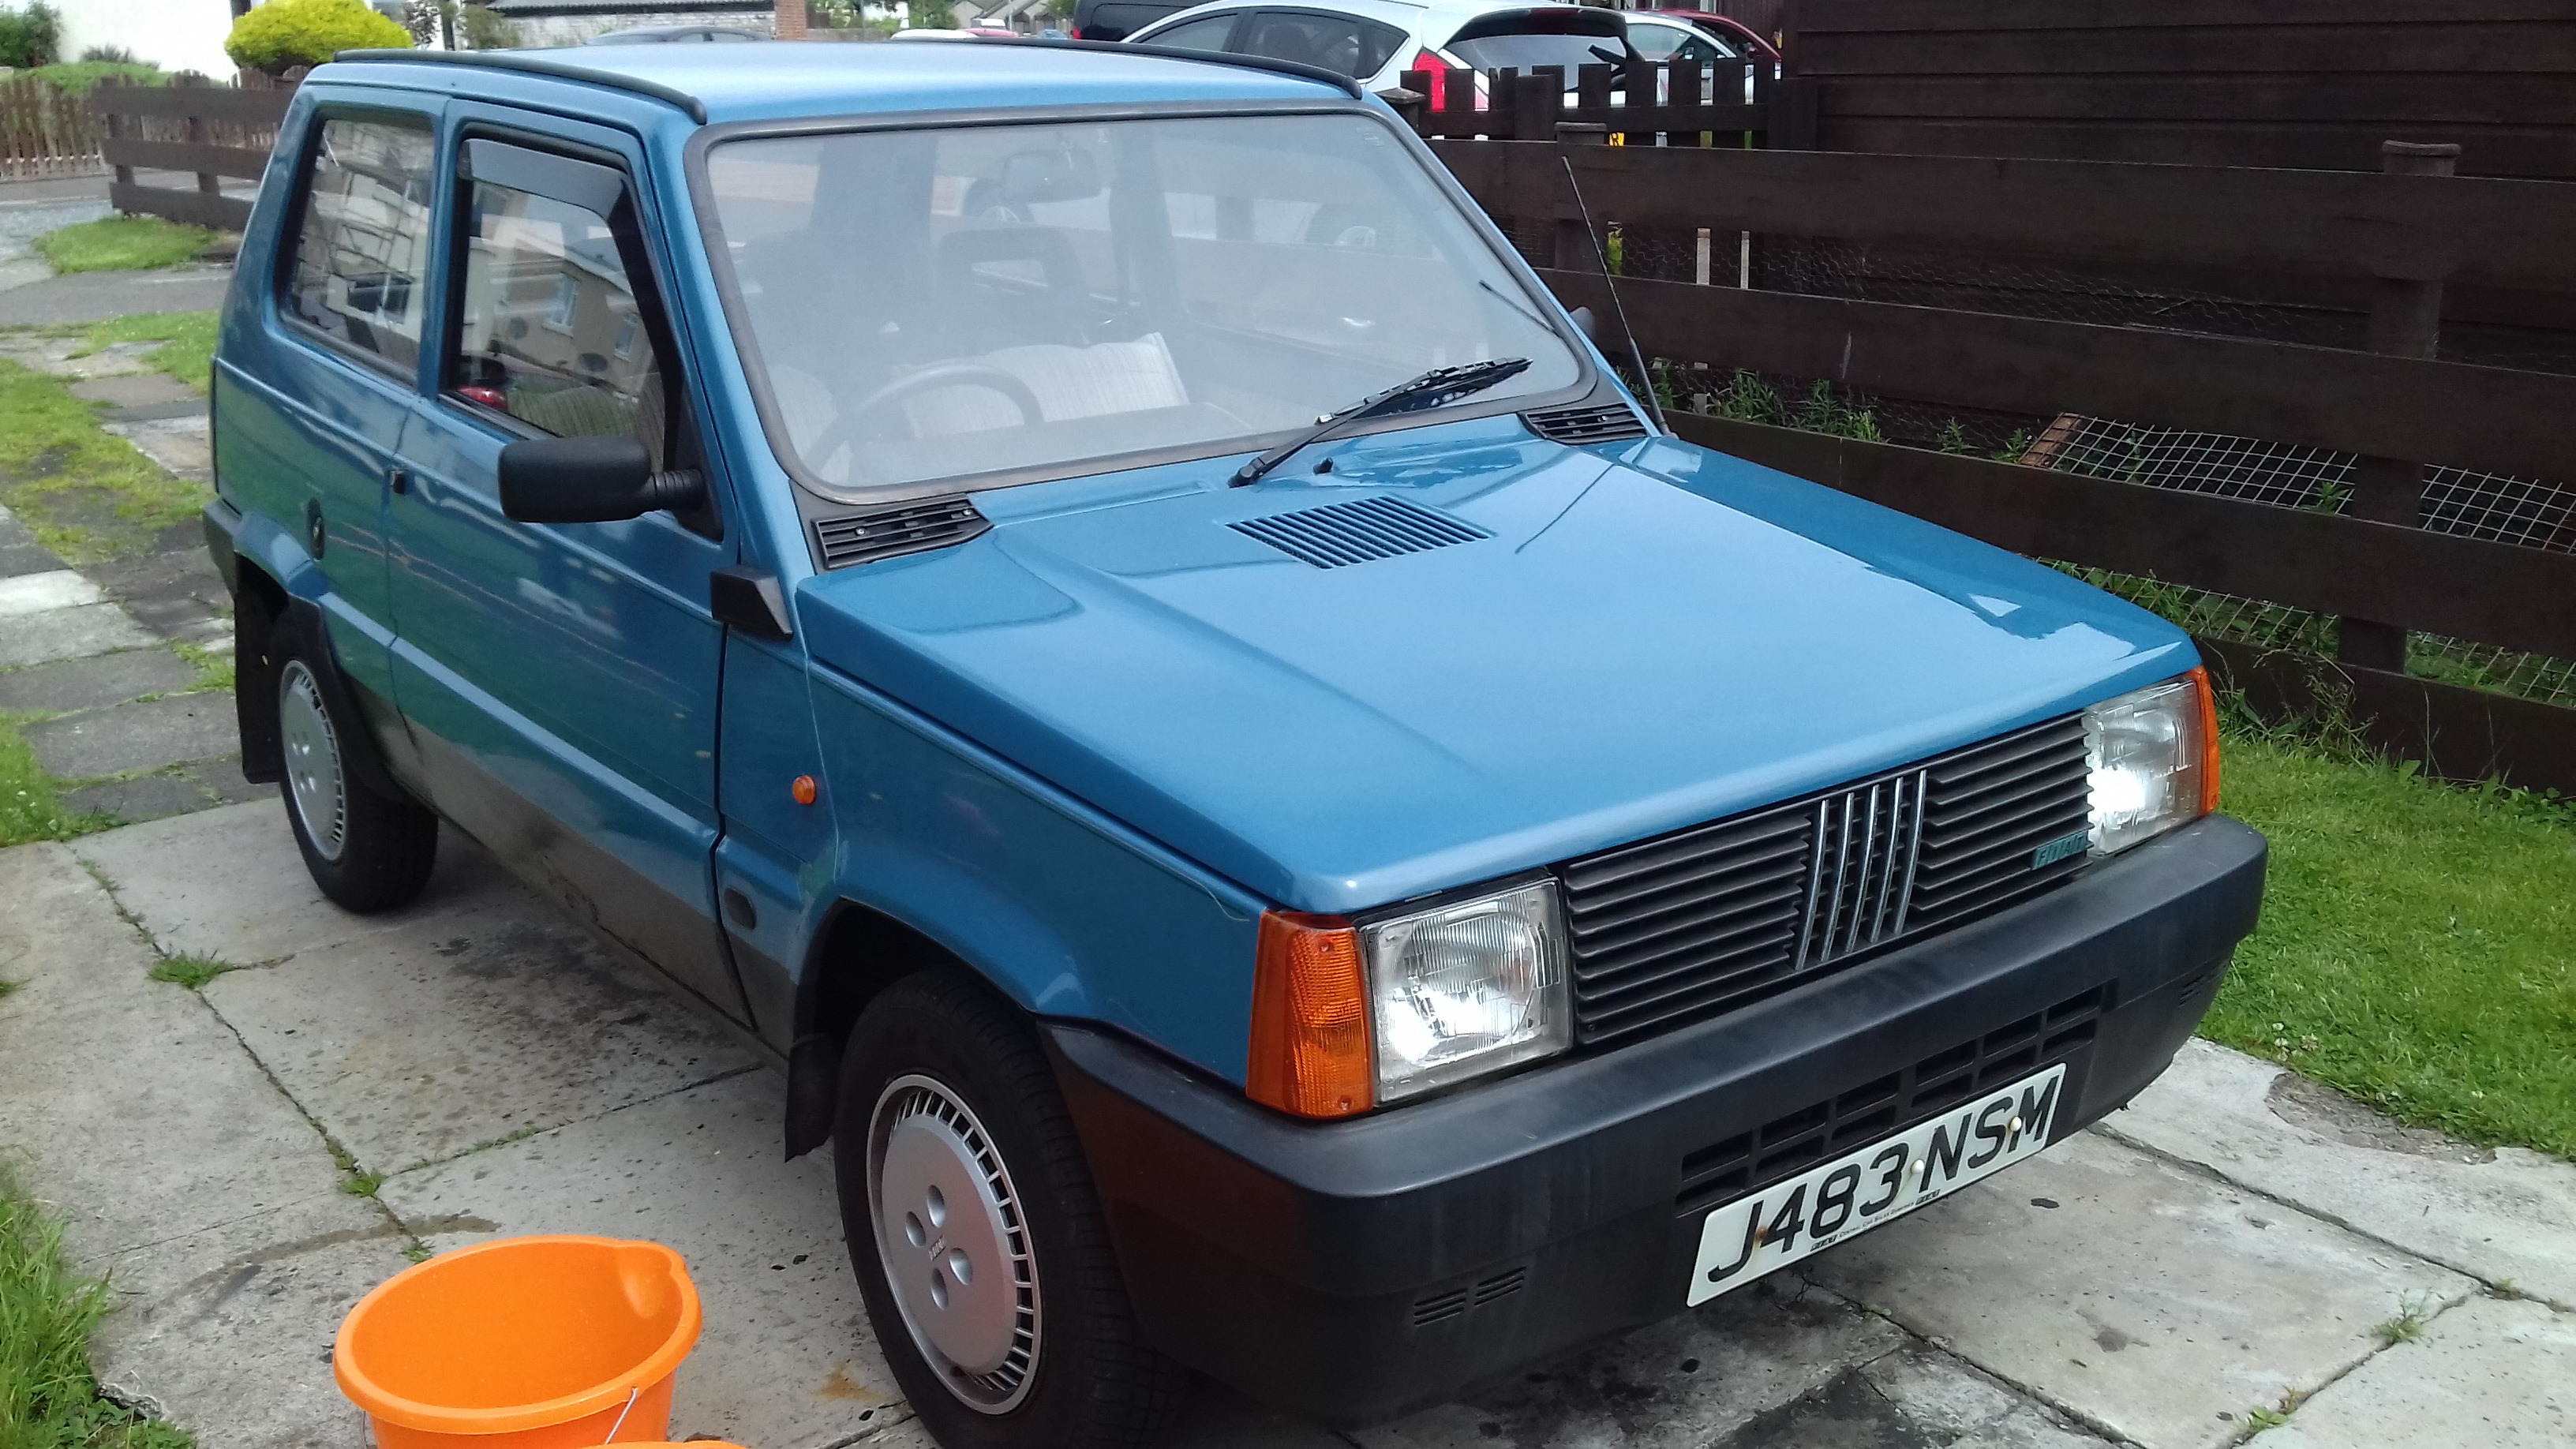
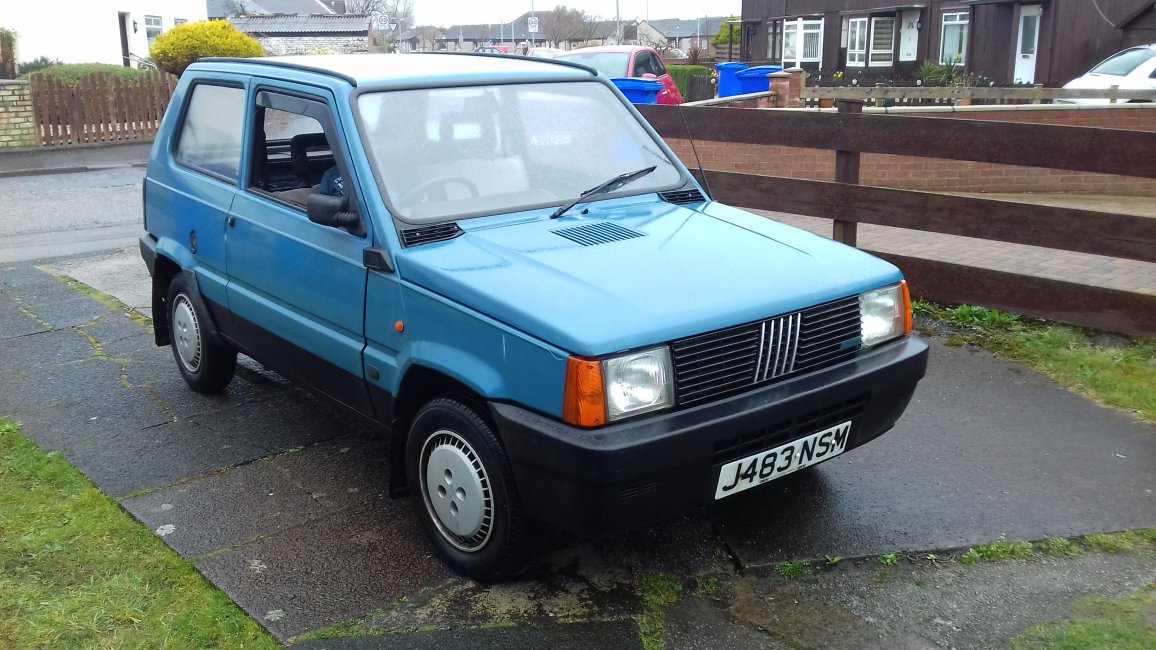
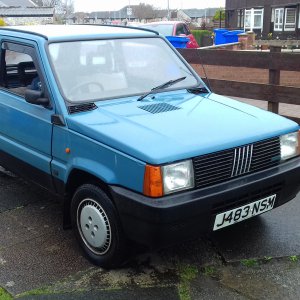
Fast forward to last night and I was browsing the forum and I came across an ad for a 750L in Glasgow (I am in Prestwick), and it was free but had to be collected today or in 2 weeks time. Being the impatient (and obviously anxious) type, I arranged through a friend of a friend to have it collected today. It arrived at 1pm and I am utterly flabbergasted at the condition. Out of my 3 Pandas it arrived in the best condition IMHO. So I am very thankful to the seller but forgotten their forum name cos the ad has been deleted! So thanks Ian (I am sure you are reading)

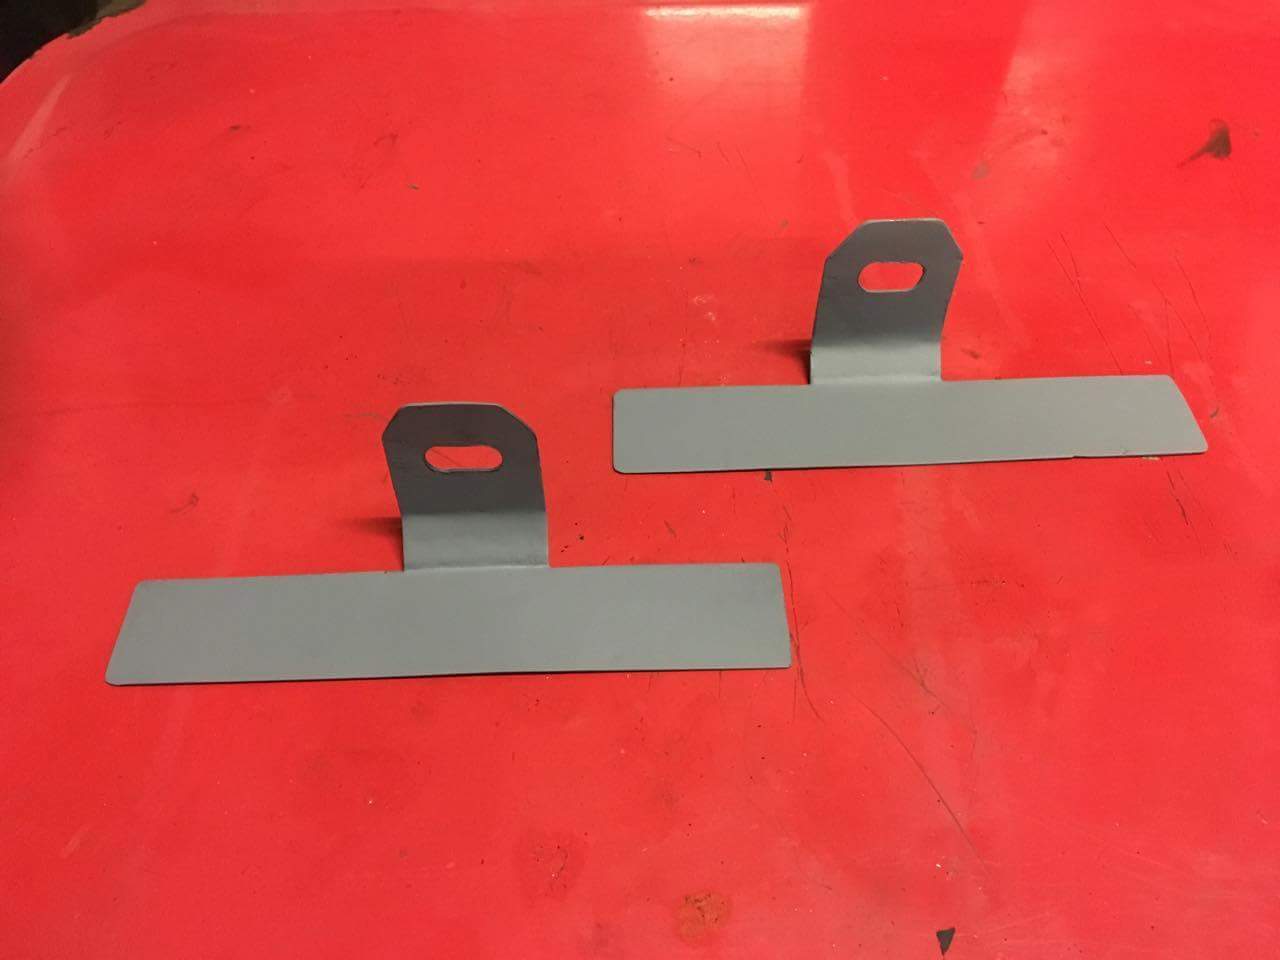
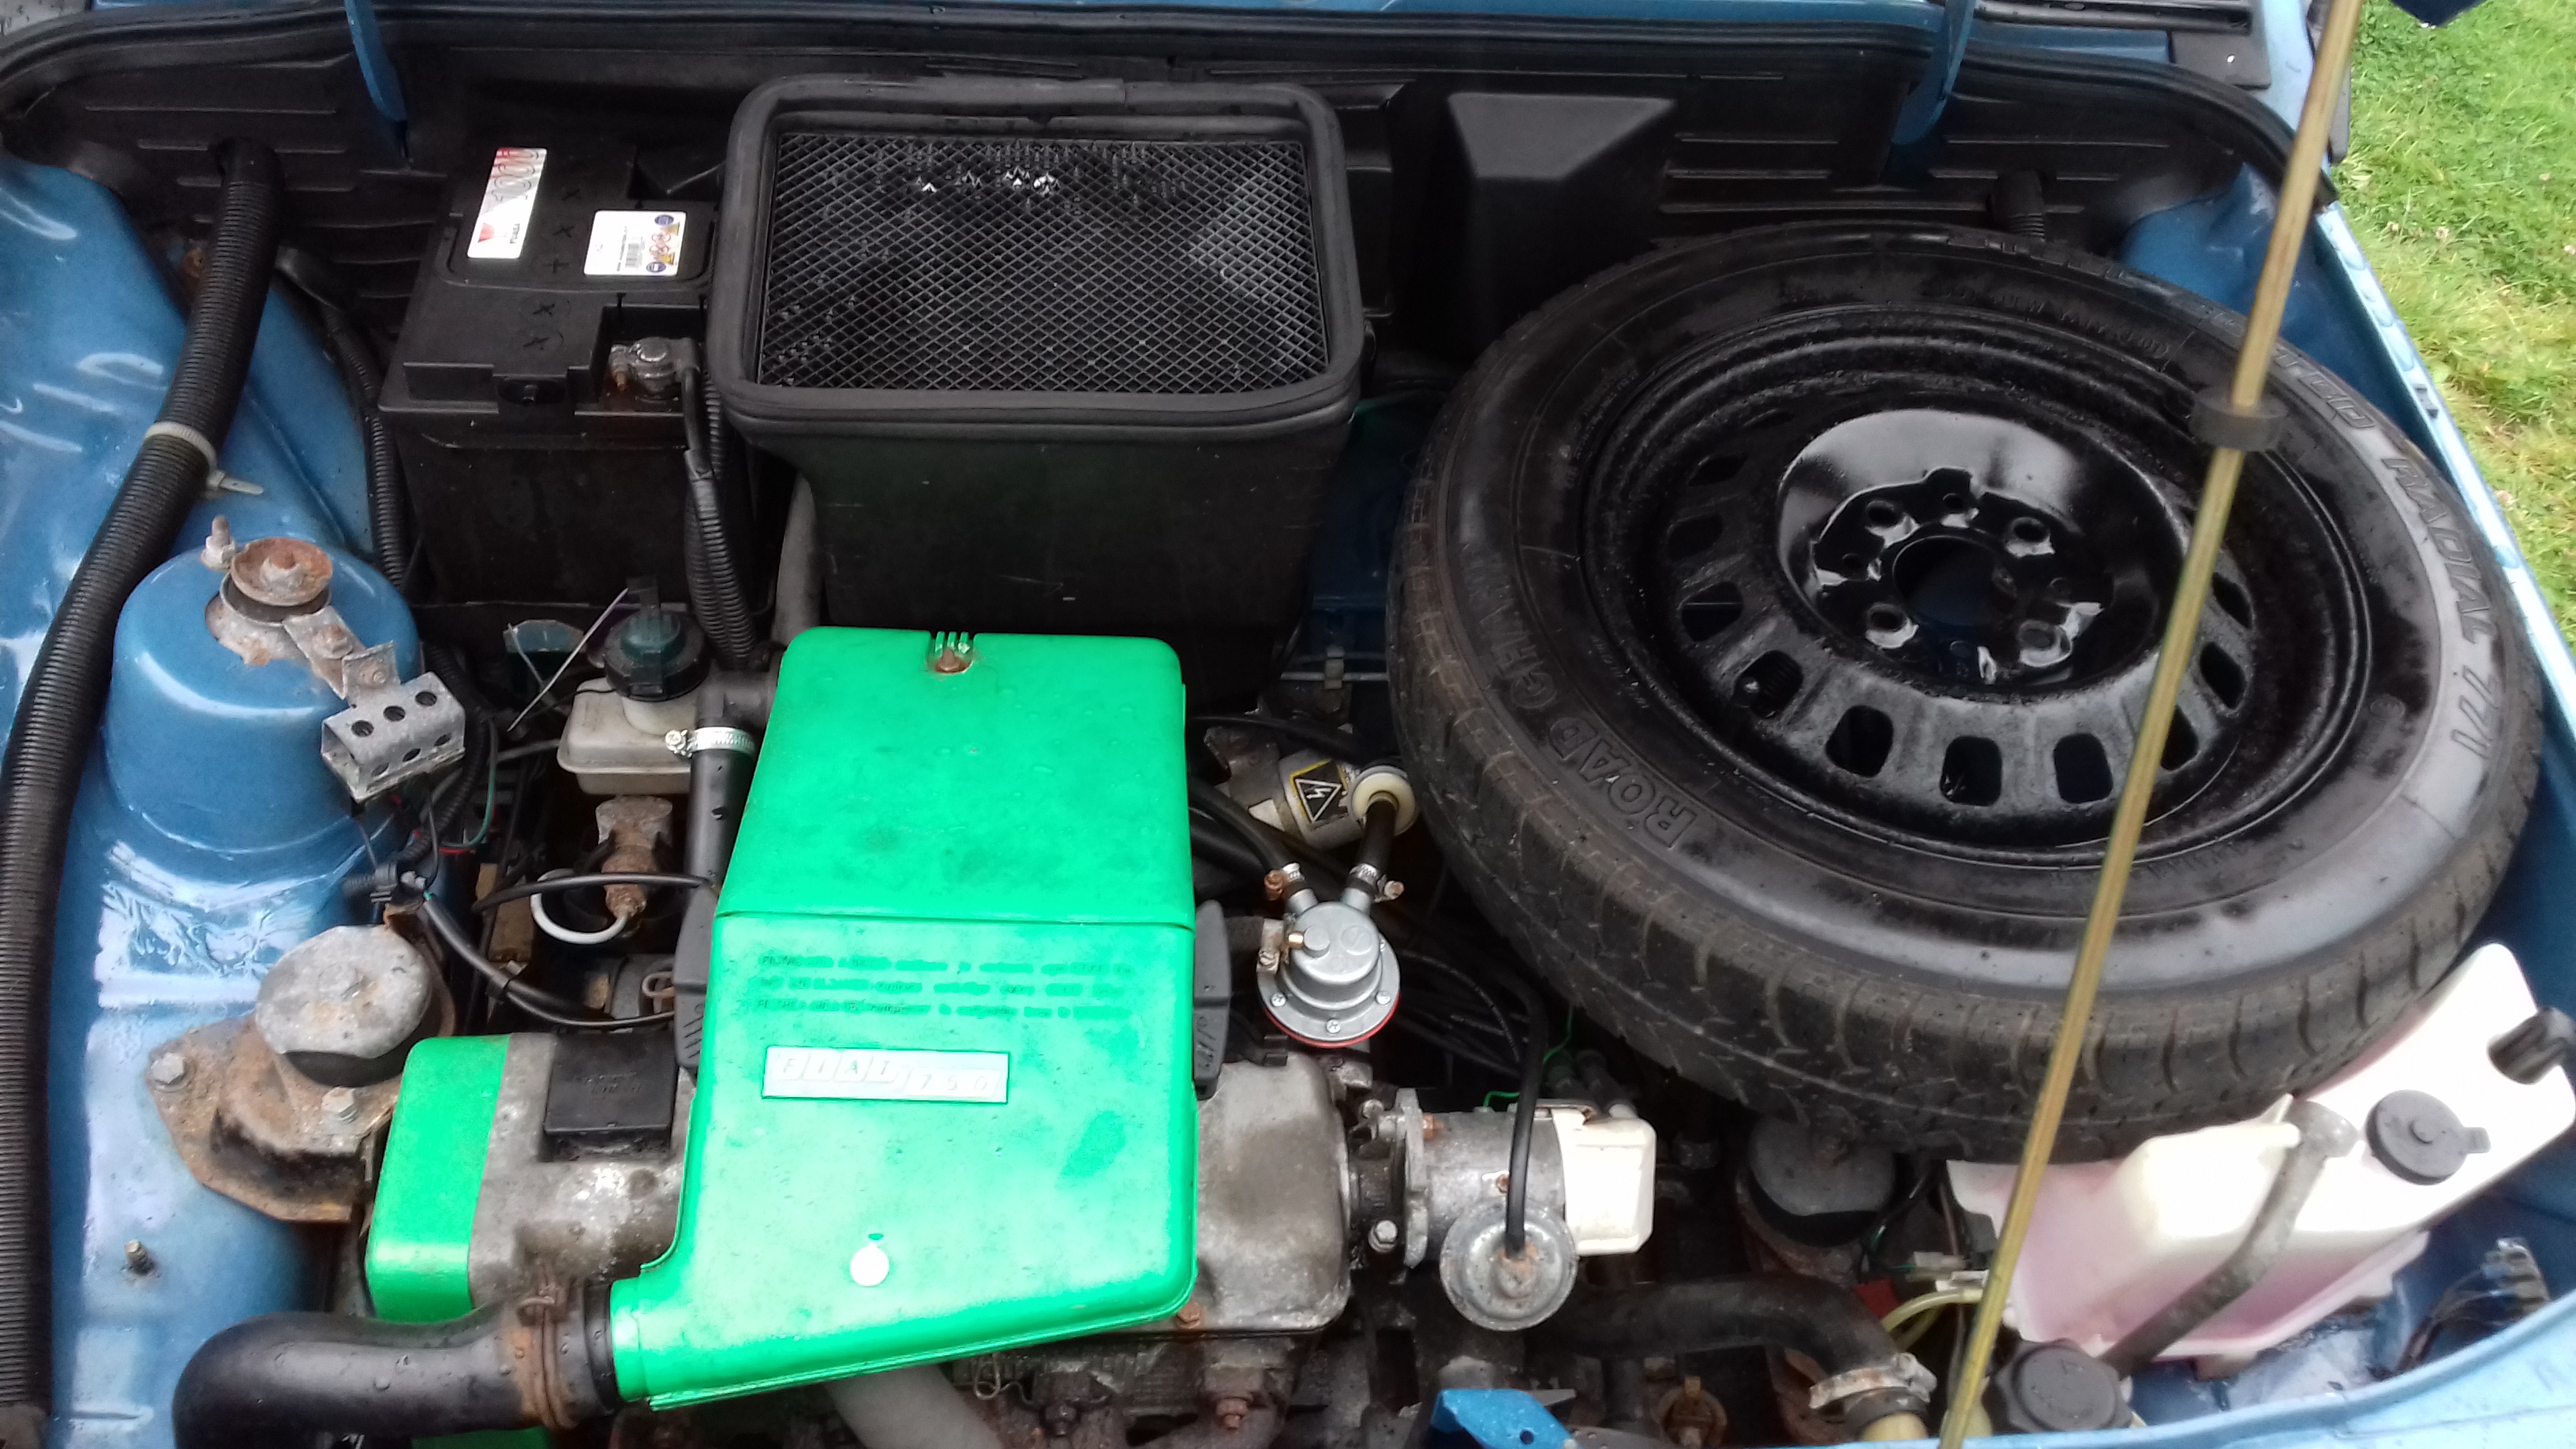
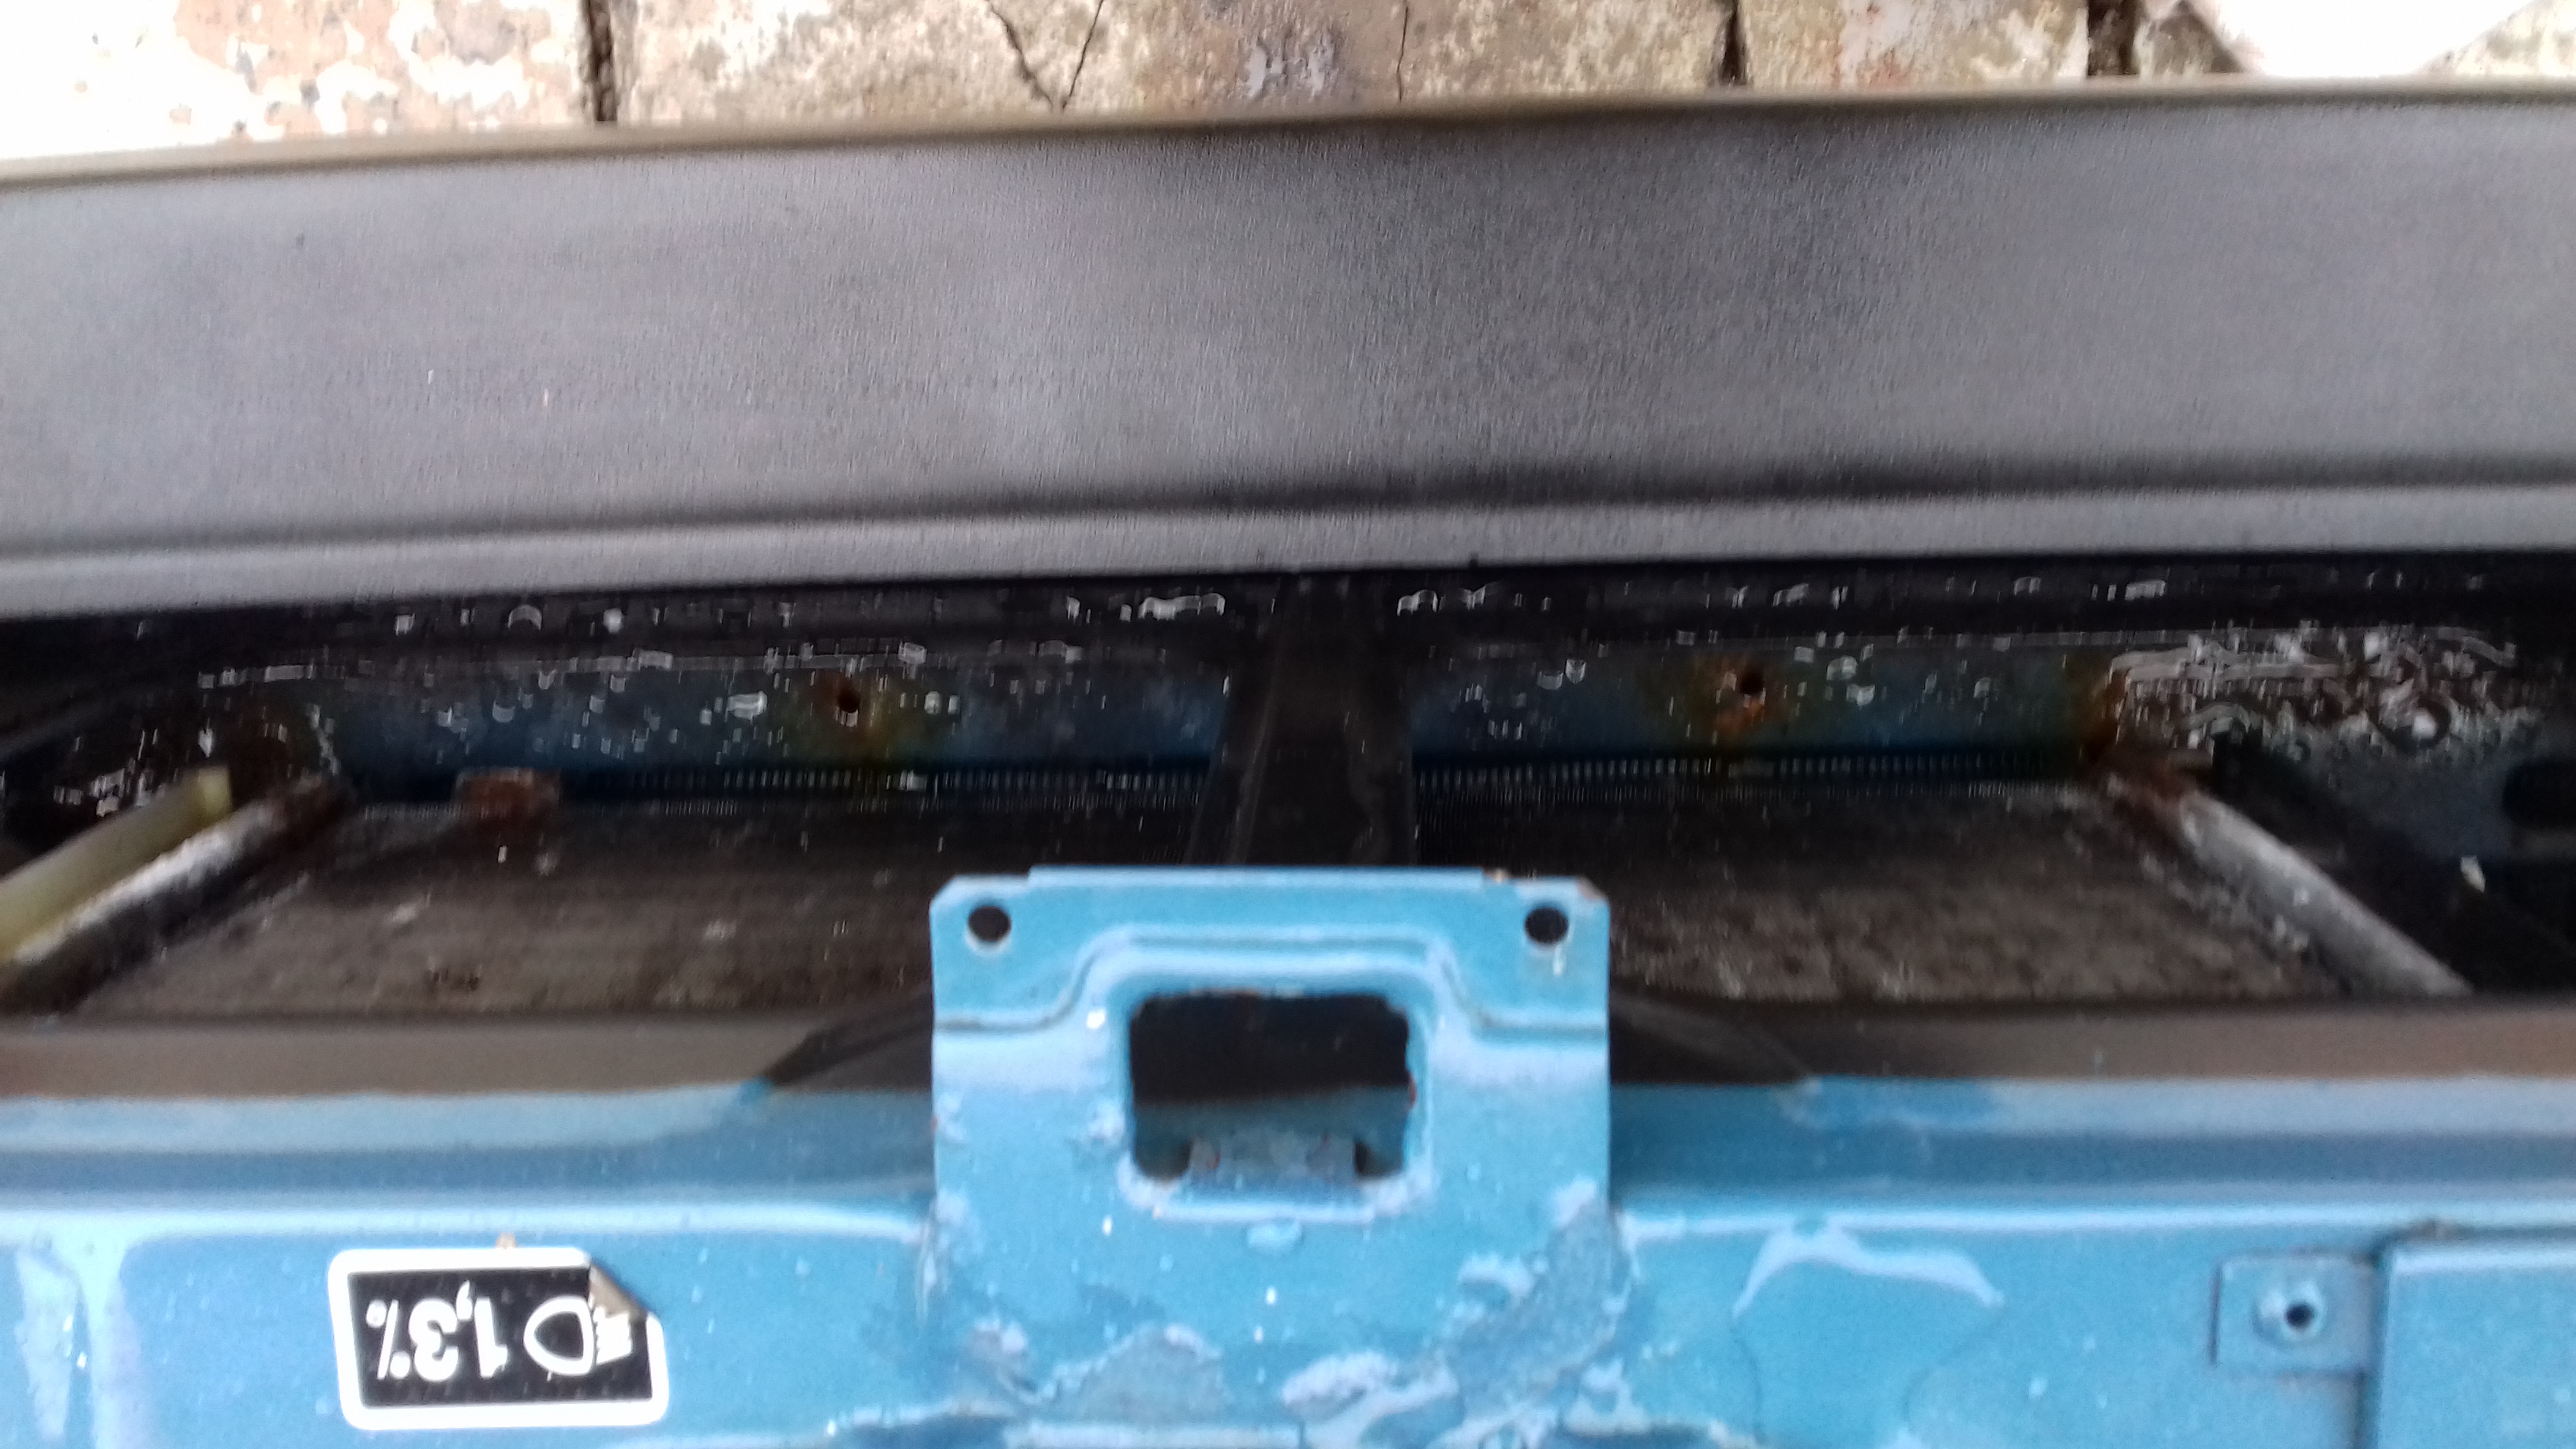
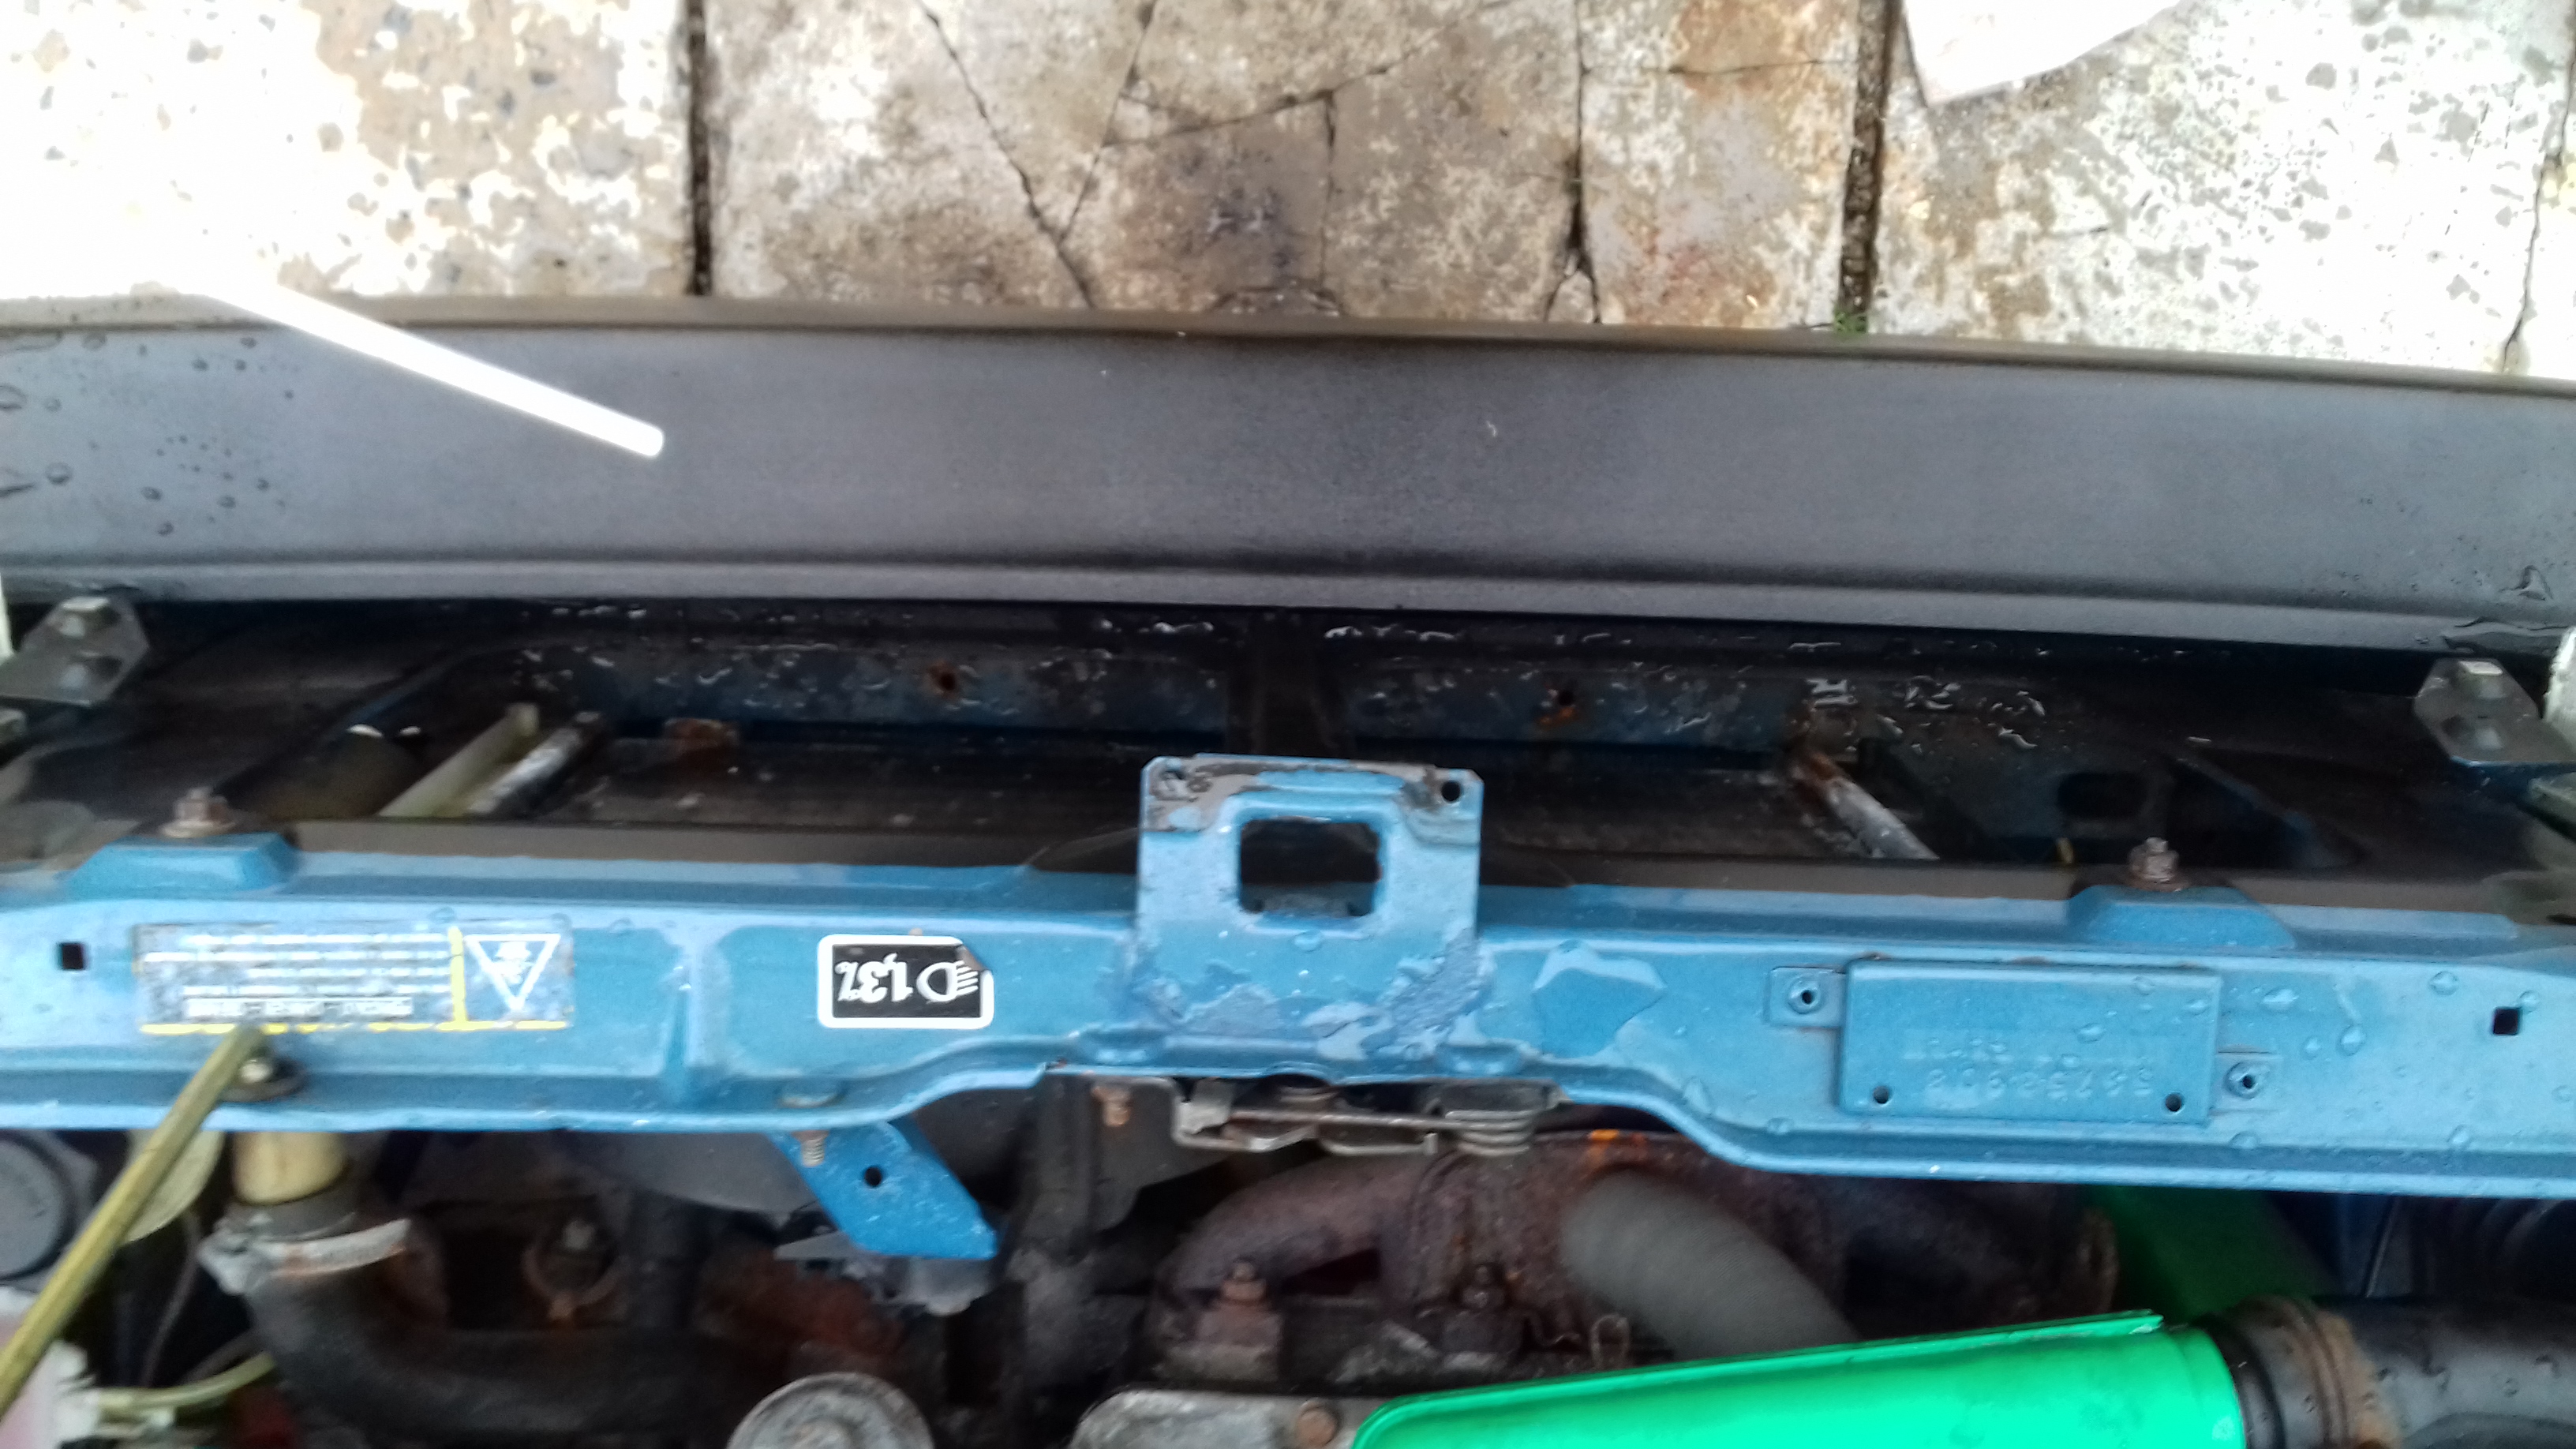
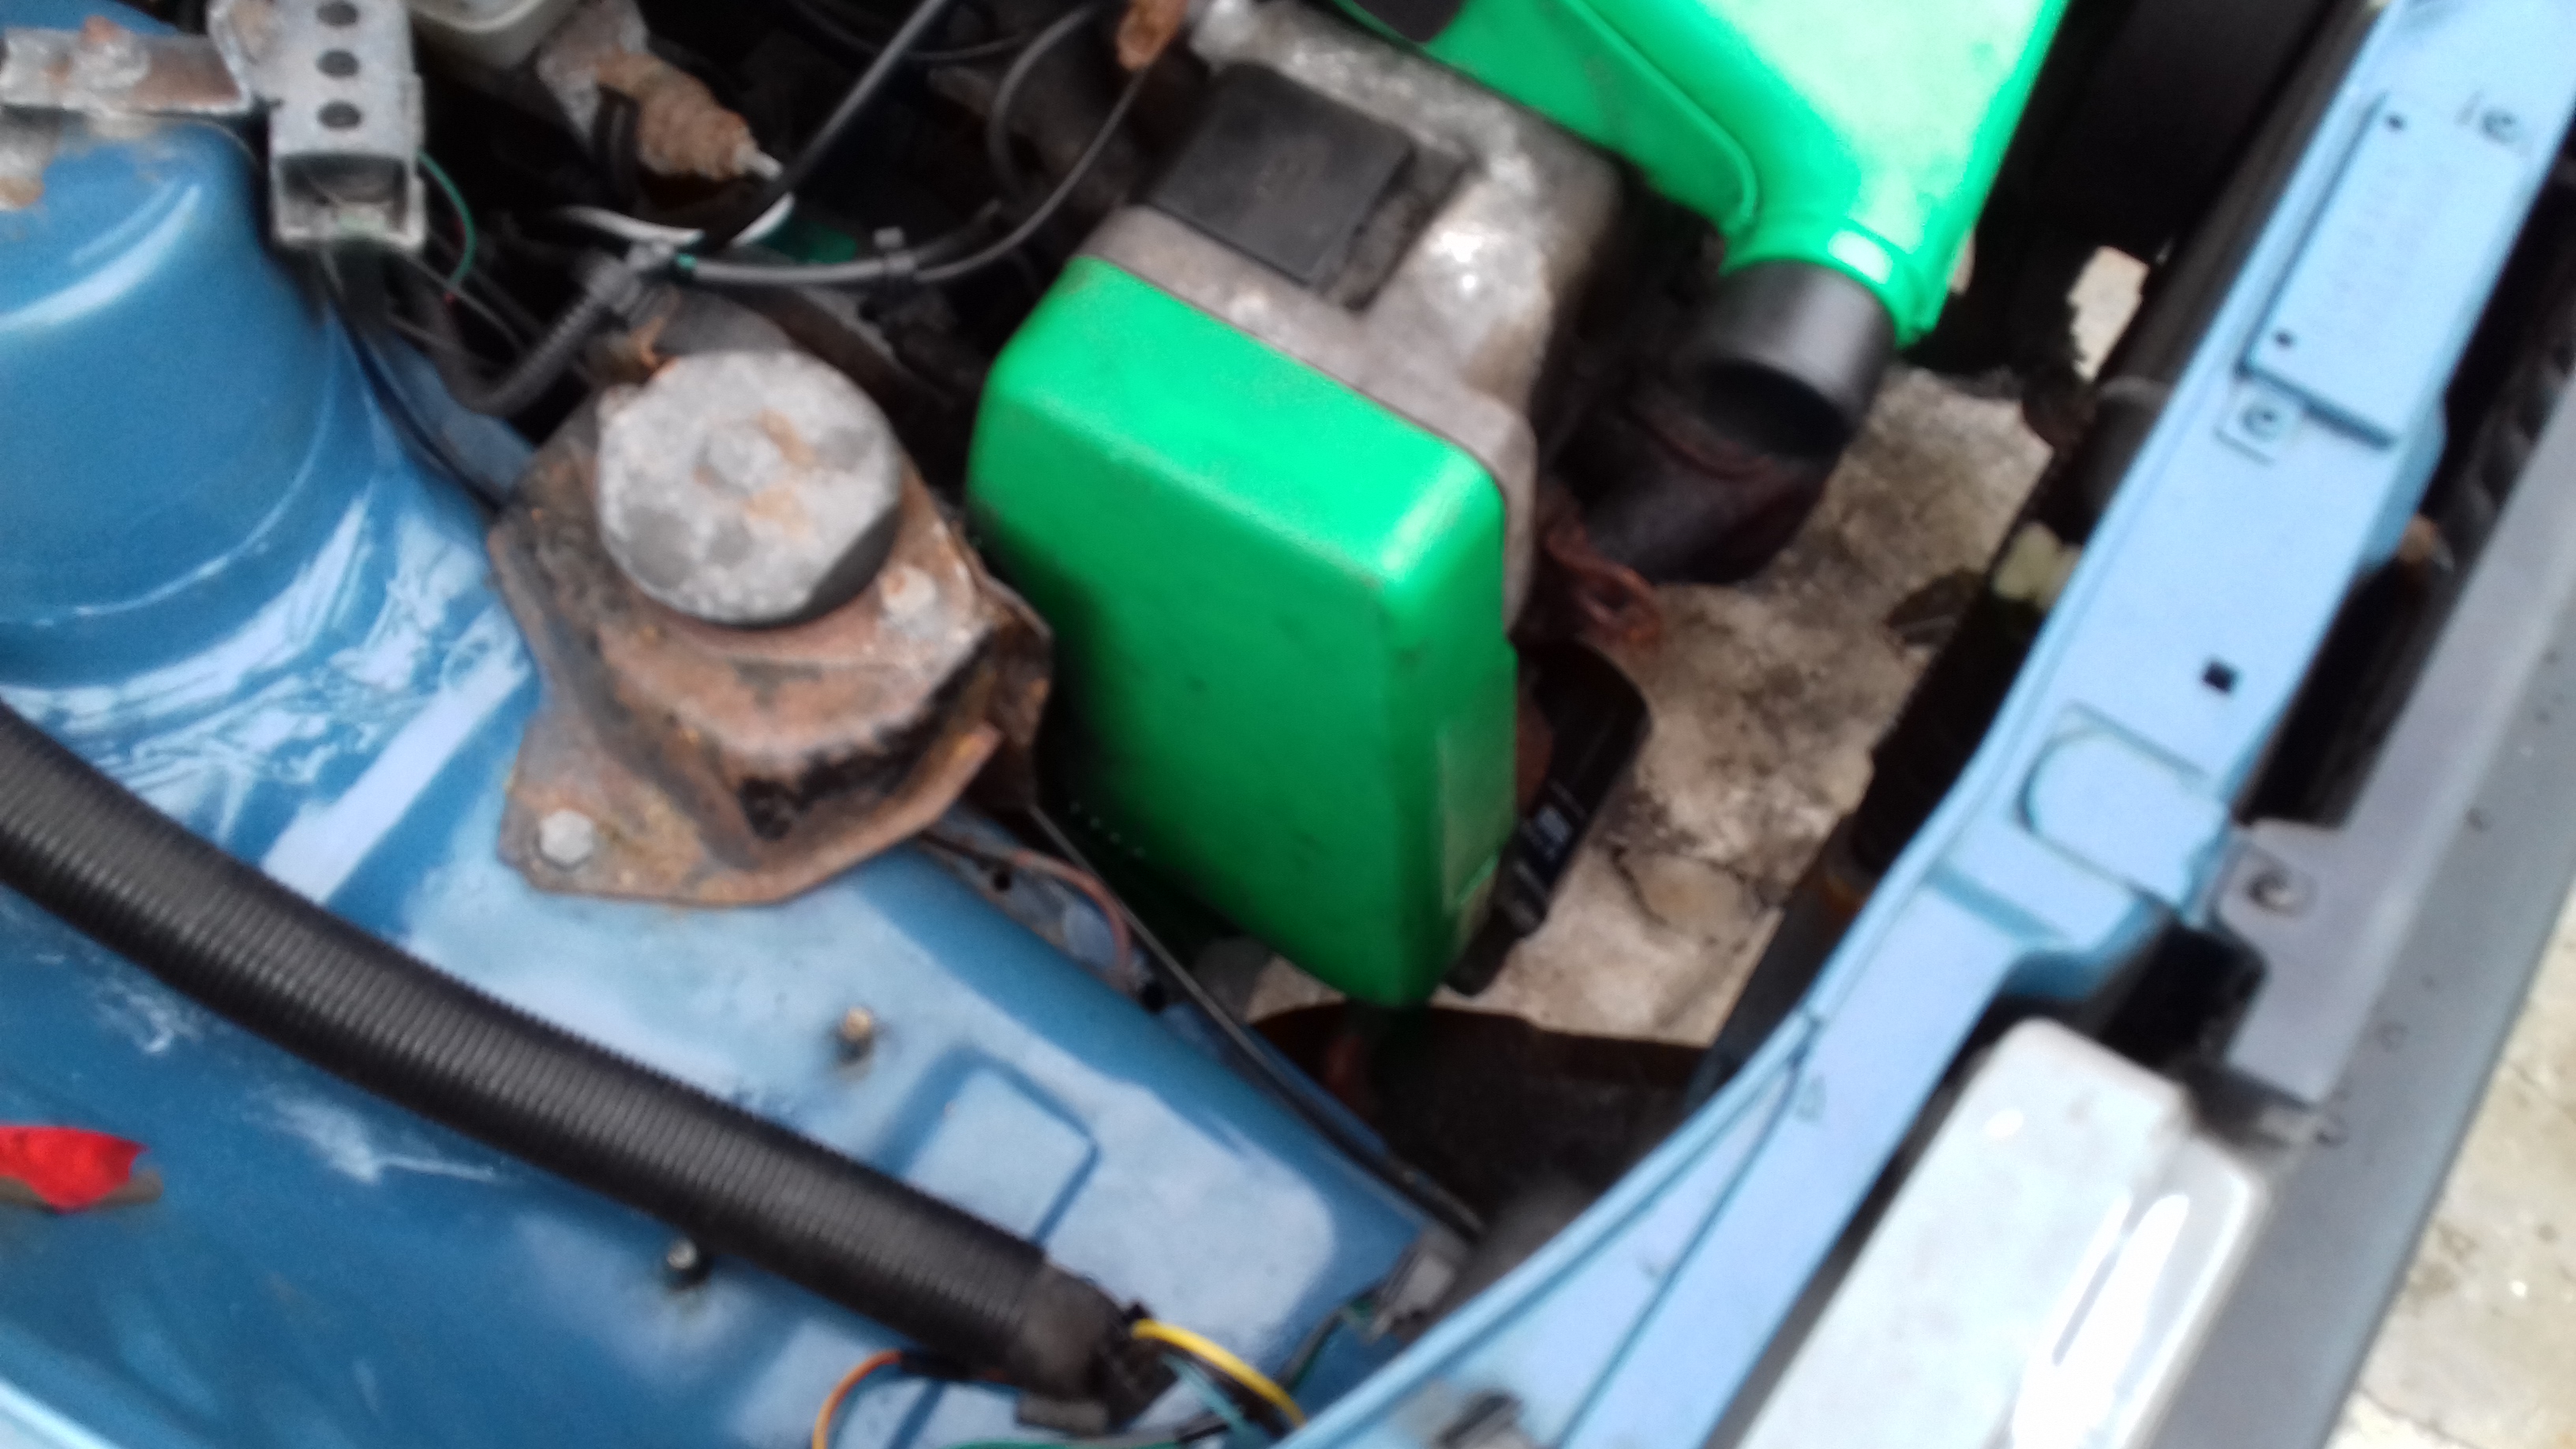
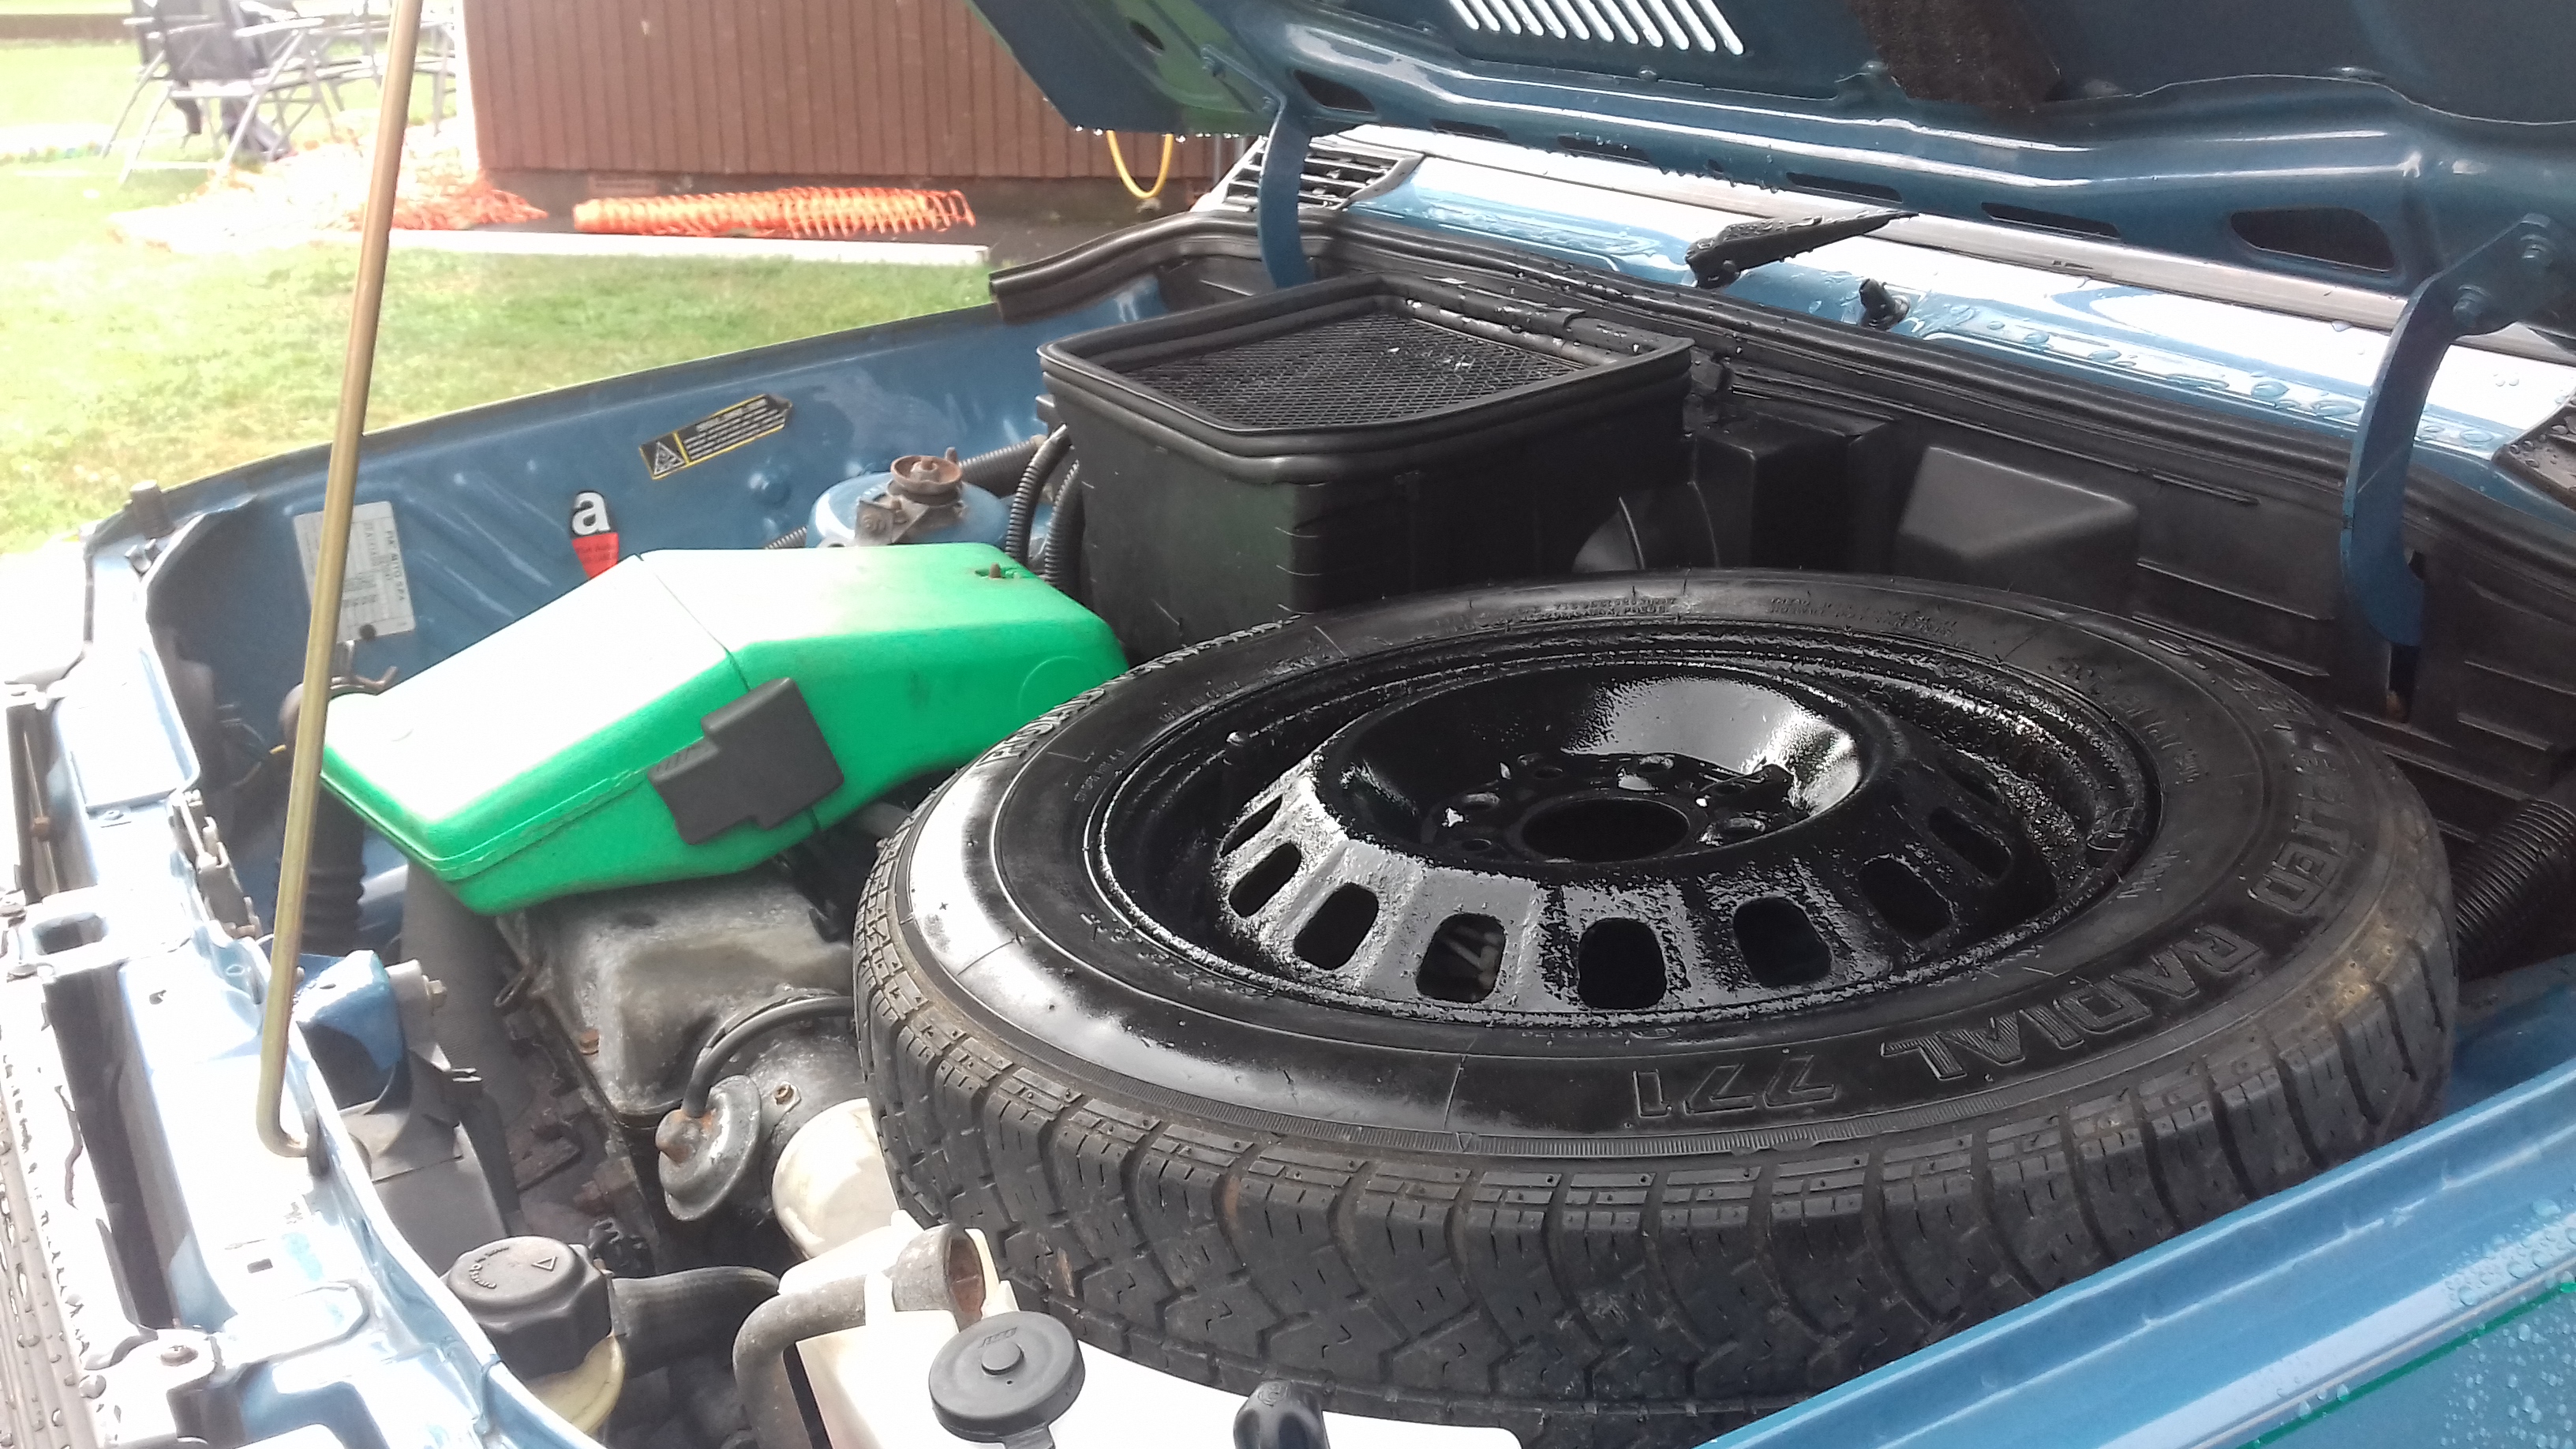
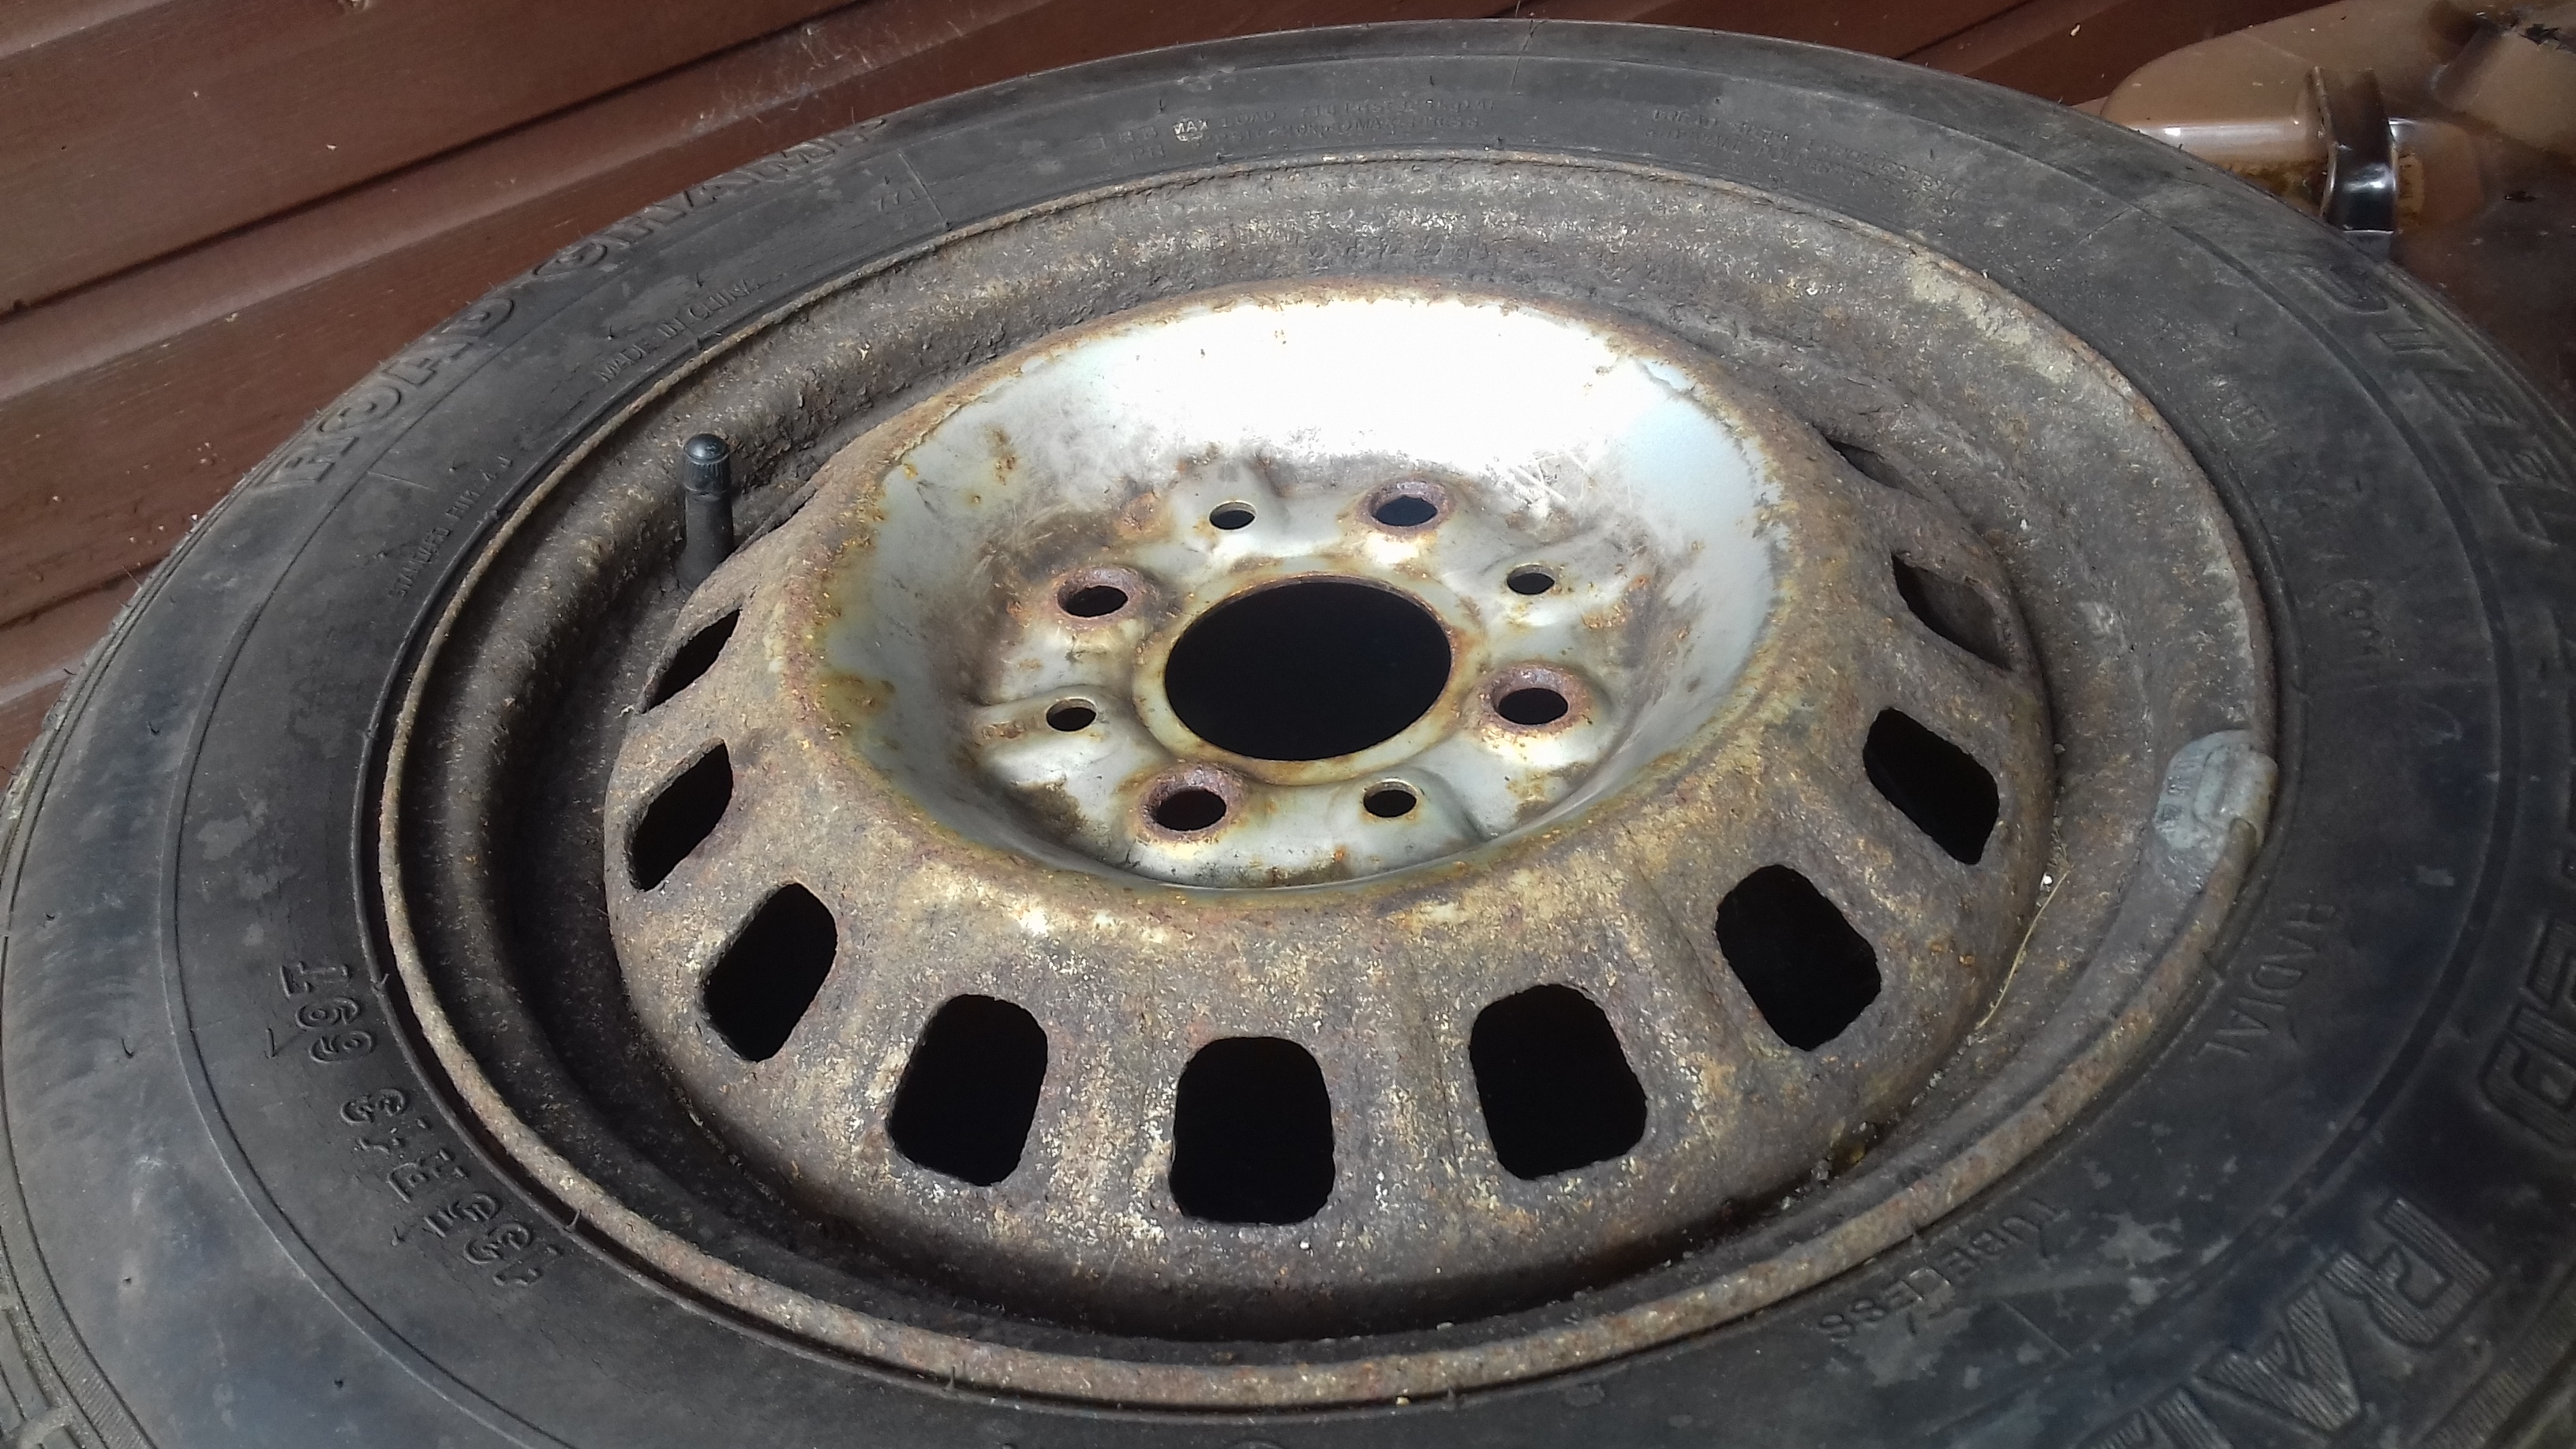
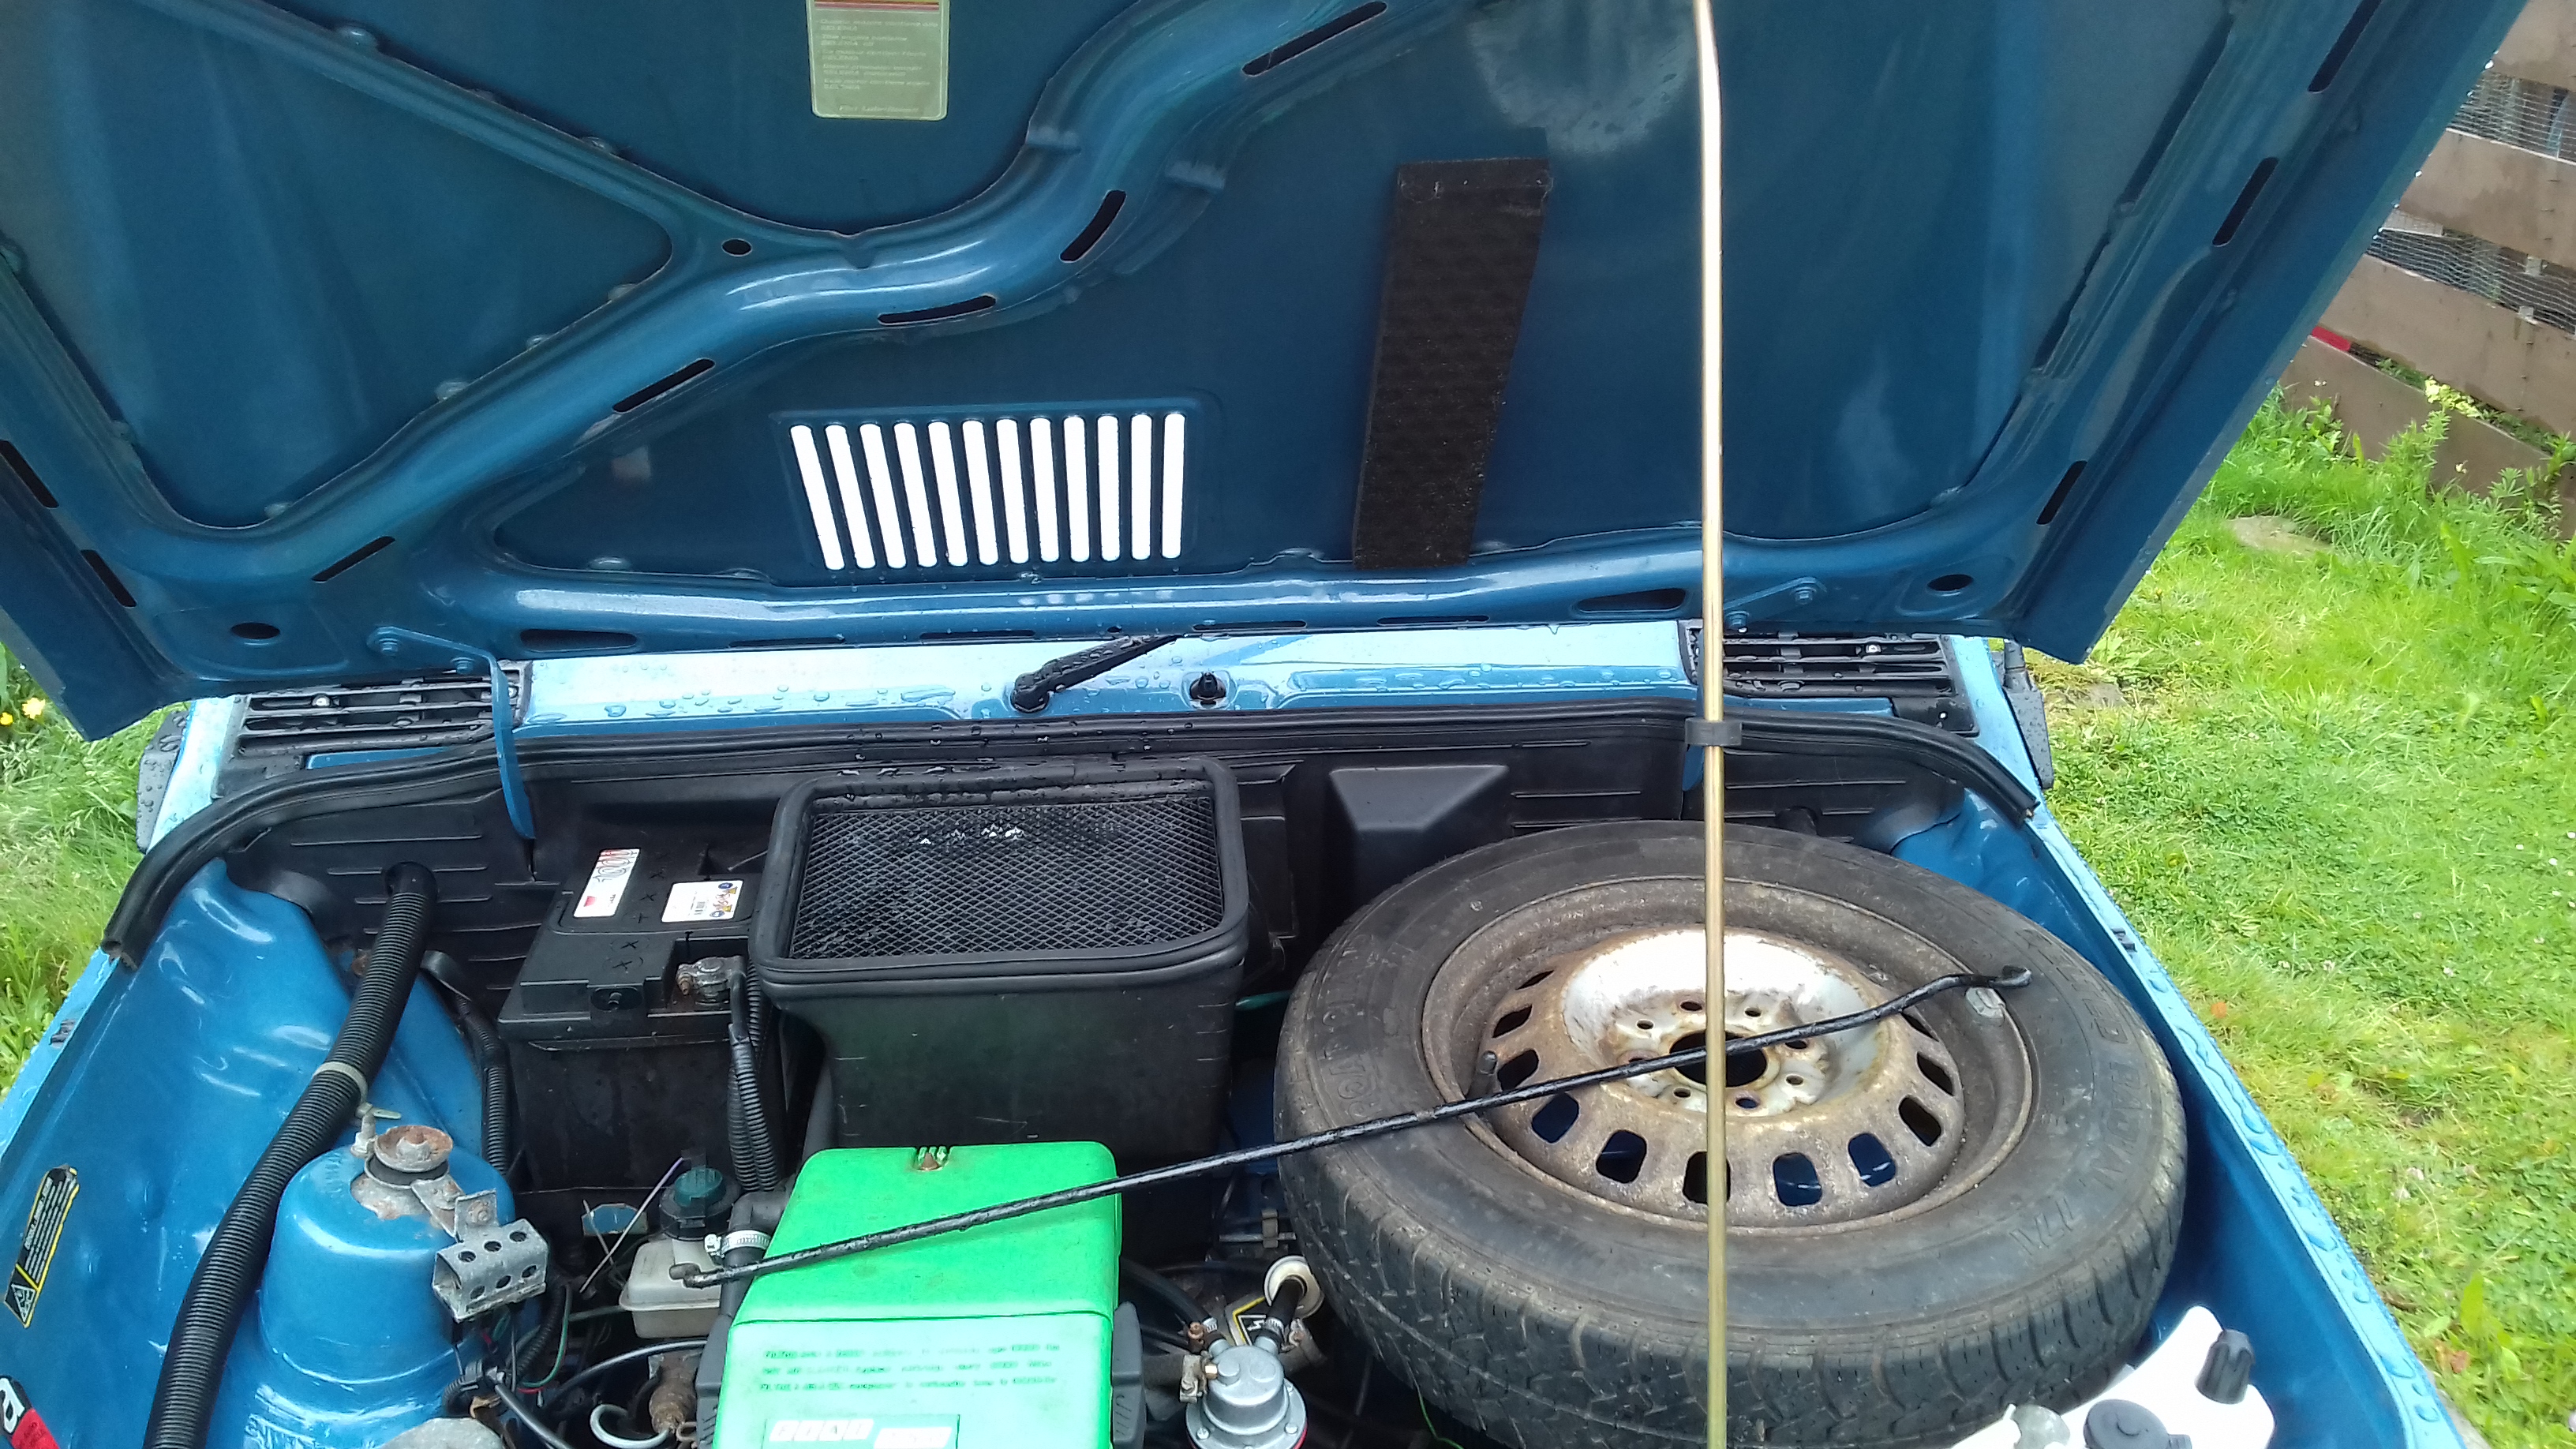
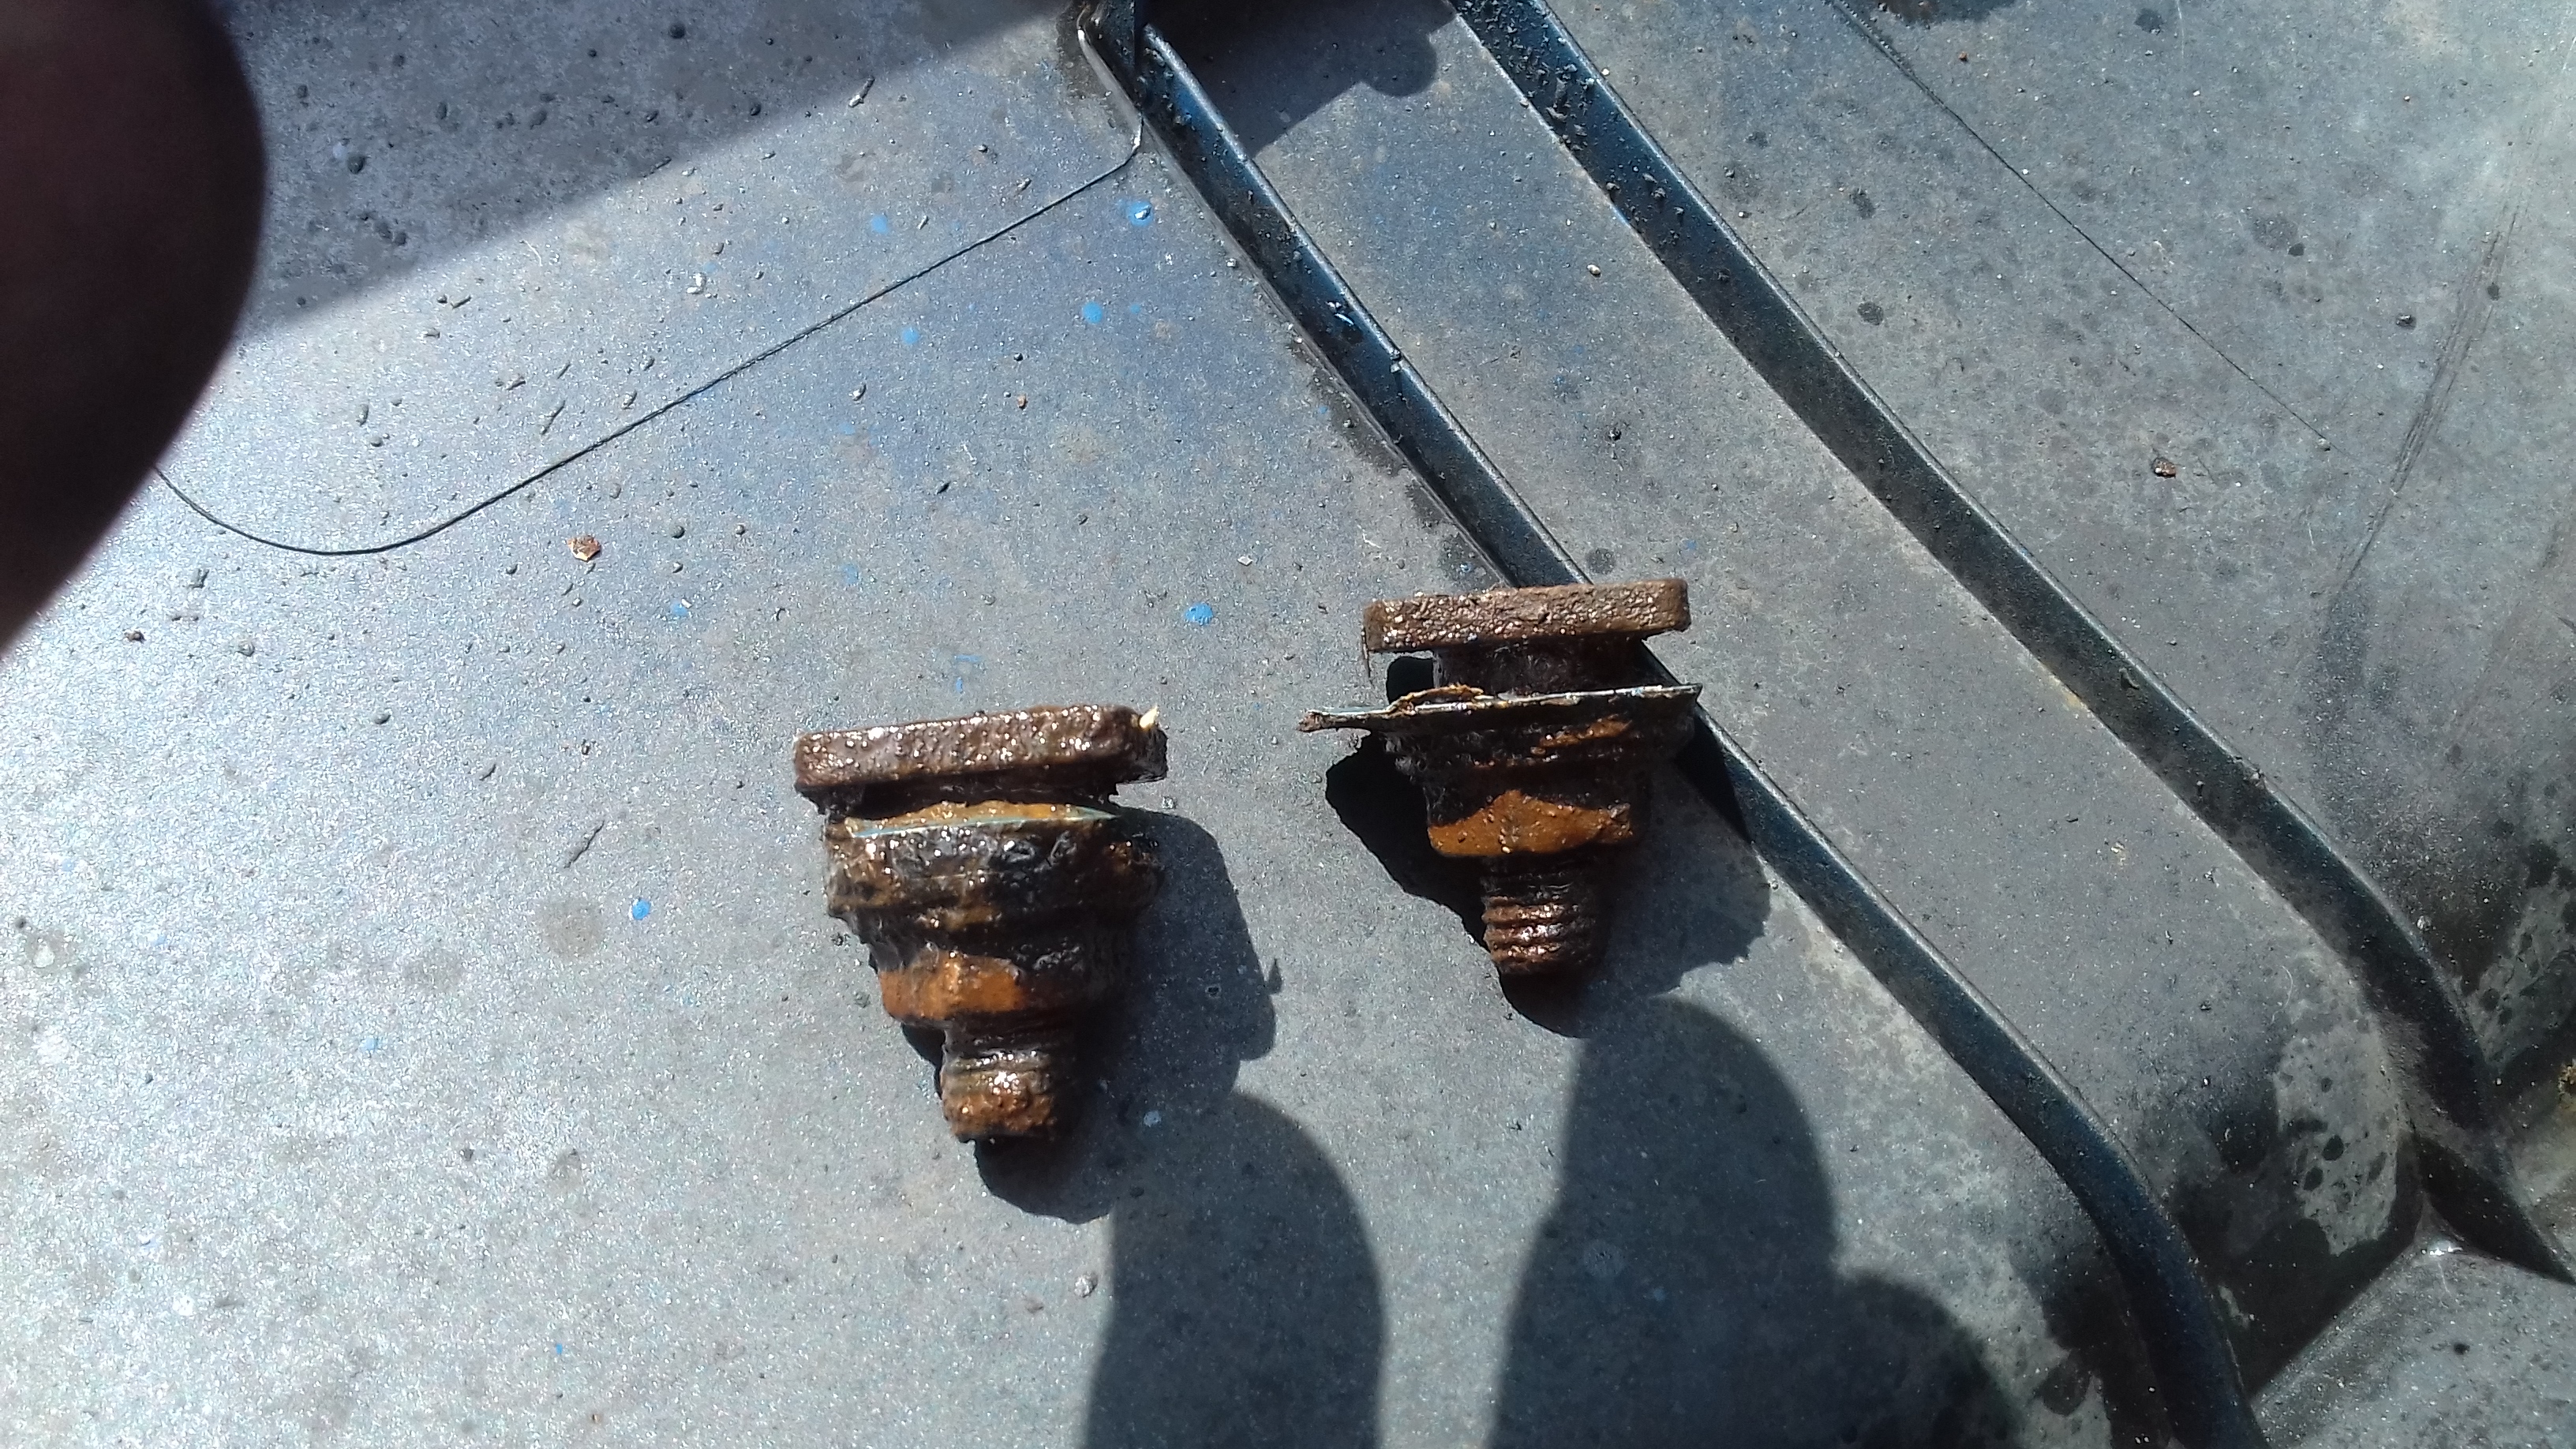
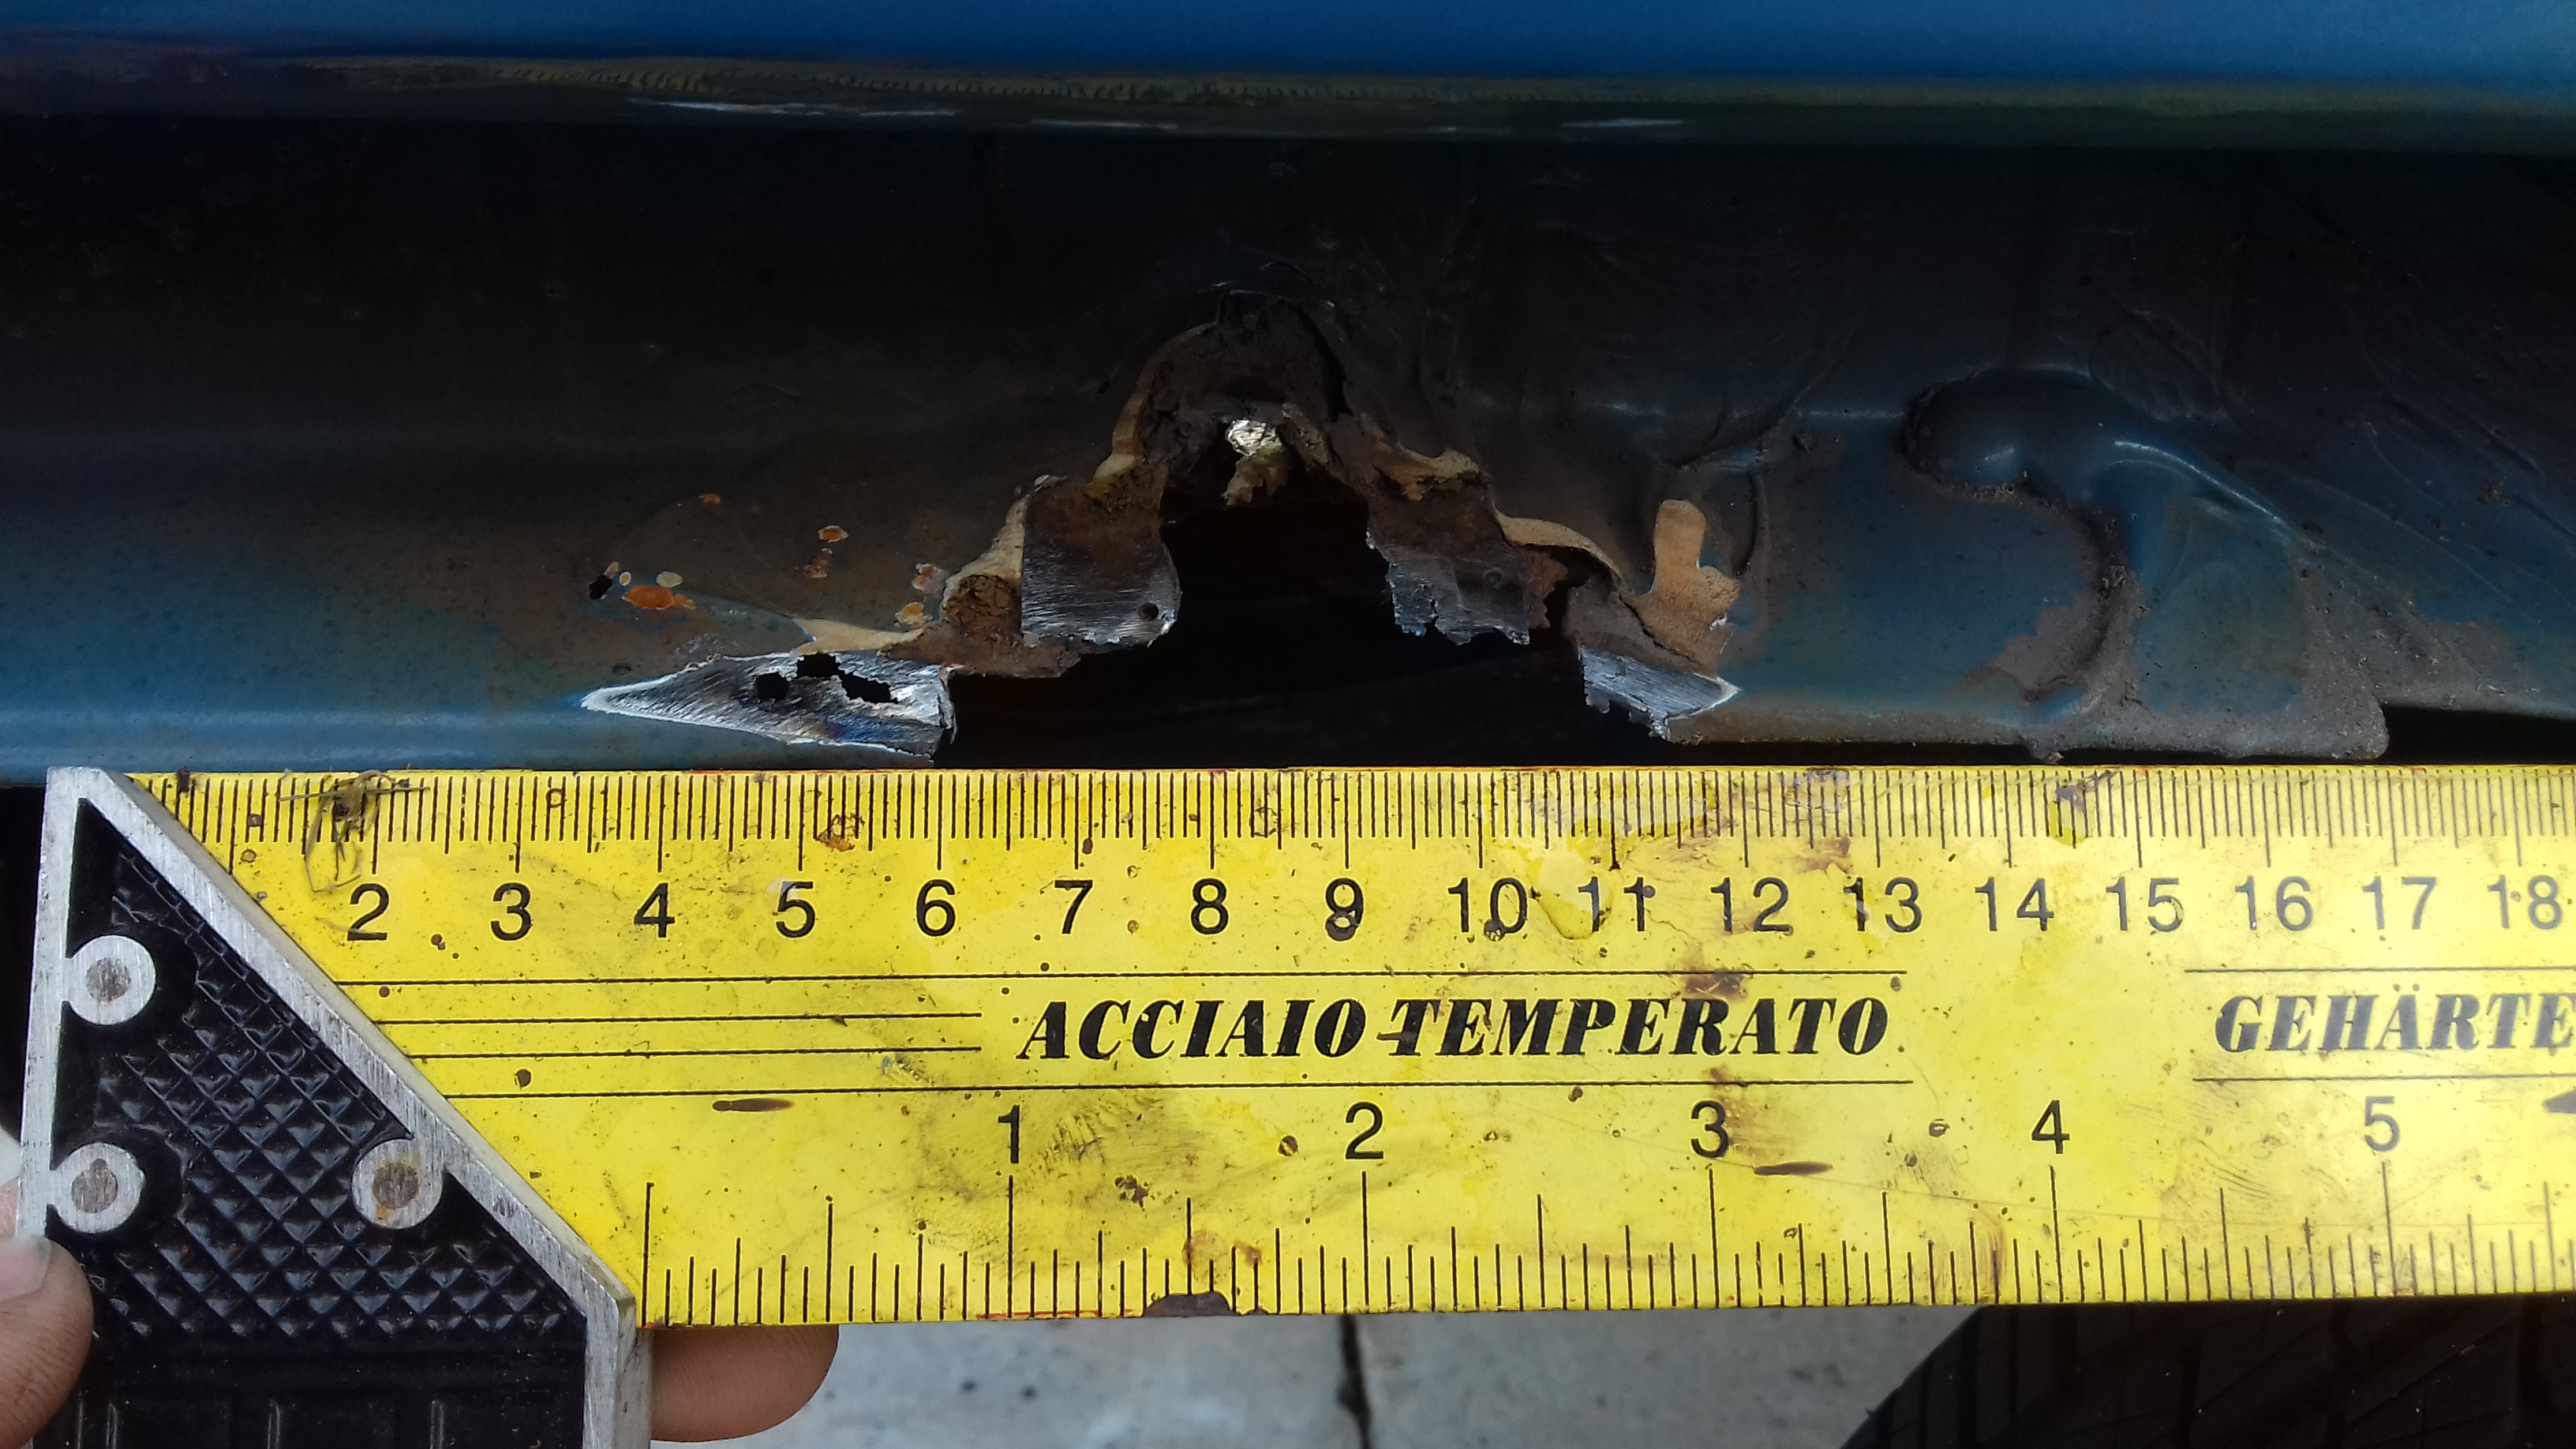
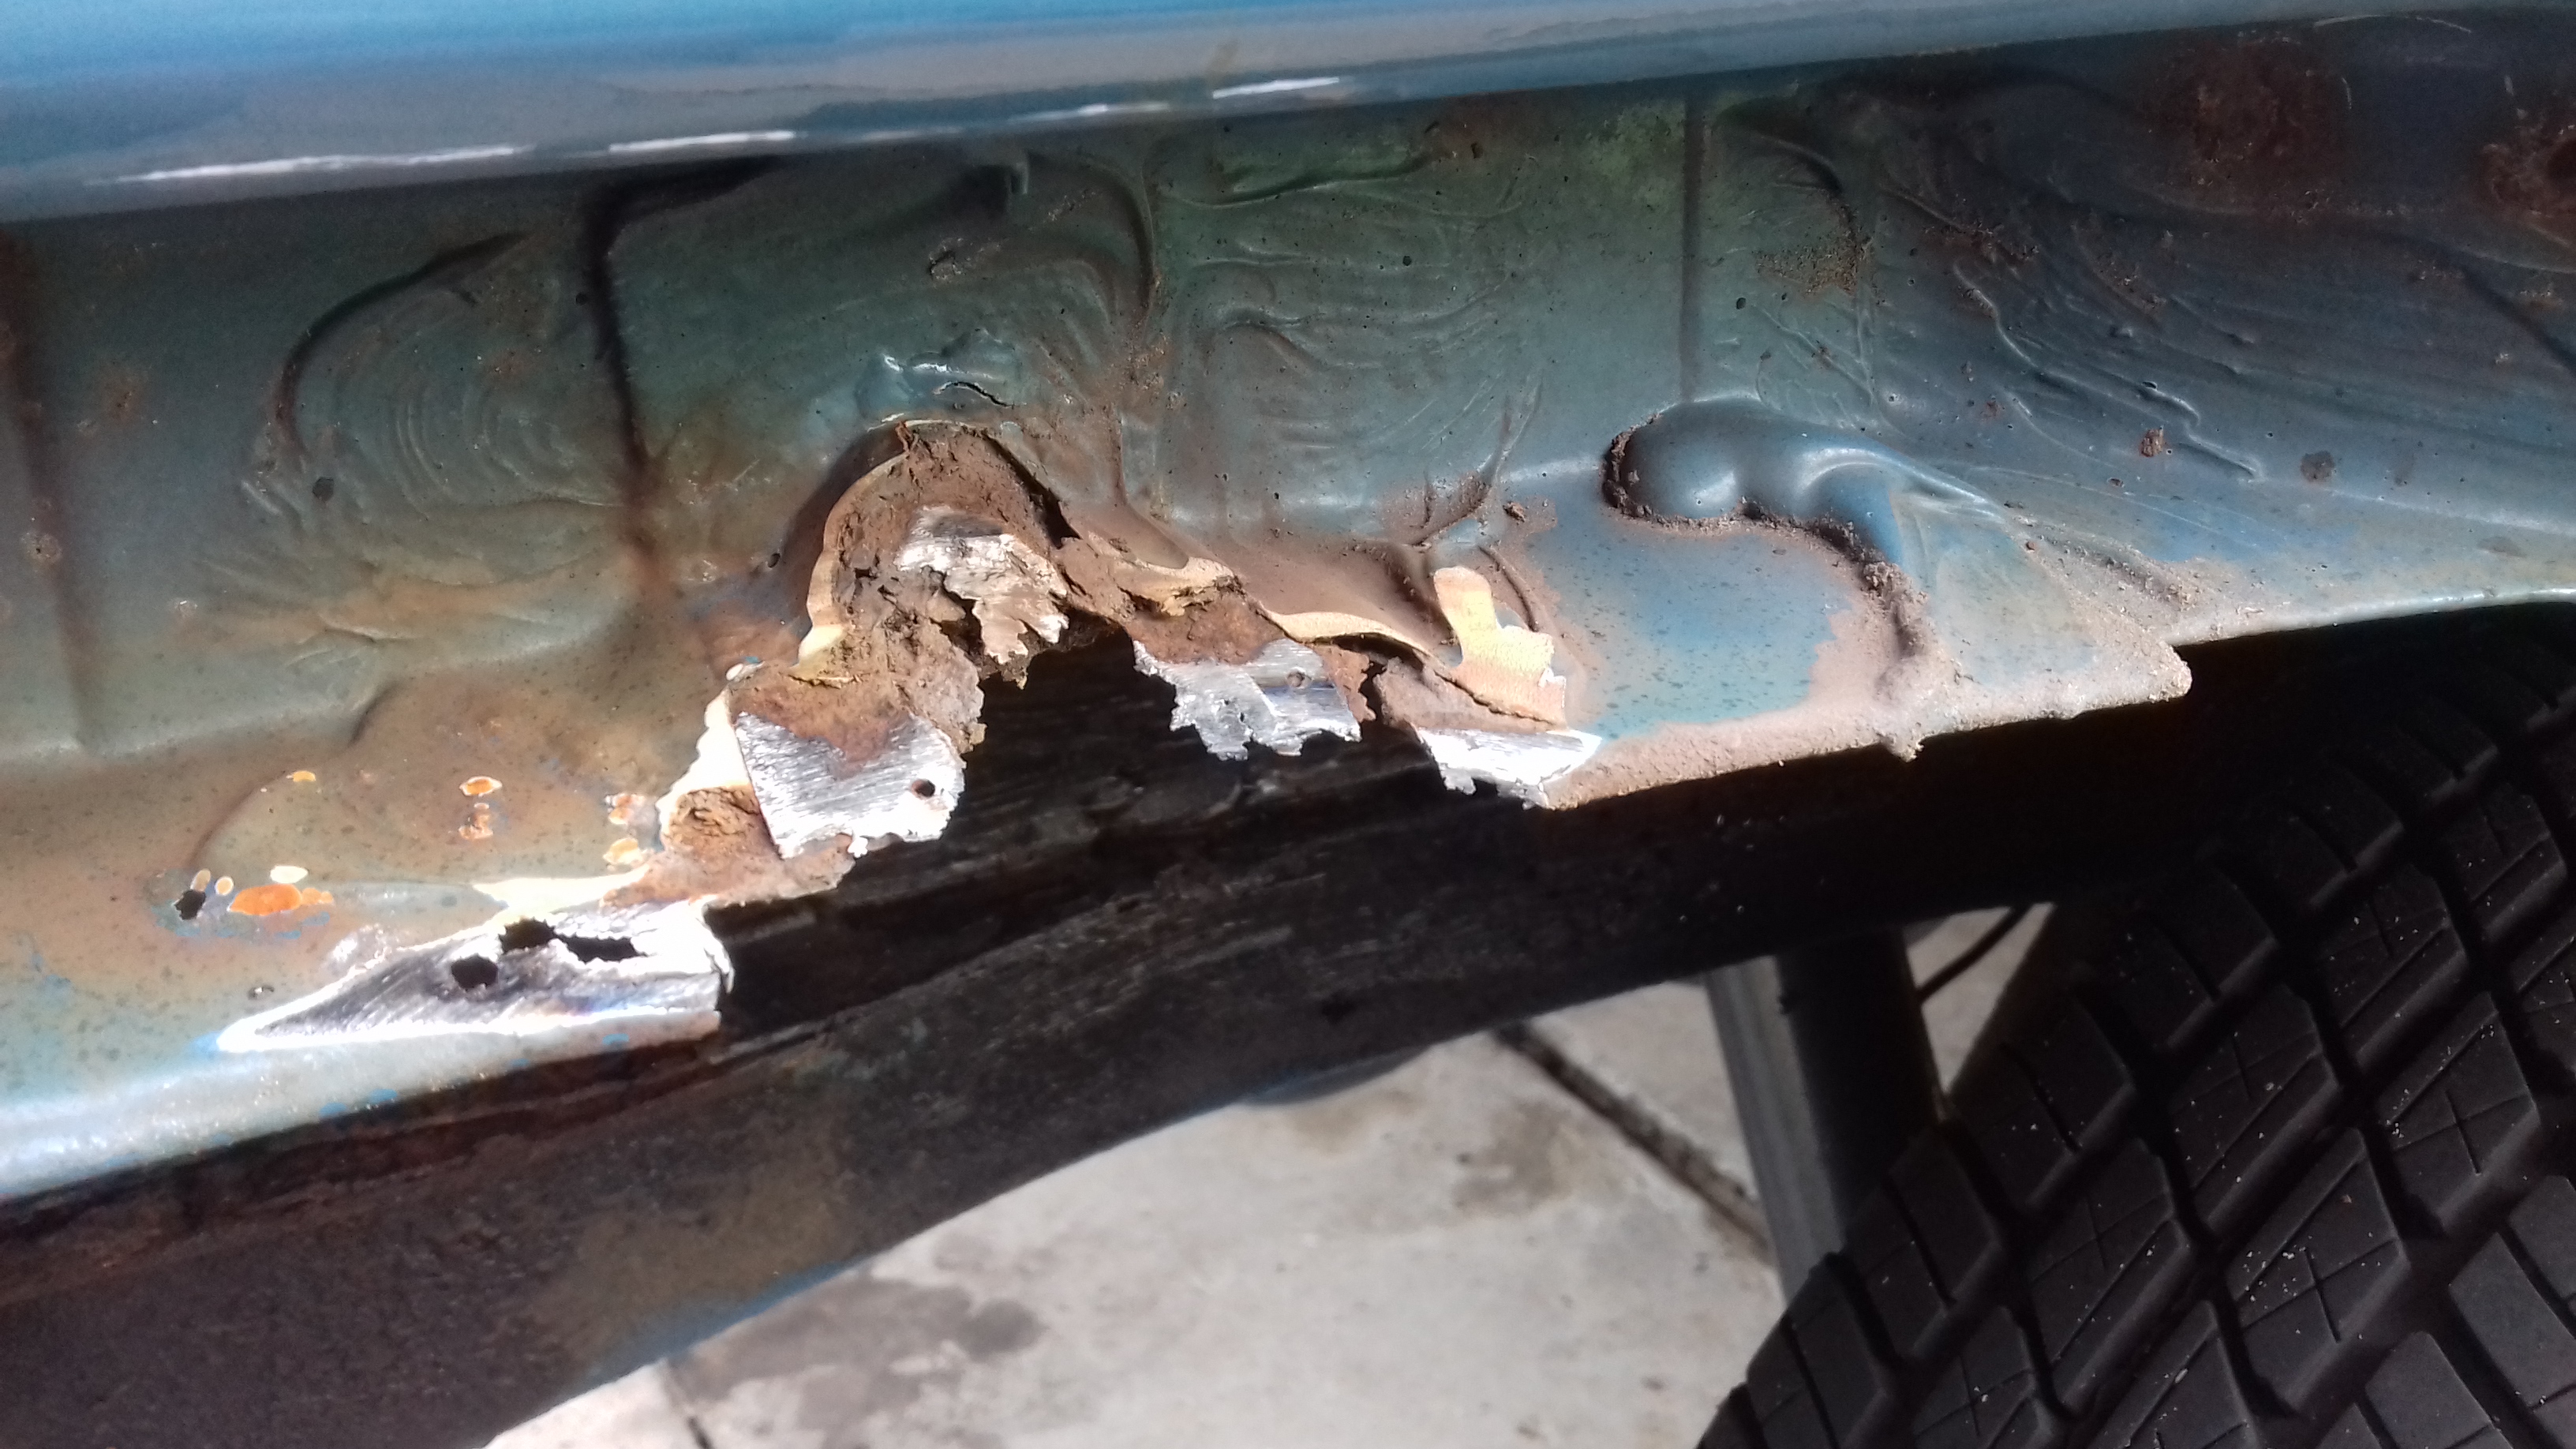
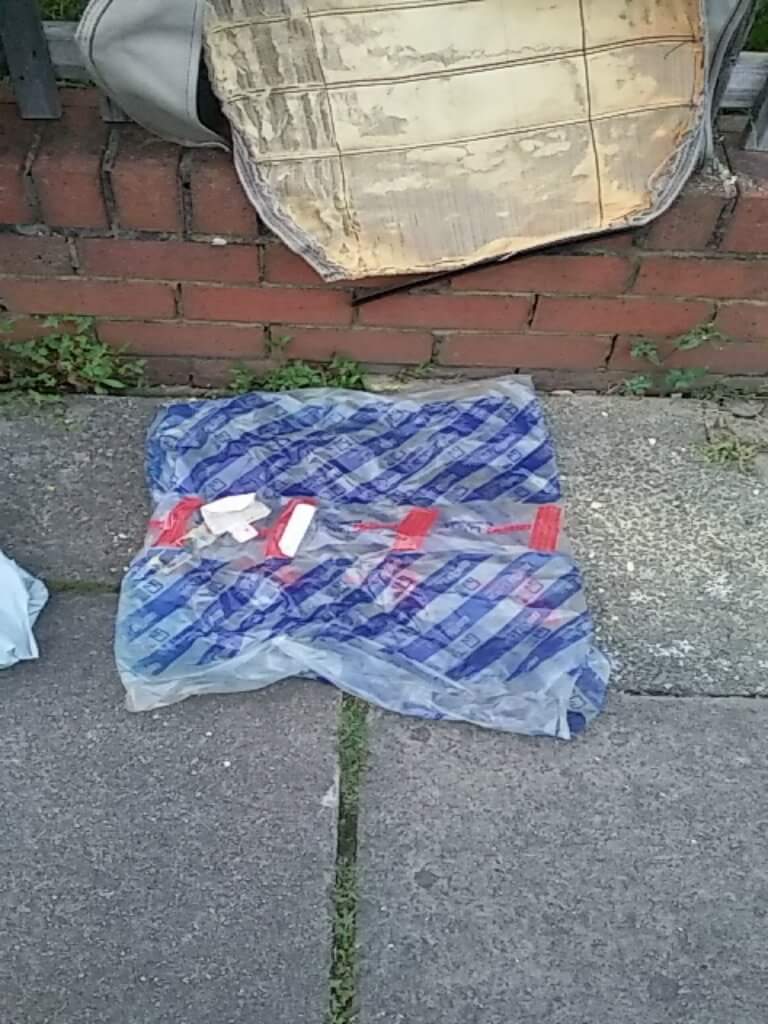
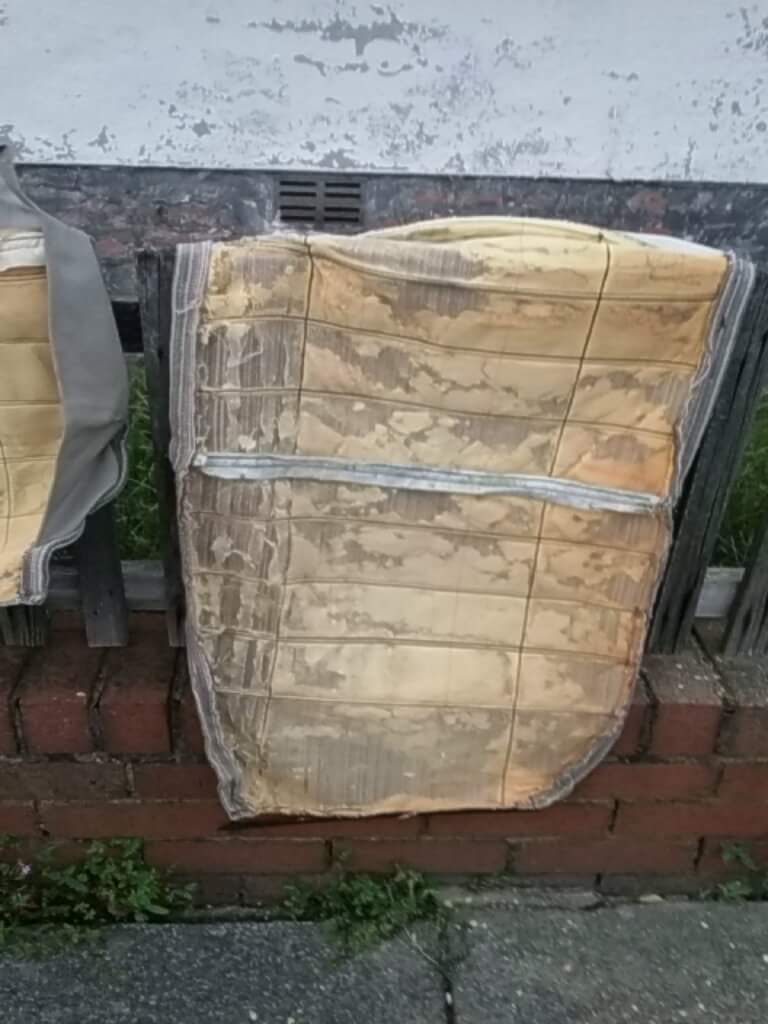
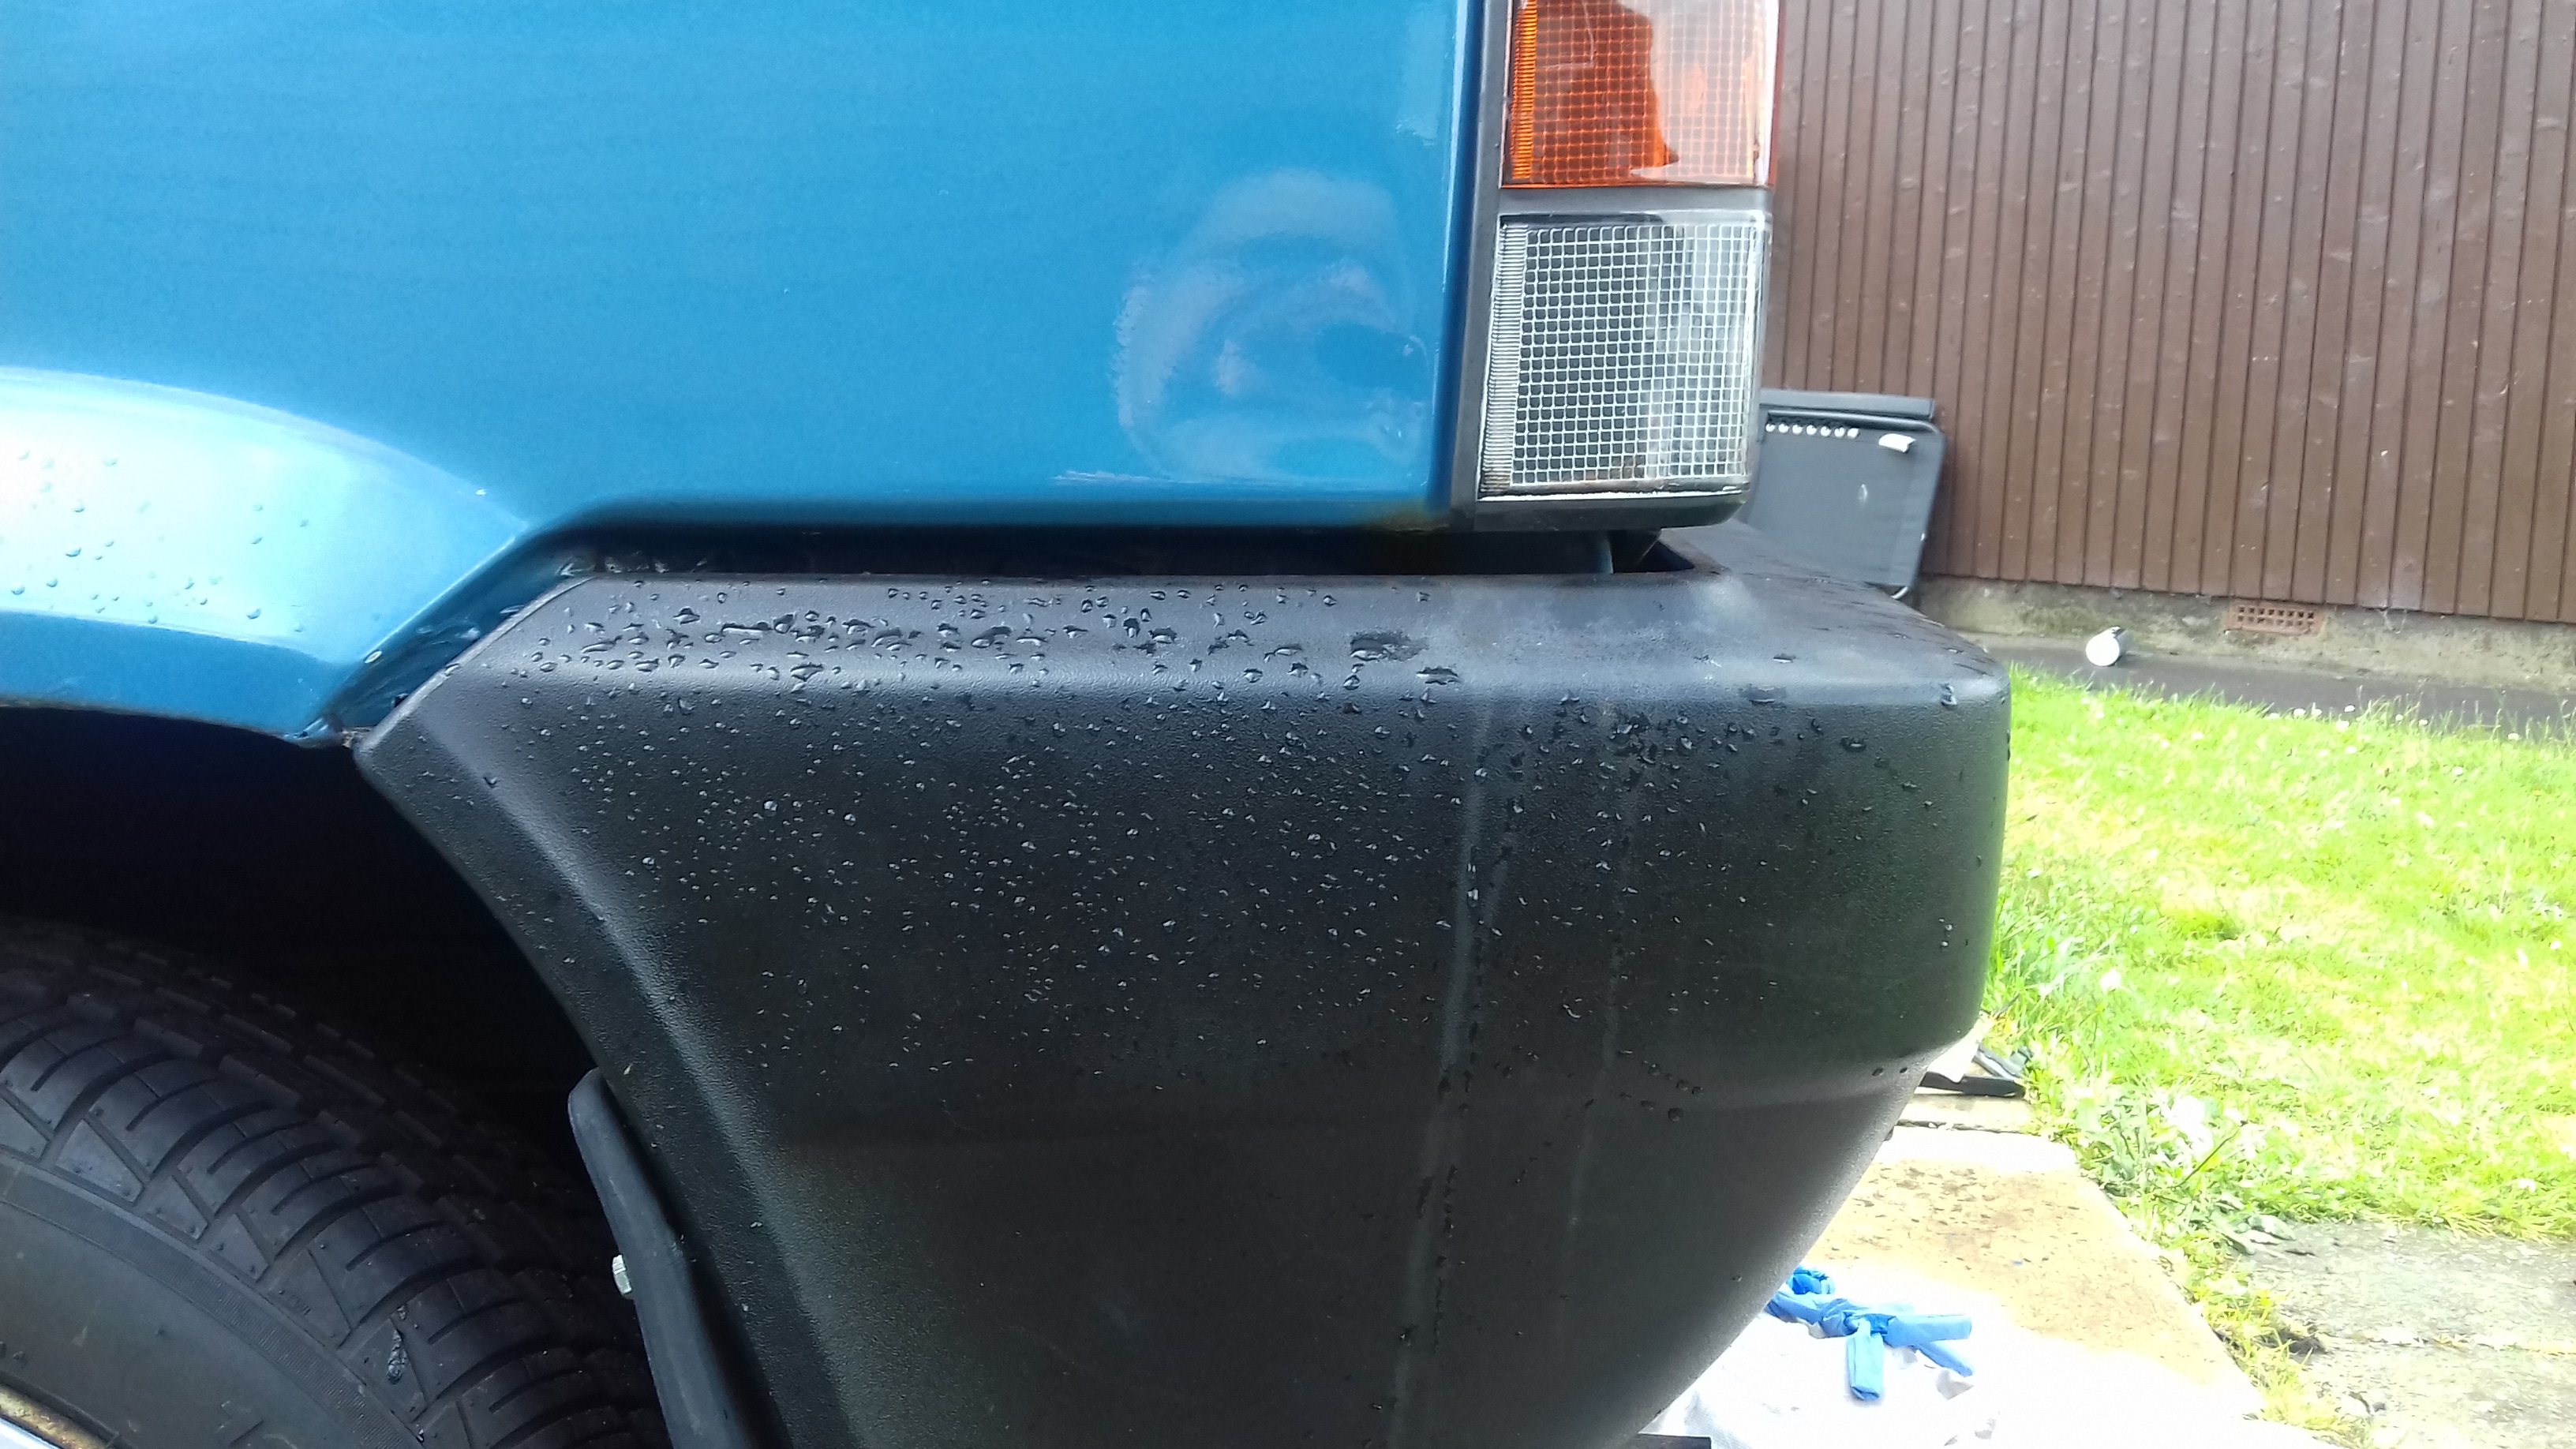
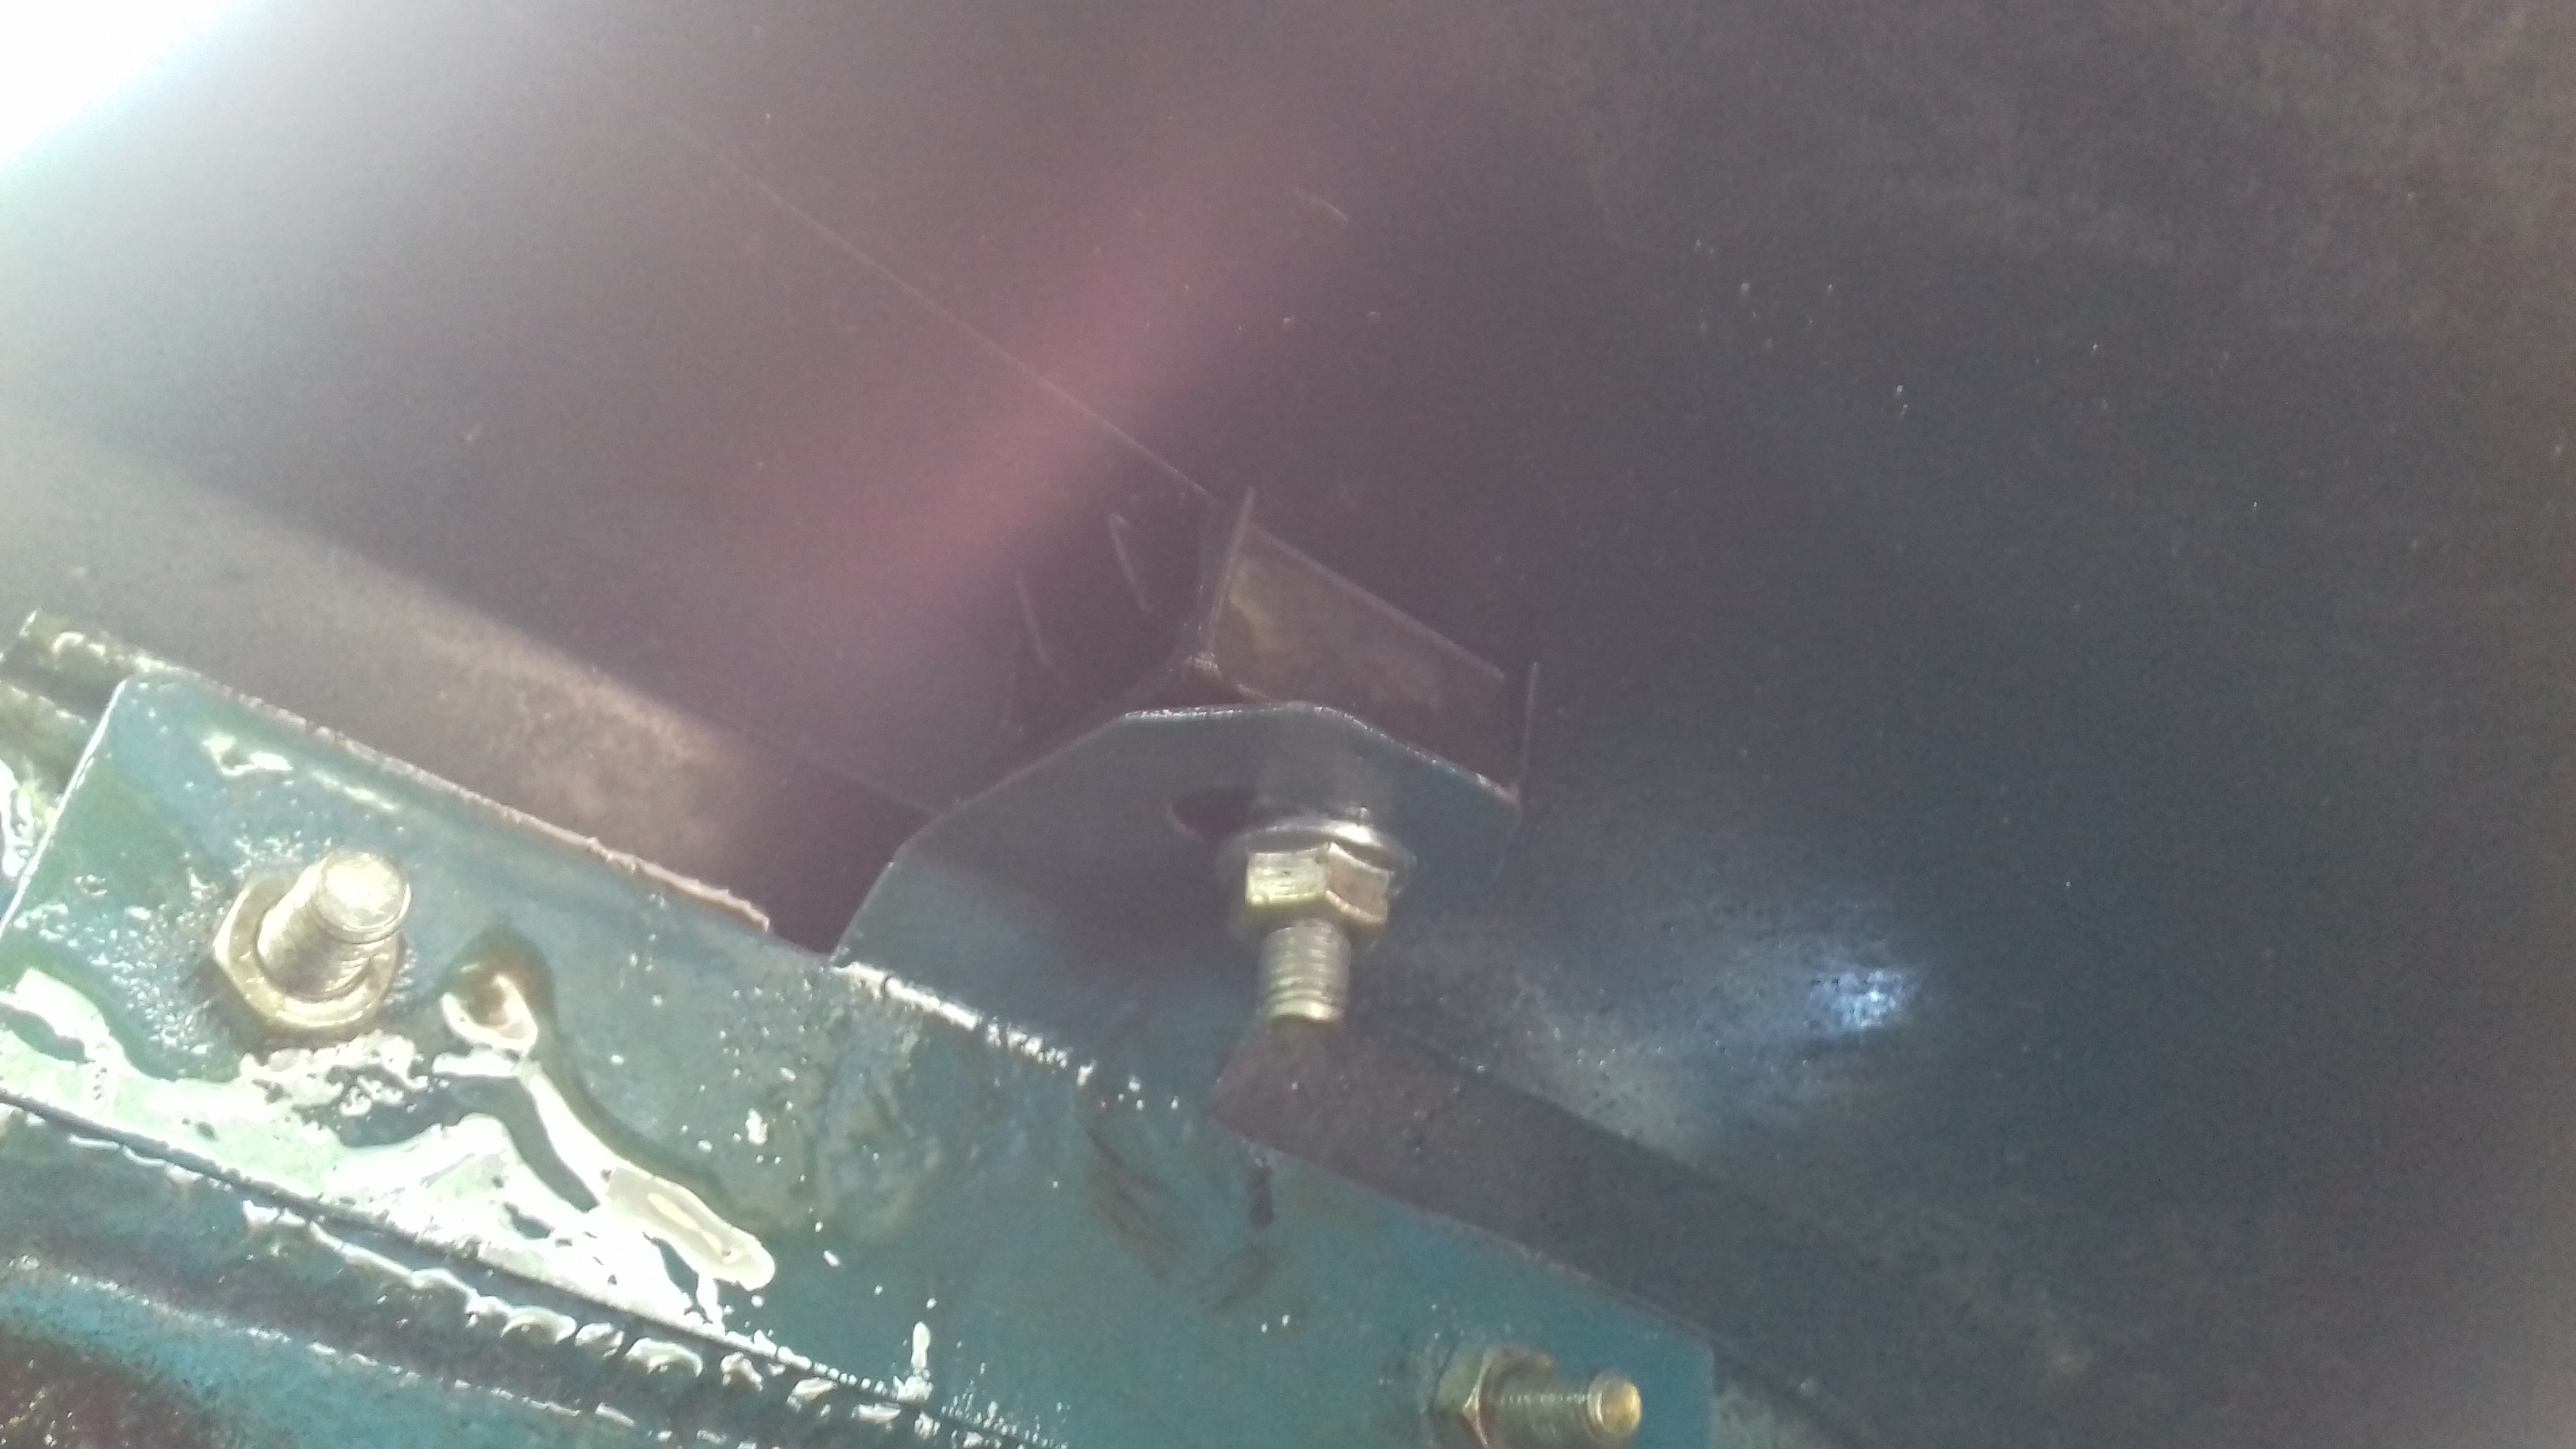
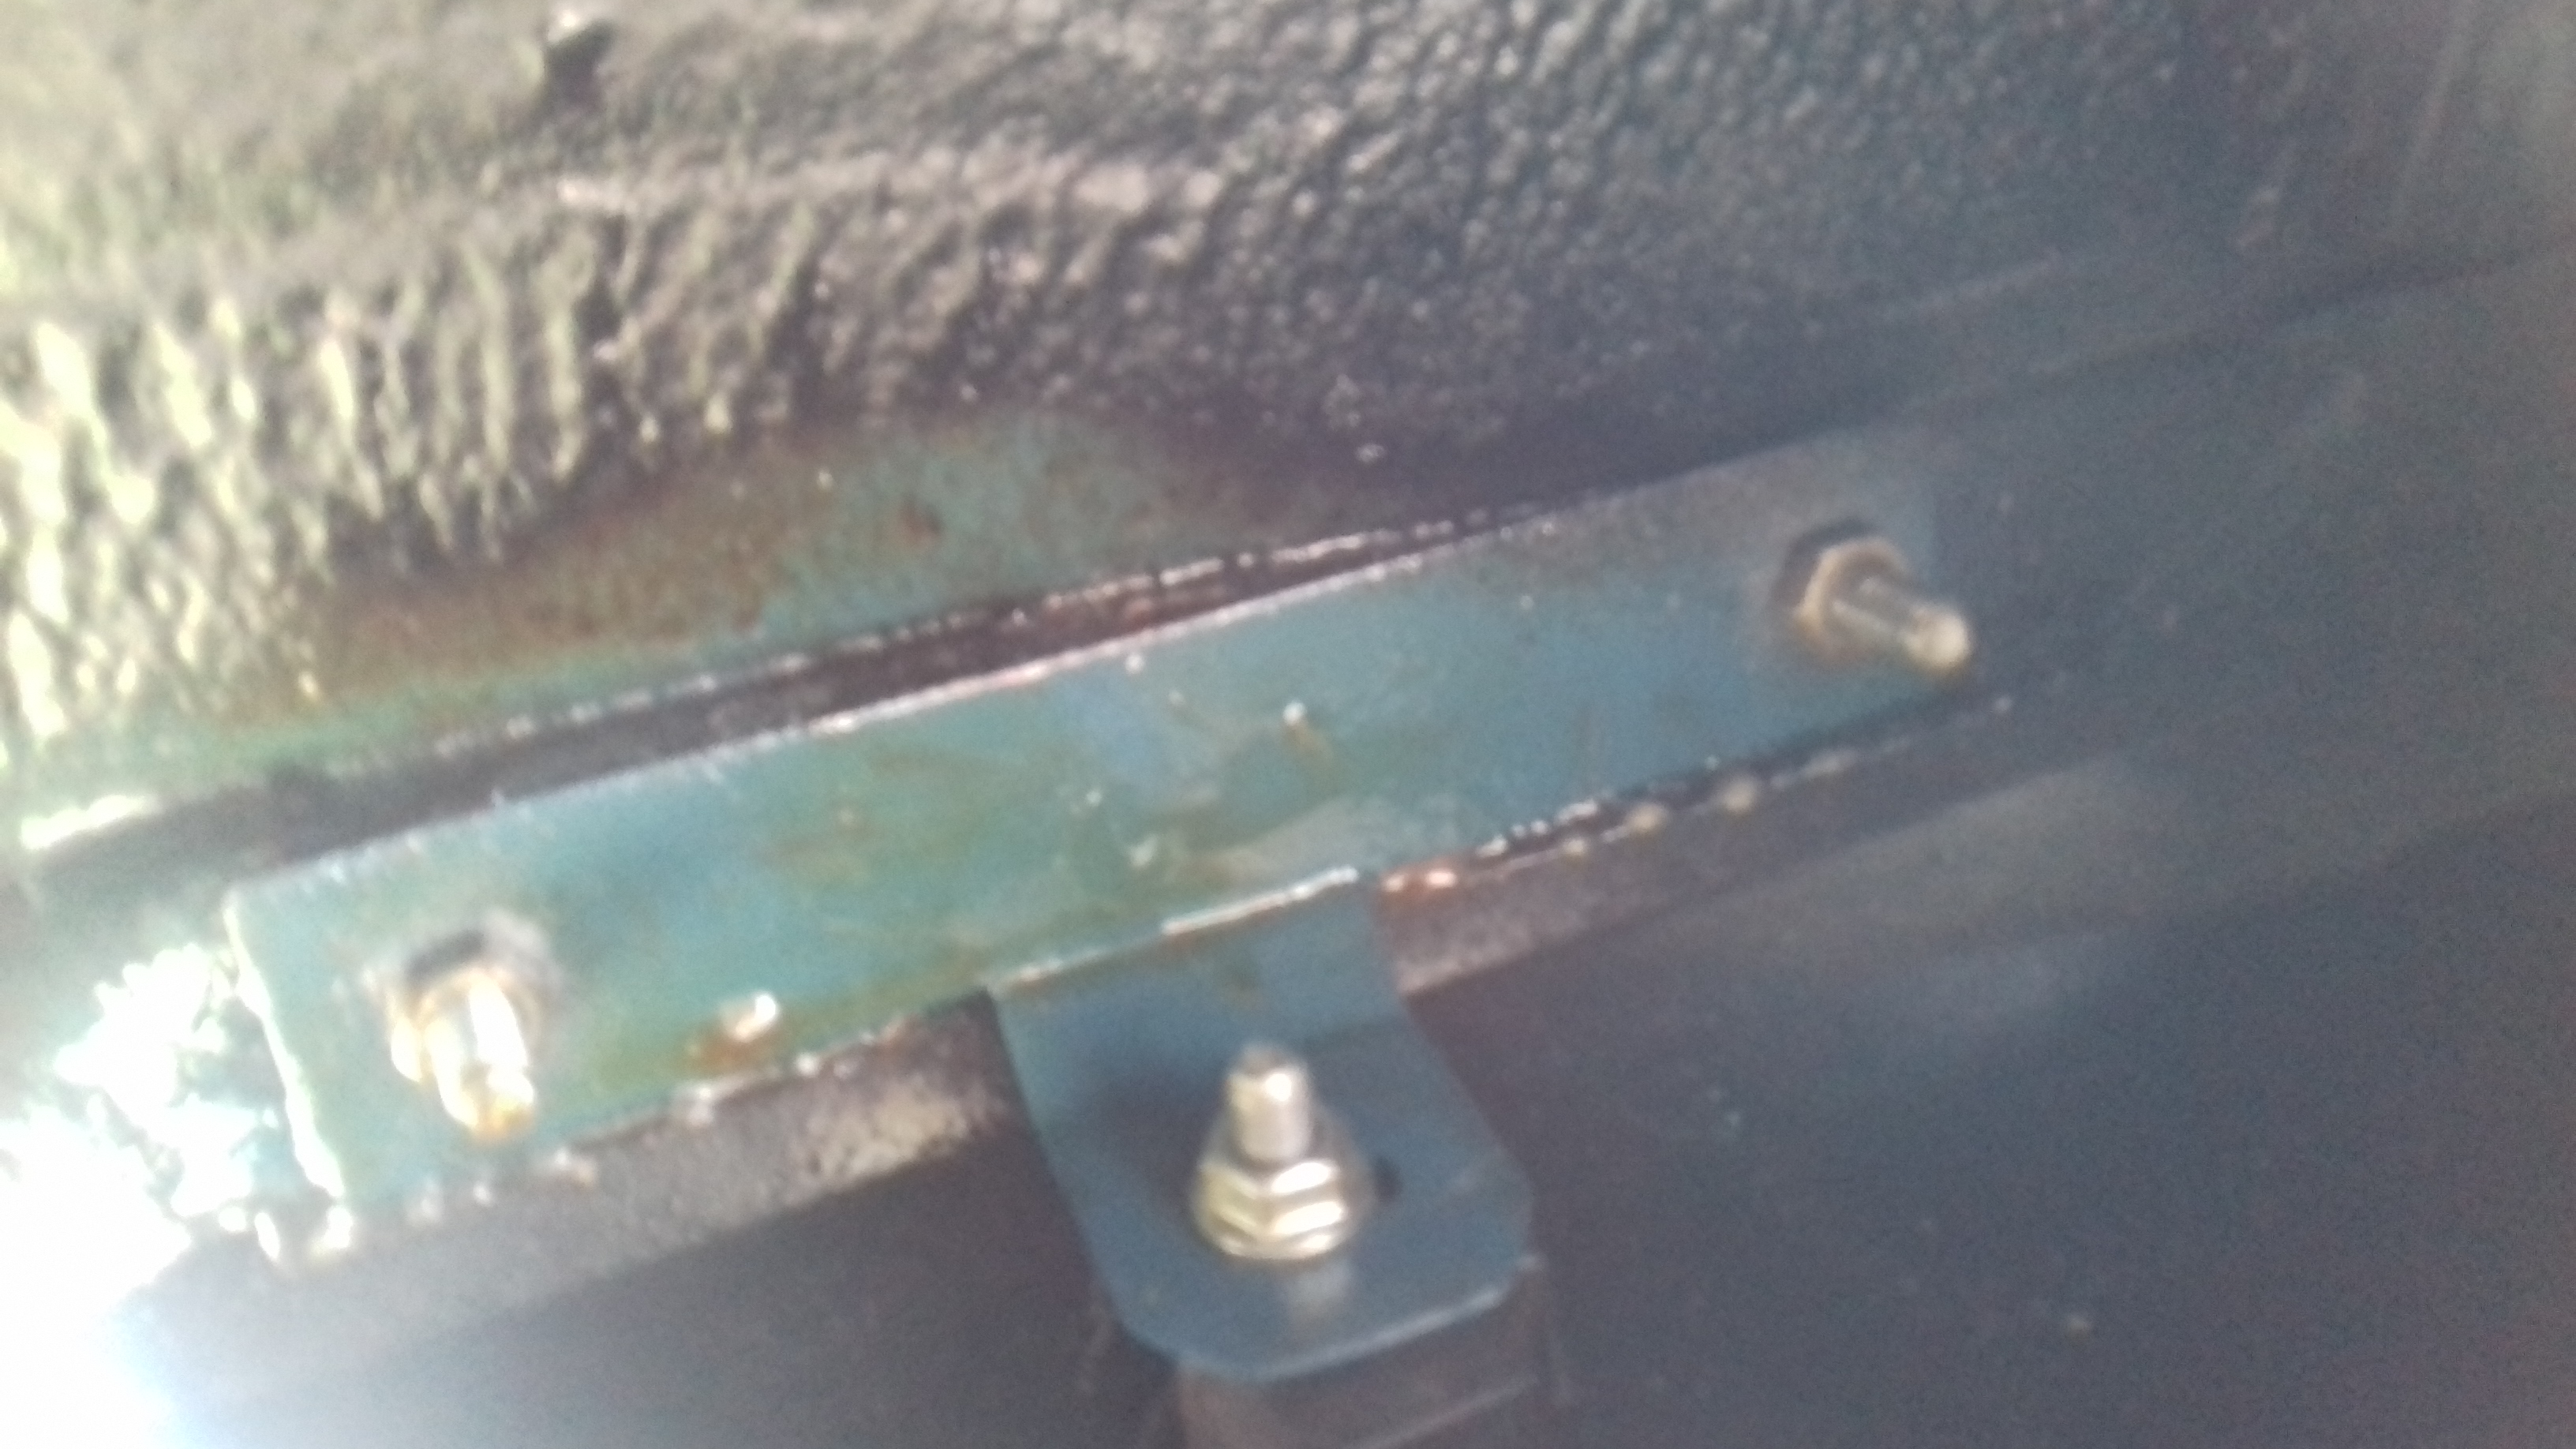
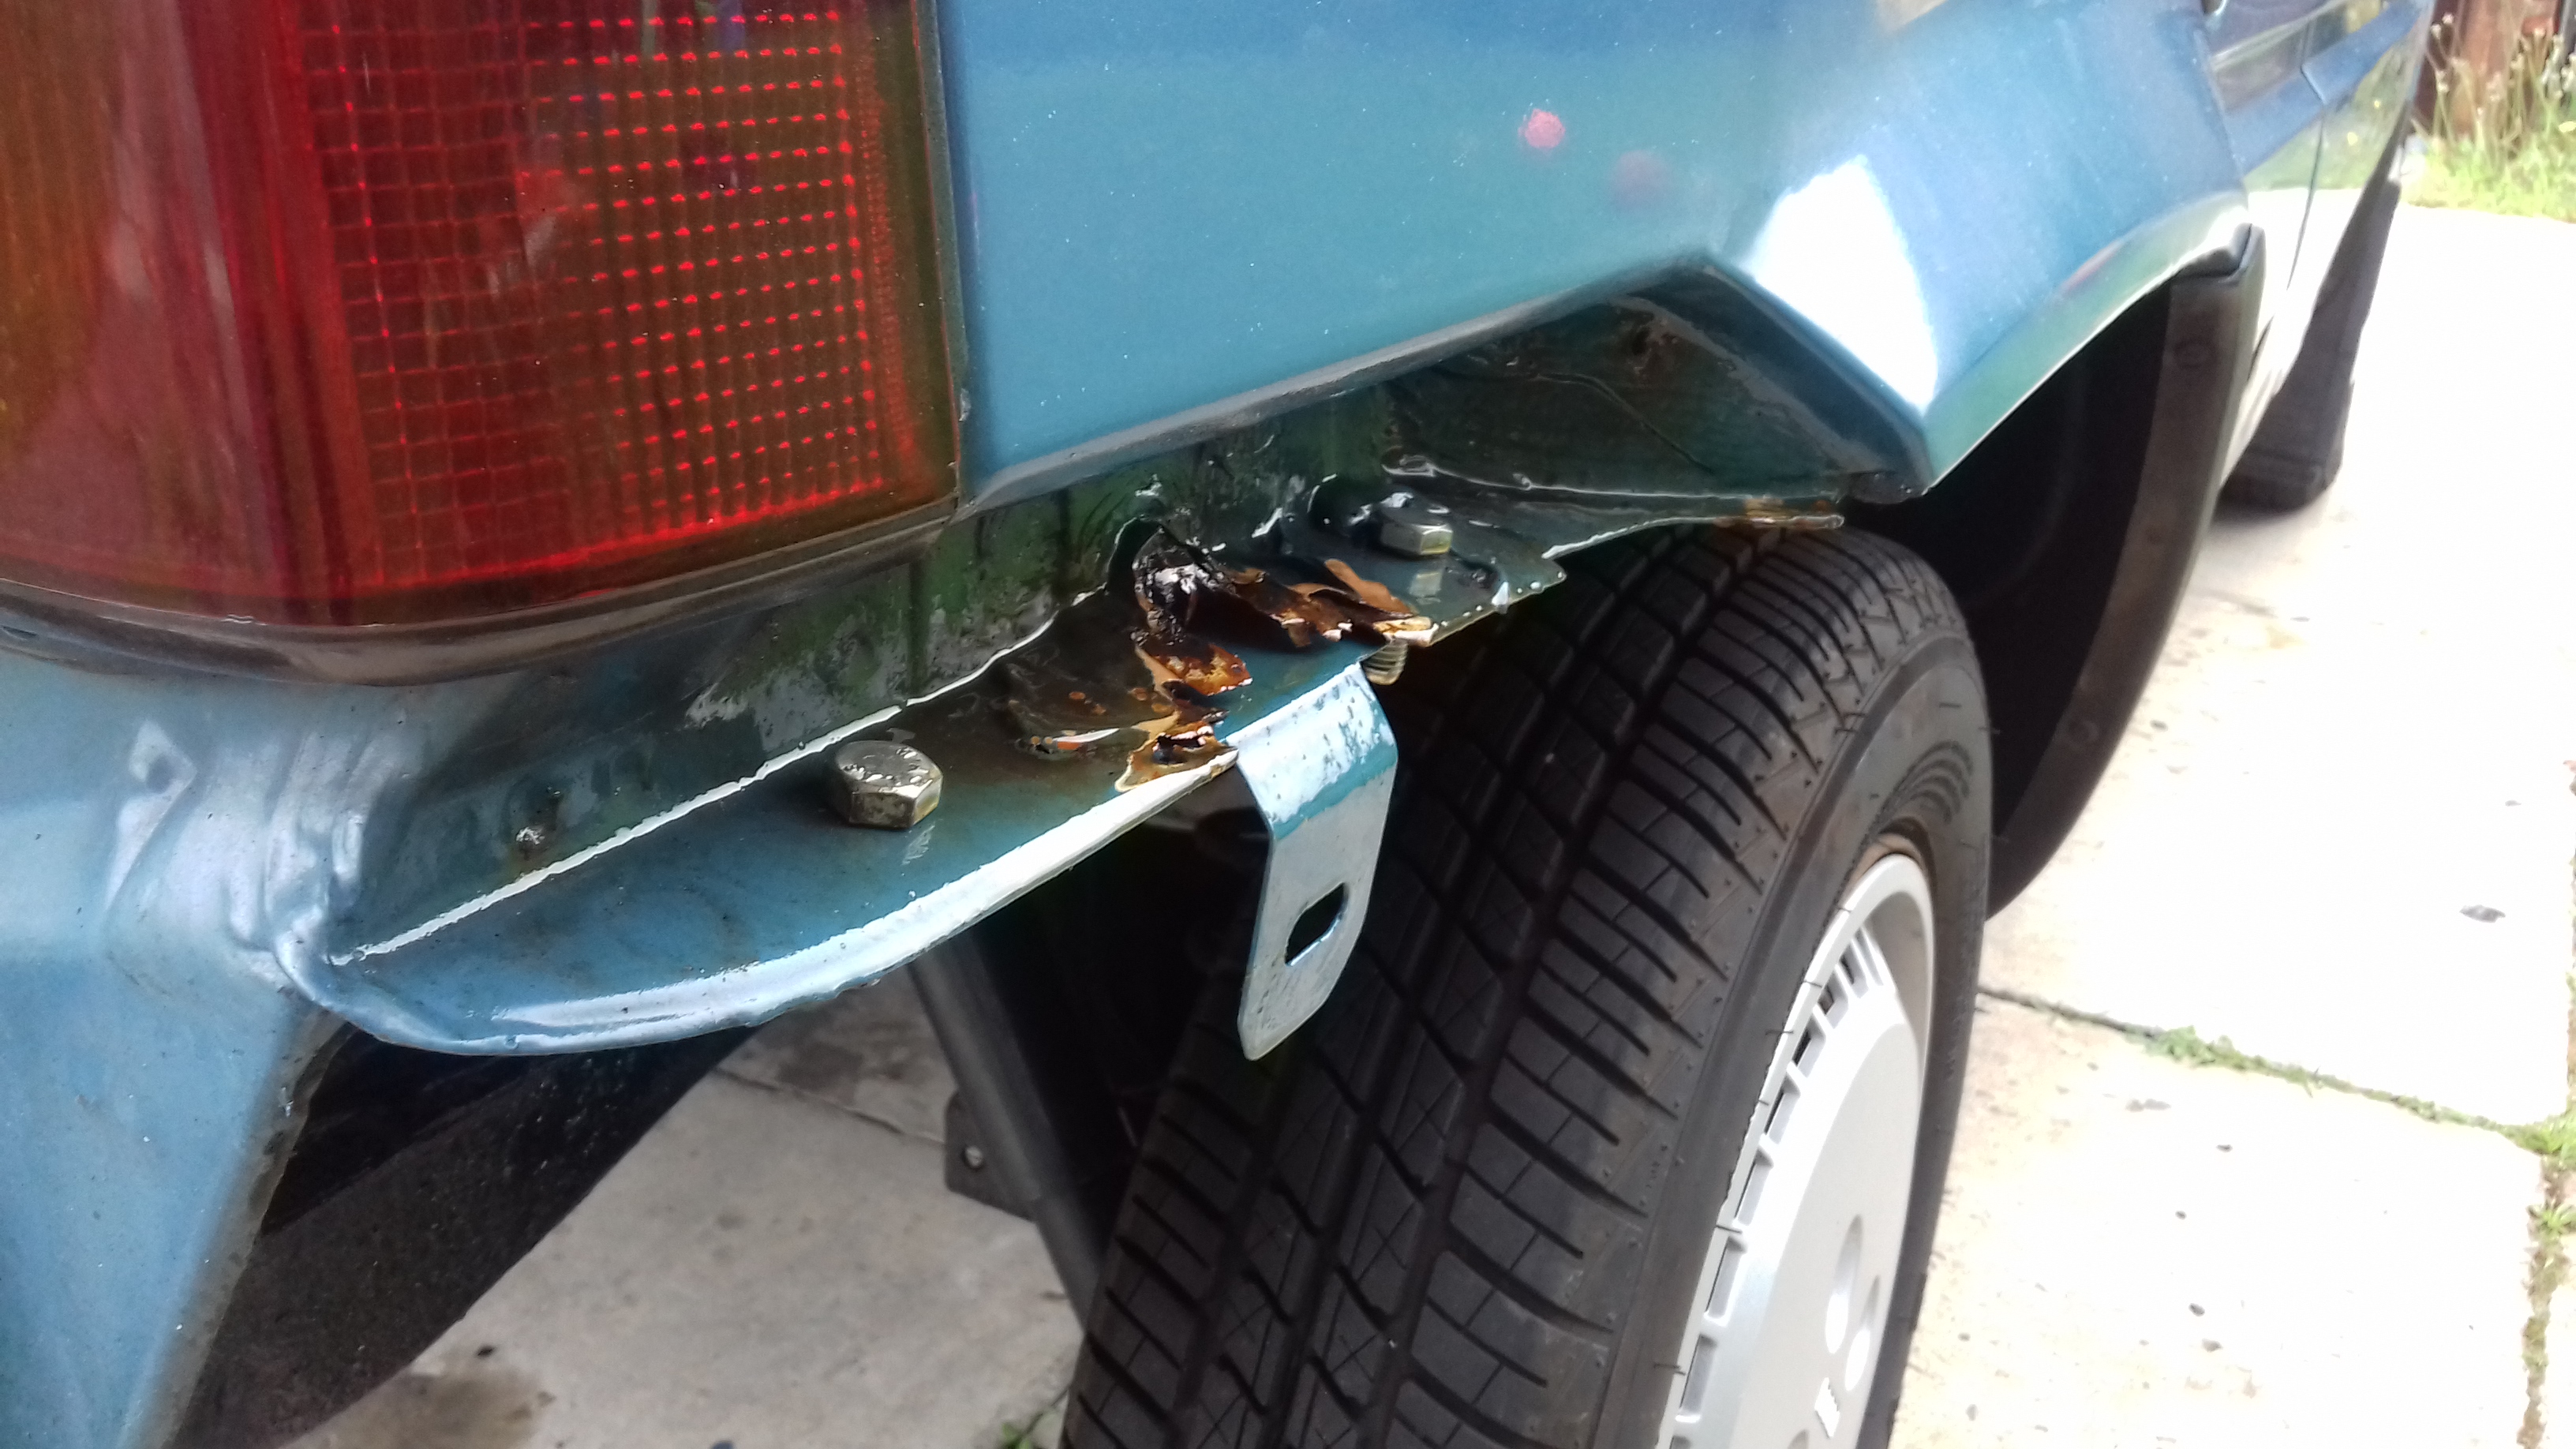
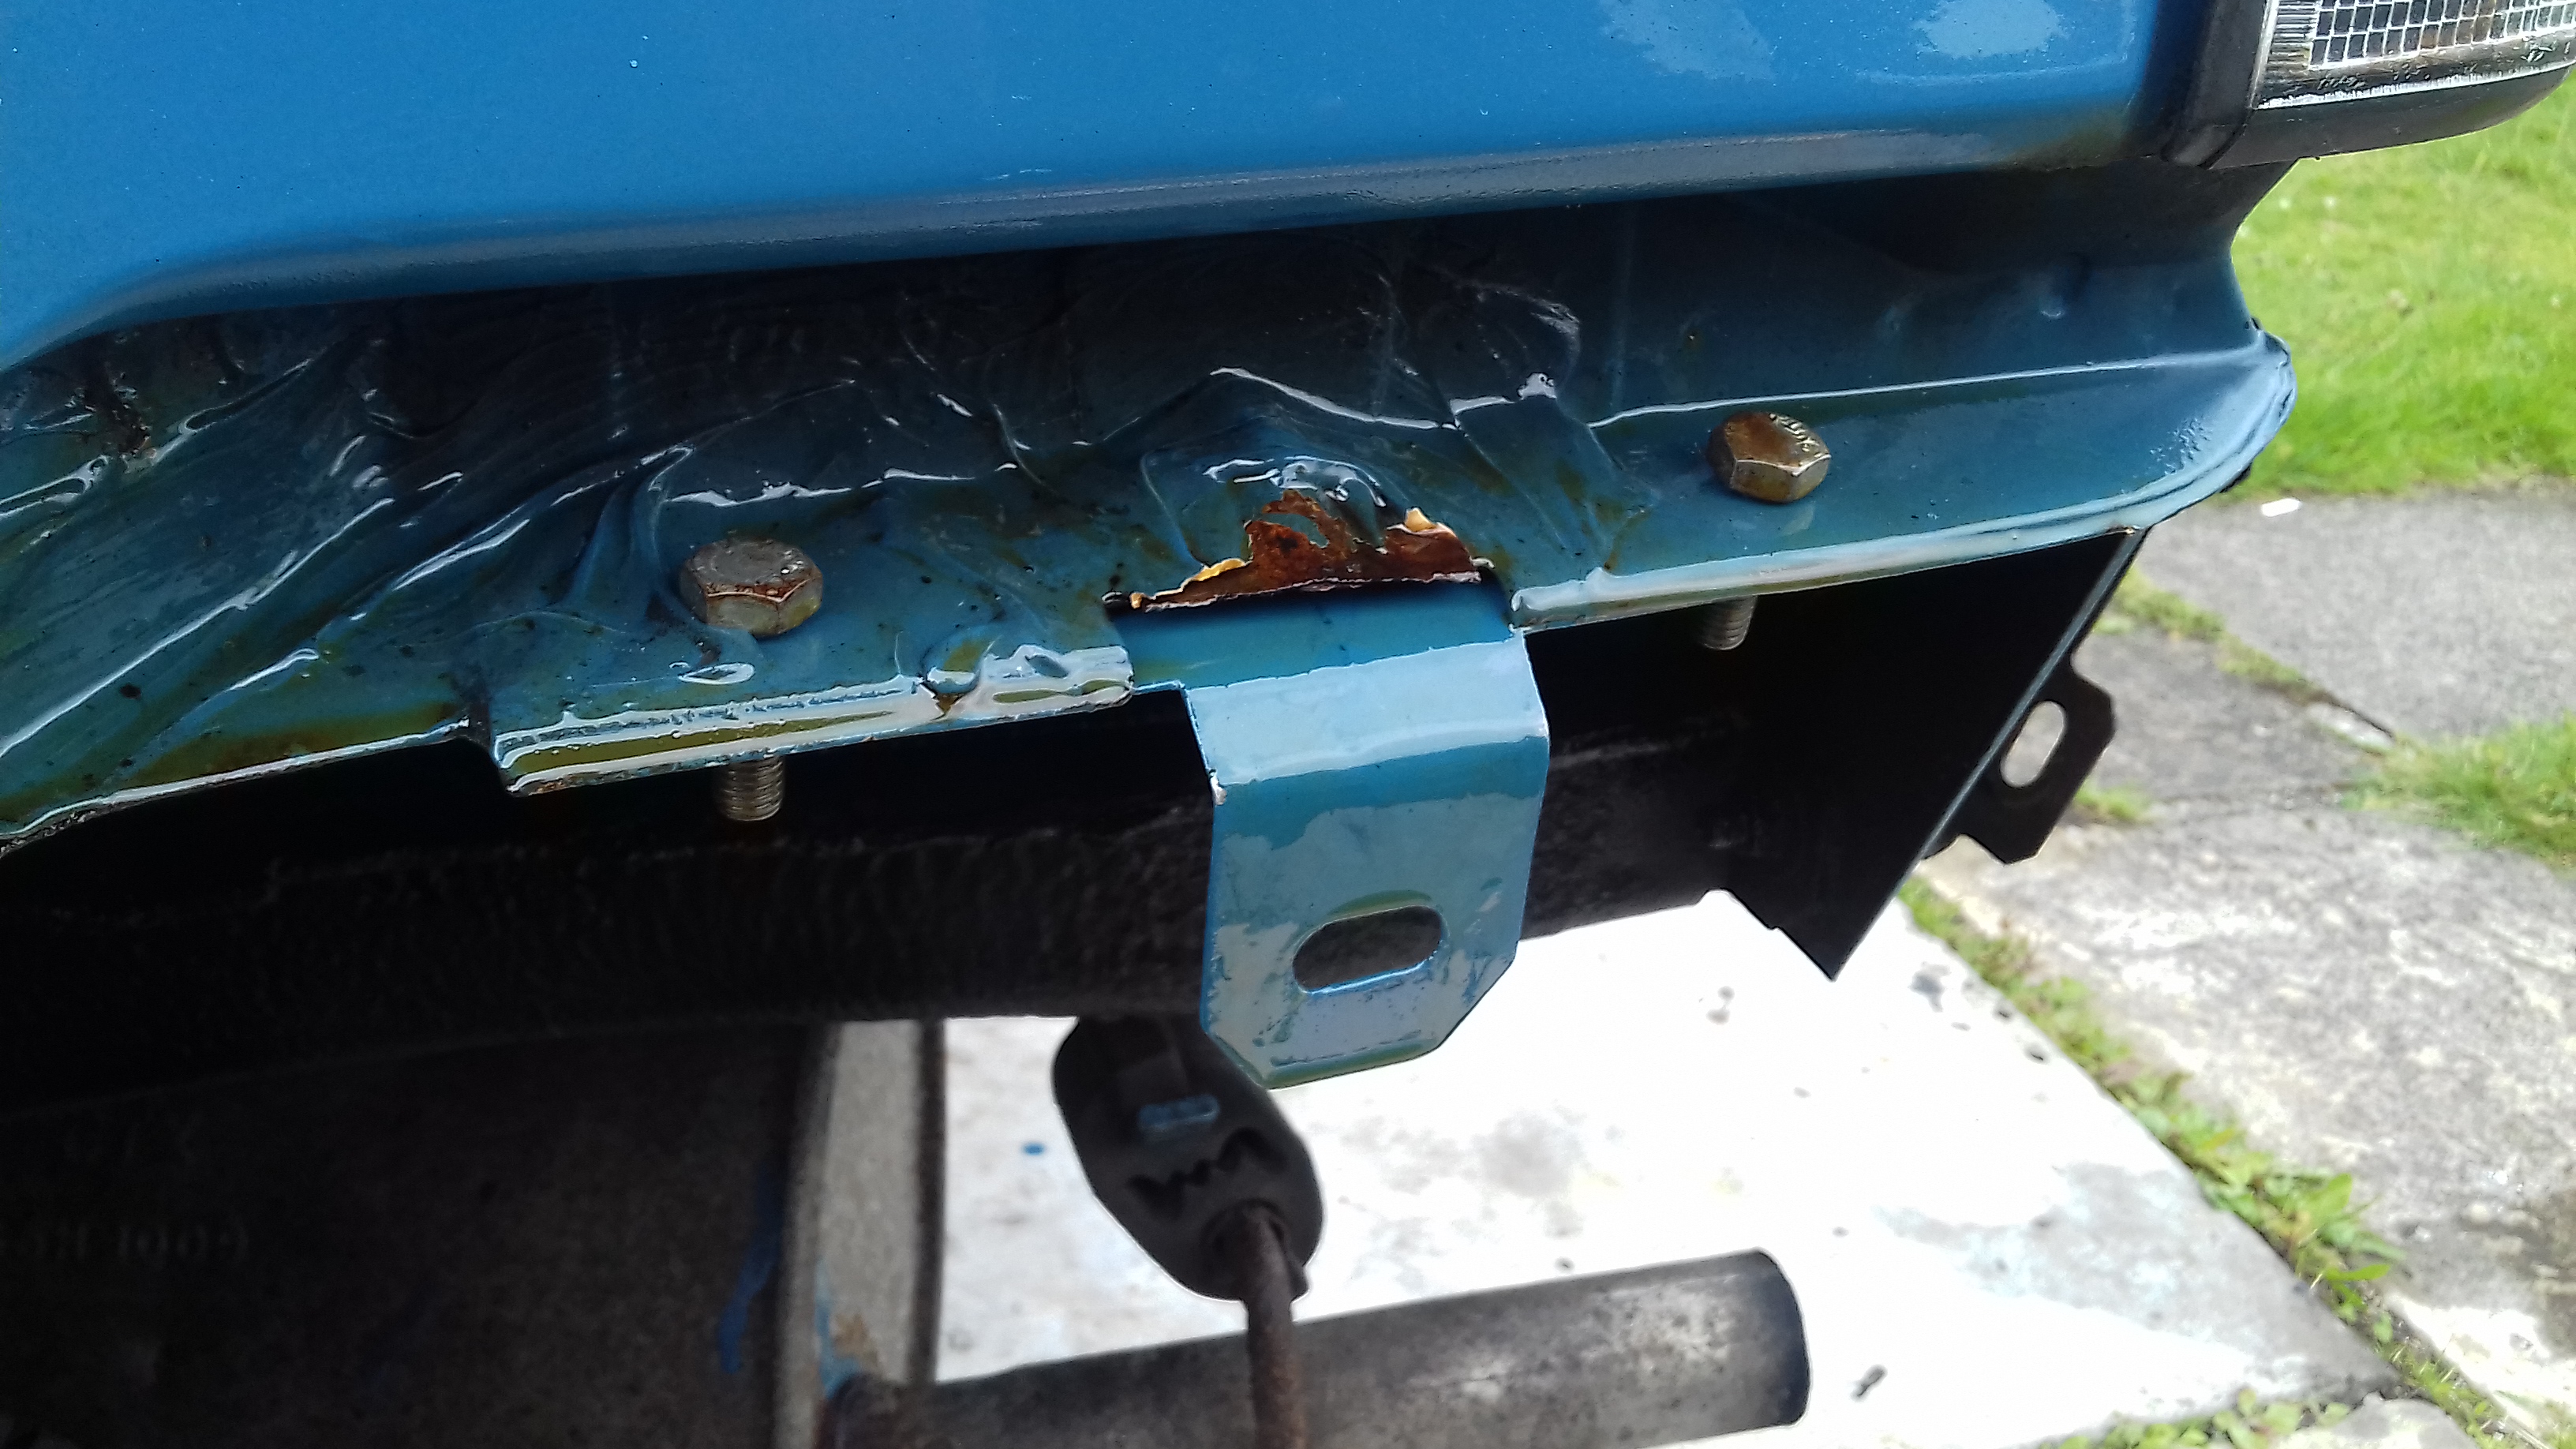
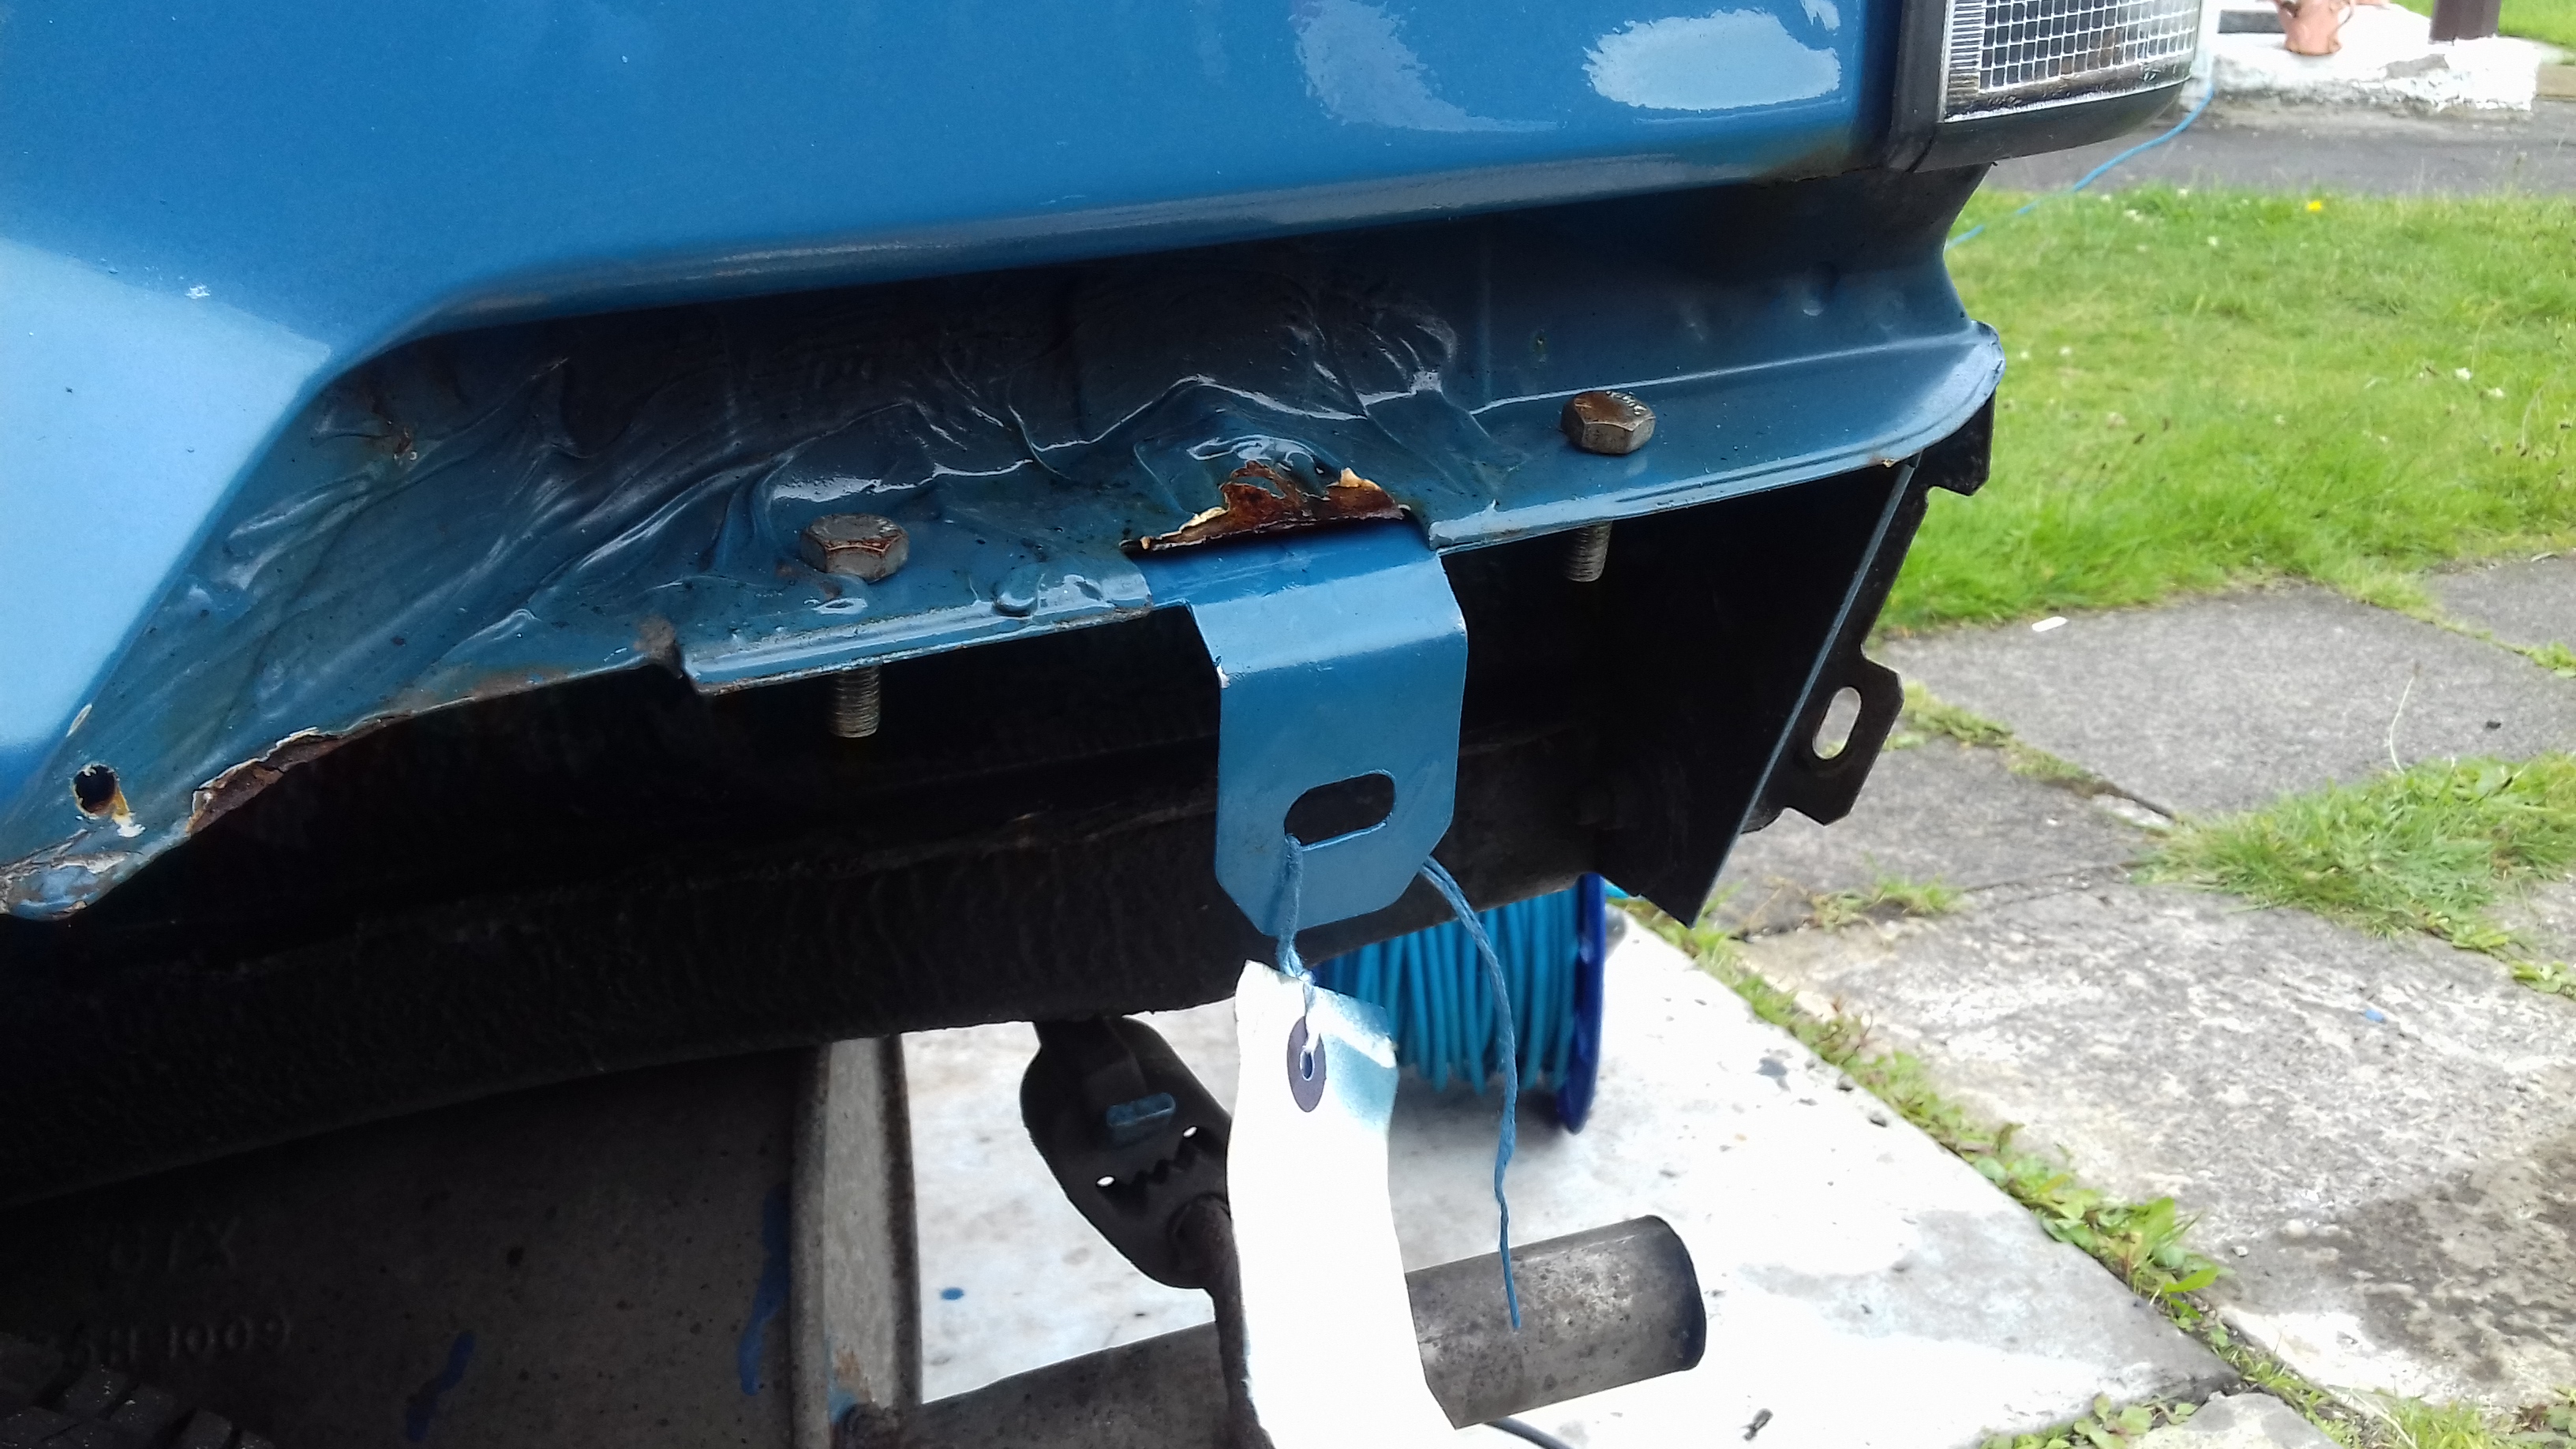
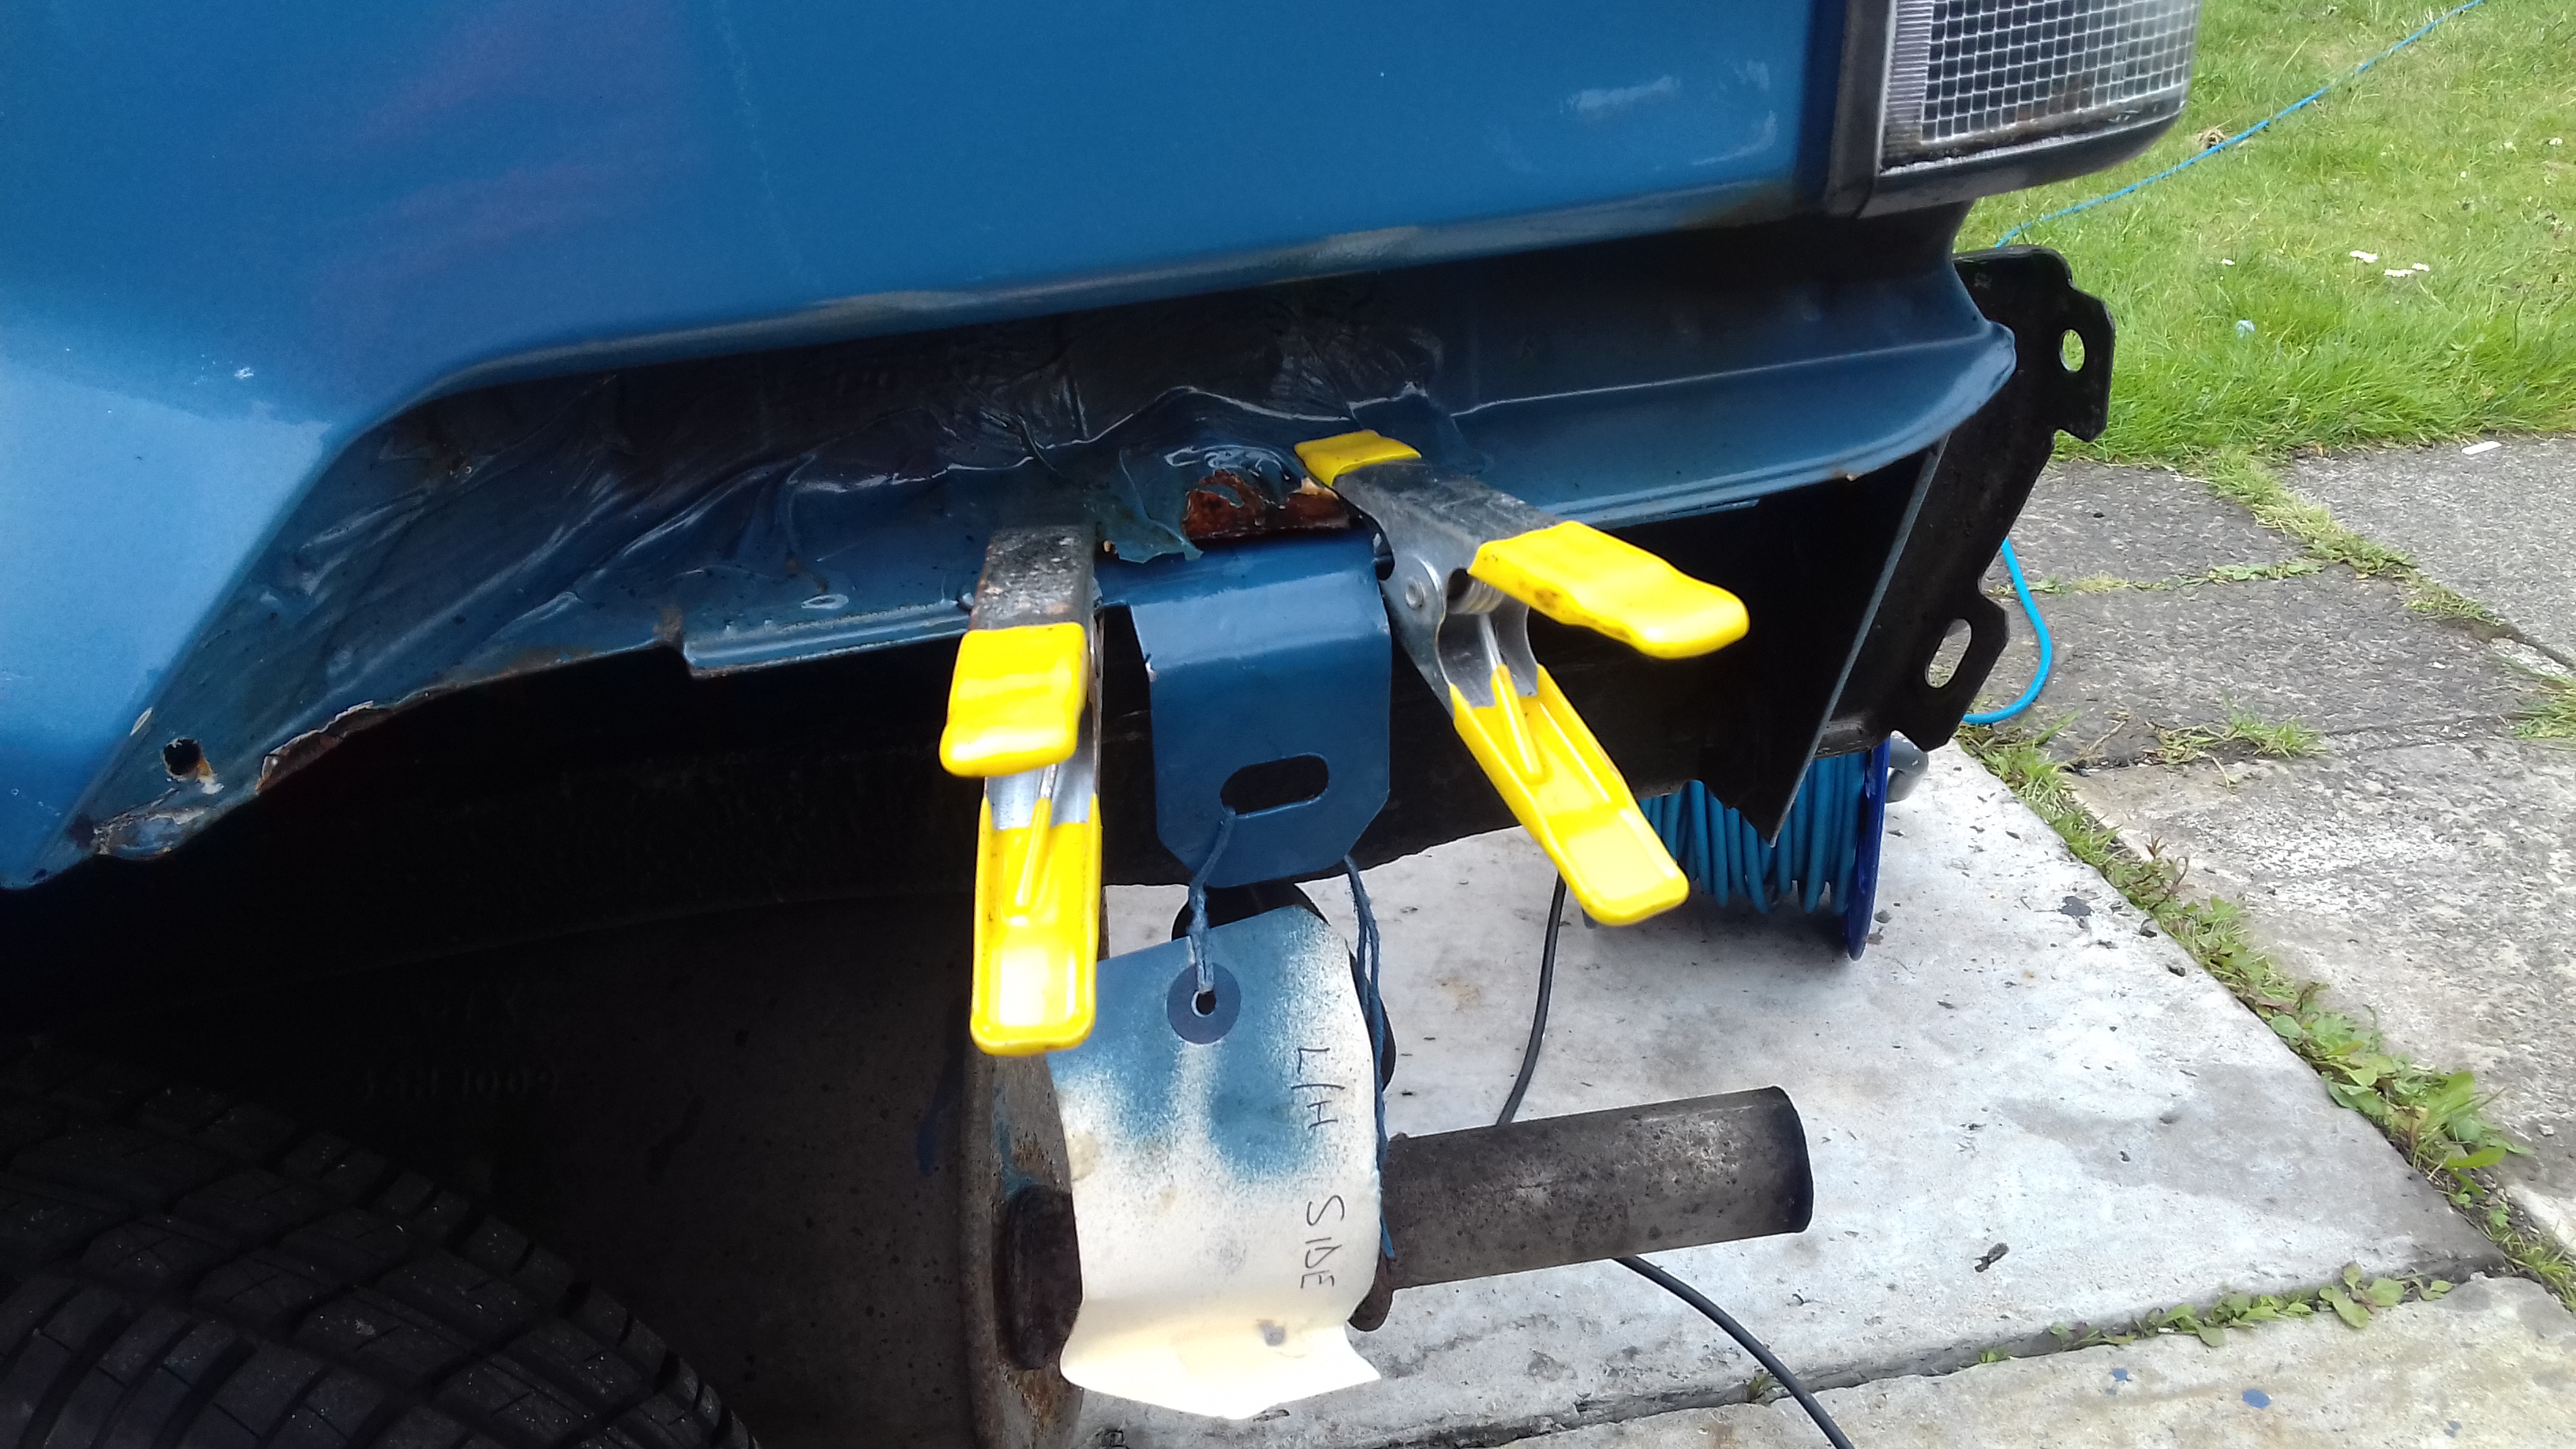
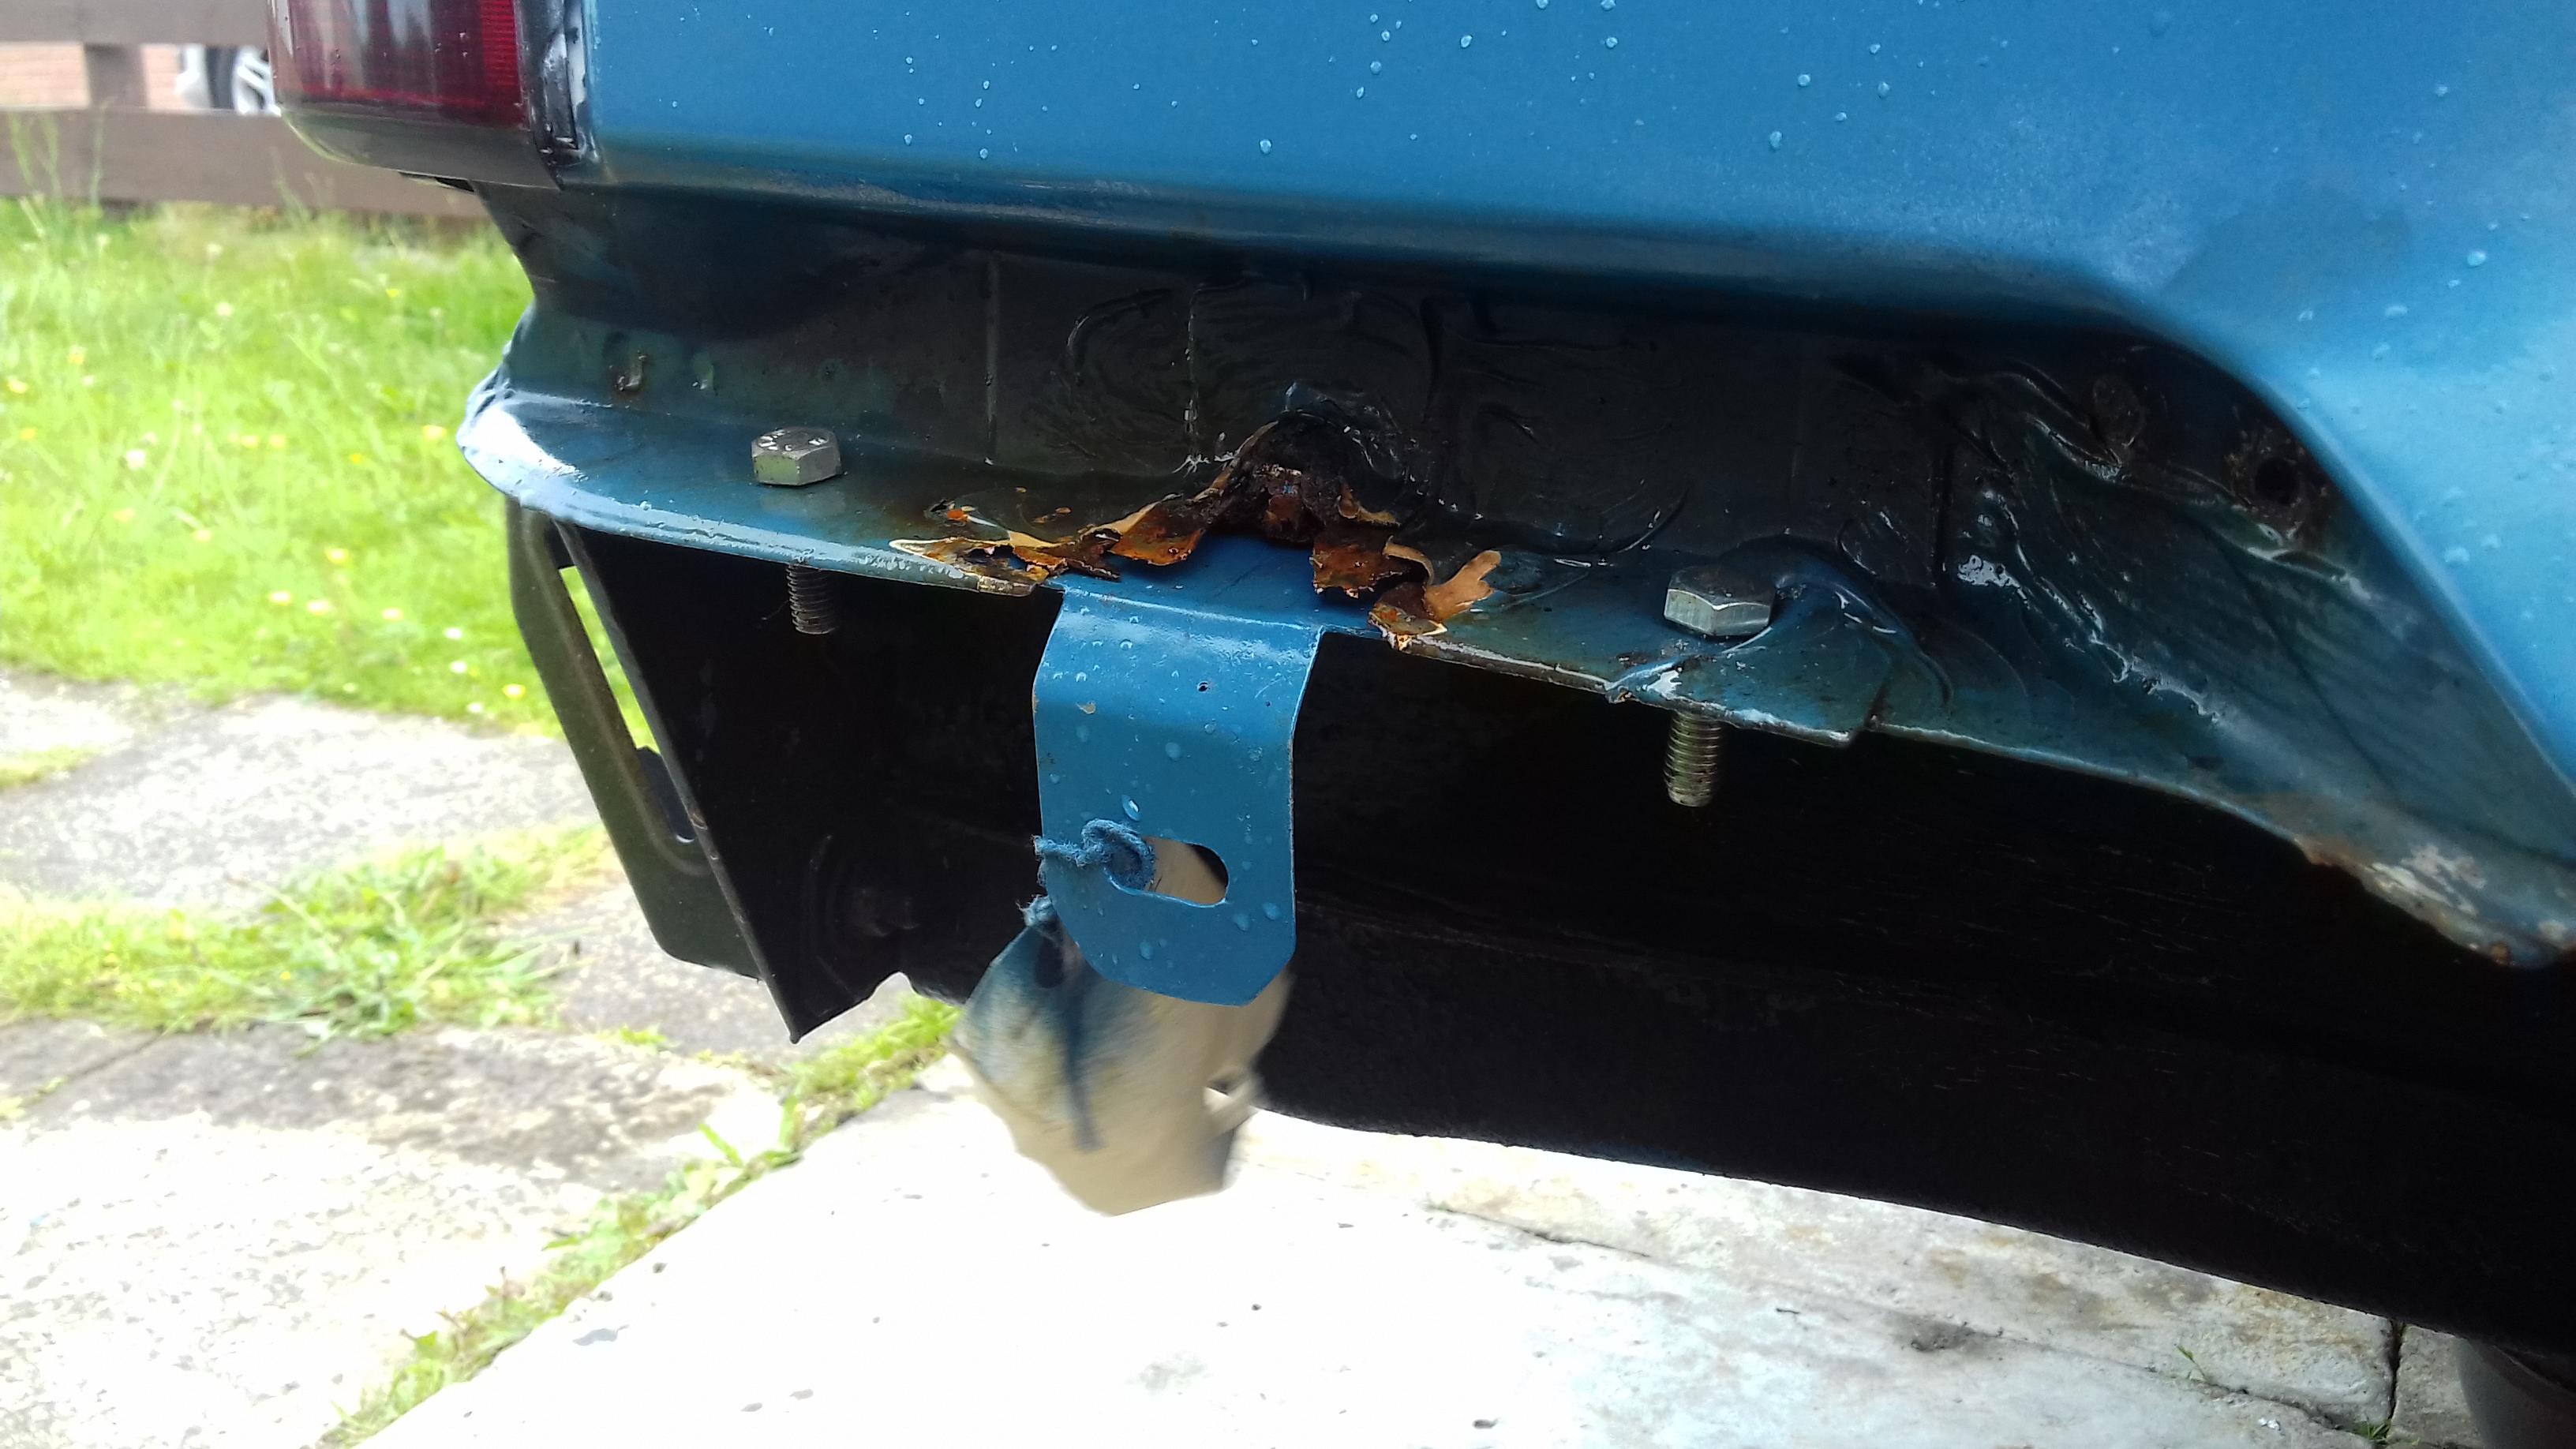
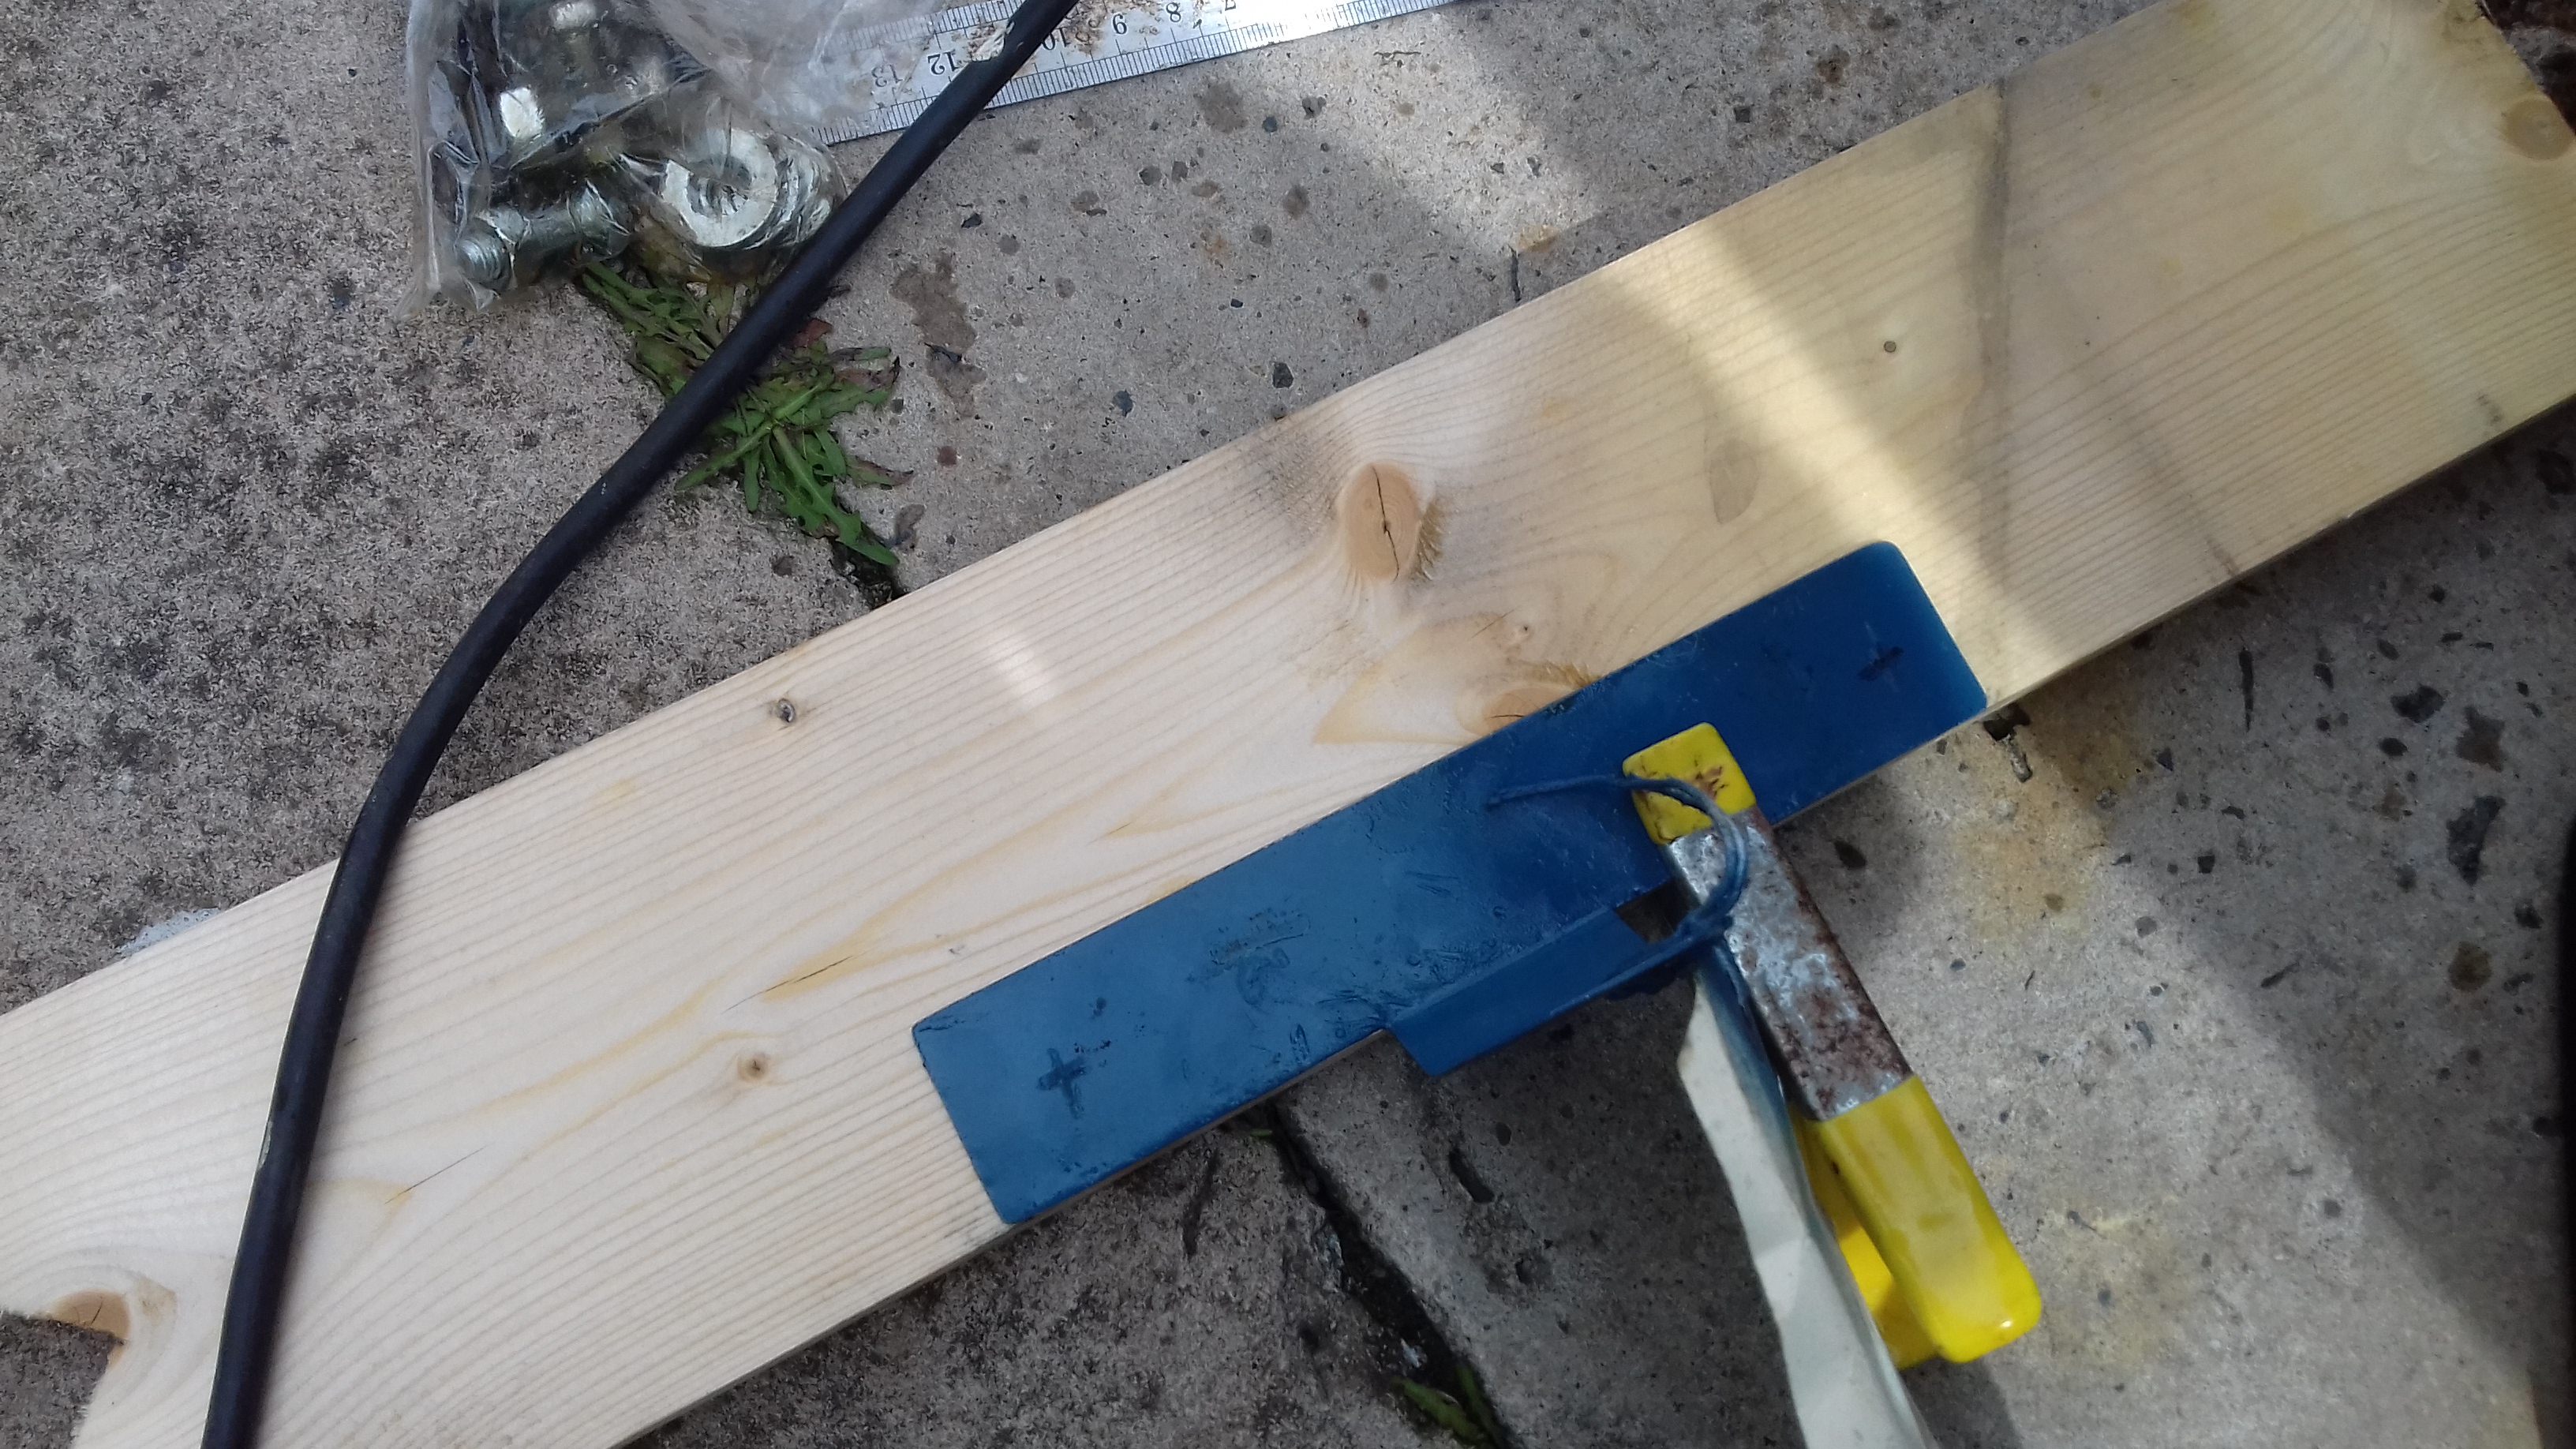
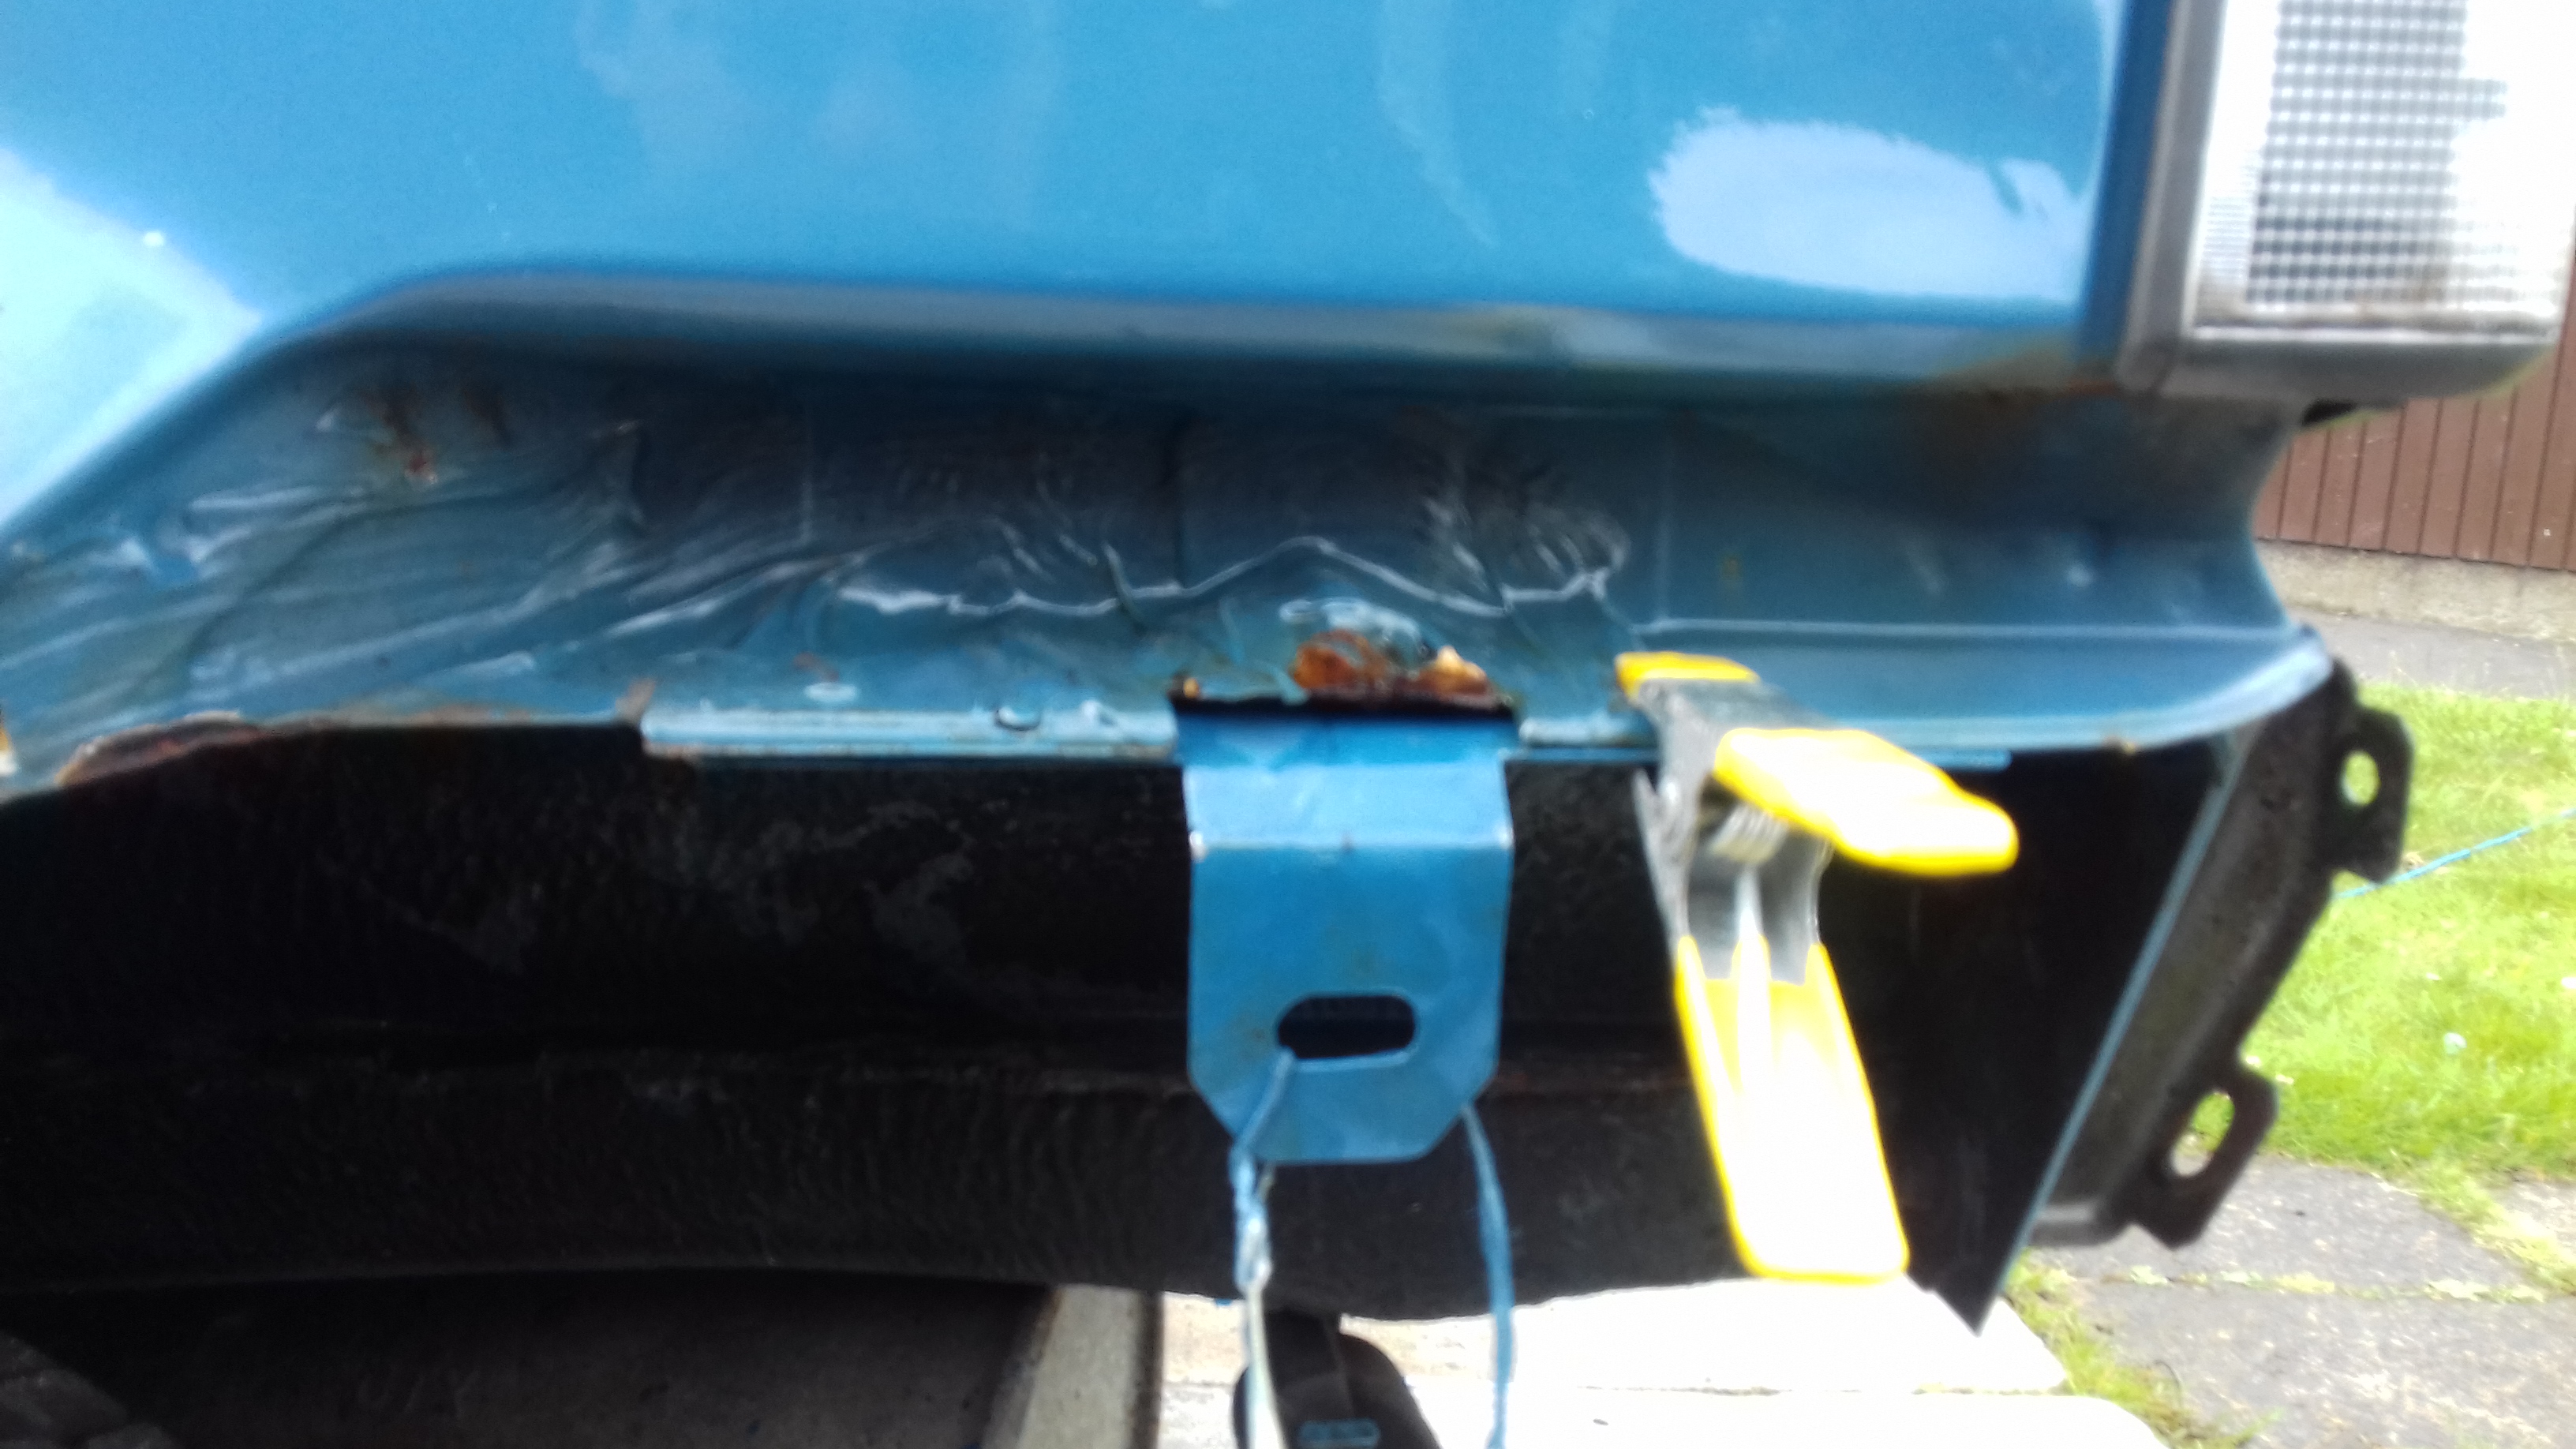
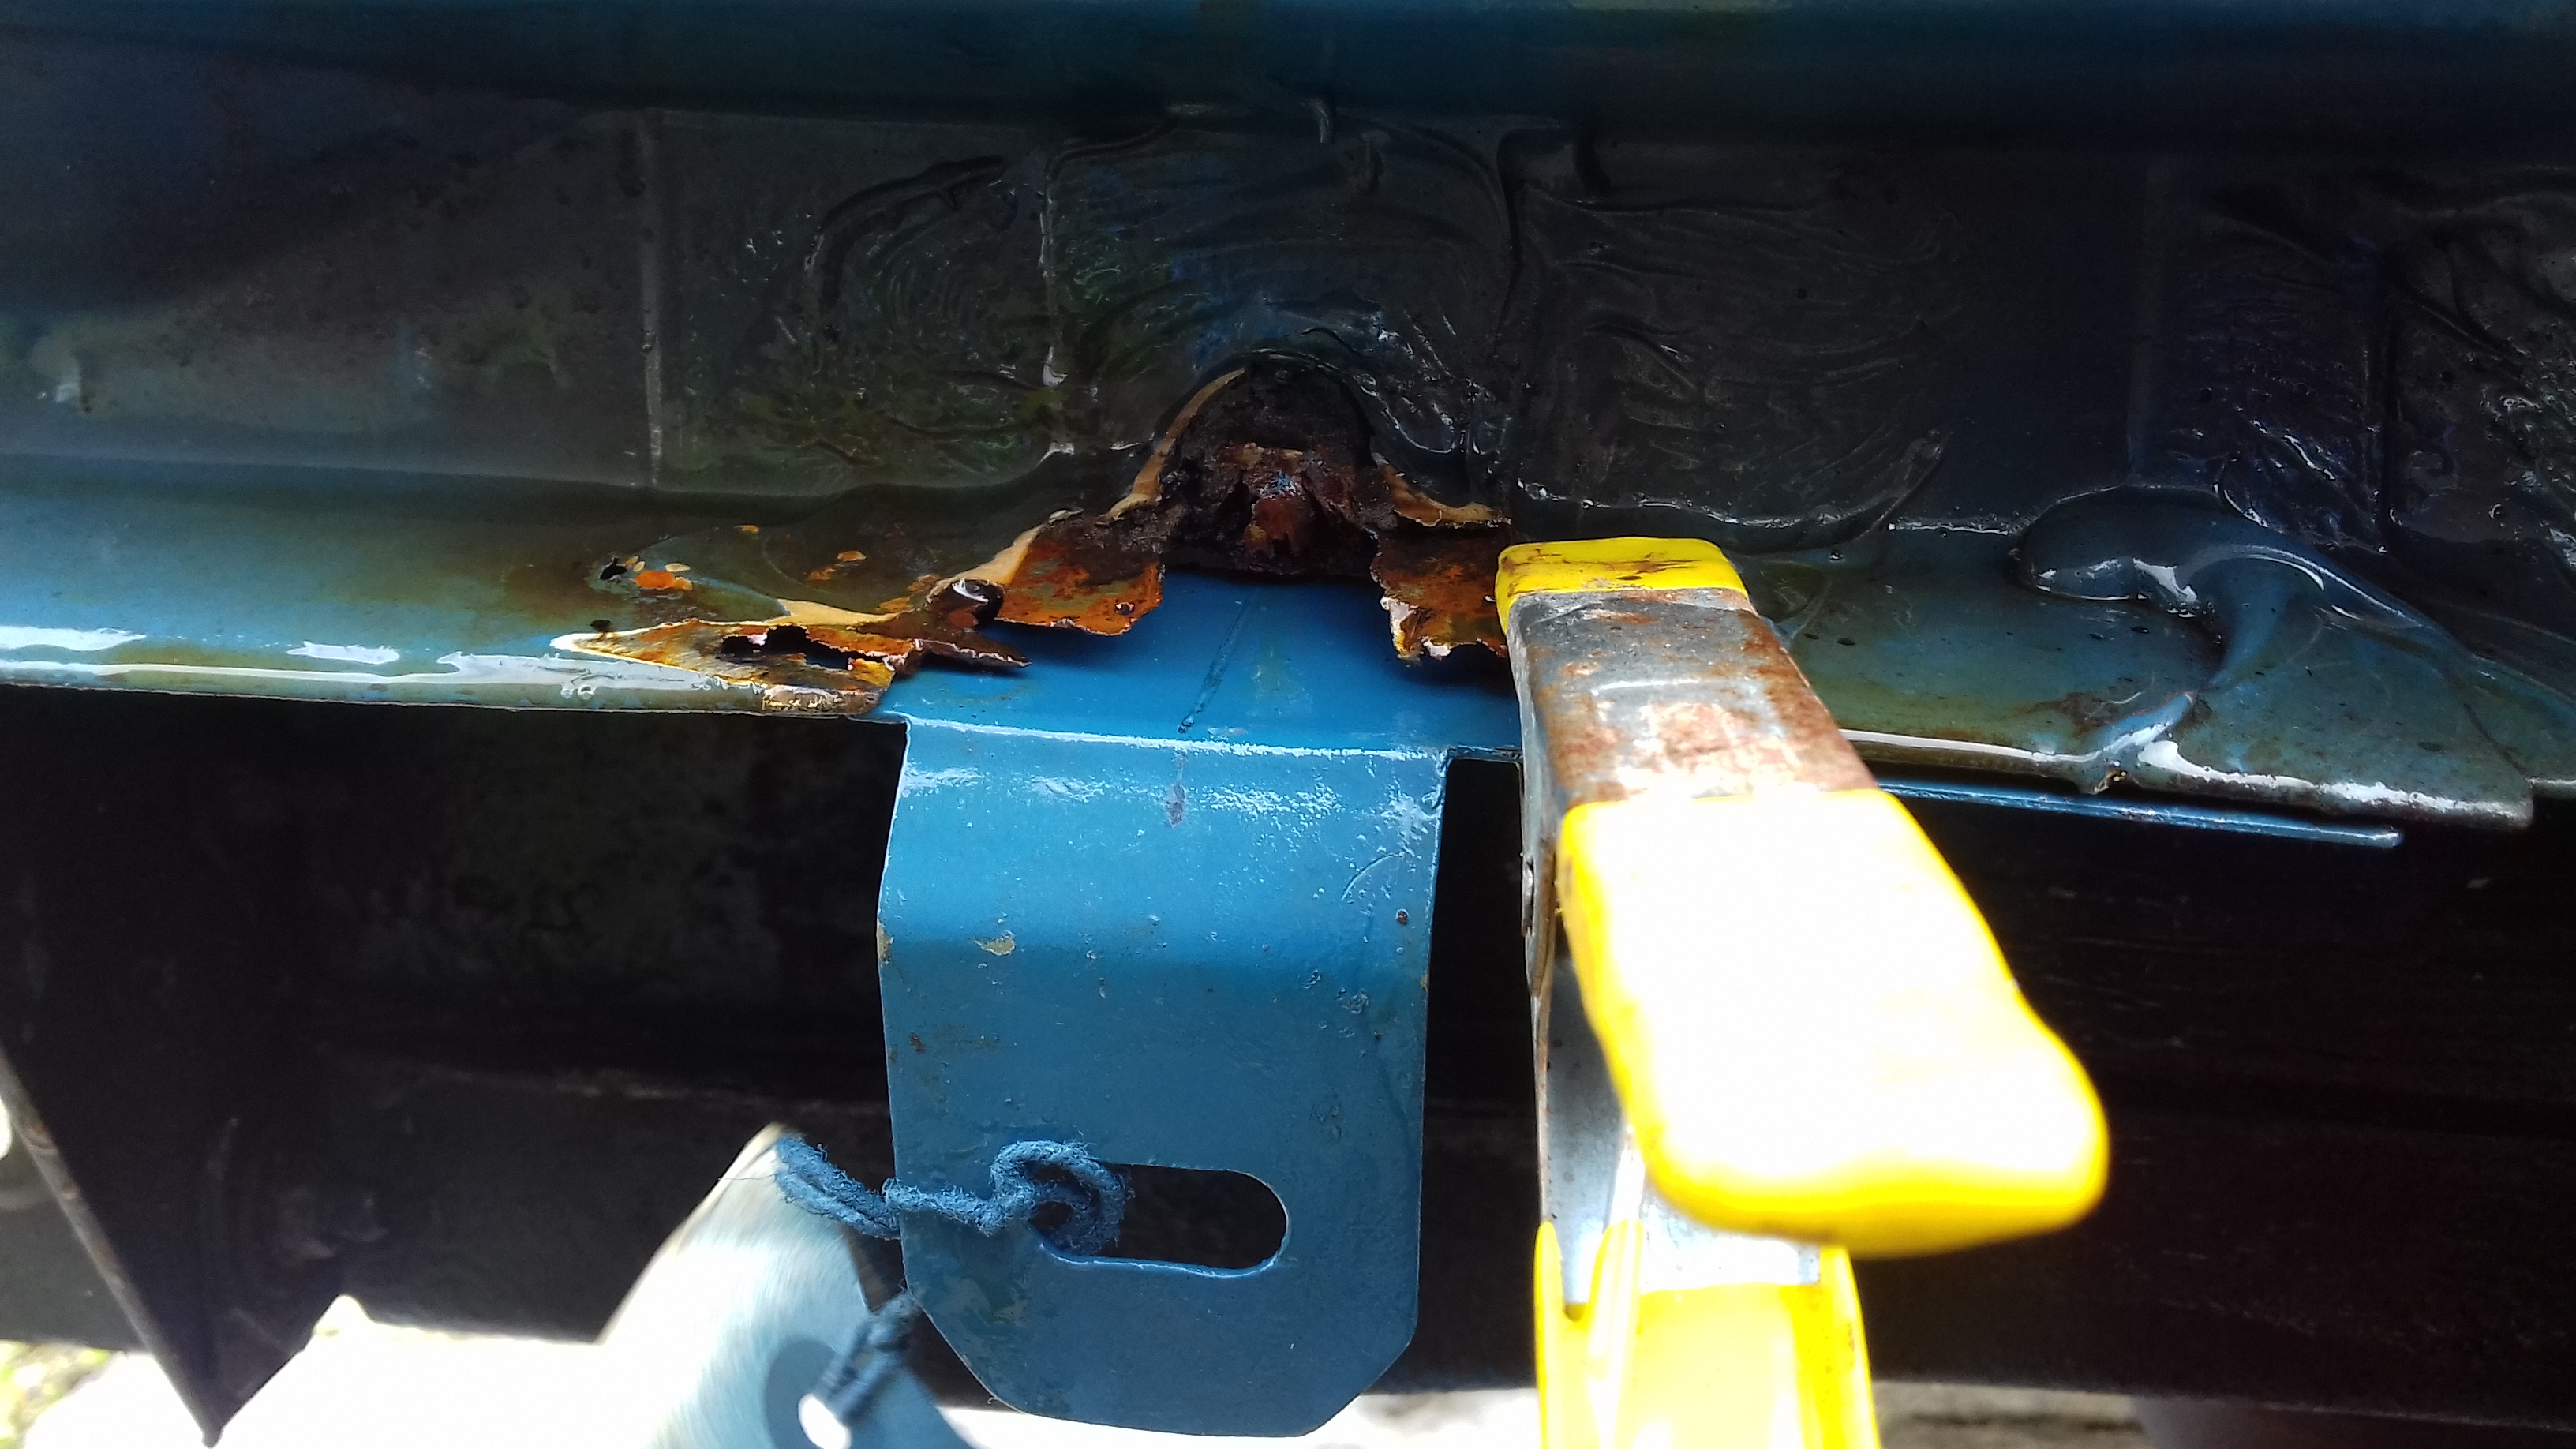
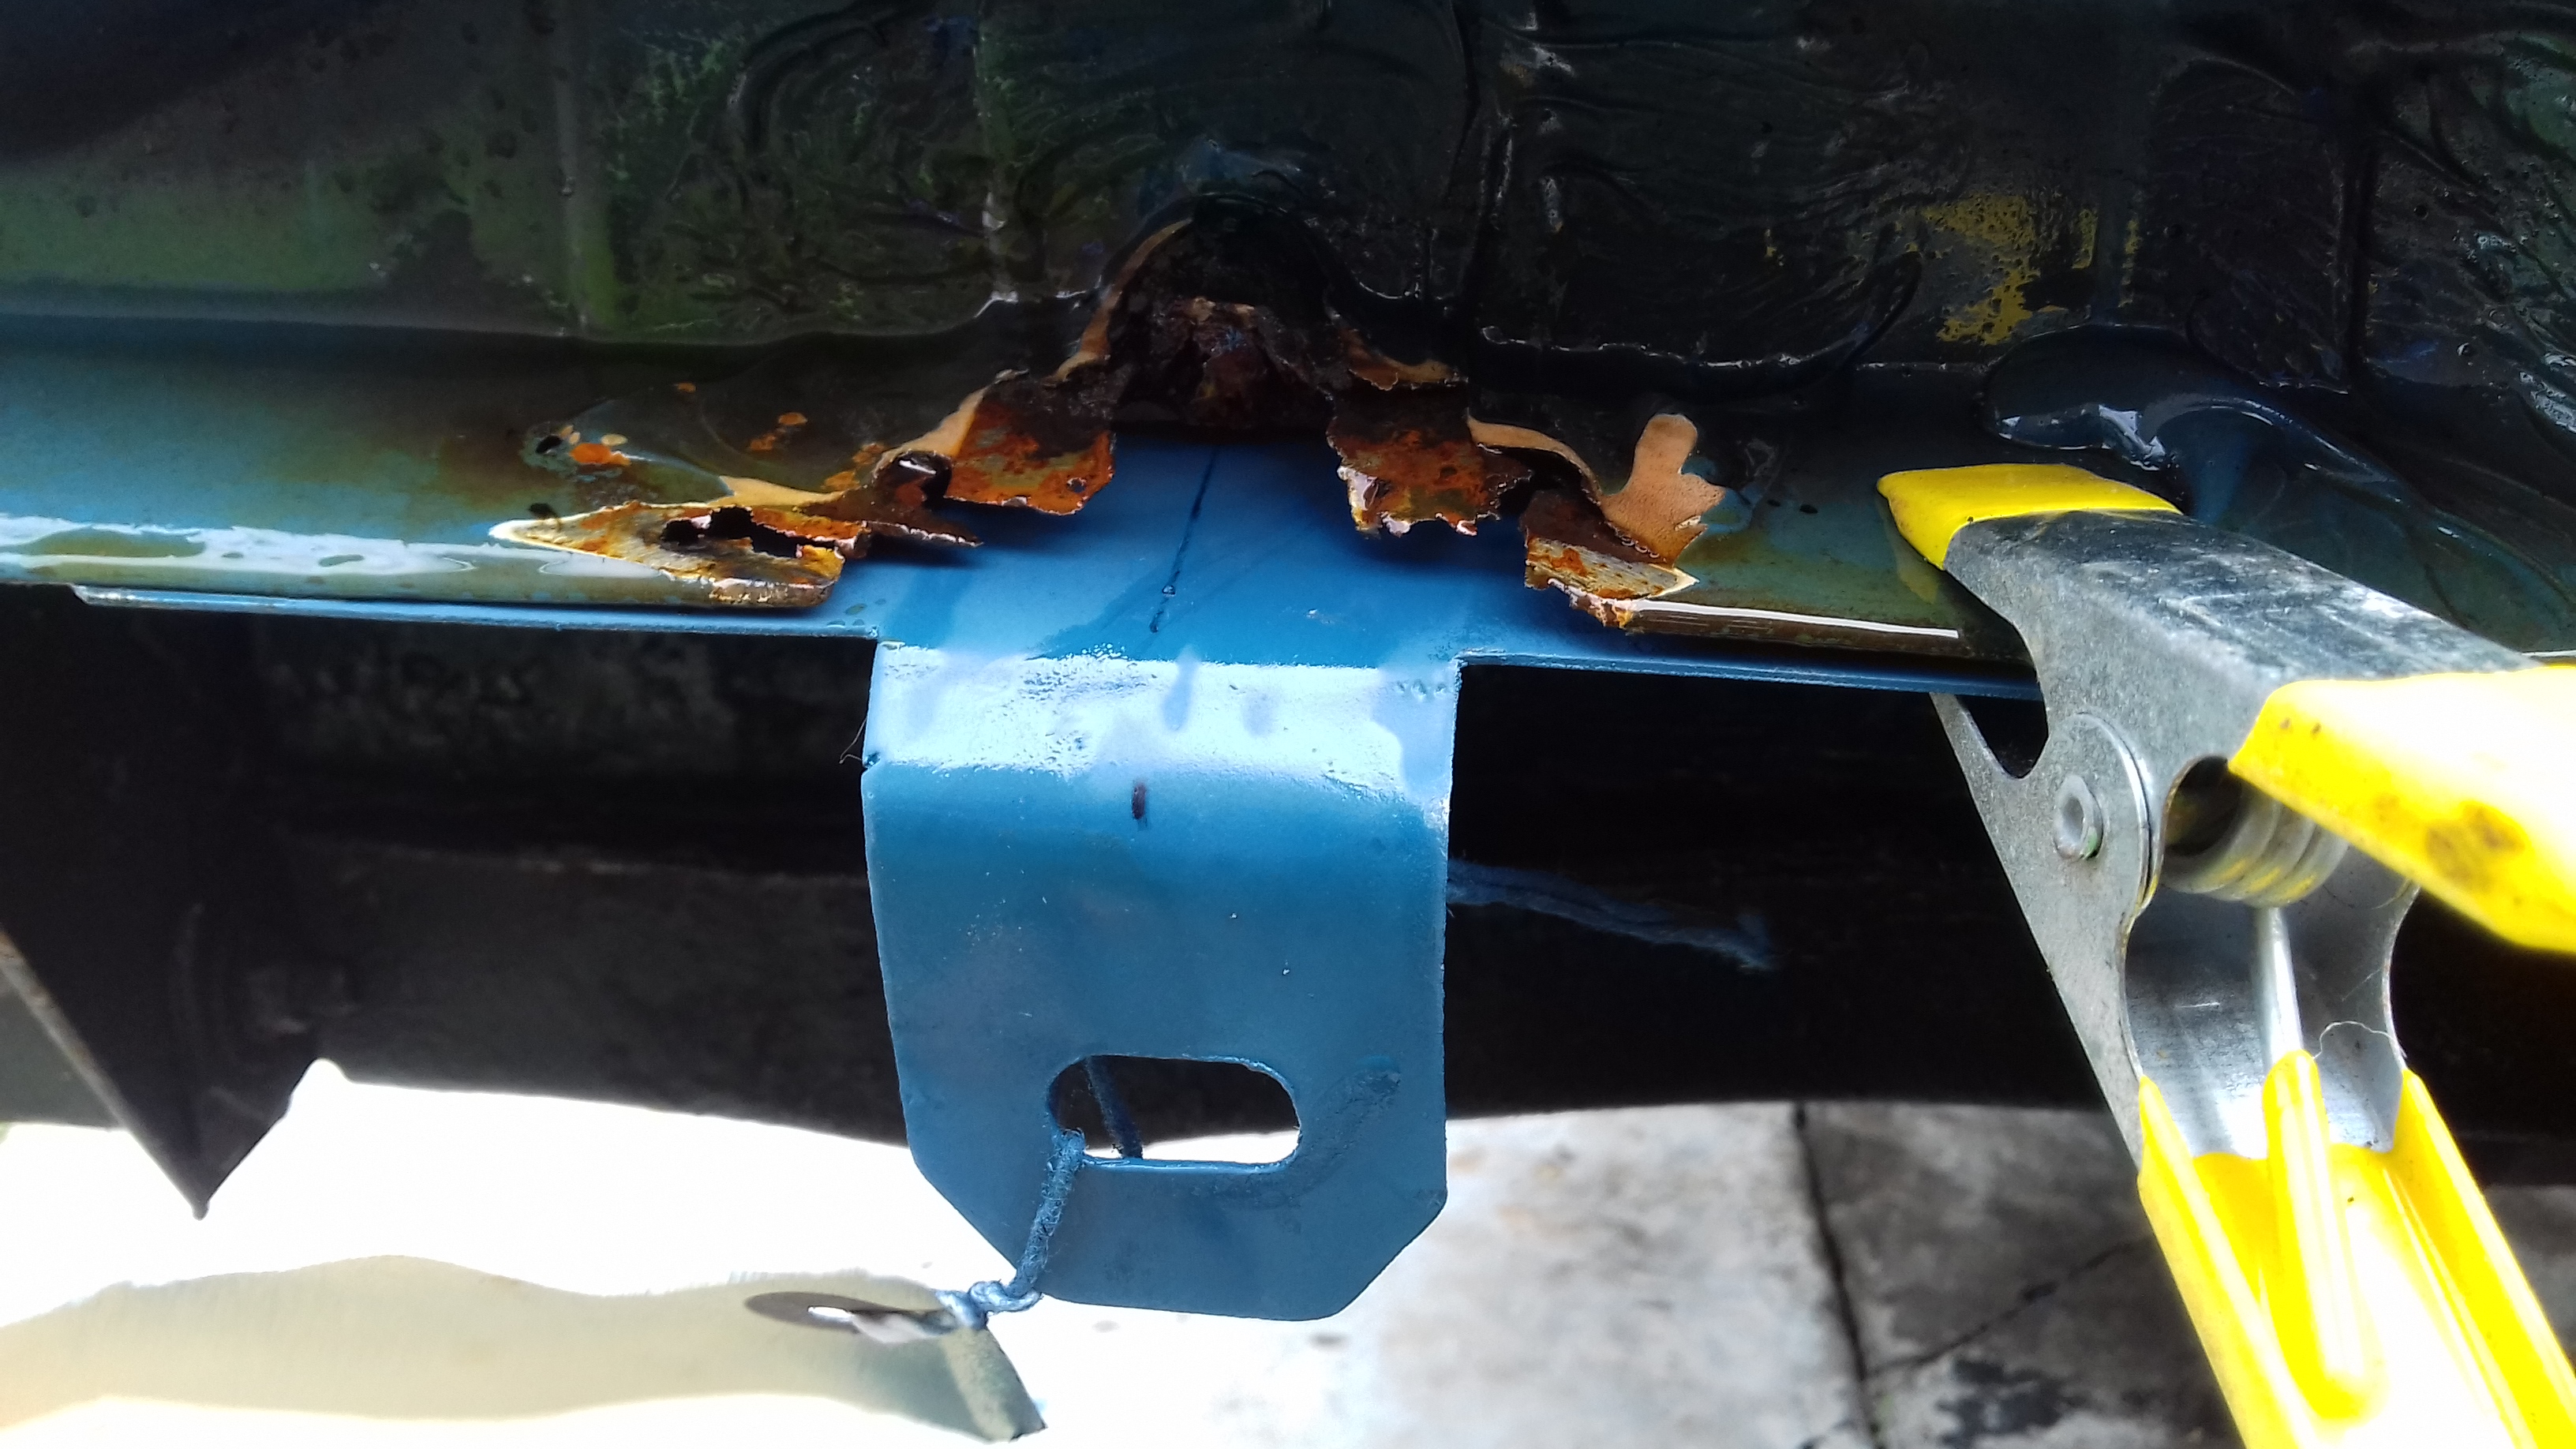
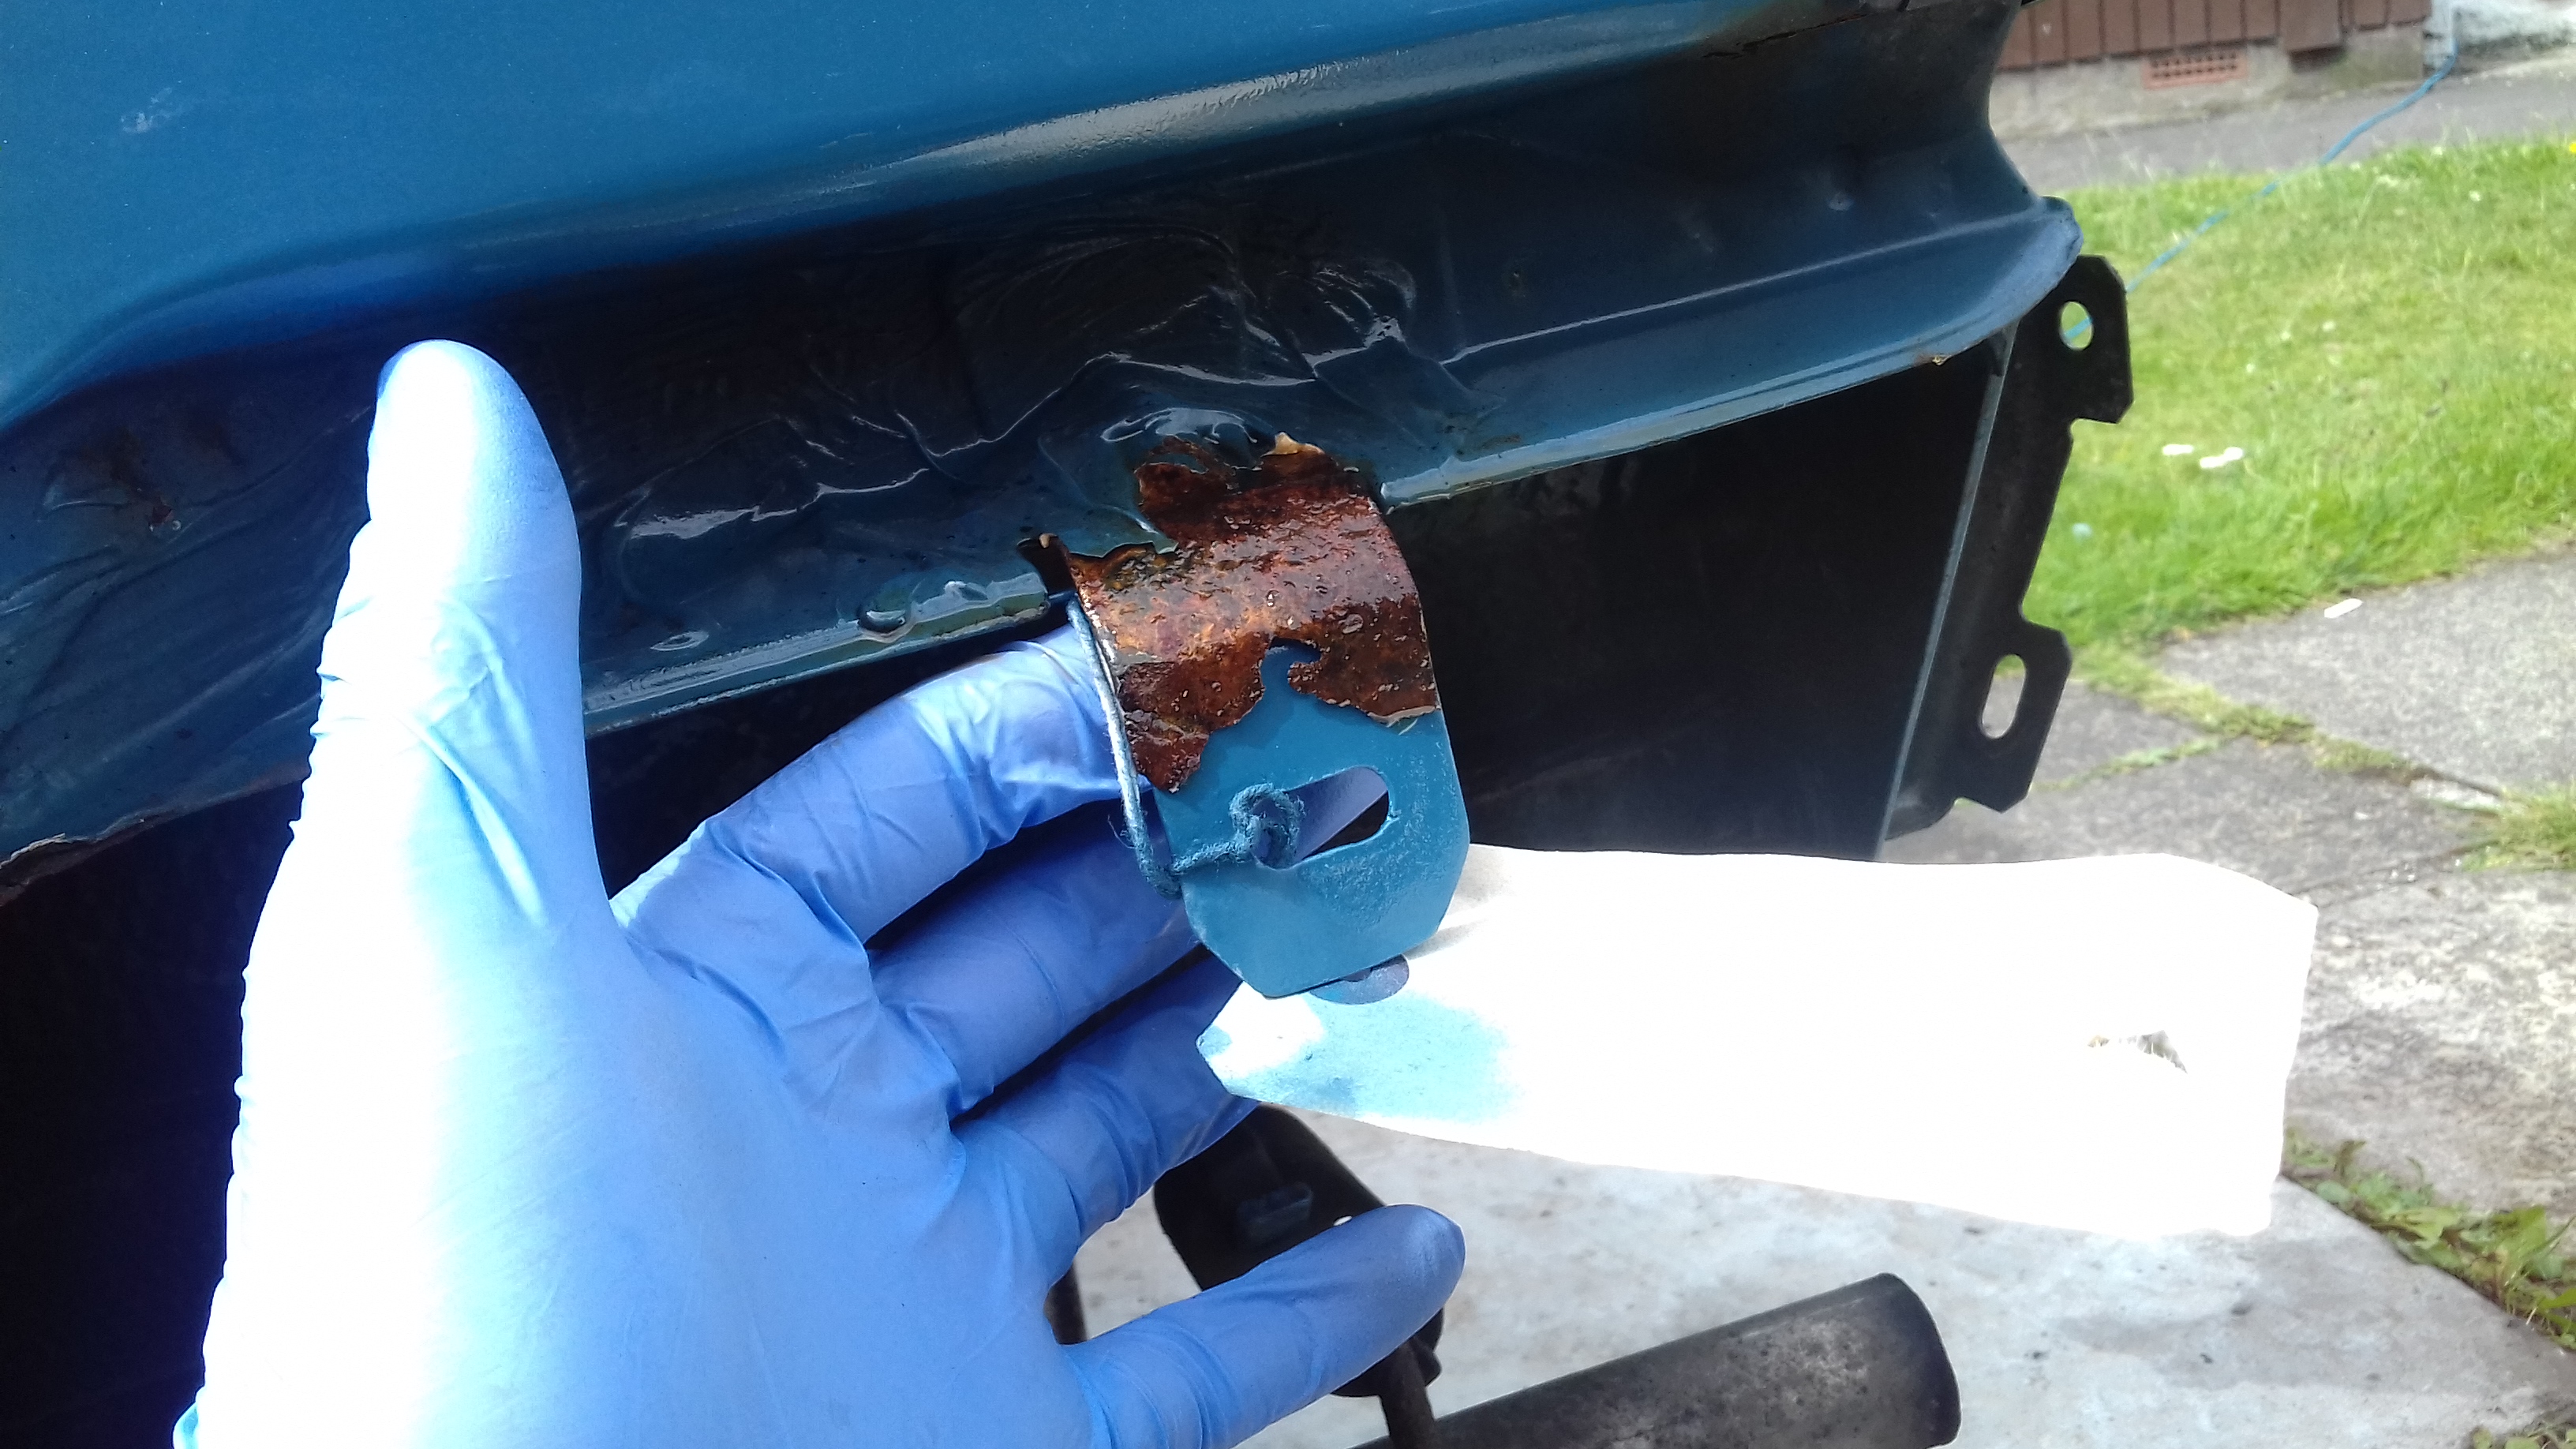
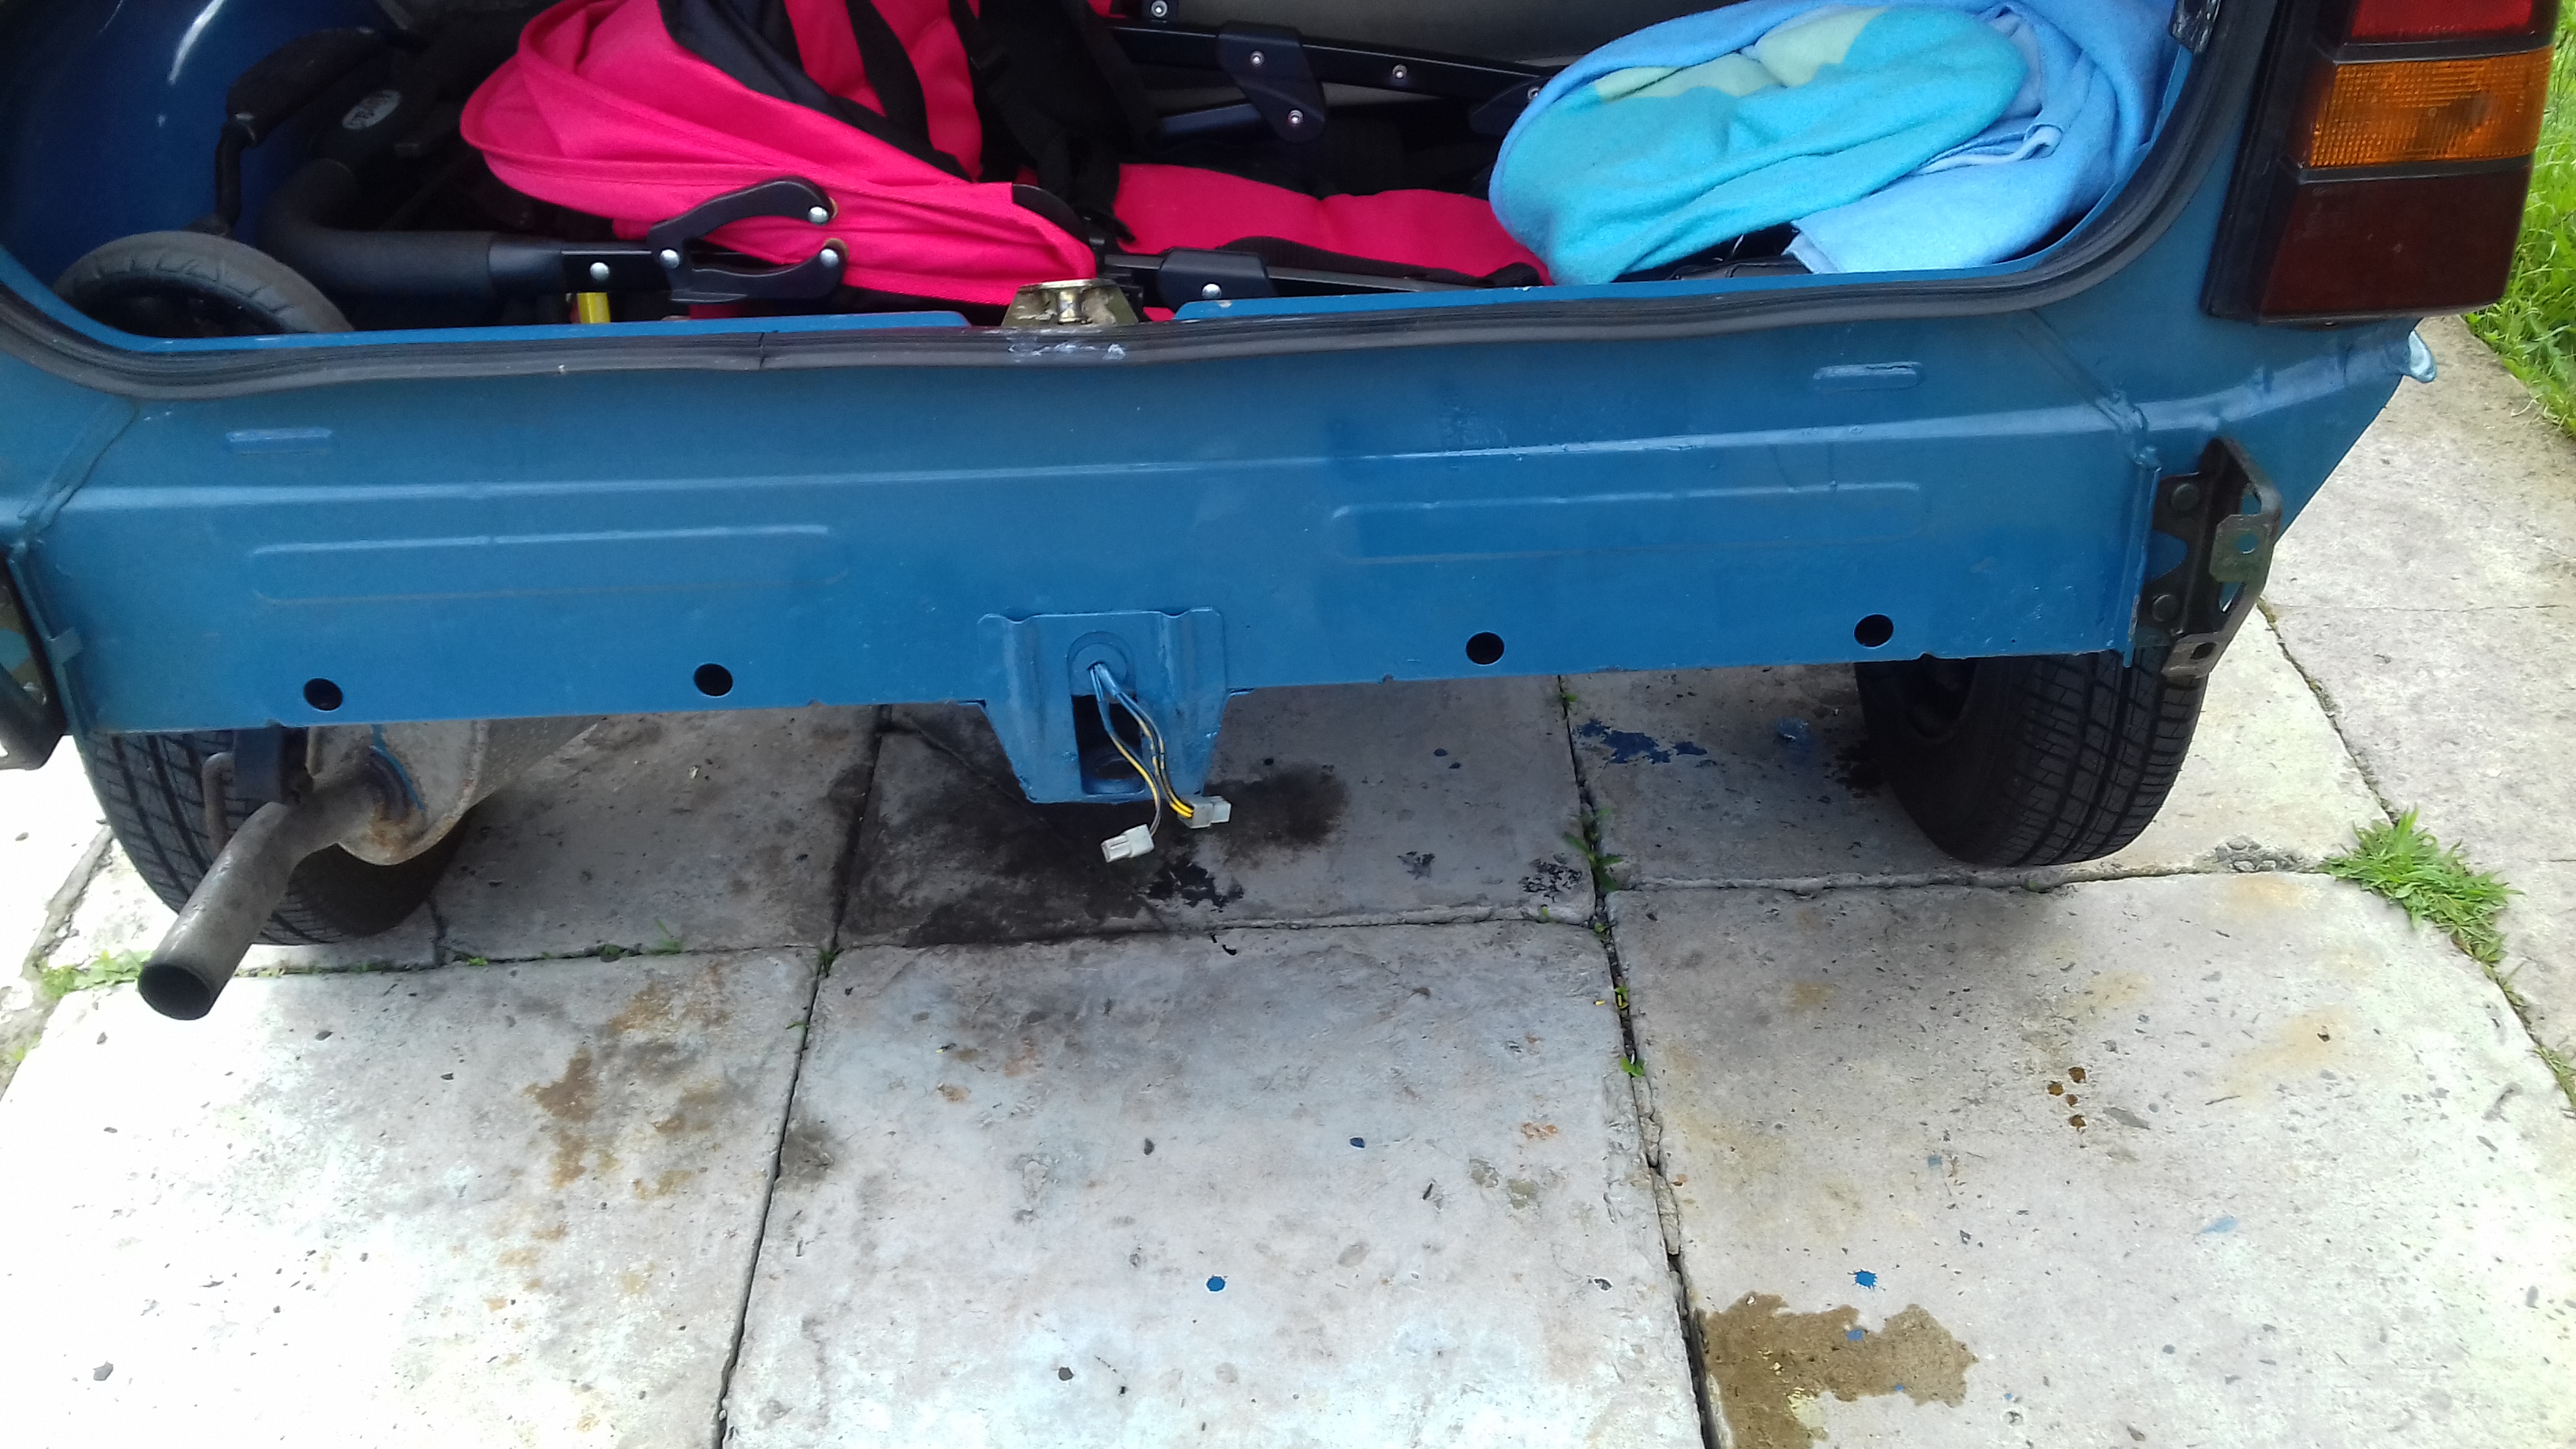
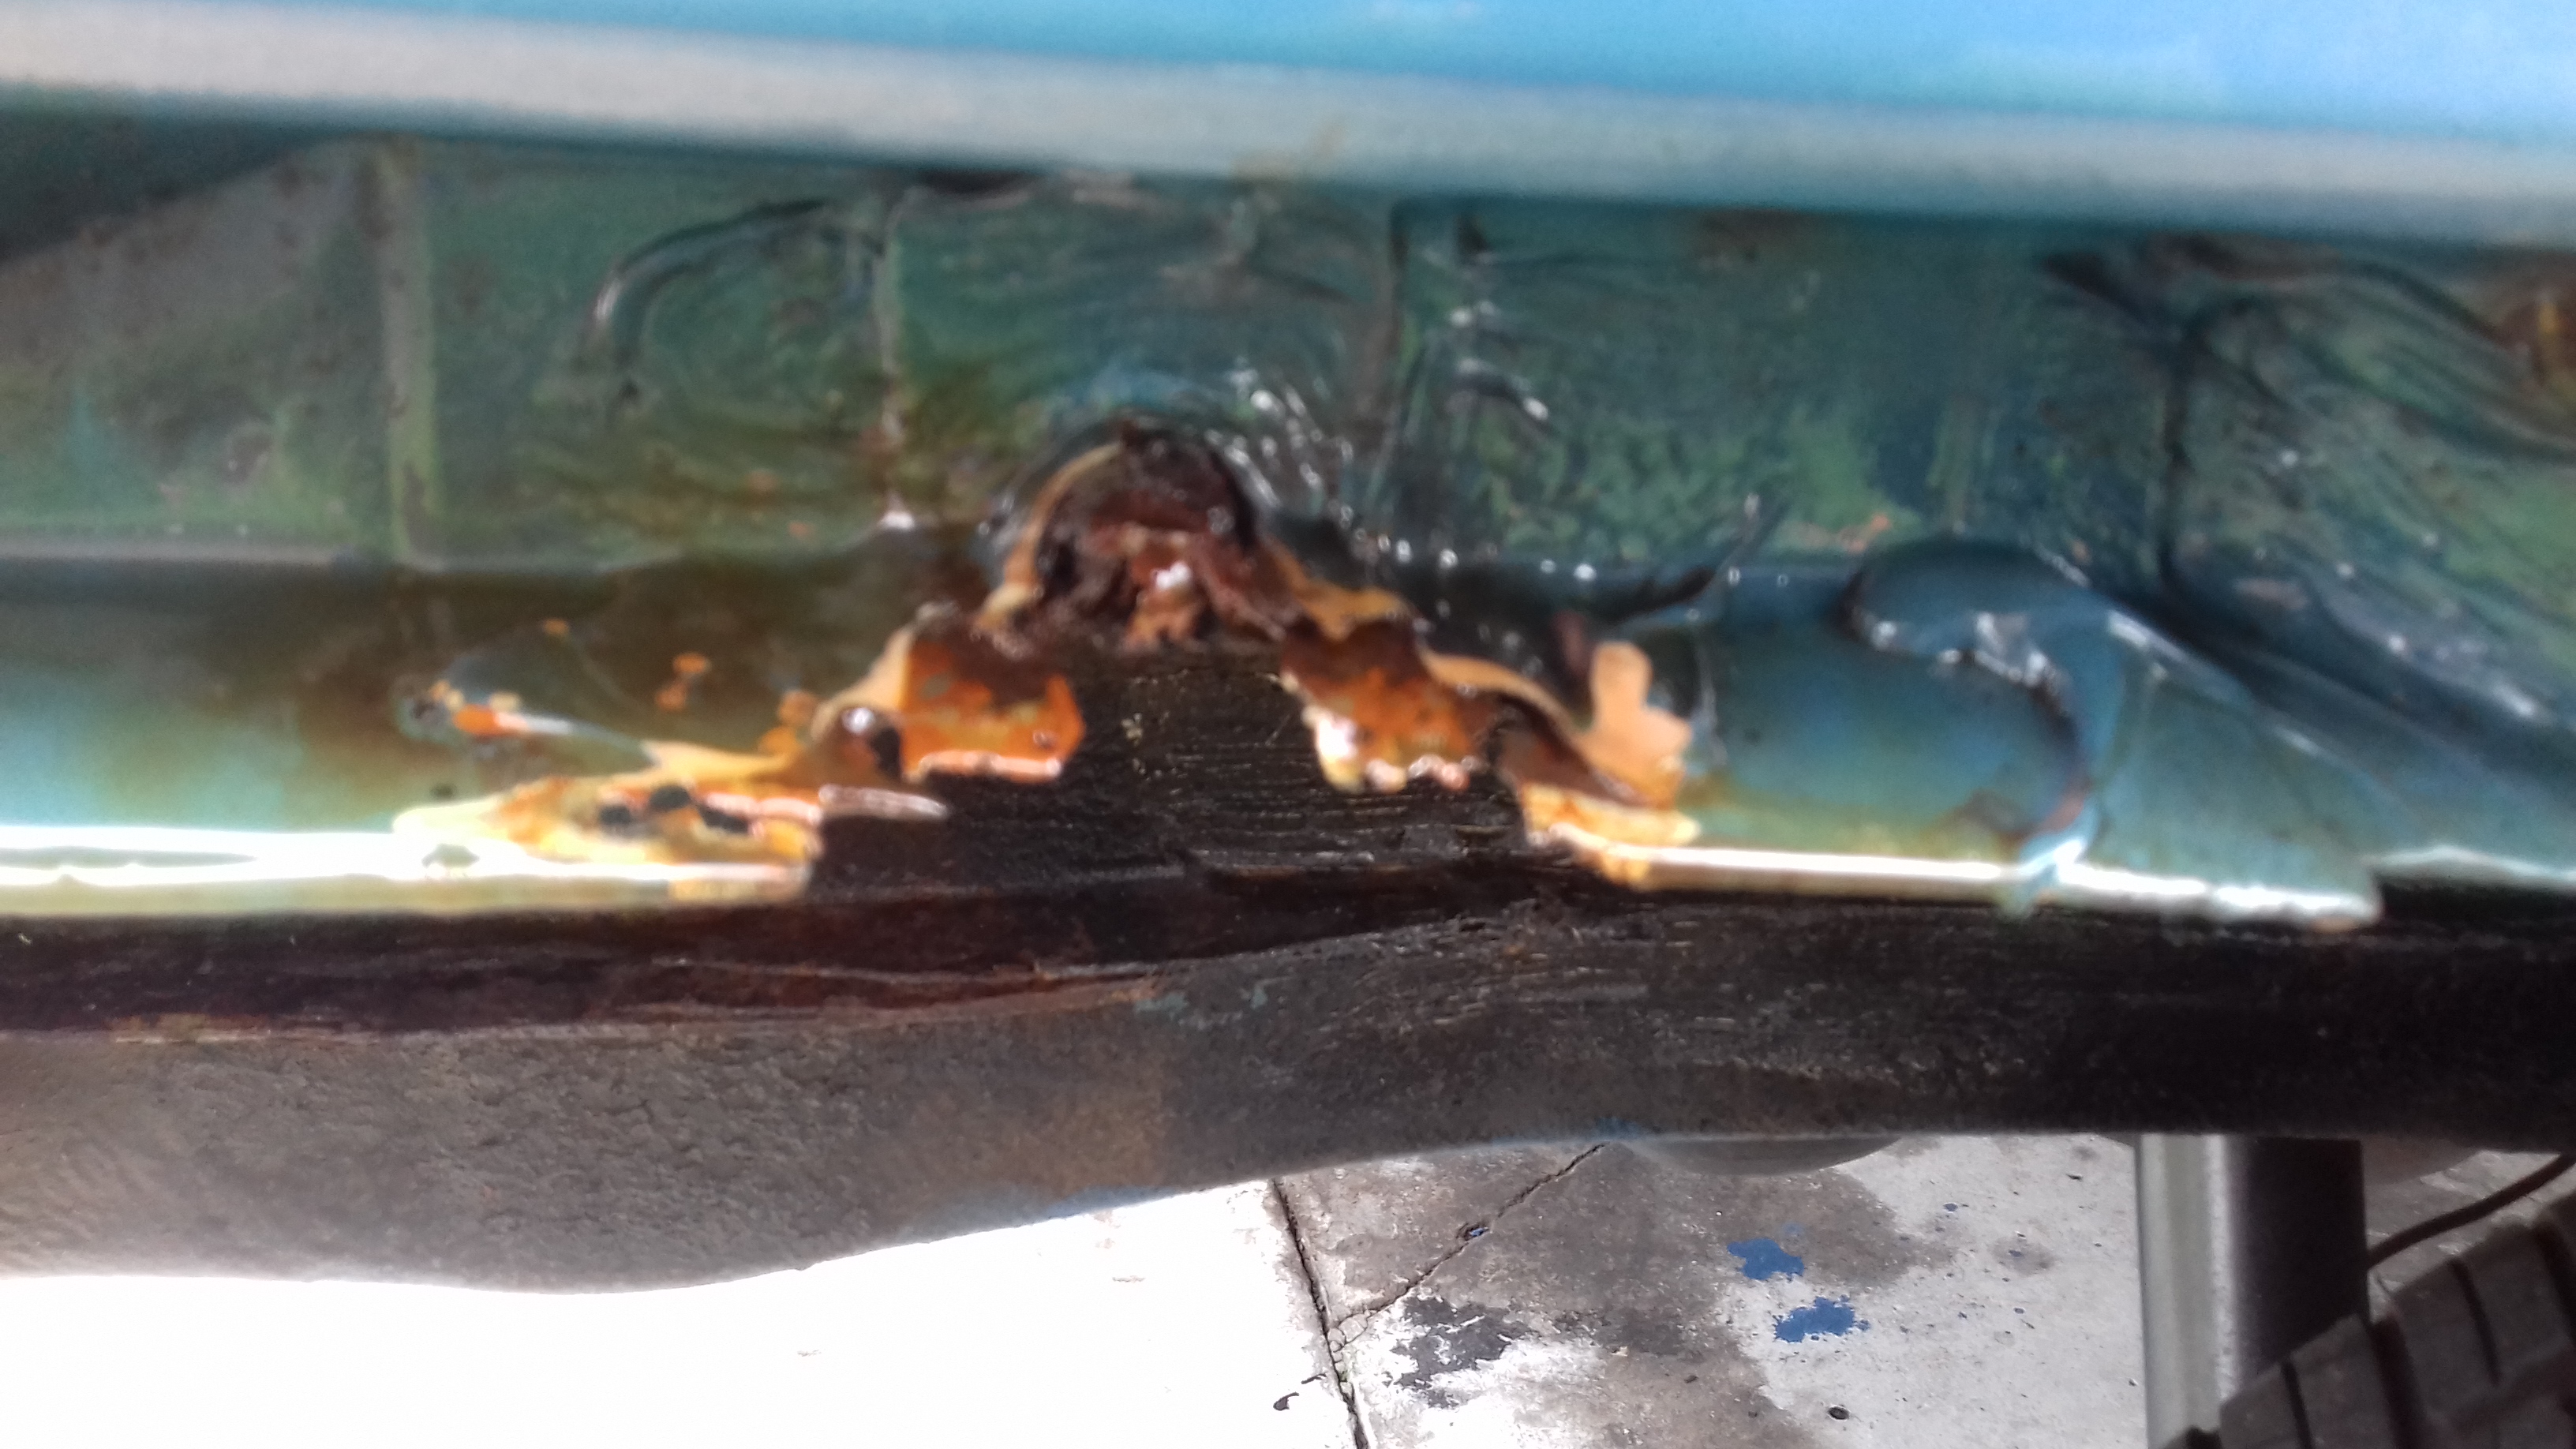
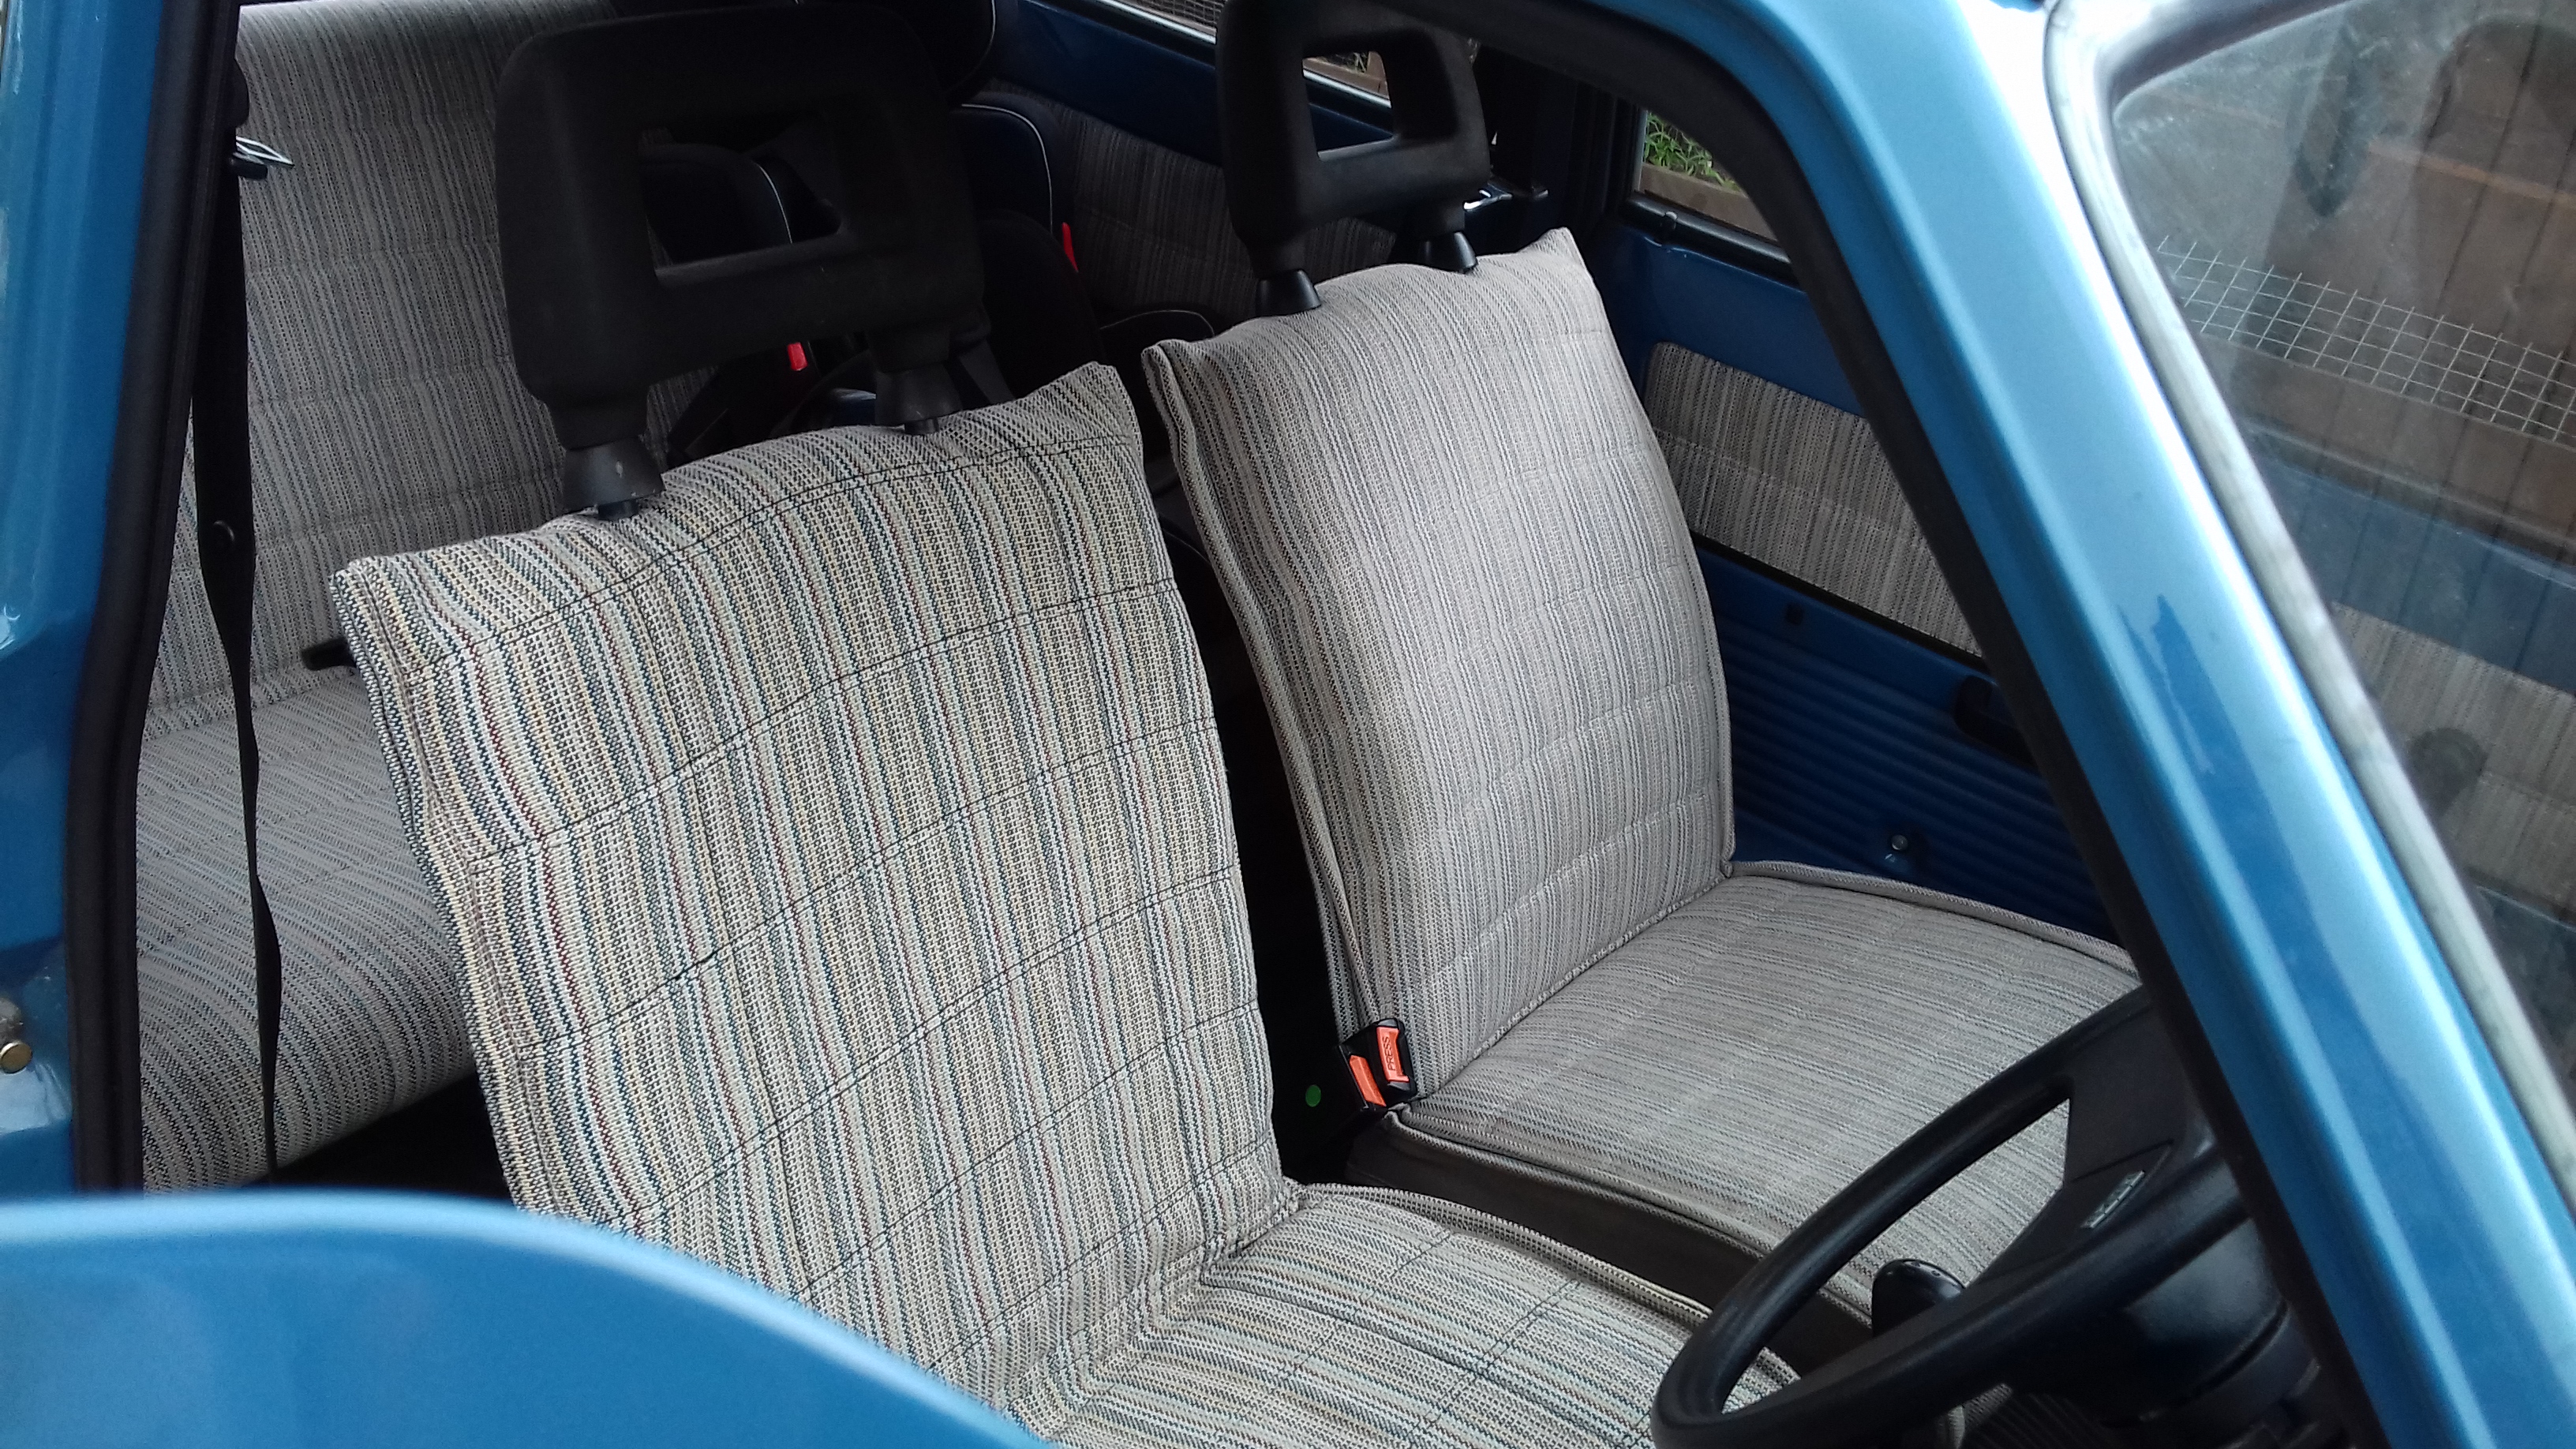
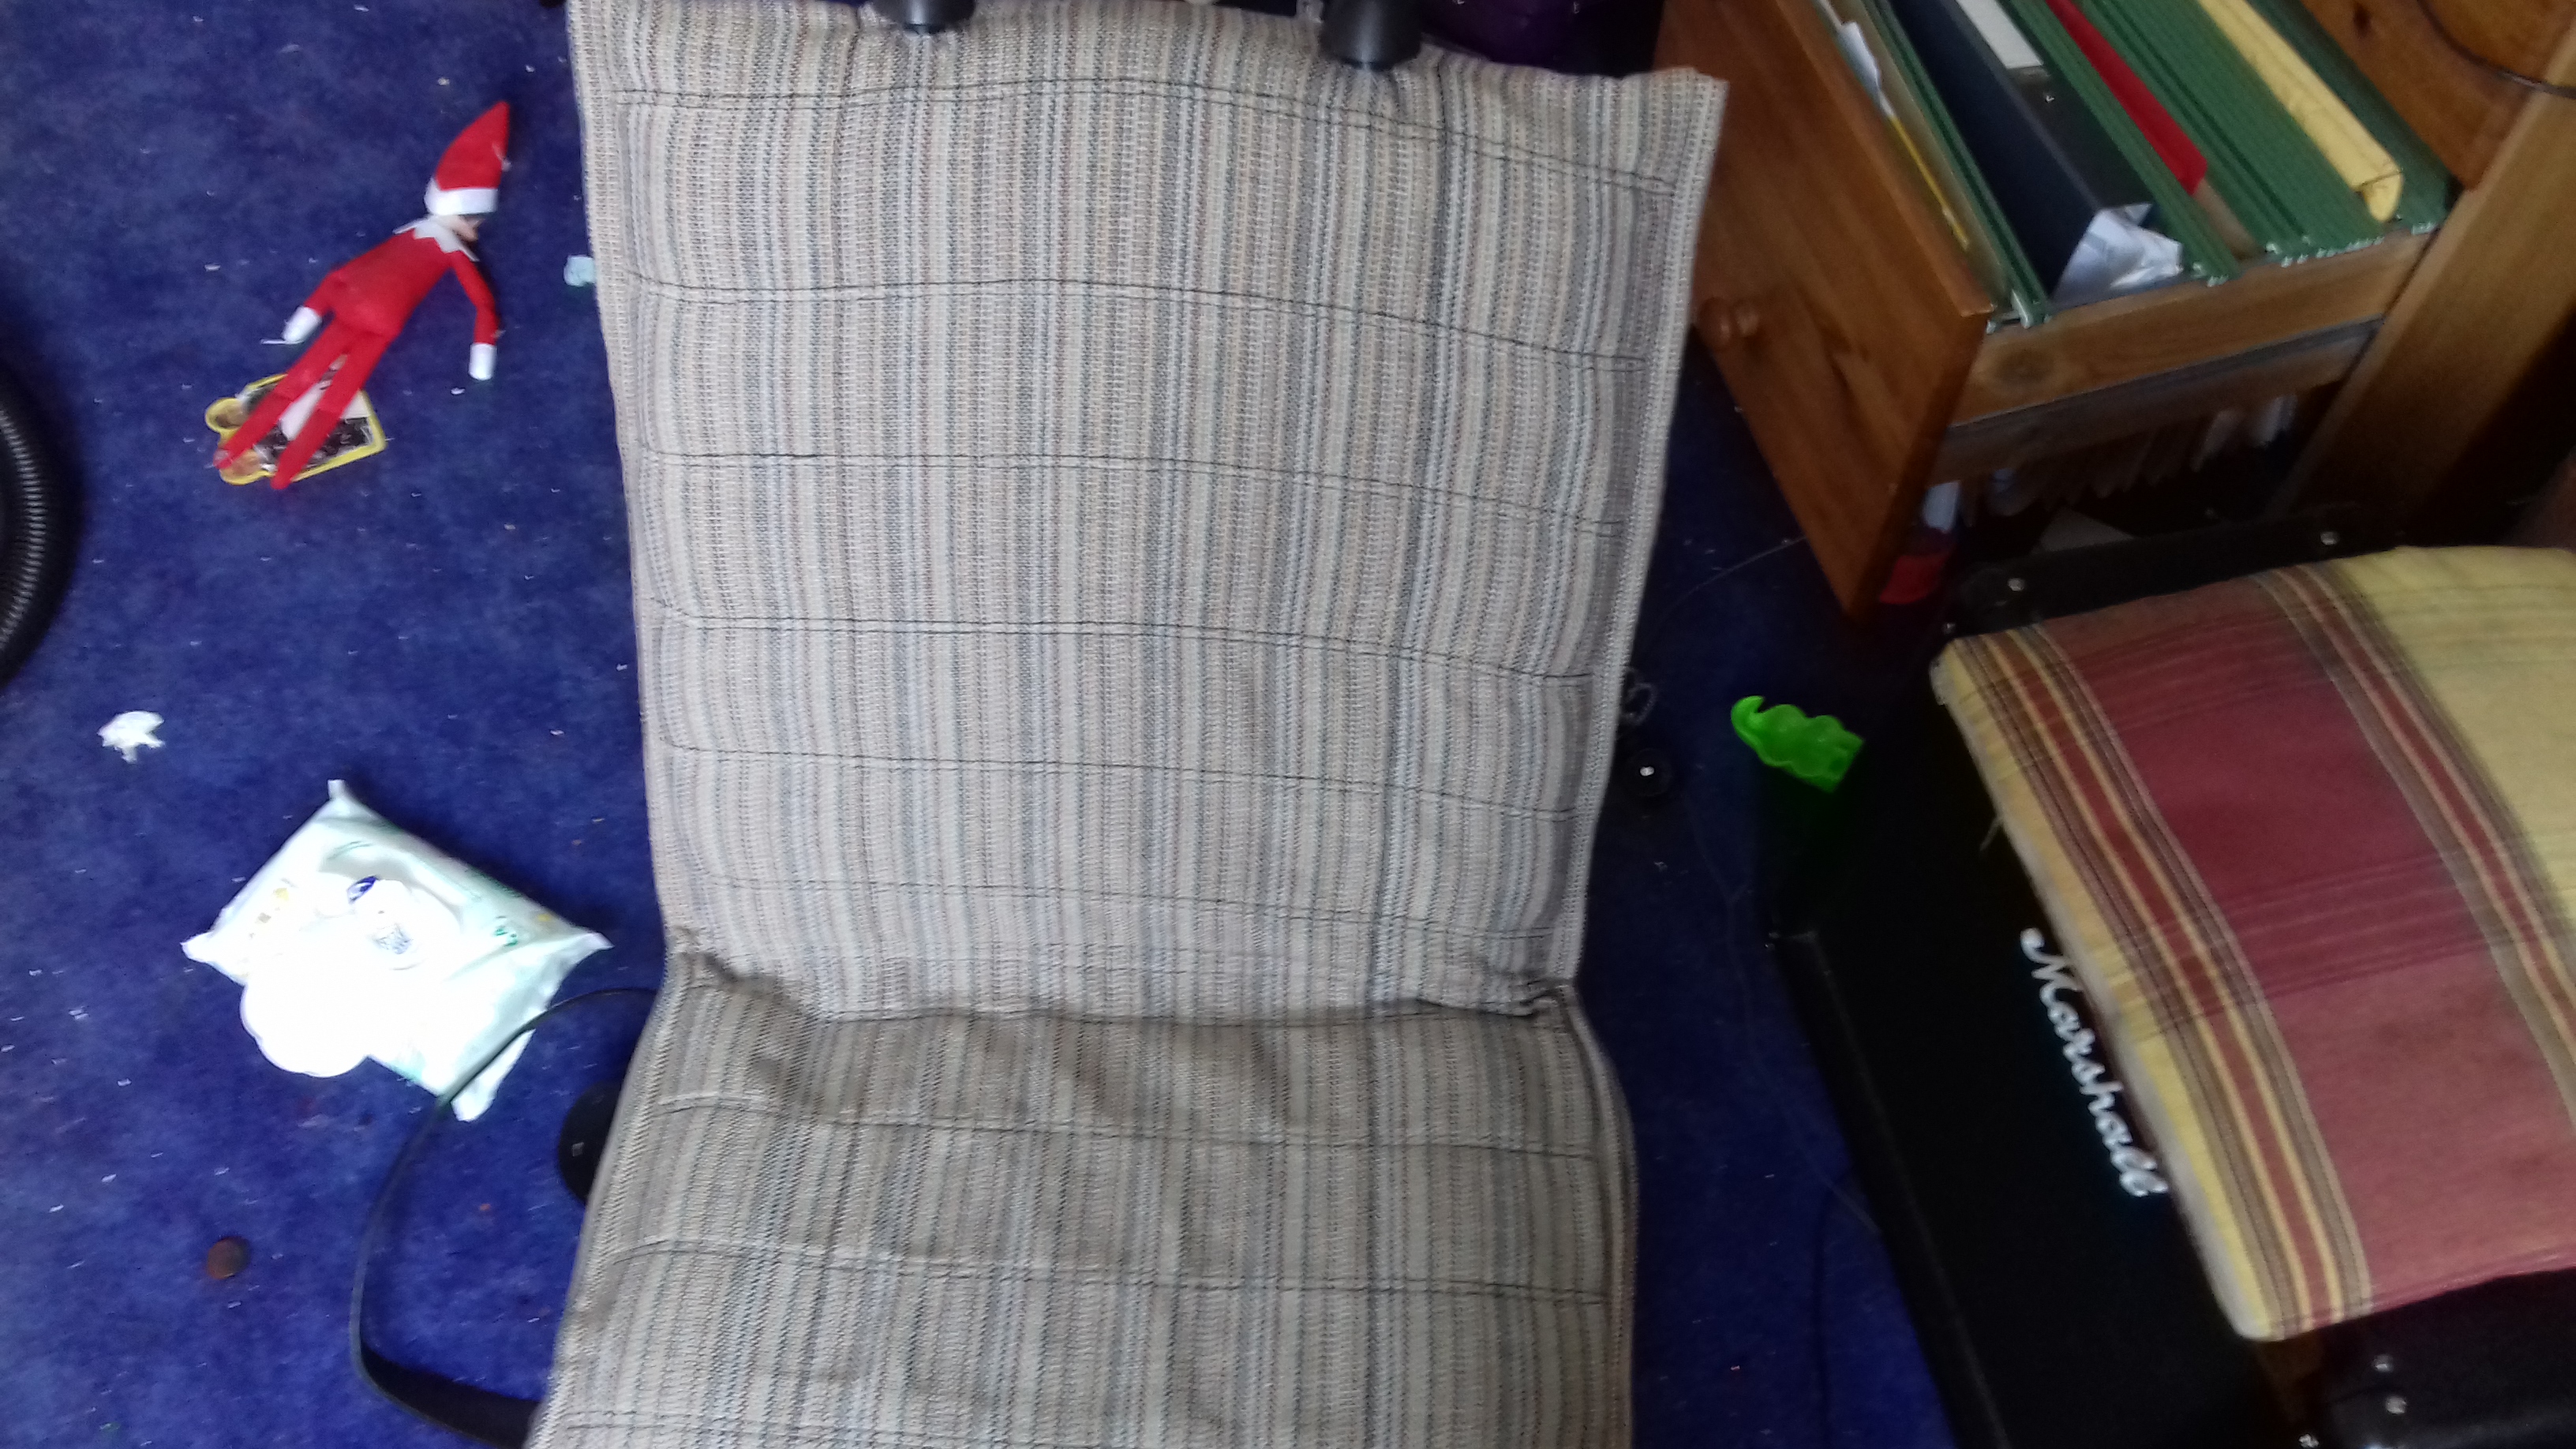
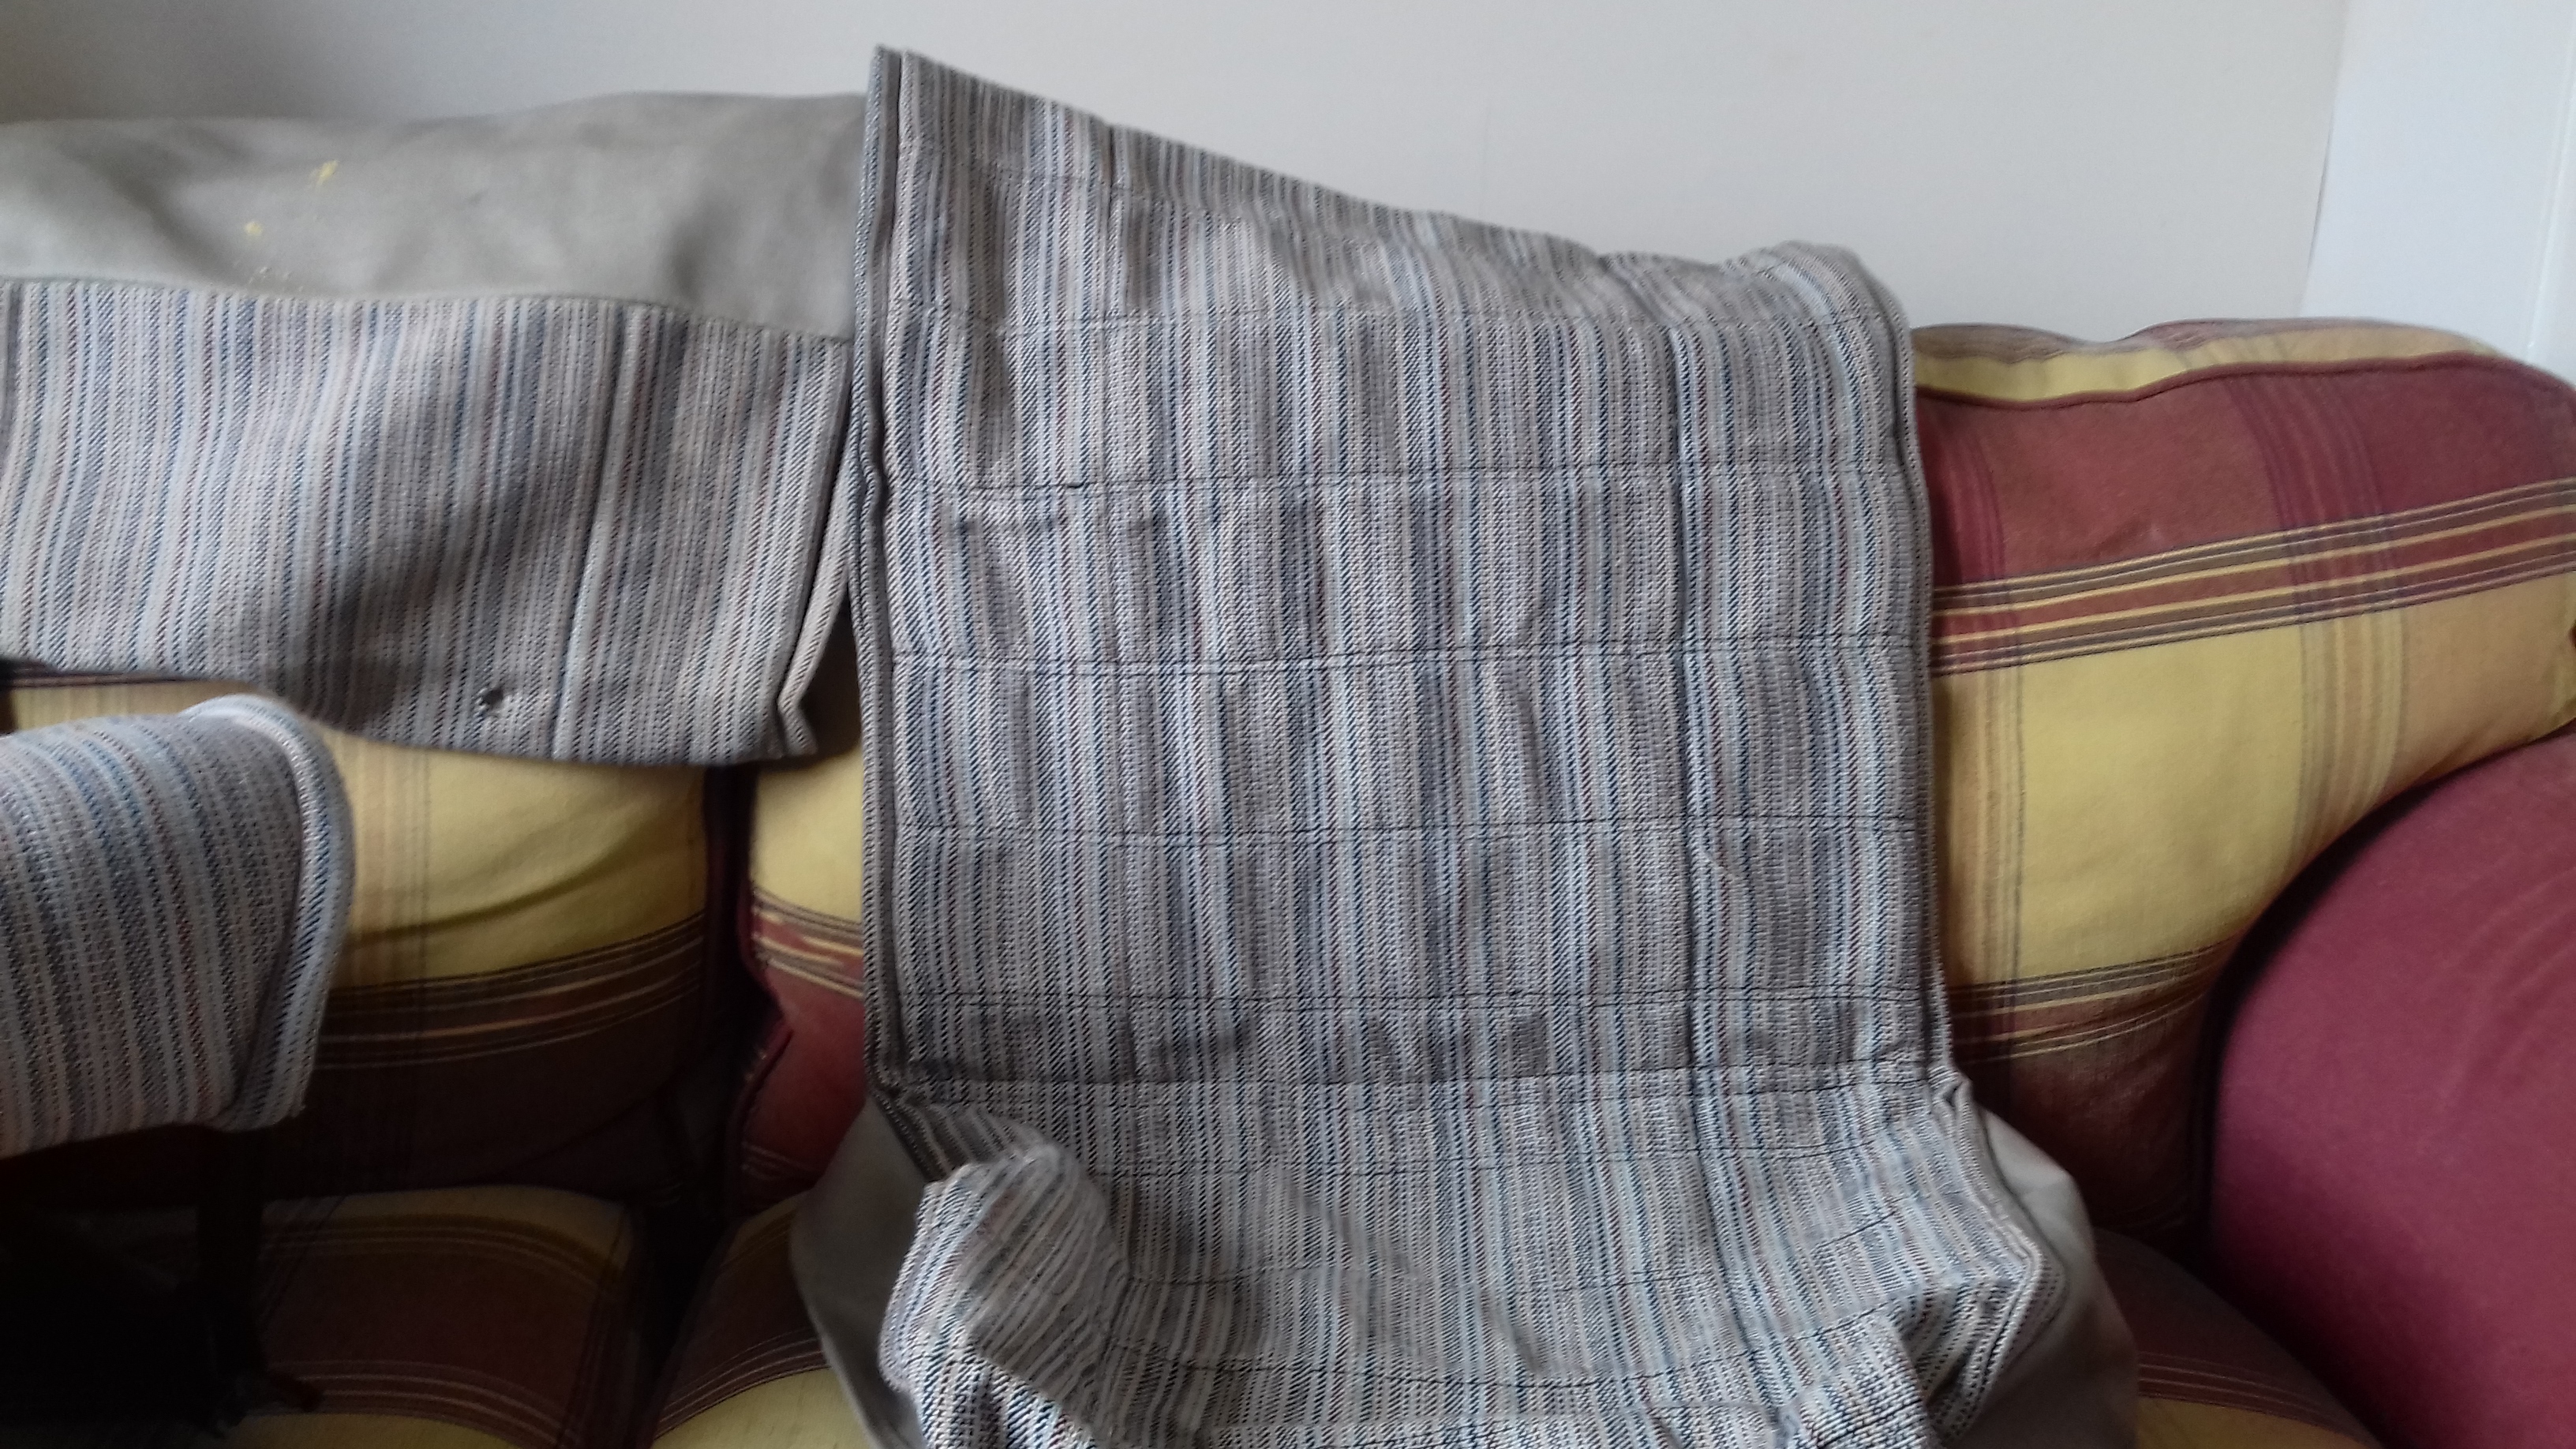
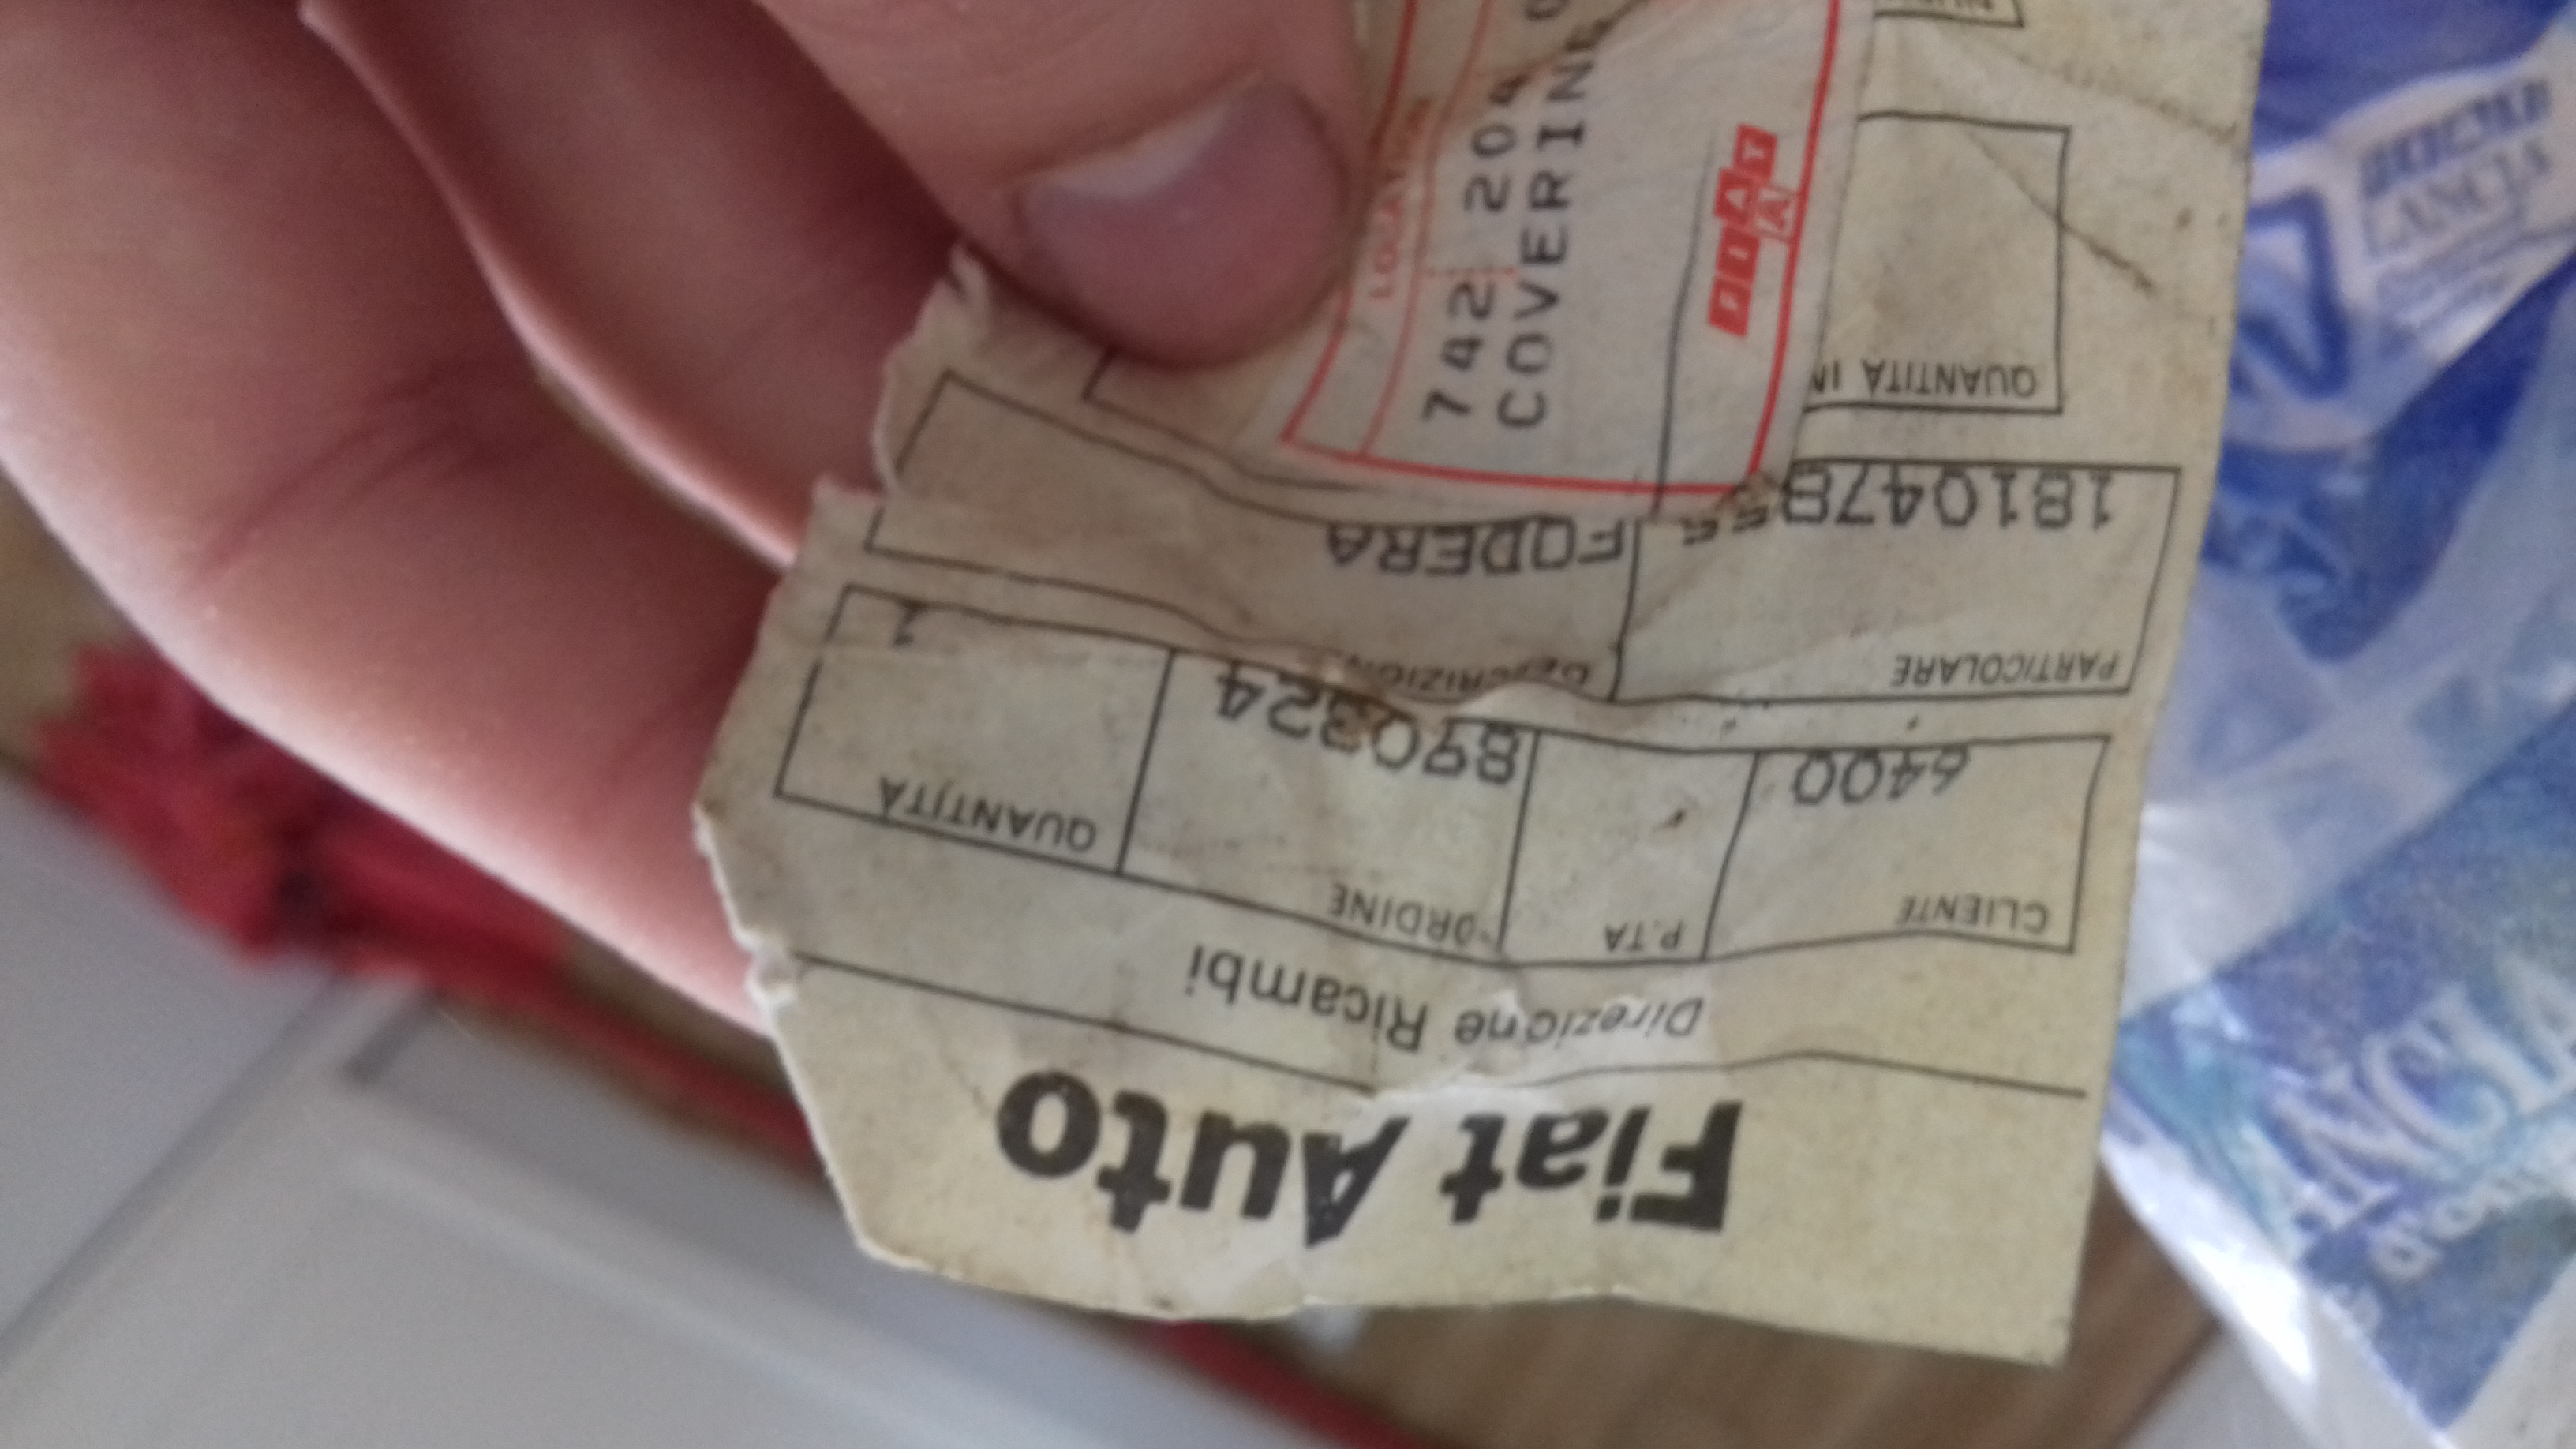
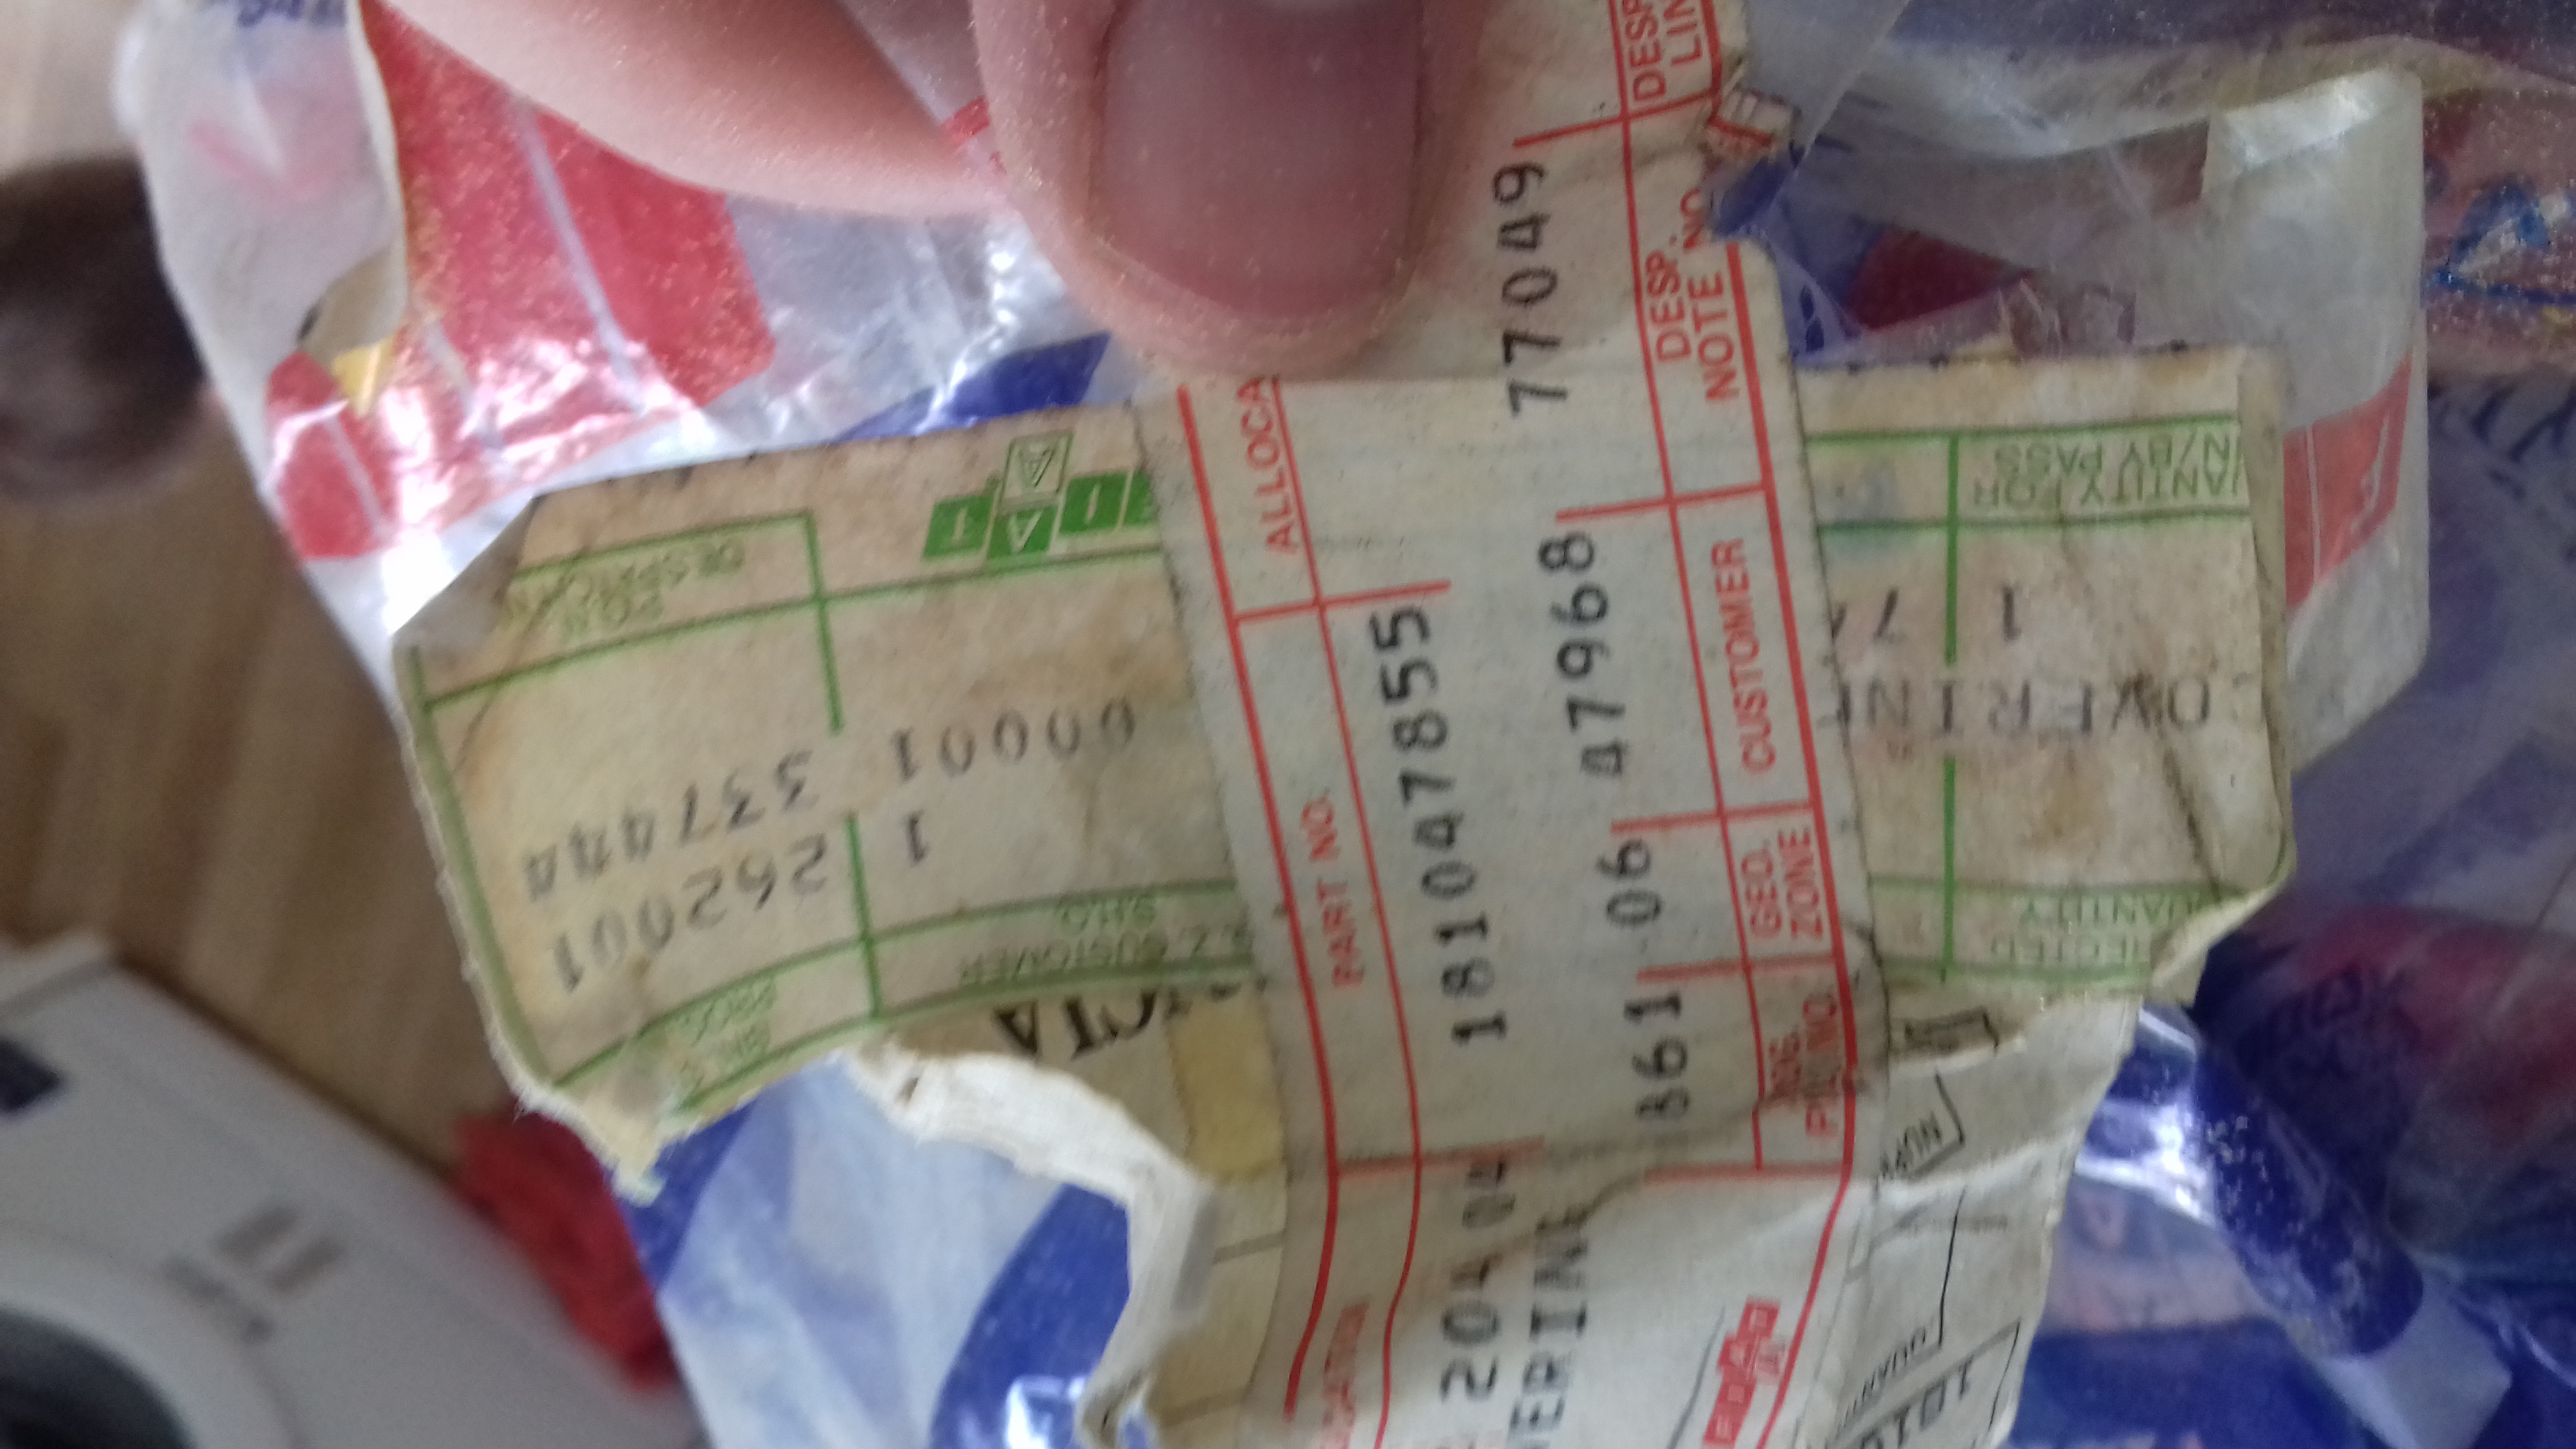
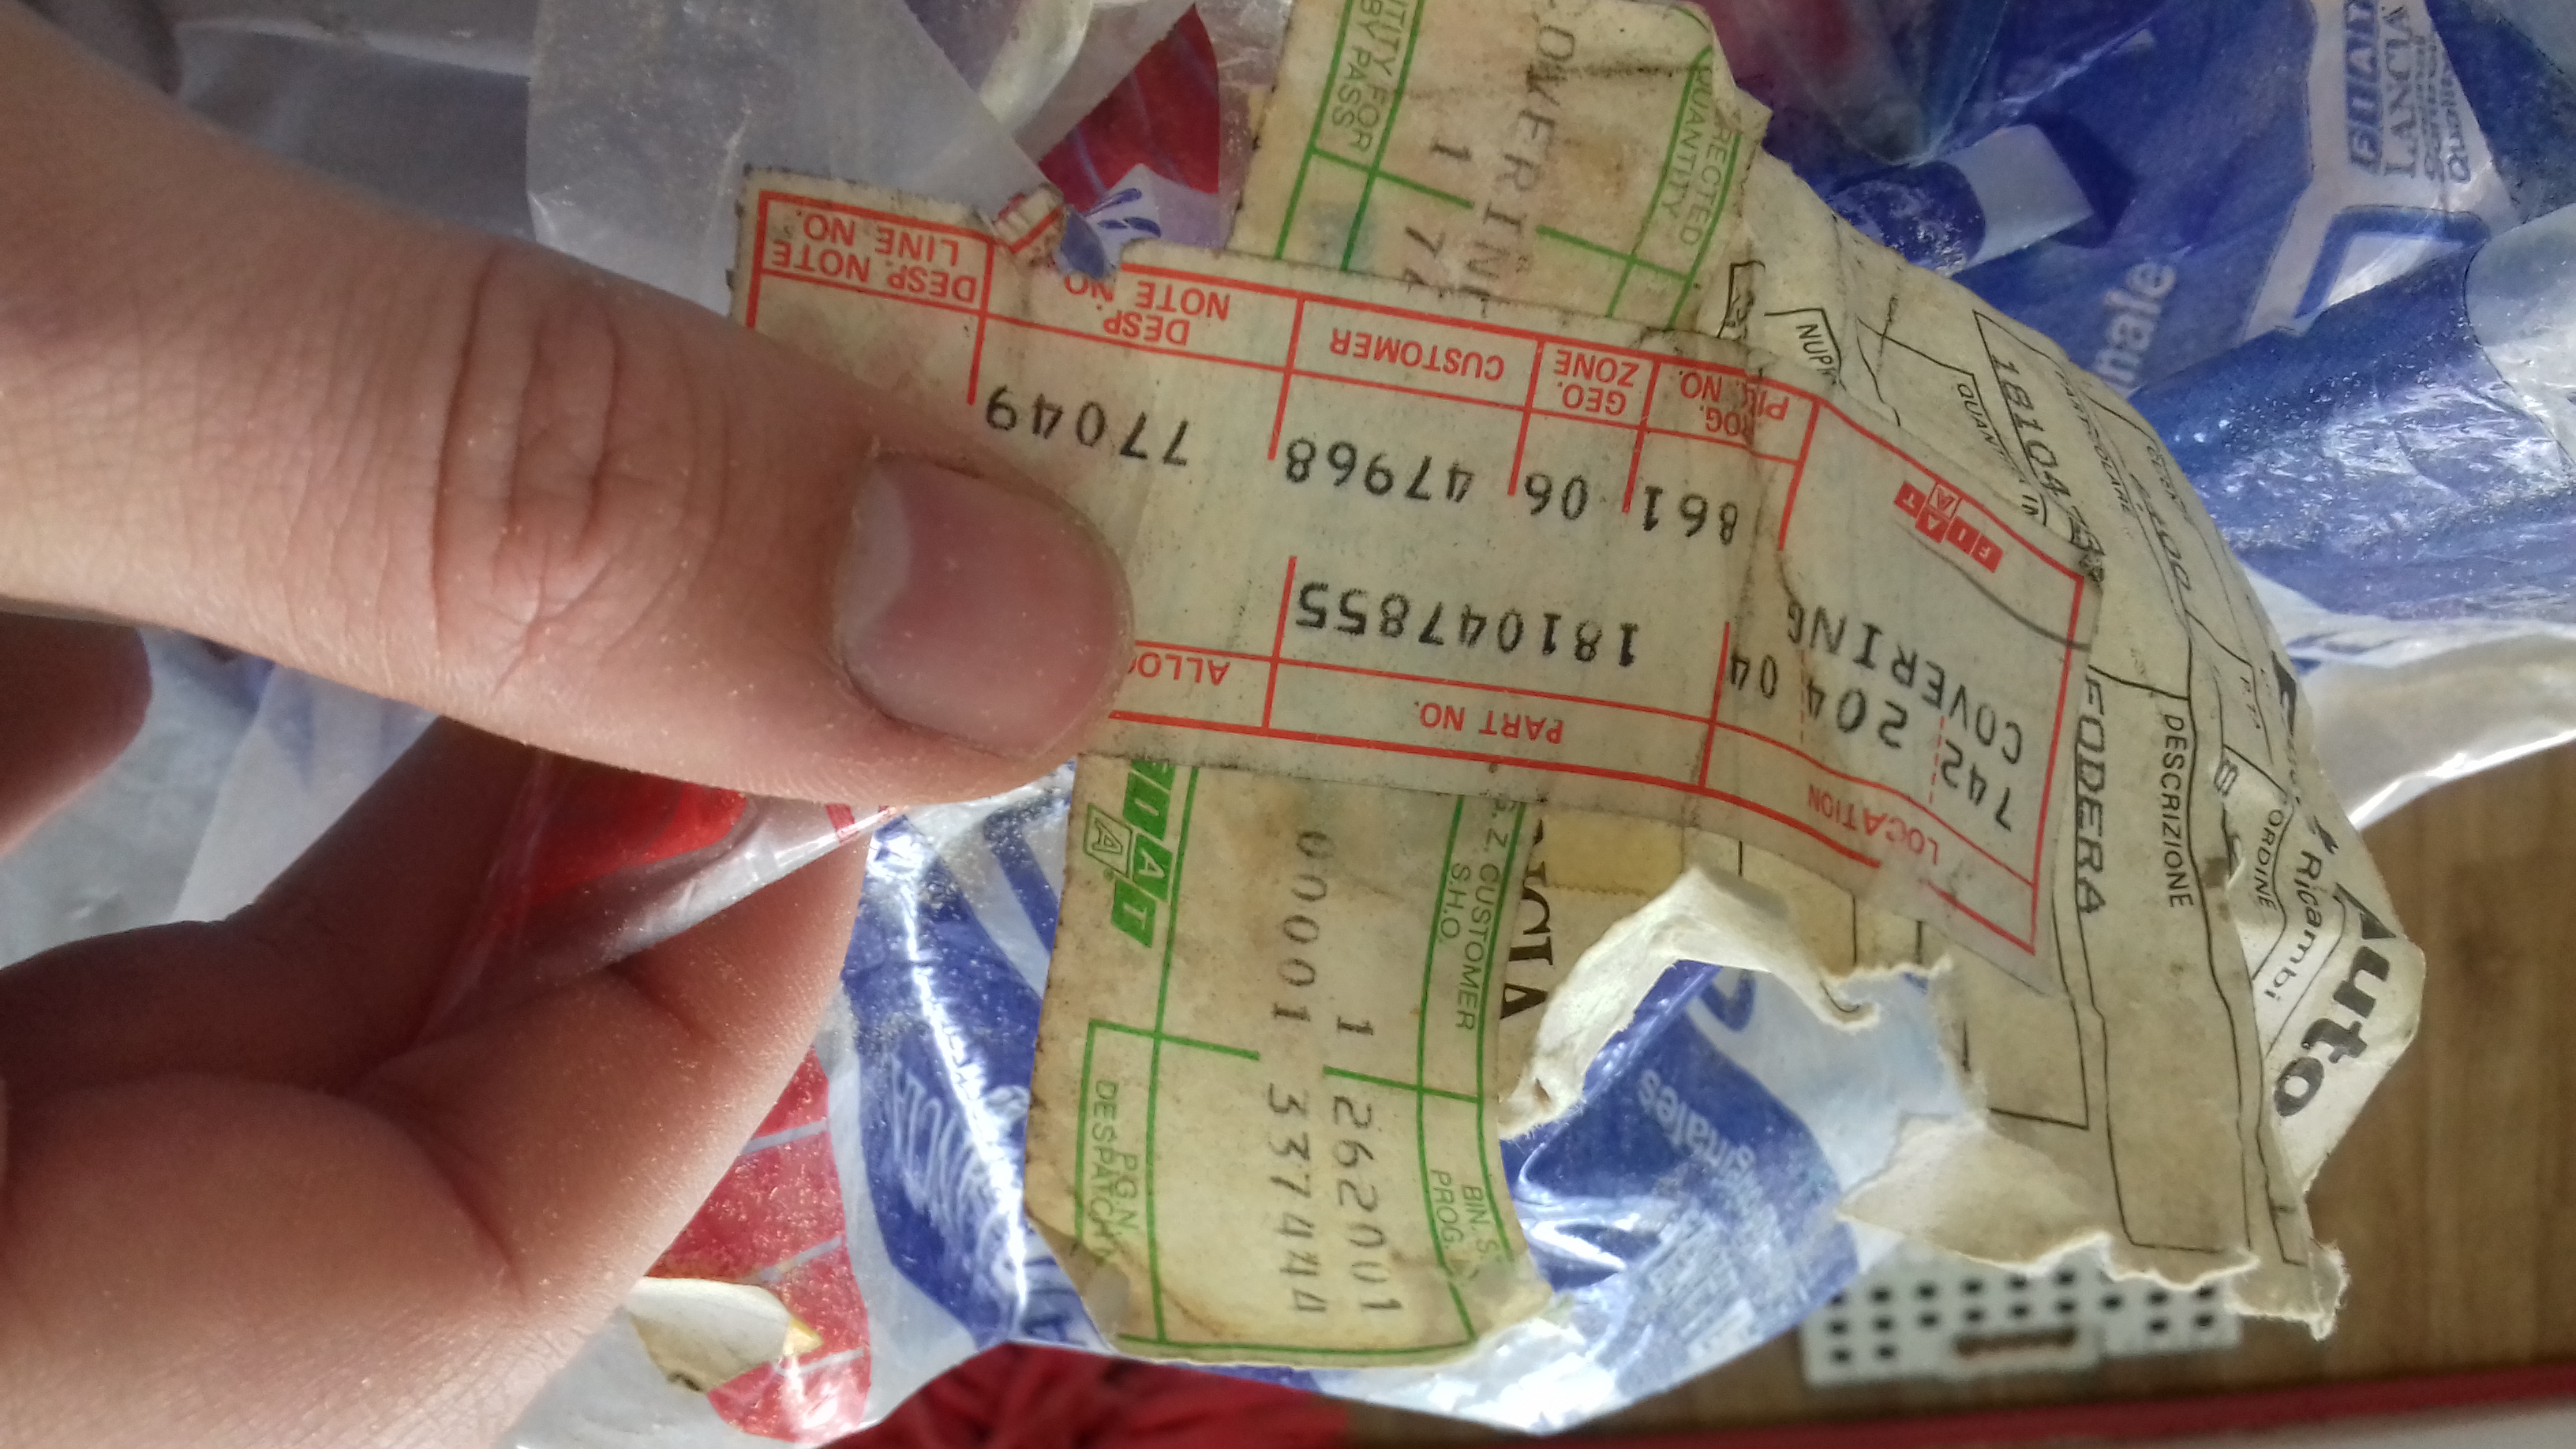
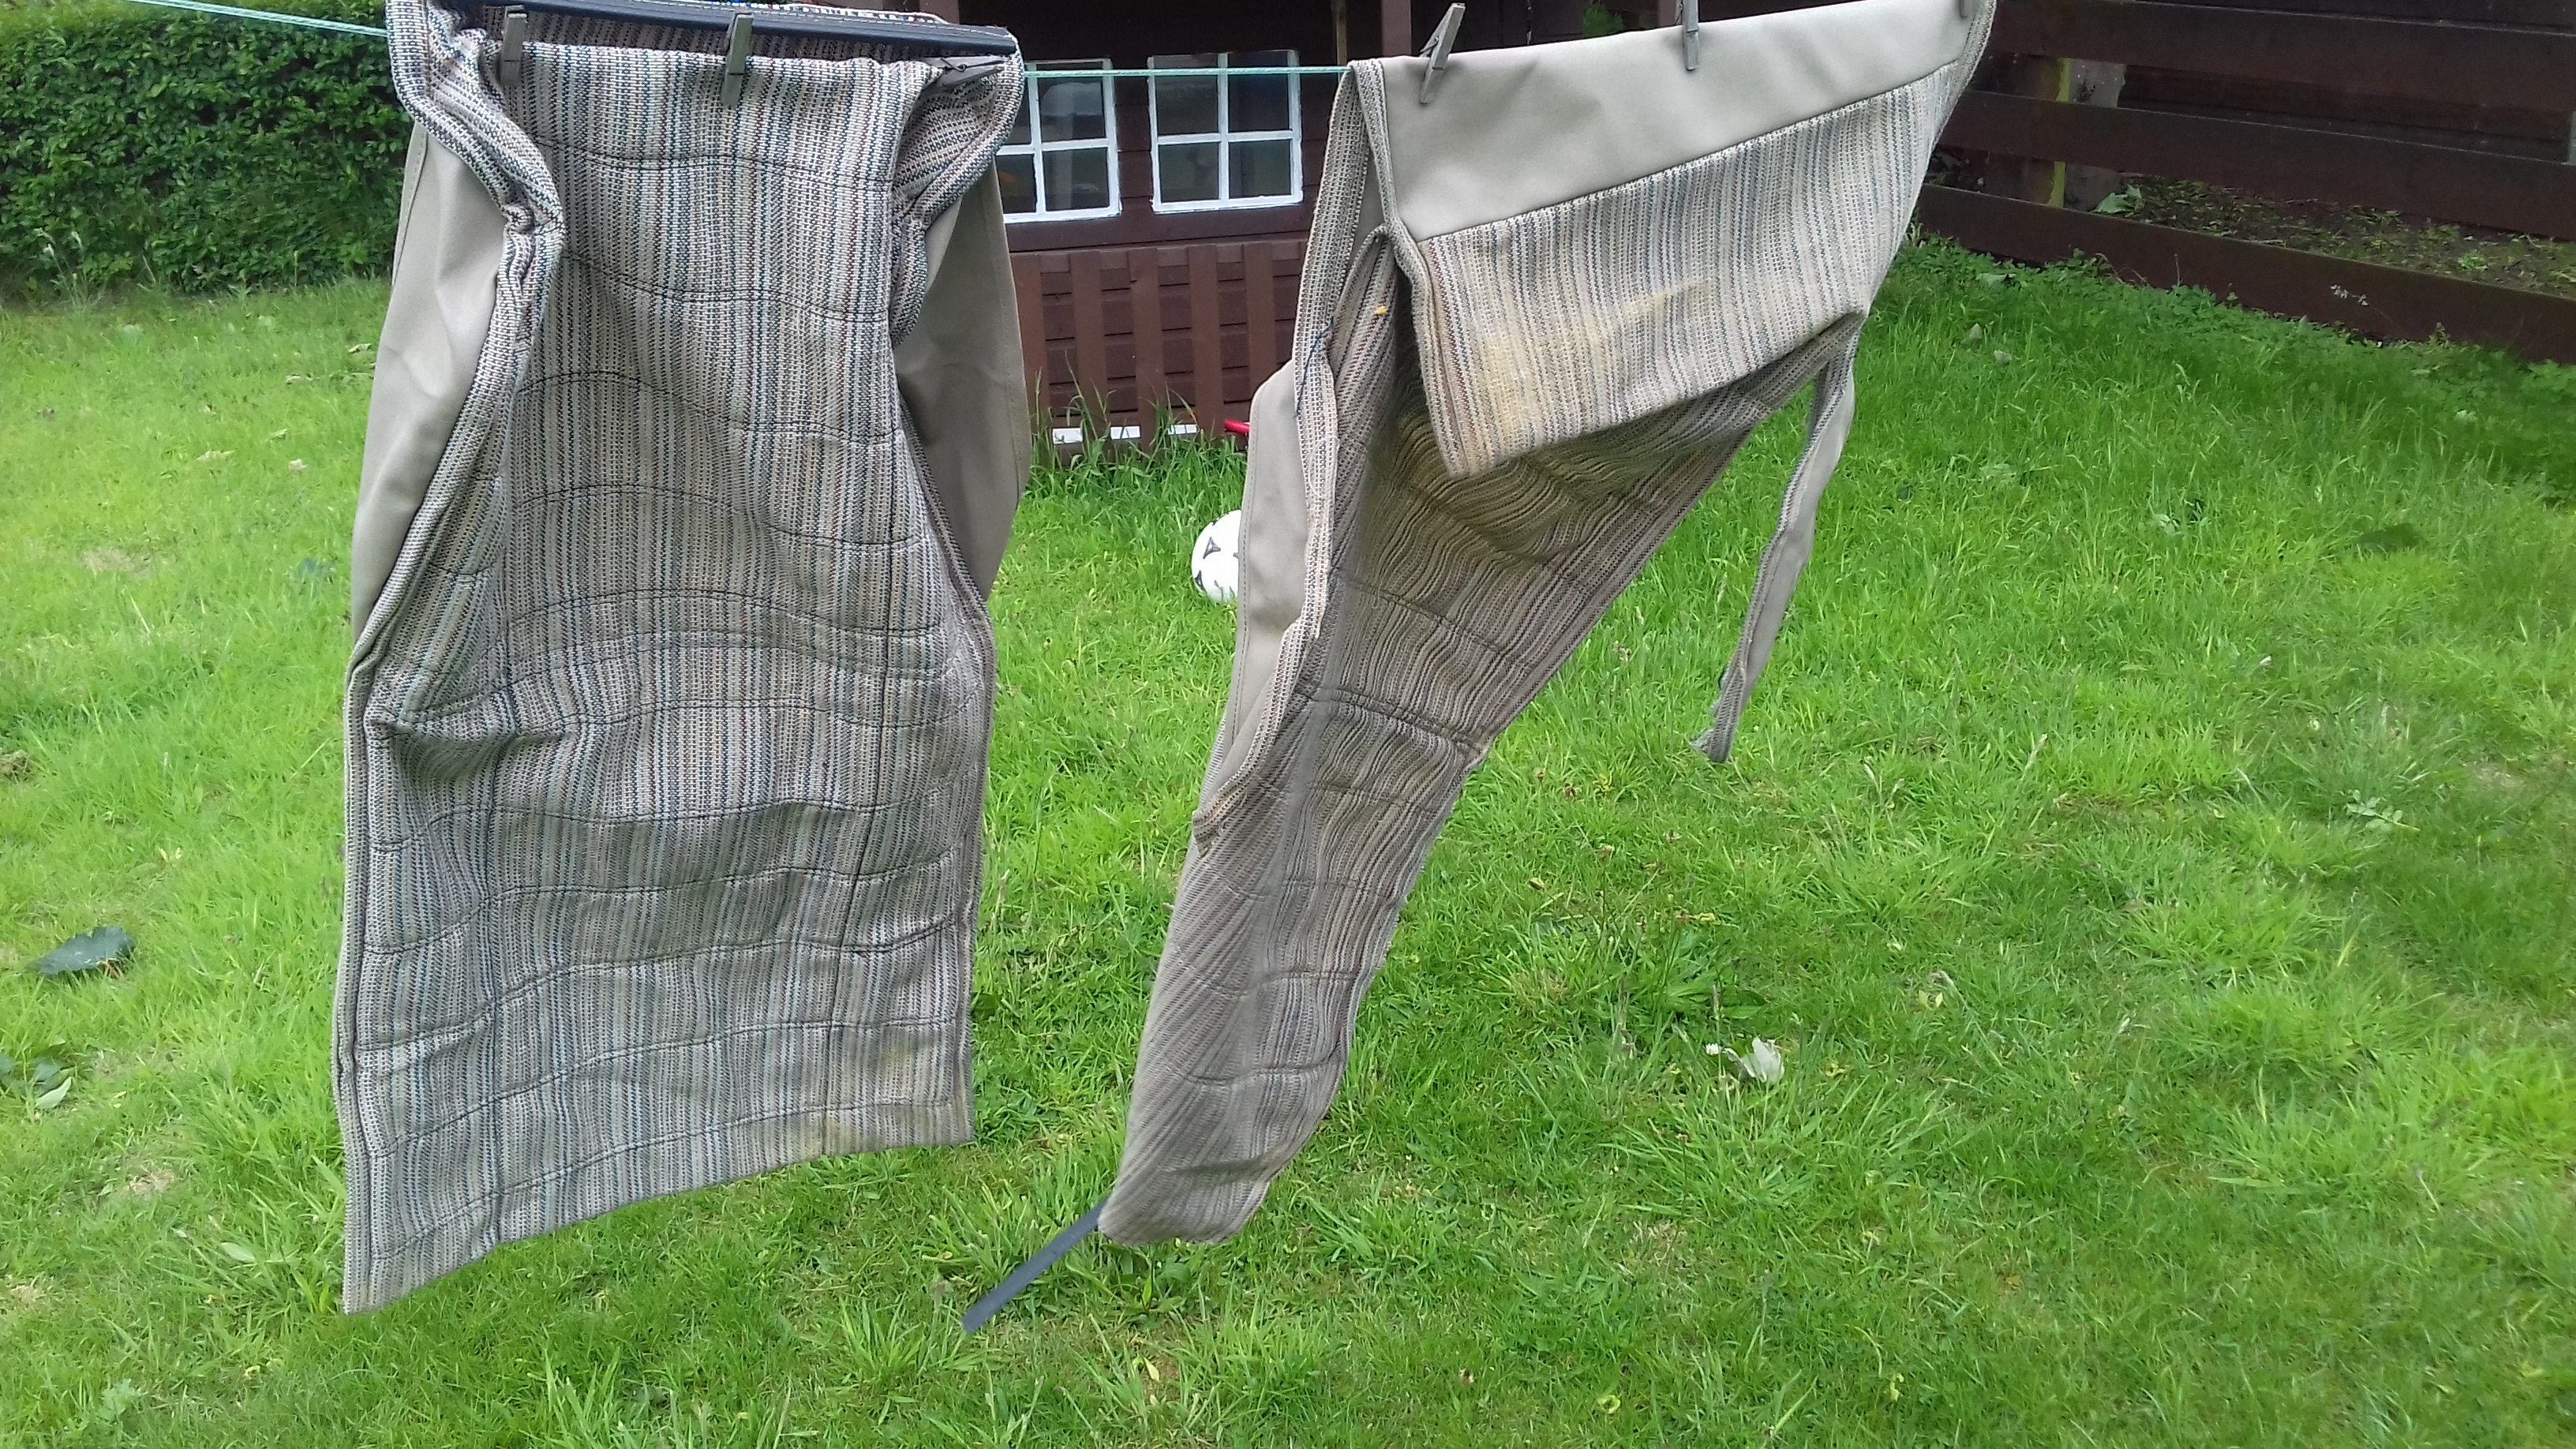
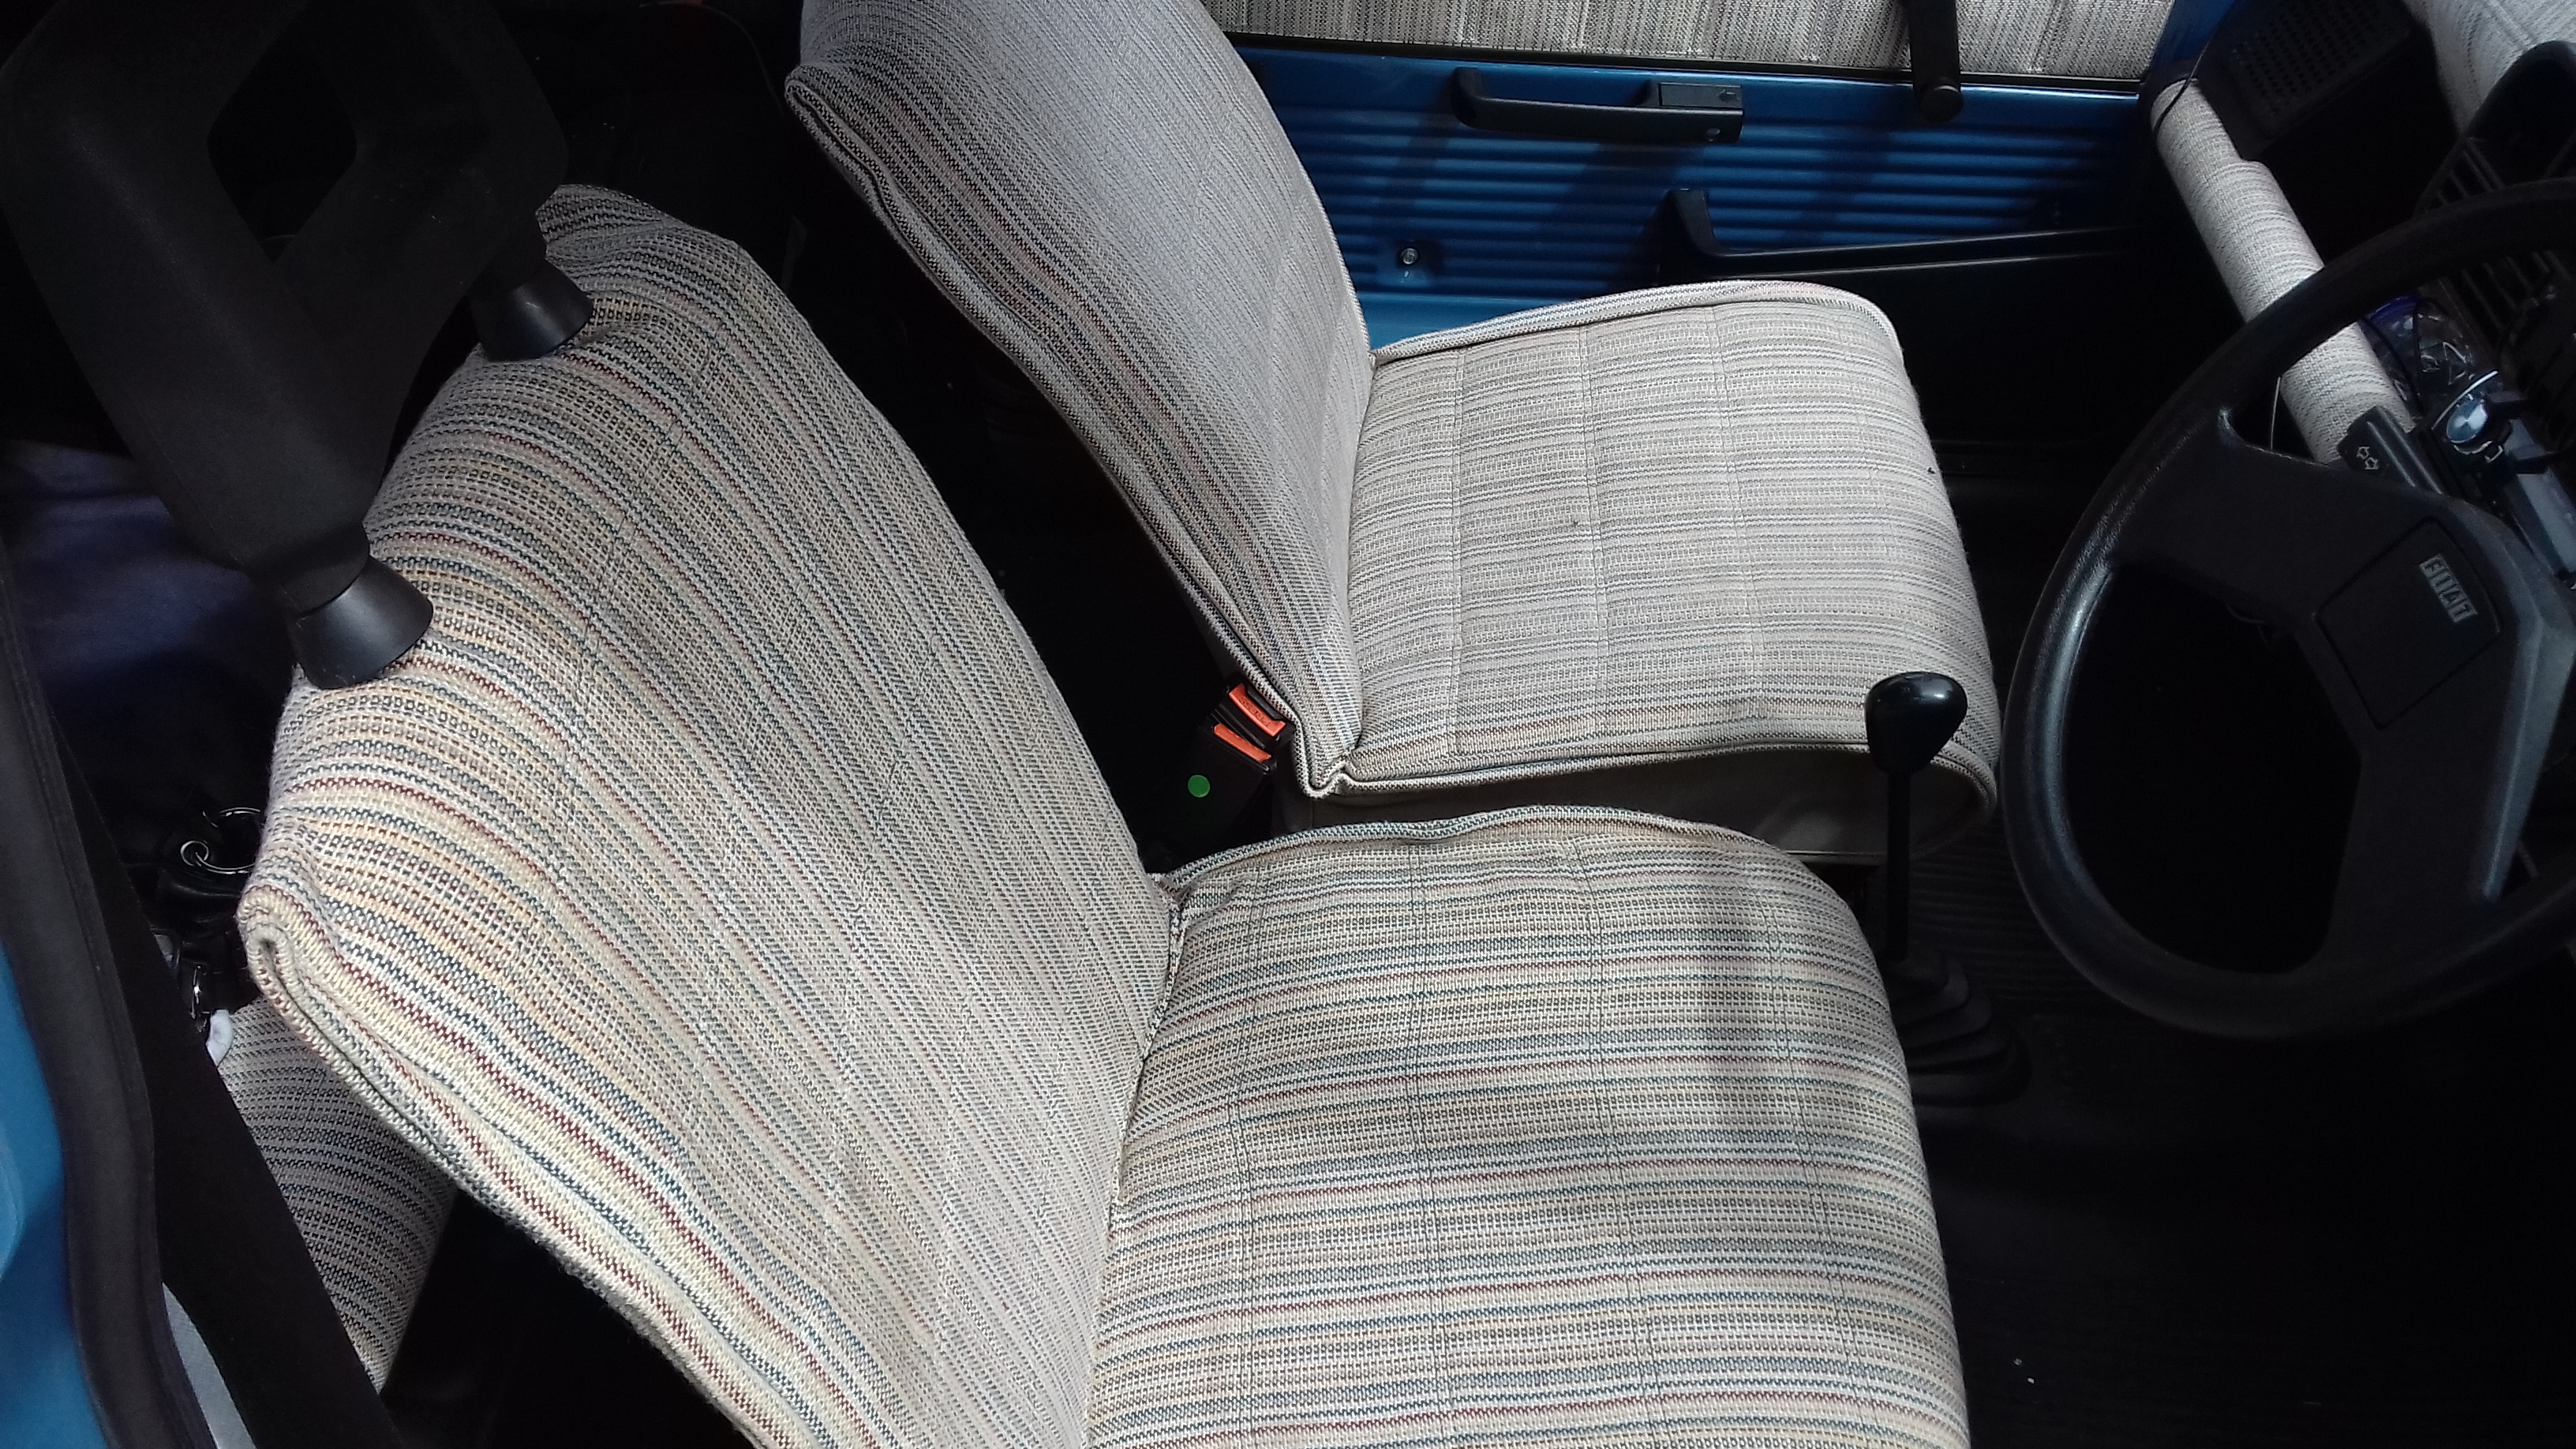
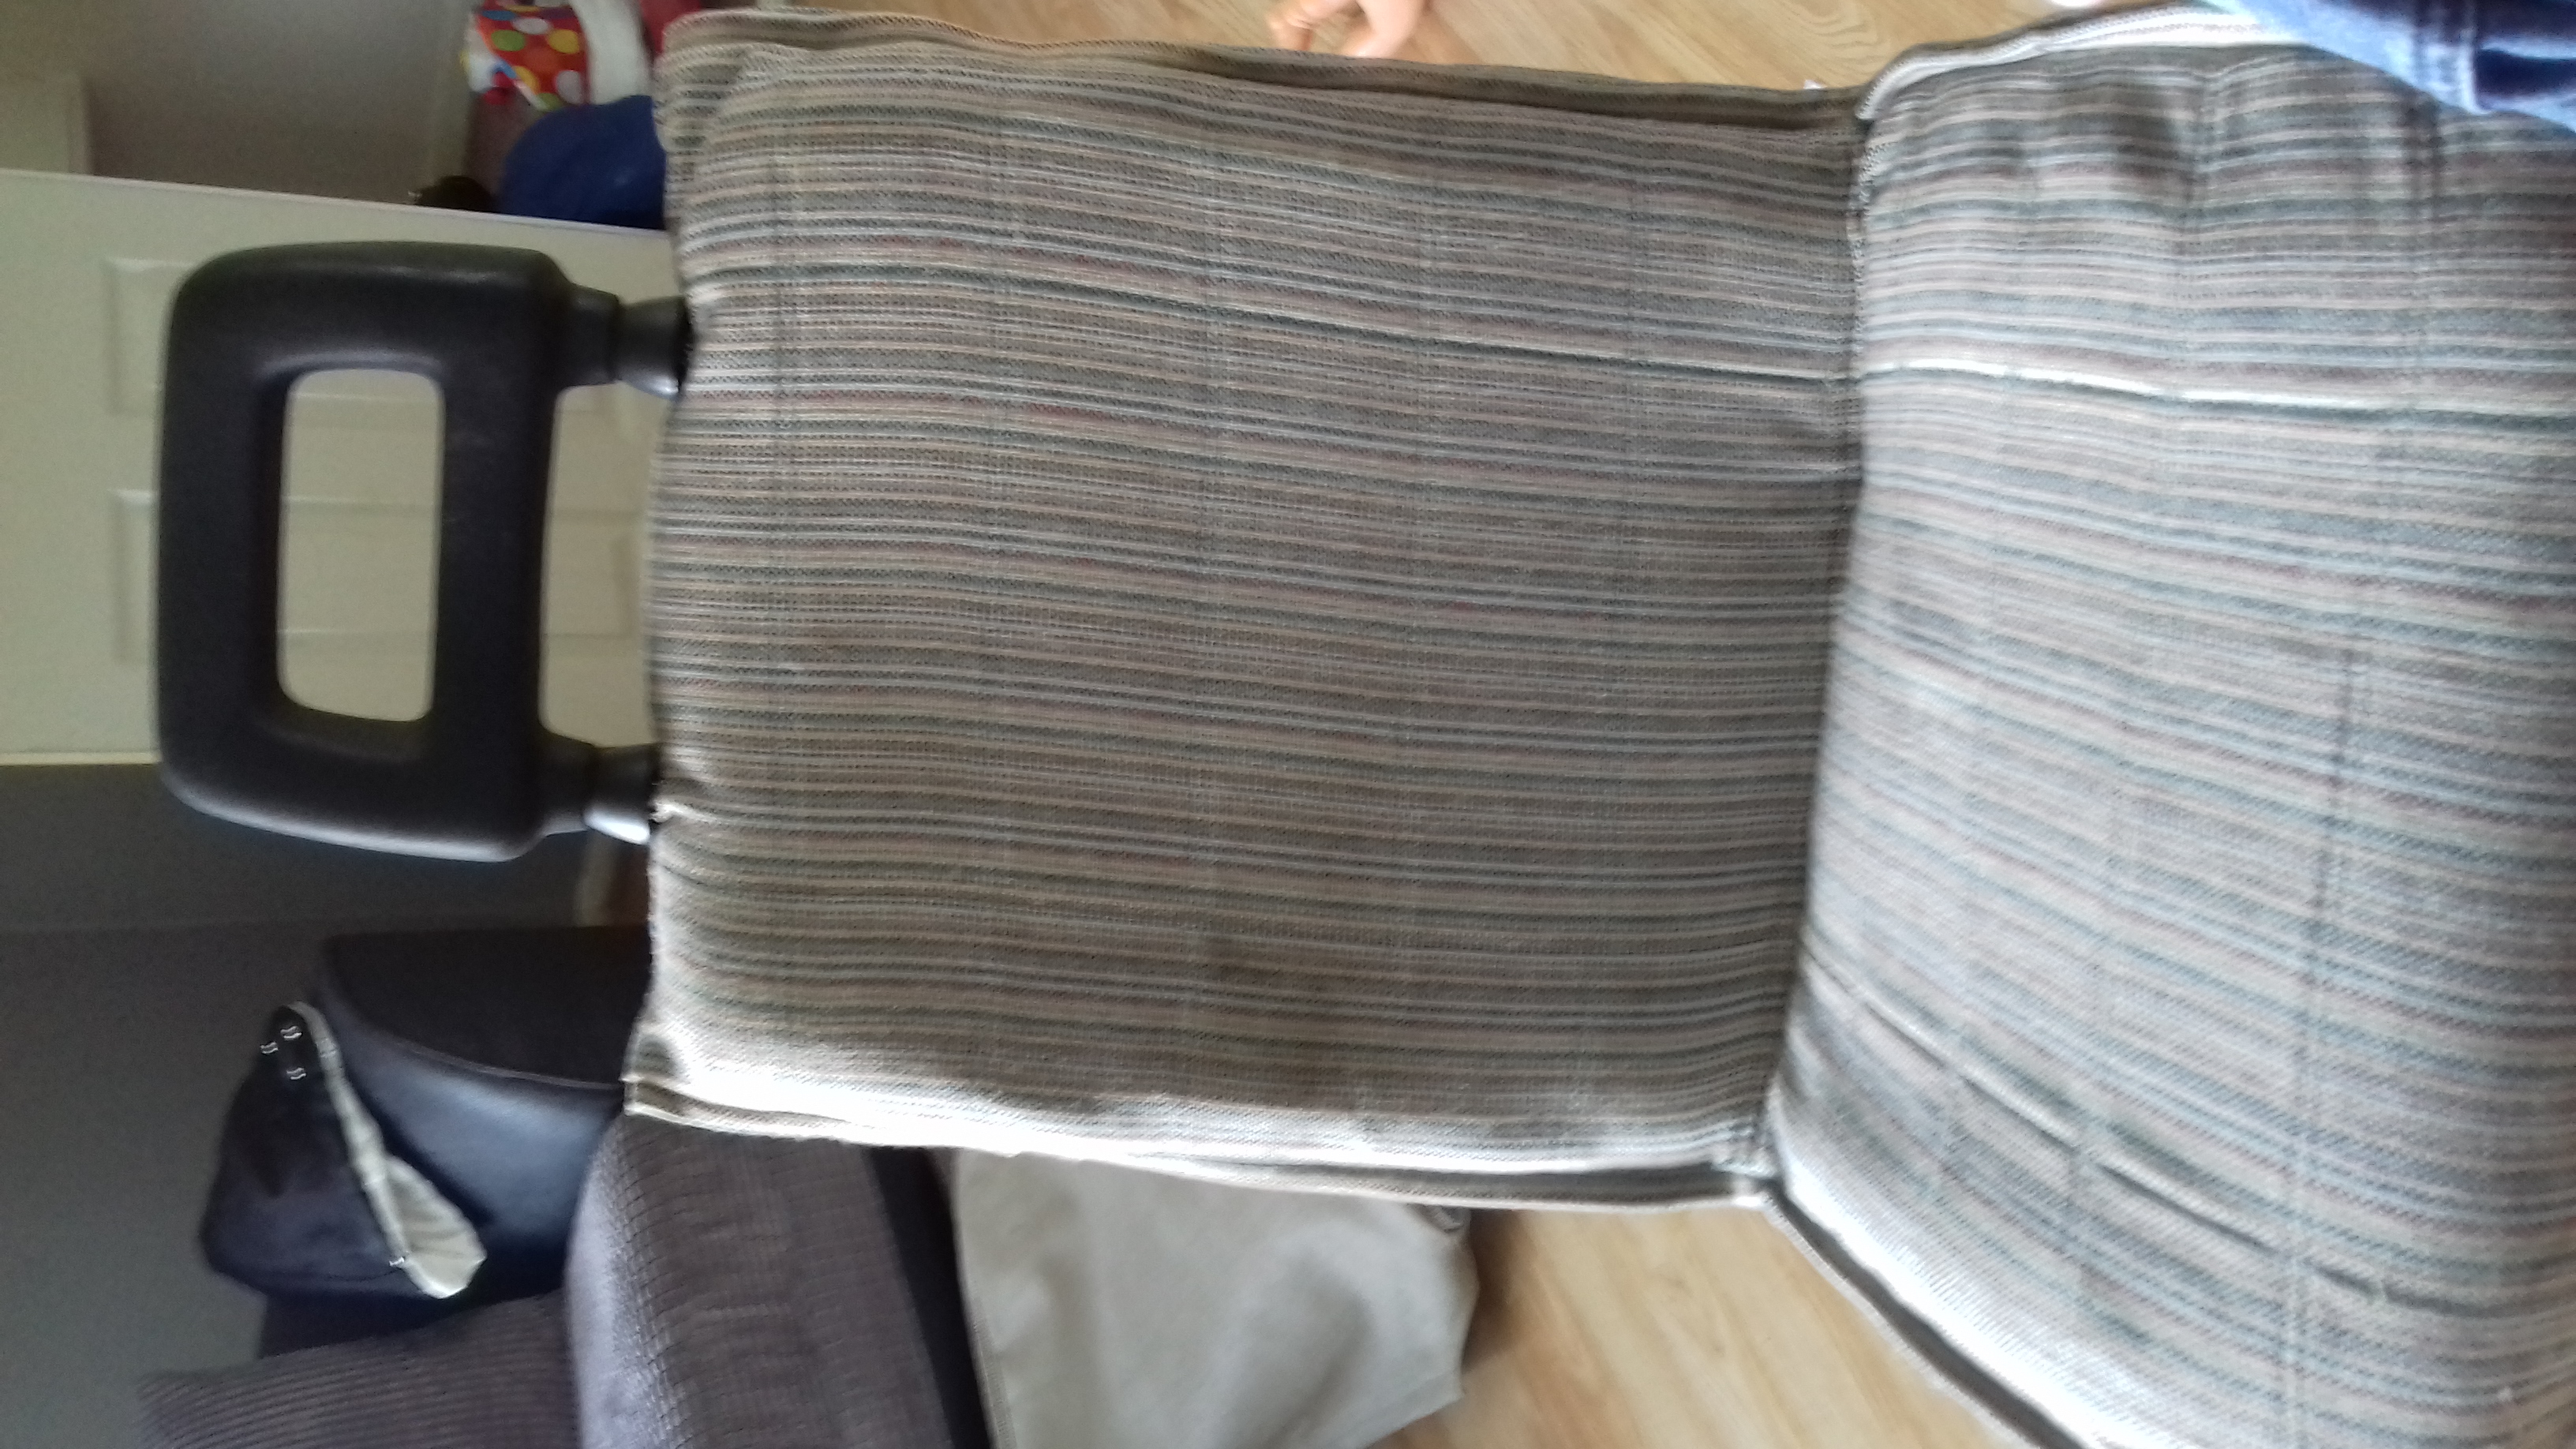
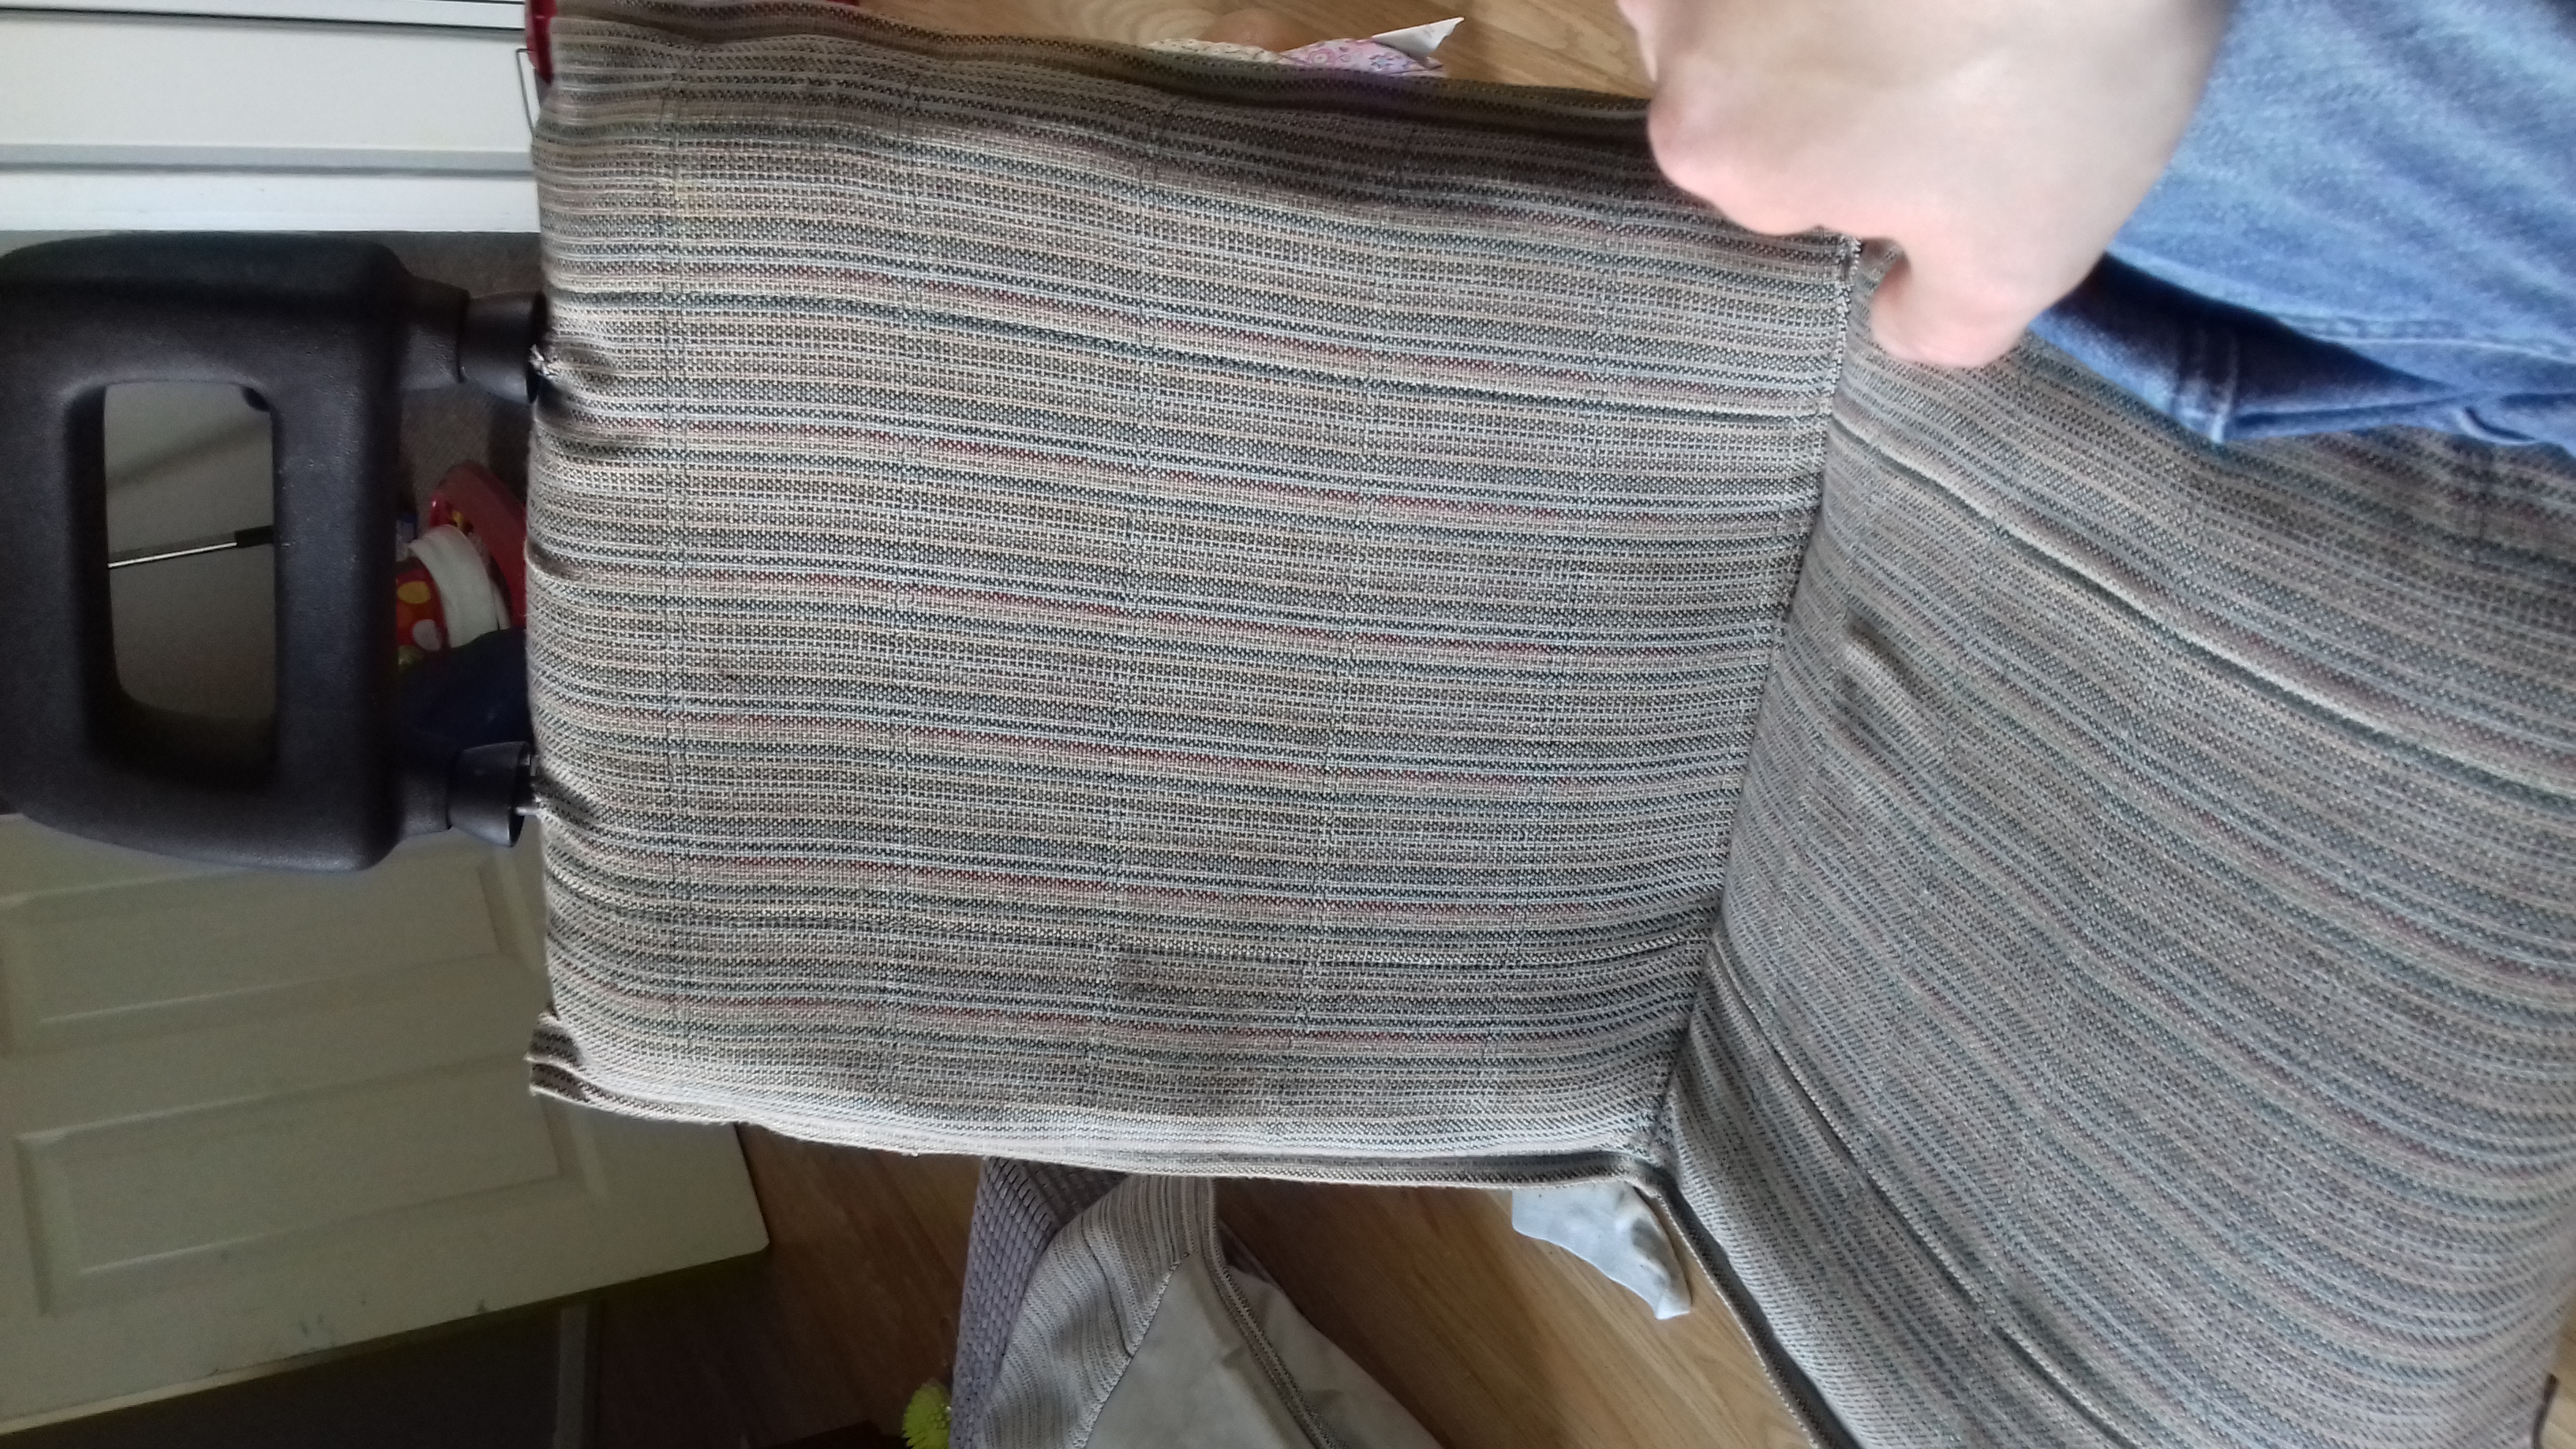
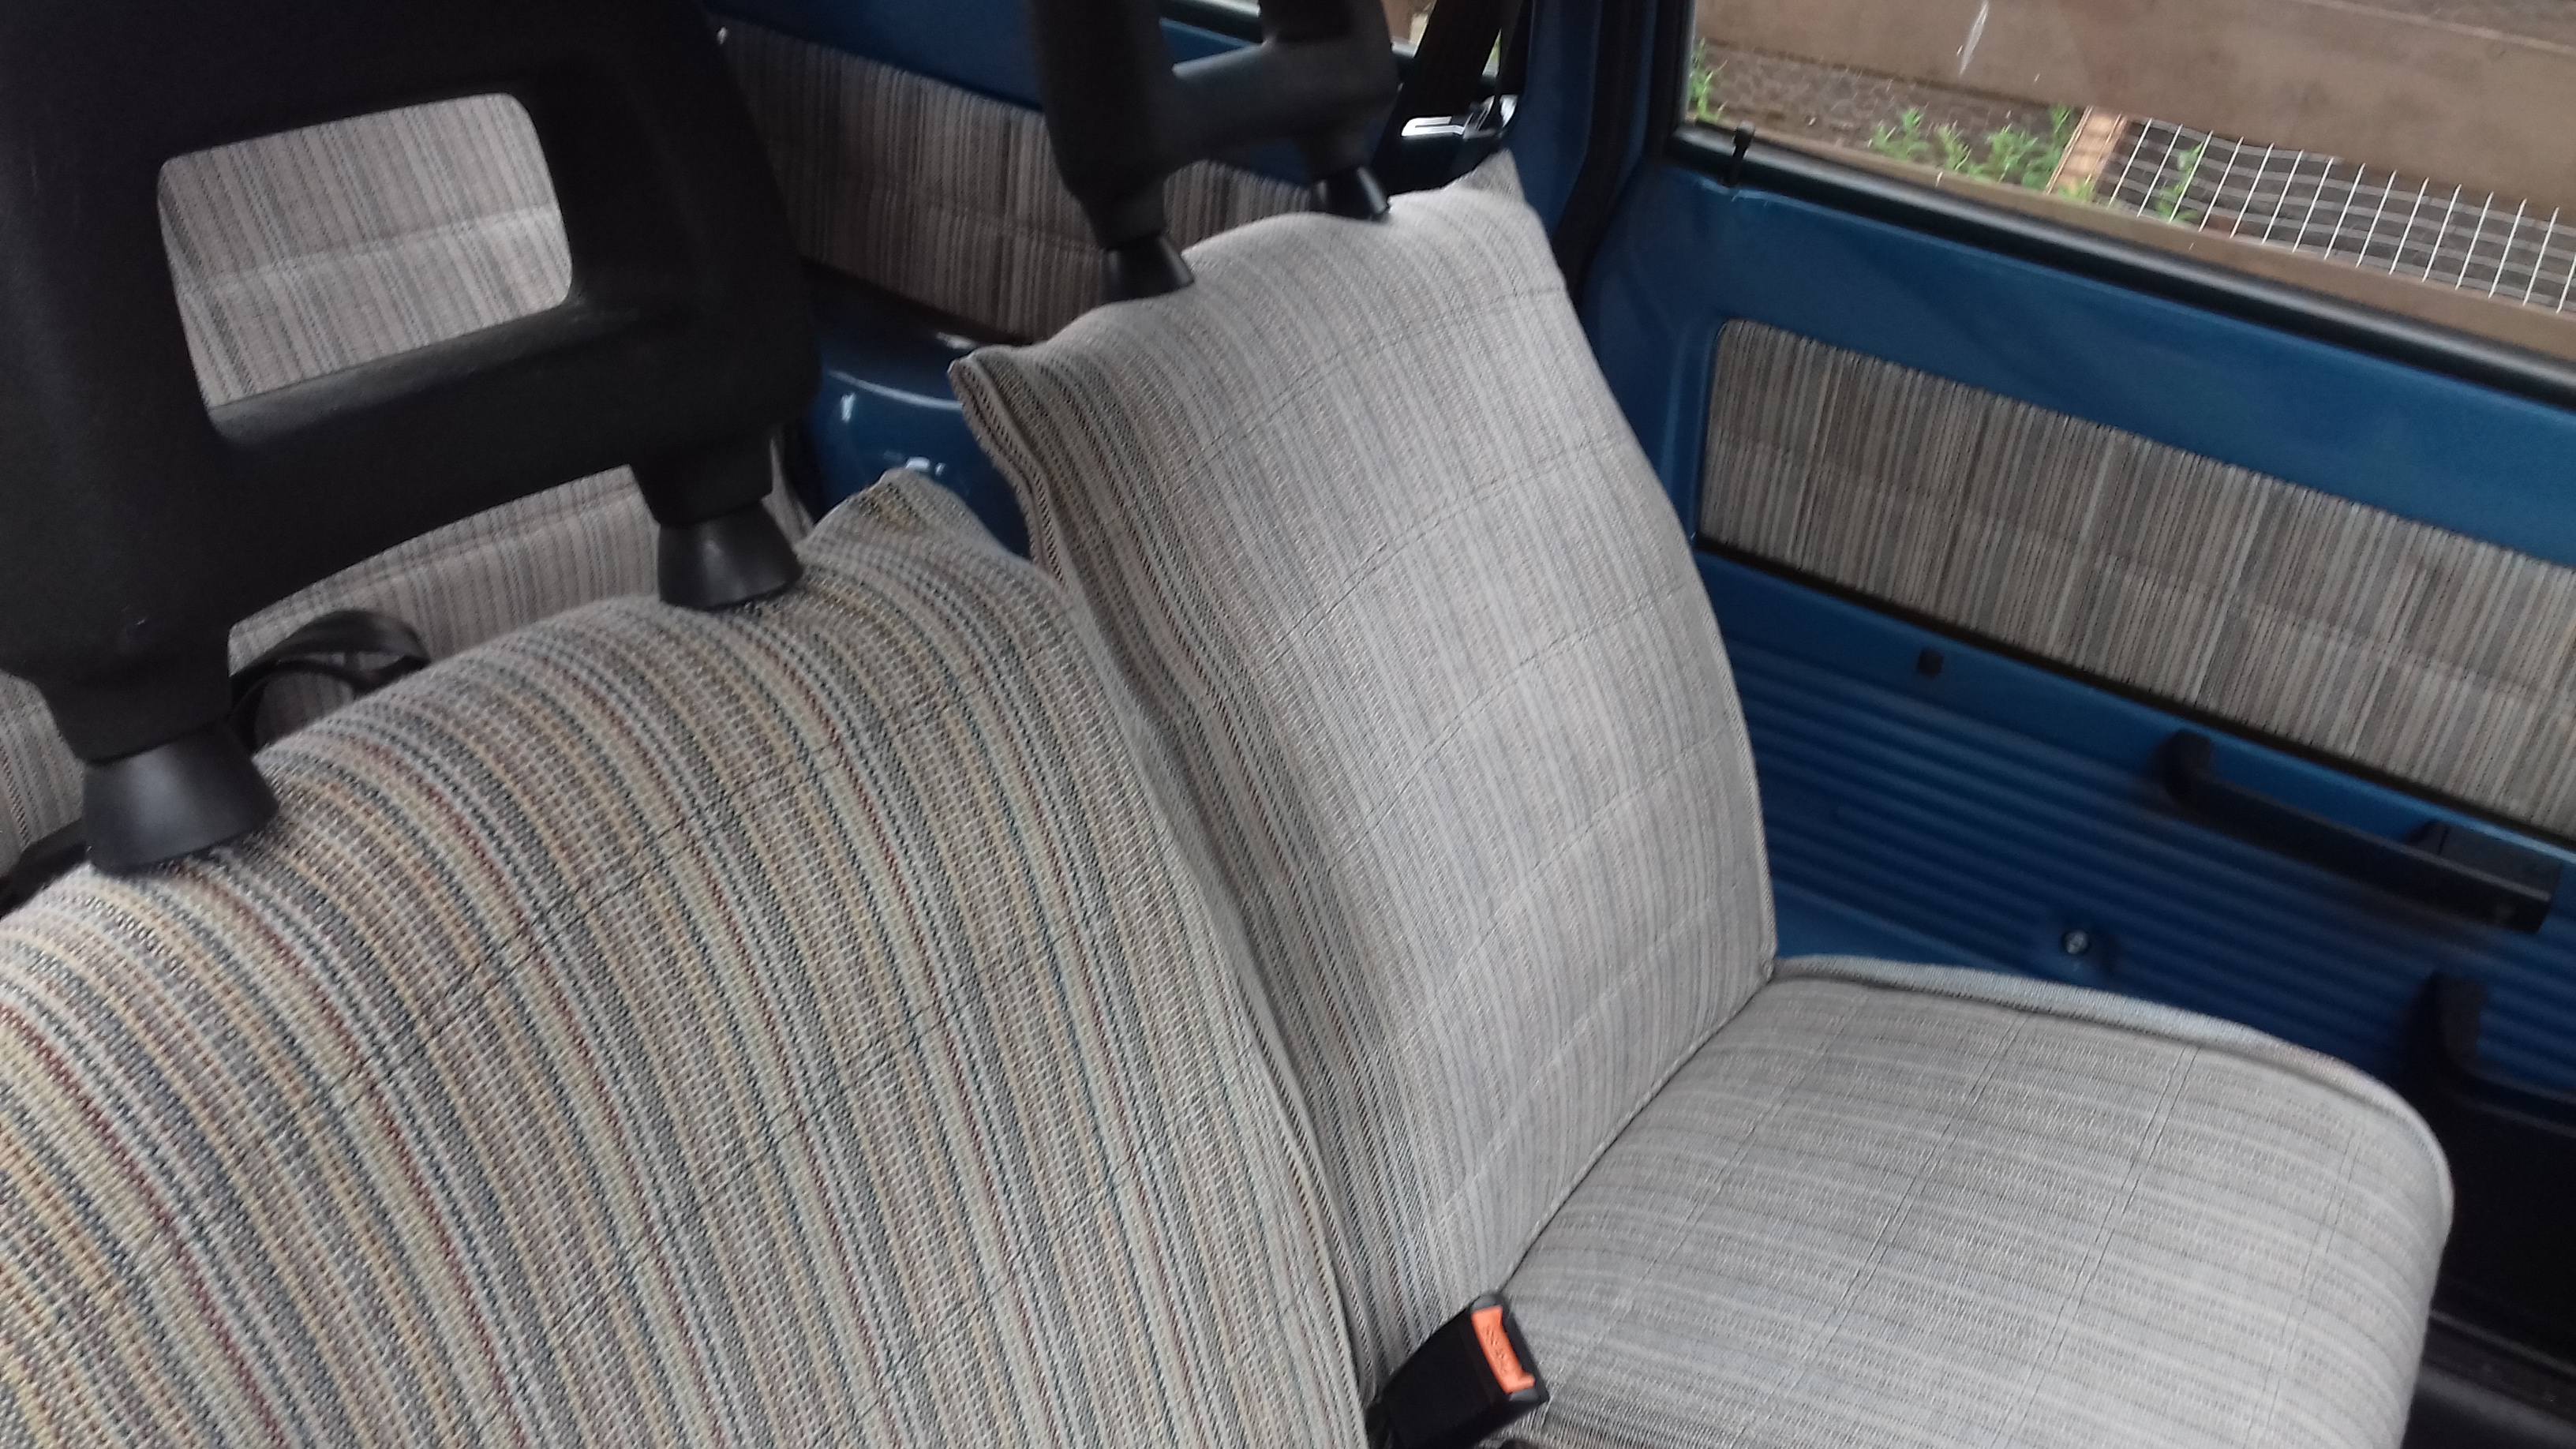
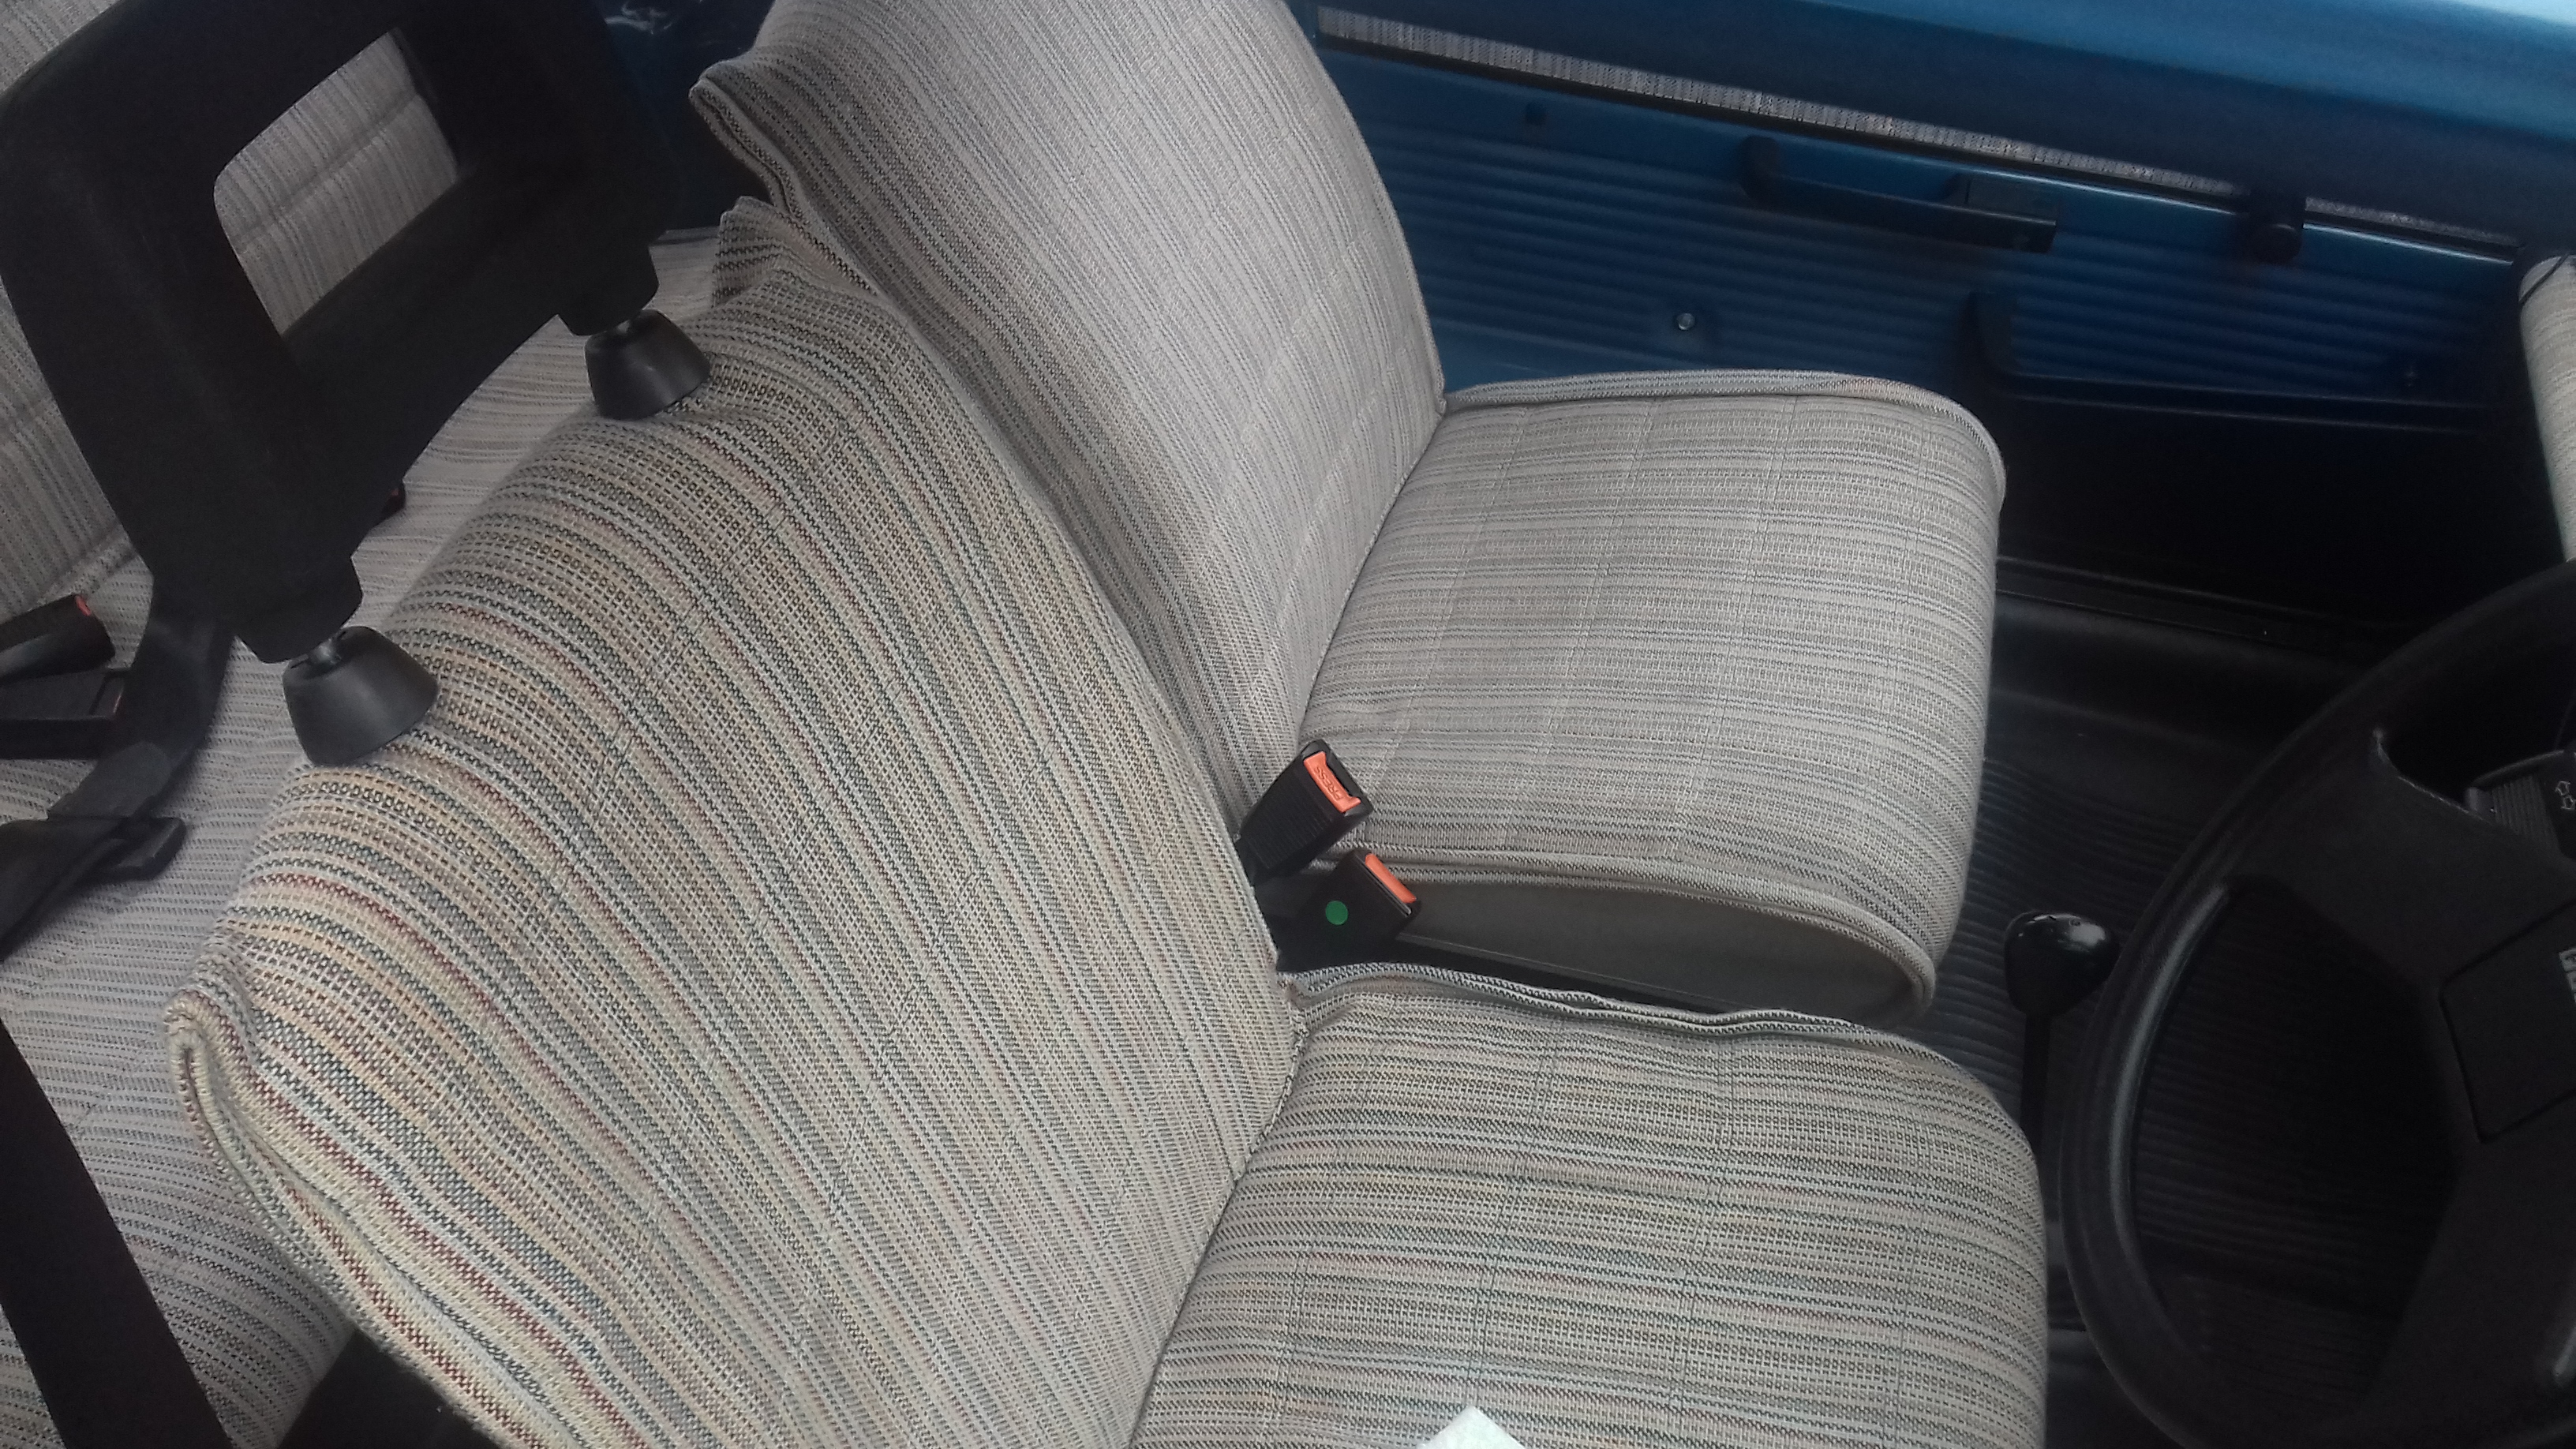
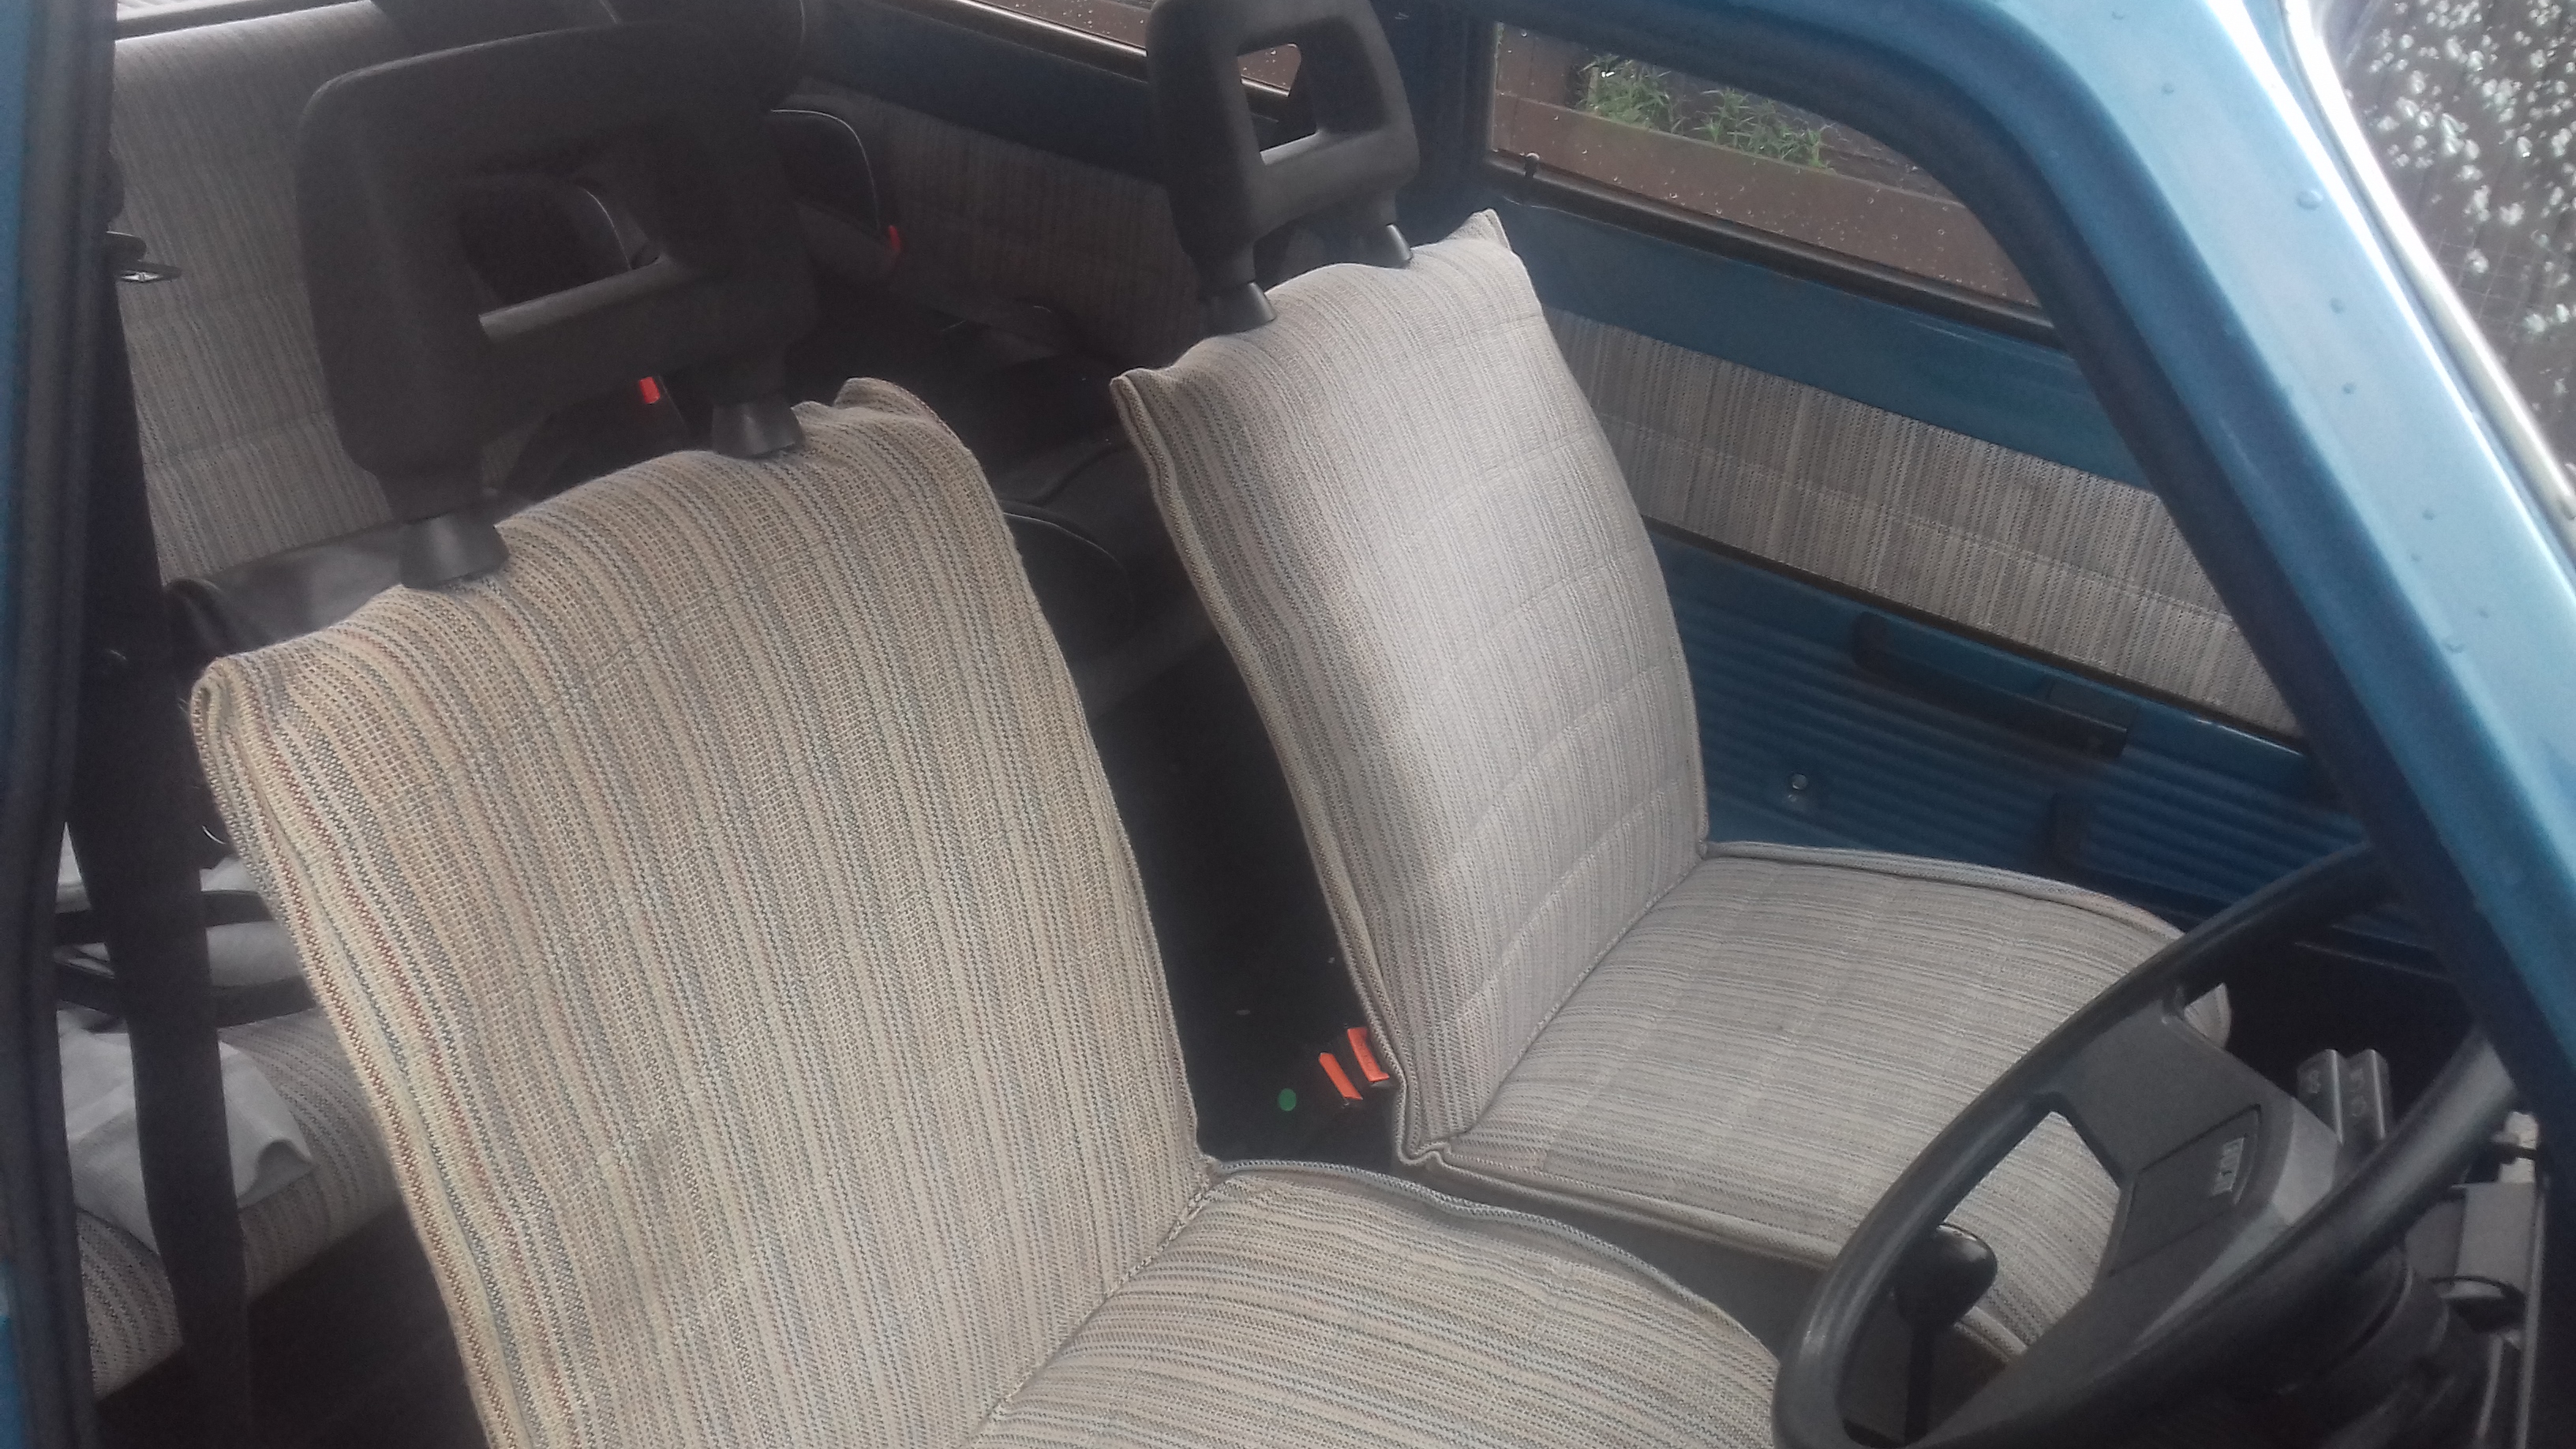
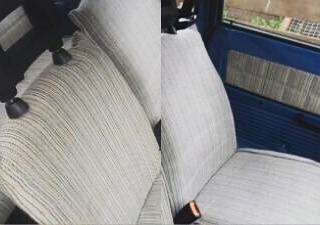
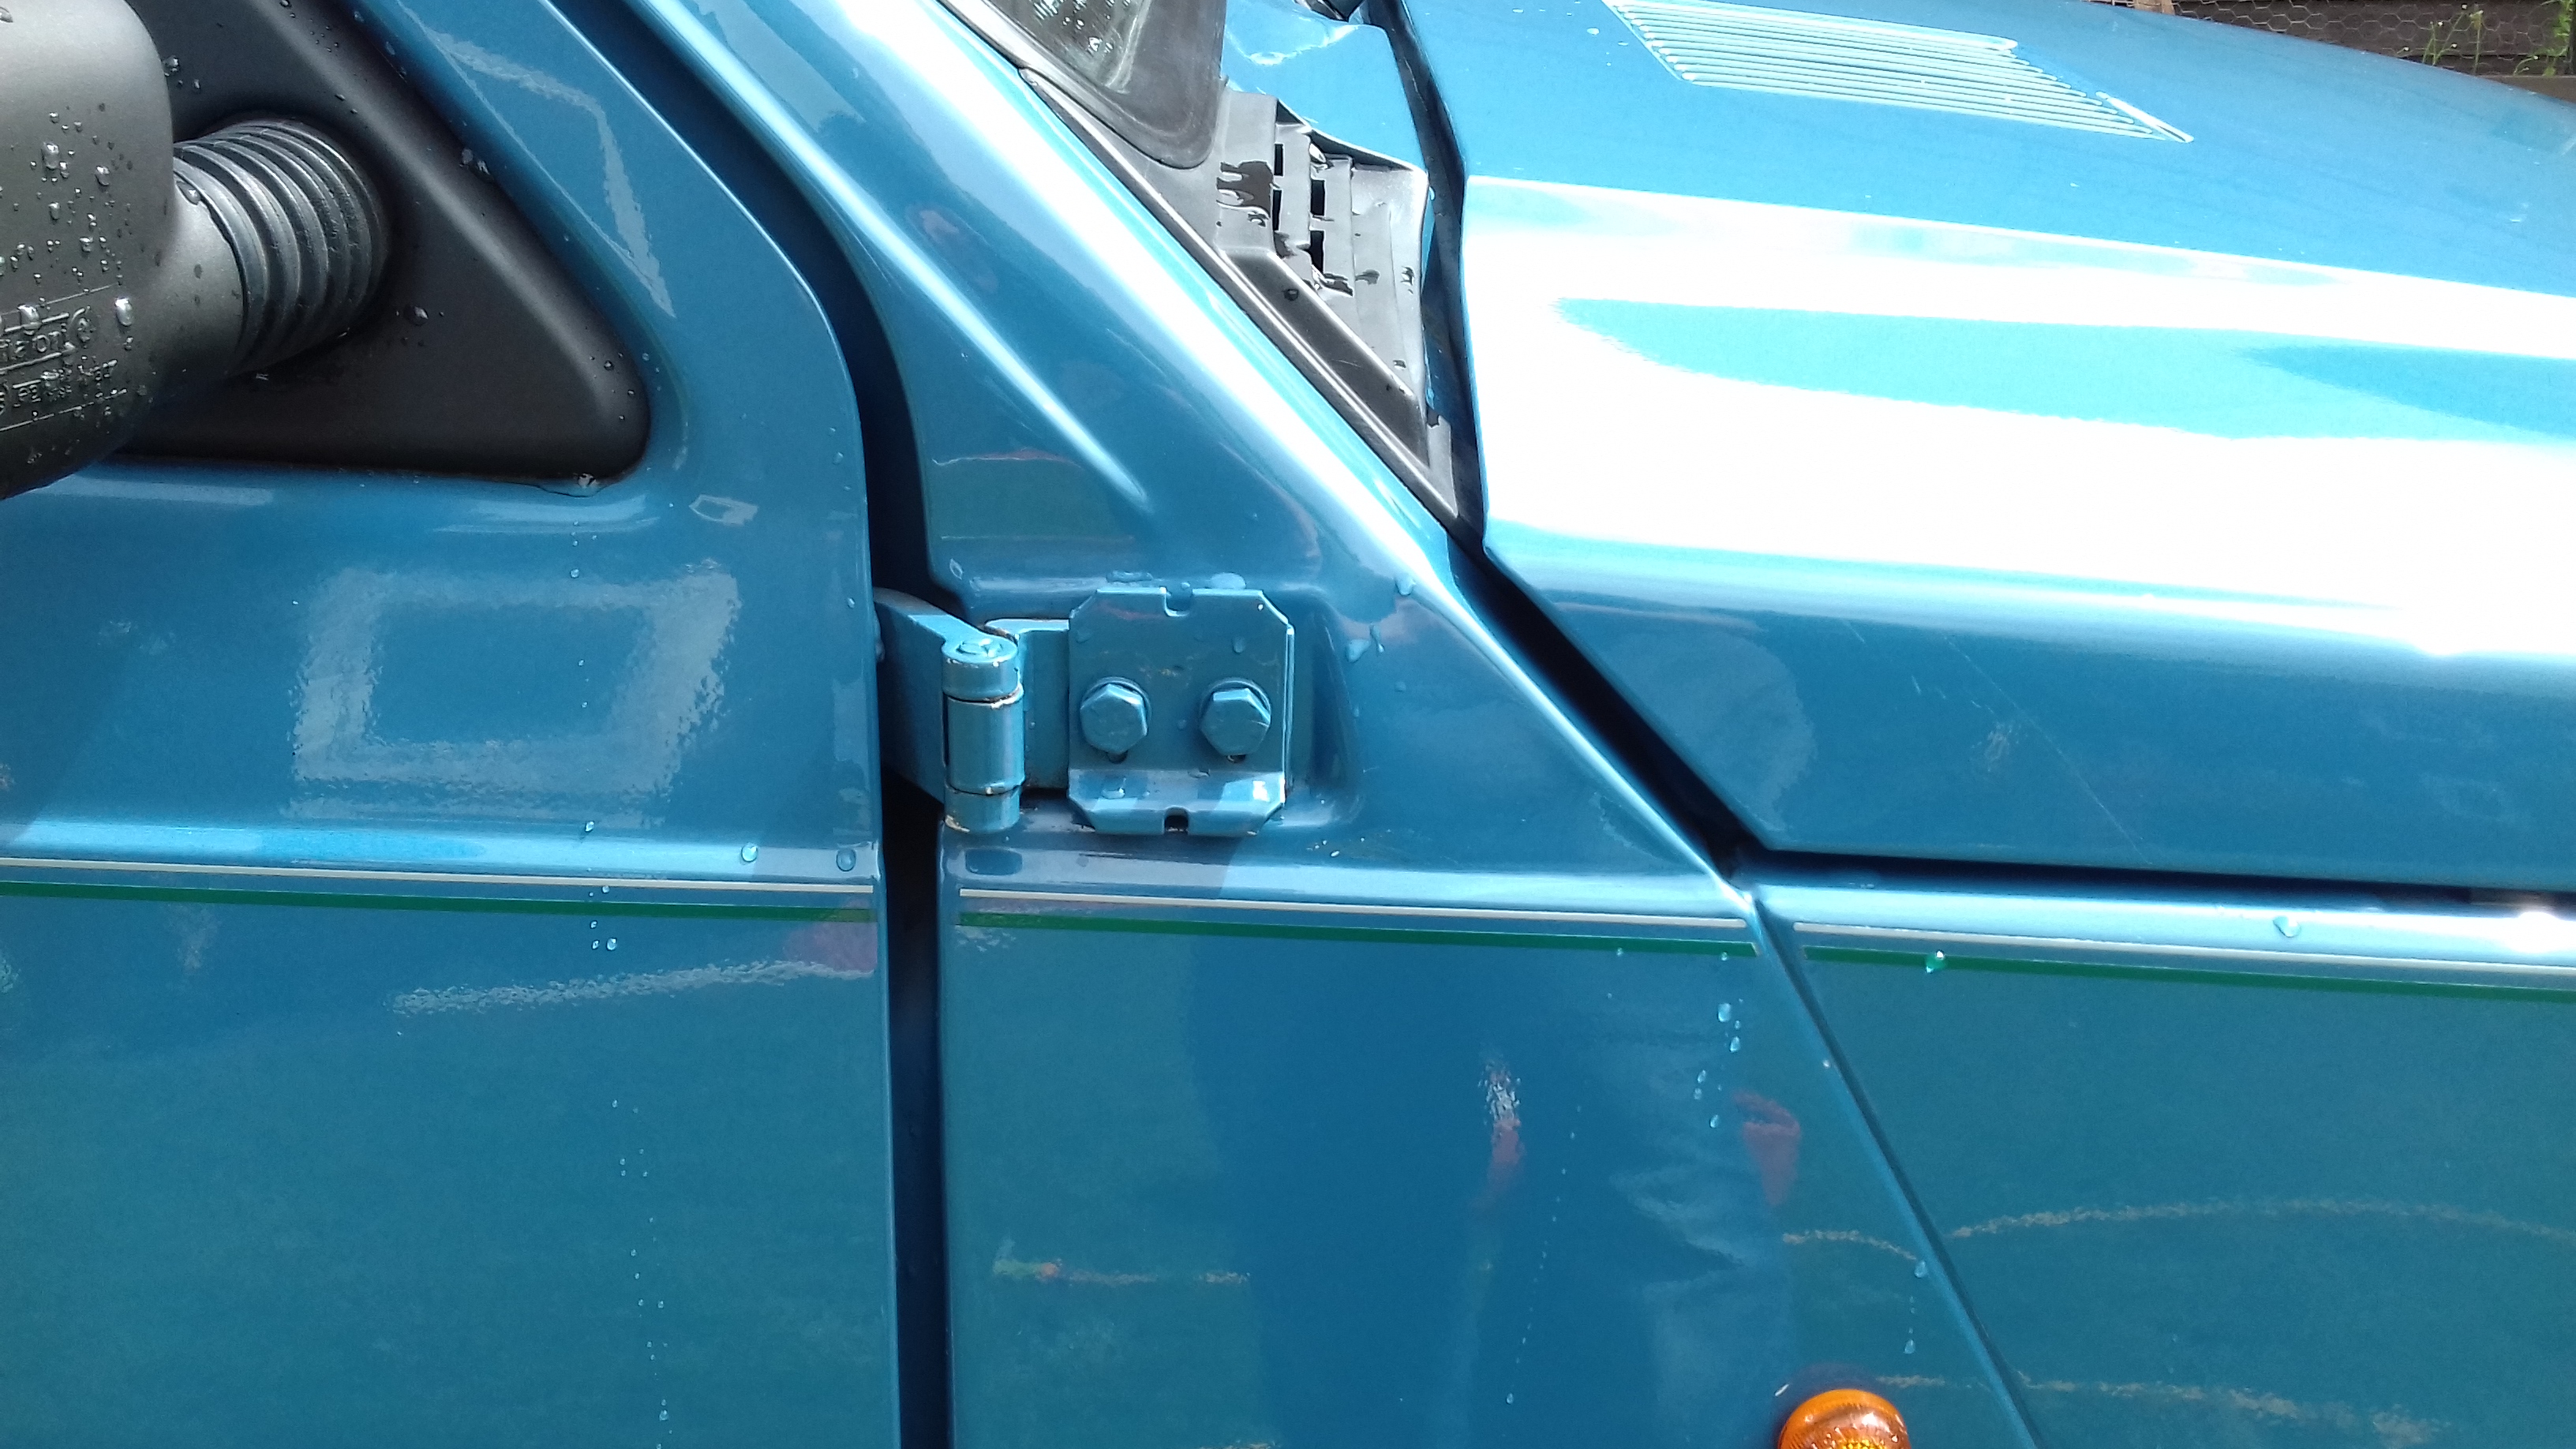
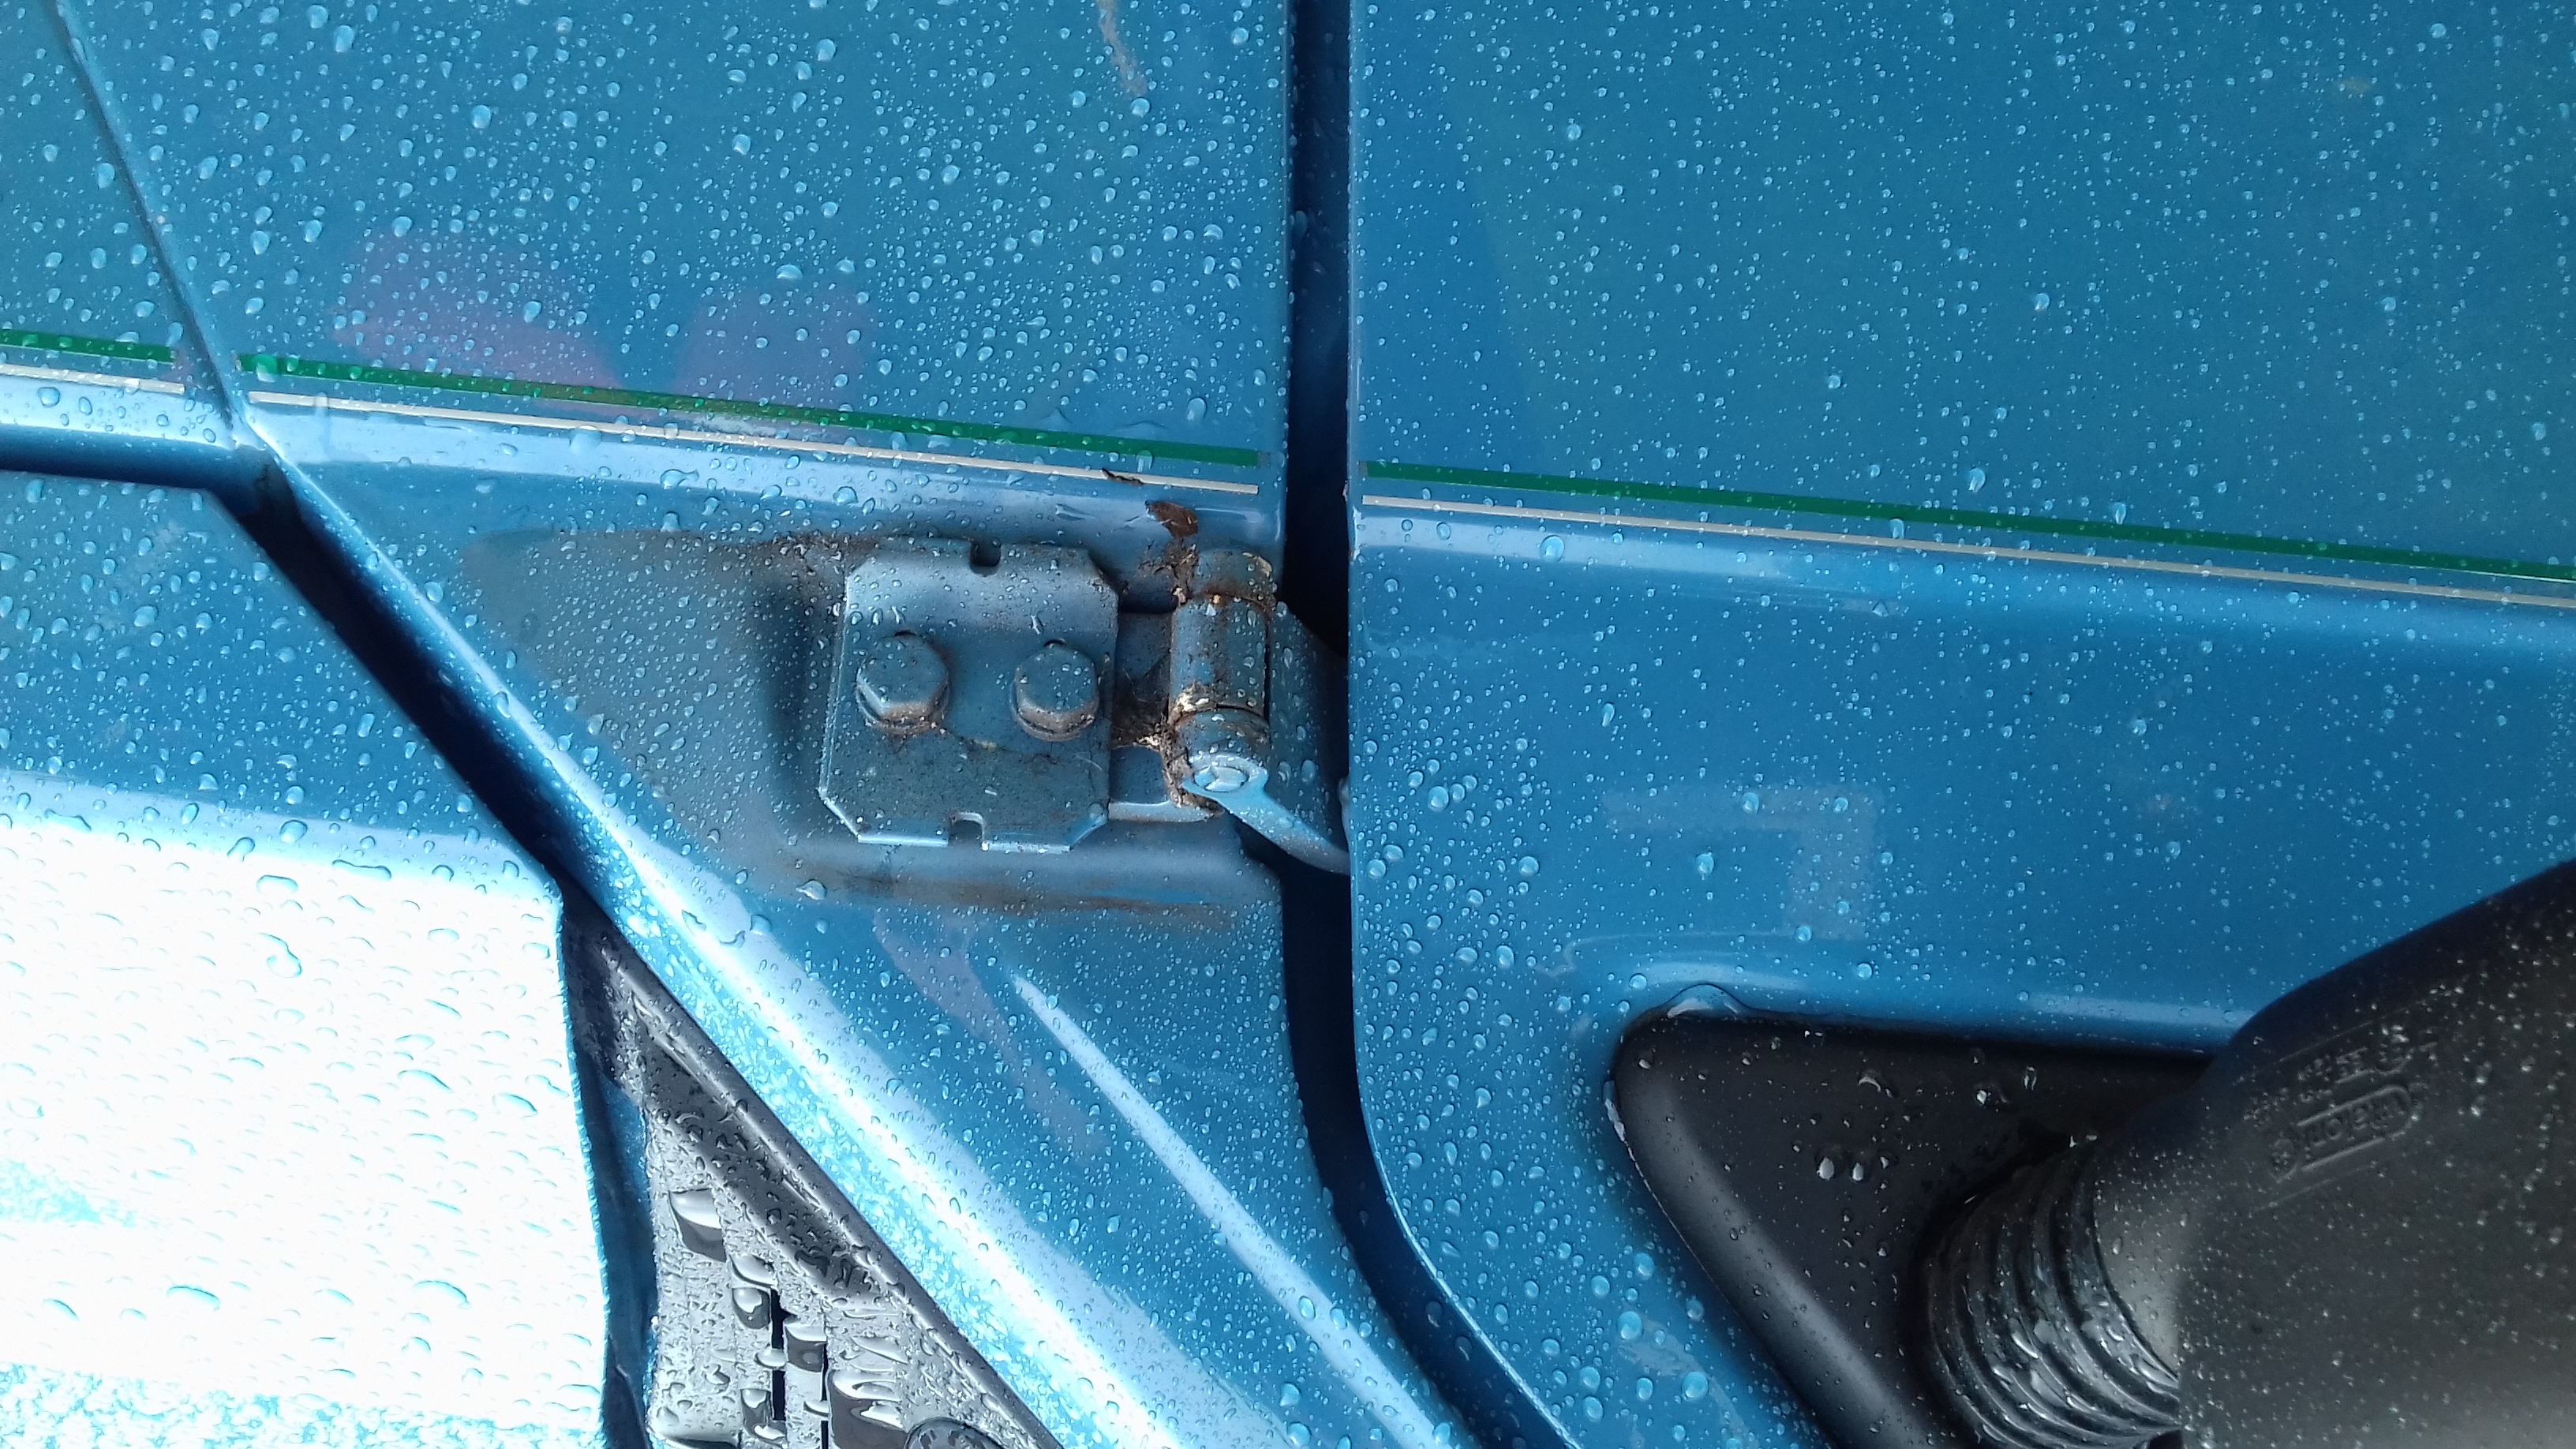
Ian reported that it has an oil leak under pressure, and as far as I can tell so far the problem is the oil filter housing which would be a super easy fix :) the rear arches need cut out at the base and refabricated, though this is not a huge job to my knowledge and I have a friend who is potentially going to do that for me all being well. Aside from that as far as I can tell it just needs new seatbelts, a new passenger rear brake cluster, new door locks, the front seat cover sewed up or renewed (the rest is immaculate) and some rust spots in the usual places taken care of. And a good service just to be on the safe side!

I couldn't be happier at this point and I cant wait to share my progress on here and Youtube for you all to see :)

Cameron

Cam to get that bumper looking perfect too tip is to use black plastic trim and bumper spray we used it for all the plastic parts on Brian.
Even Freddy thought we'd bought new bits it's very very good faded dash components and a complete change from Sisley grey/blue to black spot on didn't flake or require undercoat or primer !!
I was meaning more about getting the bumper sitting straight but thanks :)

I use tyre slik buffed in, it looks lovely :)
 
Cam to get that bumper looking perfect too tip is to use black plastic trim and bumper spray we used it for all the plastic parts on Brian.
Even Freddy thought we'd bought new bits it's very very good faded dash components and a complete change from Sisley grey/blue to black spot on didn't flake or require undercoat or primer !!


Cam it's paint I will send you a pic of it
 
Been hard at work the last few days tidying up the engine bay, fitting the timing belt cover, spraypainting the spare wheel, removed the grille and cleaned behind it, treated the rust below the radiator behind the grille, removed the old mudflaps ready for the new ones to go on, fixed the connector to the number plate light, gave the car a right good blast for 20 miles today to visit my grandad (was supposed to be viewing a car for AndyPanda4x4 also but it had sold alas!) and just general cleaning and tidying. I have a bolt for the lower part of the timing belt cover coming from aquamarine I dont suppose its actually strictly necessary but you know me guys :) Also the wonderful VmanC has fabricated some brackets for me to bolt (to be welded at a later date) to the car for fixing the bumper to, and correcting the sag :) I will be very happy once thats done though I plan to be very careful so I can do a good job.

In other news I tidyed the shed out and have organised everything including my panda parts and misc nuts and bolts so that keeps the OCD fairies at bay.

I have also applied to my local college for an evening course in Welding Skills which I am excited about. It starts in September. Havent been formally accepted yet but dont imagine its a problem :)

I would like to get a nice old heavy table and a vice. A workbench of sorts really for inside my shed. Would be jolly handy. Will see what I can get from gumtree/charity shops
 
A fellow member on the facebook page (and quite possibly the forum) has kindly sold me a pair of NOS Seat Covers for my car :) I am super chuffed with them and cant wait for them to get here on monday :) as you can see the foam is a little perished but as I will be reusing the foam from the seat this wont matter :) Probably will want steamed as well to take out the creasing from storage for 20 odd years :)

Just such a cool thing to have, have I mentioned how much I love NOS
 
I have worked on the car for the majority of the day today.

The task I was doing wouldnt normally have taken me anywhere near as long but I was absolutely determined to get it 100% right first time, and that meant measuring and remeasuring, checking and rechecking, marking and remarking, taking photos, looking from all angles and a lot of thoughts and advice taken on from myself and VmanC who made the brackets for me.

I started by painting the brackets with the correct paint (even though nobody will see them day to day). I had already ground back the mounting points on the car as much as I was comfortable with. I then used XCP Rust blocker on the entire area and the brackets themselves once they were dry and on the car. To get them on the car I had to determine where to drill 2 holes for bolts on each bracket and on each mounting point on the car. (the correct size drill bit was used rather than use washers. As I said I wanted to do this right first time and not leave myself any room for error, this was a challenge after all) Once the holes were drilled on everything, I lined them up and attached them with the bolts. Every bolt used in this process today was treated with the rustblocker by the way. I also took the time to respray a little portion of the rear valance I wasnt happy with. I also used rust blocker in all the box sections I could find at the rear of the car, even though I already treated them with wax seal. With the rear bumper off I had better access to the rear arches, especially at the extreme end of the car, and after power washing last week the area had not been as well treated as I previously thought, so I rust blocked and undersealed completely this time to the best of my ability.

from there it was a case of reattaching the bumper, feeding the new bolts through the new brackets (again all were treated with rustblocker, which will not only protect from rust, but keep inside the nut lubricated so it will not be difficult to take off in the future if need be.) I pushed the bumper up to meet with the body at the angle it is supposed to, then simply tightened so it remained in the correct position.

I feel like this was a definate step up in my organisation and skill levels. Very happy with the results indeed and I am proud of my work today. Doing it right first time is not something I do often!
 
Great work! Often find the jobs I aim to do quickly are the ones that end up taking the longest anyway so probably something in that. Quite like the idea of bolt on bumper mounts rather than welded on as clearly if the bumper gets knocked they are designed to flex a little to absorb the impact and protect the car. Works well but cracks the paint off and then rusts! Not such an issue if it's a bolt on part(y).
 
Great work! Often find the jobs I aim to do quickly are the ones that end up taking the longest anyway so probably something in that. Quite like the idea of bolt on bumper mounts rather than welded on as clearly if the bumper gets knocked they are designed to flex a little to absorb the impact and protect the car. Works well but cracks the paint off and then rusts! Not such an issue if it's a bolt on part(y).
Yeah :) it was basically for simplicity and because i cant weld yet.

Very happy with it being honest
 
Fitted one of the NOS seat covers today, its identical in every way aside from it being black stitching on the panels instead of green. Its pretty minor and i think it looks great (especially since i dont get branded anymore in the sunshine. The other seat cover i bought is 100% identical to the ones on the car but is in the upholsterers to fix the seams :) all in all im very happy :) its worth noting that the seller told me everything about them and sent photos so its all good :) also i found out that on the 750 seats the headrests are held on with clips, but once removed the headrests can be removed to make the double bed no problems :) so will be removing the clips from the passenger side too. Just a bit of info :)
 
Fitted one of the NOS seat covers today, its identical in every way aside from it being black stitching on the panels instead of green. Its pretty minor and i think it looks great (especially since i dont get branded anymore in the sunshine. The other seat cover i bought is 100% identical to the ones on the car but is in the upholsterers to fix the seams :) all in all im very happy :) its worth noting that the seller told me everything about them and sent photos so its all good :) also i found out that on the 750 seats the headrests are held on with clips, but once removed the headrests can be removed to make the double bed no problems :) so will be removing the clips from the passenger side too. Just a bit of info :)
 
I (by accident) guessed my fathers day present (I was trying to order it online and my wife had to tell me not to because she had bought it for me on behalf of our wee boy) so I got the Autoglym interior shampoo I have been after. The photos really dont do it justice, it works brilliantly and smells amazing. I am also excited to try the engine cleaner :)

I love Autoglym, think Im turning into a bit of a fanboy, every product of theirs I try is just brilliant.
 
Drawing closer to the Car show in Hurlford I am attending next weekend, trying really hard to get the car looking its best. Took off the hinge cover on the drivers side and cleaned underneath as part of todays cleaning session (couldnt get the other side off and didnt want to break it trying) then sprayed with rust blocker/lubricant to replace any I may have washed away. Painted another stone chip on the roof I found. The drivers side mudguard has got caught on the wheel somehow and got ripped off too so doubt I will fit the new front ones if they are only going to get broken. Also been using the Autoglym app which is pretty cool for before and after pics :)

Started using the 2 bucket method too which seems to work really well, video uploaded soon

 
Do you think the NOS seat cover stitching being black while the stitching on the car is green could be the thread having faded over time? Any hidden bits to check that may have kept it's colour?
 
Do you think the NOS seat cover stitching being black while the stitching on the car is green could be the thread having faded over time? Any hidden bits to check that may have kept it's colour?
The more i looked into it the more it seem that the black stitching one seems like it might be a copy of some sort. The places where the metal pole goes through on the genuine ones are made of a very tough mesh material, whereas this one was a thin gauze. It also didnt fit the seat frame nearly as well as the matching one that came back from the upholsterers. I dont know if a company were making copies at some point or if fiat changed the design or supplier at some point, but the one with matching stitching fits 100% so im thinking the thread was always the right colour
 
Back
Top