11. It's now time to remove the indicator/lever Stalk. These are held in place by small hex screws. Remove these and keep them safe. Now remove plastic trim on top of the column. You will find another wire underneath the trim attached to the indicator/lever Stalk (Pic. 25-26) .


Take it out from it's position noting where it goes. Undo the connecting blocks to the left of ignition barrel, again noting where it goes, do the same with the yellow wire and any surrounding blocks... (Pic. 27-33).


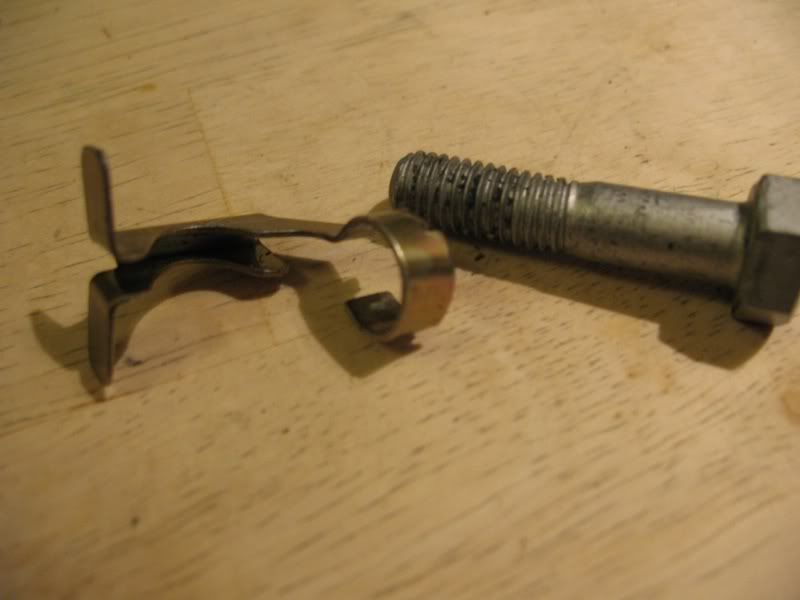
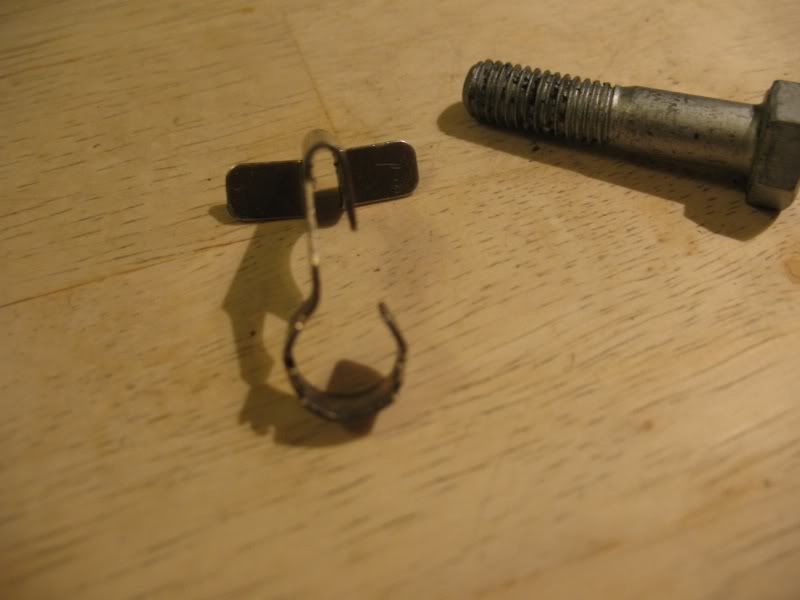
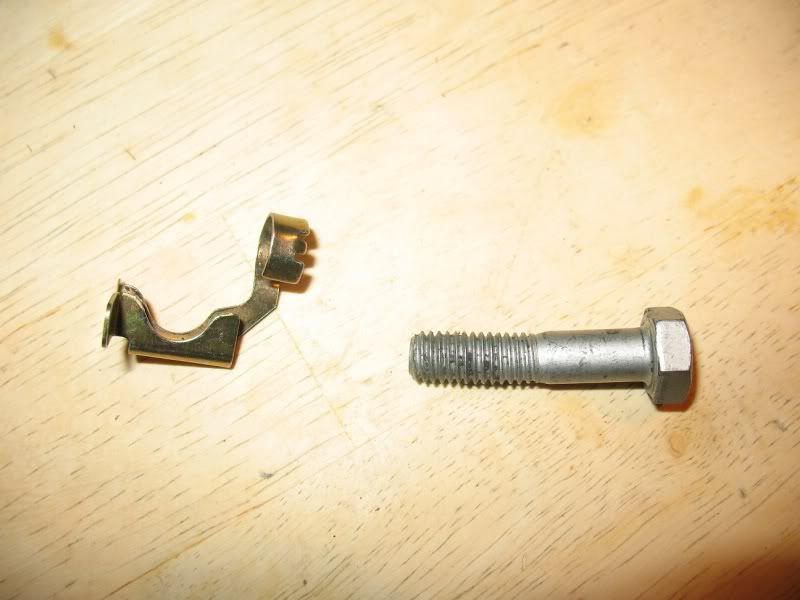
Also unclip the clip which holds part of the wiring in place... (Pic. 34).

There will be a gold collar (Pic. 35) attached from the body of the indicator/lever Stalk, unscrew/loosen the collar and you should just be able to be lift it off the column at this point if I recall correctly (Pic. 36).


12. With the indicator/lever Stalk now removed, take out the Blue connecting block leading to the ignition barrel (Pic. 37).

We now come to the more or less straight forward stuff...
13. Grabbing a ratchet or suitable spanner, detach the nut at the base of the PAS column by the Clutch foot pedal (Pic. 38-39), taking care not to be too forceful with it or you could move the road wheels out of alignment that you had initially set up at the beginning!


14. Once done remove bolt that passes through that section (Pic. 40), and disconnect the two parts taking note of the position of the column when you remove it...

15. There will be bolts holding the main part of the unit and ECU in place (Pic. 41). Remove these bolts...

16. The column should be free now from it's position (Pic. 42), now gently lift up and out from the area...

At this point you should note it will be necessary to change the ignition barrel over to the replacement unit before re-assembling the column.
17. Re-insert replacement PAS column ensuring it is seated properly. Re-fitting is reversal of removal, remember to take your time and do not rush it!.
Hope this helps you out and good luck!")
END Part 2 of 2
Take it out from it's position noting where it goes. Undo the connecting blocks to the left of ignition barrel, again noting where it goes, do the same with the yellow wire and any surrounding blocks... (Pic. 27-33).
Also unclip the clip which holds part of the wiring in place... (Pic. 34).
There will be a gold collar (Pic. 35) attached from the body of the indicator/lever Stalk, unscrew/loosen the collar and you should just be able to be lift it off the column at this point if I recall correctly (Pic. 36).
12. With the indicator/lever Stalk now removed, take out the Blue connecting block leading to the ignition barrel (Pic. 37).
We now come to the more or less straight forward stuff...
13. Grabbing a ratchet or suitable spanner, detach the nut at the base of the PAS column by the Clutch foot pedal (Pic. 38-39), taking care not to be too forceful with it or you could move the road wheels out of alignment that you had initially set up at the beginning!
14. Once done remove bolt that passes through that section (Pic. 40), and disconnect the two parts taking note of the position of the column when you remove it...
15. There will be bolts holding the main part of the unit and ECU in place (Pic. 41). Remove these bolts...
16. The column should be free now from it's position (Pic. 42), now gently lift up and out from the area...
At this point you should note it will be necessary to change the ignition barrel over to the replacement unit before re-assembling the column.
17. Re-insert replacement PAS column ensuring it is seated properly. Re-fitting is reversal of removal, remember to take your time and do not rush it!.
Hope this helps you out and good luck!
END Part 2 of 2