Re: project pictures
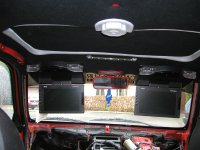
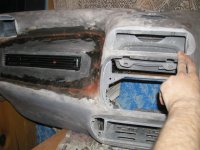
assume your using a flip out screen and then a sepperate music headunit? as notice you have left the headunit hole in the dash?
wayne
assume your using a flip out screen and then a sepperate music headunit? as notice you have left the headunit hole in the dash?
wayne
")