IMG_1761.JPG

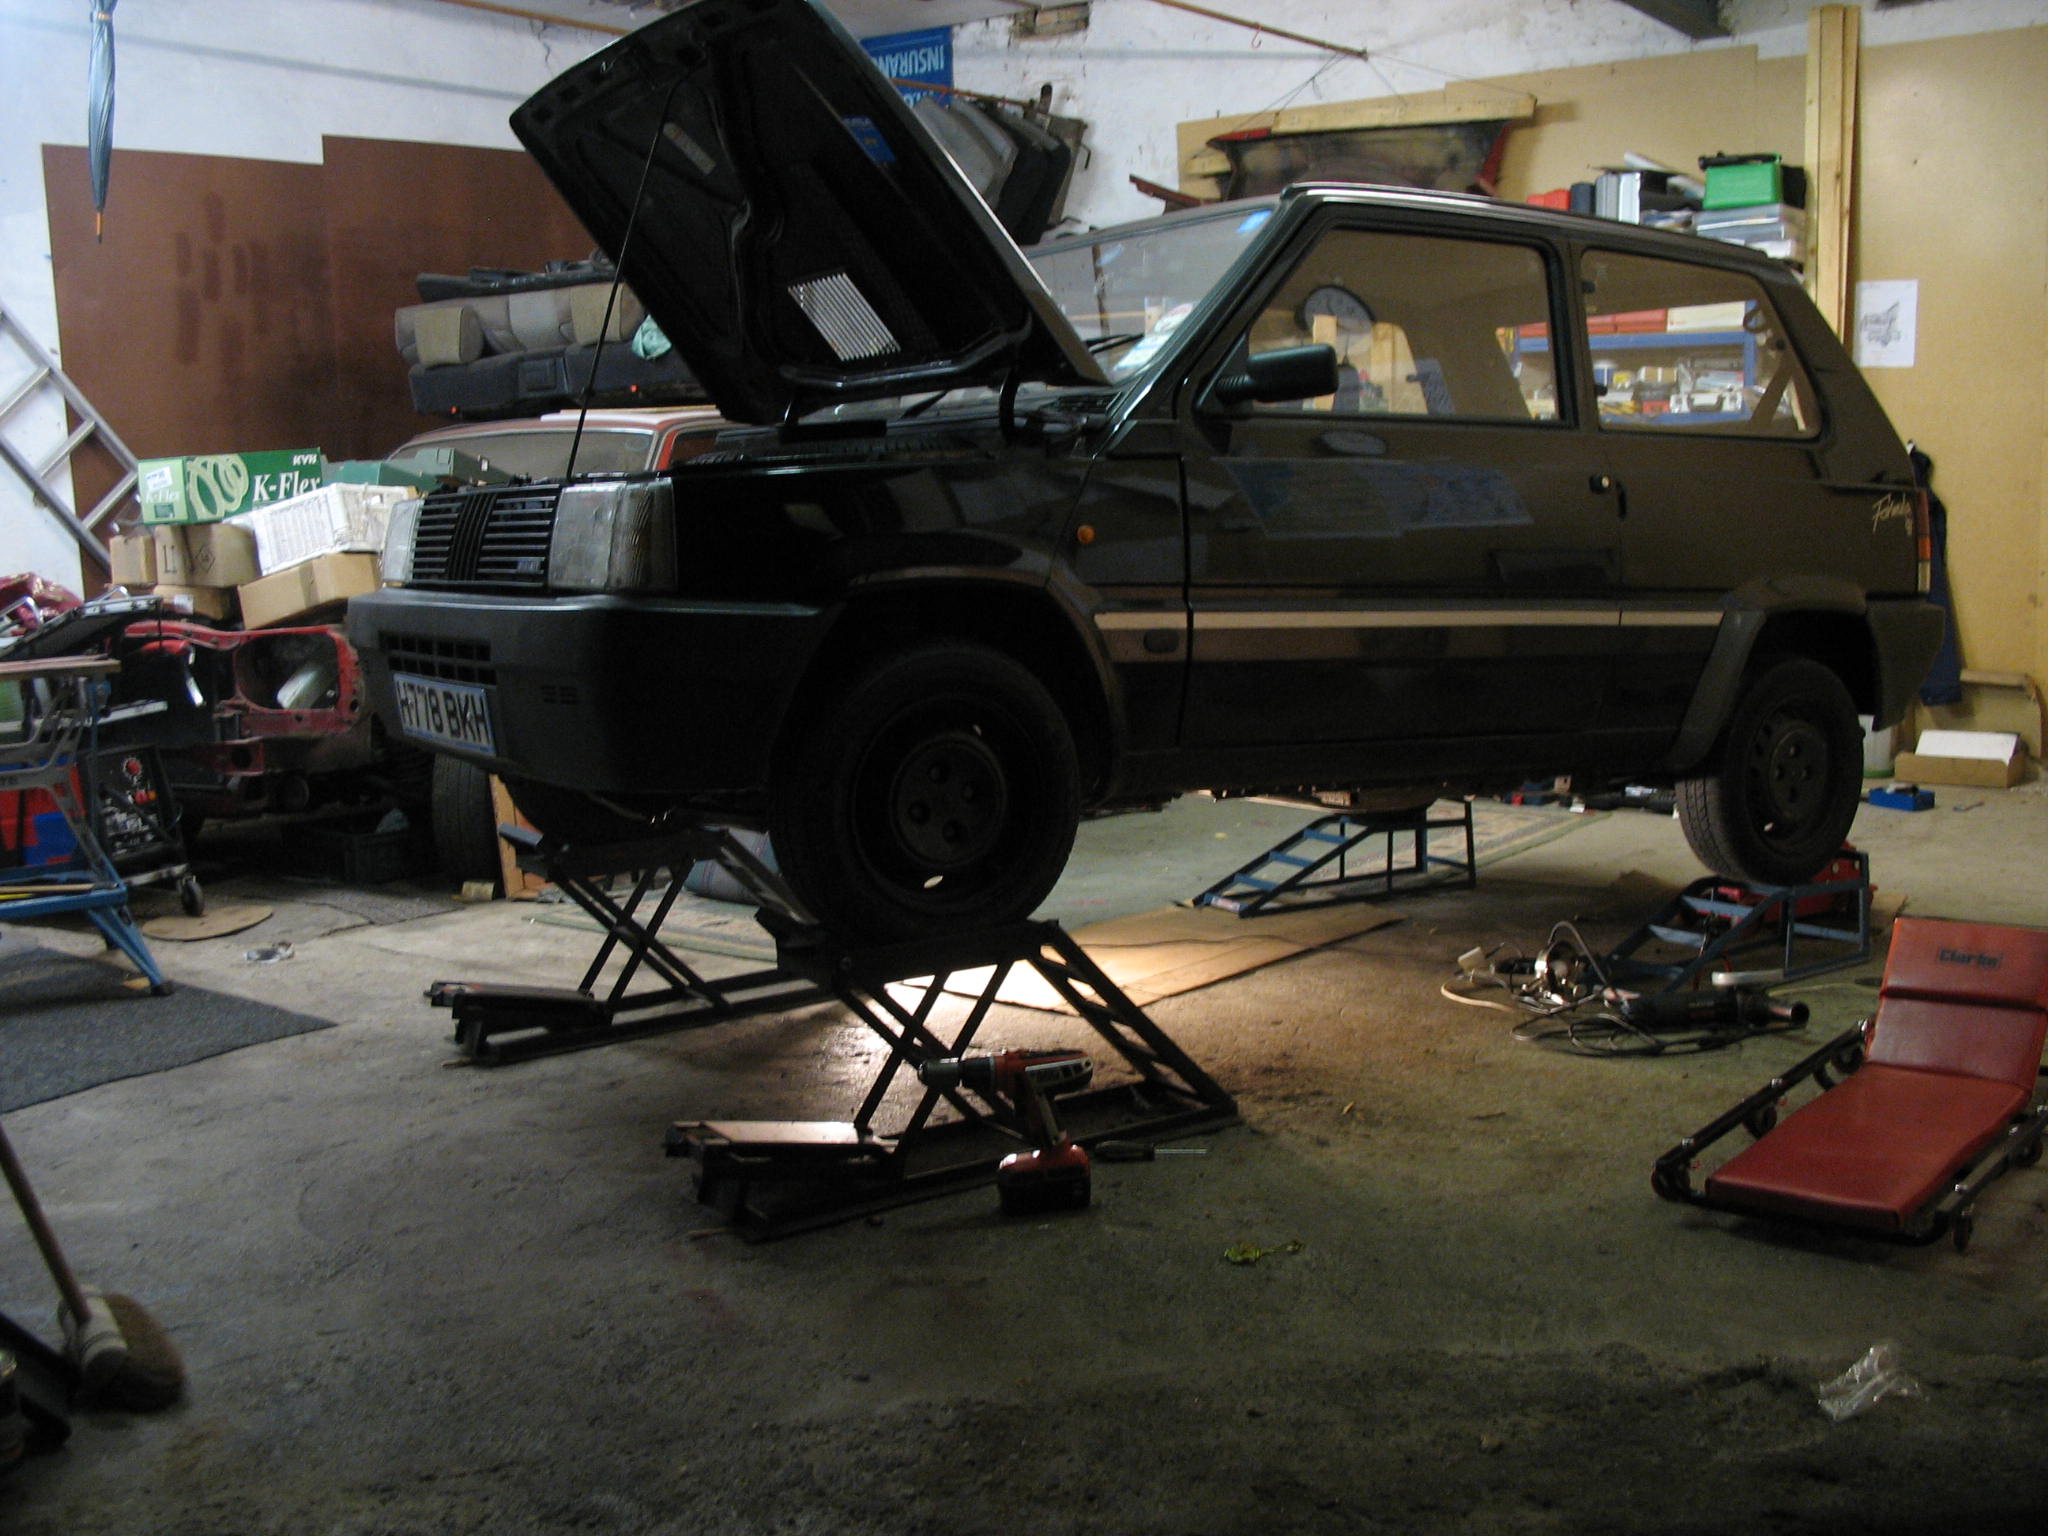
Panda (Classic) Black Panda Wanda 1000CL Formula 91

Introduction

Hi All,

After over 2 year on this forum I've finally decided to set members motors thread for my Panda as I'm currently doing some body works.
Some of them may have some benefits to other forum users, and it will be a bit easier for me to ask an advice.

As some of you know as seen my Panda personally it is not bad example, but as most of them she is not perfect.

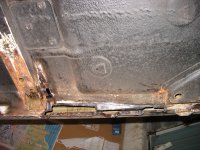
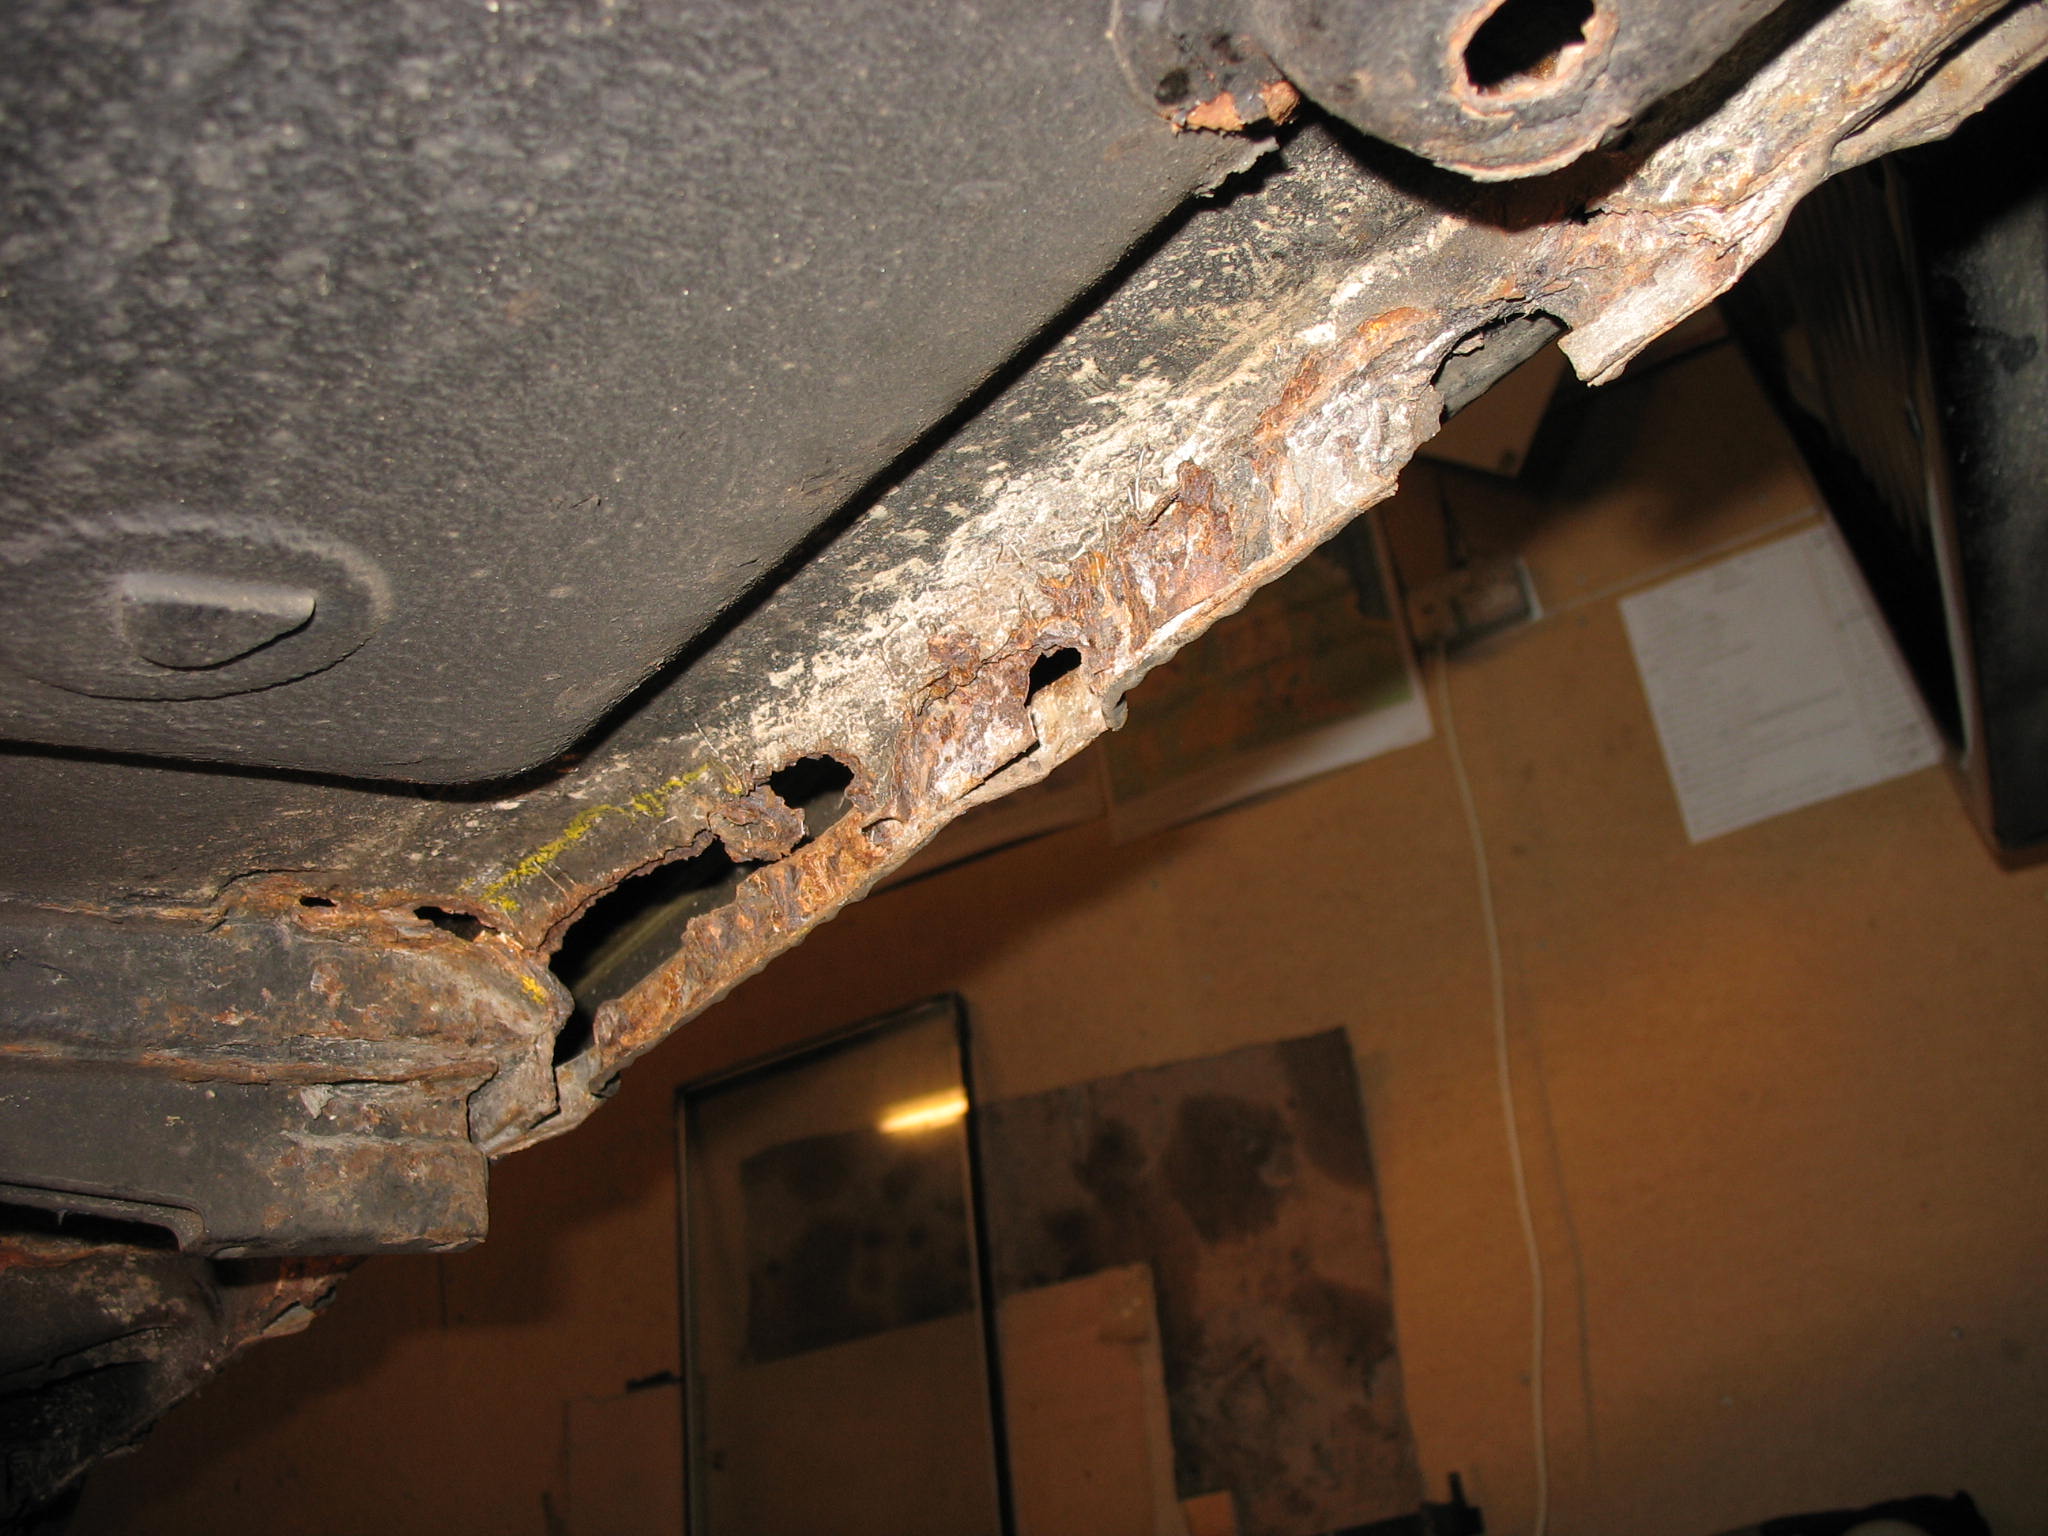
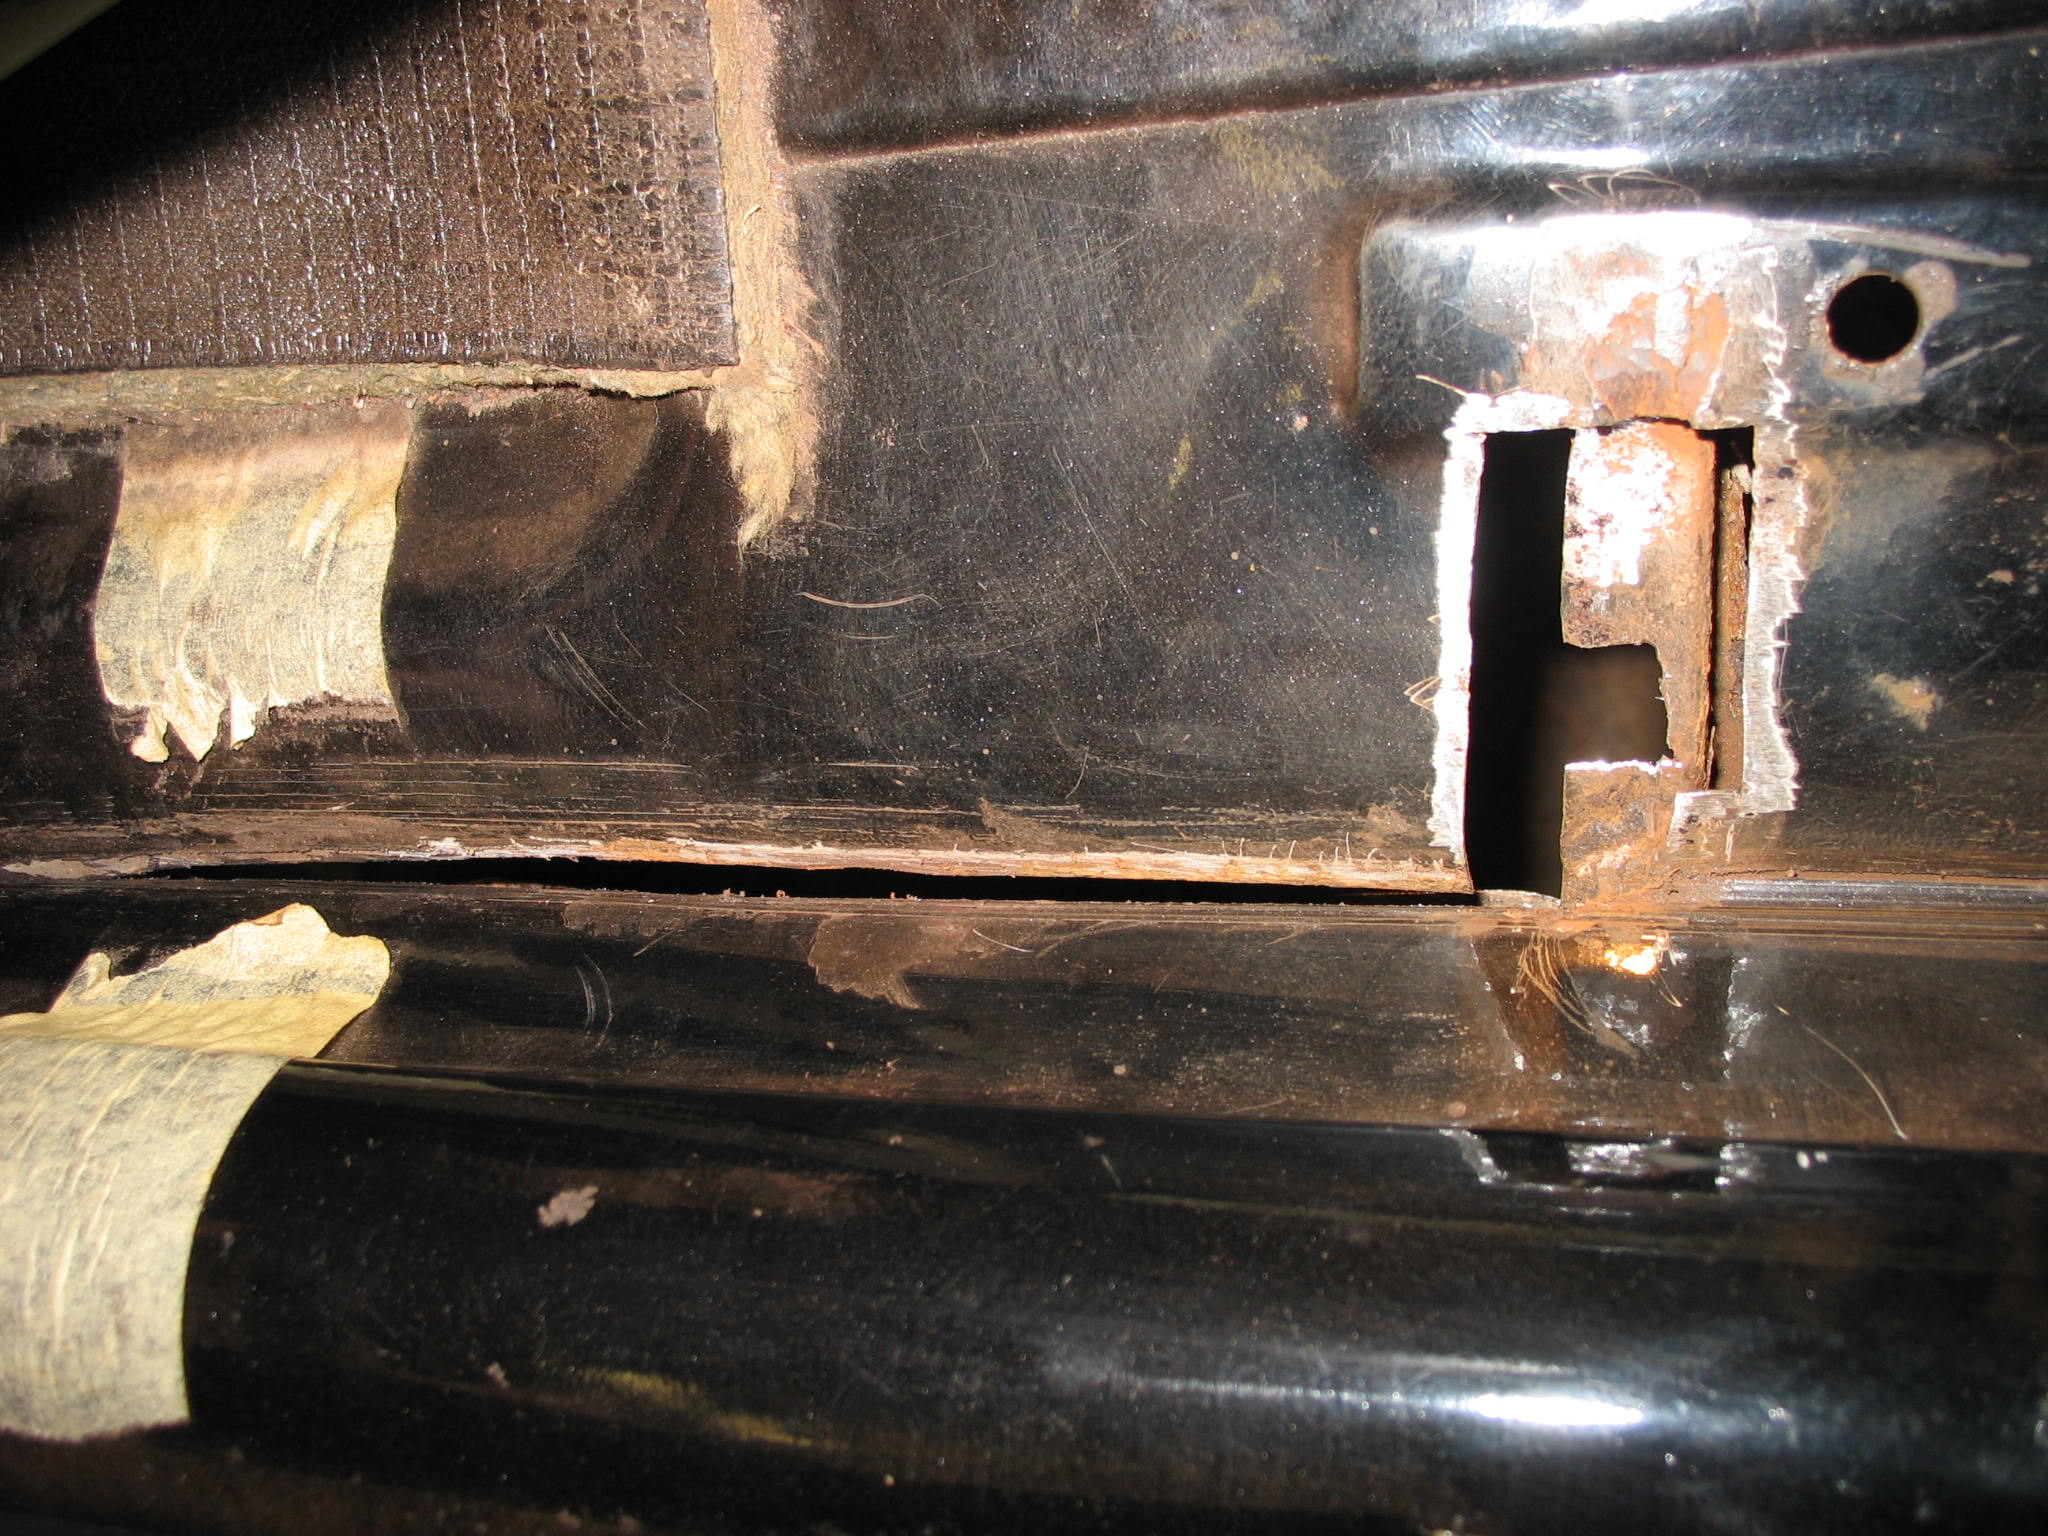
On the last MOT test this June I've been told by the tester that there is small rust hole at the inner sill/ floor recognized as an advisory.
So, lets have a closer look....

IMG_17703.JPG


At that time I was aware of small (20mm) outer sill bottom edge flange missing, but I was wrong as that was not the only one rust point.
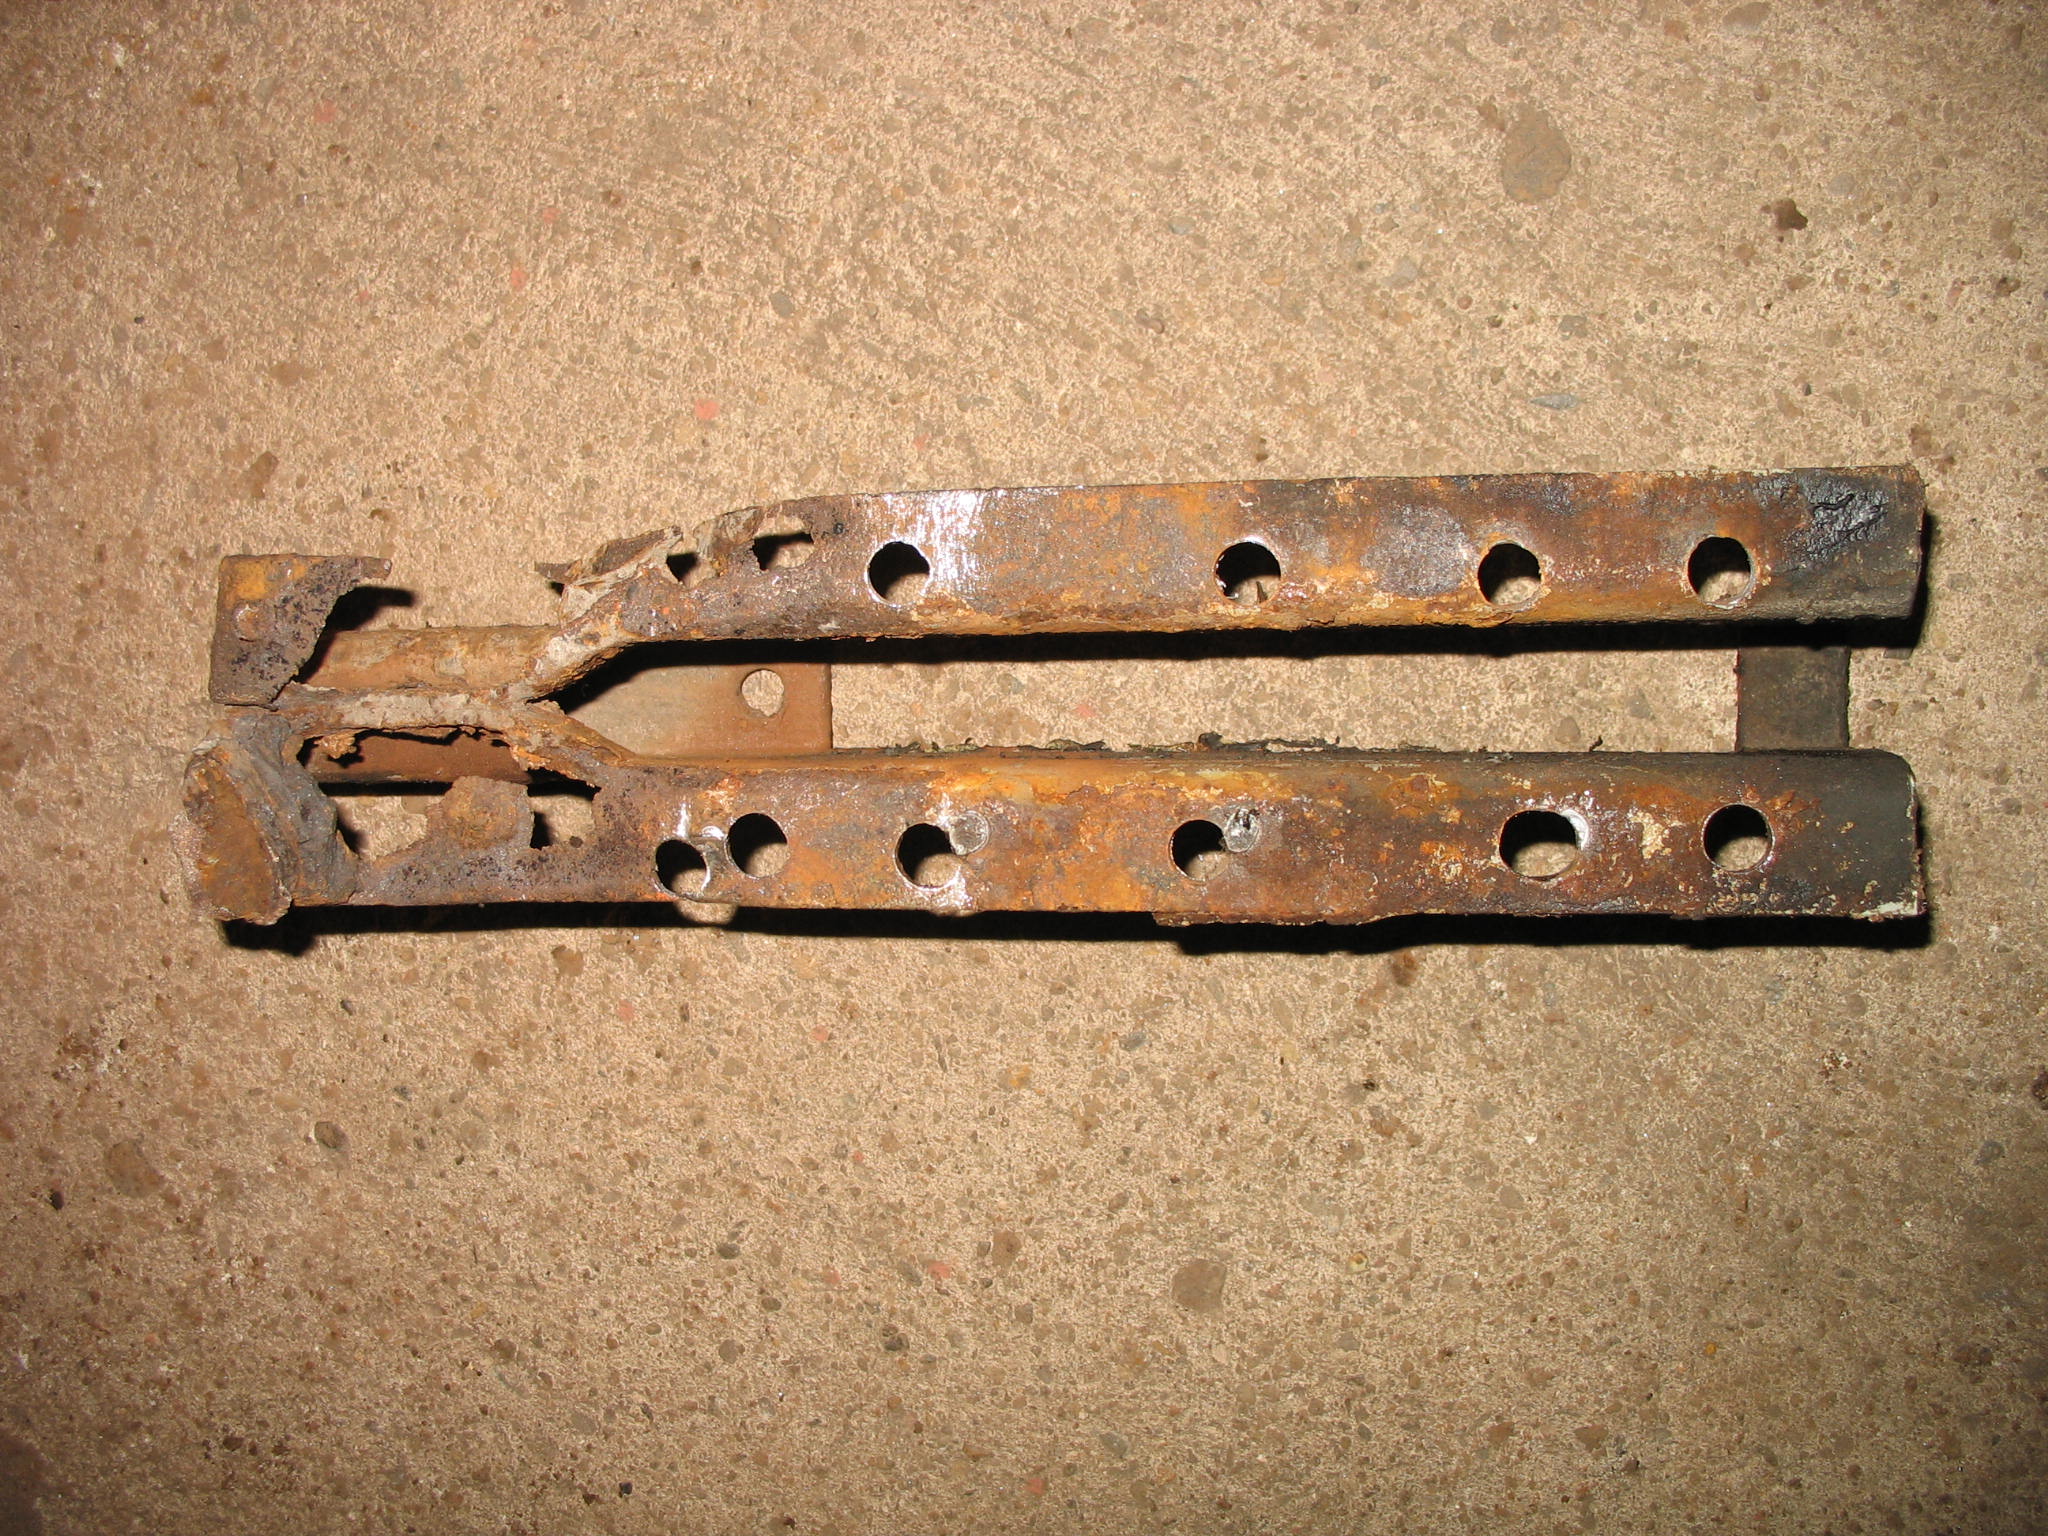
IMG_1761.JPG


Thats how it looked like, the hole was enlarge by only using my fingers - yellow marking is still visible. After having a play with screwdriver and angle grinder - situation seams to be under control.
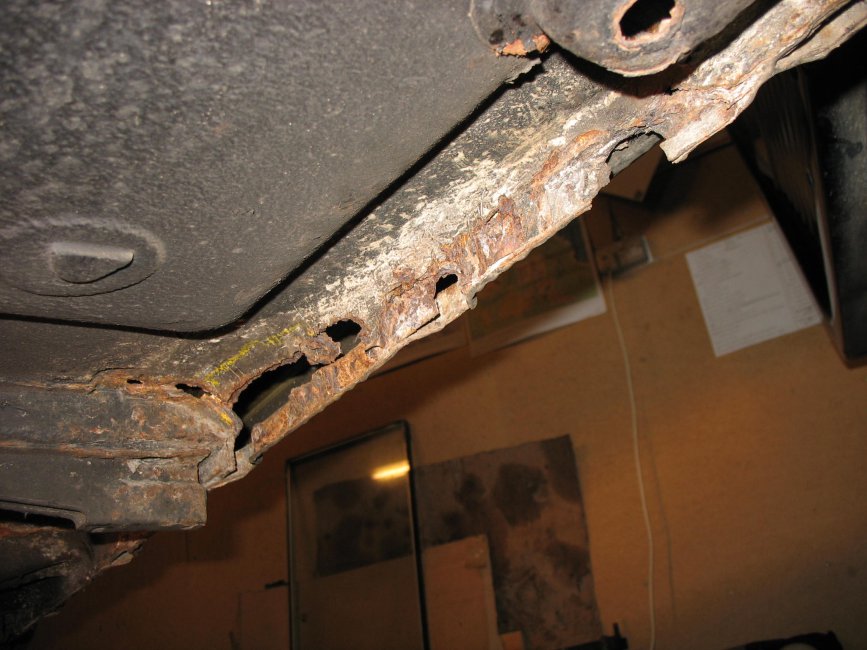
IMG_17631.JPG


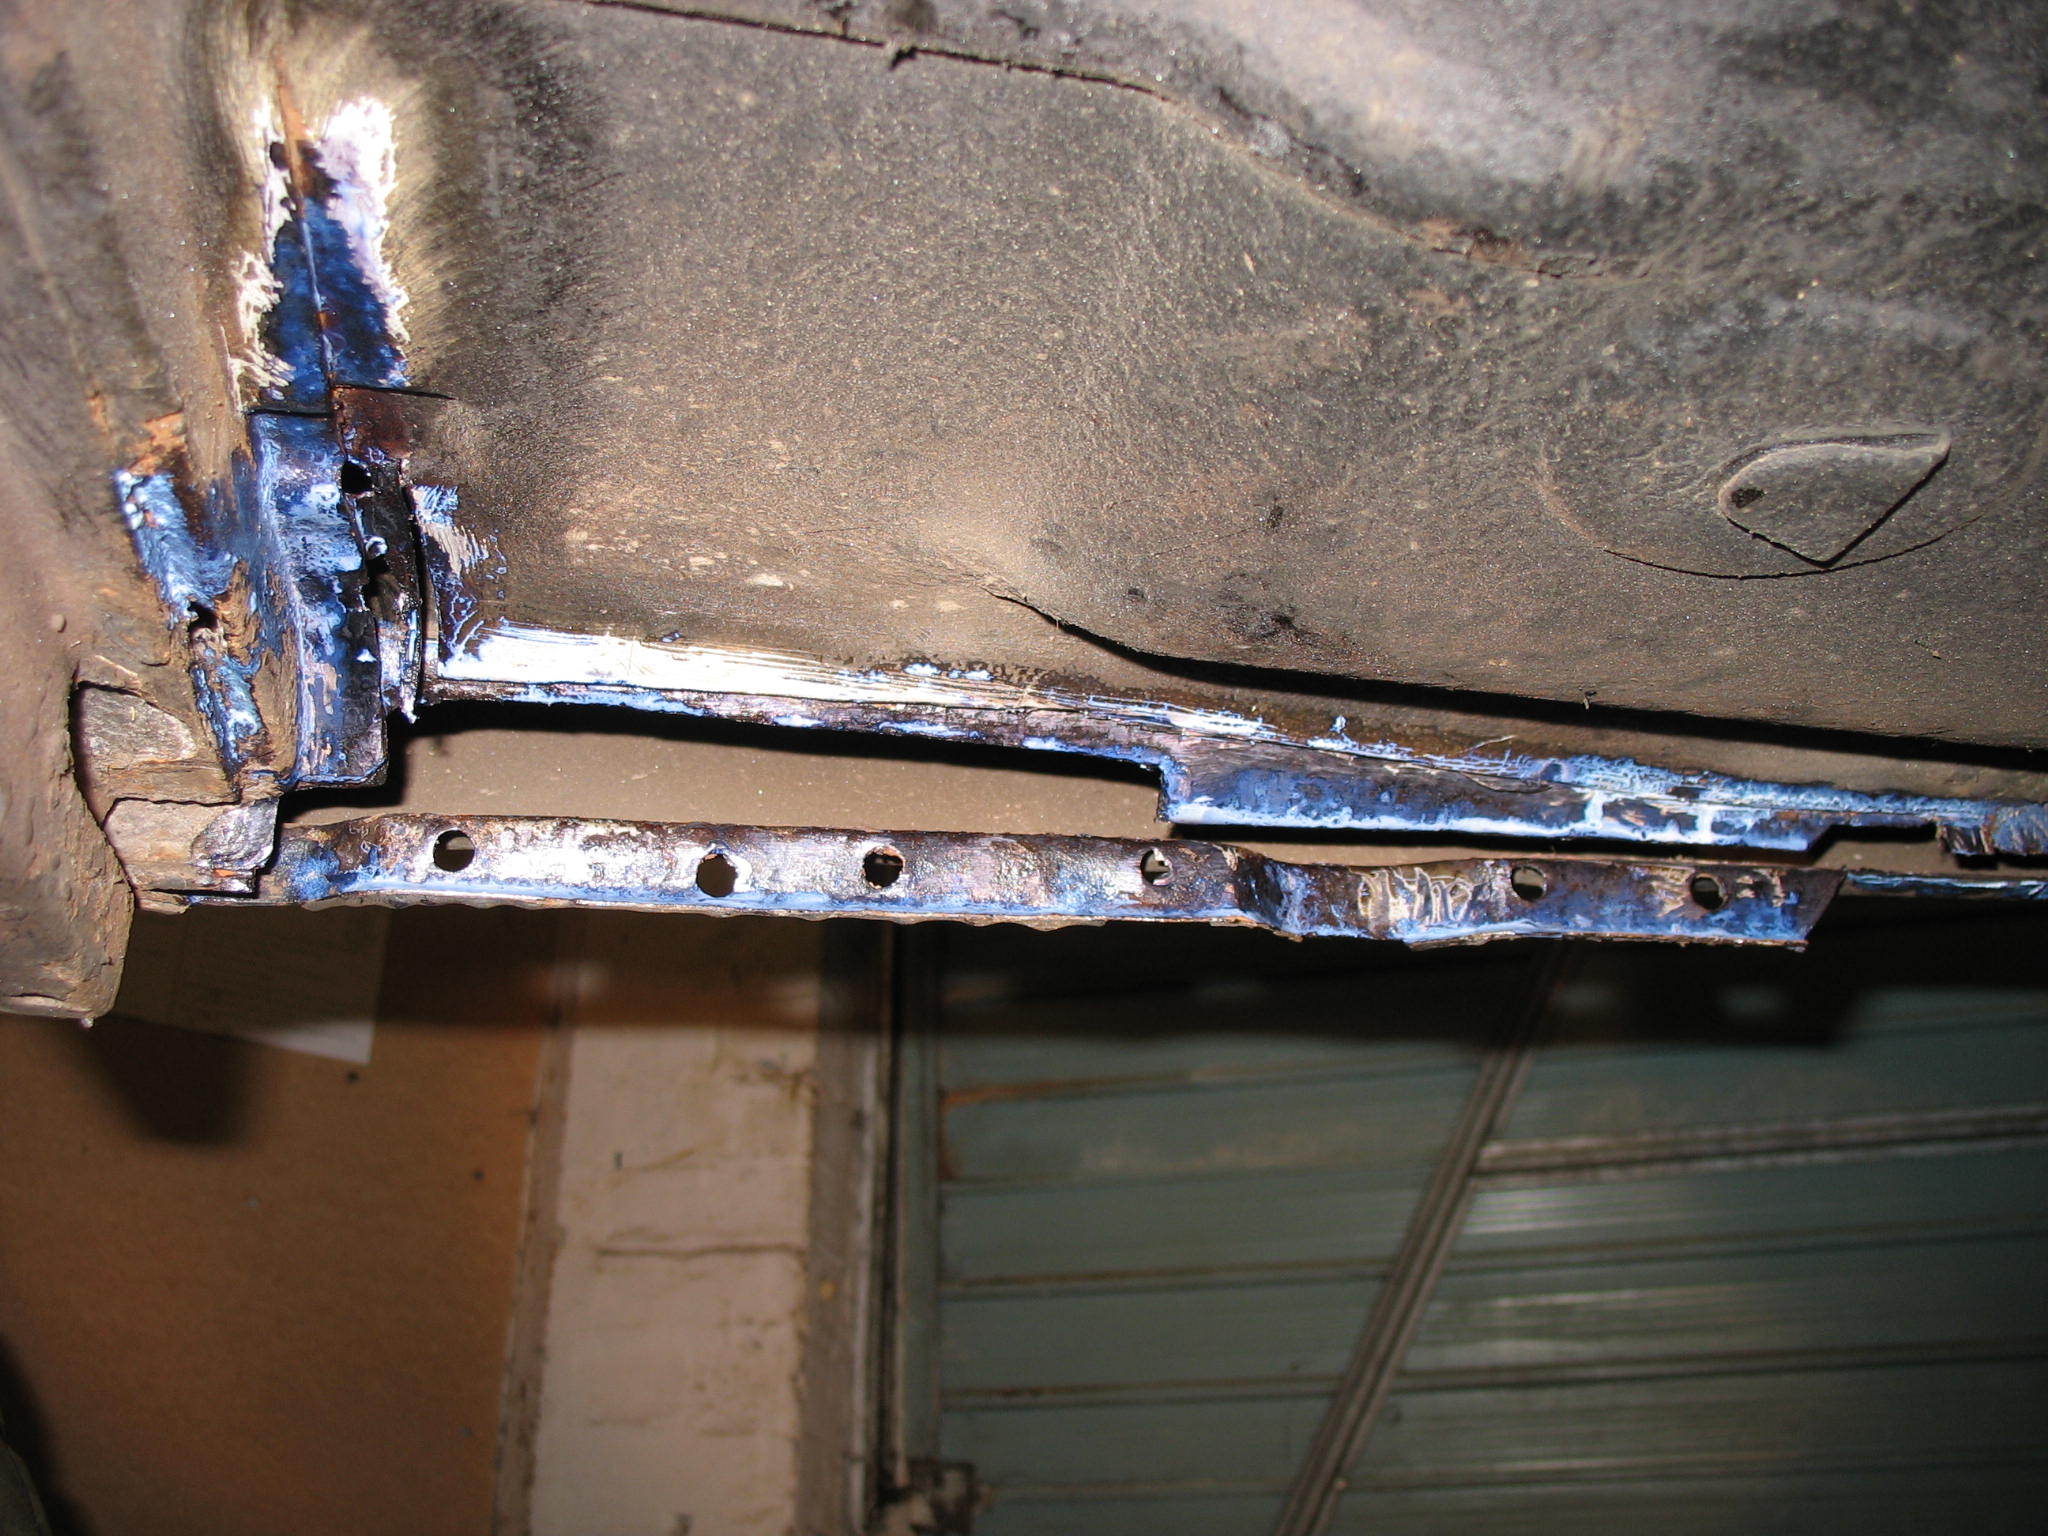
No, it's not.
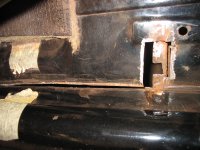
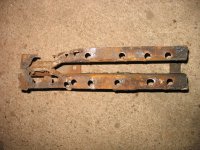
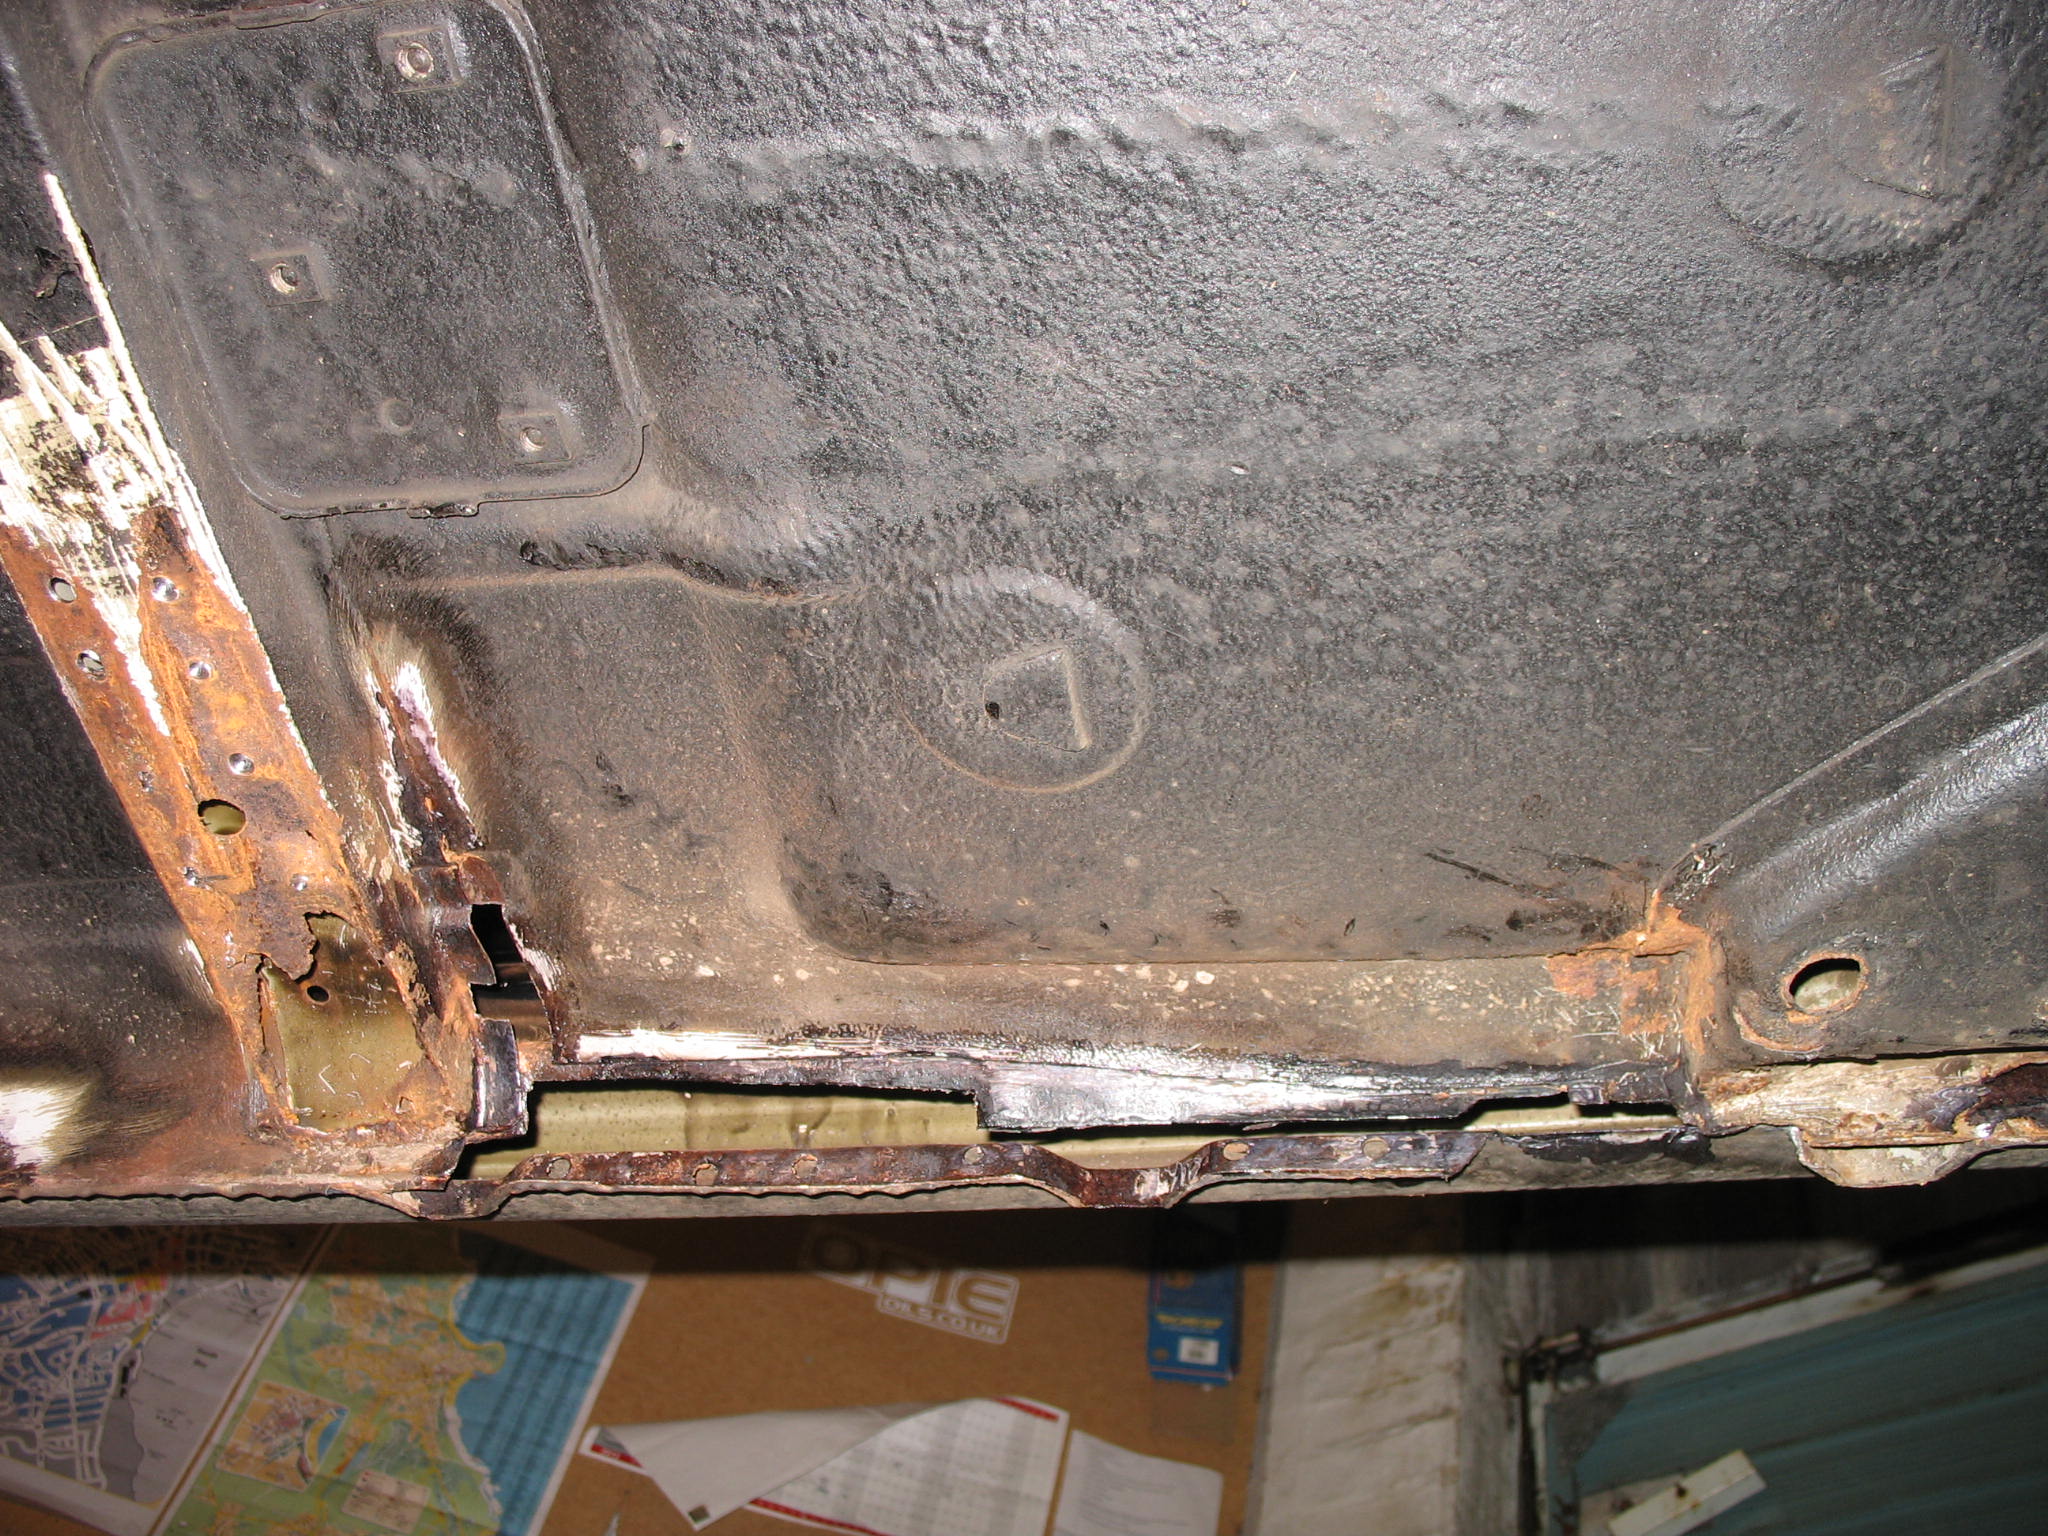
As you can see there is a right mess under the jacking point, and the far end of jacking point itself is badly corroded same as the cross membrane.
IMG_17752.JPG


IMG_17803.JPG

And the jacking point
IMG_17821.JPG


The following plan for is :
- cut the and of the membrane, to gain clear access to the floor and inner sill,
- repair floor and inner sill section under the membrane,
- weld in the rest of the floor and inner sill cut out,
- fabricate cross membrane section and weld it back in to original position,
- repair jacking point using 3mm thick steel,
- spot weld jacking point back to ori position,
- prepare surrounding area for stone chip paint, closed profile conservation, etc...

Now I'm after some 1.5mm steel sheet for the membrane rebuild, and 1-1.2mm for floor/sill.


Any suggestions, tips&trics are welcome.
As the pile of spares is growing up, i've finaly started to get some use of them.

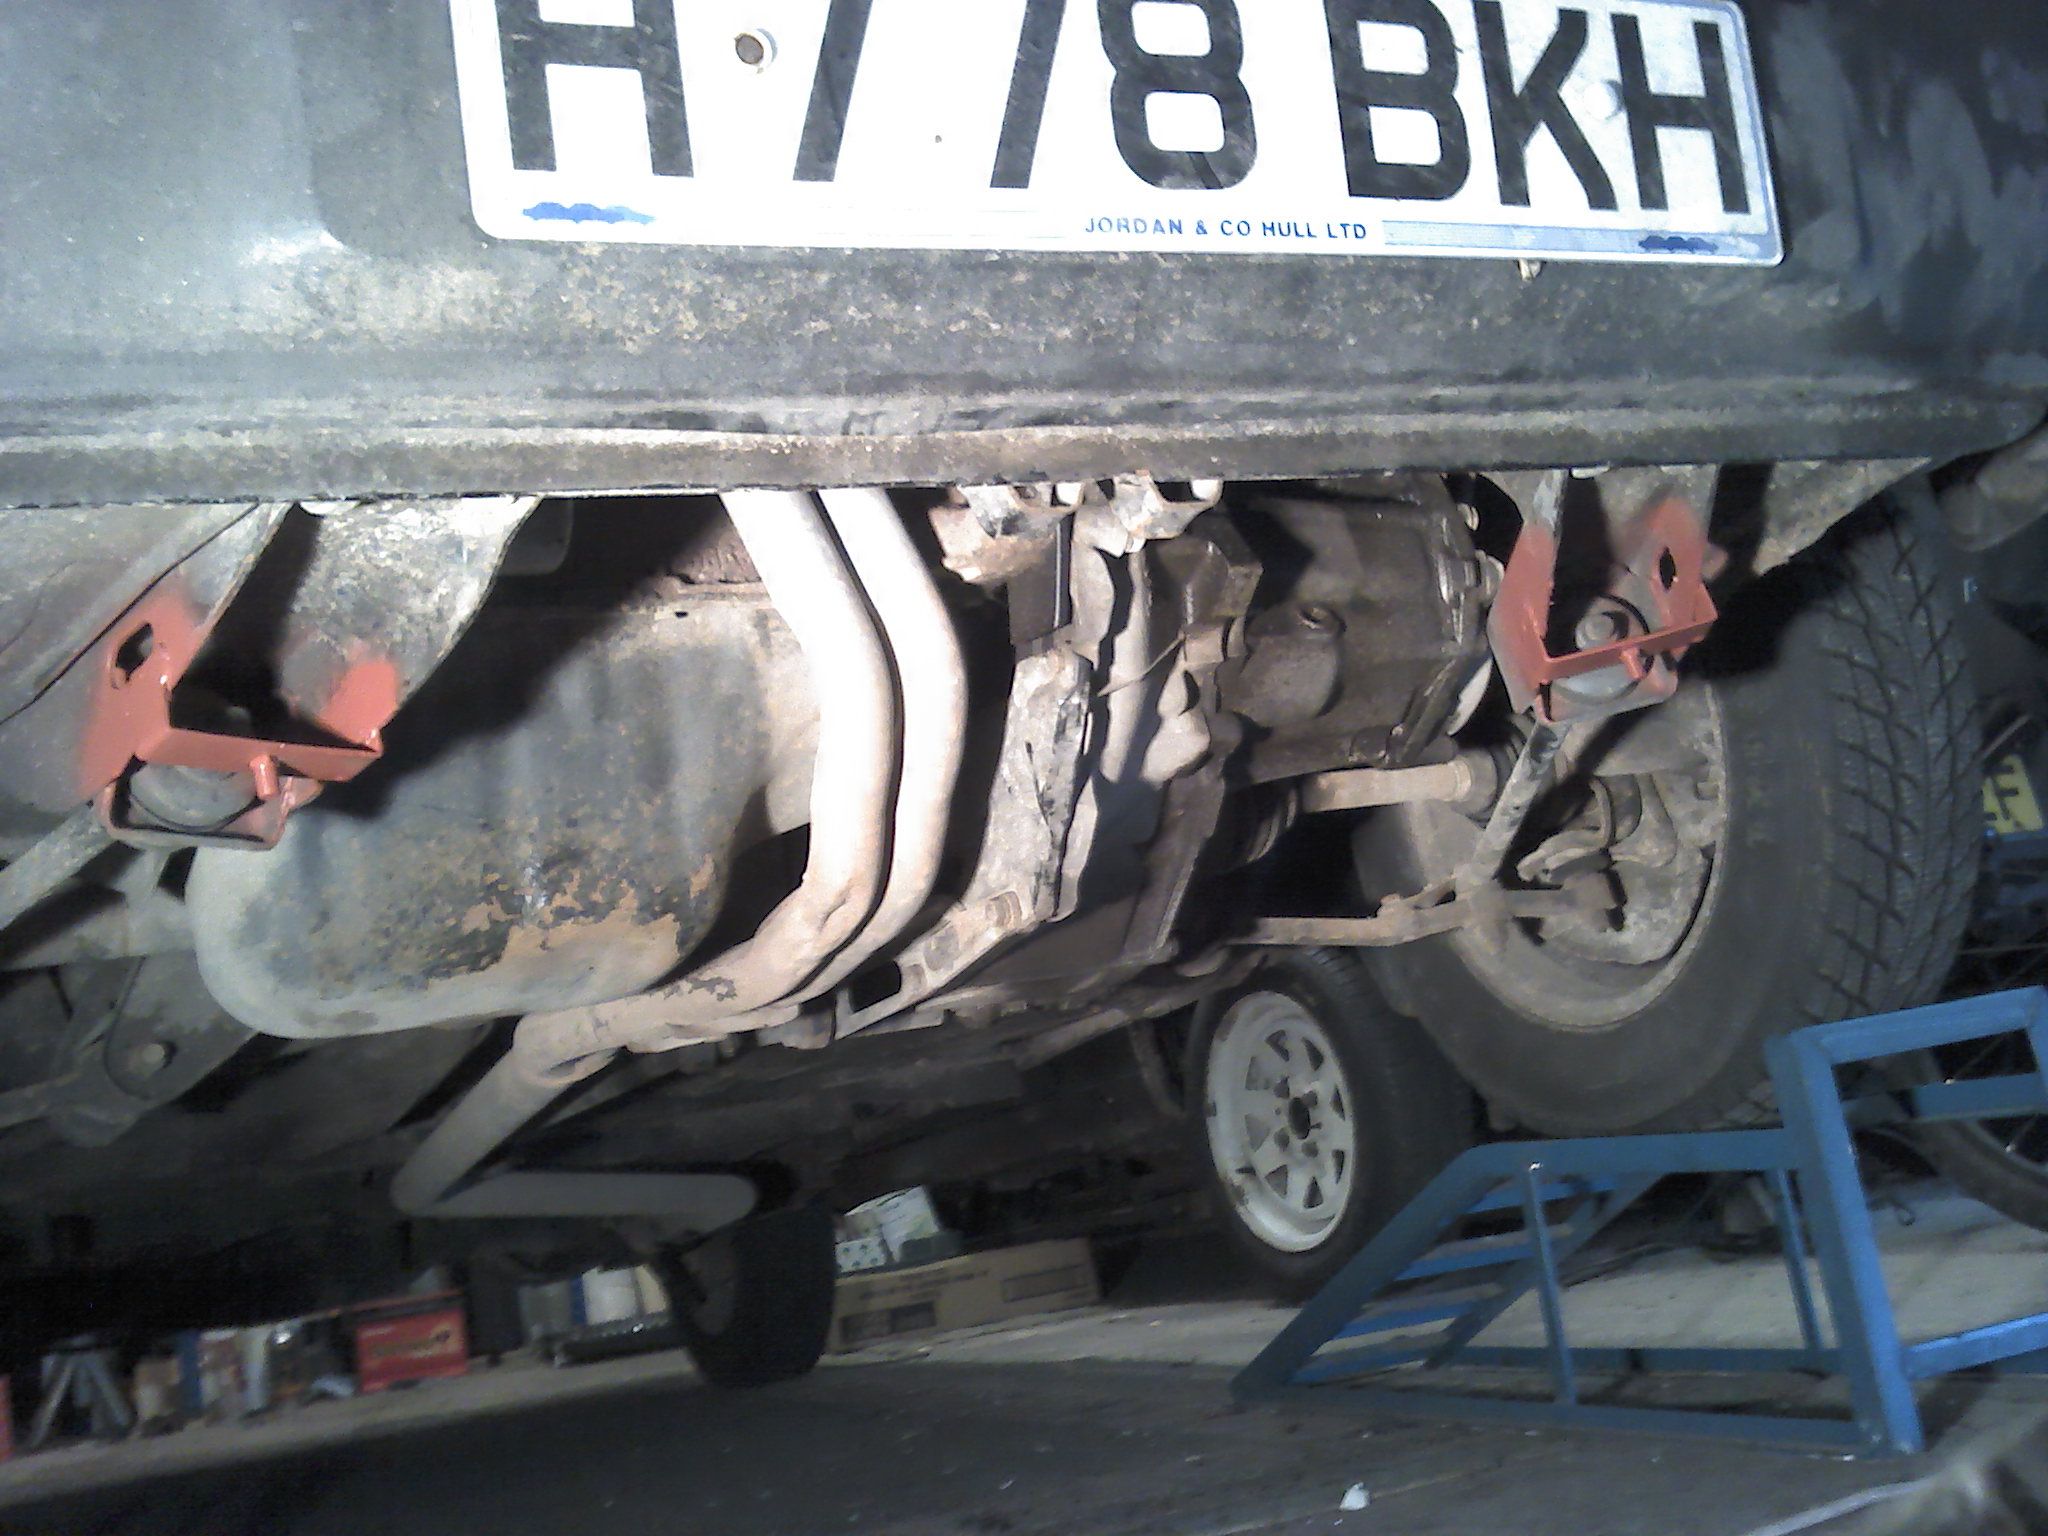
This is my Black panda engine from underneath.

As you can notice it took at least two "shoots":
- Exhaust pipe - one of the Yorkshire offroad days ( i'm well chuffed it was not the sump)

- Oil sump - took a shortcut thru the forest (lane).
2015-04-04_17-03-07_436.jpg


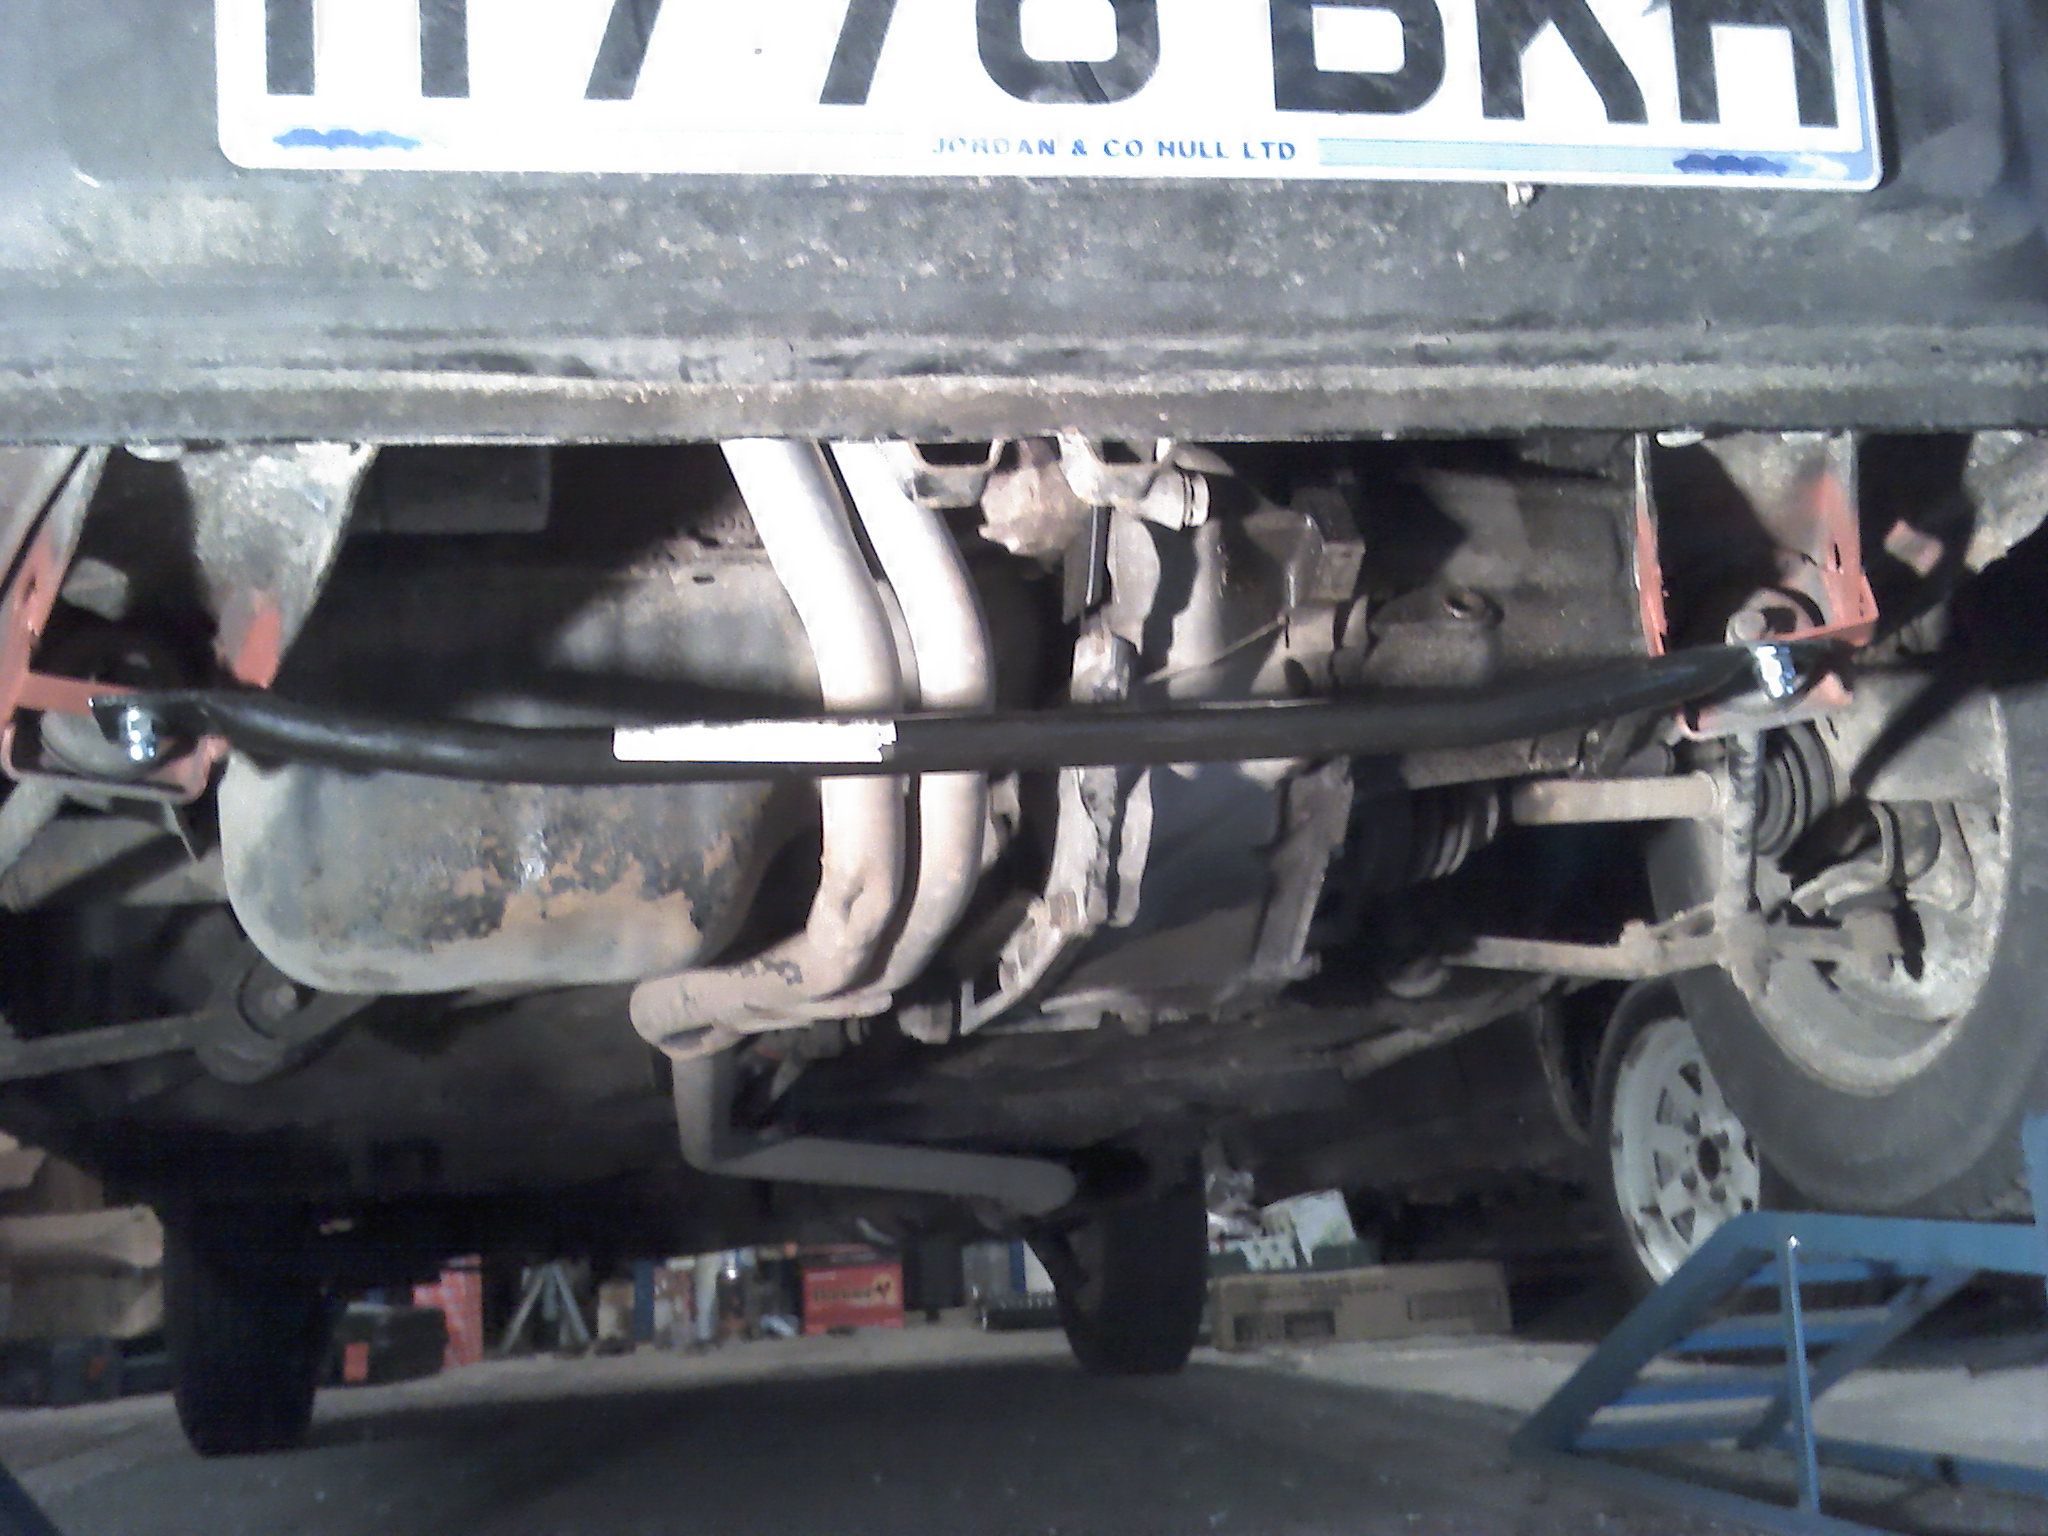
Partsworld does have the later 2wd cat converter protectors/security bars for just over £6 - bargin.
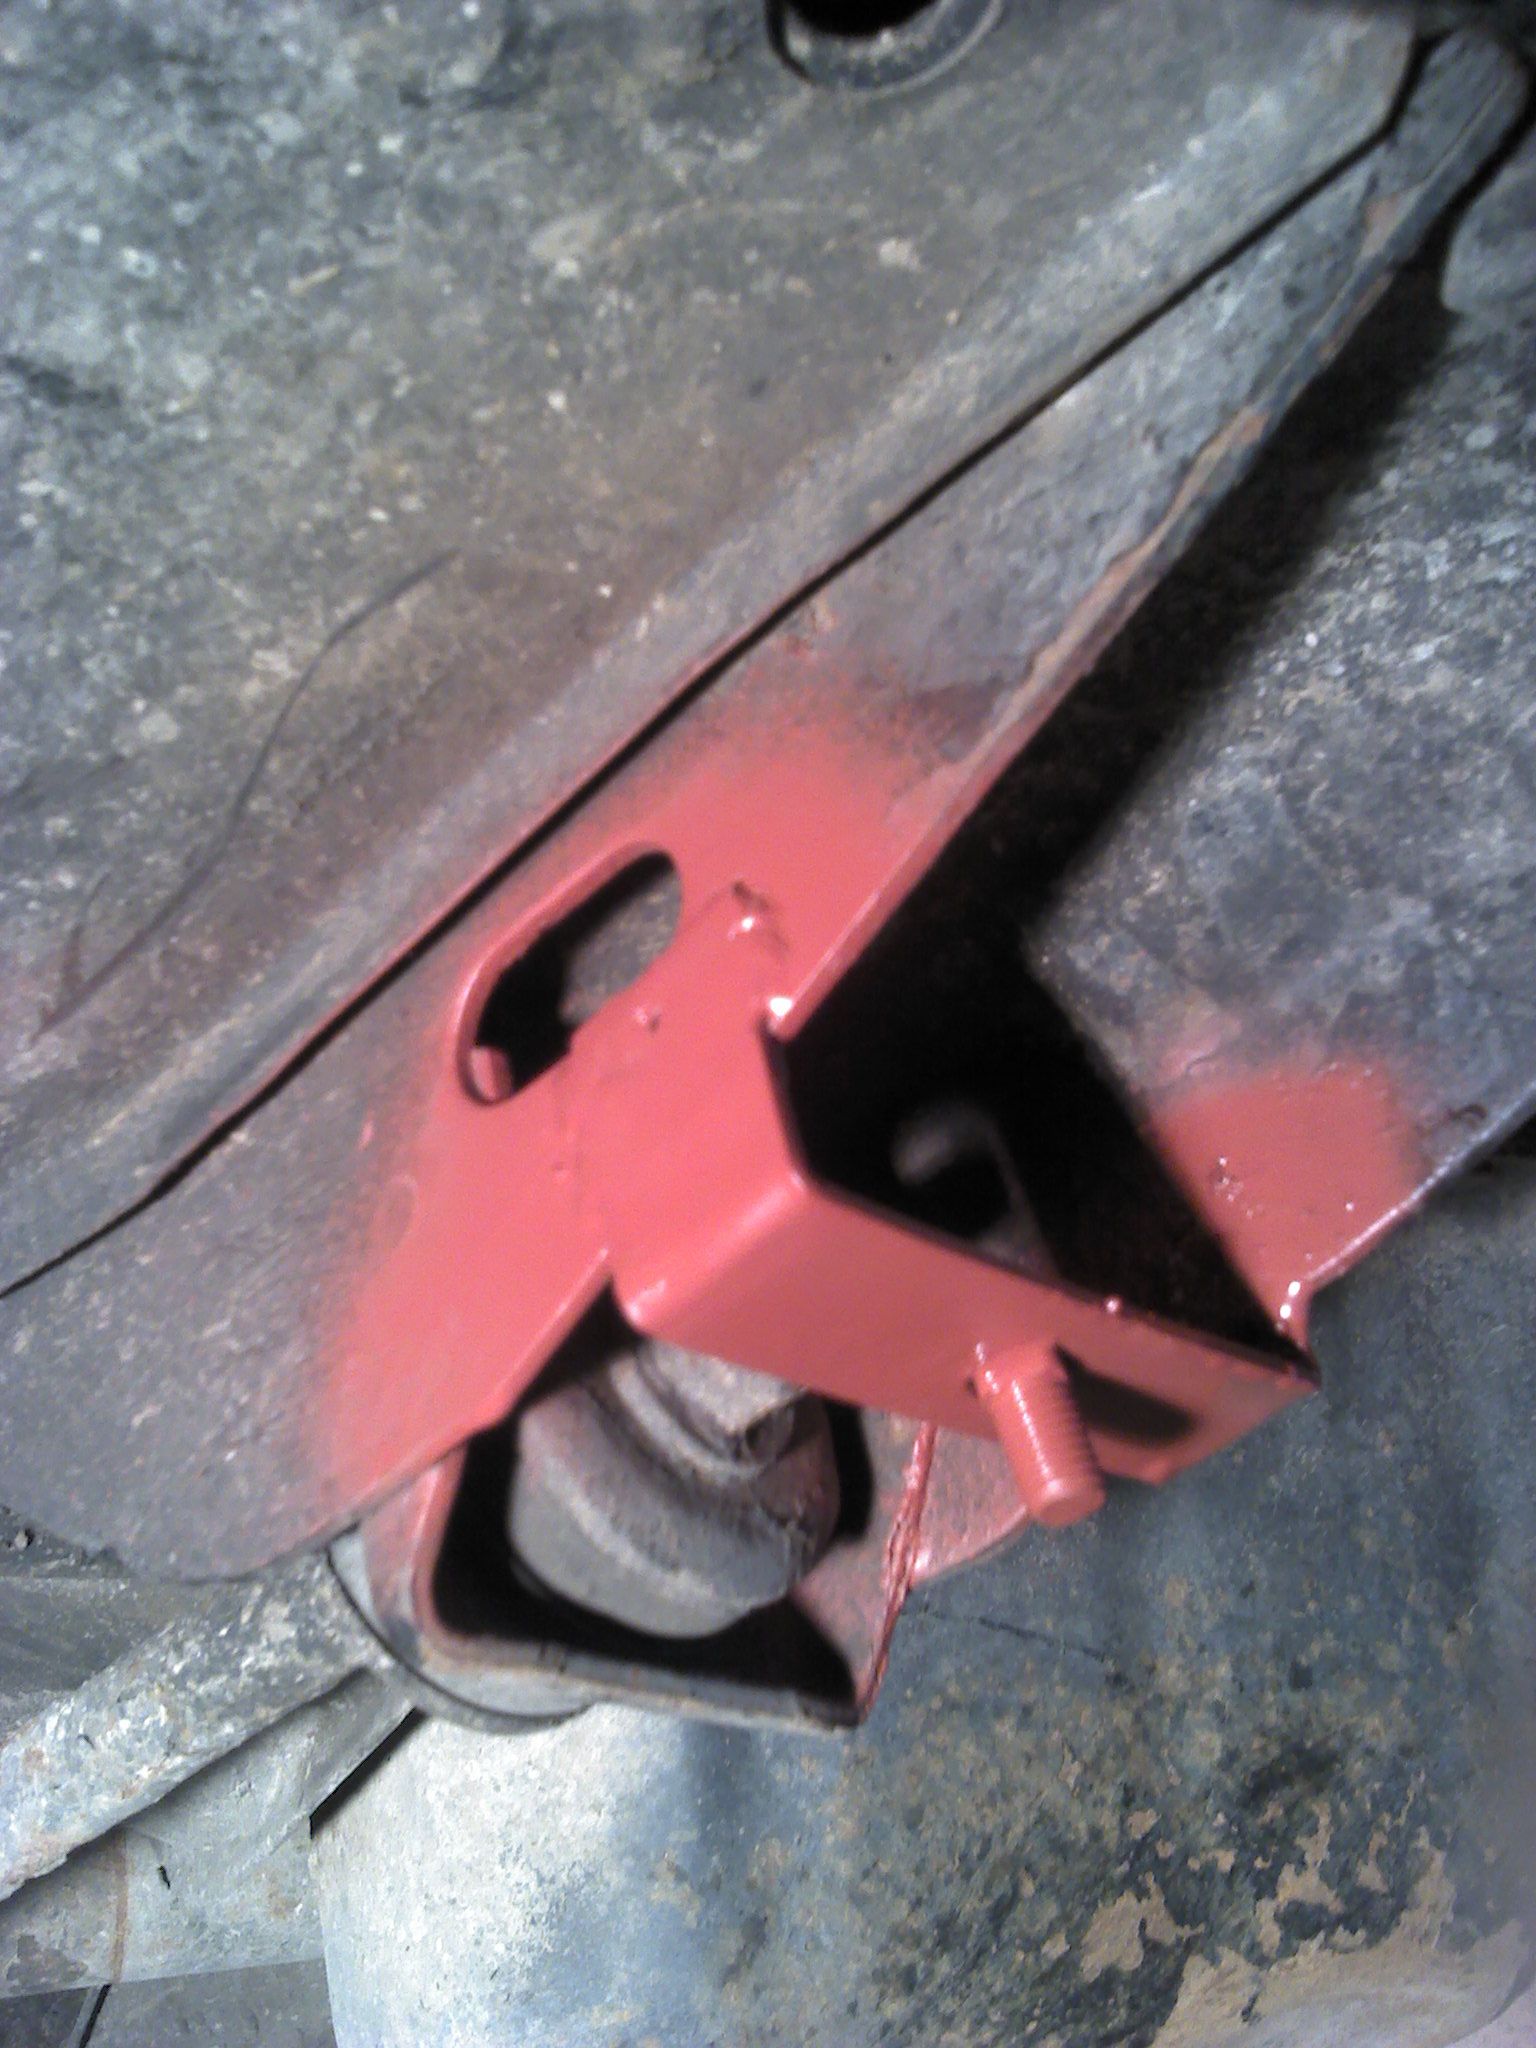
The problems is that Fiat were using the 4x4 front radius rod brackets to chassis.
4x4 brackets are available as well but for some serious monney.

My solution was to fabricate DIY brackets and weld them on to the std brkts.

2015-04-04_16-59-59_288.jpg


2015-04-04_17-00-47_306.jpg


2015-04-04_17-02-53_991.jpg


The barcket are made from 2.5mm thick steel with M8 coach bolts welded in, probably they will bend after hard impact but it is still better then ripped sump.
 
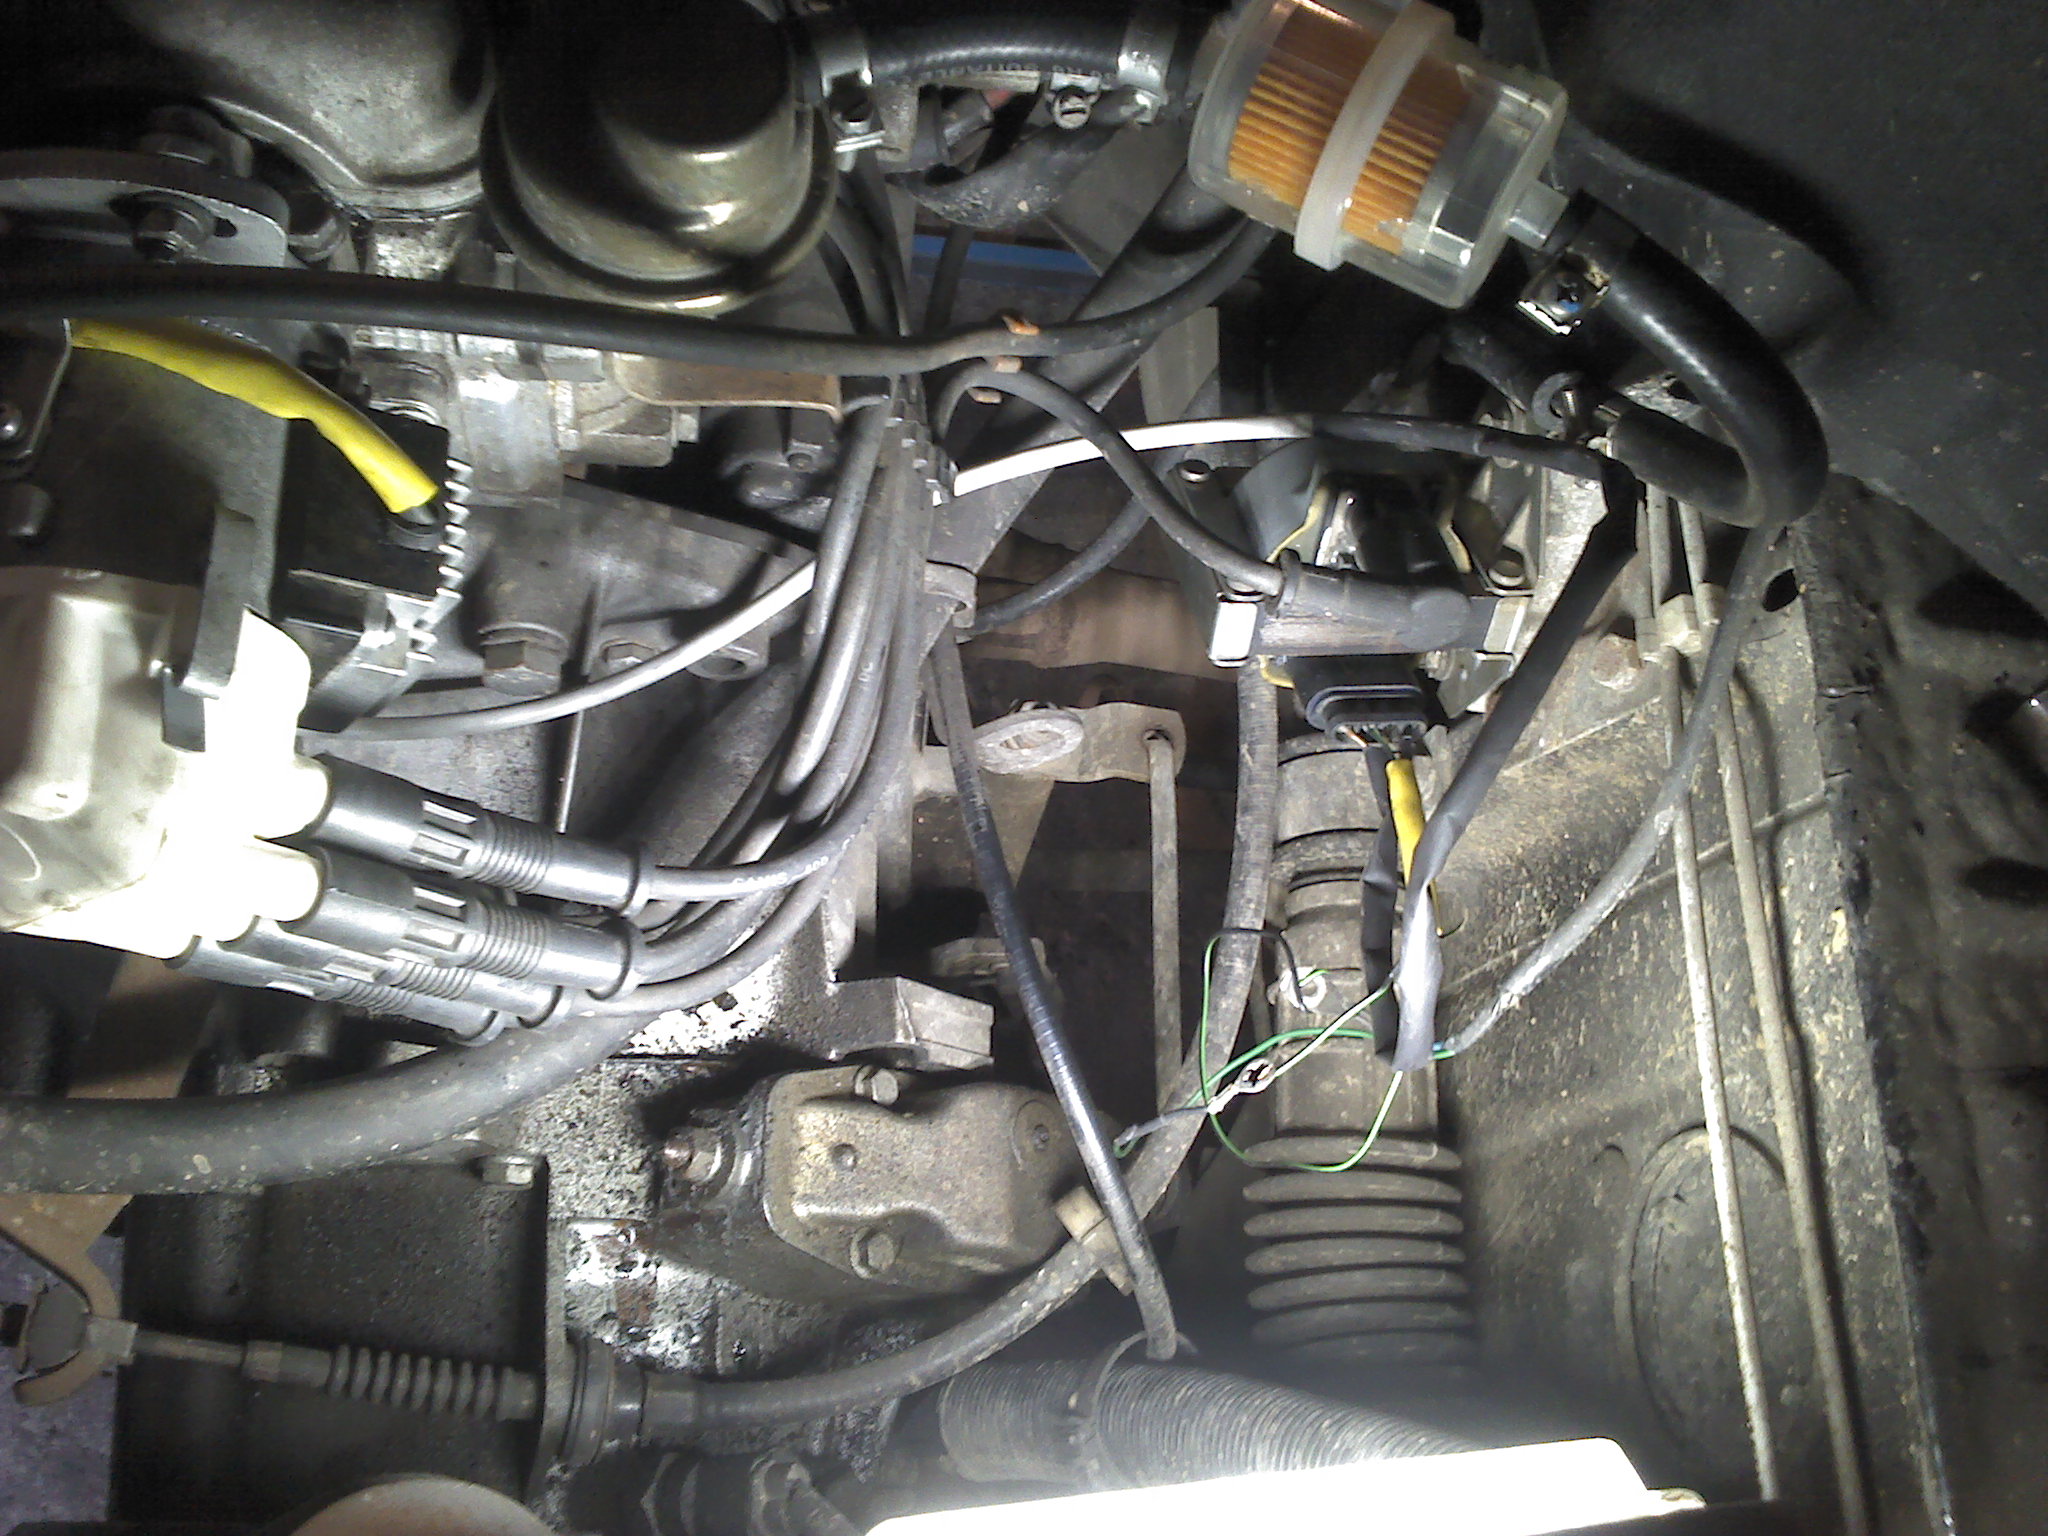
Just fitted the Electronic ignition convertion kit to Black Panda, main reason was that the mechanics inside old dizzy were geting noiser.

Upgrade to contactless ignition does make huge difference at idle and acceleration.

Positive feed and revcounter wires in trial connection still with original lugs as I need to borrow AMP crimping tool from my work place to finish the convertion.

2015-04-11_18-34-17_147.jpg


I'm looking at doing this on our original 750L at some point. May end up needing your advise regarding wiring diagrams etc nearer the time :)
 
I'm looking at doing this on our original 750L at some point. May end up needing your advise regarding wiring diagrams etc nearer the time :)

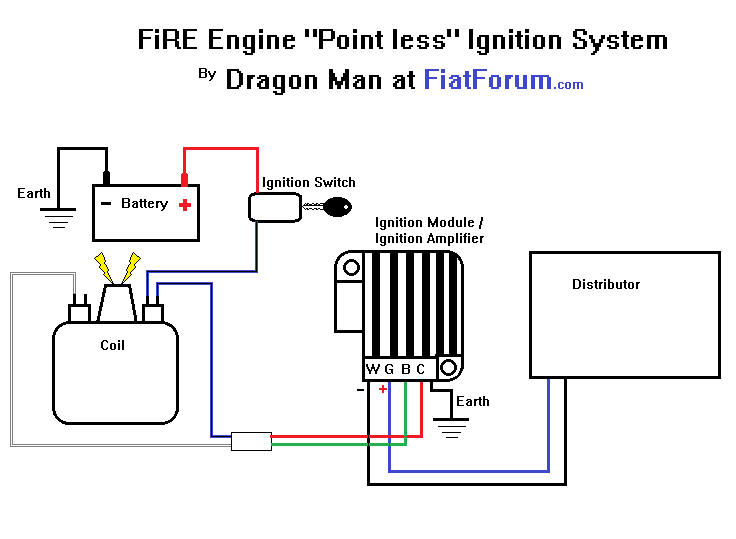
its really simple if you use the panda 4x4 distributor.

you have 2 wires coming from the ignition module/distributor, one wire (green one) you treat the same as the wire that would normally come from the points to the negative terminal on the coil, and the other wire (red one) you just hook up to an ignition live (or the coil's positive terminal).

it really is that easy :D

heres i schematic i did earlier..

 
This convertion kit was slightly different as the coil is the later 1.1 type one, not plug-n-play with the 4x4 coil. Kit had harness already done with just to flying lead, one for+ 12v after ignition, and the other for rev counter. Less then 20 min job.
 
its really simple if you use the panda 4x4 distributor.

you have 2 wires coming from the ignition module/distributor, one wire (green one) you treat the same as the wire that would normally come from the points to the negative terminal on the coil, and the other wire (red one) you just hook up to an ignition live (or the coil's positive terminal).

it really is that easy :D

heres i schematic i did earlier..


The setup I've got it the other type that was used in the 2WD Panda's, but can't be too dissimilar :)
 
it will be identical, just maybe different connectors. the Uno one is the same too just the wires are longer.


in kolza's picture you see the 4 pin connector on top of the ignition coil. the wire colours will be green green red orange. in the coil the 2 green wires are both connected to each other. the same goes for the red and orange wire. they both do the same thing.

one of the green wires goes to the distributor/ignition module, the red wire also goes to the distributor/ignition module. the orange wire is an ignition live, and the spare green wire can be used for a RPM pick up for a REV counter (or an RPM pick up for an ECU like for what i have done ;) )


2015-04-11_18-34-17_147.jpg


i also did a video on it:

 
Last edited:
If it's for your 4x4 you will find it is already fitted with the same system. Only 2WD had points, 4x4s had electronic ignition from the factory(y)

I wasn't sure, but if the avatar reflects Pinky's car, panda1408 is right.

Re-sell (to firstcar-Y10 )or keep as a spares, you can't have to many spares.
 
Last edited:
Ah! Schoolboy error then. That makes me slighlty poorer and the proud owner of more brand new spares. Mrs P1NKY is luckily out of the room right now <cough> ...
 
Is it someone from here who ****er bid agains me on the pair of Panda doors from Rugby currently listed on ebay? Sorry, they are mine - and colour does match as well.
Cheers
 
Gents,


Please hold your pants now ( and I not talking about door rust today)

IMG_30352.JPG


Until yesterday I was not aware of such a thing as side skirts for panda + both wheel arches.

As the Sisley is running now ( poorly but all bits are here to sort him out) i think I'm ready to dropp the Formula by 40mm, ARB, 4x4 camshaft, served brakes, momo rims, etc

IMG_30361.JPG


Momo_rims.JPG


I'm just curious how they gona lokk with those tyres as currently fitted to Wellers 5J.

Momo's are 5,5J , tyres are 155/70 - a bit strech but still acceptable.
 
Last edited:
them trim bits looks pretty good... where did you get the side skirts from too? i have never seen them before for the panda??

rather than the 4x4 cam, you could go with an 866 cam and a cheap electric solenoid pump.

its the 4x4's 0.8mm and the 866's 1.0mm difference.

you'll still be able to drive the distributor with the 866.. but not the fuel pump.
An 866 cam you say? but where would he get hold of such a rare and desirable item?
scratchchin.gif
 
Went through your stock eh?


..Sorry got so distracted by the cam I forgot to say the car looks great
thumb.gif
I so want a set of those skirts, where on earth did you find them?
 
Back
Top