Tuning Stilo 2.4 rebulid

Currently reading:
Tuning Stilo 2.4 rebulid

I'll be watching this thread with interest to see how you go with getting more power from the 2.4. It's a good idea, as you've had the standard engine for some time, so you'll notice the difference. I know it's often thought that 170bhp is on the low side, but it's a better specific output than even the 80bhp 1.2 16v. Unlike the 1.2, the 2.4 delivers its torque over a much wider rev range, has lots of torque down low. I wonder if tuning for an extra 20bhp at the top end might compromise the torque below 4000rpm. With variable valve timing and variable inlet manifold, maybe not? Just a compression boost (98 octane petrol), improvements to the port smoothness, and a remap might get an improvement over the whole rev range and inspire us to do the same? I am genuinely interested :)

Thanks Alex :) 
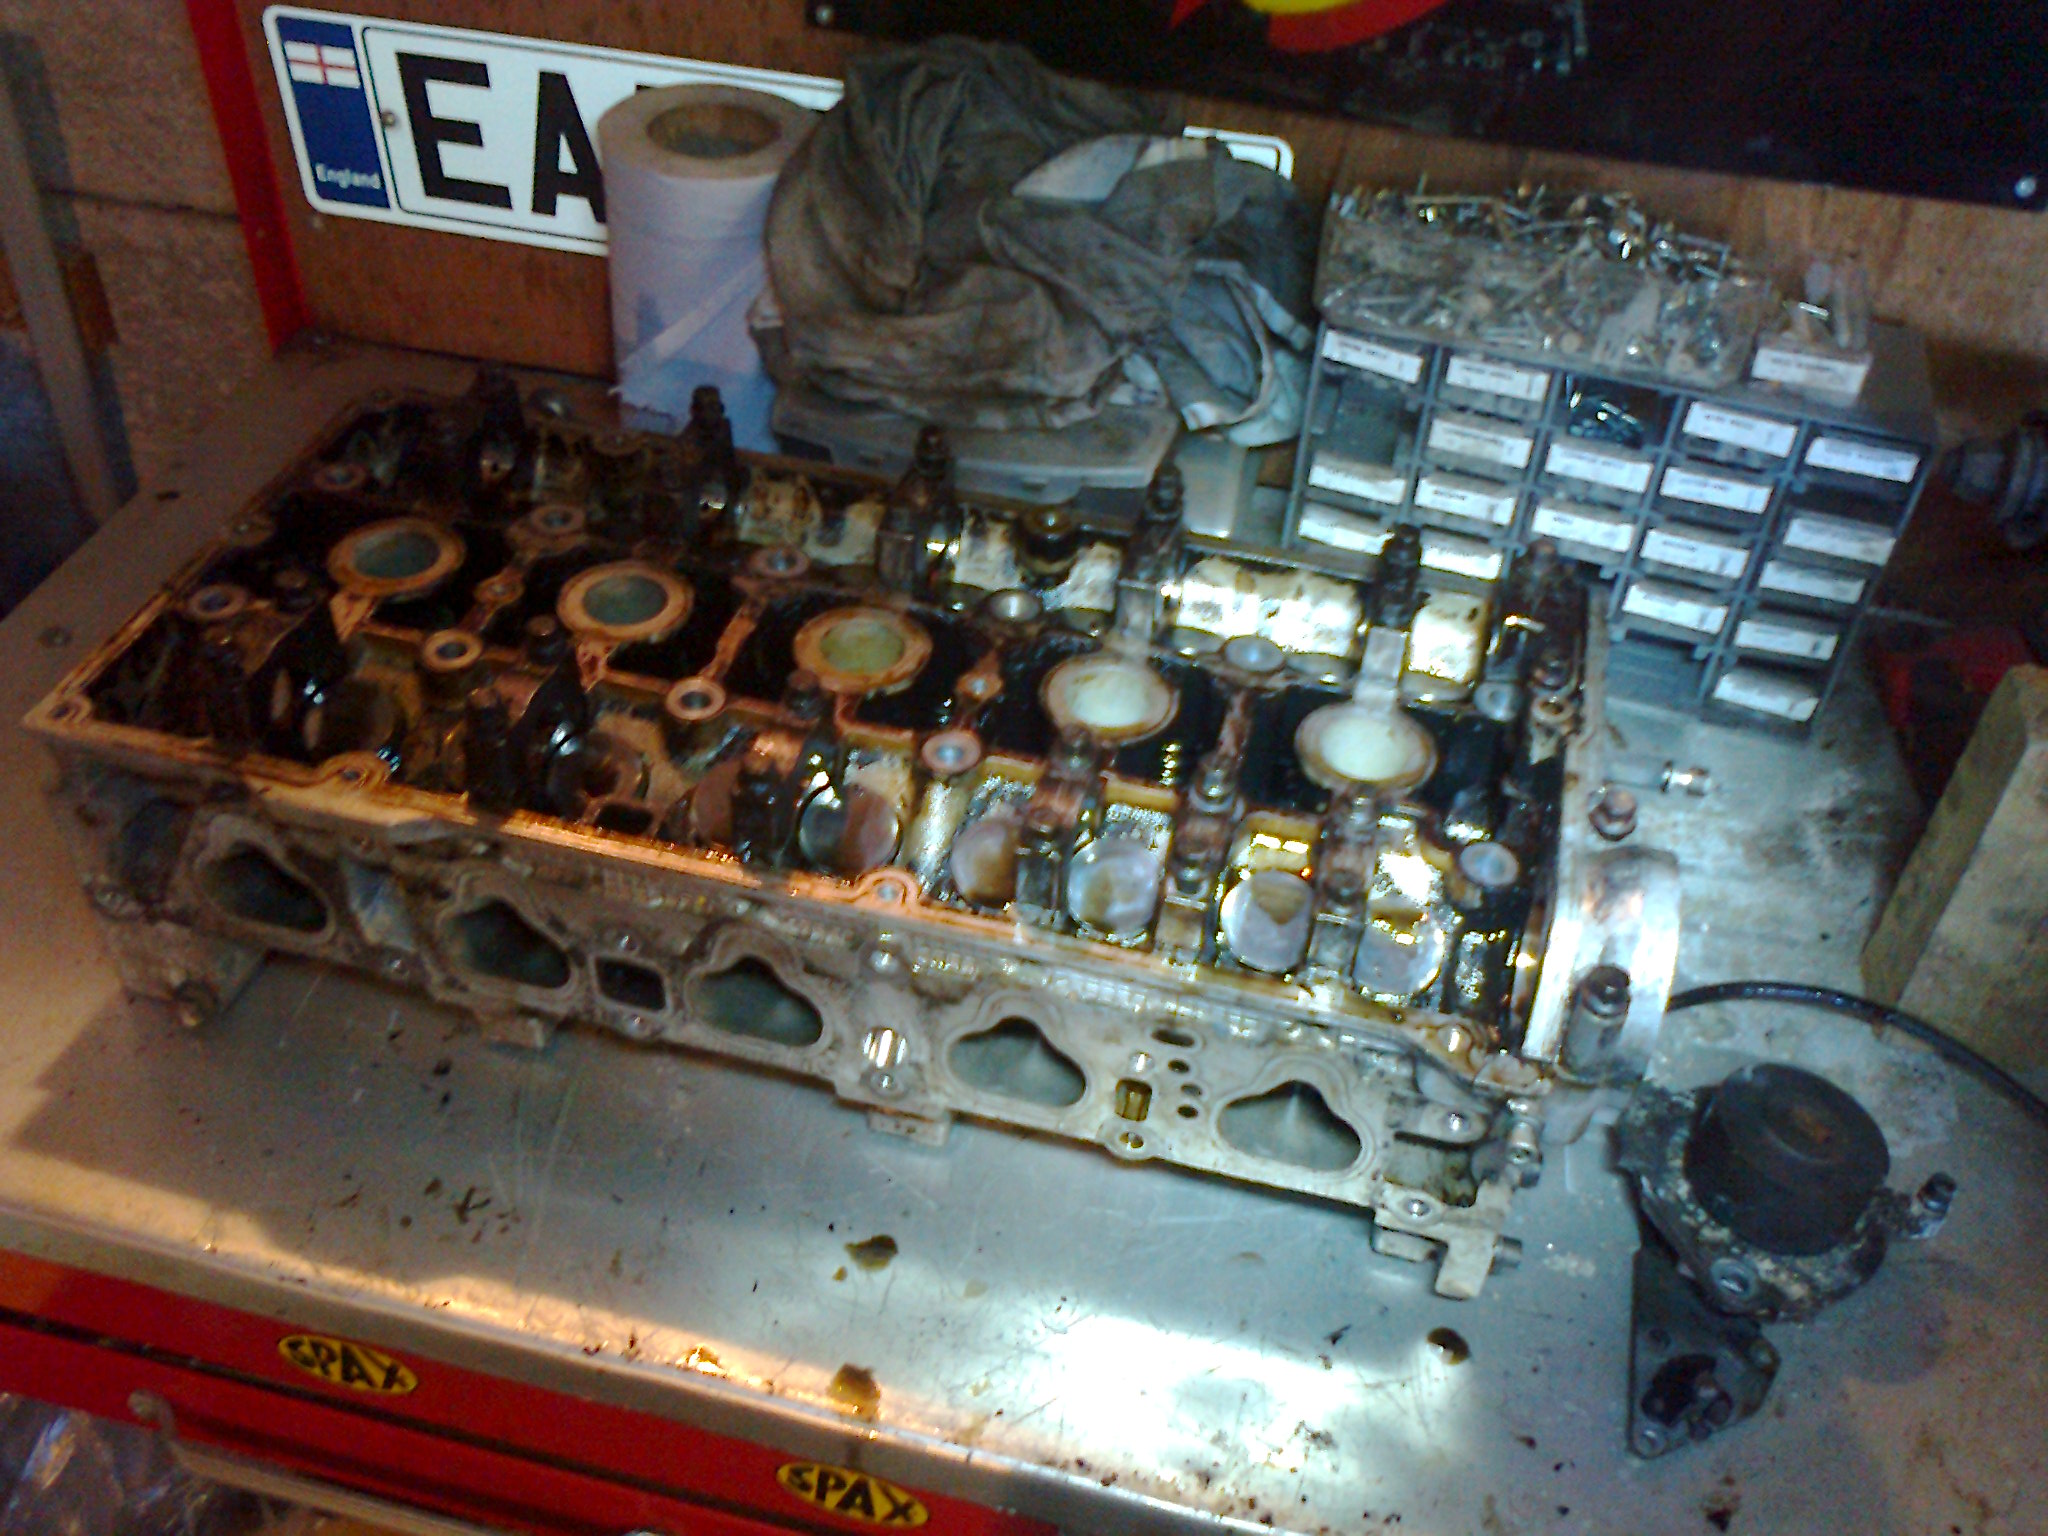
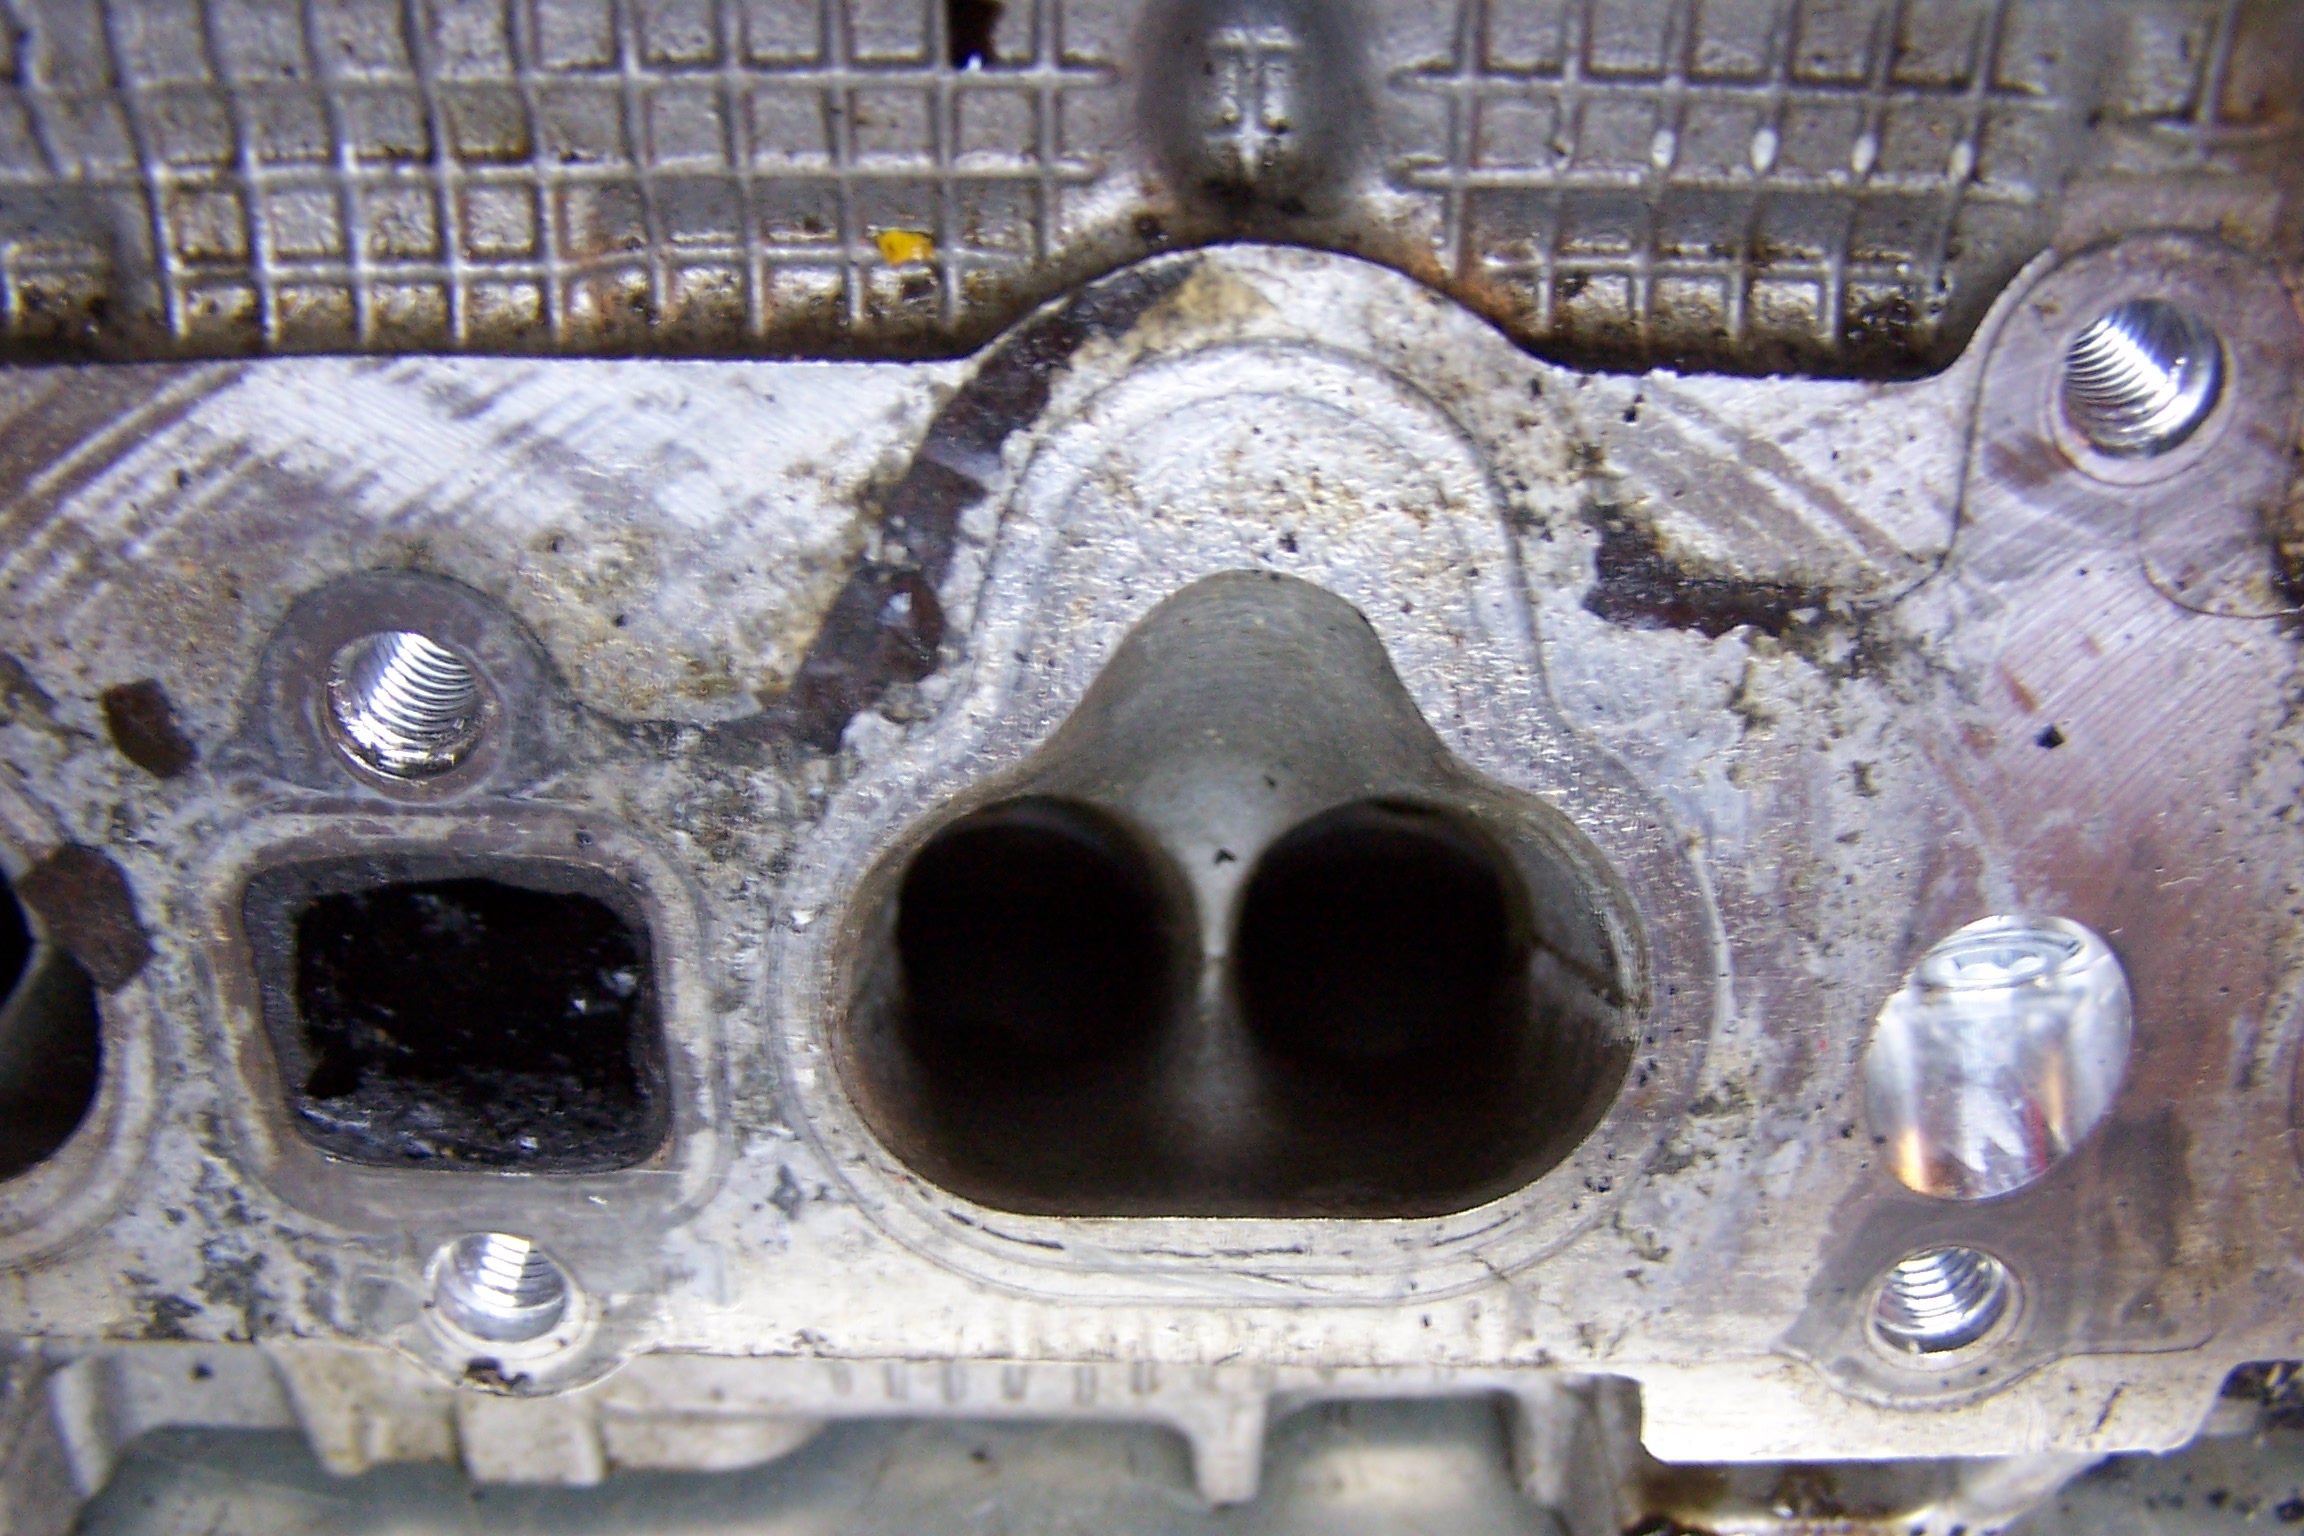
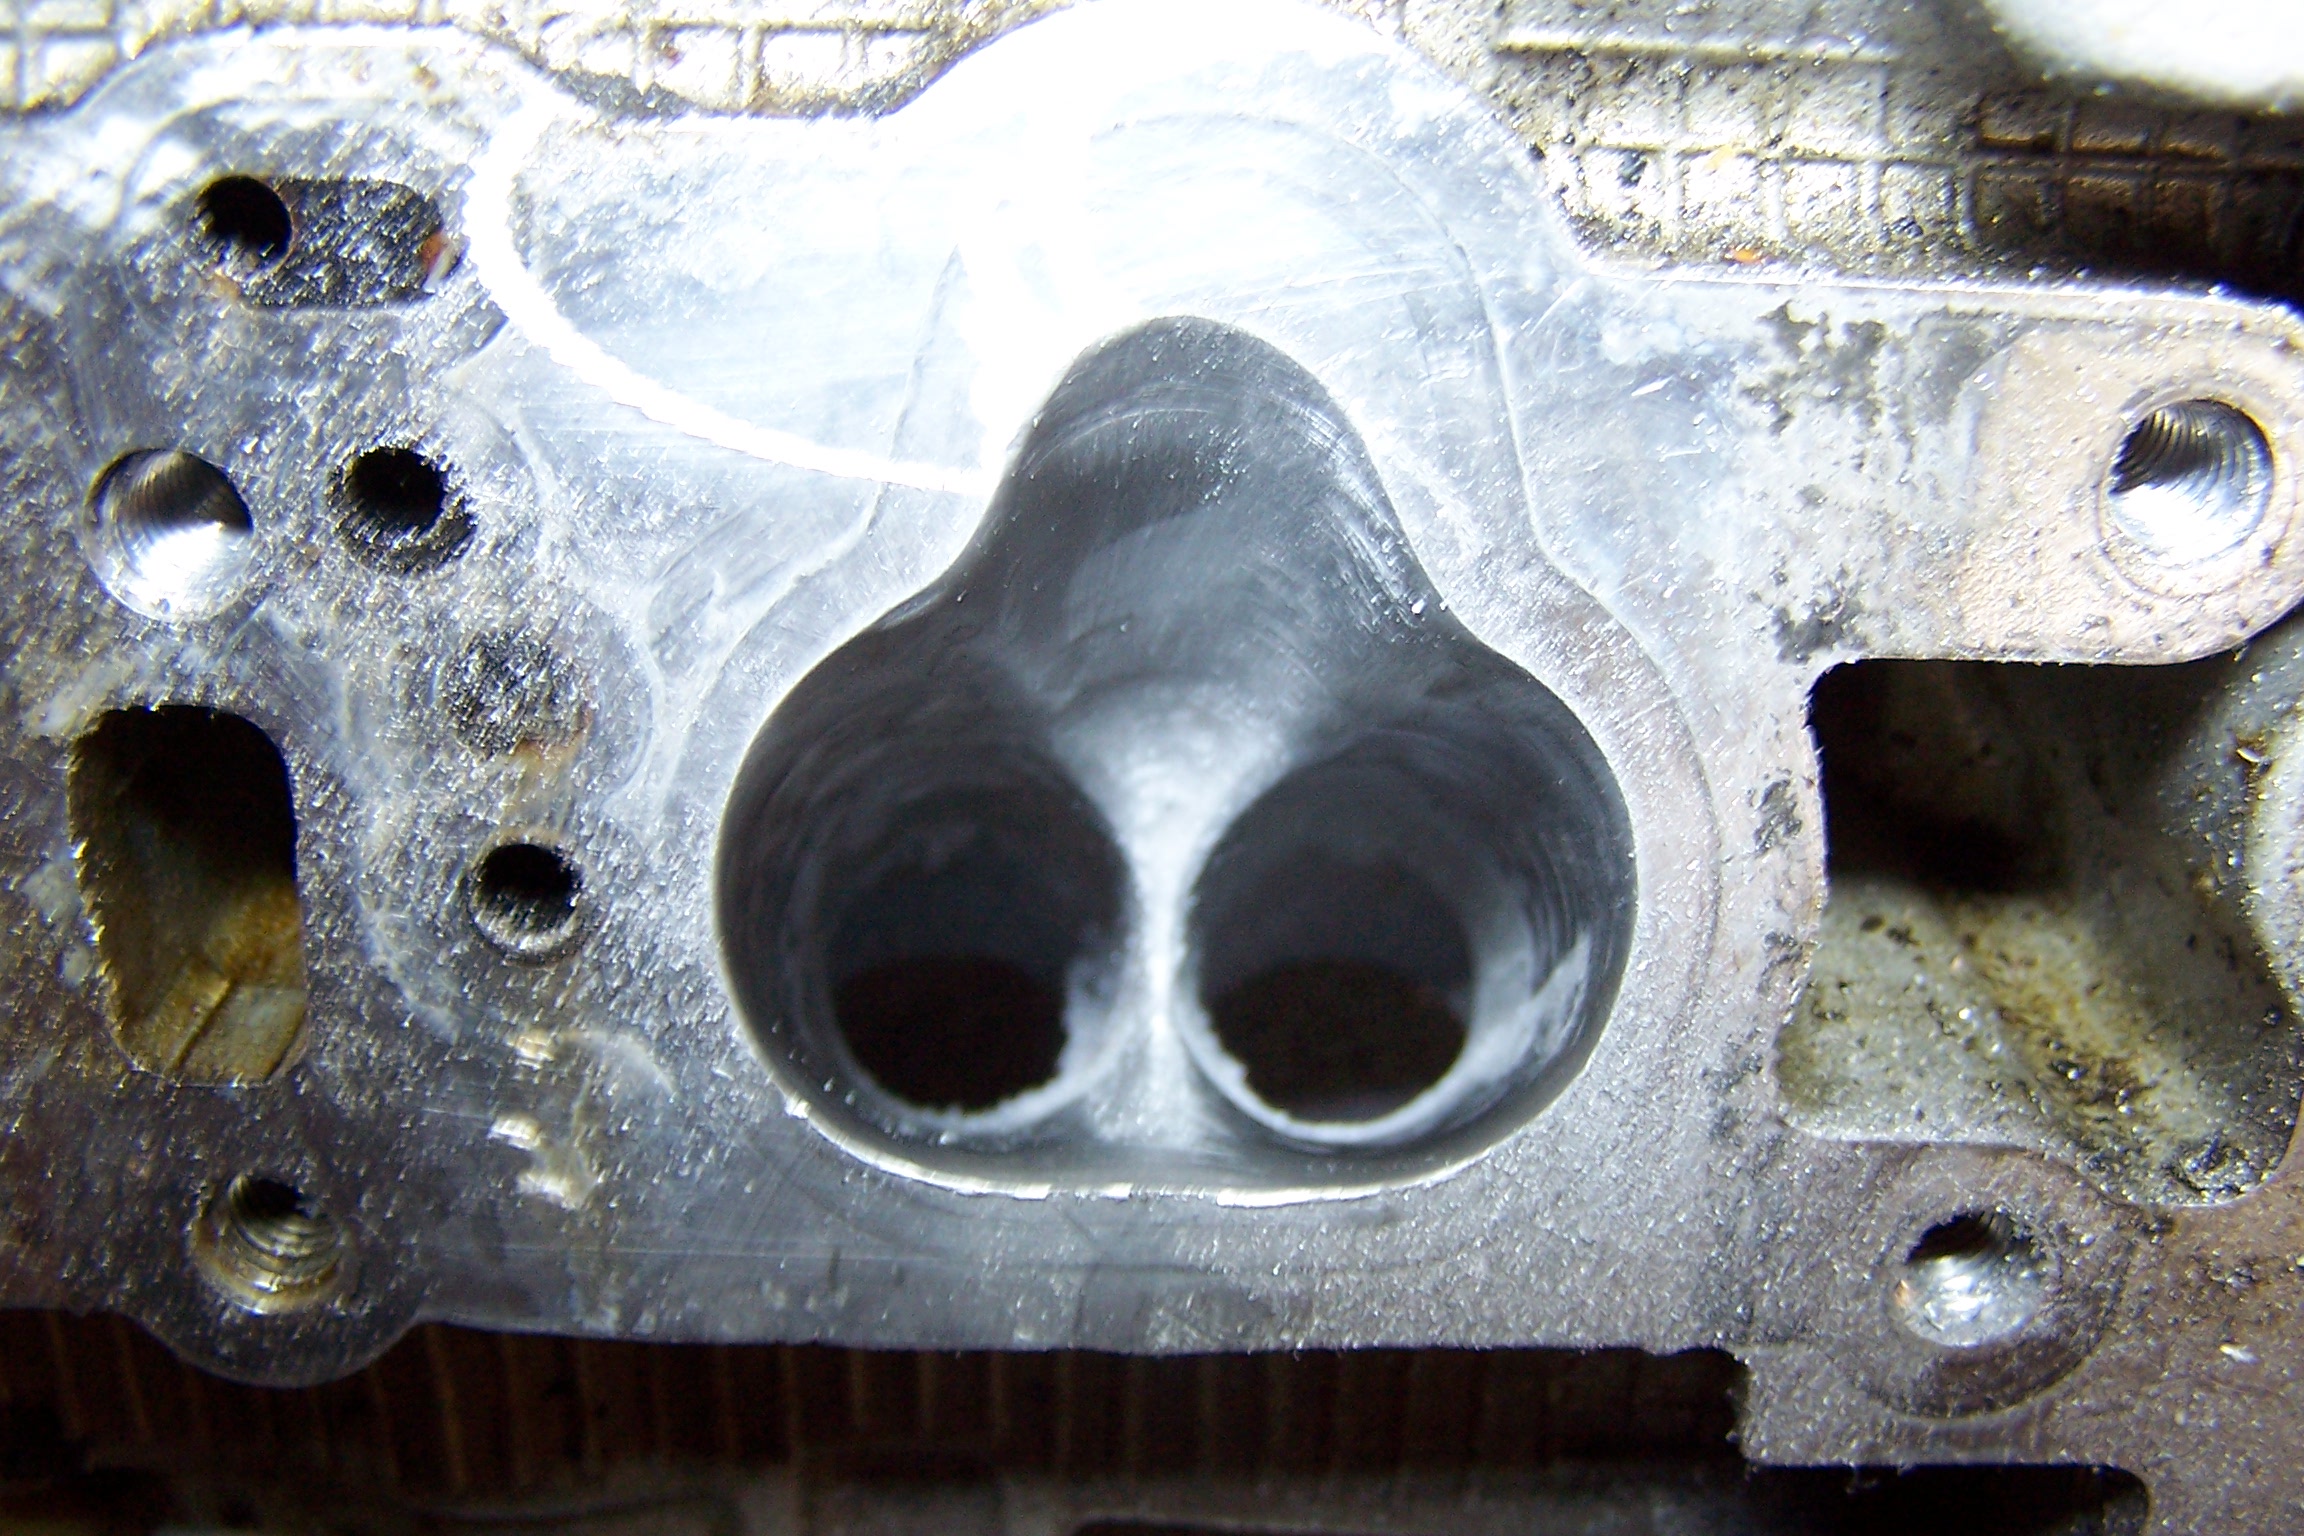
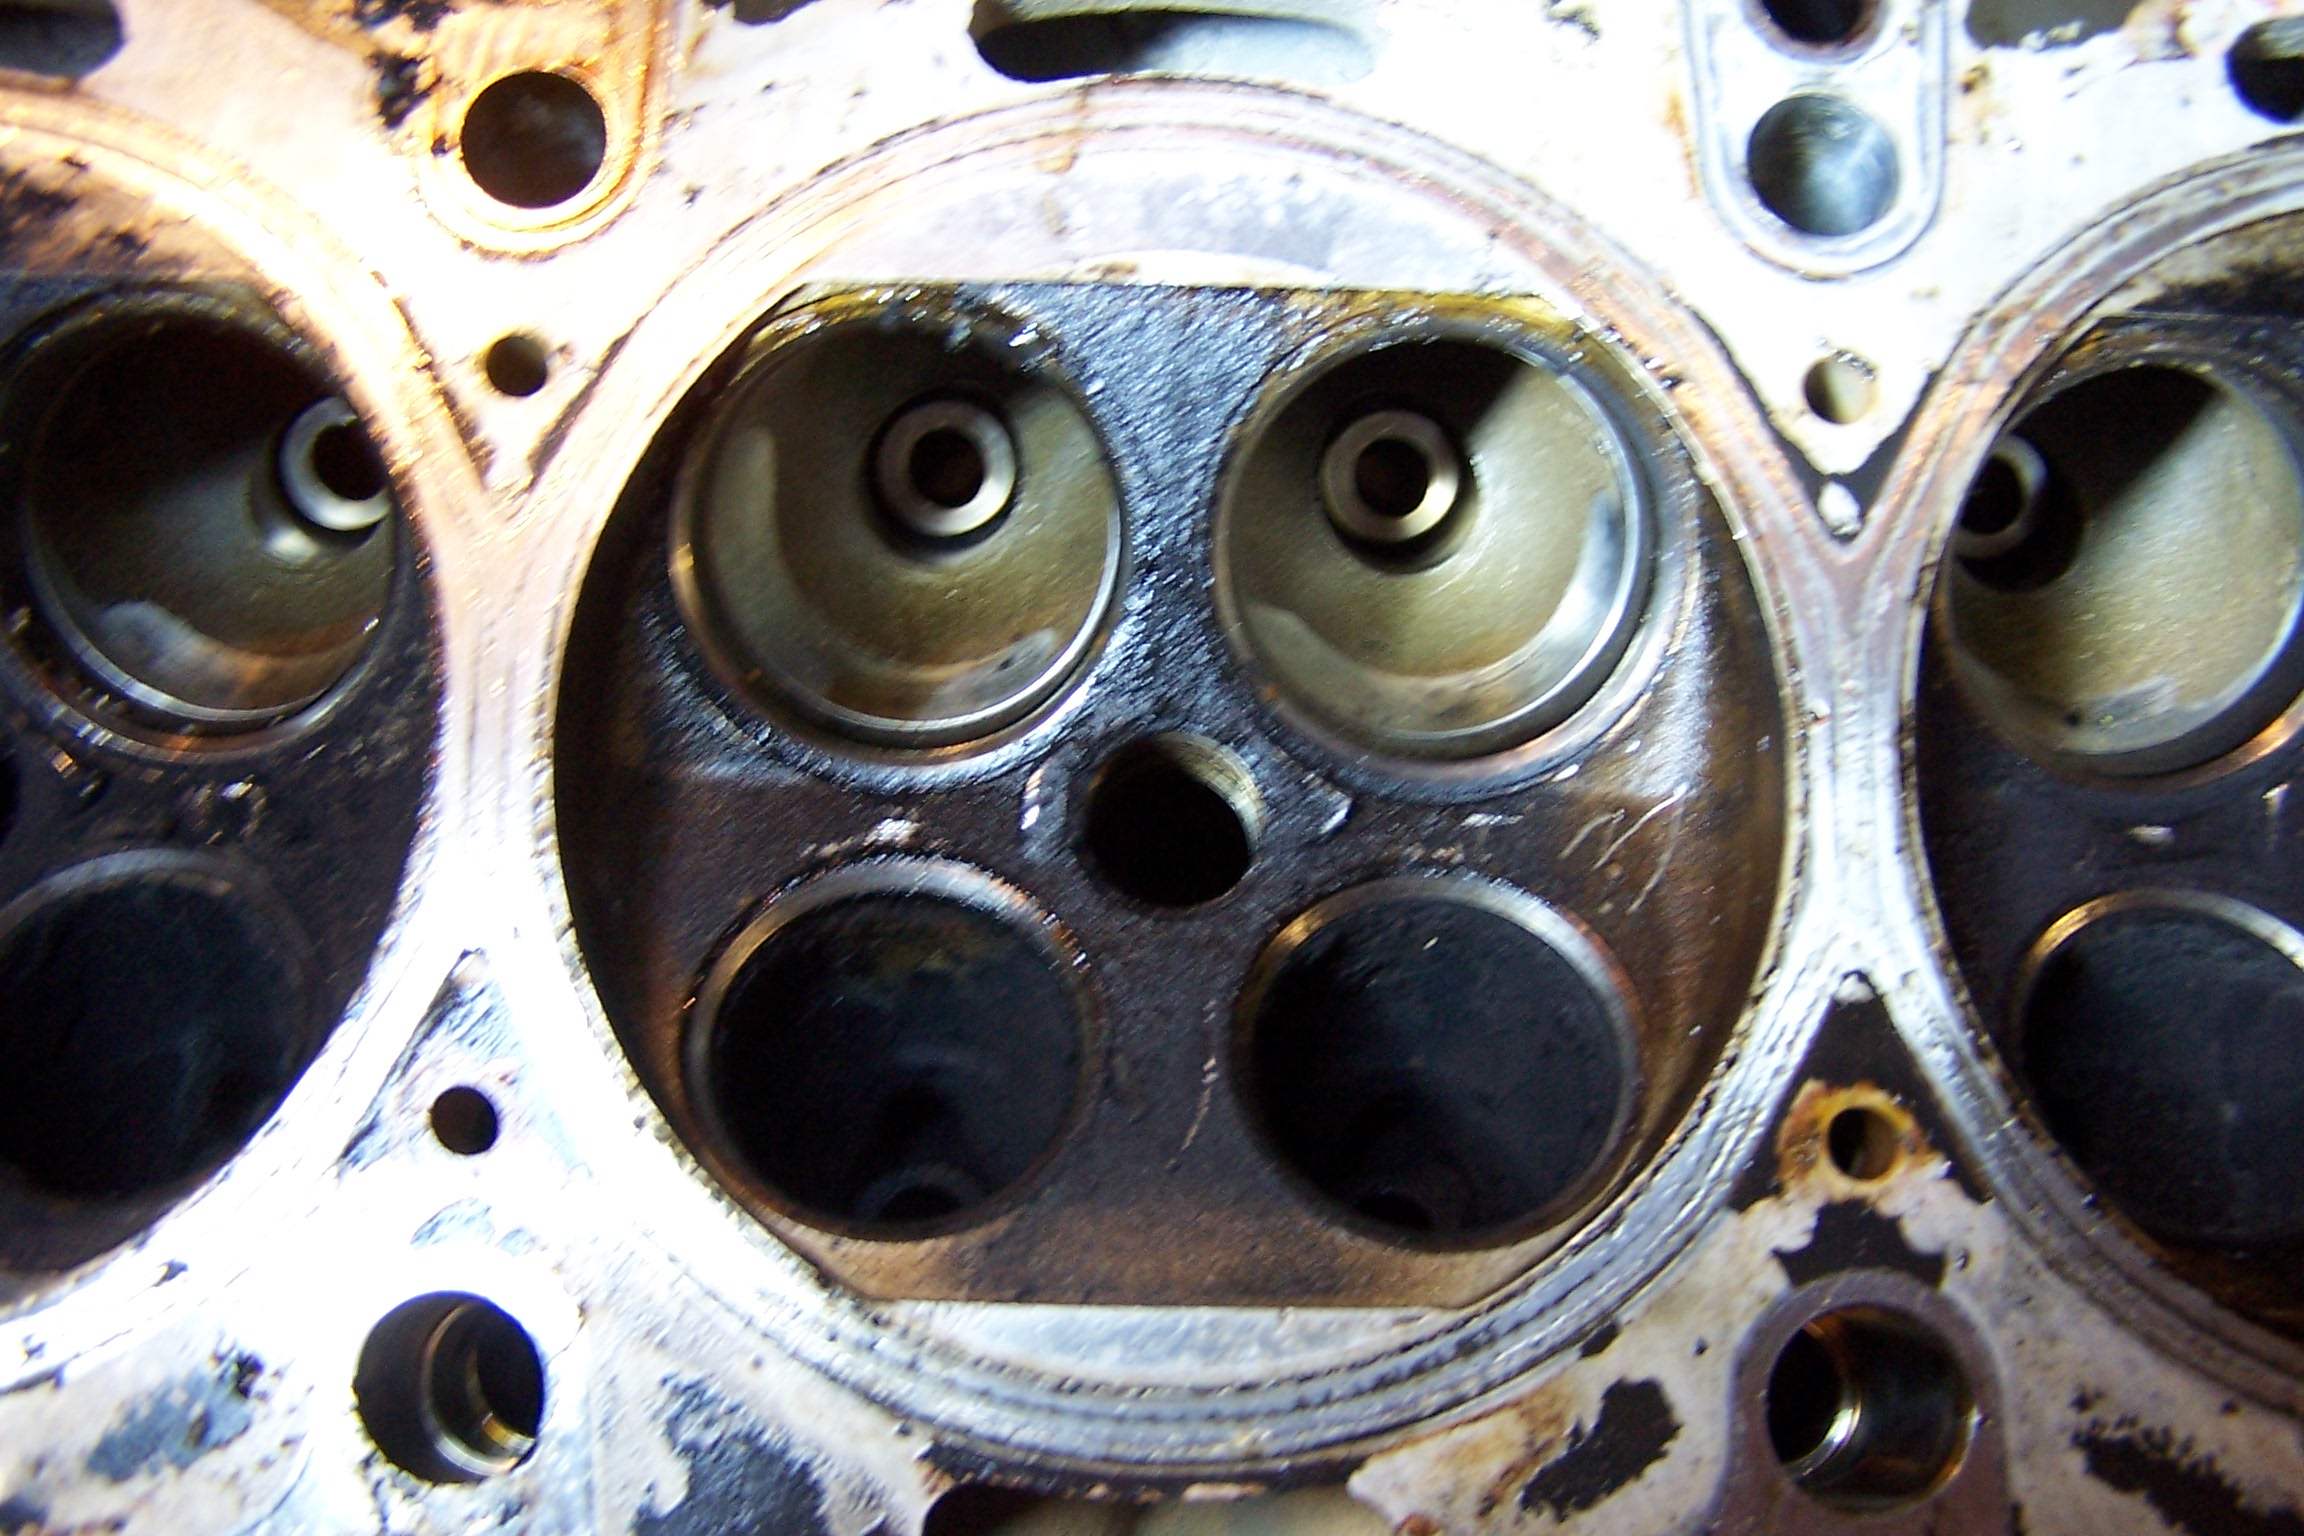
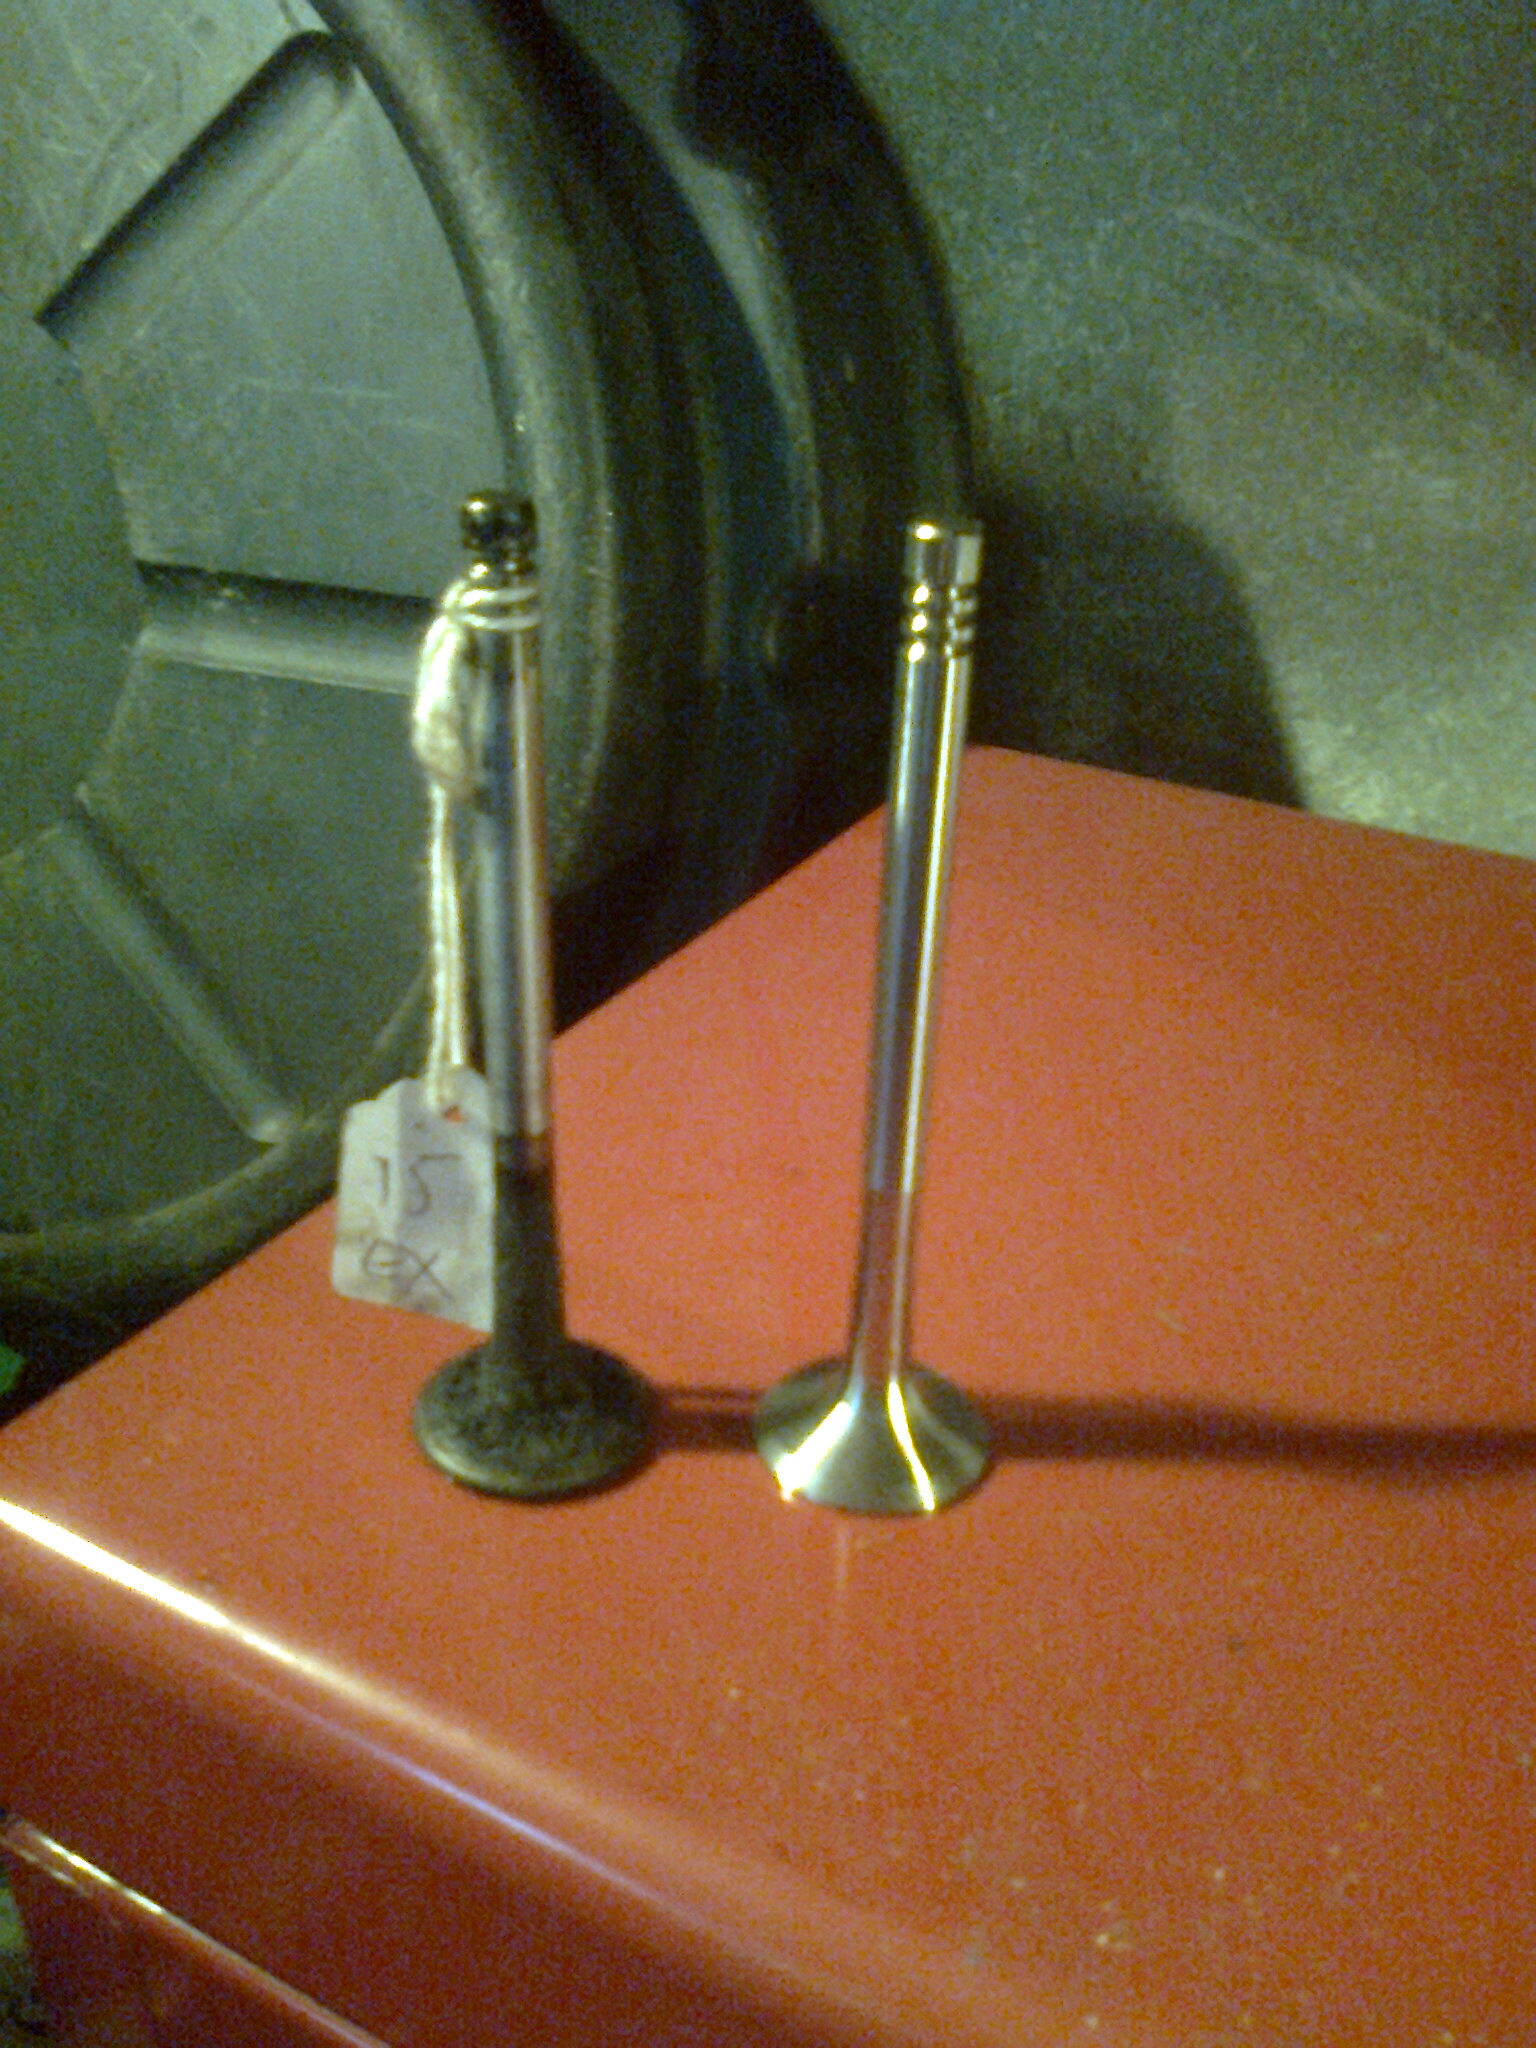
it's been something I've been thinking seriously about for a while and as far a I can see no one has covered a 2.4 engine rebuild as such on here before - probably down to the cost of some of the tuning parts or maybe as it looks a scary engine to work on! Lol :eek:. It's not going to be a quick thread mind you just something I can add to from time to time, but hopefully It may encourage others to tackle some jobs themselfs if they see how somebody else has done it.

I'll be starting on the cylinder head very soon and I will be having a go at porting. Not having a flow bench tester at hand pretty much means that what I do probably wont have too much effect on horse power but as you just pointed out Alex nice smoothed and unrestricted ports do the world of good in other areas such as fuel economy and my time doing them doesn't really cost anything so it's a modification without any draw backs :) (and for the doubters, I'm aware that sometimes porting can do more harm than good but I won't be taking any risks)

Oh and about the other half and the box oil?? ...... It was mentioned in a conversation over dinner :D

You legend (y)

Fab work there bud, If I was near by I would have loved to get my hands dirty and give you hand, plus also learn some new skills at the same time..... and I can make a mean brew too ;)

Nice one buddy (y) your always welcome as I can see there's going to be plenty of coffee consumption and head scratching along this interesting and costly rebuild :D
 
well work started in earnest today on the cylinder head rebuild/modification. The head in question to be rebuilt is one I bought last year in anticipation of this rebuild happening, from a scrapped stilo abarth (accident damaged) and the first thing I have noticed is unlike the gearbox which looked like it had hardly seen any miles, the head looked like it had been used to scoop tar out of a barrel! under the rocker cover lurked the thickest congealed oil deposits you could fear to see! even the cam shaft bearing shell was tarnished in it so when it goes for a skim i'll see about getting it dipped :)


once the bearing caps released there oil tar like grip the camshafts came out without any drama and the same story with the water pump and cam sensor. new ones will be fitted as a matter of course.


the combustion chambers are also in dire need of a clean and polish too. the work would've carried on right up until the valves were out but unfortunately having only an OHV spring compressor the valves will just have to remain at one with the cylinder head for now ..... BOOOOOOO! (n) :D
 
Good reminder on why to change the engine oil, isn't it... ;)
Luckily mine is much cleaner than that. I've seen on other engines that the Selenia oil tends to leave a reddish colour behind.

Since the valves are still in, you could leave some kerosene sitting overnight in the combustion chambers to soften up the carbon, should clean out pretty easily with a wire brush on a drill. I read somewhere that you shouldn't use a wire brush on an alloy head, but honestly never seemed to cause any trouble... an alternative is a Scotchbrite pad I suppose.

I guess you know this but when you get the head dipped/tanked at an engine recon shop (best idea - saves you hours of work), remember to remove the variator shell bearings first (assuming it has variator shell bearings like the closely-related Alfa Twinspark) - I didn't, and they went all furry. :eek:

Also presuming you've seen the thread https://www.fiatforum.com/stilo/73301-high-lift-cams-2-4-a.html - but if not, worth a read (and a Google search for "Colombo and Bariani Stilo 2.4").

And then once you've made up your mind, go to http://www.ebay.co.uk/itm/Fiat-Abar...rsParts_Vehicles_CarParts_SM&autorefresh=true - be quick :D

I tried but wasn't allowed, because I'm outside the European Union :(

-Alex
 
Last edited:
This post contains affiliate links which may earn a commission at no additional cost to you.
Since the valves are still in, you could leave some kerosene sitting overnight in the combustion chambers to soften up the carbon, should clean out pretty easily with a wire brush on a drill........

That's a good idea Alex I never thought of that (y) ..... Yes it does have variator shells I'm going to look into replacing them along with the variator itself - might aswell seen as though I'm doing a rebuild :)

I have seen the threads you mentioned and I've already checked out the C&B camshafts and I'm seriously considering purchasing a pair ....... If I can just pluck up the courage to part with the £750 their asking for them...... And then hide the bank statement from my wife :D
 
I have seen the threads you mentioned and I've already checked out the C&B camshafts and I'm seriously considering purchasing a pair ....... If I can just pluck up the courage to part with the £750 their asking for them...... And then hide the bank statement from my wife :D

The eBay link I included above (and also emailed to you so you got it in time) had them at £190, good value I thought - I see they ended up selling for £340. Let's hope some more come up for sale :)

-Alex
 
The eBay link I included above (and also emailed to you so you got it in time) had them at £190, good value I thought - I see they ended up selling for £340. Let's hope some more come up for sale :)

-Alex

Well, I'm pleased to say that the winning bidder was me! :D ...... I've actually had my eye on them for a few days but didn't want to draw to much attention to them - bit sneaky I know but at £750 for a new set, these used ones which look in pretty good shape seemed too good to miss!

Granted there's a certain amount of risk buying a used set of camshafts that are comming all the way from the far reaches of Hungary but if this works out I'll have a perfectly useable set of fast road C&B camshafts for well over half price...... And thats basically turning a frown upside down :)

Thanks for the heads up though Alex! (y)
 
ok with a proper OHC valve spring compressor ordered, purchased and delivered I was able to strip the valve gear right down so the head is now nothing more than a solid lump of aluminium. and with all the springs, collets and valves all labelled up and to one side I was able to look at the valve throats properly to see what can be done to improve airflow through them. at first apart from a few obvious casting joins (particularly around the mouth of the inlet) it has a pretty good factory finish. however doing some research on the coupe forum has revealed that a good 1.5mm can be removed easily so armed with an air grinder and some stones I've set to work. a recent book I have on how to powertune cylinder heads stated that you need to have "hands and patients of a sculptor" .......I won't disagree with that!! :D

above is the inlet before I started and below shows the results after about 20mins of grinding and finger sanding.....


this is the exhaust port ...... VERY heavily laden with carbon.


and a close up of the middle combustion camber. also black


oh and just to wet my tastes buds, these arrived the other day - a set of Colombo and Bariani fast road cams as previously mentioned in the above post :) explaining these to my wife and trying to convince her that at £340 these represent as a bit of a deal proved to be as tricky and time consuming as the strip down itself but bless her shes very understanding and lets me get on with it :D "everybody needs a hobby" she tells me (y)
 
He should be! :D 170bhp is not the way to celebrate the then 5 times world champ! ........ I suspect that fiat probably had a load of manual abarths kicking around the factory and didn't know what to do with them lol :D....... So I hope to basically create what I think the Schumacher version should have been. It would be nice to turbo it up, but that's a dark art to me :)
 
Nice to see the inlet ports looked pretty good (thank you indirect injection!). But what is that square port next to the inlet in pic 1? It's totally crudded up! Is it a coolant passage?
 
Hows the work on the head going...??:confused:

Any progress to report or piccies? :yum:

Still plodding away at the ports bud, they take ages to do! :D but ill take some more piceys during the week - the hardest part is trying to grind them out all the same size as I don't really want them all at odd sizes to each other so it's a case of grinding a small bit out checking it against the previous one with a set of engineering calipers. I'm soooo nervous about grinding into the water jacket too! :eek:
 
Did find a company called 'protoxide' that does adjustable pulleys(£180), stainless decated downpipe and various other odds and sods.

I'd found uprated head gasket somewhere else but cant find it again...:(
 
Works been slow over the last few weeks mainly due to concentrating on my other project (luigi the 126) but I have been chipping away at the ports and have managed to progress to three....... not a lot I know but slowly getting there :D. I did however manage to obtain some new parts ready for reassembly. These parts included 10 new exhaust valves, 6 new lifters and a water pump.


The exhaust valves were well coked up and decided at £6 a valve it was worth getting new ones as opposed to cleaning the old ones up. the inlets are in pretty good shape and will respond well to a thorough clean up so I've decided to use them again. What I didn't expect to find were worn lifters (n)...... 6 of them to be exact


as you can probably see here you can make out the rectangle shape across the centre where the cam lobe has worn away the centre of the lifter because it hasn't rotated during operation. luckily only 6 were worn and the other 14 seem in very good order indeed - a check on a DTI will confirm this later though. I did think about replacing all 20 but at £10 a pop it would've left me £200 lighter so to keep costs down i'll stick to replacing whats worn......for now (y)
 
Back
Top