- Joined
- May 18, 2014
- Messages
- 197
- Points
- 66
Replacing HVAC backlight bulbs on a RHD Panda?
Hey all.
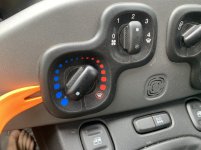
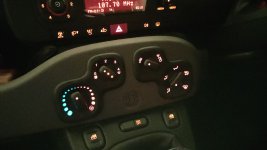
So far, loving my foray back into the world of Panda ownership. However, I noted the other night that half of the ventilation controls have no backlighting when the headlights are on (the left two - fan speed and temperature).
Evidently, this is a fairly common issue caused by a bulb burning out. I even found a video detailing the exact process:
https://youtu.be/UxZanBh0rkk
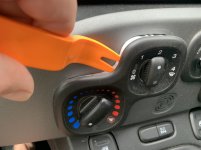
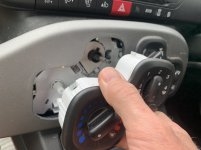
I've been able to pry the panel out as-per the video, but the problem I'm facing now is that because my car is RHD, the light that needs replacing is on the other side of the panel (if that makes sense)
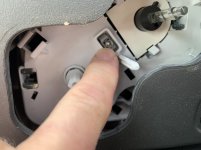
It feels to me like there are another set of clips directly in line with the gear lever that are stopping the panel from coming out further - does anyone know whether this is the case? I've tried applying as much force as I'm game to, but they didn't budge.
Hey all.
So far, loving my foray back into the world of Panda ownership. However, I noted the other night that half of the ventilation controls have no backlighting when the headlights are on (the left two - fan speed and temperature).
Evidently, this is a fairly common issue caused by a bulb burning out. I even found a video detailing the exact process:
https://youtu.be/UxZanBh0rkk
I've been able to pry the panel out as-per the video, but the problem I'm facing now is that because my car is RHD, the light that needs replacing is on the other side of the panel (if that makes sense)
It feels to me like there are another set of clips directly in line with the gear lever that are stopping the panel from coming out further - does anyone know whether this is the case? I've tried applying as much force as I'm game to, but they didn't budge.
Last edited: