As I have posted previously, my replacement centre console/arm rest arrived in the week from Henk. The following pictures describe it's fitting and, although I know many members are far more competent mechanics than me, it may be beneficial to others.
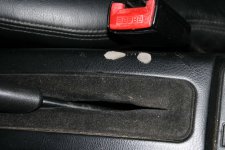
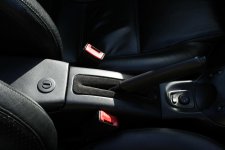
The first picture shows the original centre console with the damage adjacent to the passenger seat belt socket. This was probably caused by a passenger stabbing the trim with the seat belt clip whilst trying to locate it.
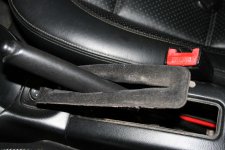
Remove the suede trim from around the handbrake lever by carefully prising it upwards and then slide it off the handbrake lever.
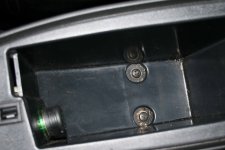
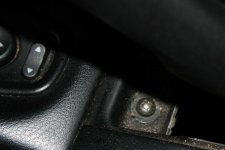
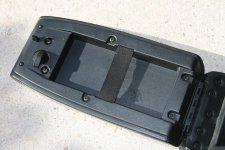
There are two large phillips screws below a thin rubber mat inside the locker and a further, smaller screw immediately below the handle on the handbrake lever.
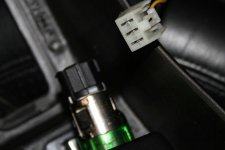
Remove the screws and the console can be lifted upwards and over the handbrake lever. Be careful as the cigar lighter is still connected. The wire on mine was long enough to allow the console to be inverted which made unclipping the connector easy.
NOTE FOR LATER MODELS THERE WILL ALSO BE AN AIRBAG BYPASS SWITCH TO DISCONNECT, IF SO ALWAYS REMOVE BATTERY FOR AT LEAST 45 MINUTES BEFORE ANY WORK IS CARRIED OUT
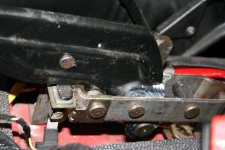
With the console removed, the handbrake lever assembly is revealed. I decided to take the opportunity to adjust some slack from the cables as the handbrake, whist effective, would have made a good advert for Viagra.
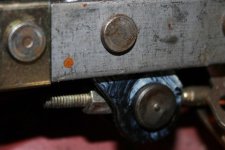
The cables can be adjusted by a 10mm nut below the lever but this is virtually impossible to access with a ratchet. It is best to use a UJ on the end of a ratchet with an extension drive.
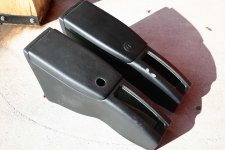
With the console removed, the handbrake adjusted, I turned my attention back to the console and the picture shows the replacement together with the original.
Initially, I did think I would swap the complete lid from my original console onto the new one as this obviously had the lock already fitted. Removal of the two small phillips screws adjacent to the hinge does not release the lid and, even after removing all of the screws, the lid remains riveted to the console.
What is released though is the padded arm rest from the lid and it is this that contains the lock. I was about to swap the arm rests when I noticed that my original was damaged on the edge where it has been in contact with the drivers seat.
It seemed silly to refit the damaged arm rest when I had a perfect one from Henk so now I needed to change the lock assembly.
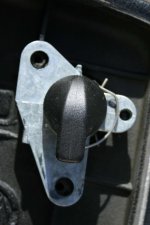
The plastic lever that is turned by the key, is held in place by a flimsy wire 'circlip type' clip which is easily removed. The plastic lever simply lifts off and allows the barrel of the lock to be withdrawn through the padded armrest. The barrel is located into a thin cylindrical plastic trim and this is also easily removed.
Refitting the parts took minutes and the padded armrest was screwed back onto the hinged lid. Check the orientation of the plastic lever at this stage as it is easy to get this 180 degrees out.
Re-installation of the rebuilt console was easy, just remember to reconnect the cigar lighter and air bag connector if applicable.
Make sure the rear of the console is located over the metal peg protruding from the bulkhead.
I took the opportunity to brush the suede trim with 'er indoors's' handbag brush before refitting it. The complete job took less than an hour.
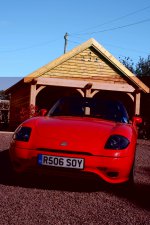
Oh, one more thing... when doing any jobs inside the car, its much easier with the top down.
Steve.


