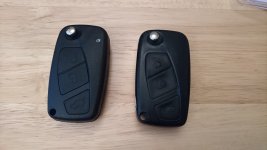
Re-assembly
Now you have your replacement housing, you may have to make some modifications to fit your existing parts. This will be explained in each step. Please take note: Use the existing release button and spring in your new housing. The new spring and button will cause issues unless used with the new blade (which will require cutting at a locksmiths)
Step 1
Ensure the battery terminals are seated correctly and securely in the new housing.
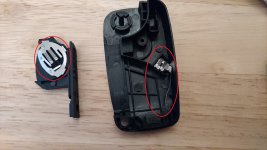
Step 2
Insert your transponder chip into the area circled. Test fit your circuit board into the housing, ensuring it sits flush.
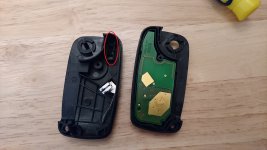
If it does not sit flush (like mine did due to transponder on board), then you will need to take your blade and cut away the little plastic support tab circled
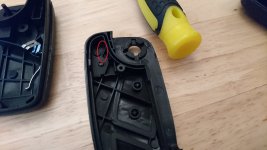
Step 3
Test fit your key blade and ensure it pivots the entire 180 degrees from closed to open. Mine stopped 1 degree short of full open (where the button latches in the locked position). Take your craft/stanley blade and shave the tinyest bit of plastic off the tall stub. Retest the key and repeat until you have the full 180 degree movement.
Step 4
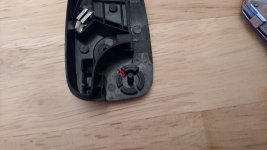
Insert the release button and spring onto the key hinge, placing the bottom leg of the spring in the slot circled. Then place the key onto the release button, ensuring it goes right through the centre of the hole. Then, while pushing down against the spring tension, rotate the key anti-clockwise TWICE and push it flat against the housing. Then take the top part of the housing (witht he circuit board inserted) and place on top of the bottom part of the housing while holding the key in place.
Step 5
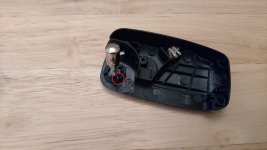
While holding the 2 housing parts together, take the new screw and place it through the hole on the bottom casing and screw it in firmly. Take care not to overtighten.
Step 6
Test the key flip mechanism. If it feels graunchy or scratchy, take it apart again, and place very small dabs of grease on the tops of the plastic pivot surfaces. If you are happy with the tension and locking, then take the new logo and place it over the screw recess on the back of the casing.
Step 7
Insert the battery into the holder, then place into the key and secure the locking screw.
Step 8
Test key in lock, and test remote.
Step 9
Finish your cuppa and congratulate yourself on a job well done!
