Hi all after painting my speedo trim I have been asked to make a guide on how to do this.
The method can also be used to paint other interior/exterior plastic parts such as wing mirrors, spoilers ect.
I used halfords products for this. I used gray plastic primer, Ford Polaris gray (as halfords don't do a "fiat interior trim gray" lol and of course clear lacquer. Other things you will need are cutting paste, wet and dry sand paper (800-2000 grit) a good compound polish, a good polish and your favirot wax or sealent.
I did this entire project in 2 days but i rushed it make sure you let things dry before moving on to the next step or your end reasult will have defects in it like mine does.
Step 1: Take a before picture

Step 2: Remove the trim, for this part there is 2 screws located at the top of the trim and 2 located under the leater guater that hides the nasties at the back of the steering wheel colum. Pretty simple stuff
Step 3: Find a subitable place to work and lay out your protective cardboard or sheeting, make sure this is'nt goint to catch a breeze and land on your work.
Step 4: Shake your plastic primer for this i used a gray primer as suggested on the lid of the colour coat "to achive the best reasults use gray primer". If you was painting somethig red you might want to use a white primer especially if your car is orange go for white . spray your 1st coat ensuring you get into all the tight areas and curves.

Step 4: If need be spray another coat of primer. I did 2 in total. Then move on to your colour coat. Again ensure you shake well before spraying and make sure you get a good even coverage without drips or runs.

Step 5: Again allow the colour coat to dry and put more coats on if needed again for this i put on 2 coats. Lighter colours will requier more. At this stage if you are looking for a "perfect" finish allow the paint to dry over nite and then sand your work flat using the 800 grit paper and working your way through to the 2000 being careful not to sand straight through or you will have to start again. watch out for edges and curves as the paint will be naturally thinner here.
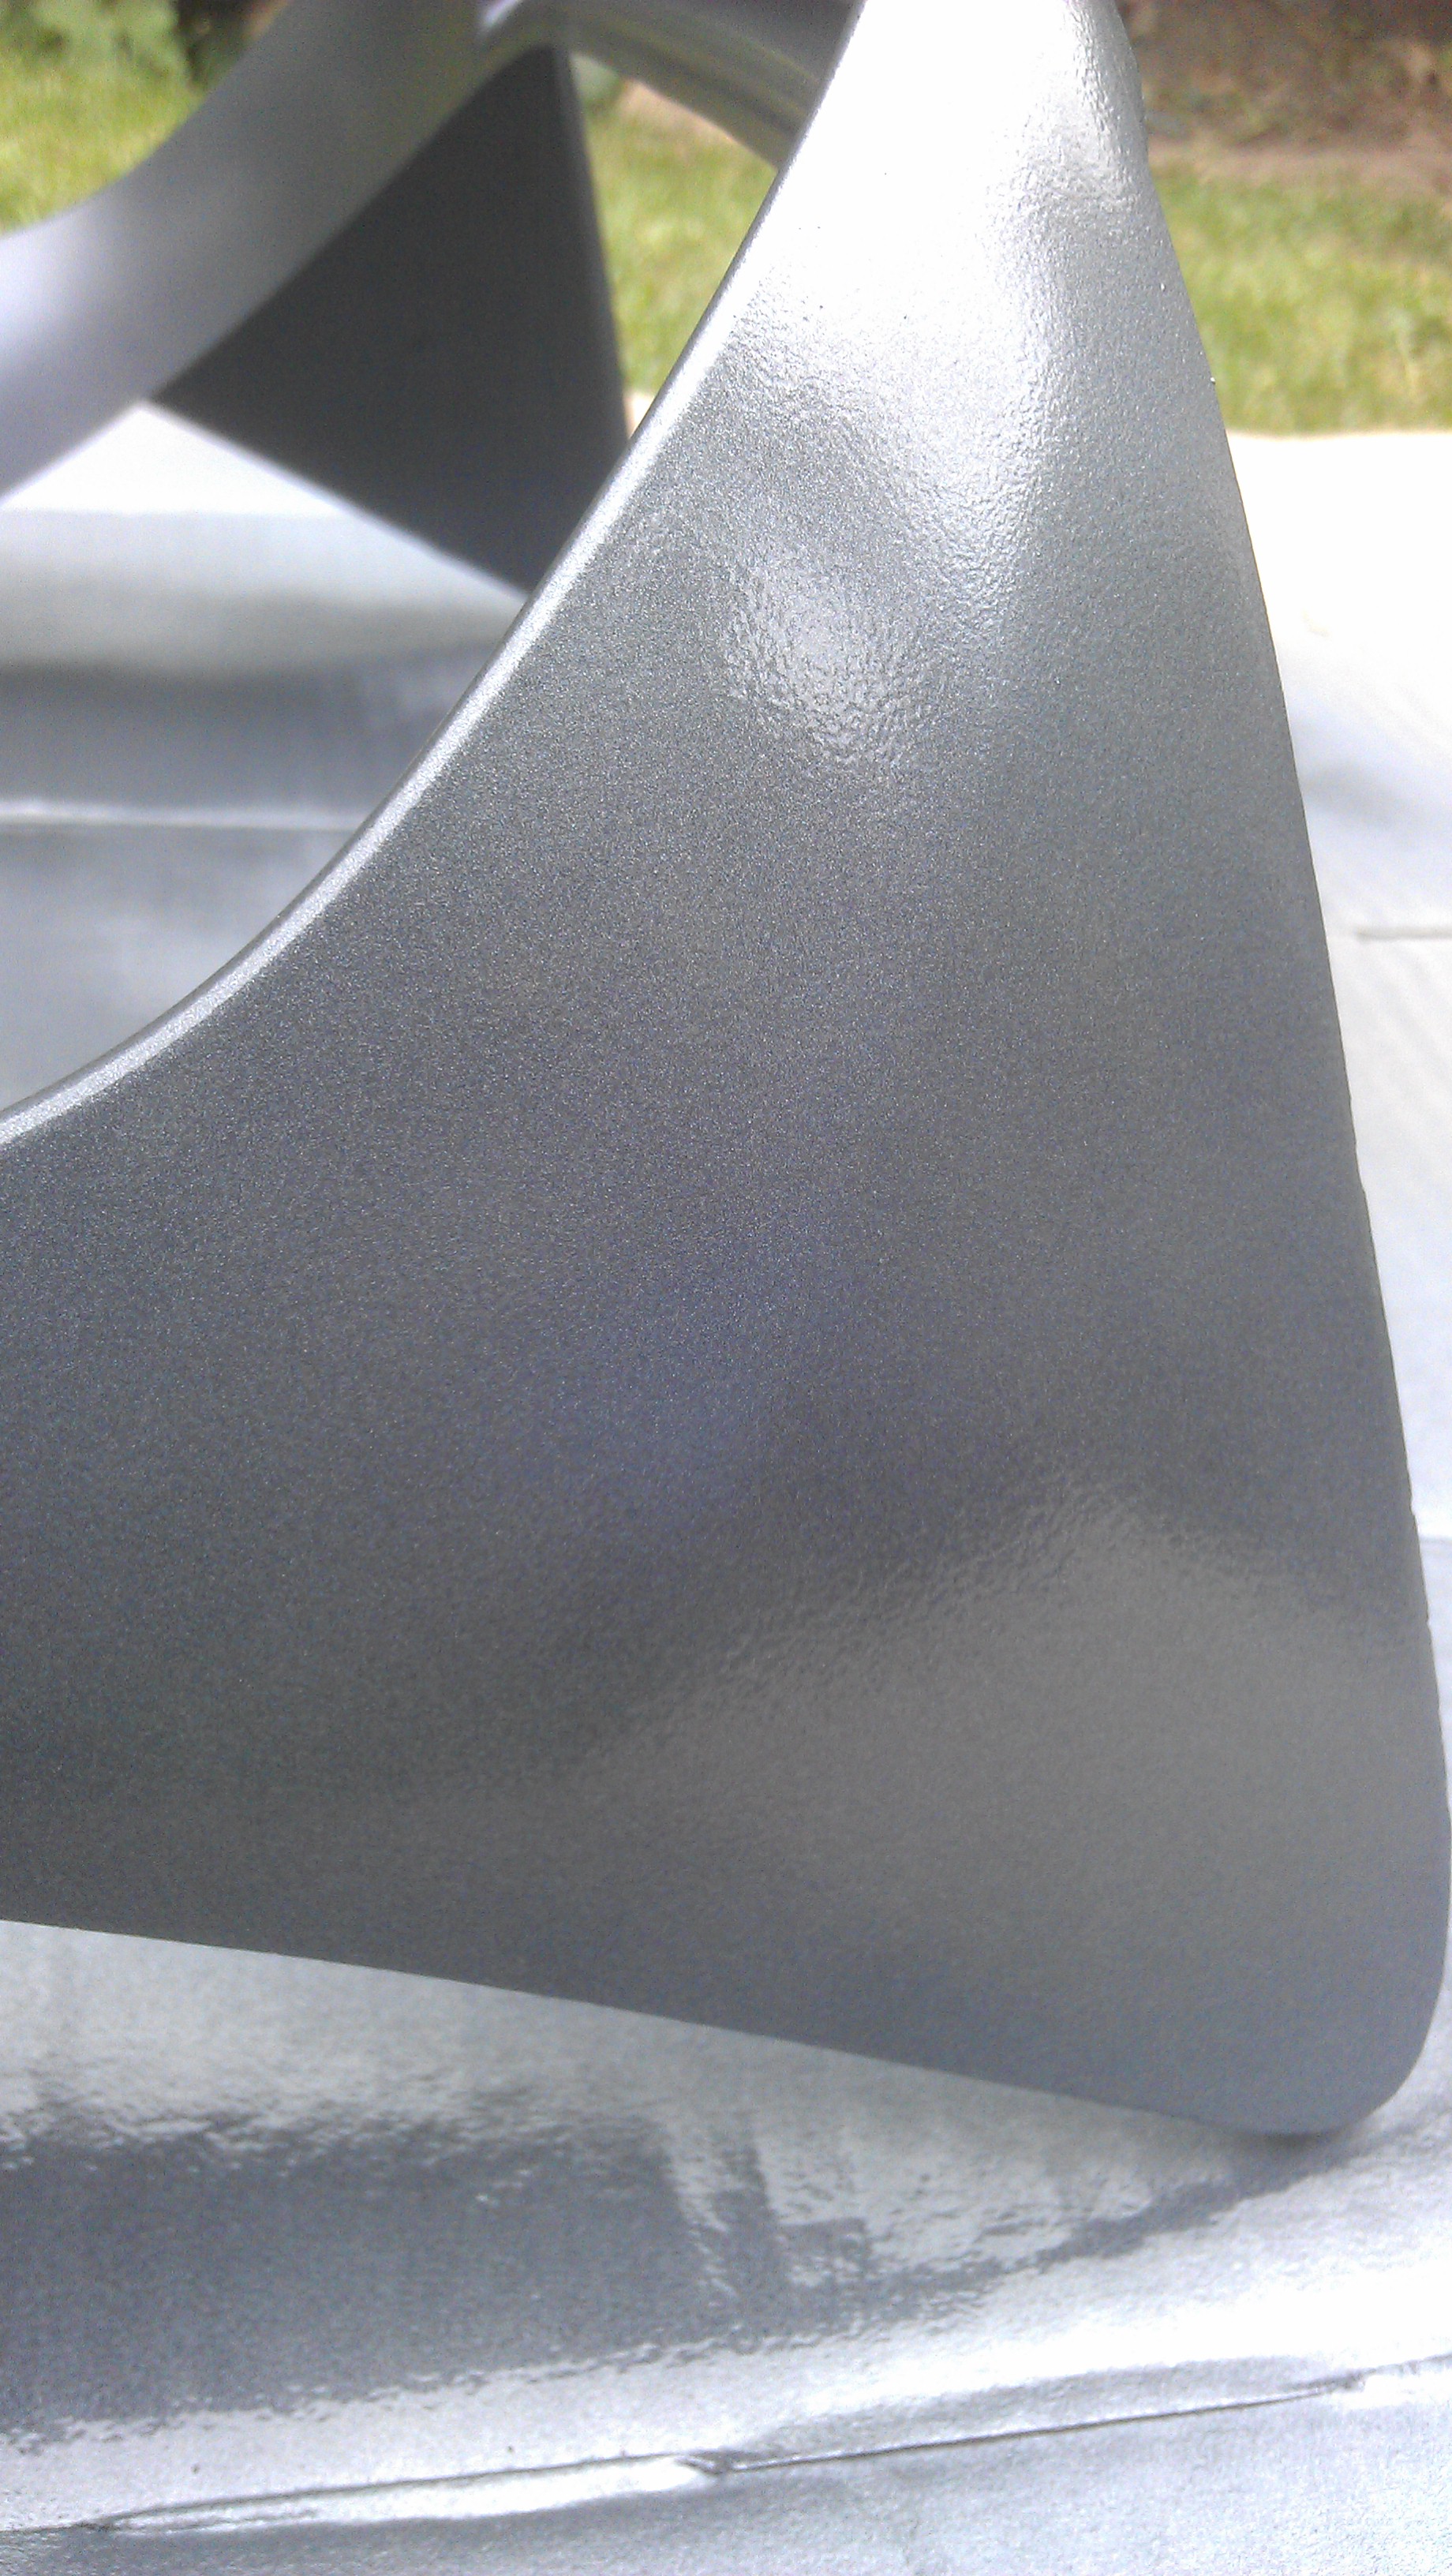
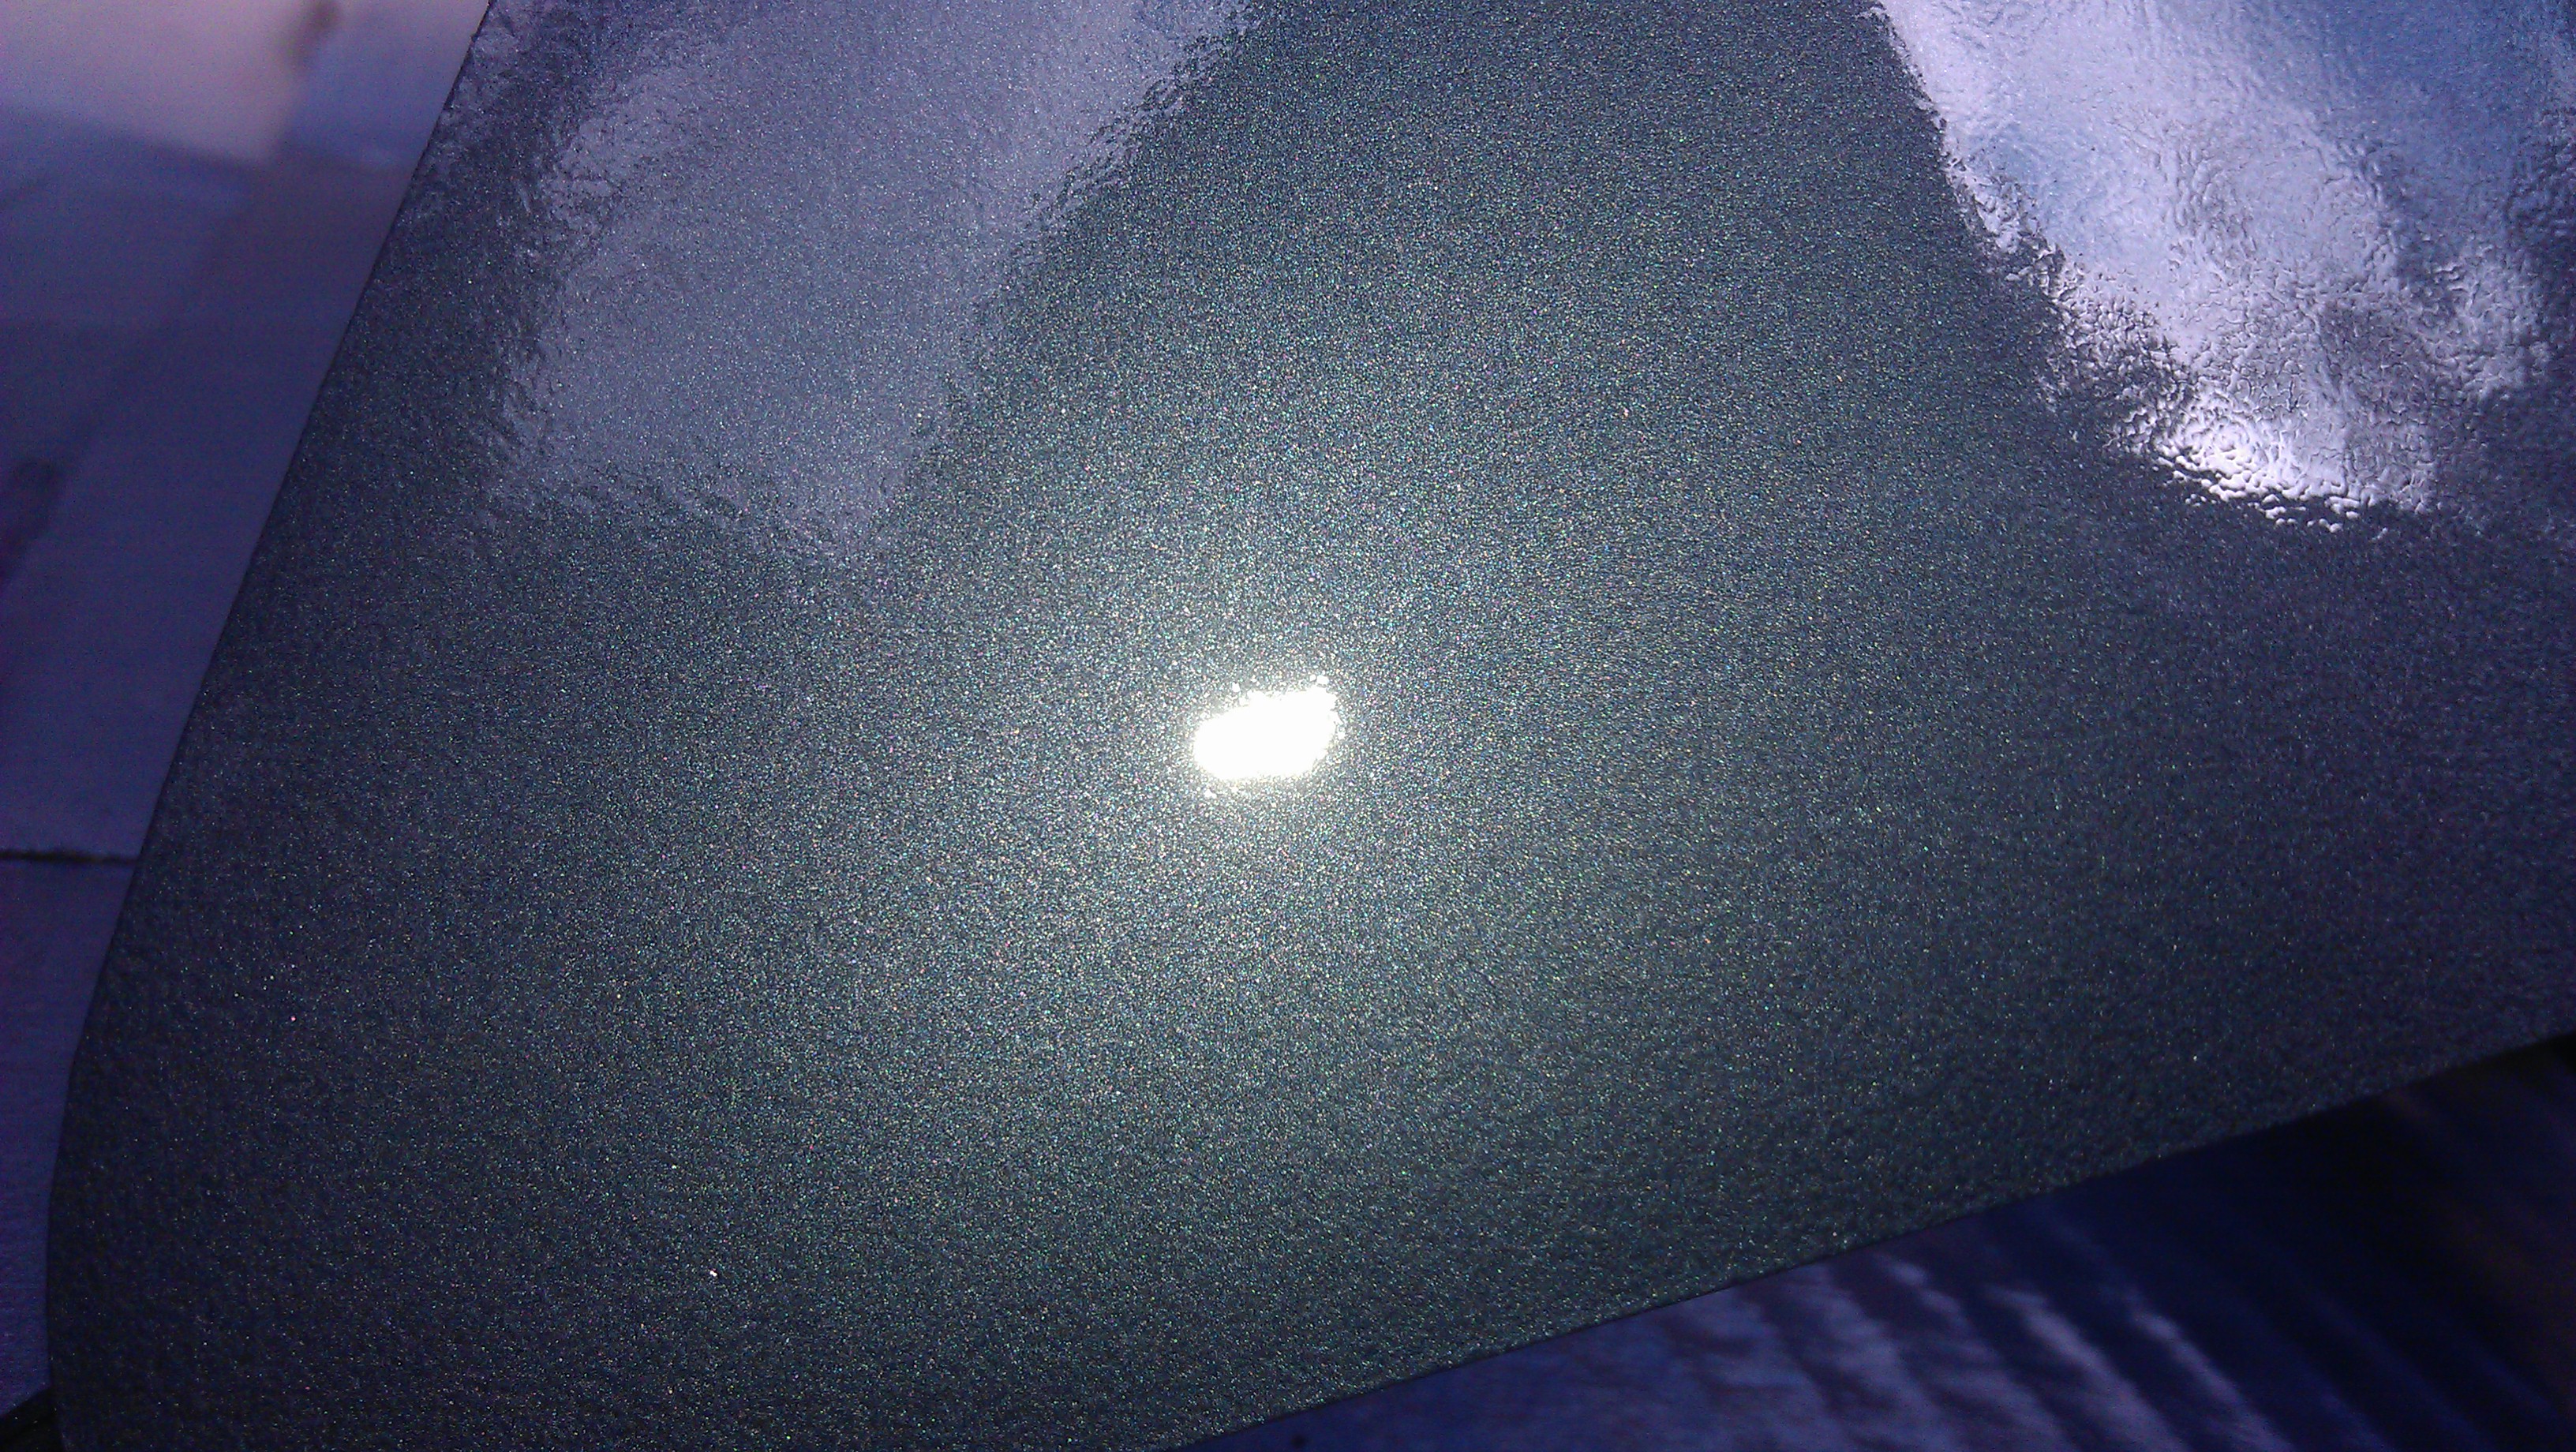
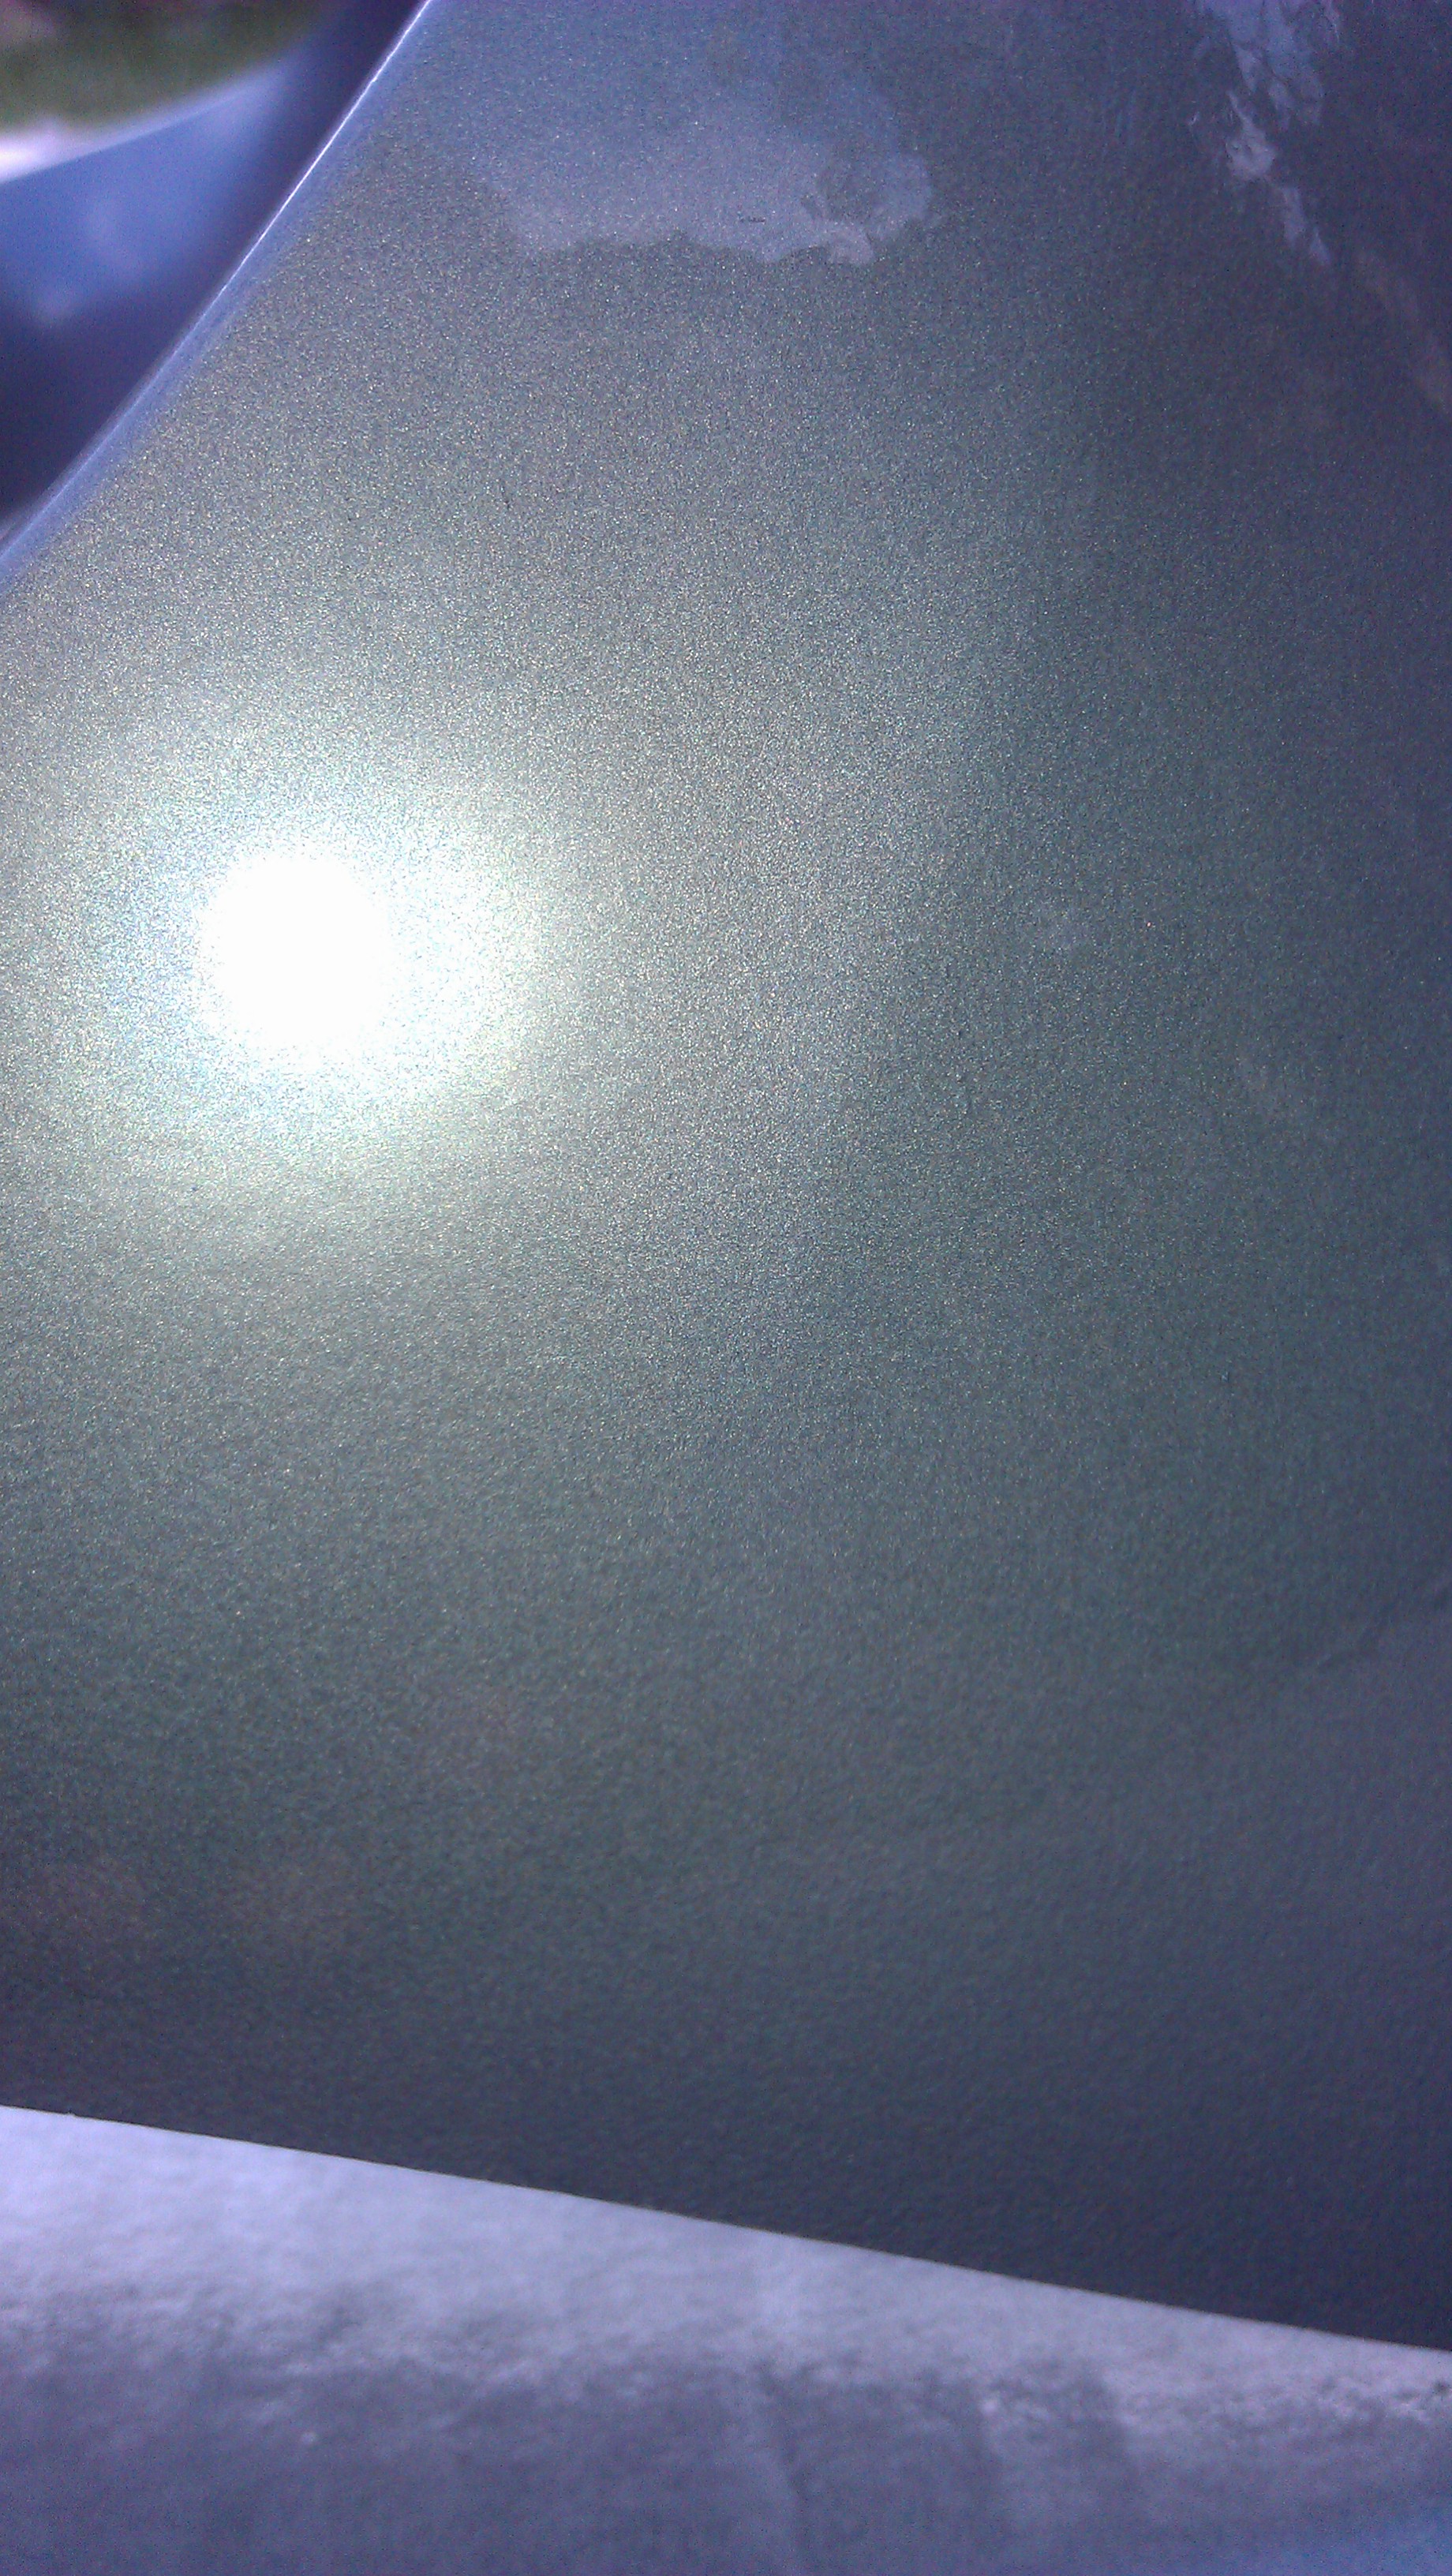
Step 6: Now its time for clear coat. For me there is 2 ways of doing this 1st way is to apply 5-6 thin even coats then sand a lot back to achive a flat even finish. 2nd way is to apply 2-3 thick coats but be careful of runs and drips eiter way works well but the thinner way is safer... Just takes longer. As you can see in the pictures i went somewhere between thin and thick as you can see the orange peel in the lacquer you will also see it now has some reflectiveness to it


Step6a: here are some more pictures after more coats of clear coat.


Step 7: allow this to dry at least over night. Now using your wet and dry paper again starting at 800 grit working through to 2000 sand away the orange peel. I use a spray bottle with warm soapy water to keep the paper wet and spray the paper and the paint to ensure it is really wet. Keep a microfiber towel handy to wipe off the water and check your progress as when the lacqure is wet you will not see how much you have sanded as when it is dry the paint will look hazey. the reason you work through your sand paper from 800-2000 is because for every grade paper you will take out the marks from the previous grit so 1000 will take out the scratches of 800, 1500 will take out the scratches of the 1000 and so on.
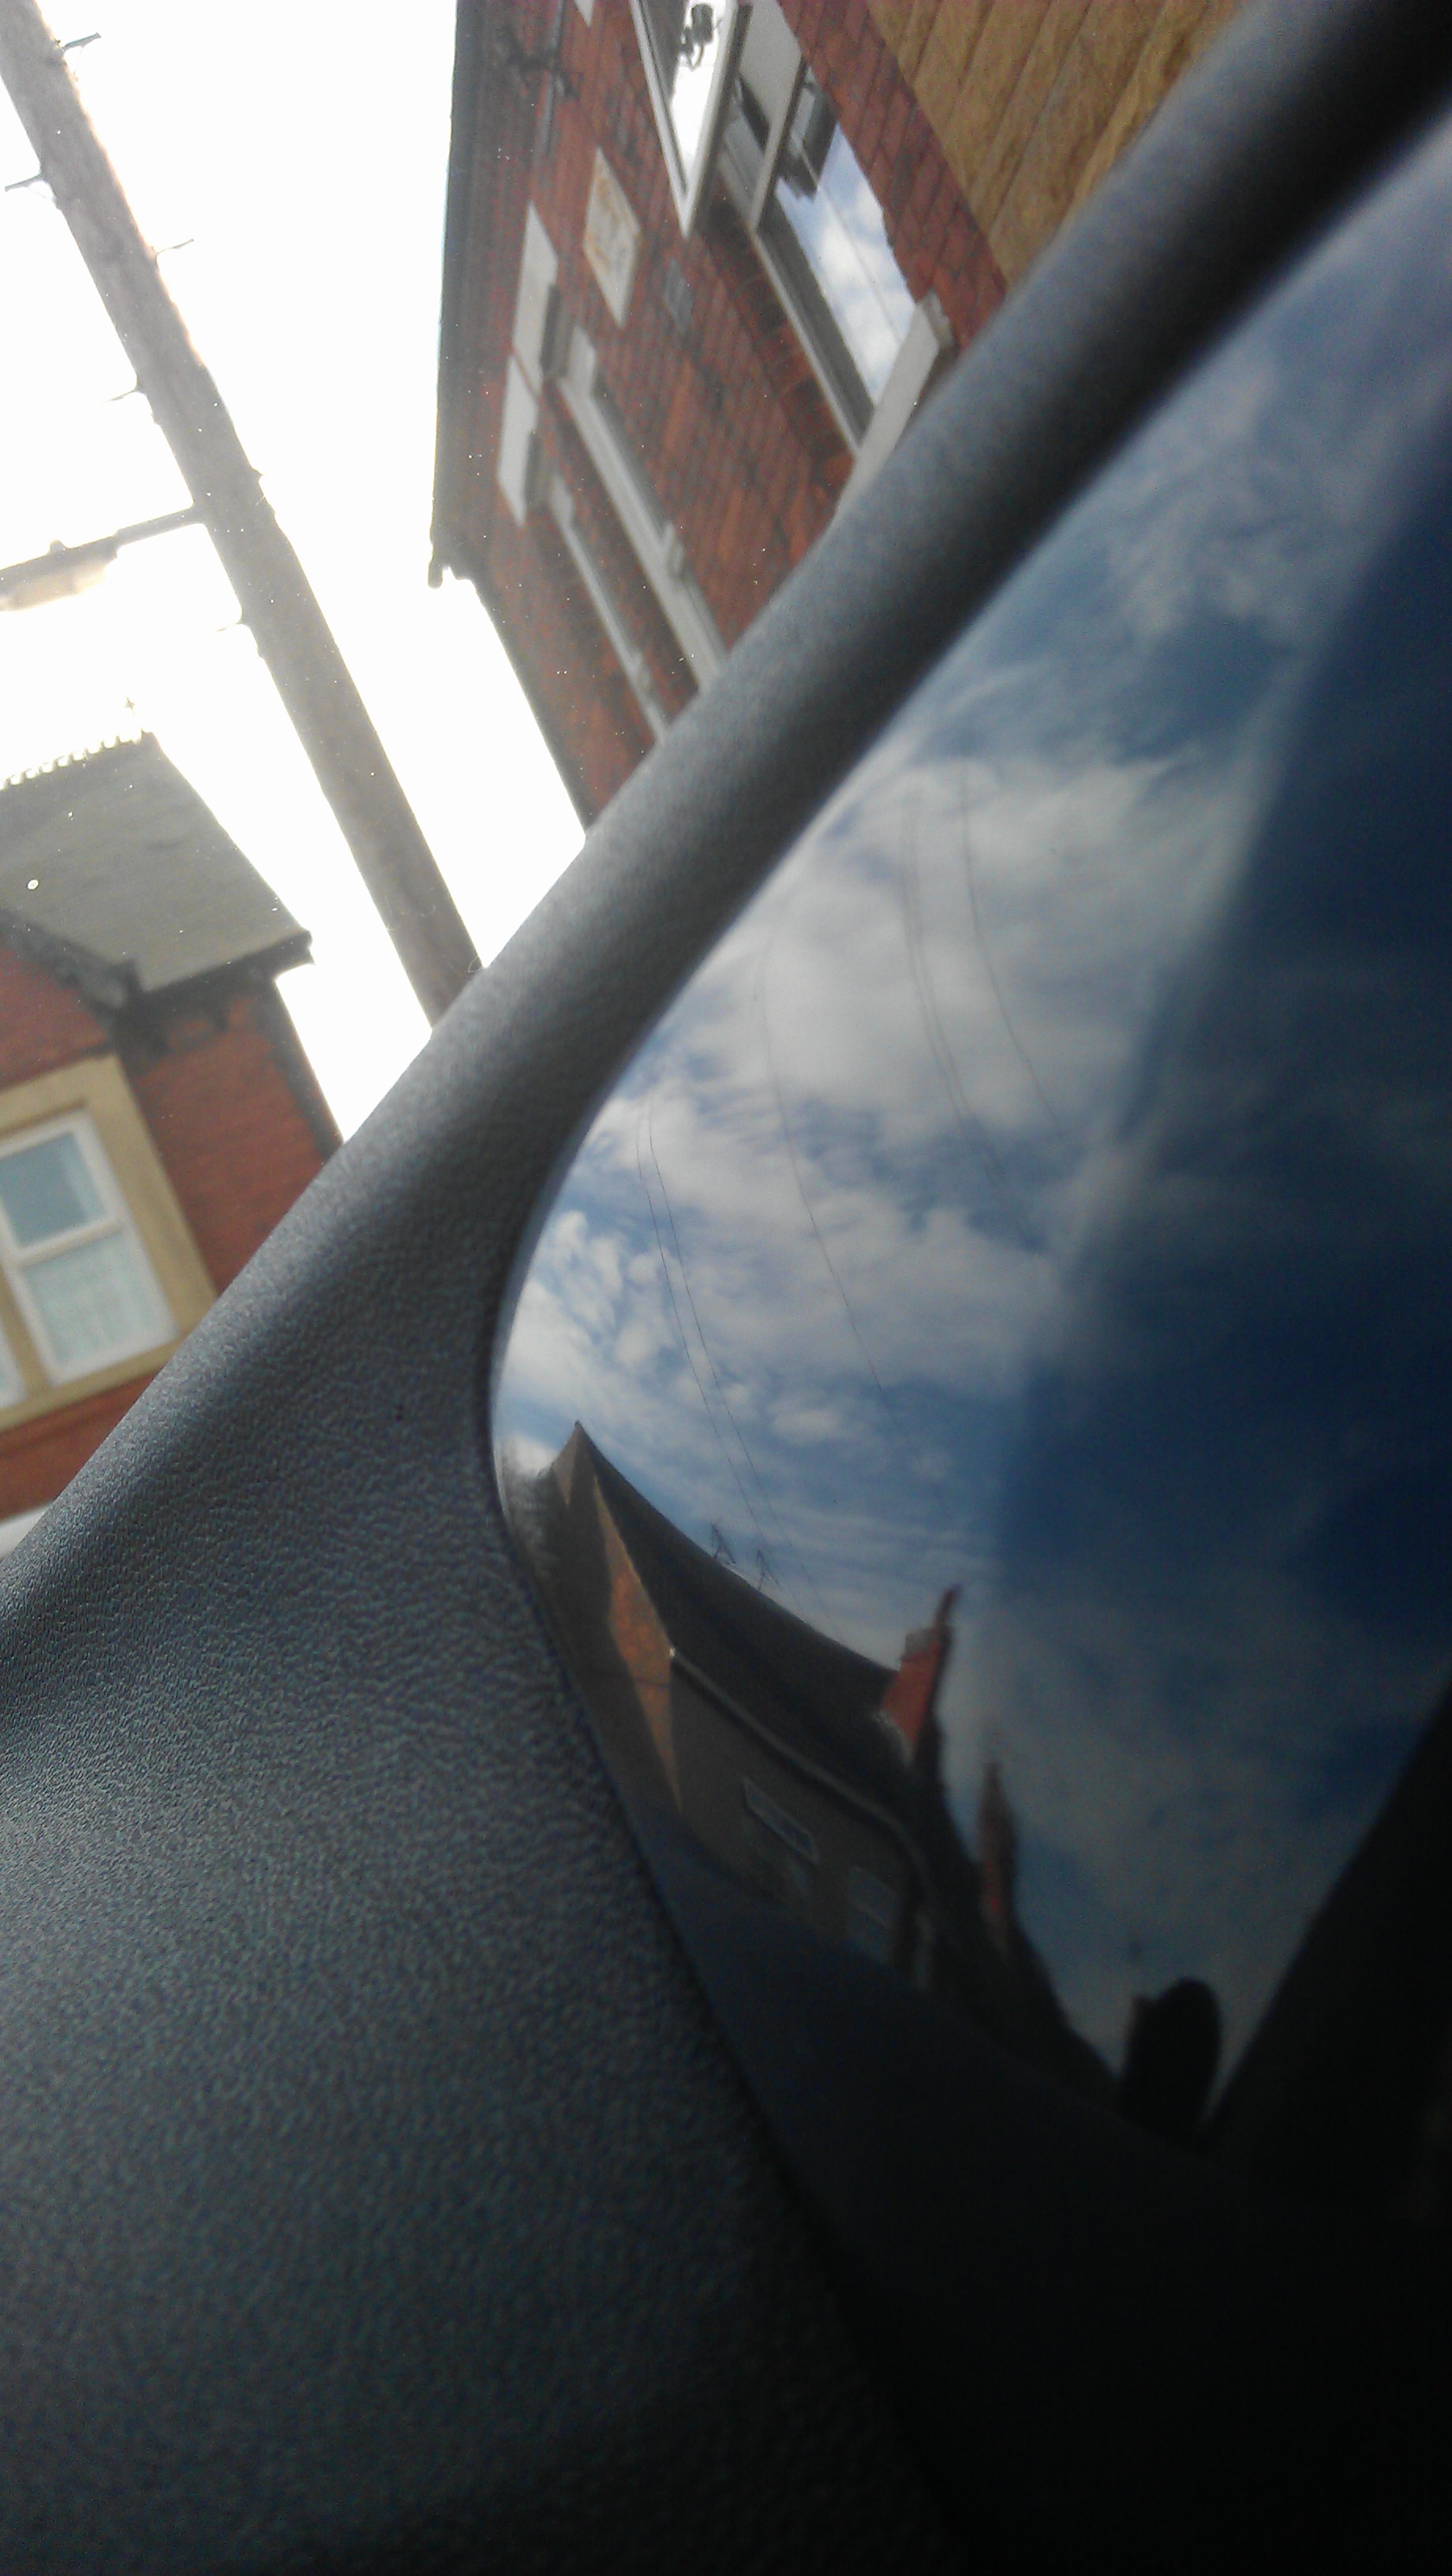
Step 8: when you are happy with the sanding step get your cutting paste and a microfiber again use the compound like the wet and dry paper wetting everything before rubbing it. The paste will make the paint shiney but scratched so now move on to your cutting compound to remove these scratches then polish to shine. this takes alot of elbow grease. I am lucky enoough to own a dual action polisher so i attacked it with that once you are happy with the paint put on your wax/sealent and wipe down the part. Then attach it back to the car (opposite of removal) and your done. Here is the finish i have achived, this was done by only sanding the clear coat


Hope this can help a few of you if you decide to do this or spray anything else on your car.
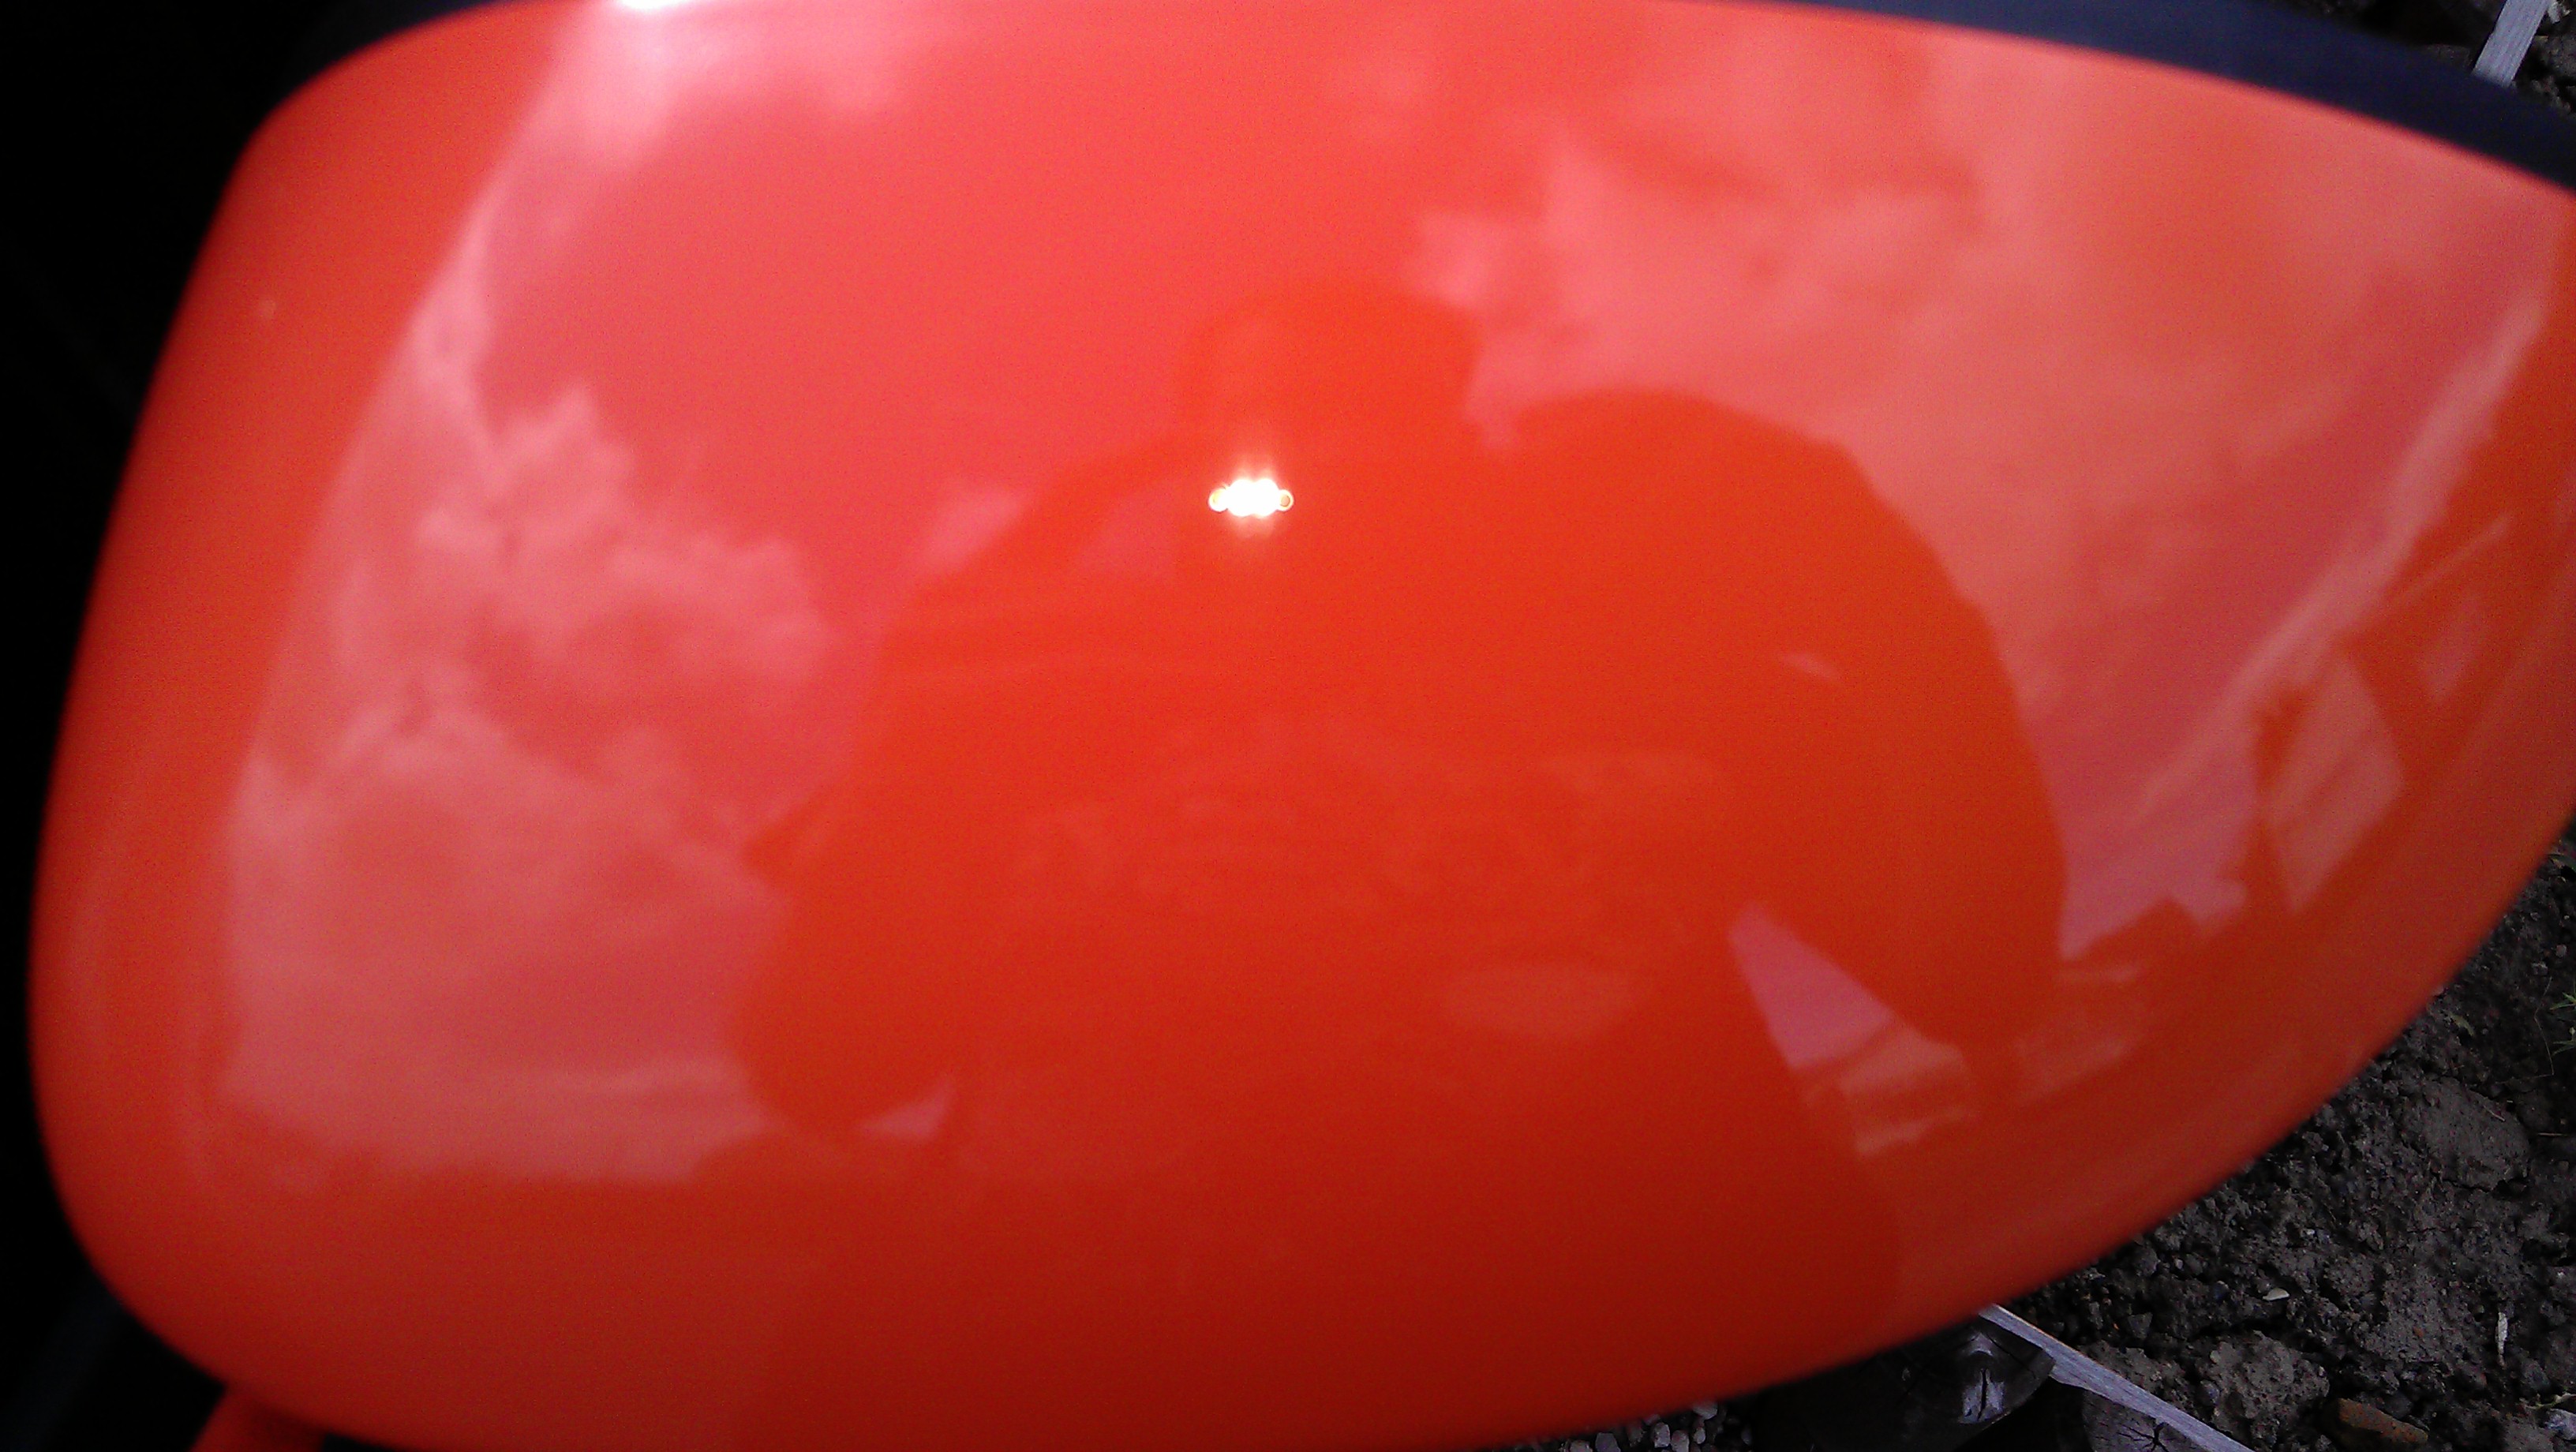
Here are also some pictures of my mirror caps i sprayed with the same method.


Please leave comments or if you have any questions please ask and i will try and answer best i can. I am not a proffesional at this but have made a lot of mistakes in the past doing simular stuff and thats how we learn.
Jordan.
PS. appologies for all the incorrect grammer and spelling throughout literacy was never my strong point.
The method can also be used to paint other interior/exterior plastic parts such as wing mirrors, spoilers ect.
I used halfords products for this. I used gray plastic primer, Ford Polaris gray (as halfords don't do a "fiat interior trim gray" lol
and of course clear lacquer. Other things you will need are cutting paste, wet and dry sand paper (800-2000 grit) a good compound polish, a good polish and your favirot wax or sealent.I did this entire project in 2 days but i rushed it make sure you let things dry before moving on to the next step or your end reasult will have defects in it like mine does.
Step 1: Take a before picture

Step 2: Remove the trim, for this part there is 2 screws located at the top of the trim and 2 located under the leater guater that hides the nasties at the back of the steering wheel colum. Pretty simple stuff
Step 3: Find a subitable place to work and lay out your protective cardboard or sheeting, make sure this is'nt goint to catch a breeze and land on your work.
Step 4: Shake your plastic primer for this i used a gray primer as suggested on the lid of the colour coat "to achive the best reasults use gray primer". If you was painting somethig red you might want to use a white primer especially if your car is orange go for white
. spray your 1st coat ensuring you get into all the tight areas and curves.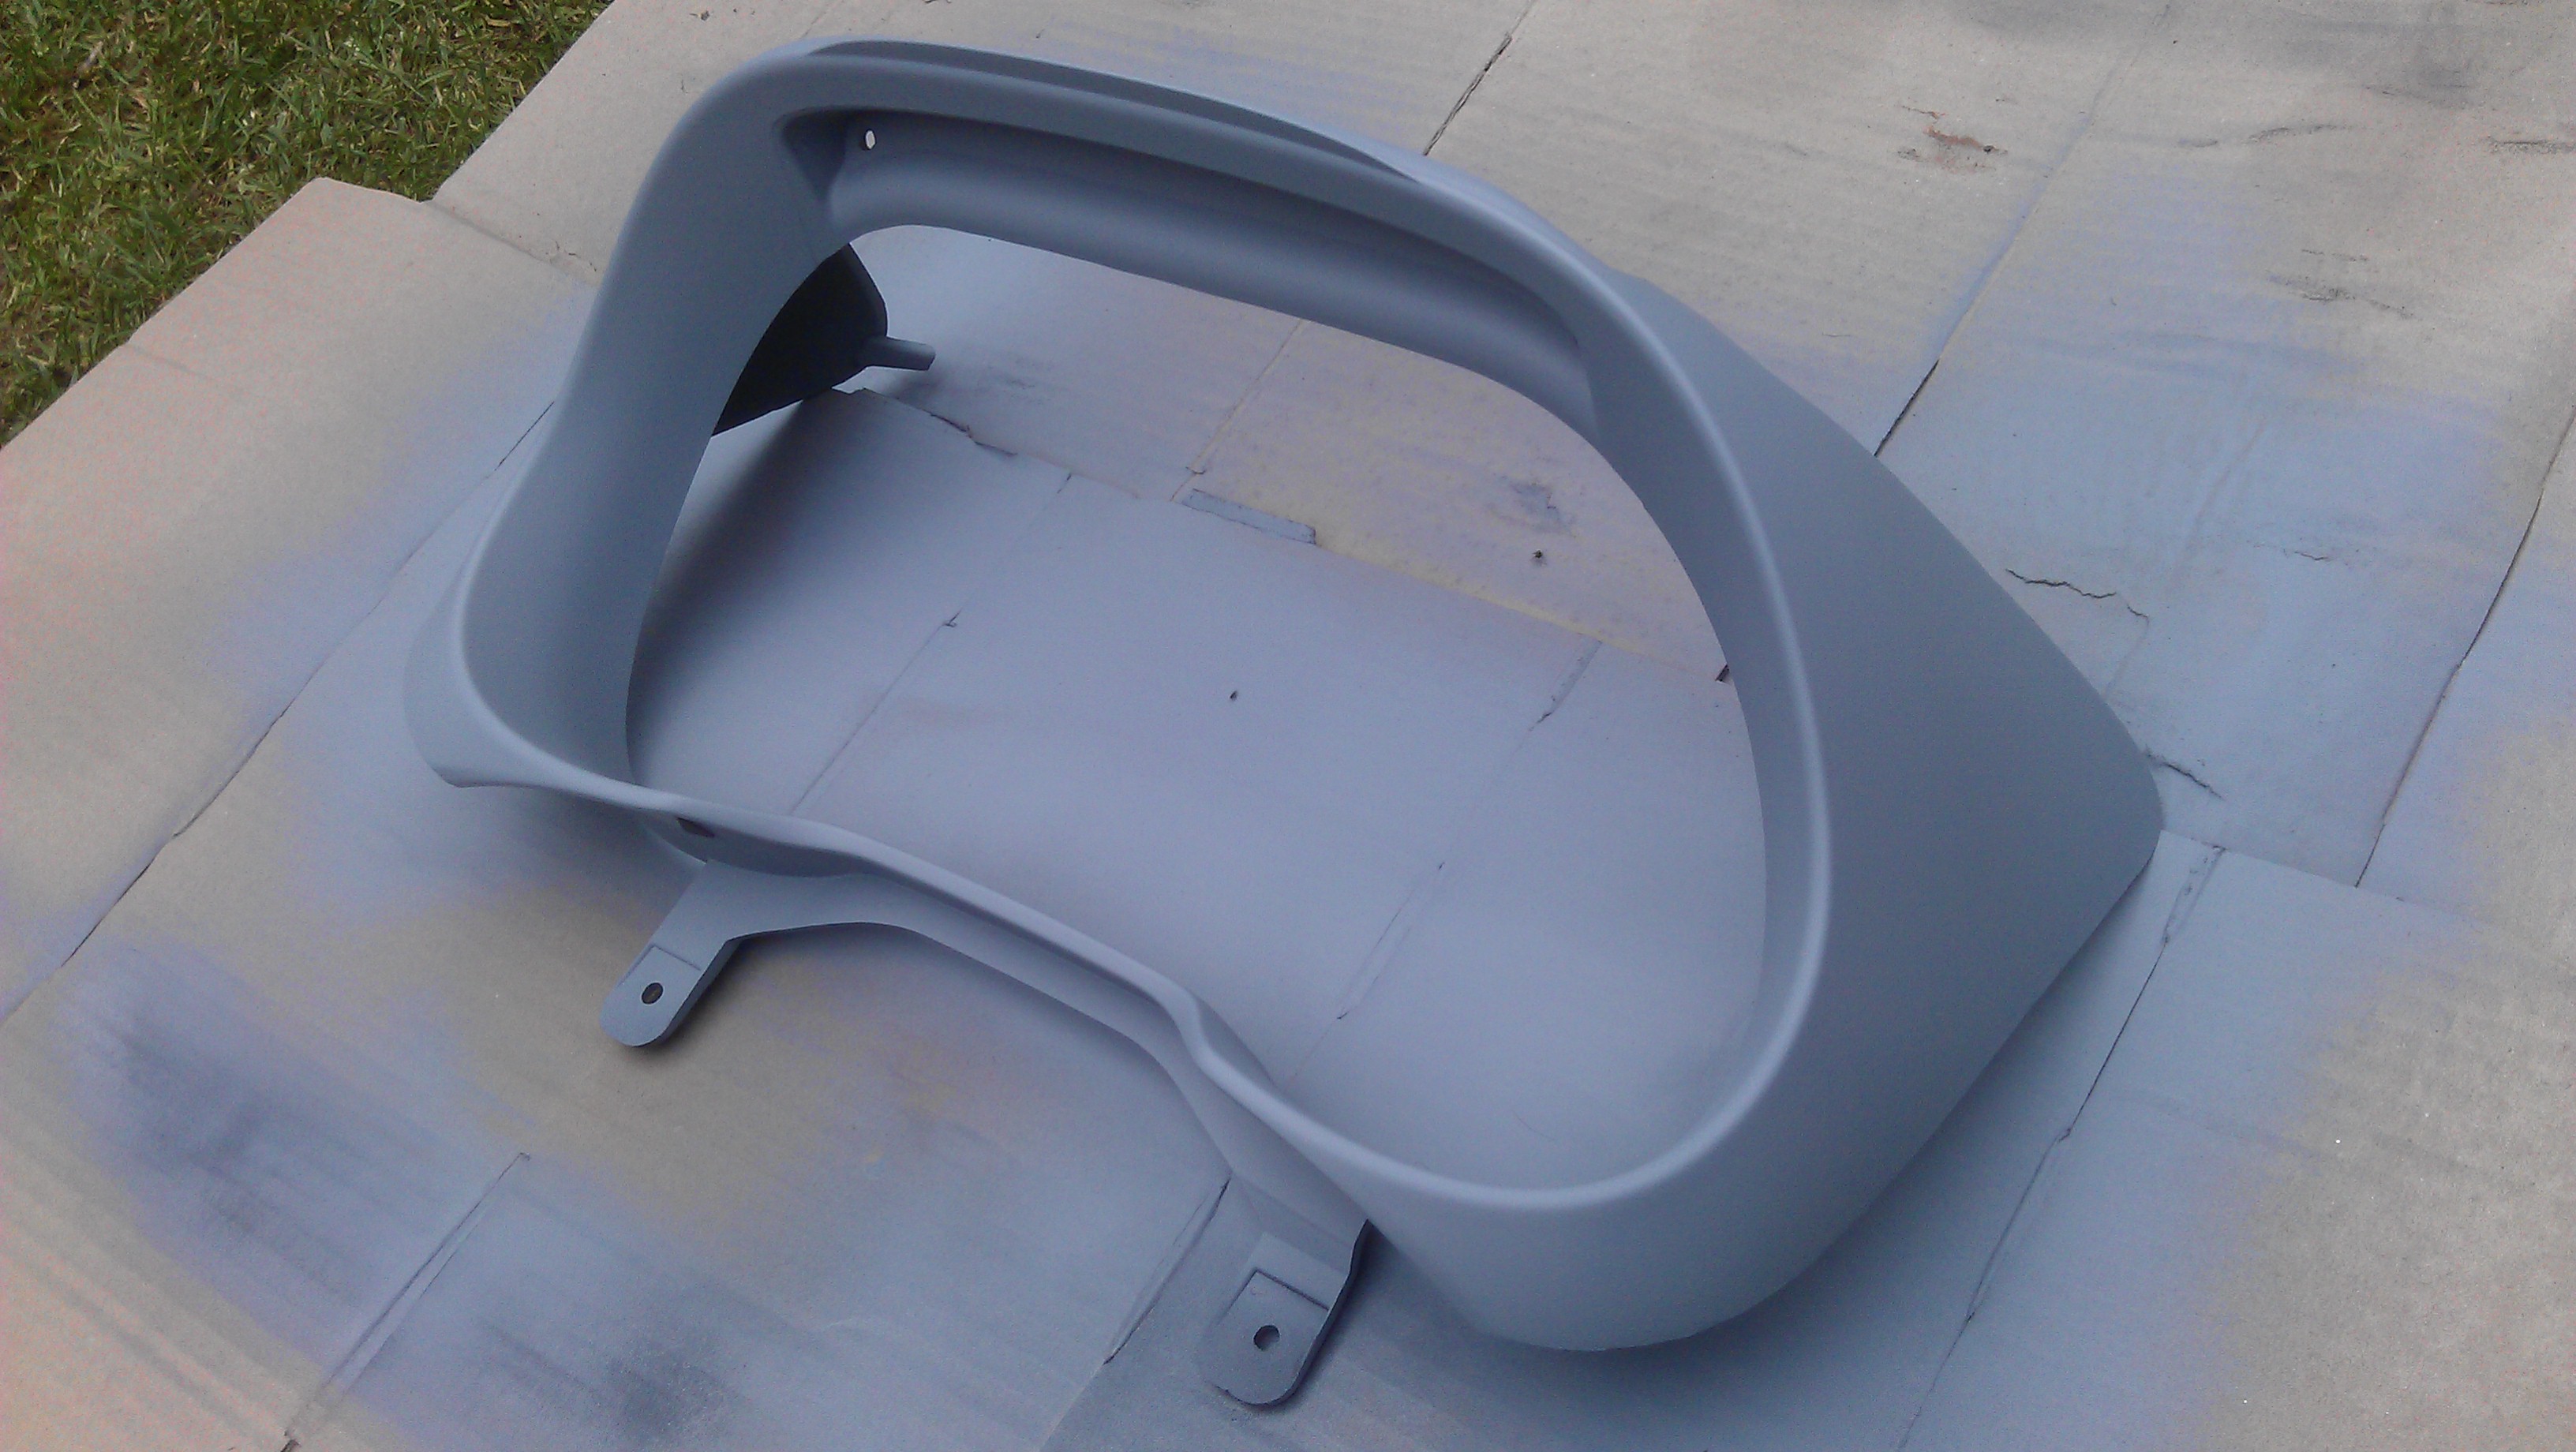
Step 4: If need be spray another coat of primer. I did 2 in total. Then move on to your colour coat. Again ensure you shake well before spraying and make sure you get a good even coverage without drips or runs.
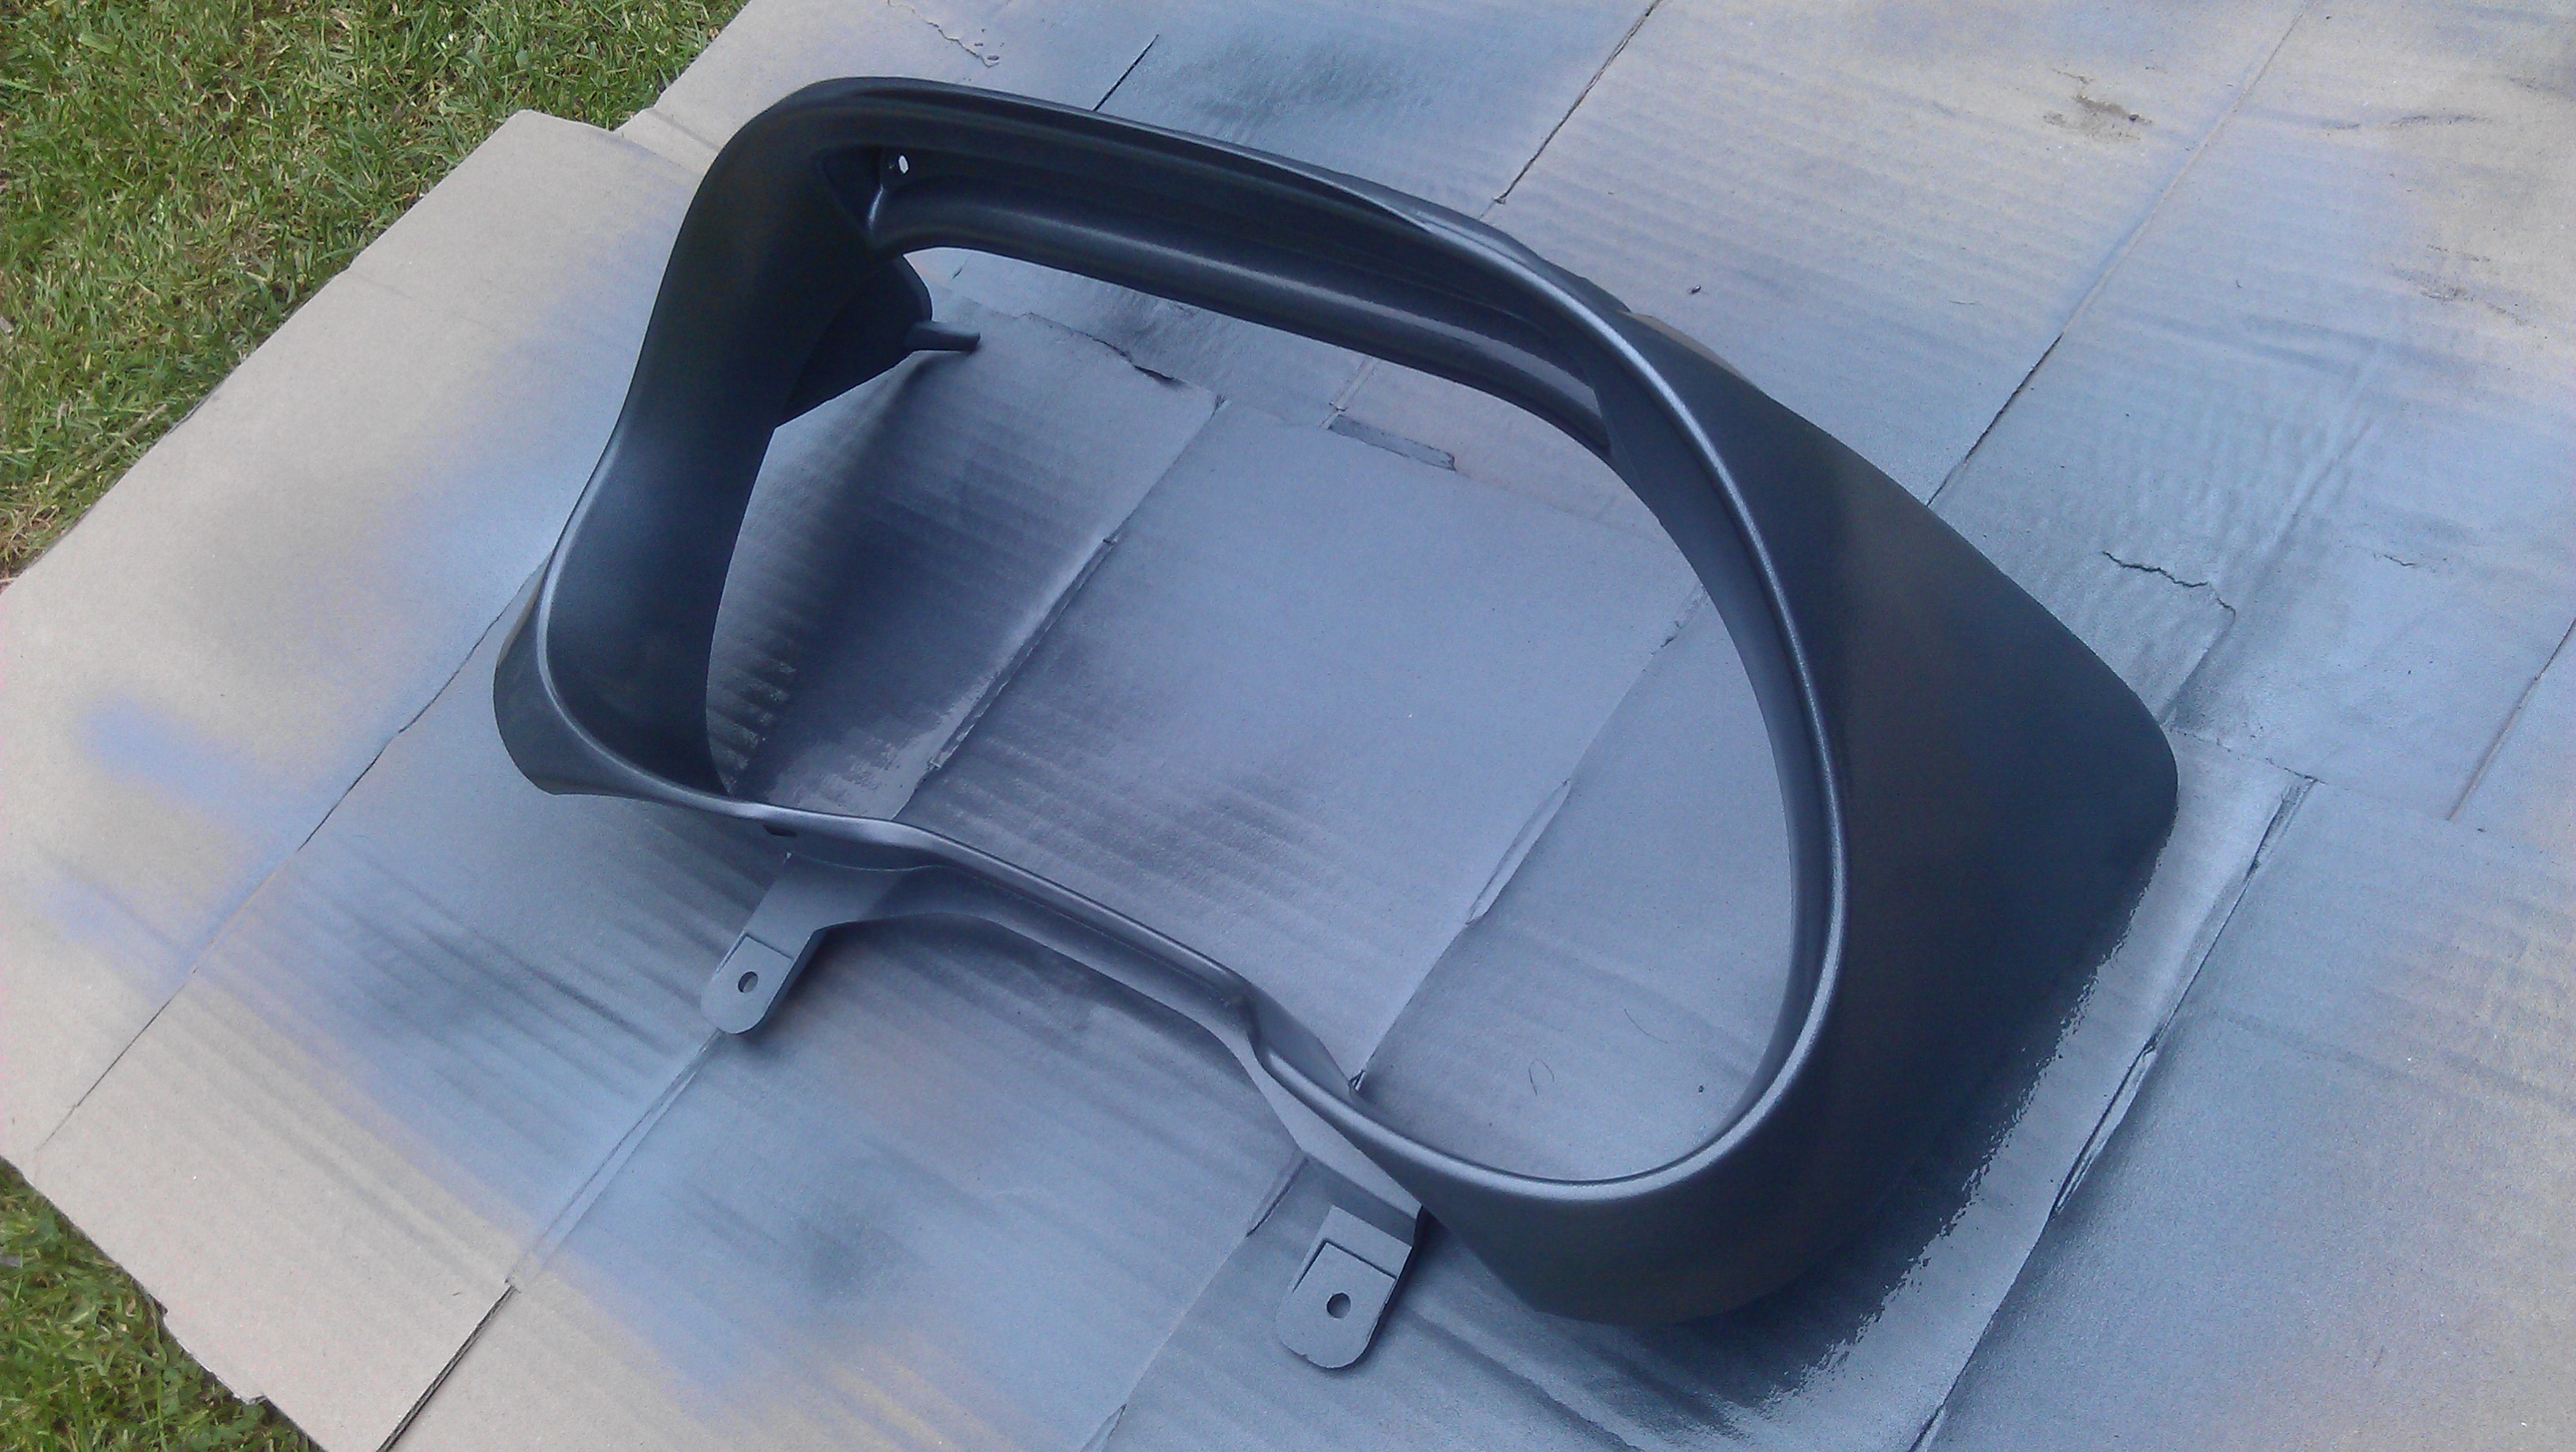
Step 5: Again allow the colour coat to dry and put more coats on if needed again for this i put on 2 coats. Lighter colours will requier more. At this stage if you are looking for a "perfect" finish allow the paint to dry over nite and then sand your work flat using the 800 grit paper and working your way through to the 2000 being careful not to sand straight through or you will have to start again. watch out for edges and curves as the paint will be naturally thinner here.
Step 6: Now its time for clear coat. For me there is 2 ways of doing this 1st way is to apply 5-6 thin even coats then sand a lot back to achive a flat even finish. 2nd way is to apply 2-3 thick coats but be careful of runs and drips eiter way works well but the thinner way is safer... Just takes longer. As you can see in the pictures i went somewhere between thin and thick as you can see the orange peel in the lacquer you will also see it now has some reflectiveness to it

Step6a: here are some more pictures after more coats of clear coat.


Step 7: allow this to dry at least over night. Now using your wet and dry paper again starting at 800 grit working through to 2000 sand away the orange peel. I use a spray bottle with warm soapy water to keep the paper wet and spray the paper and the paint to ensure it is really wet. Keep a microfiber towel handy to wipe off the water and check your progress as when the lacqure is wet you will not see how much you have sanded as when it is dry the paint will look hazey. the reason you work through your sand paper from 800-2000 is because for every grade paper you will take out the marks from the previous grit so 1000 will take out the scratches of 800, 1500 will take out the scratches of the 1000 and so on.
Step 8: when you are happy with the sanding step get your cutting paste and a microfiber again use the compound like the wet and dry paper wetting everything before rubbing it. The paste will make the paint shiney but scratched so now move on to your cutting compound to remove these scratches then polish to shine. this takes alot of elbow grease. I am lucky enoough to own a dual action polisher so i attacked it with that
once you are happy with the paint put on your wax/sealent and wipe down the part. Then attach it back to the car (opposite of removal) and your done. Here is the finish i have achived, this was done by only sanding the clear coat 
Hope this can help a few of you if you decide to do this or spray anything else on your car.
Here are also some pictures of my mirror caps i sprayed with the same method.


Please leave comments or if you have any questions please ask and i will try and answer best i can. I am not a proffesional at this but have made a lot of mistakes in the past doing simular stuff and thats how we learn.
Jordan.
PS. appologies for all the incorrect grammer and spelling throughout literacy was never my strong point.