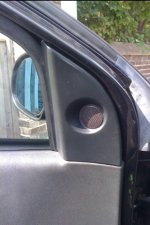
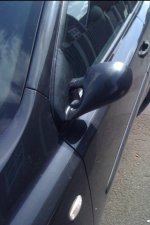
Step 1 - Removing the Tweeter Surround.
I didn't take a picture of this as it is quite simple. First, get your trusty Fiat screwdriver and swap to the Flat Head. Slide the Screwdriver into the gap between Tweeter Surround and Door Frame. The Surround sits on 3 clips which quite easily pop out (and back in later). Make sure that you unclip the Tweeter from the surround for better access. See picture for image of Surround in place
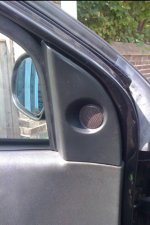
I didn't take a picture of this as it is quite simple. First, get your trusty Fiat screwdriver and swap to the Flat Head. Slide the Screwdriver into the gap between Tweeter Surround and Door Frame. The Surround sits on 3 clips which quite easily pop out (and back in later). Make sure that you unclip the Tweeter from the surround for better access. See picture for image of Surround in place

Step 2 - Removing the Old Mirror
Step 2 - Removing the Old Mirror
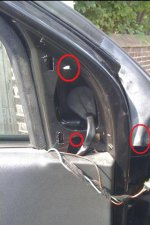
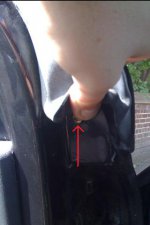
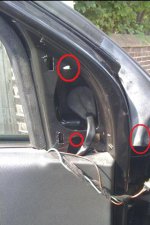
Second stage is to unscrew the old mirror. Swap Fiat Screwdriver to Cross Head. There are 3 screws to remove before the Mirror can be removed. 1st is at the top of the large opening and the 2nd is through the small opening at the bottom (where the Tweeter wire goes) I have highlighted the screw locations on the image. 3rd screw is a pain and located under the rubber seal to the right of the 2nd screw. Lift up the seal and unscrew. Now go outside and Remove the Mirror (In my case, I cut through the Electric mirror cable as well)
NB - On the drivers side mirror there is also a small cable running to the mirror. This wire is the temperature gauge. You have two options, cut through the wire and lose your temperature reading on the dash or carefully remove the gauge from the old mirror and fit into the new M3 mirror. I chose to cut the wire (I might fit back in later)
Step 3 - Align Before Fitment
Step 3 - Align and Check before Attaching
Being the Typical Brit, I assumed that the base plates would fit no problems and I Screwed them on. Low and behold there was a gap.
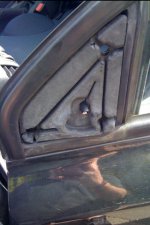
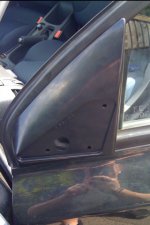
Firstly, take the base plate to the car and you will see the 3 holes that the mirror needs placing in. Line up the mirros and check for a flush fit. I needed to take about 3/4cm off the top of three posts to fit flush. I used a small saw to cut off the excess plastic.
Step 4 - Assemble the Mirrors and Base Plates
Step 4 - Assembly
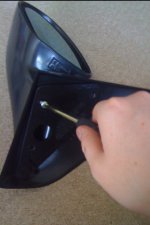
Simple and Quick Step 4. Bring out the trusty Fiat Screwdriver and screw the Base plate and Mirror together using the provided Screws (silver in my case). Voila, your M3 is ready for fitting.
Step 5 - Fitting the Mirrors
Step 4 - Fitment onto the Car
Line up the Mirror again on the car using the three mentioned holes. Secure with 3 screws provided (gold in my case). Don't forget that cheeky little screw hiding under the rubber seal.
Step 5 - Attach the Tweeter Surround
Step 5 - Replace the Surround
Clip the Tweeter Surround back into the three clips. Job Done. A difficult job on most cars, but on the Stilo, it's Simple.
