The Wiring Loom
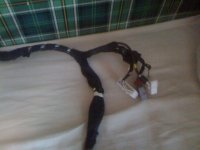
Now you can see from the above attatchment the wiring loom that we;ve been trying to get to. Start from the passenger side and unplug everything from it necessary to get it out the car. There will be a couple of earthing points around the bottom of the heater matrix bolted in, simply unbolt these and they're free. One wiring plug comes out from the Airbag ECU as well so unplug that one! Got everything unplugged from it now? Pull it out and put it to one side, or spread it out on the floor and have a right good look at it. What you should have is something very similar, if not the exact same as this:
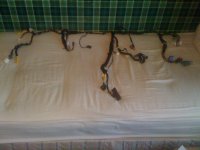
This is the entire dash loom. The next few pictures show - from passenger side to drivers side - what each plug is for.
This is the plug for the door speakers and other electrical things, the black plug you unplugged this from goes down under the kick panel. The one wrrapped in yellow is for thepassenger airbag switch, yep I ripped mine of (accidently).
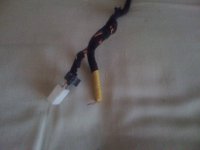
These plugs sit above the glovebox and can be seen when you pull the little flap down inside it. The yellow one is for the passenger airbag and the white one is for the glovebox light.
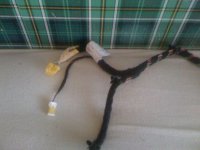
These are the connections that go into the back of your (old) headunit.
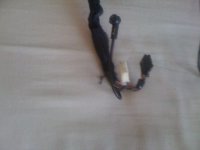
This is the plug for the hazard warning light switch.
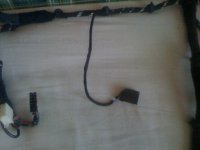
These are the earth points and the (green) wiring plug from the airbag ECU.
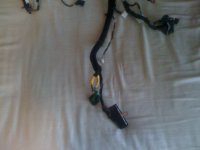
At the bottom of the picture are the wiring plugs for the stalk assembly and ignition barrell. The one at the top of the picture goes into the back of the dash clocks. The Selespeed wiring loom will have an extra (grey) wiring plug as its dash clocks take two wiring plugs, so just ignore that one
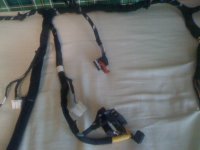
These three all connect into the fusebox by the drivers right knee.
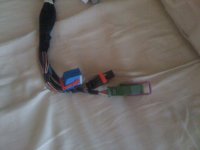
Now the last collection of wiring plugs. The small grey one is for the light and menu button switches, the small black one is the radio antenna. Not sure what the other two white ones are, but the Selespeed wiring loom replaces them anyway so no need to worry
Right so that's a breakdown of the dash wiring loom in your Stilo, well it's now out your Stilo so let's do the next thing and get the dash frame out!
Firstly you'll need to unbolt the steering collumn from the frame. It is held on by four allen bolts from underneath it. Be careful when the last one comes undone as the steering collumn is bloody heavy! It's also wise to remove the interior fusebox and wiring plugs from it to give yourself more room, it needs to be removed from the dash frame anyway so it cane come out.
Now, you will have a silver bolt like this at either end:

Unbolt these with your ratchet, lastly there will be metal supports attatched to it either side of the heater matrix at the front. These are held in with allen bolts and come out easily. Once the supports are free from the dash frame it is ready to come out! It's pretty light so it's not too difficult to remove, I'd suggest putting the car in second gear so that there is enough room to move the heater matrix out with the dash frame.
Once the dash frame is outside the car, unbolt the heater matrix from it. It is held to it by three allen bolts from INSIDE the dash frame. The matrix should come out without a fuss.
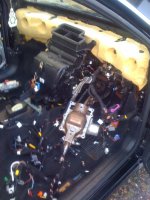
Now your interior should look like this:
Now you should give yourself a big pat on the back for getting to this point :slayer: I'm sure you've probably swore a few times getting here but all we got to do now is refit everything in reverse, but with new goodies included

