IMG_1874.JPG

Panda (Classic) My Sisley, Panda 4x4 - division north

Introduction

As mentioned before, I'm starting new thread for my recent purchease.
Bought it from forum user, deposit was place without seeing the car first, went all the way down south with rest of the cash and A-frame in boot.

First summary of the car is ( 1 is very poor, 10 is perfect):

  • Originality - 6,
  • Bodywork - 7,
  • Engine - 6,
  • Gearbox - 5,
  • Interior - 5,
  • Structural rust - 8,
  • Visible rust - 8,
  • Previous owners maintain - 7
Plan for the car is to keep it road worthy and in good mechanical nick, join Panda 4x4 UK club and have some play with other Northern forum members.

As it is now, I'm not willing to make any statement what needs to be done as I had only spend about 2h last week by checking and looking at the car in more details way.

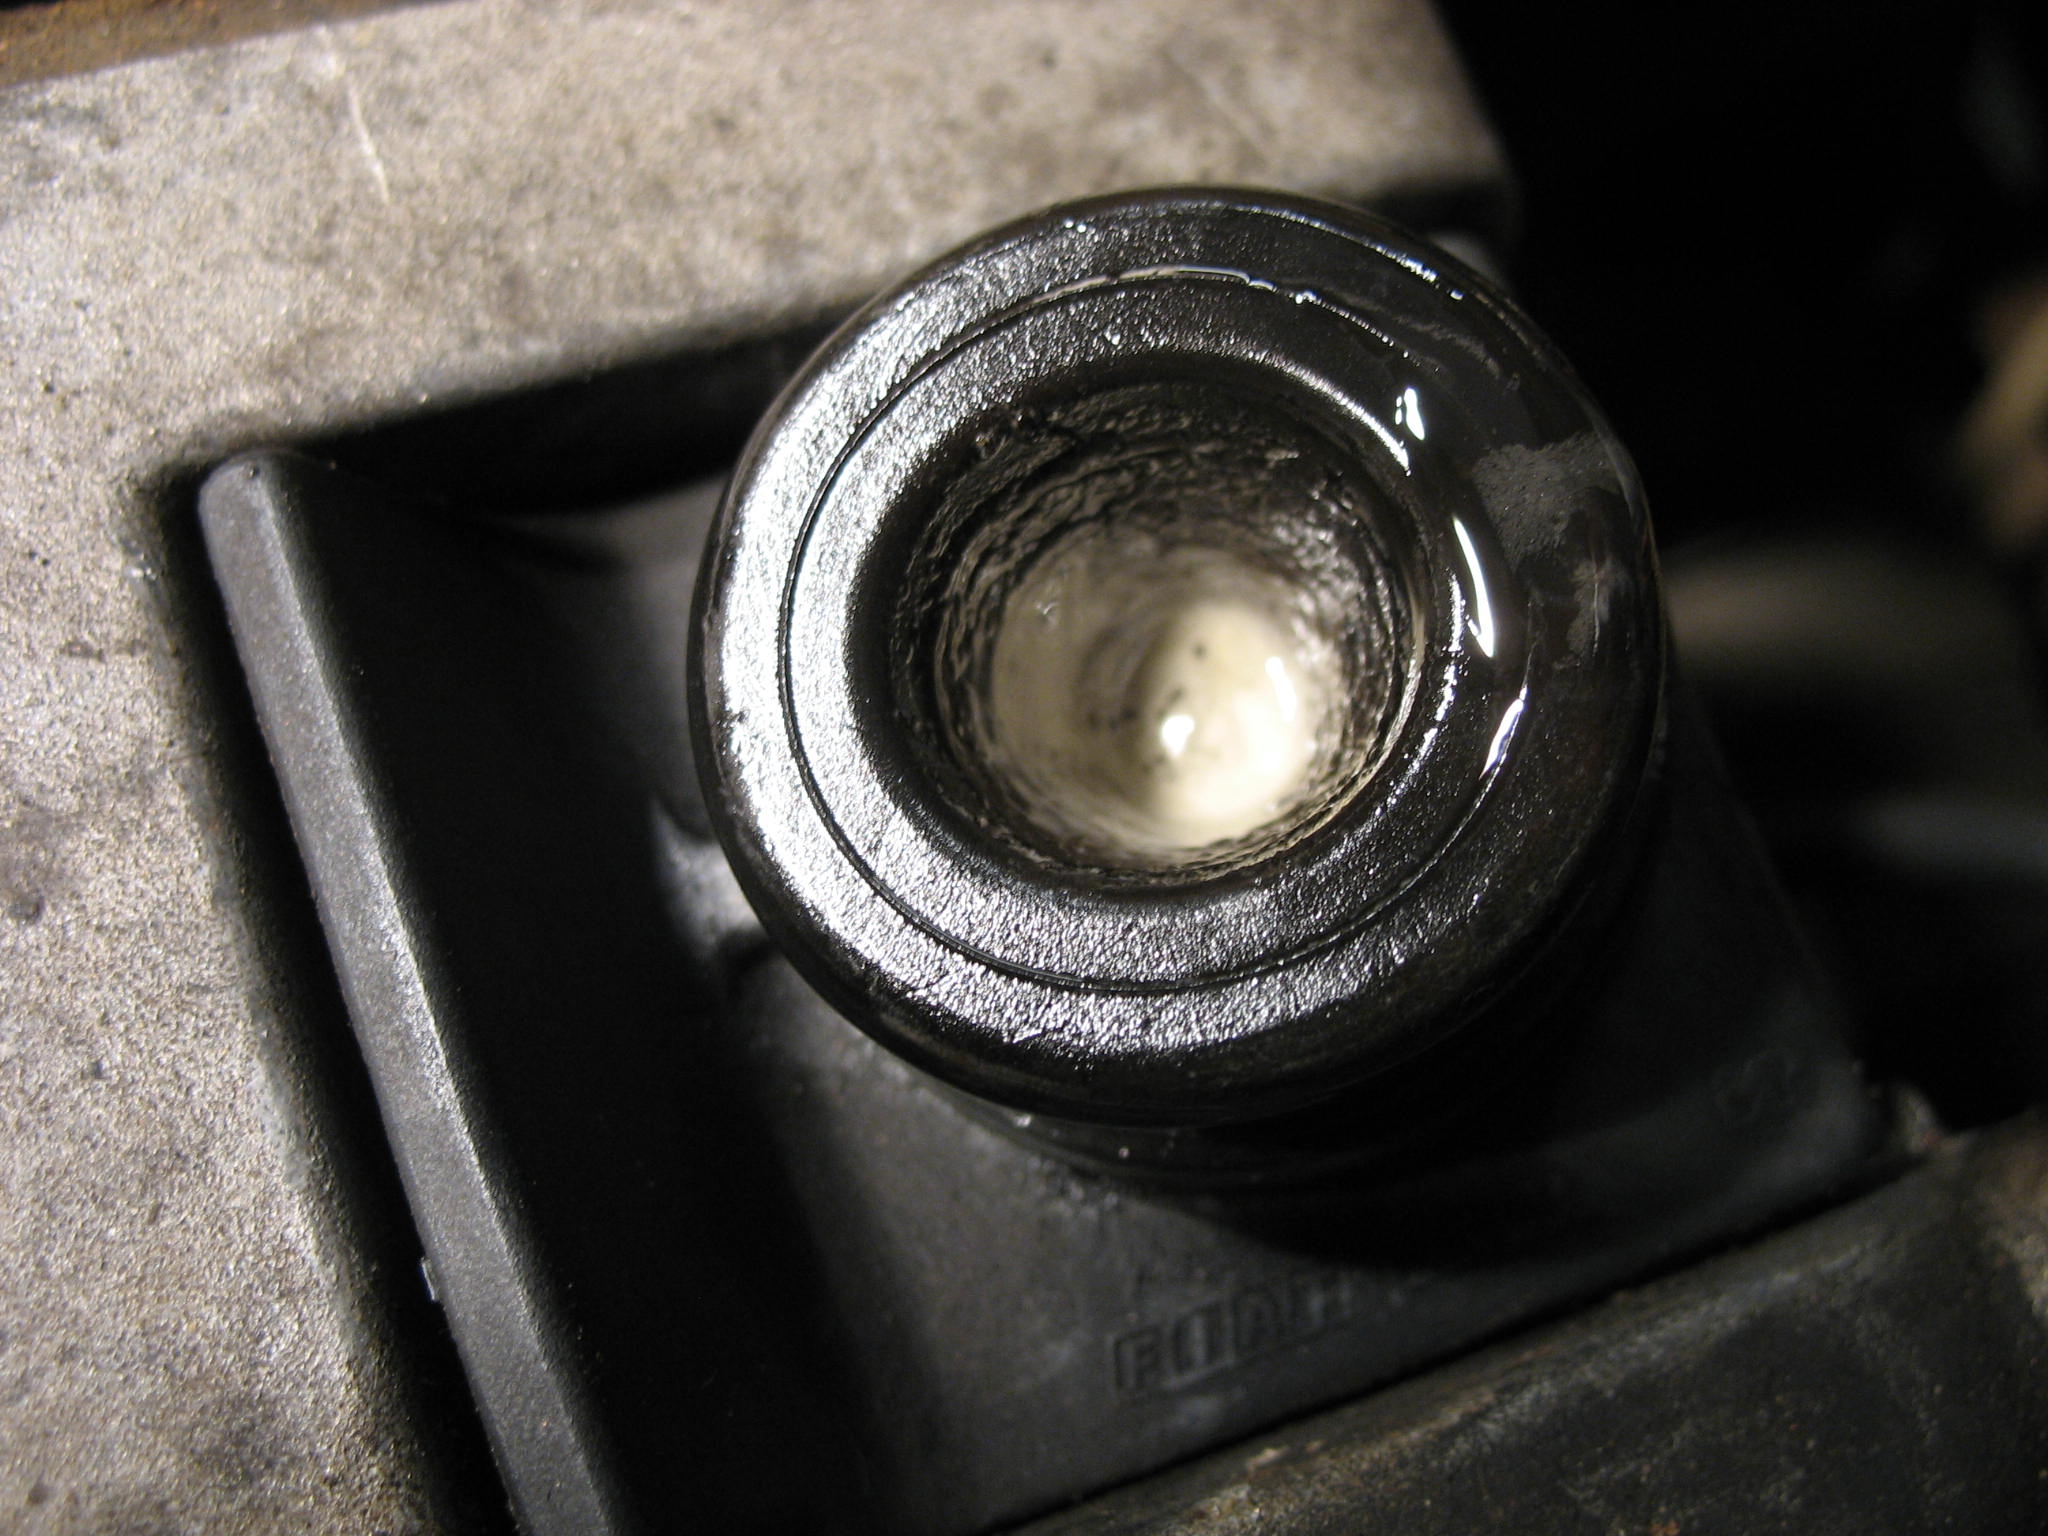
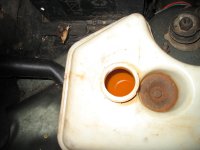
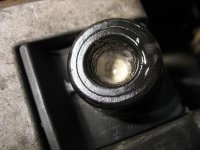
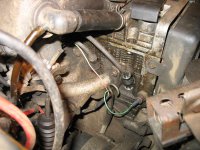
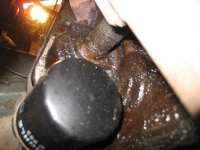
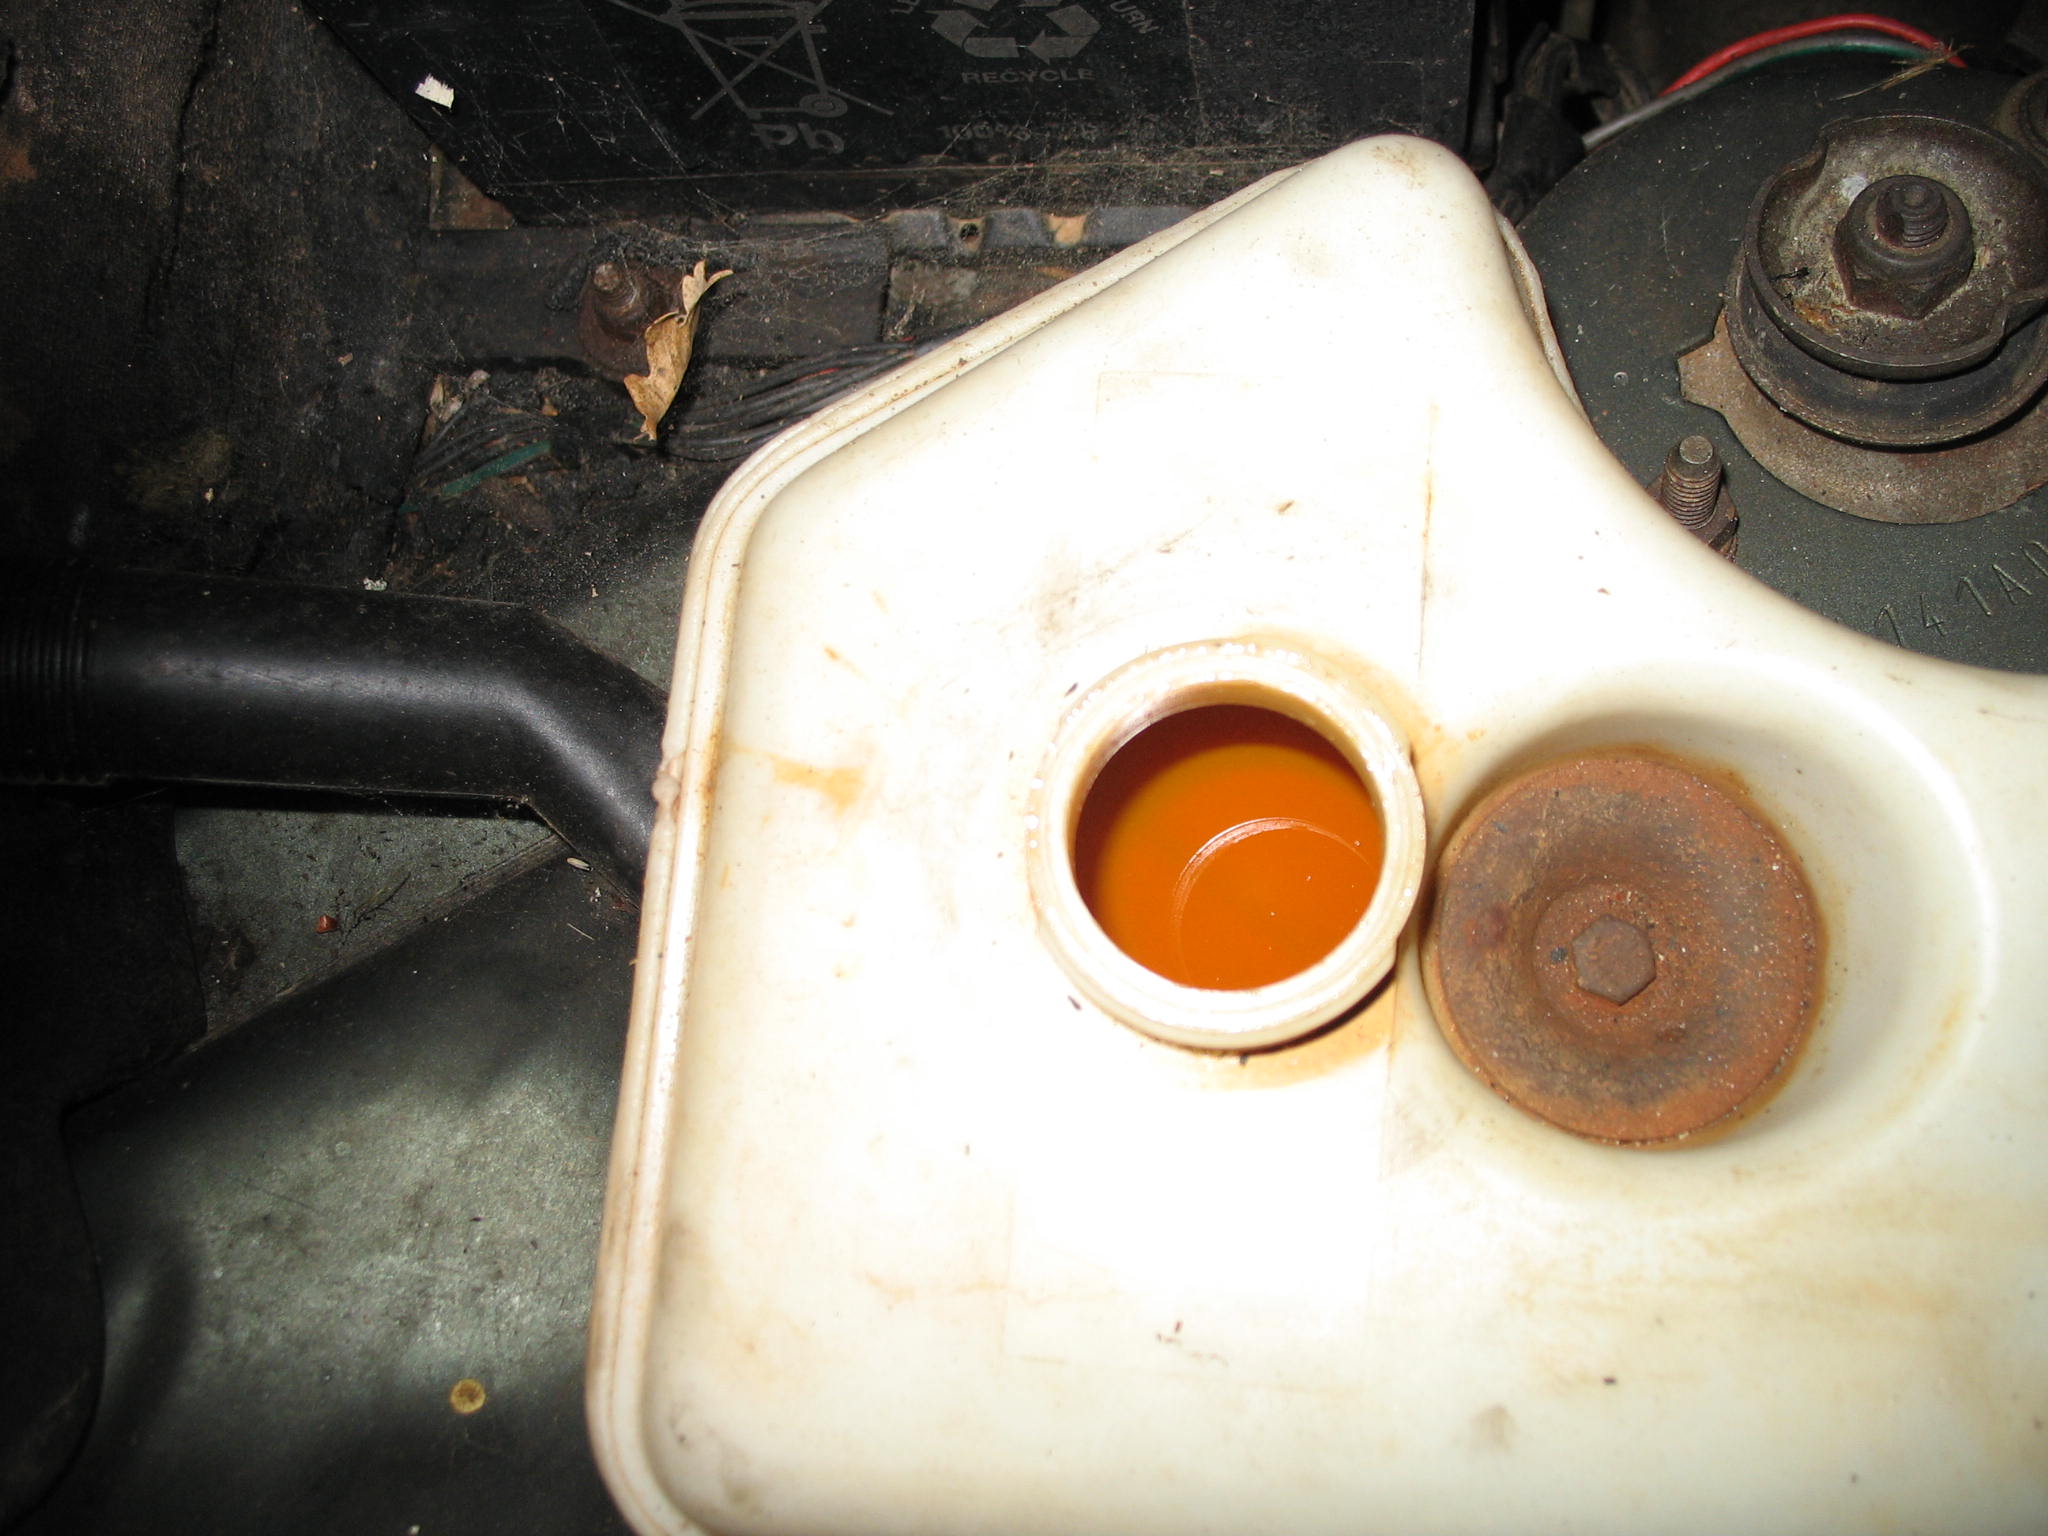
That is my bigger worry for now - bloody milky coolant and a bit of mayo under the oil cap.
IMG_18771.JPG

IMG_18843.JPG


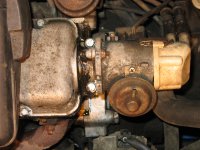
How can I confirm my head gasket theory not having coolant presure test kit???
@CLS - your not the only one - aparently it is bloody hard to buy cheepo 4x4 without blown thru head gasket.

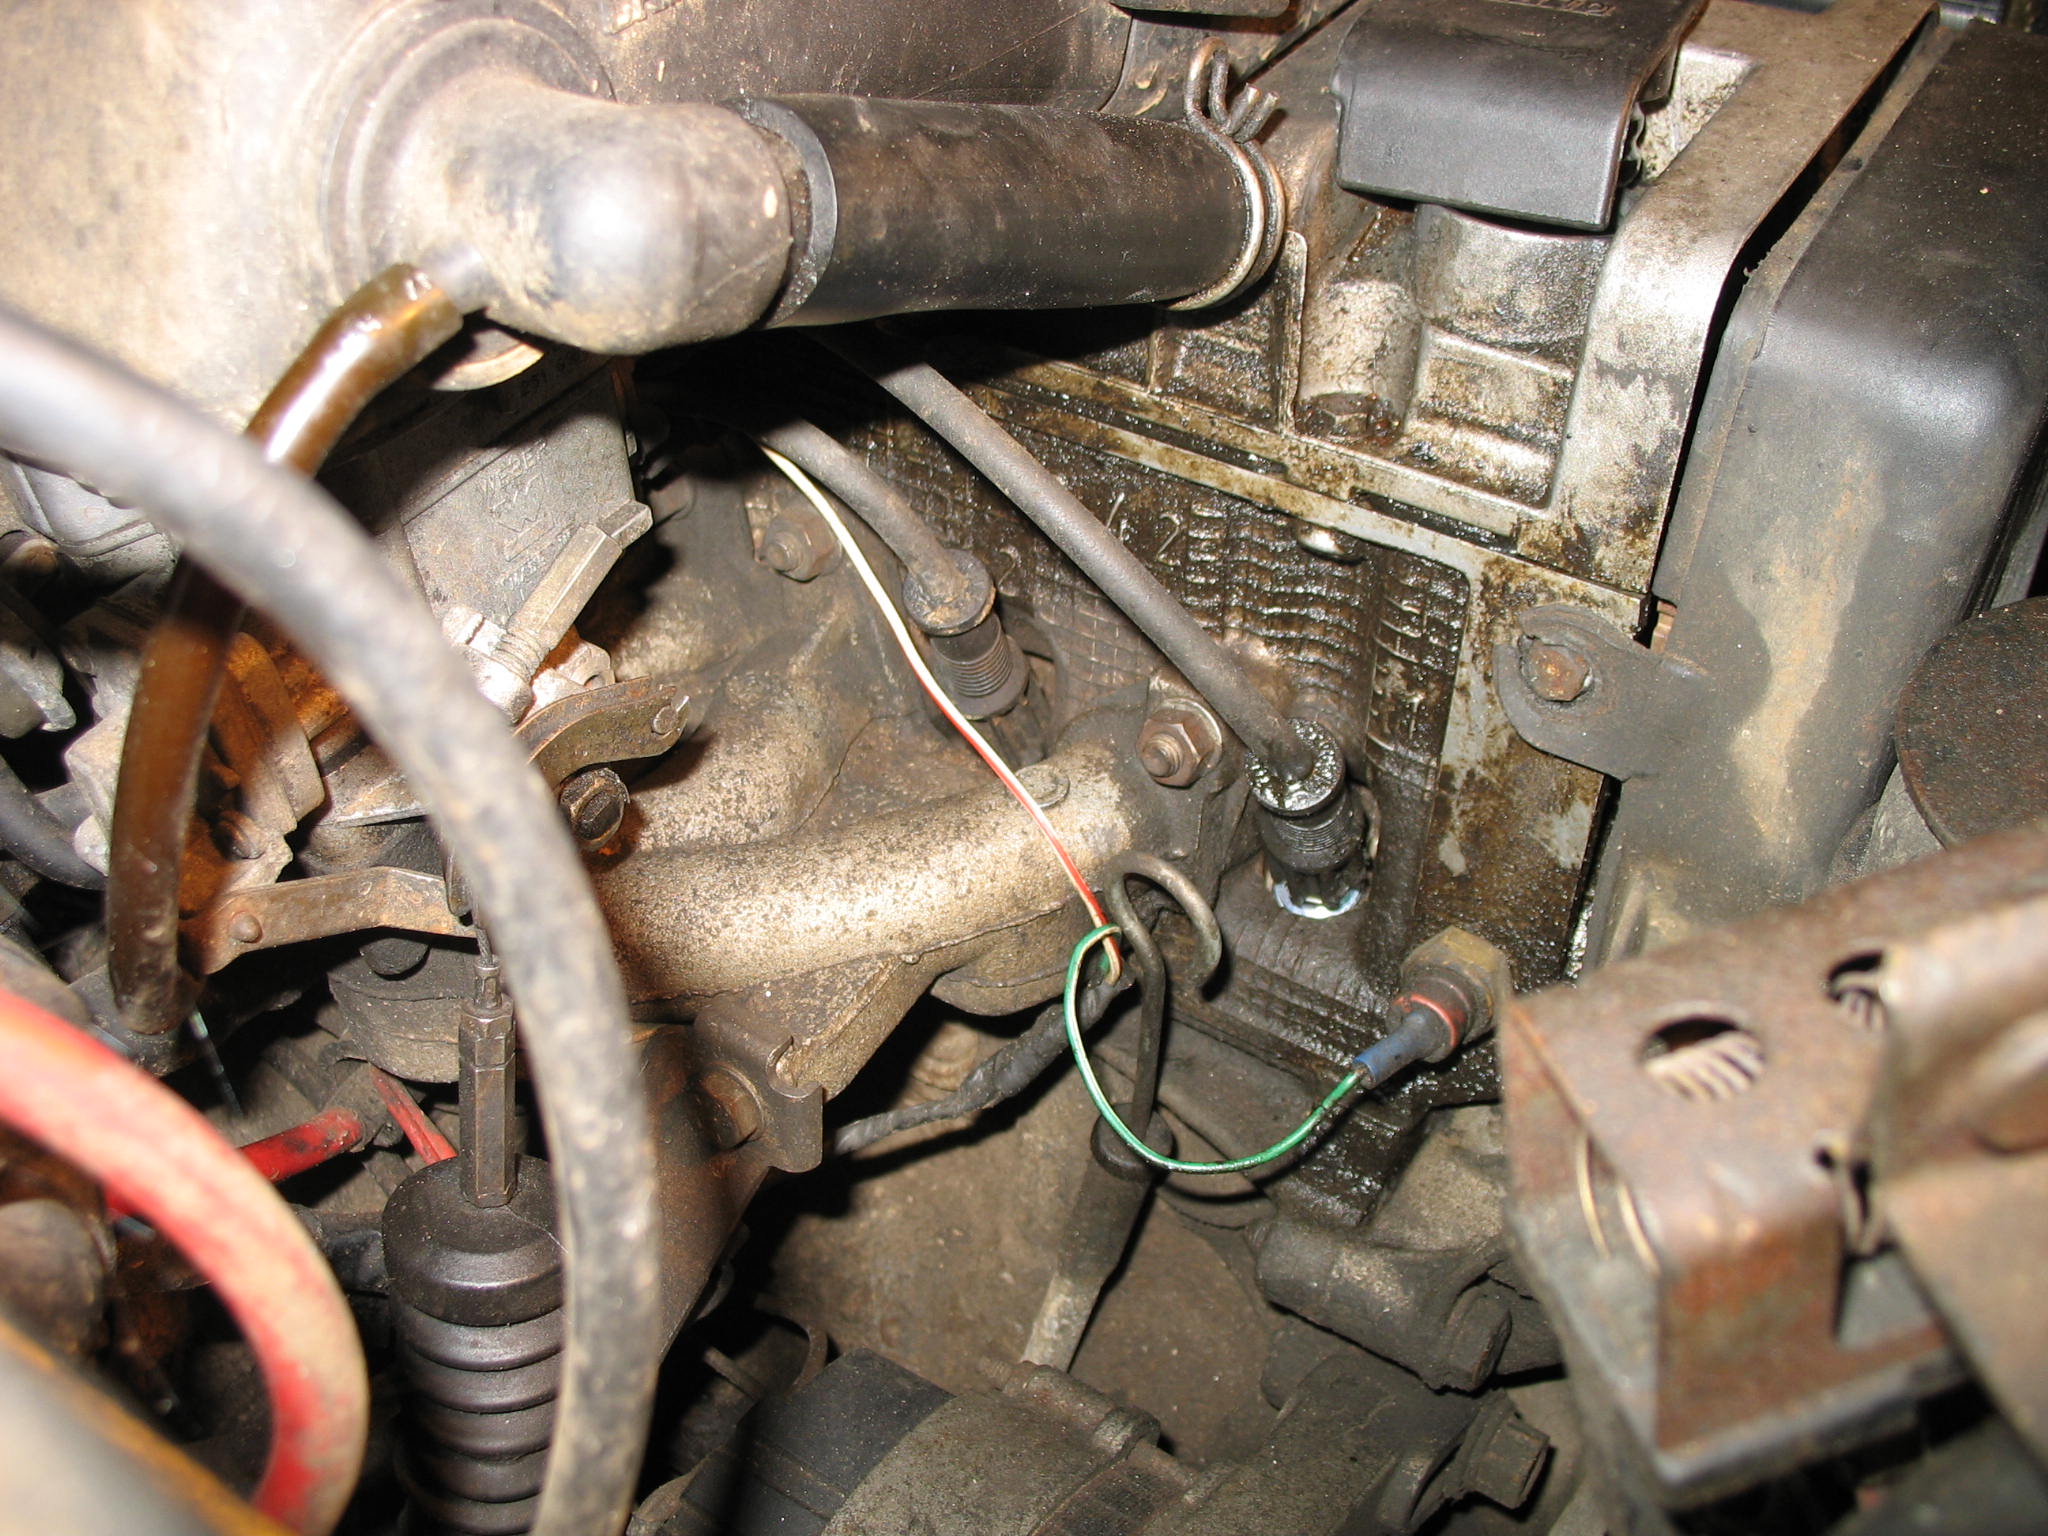
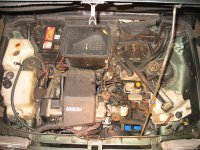
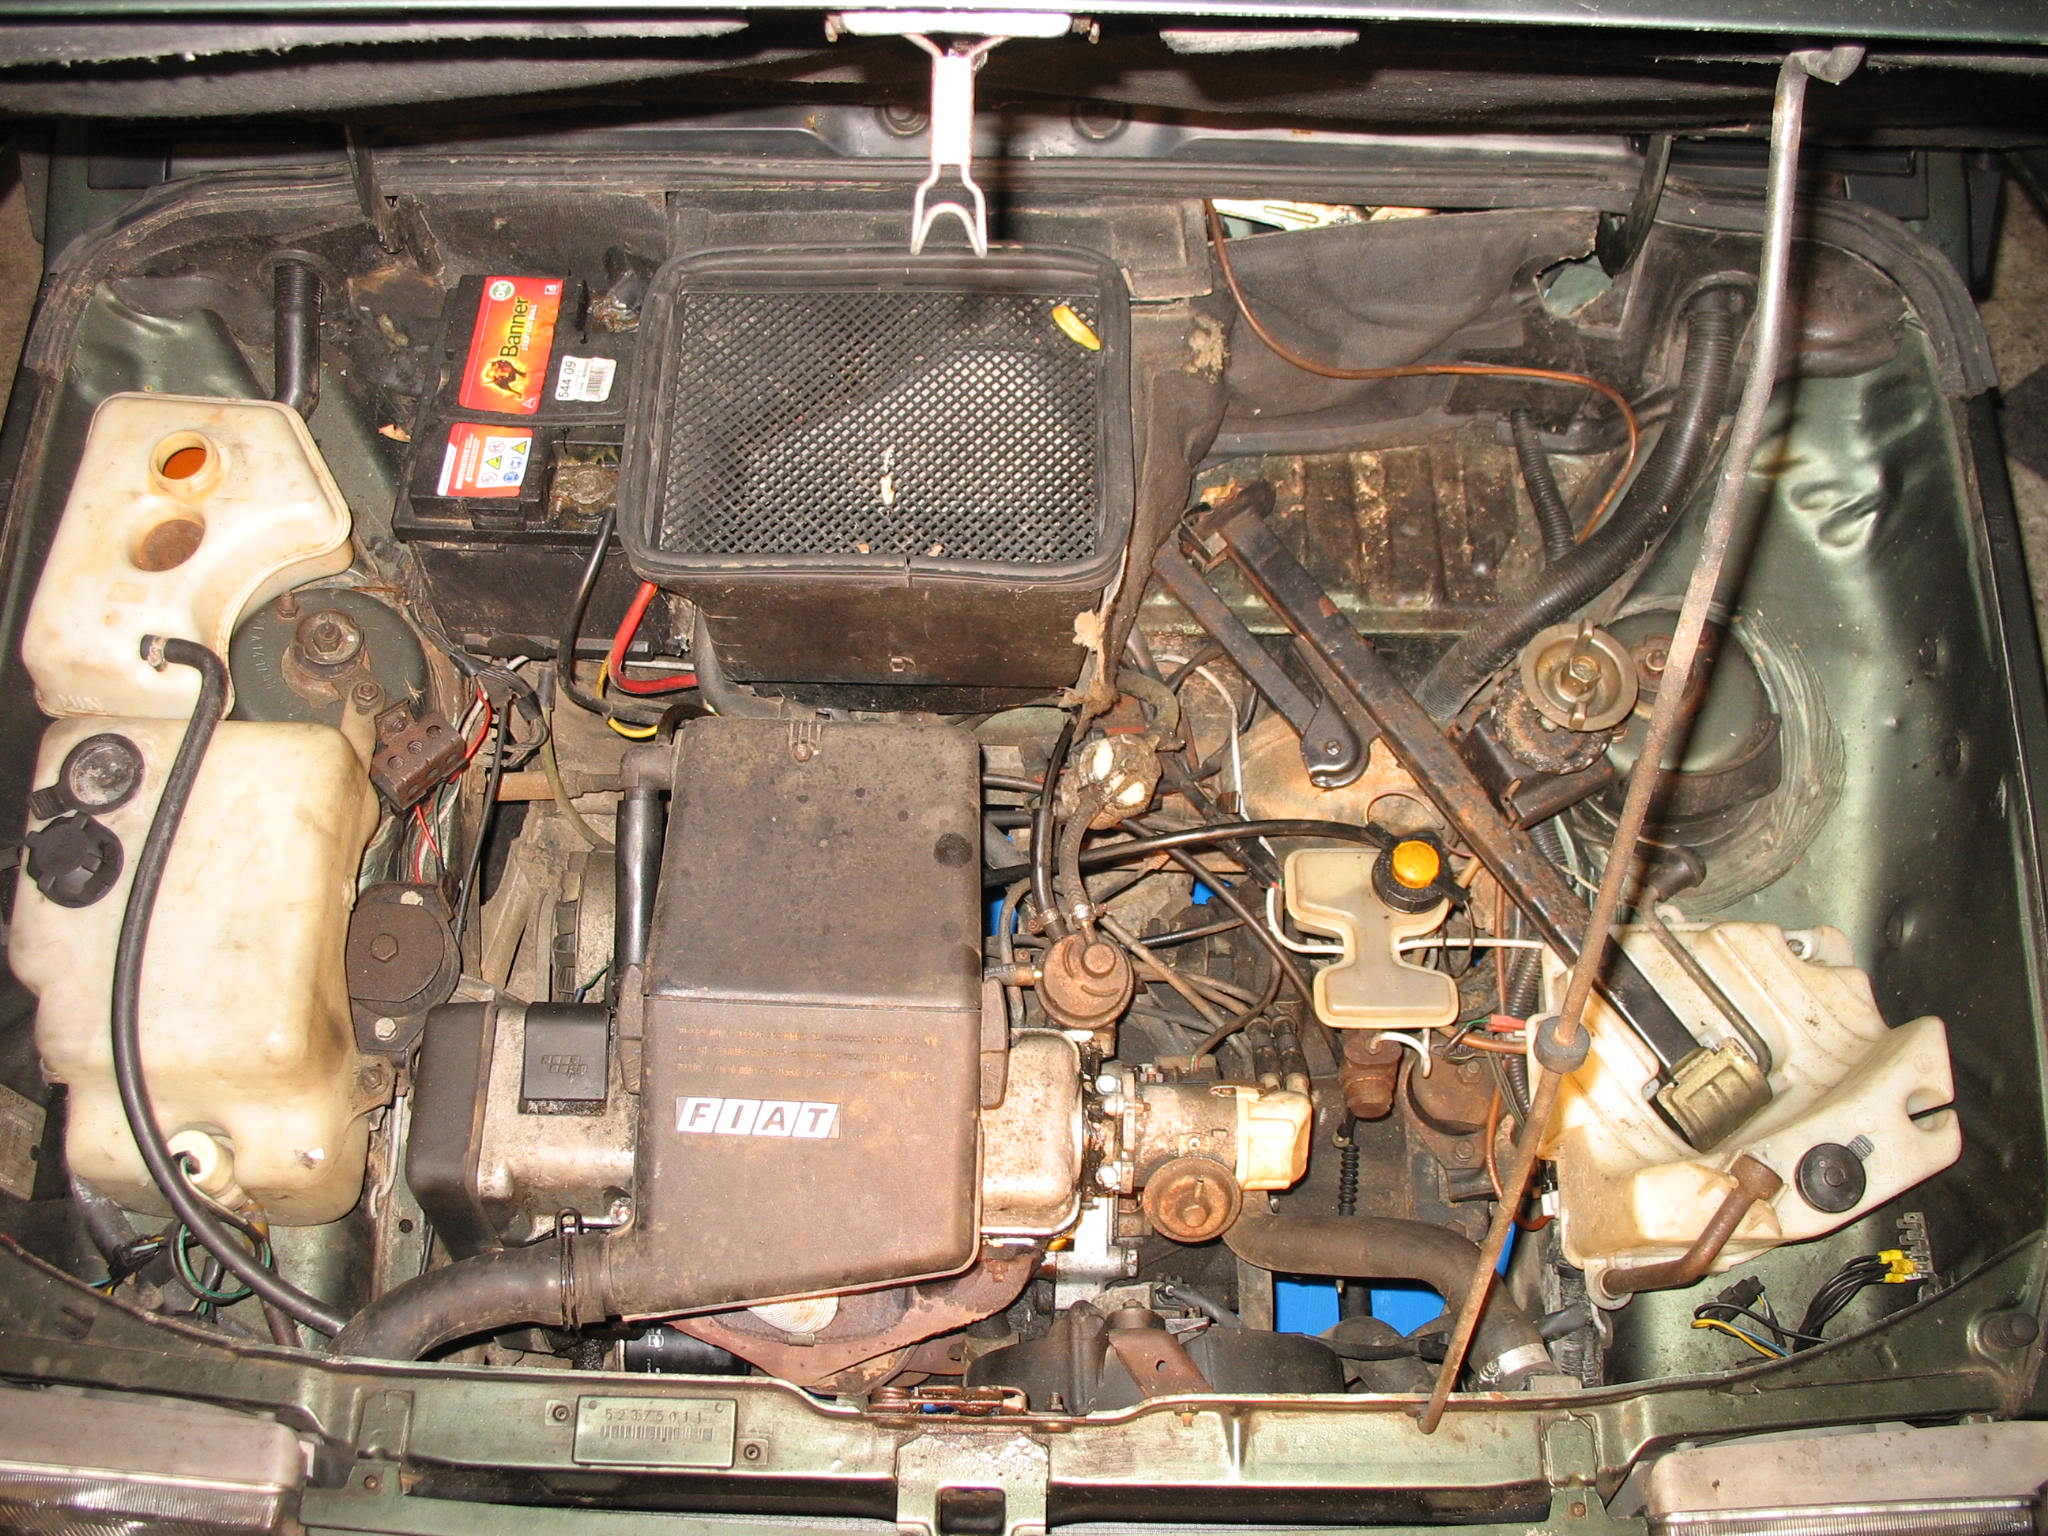
The rest of the engine bay seems to be fine,
IMG_18791.JPG


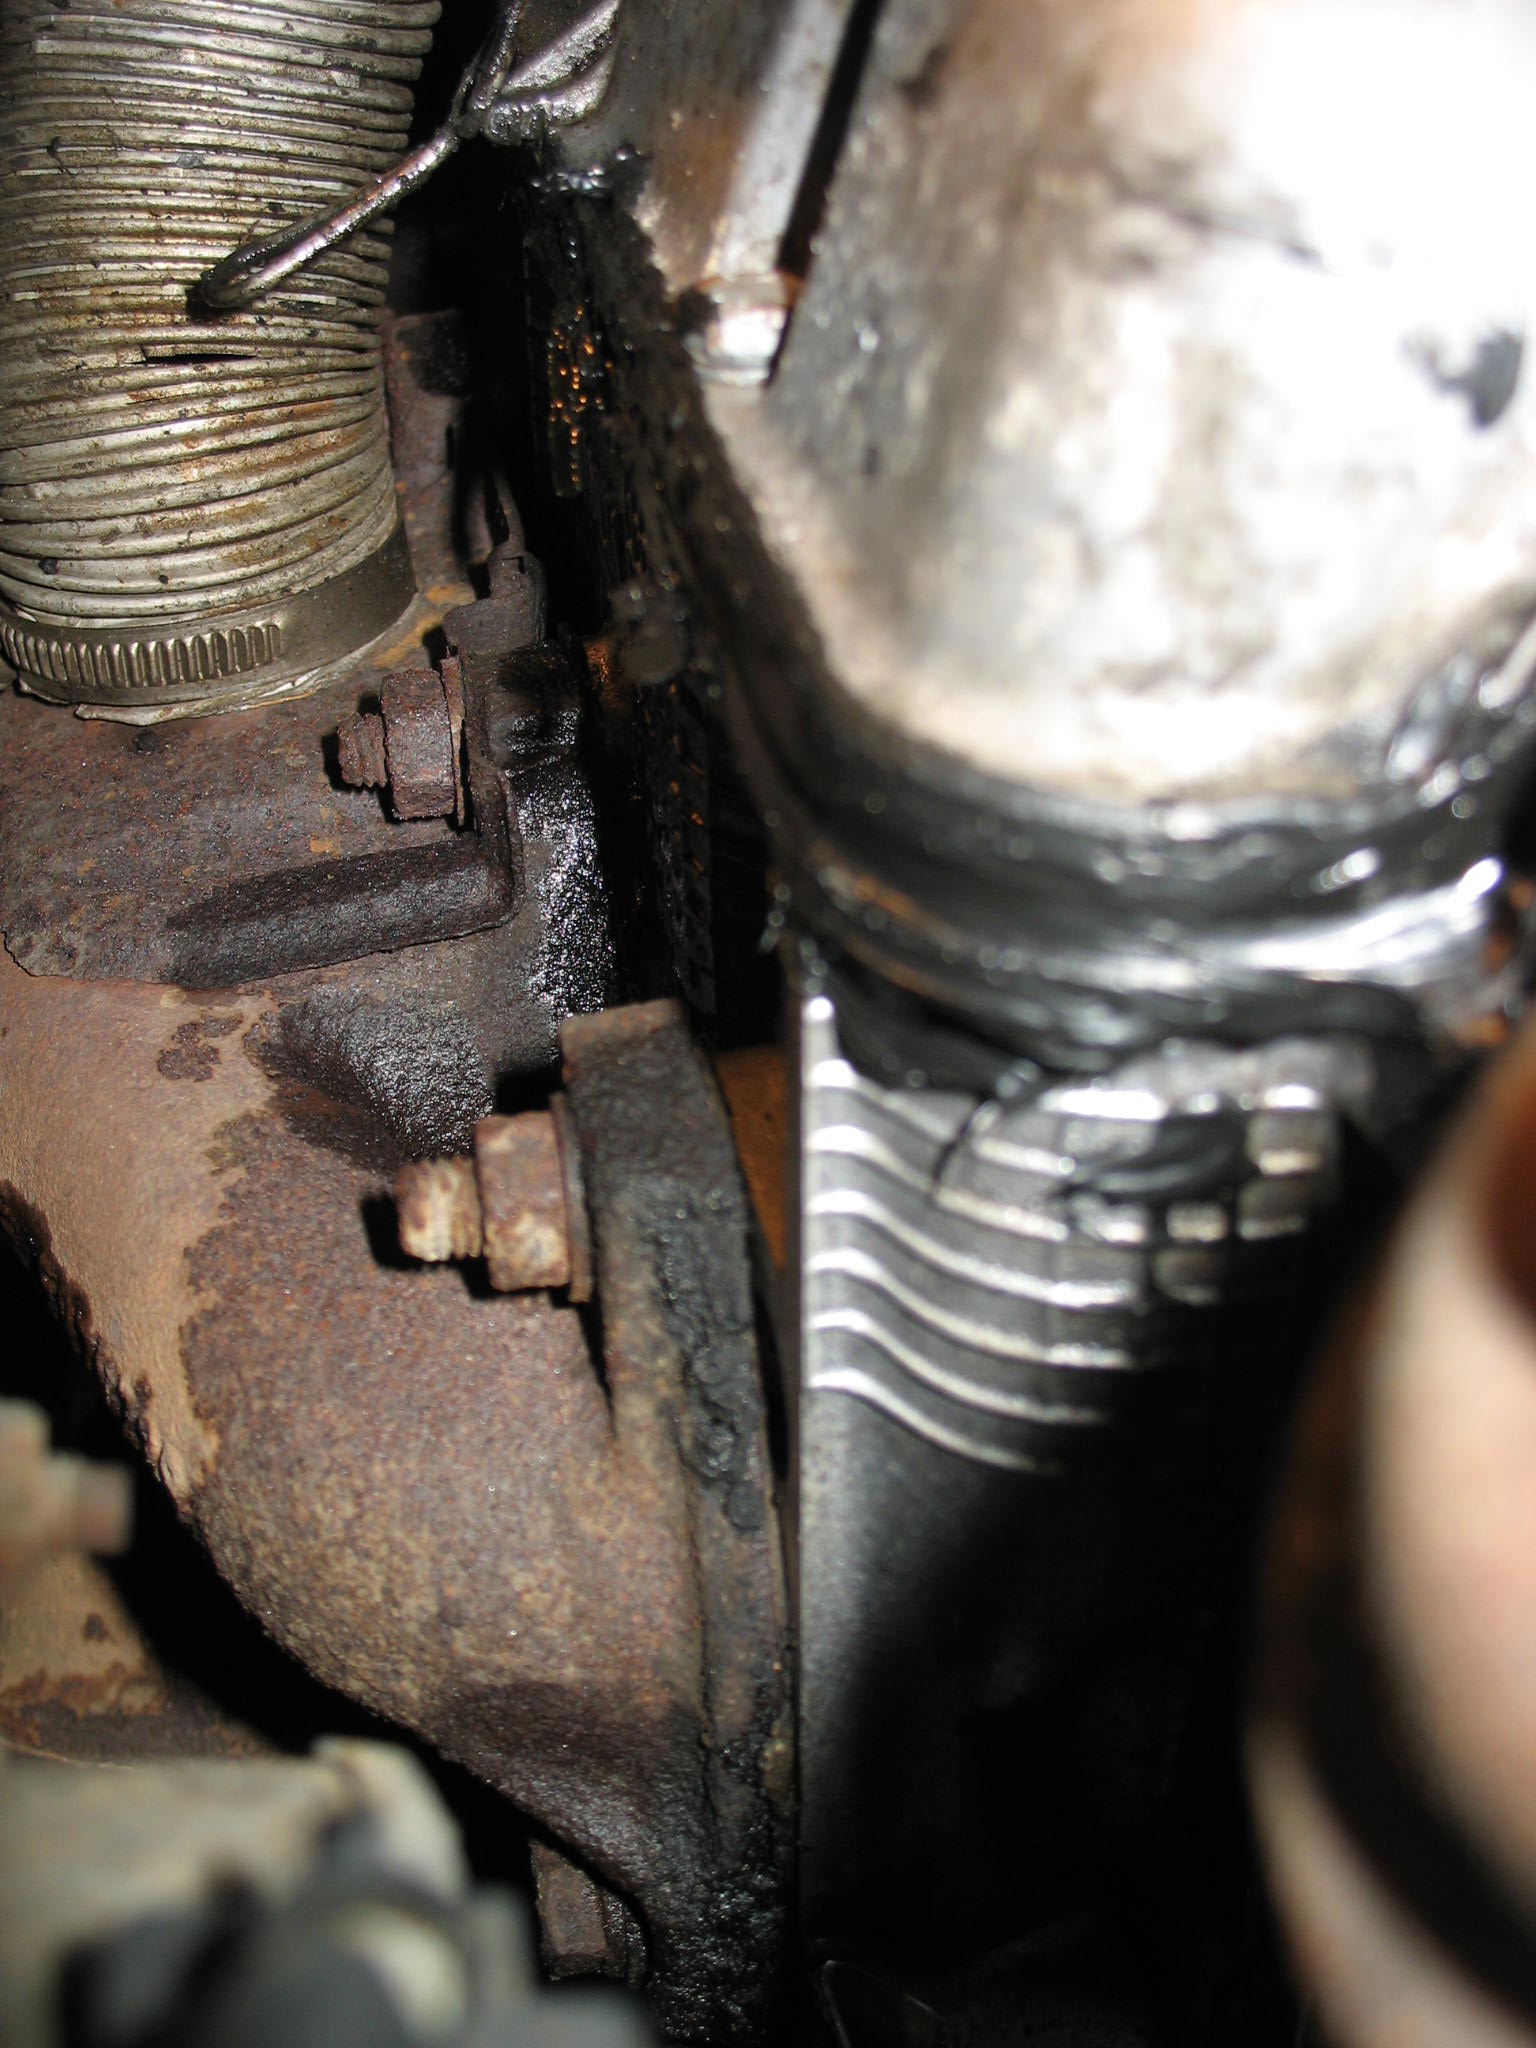
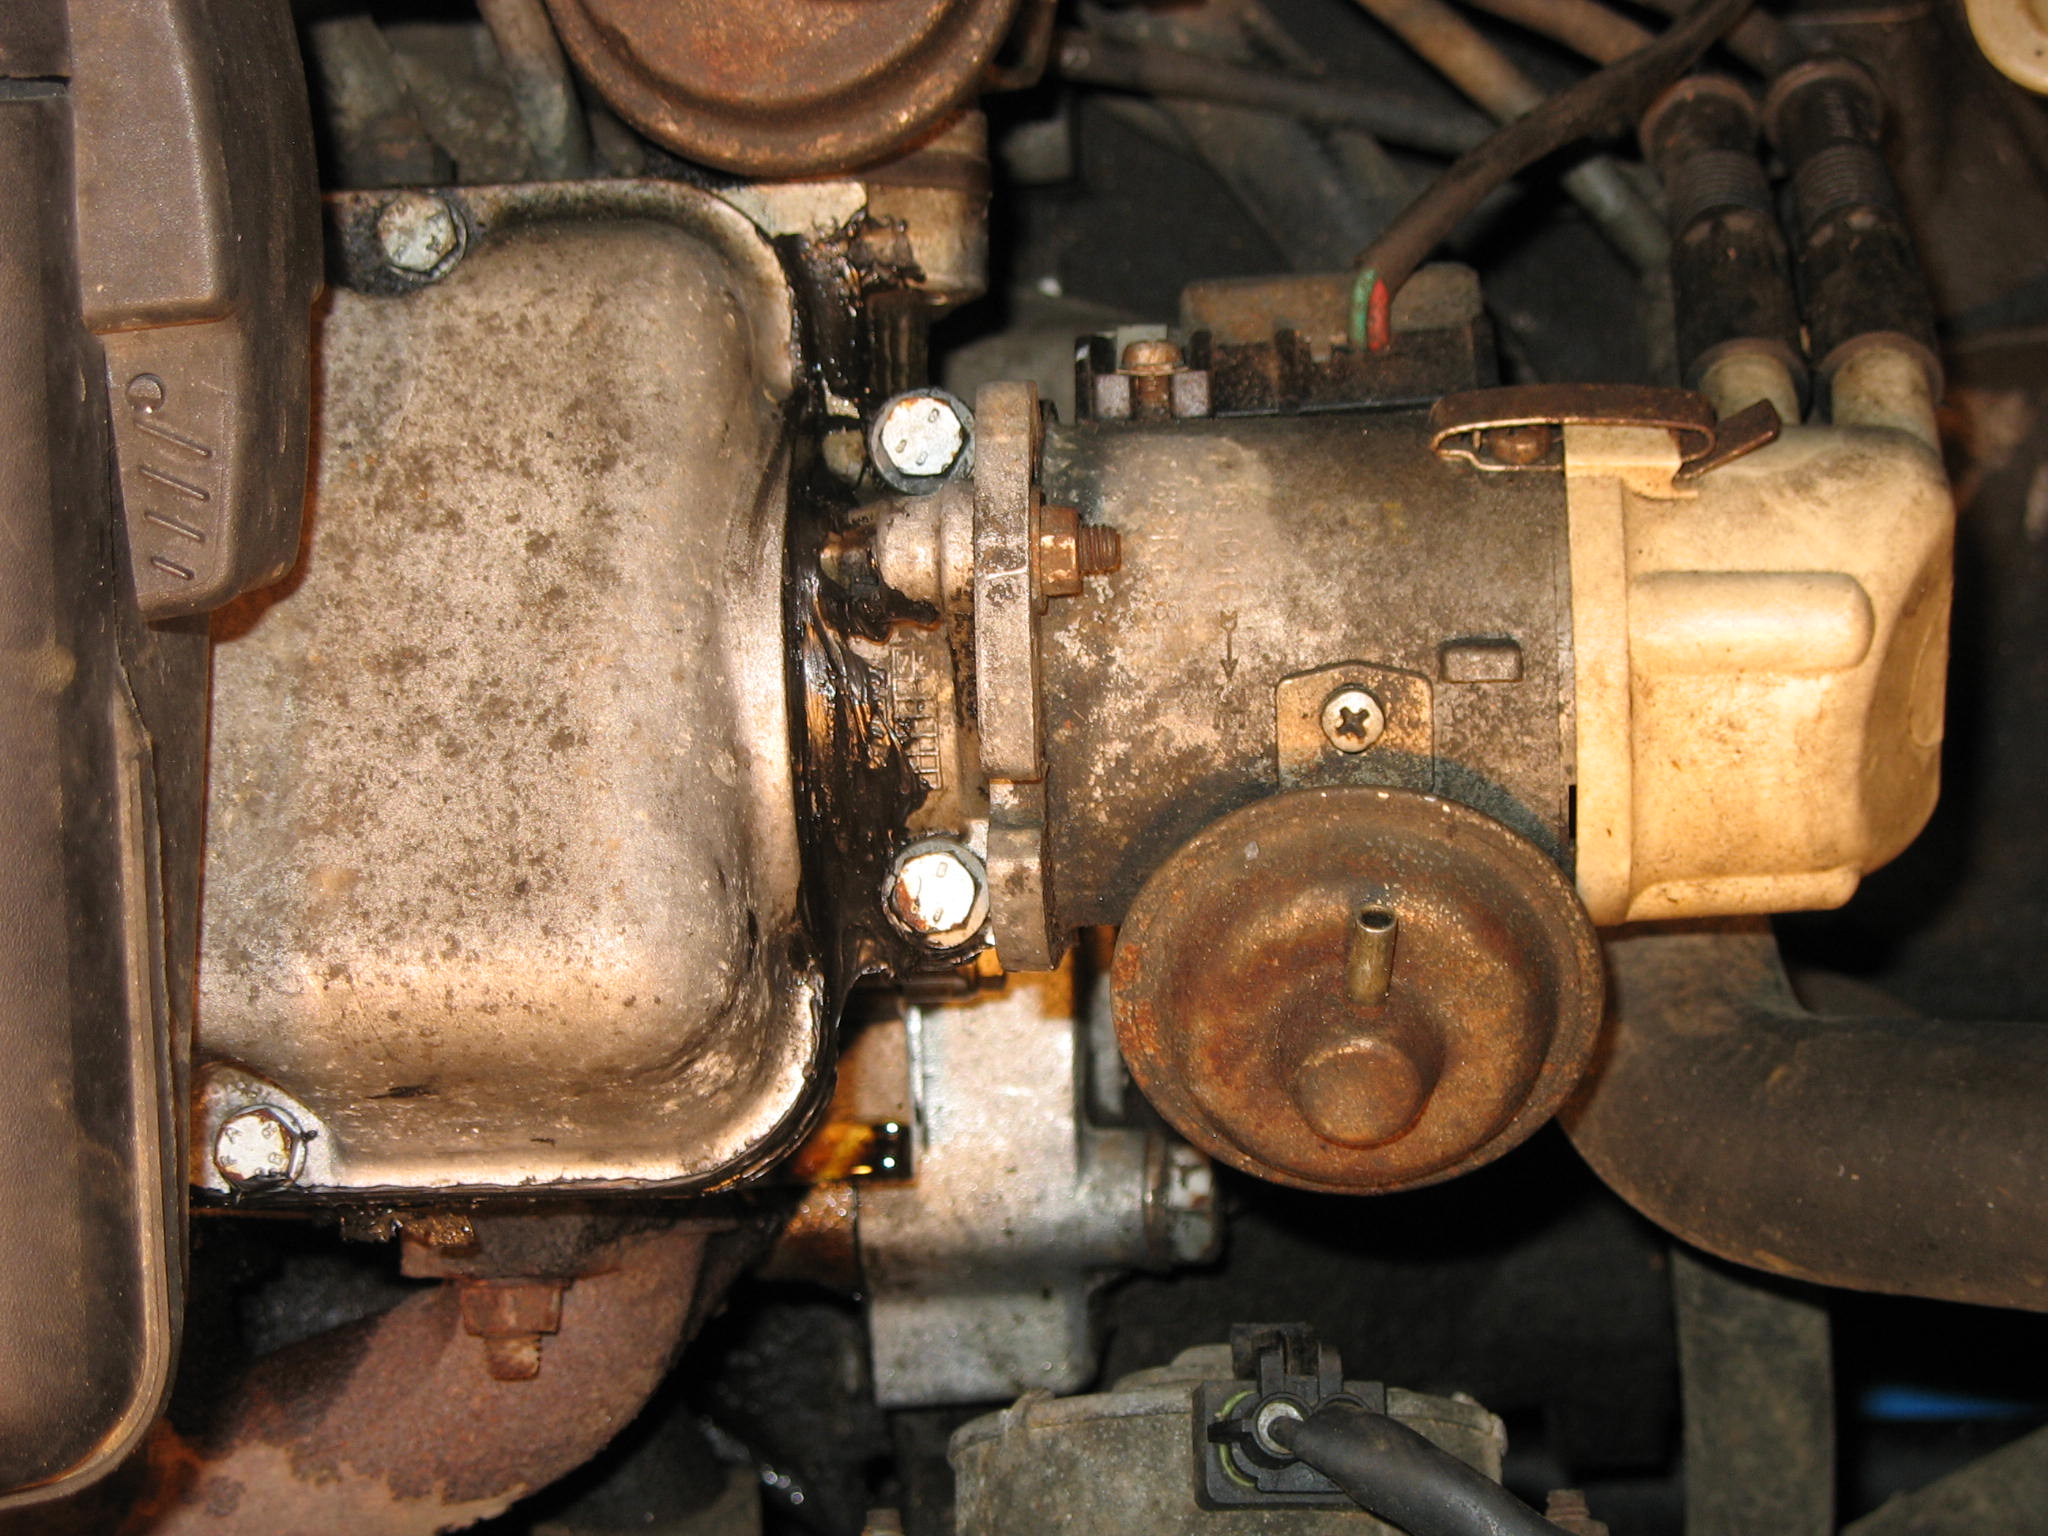
Did somebody in here mentioned a black silicone gunk as a fast repair?
IMG_1878.JPG


IMG_19241.JPG


IMG_18862.JPG


IMG_18821.JPG


IMG_19311.JPG


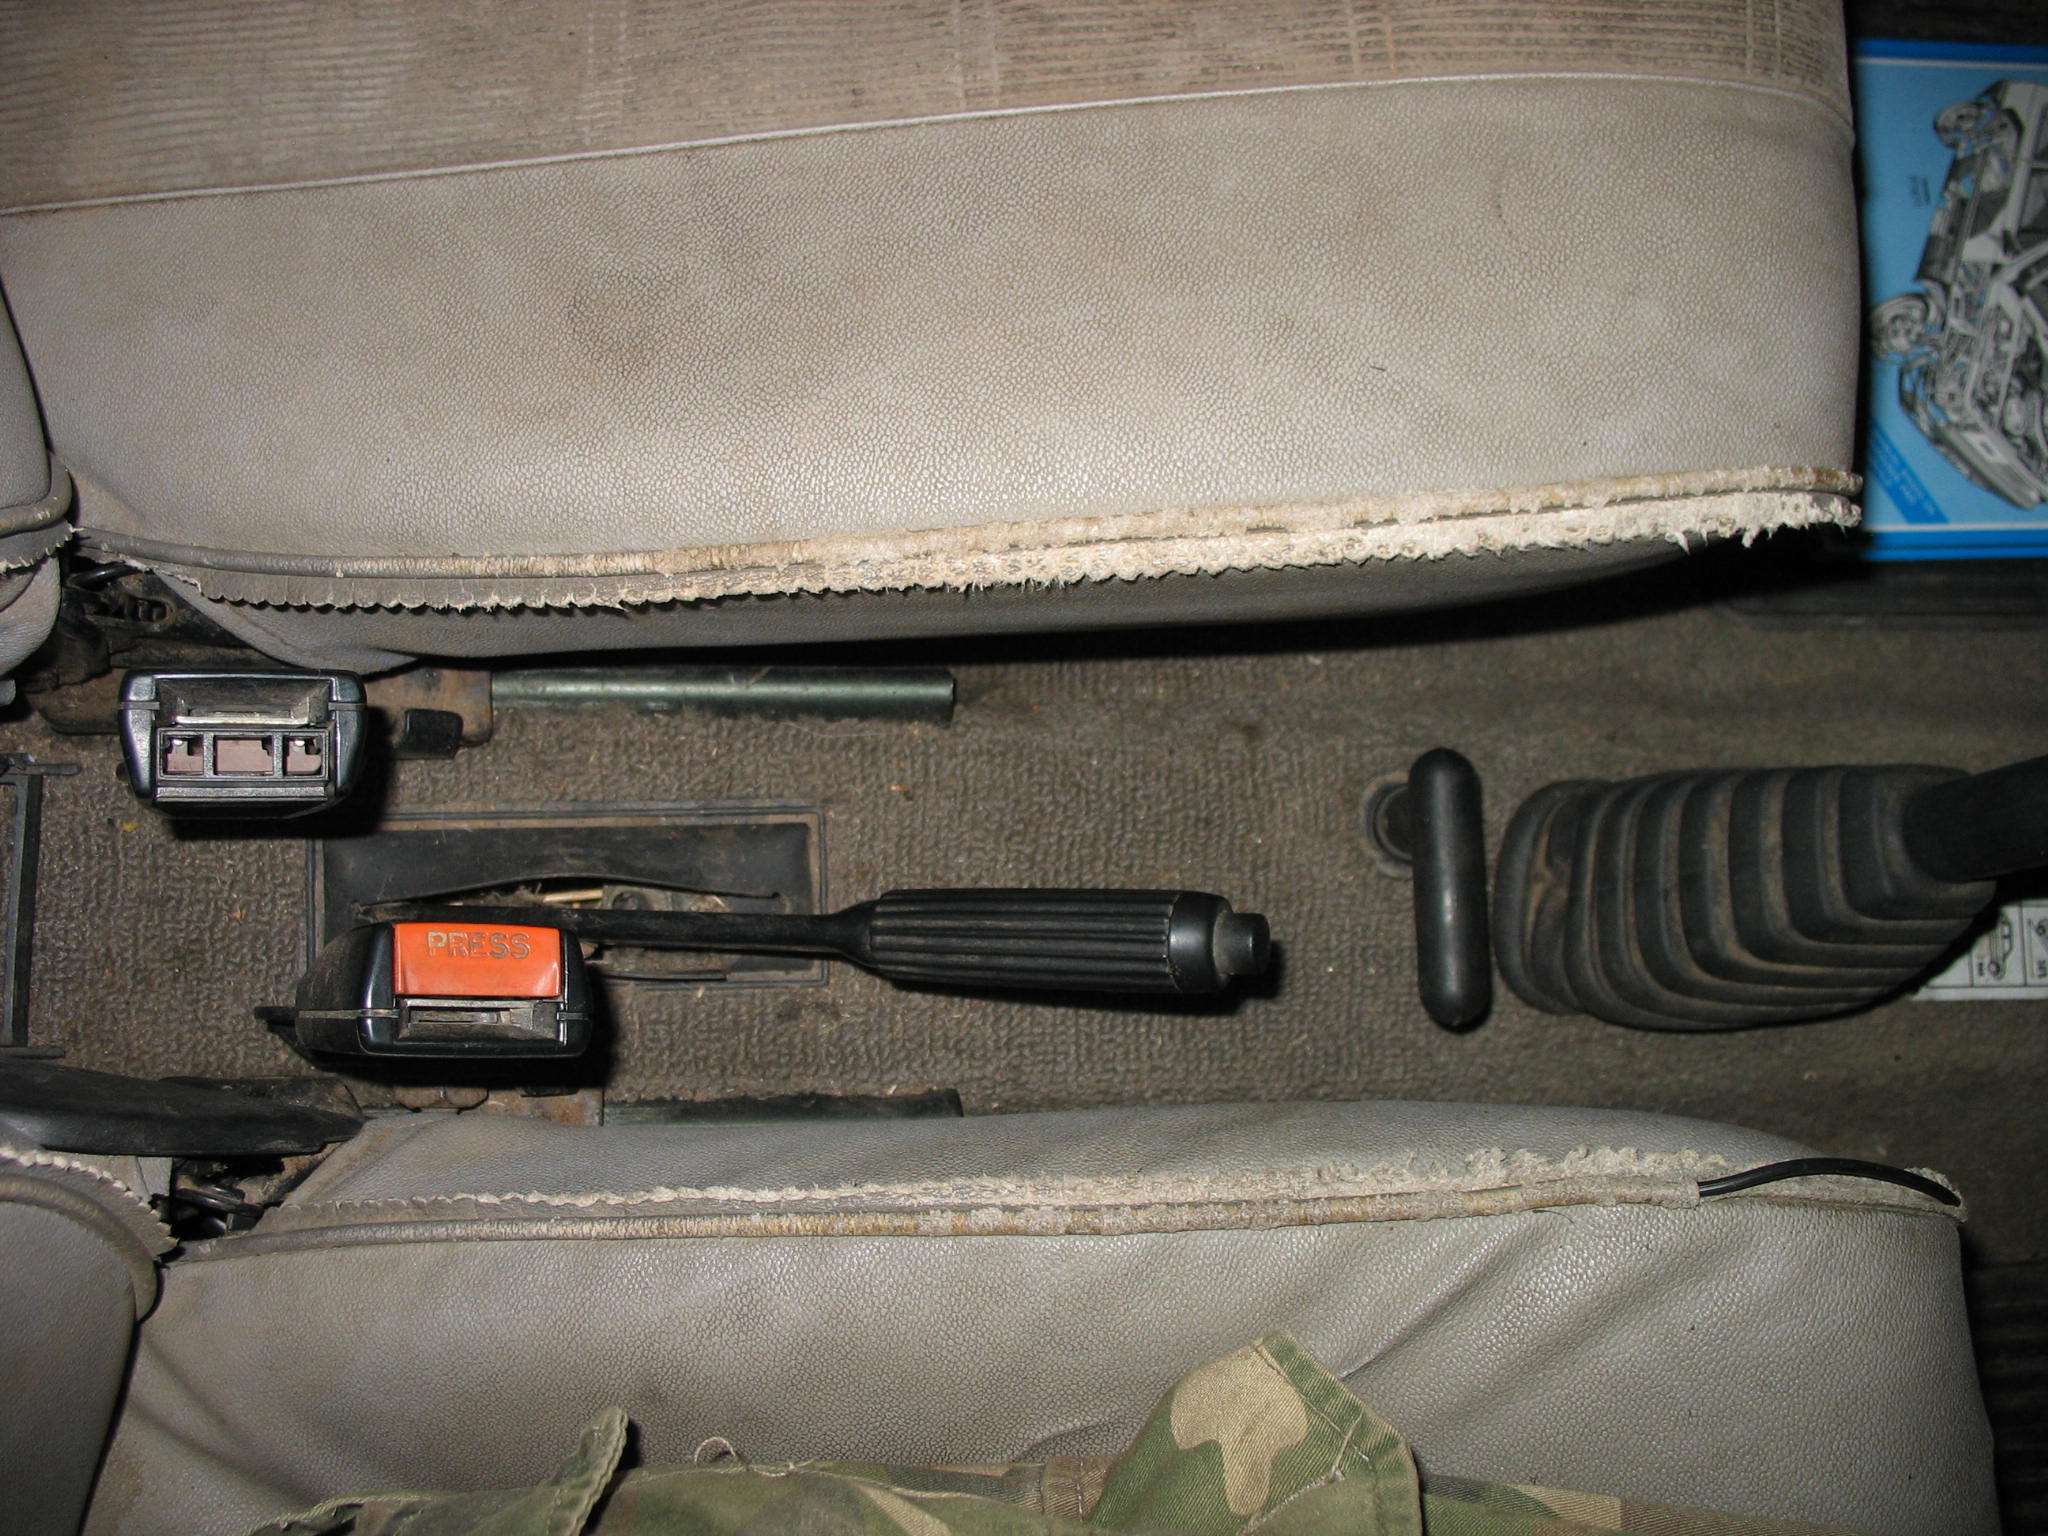
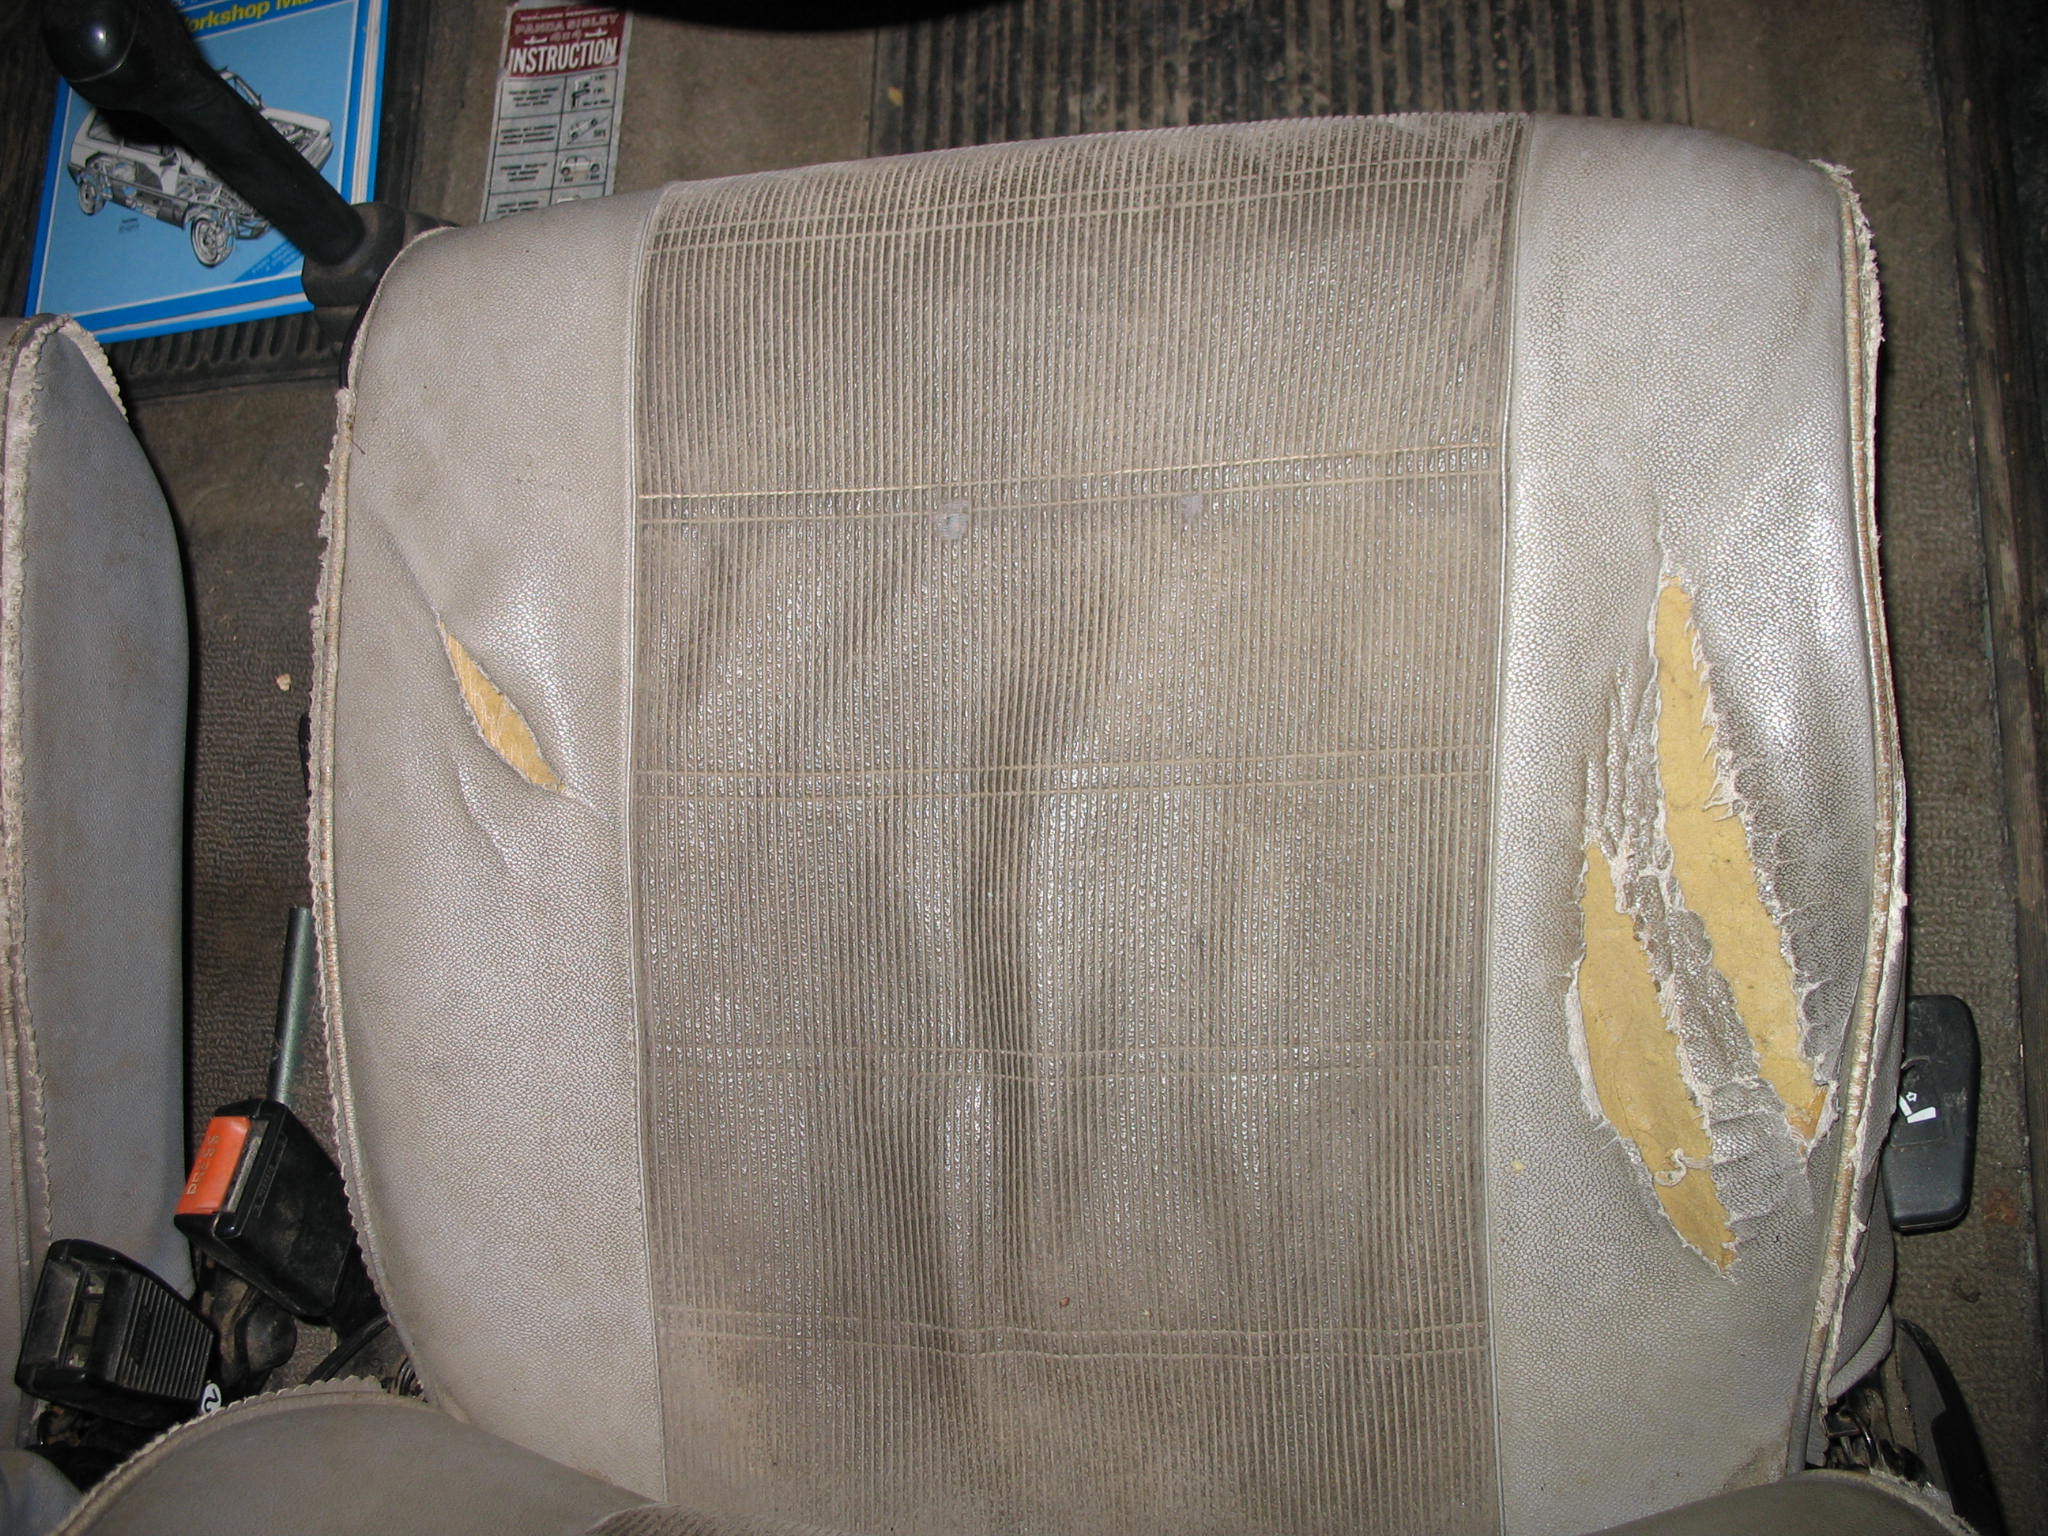
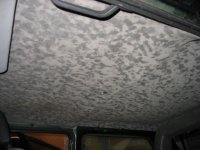
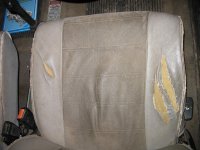
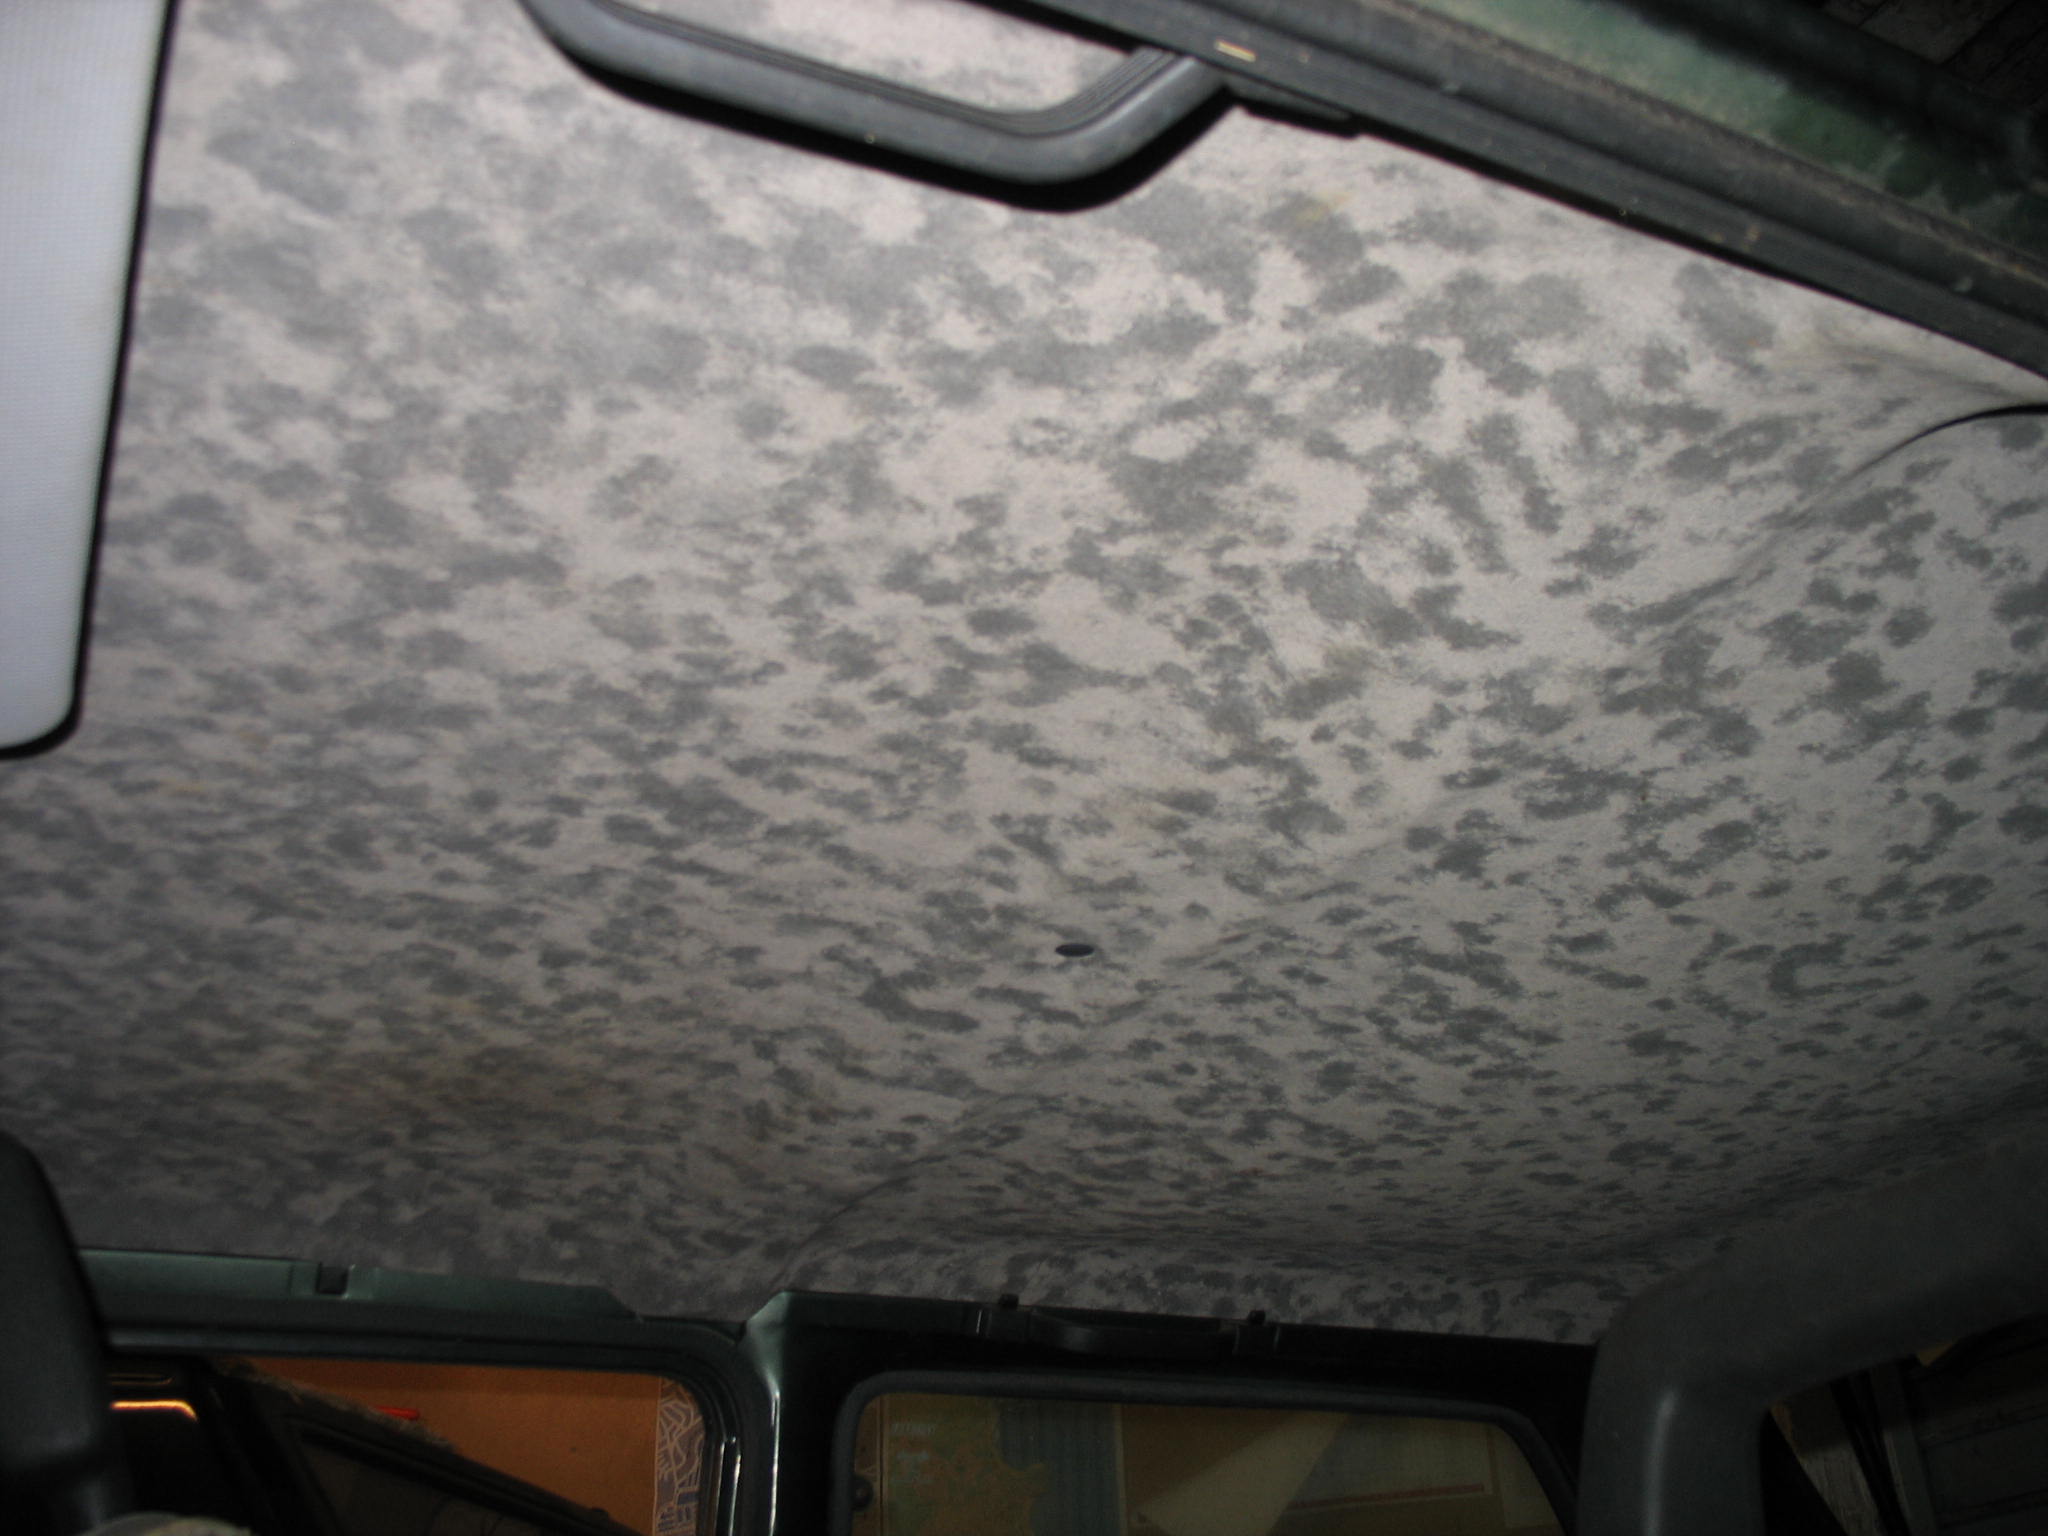
Interior as you can expect from car been used on a farm
IMG_19102.JPG


IMG_18901.JPG


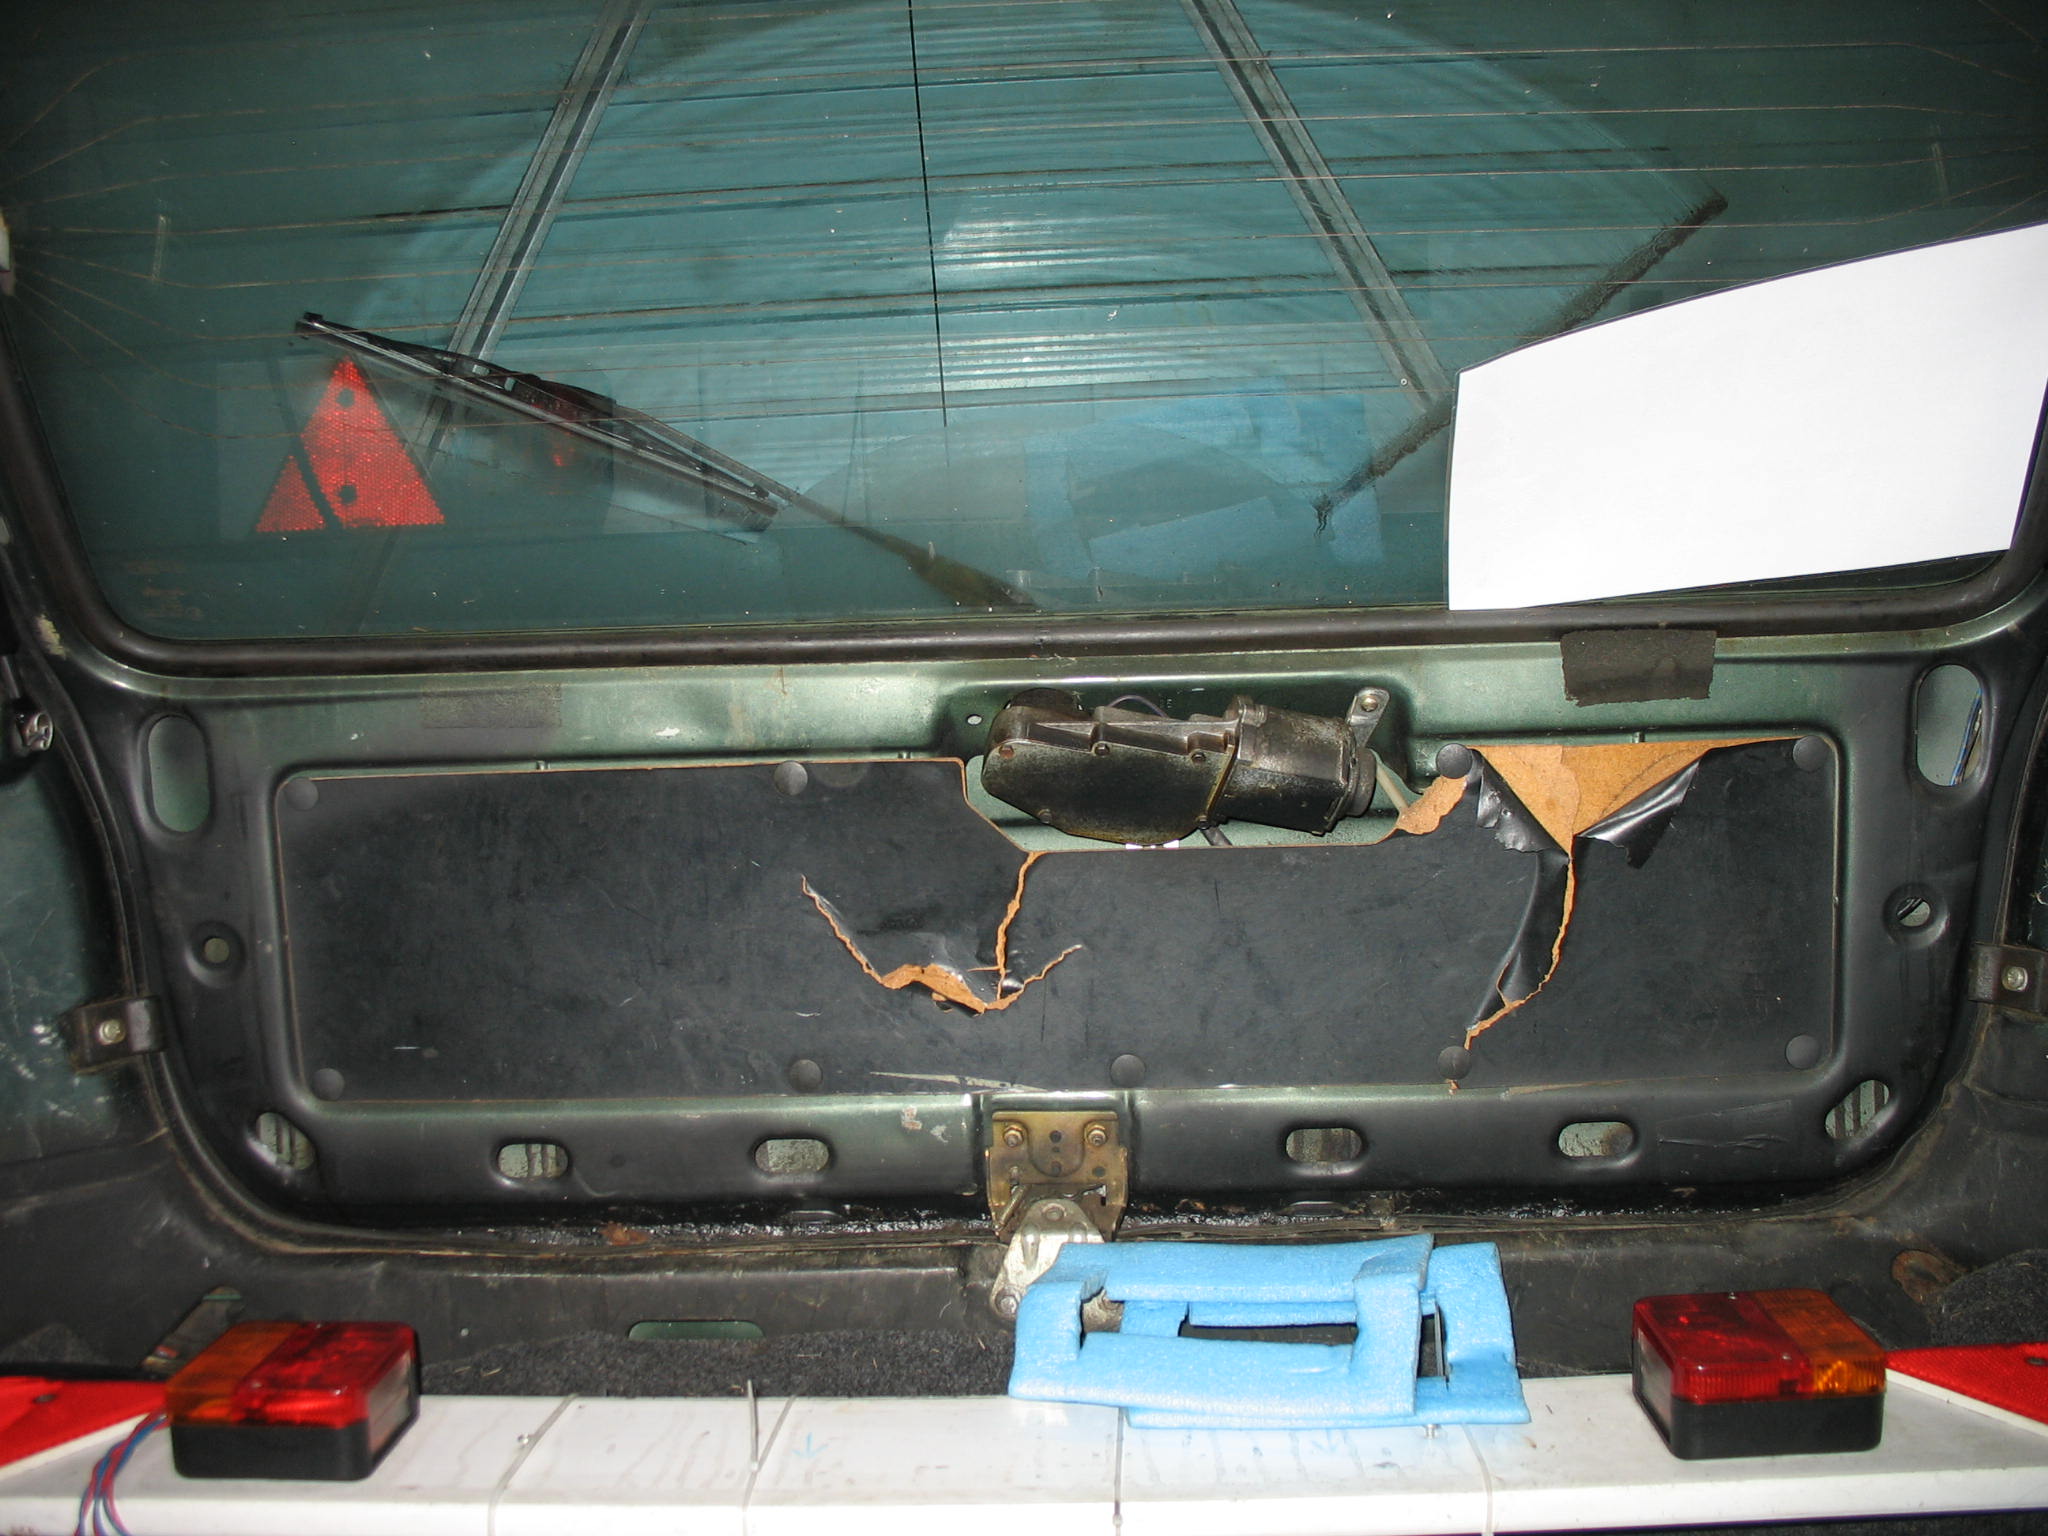
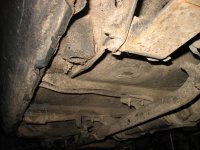
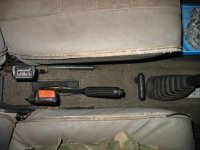
IMG_1874.JPG


IMG_19373.JPG


IMG_19364.JPG


IMG_19384.JPG


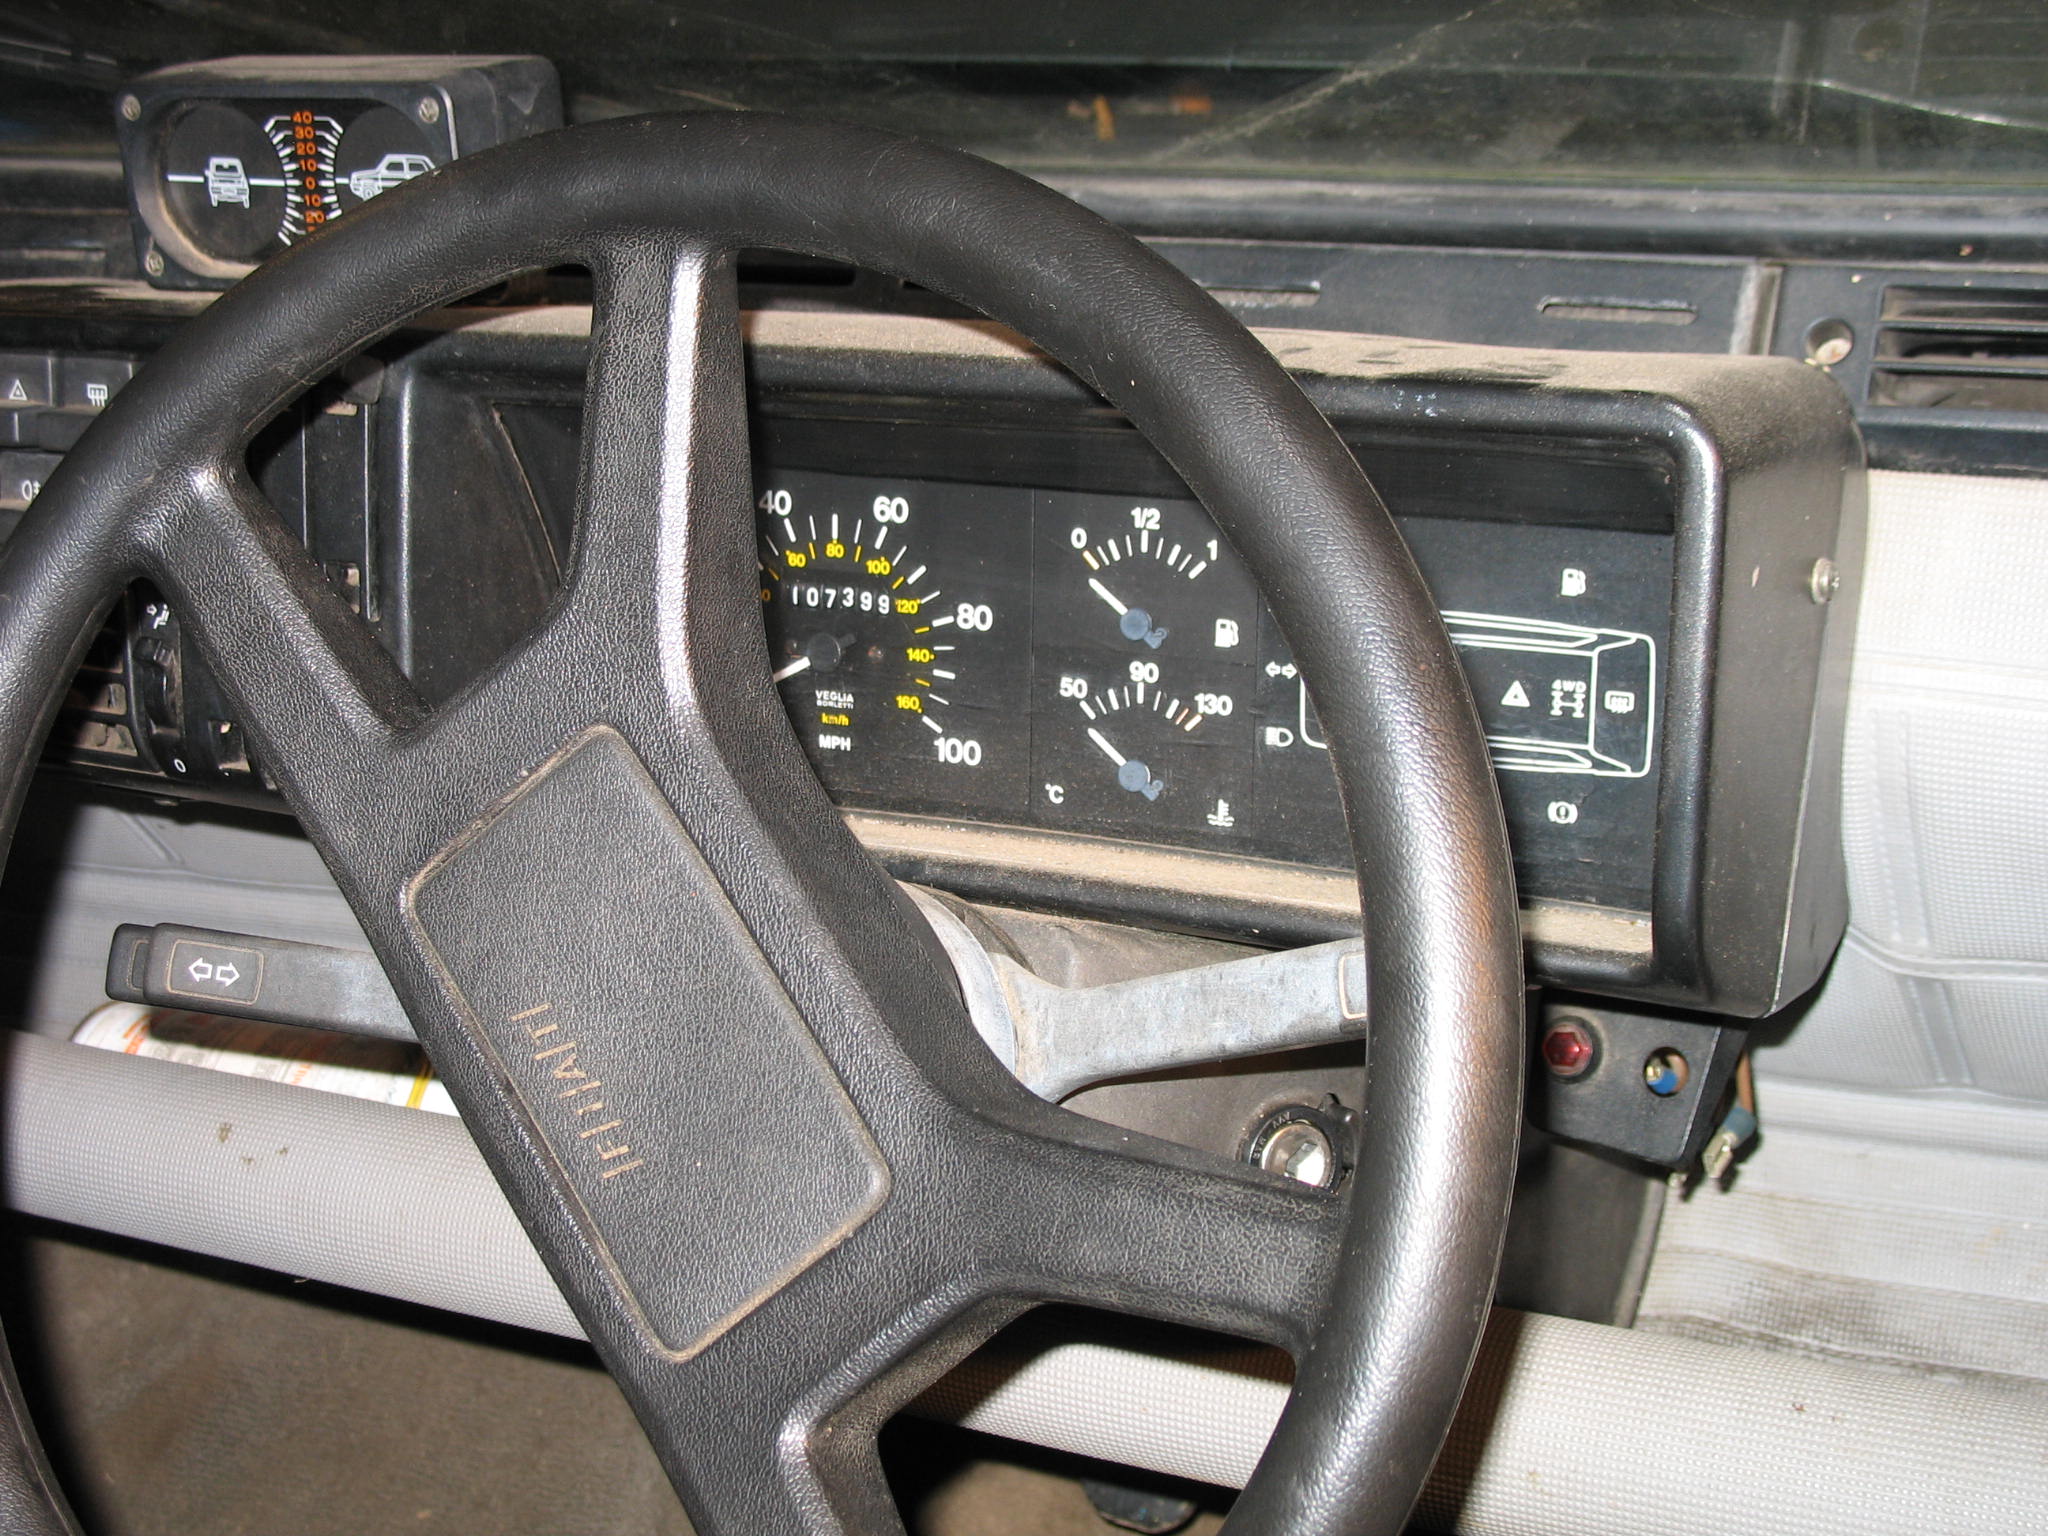
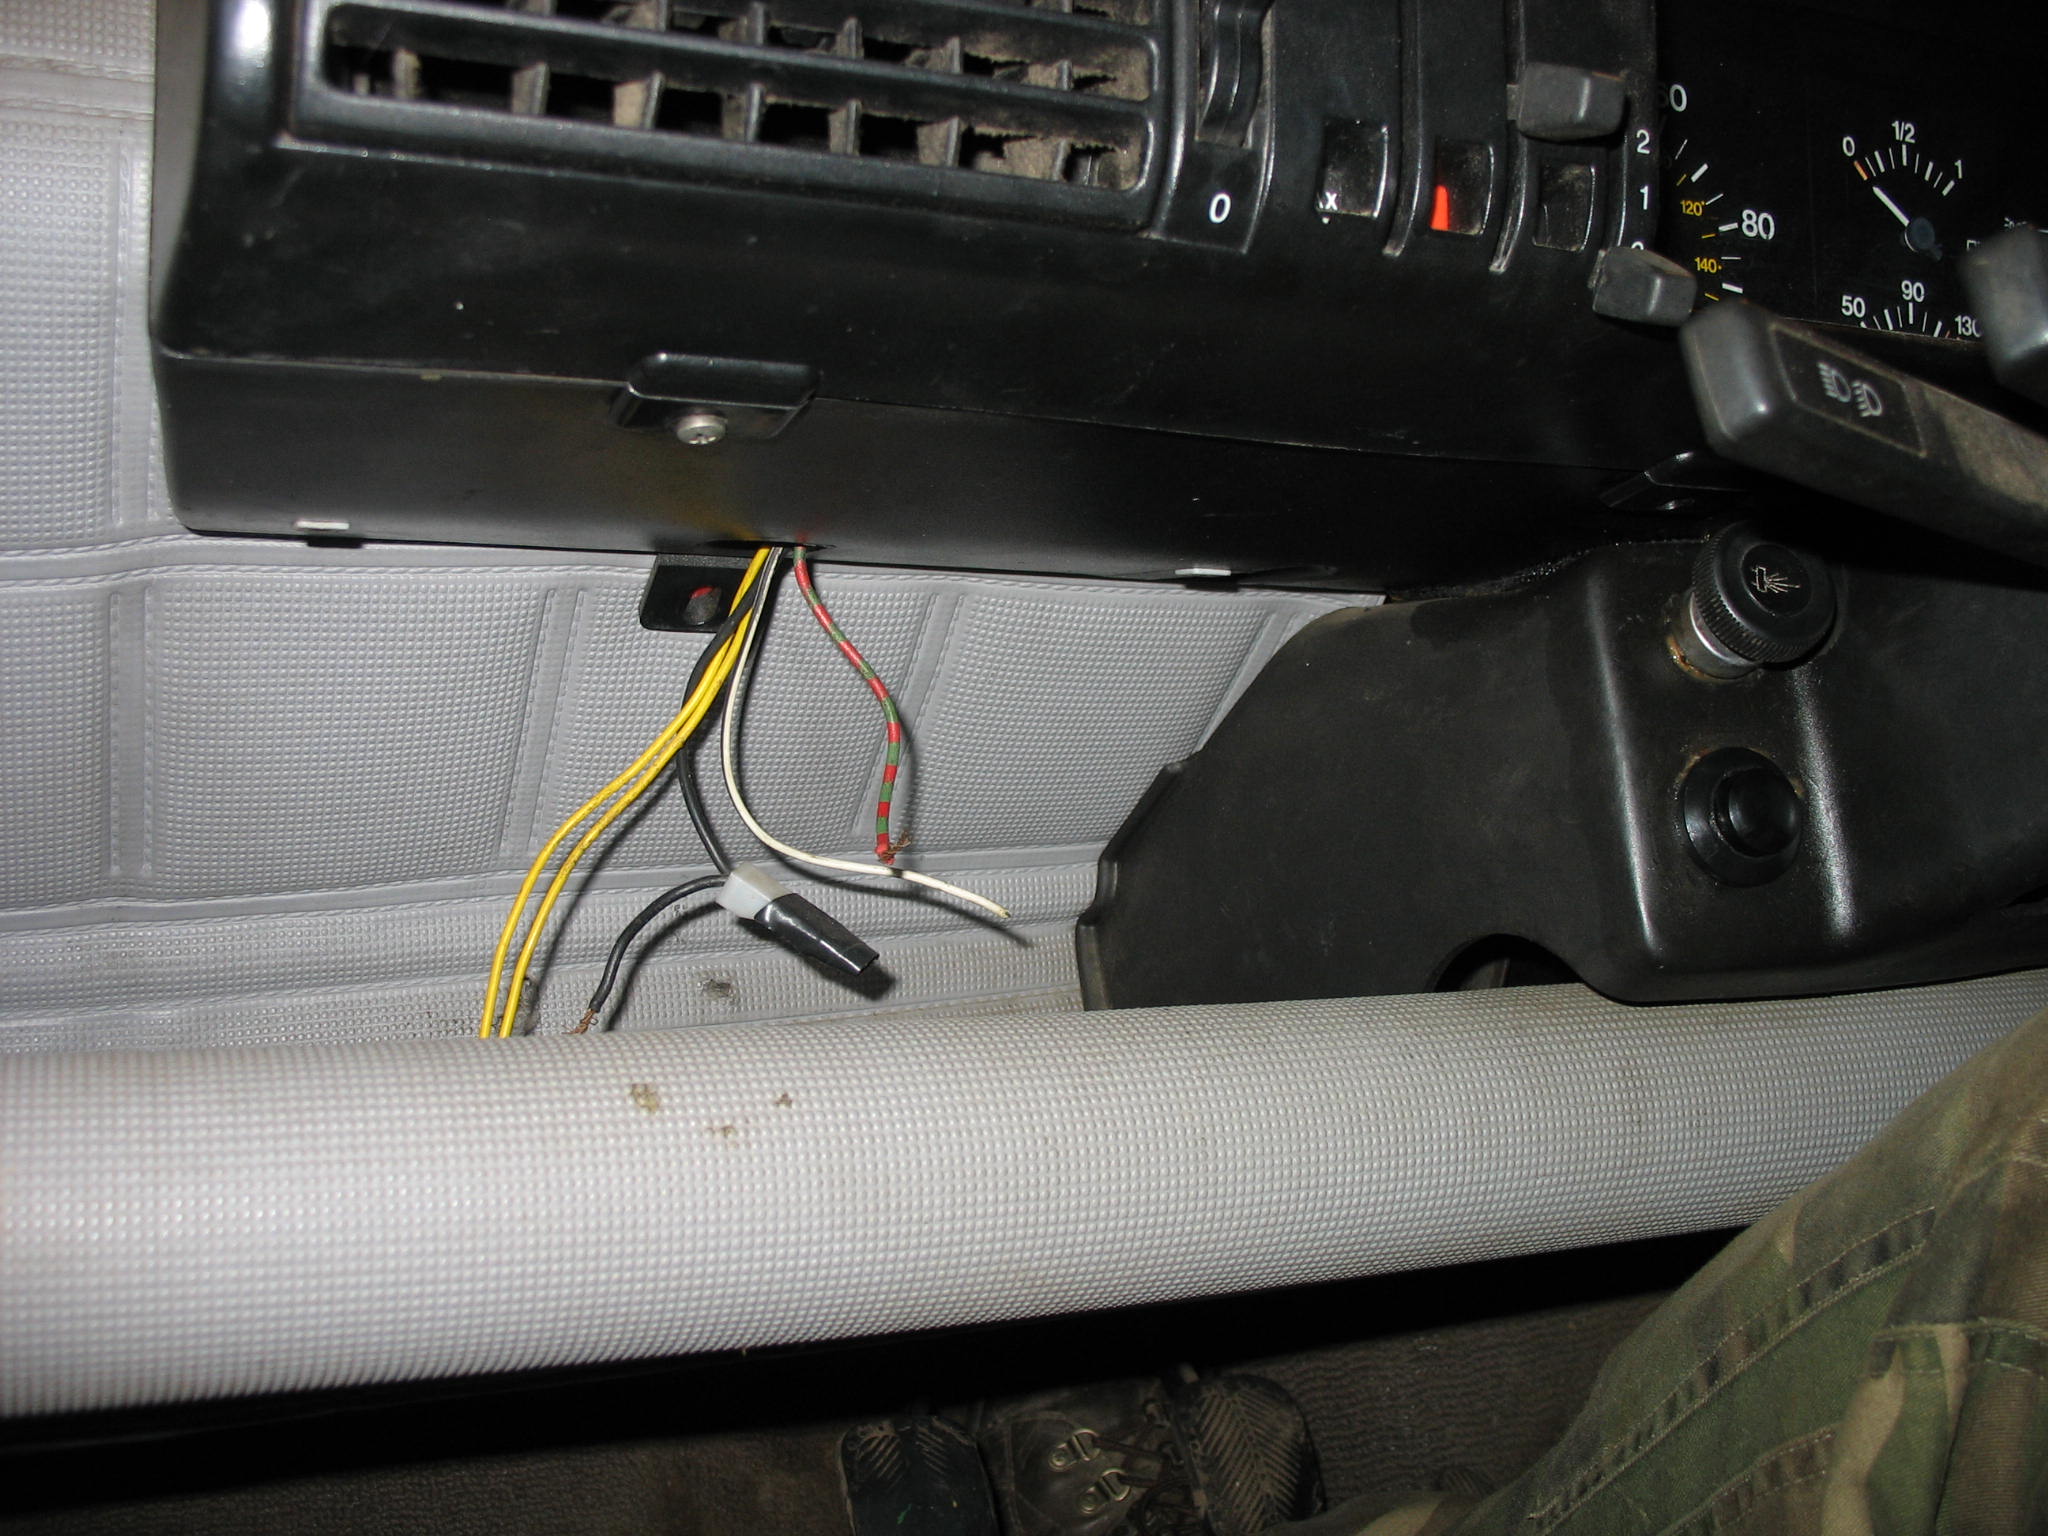
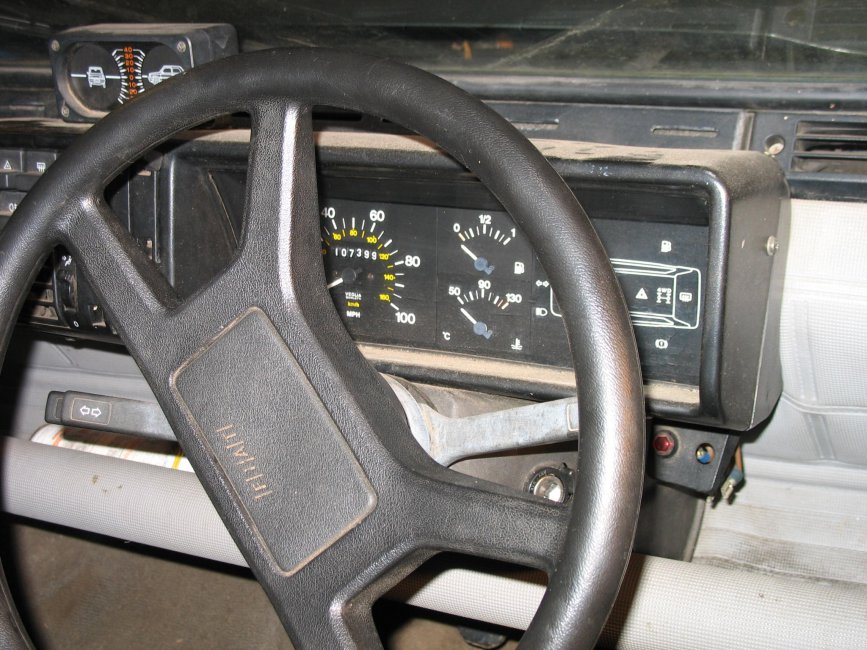
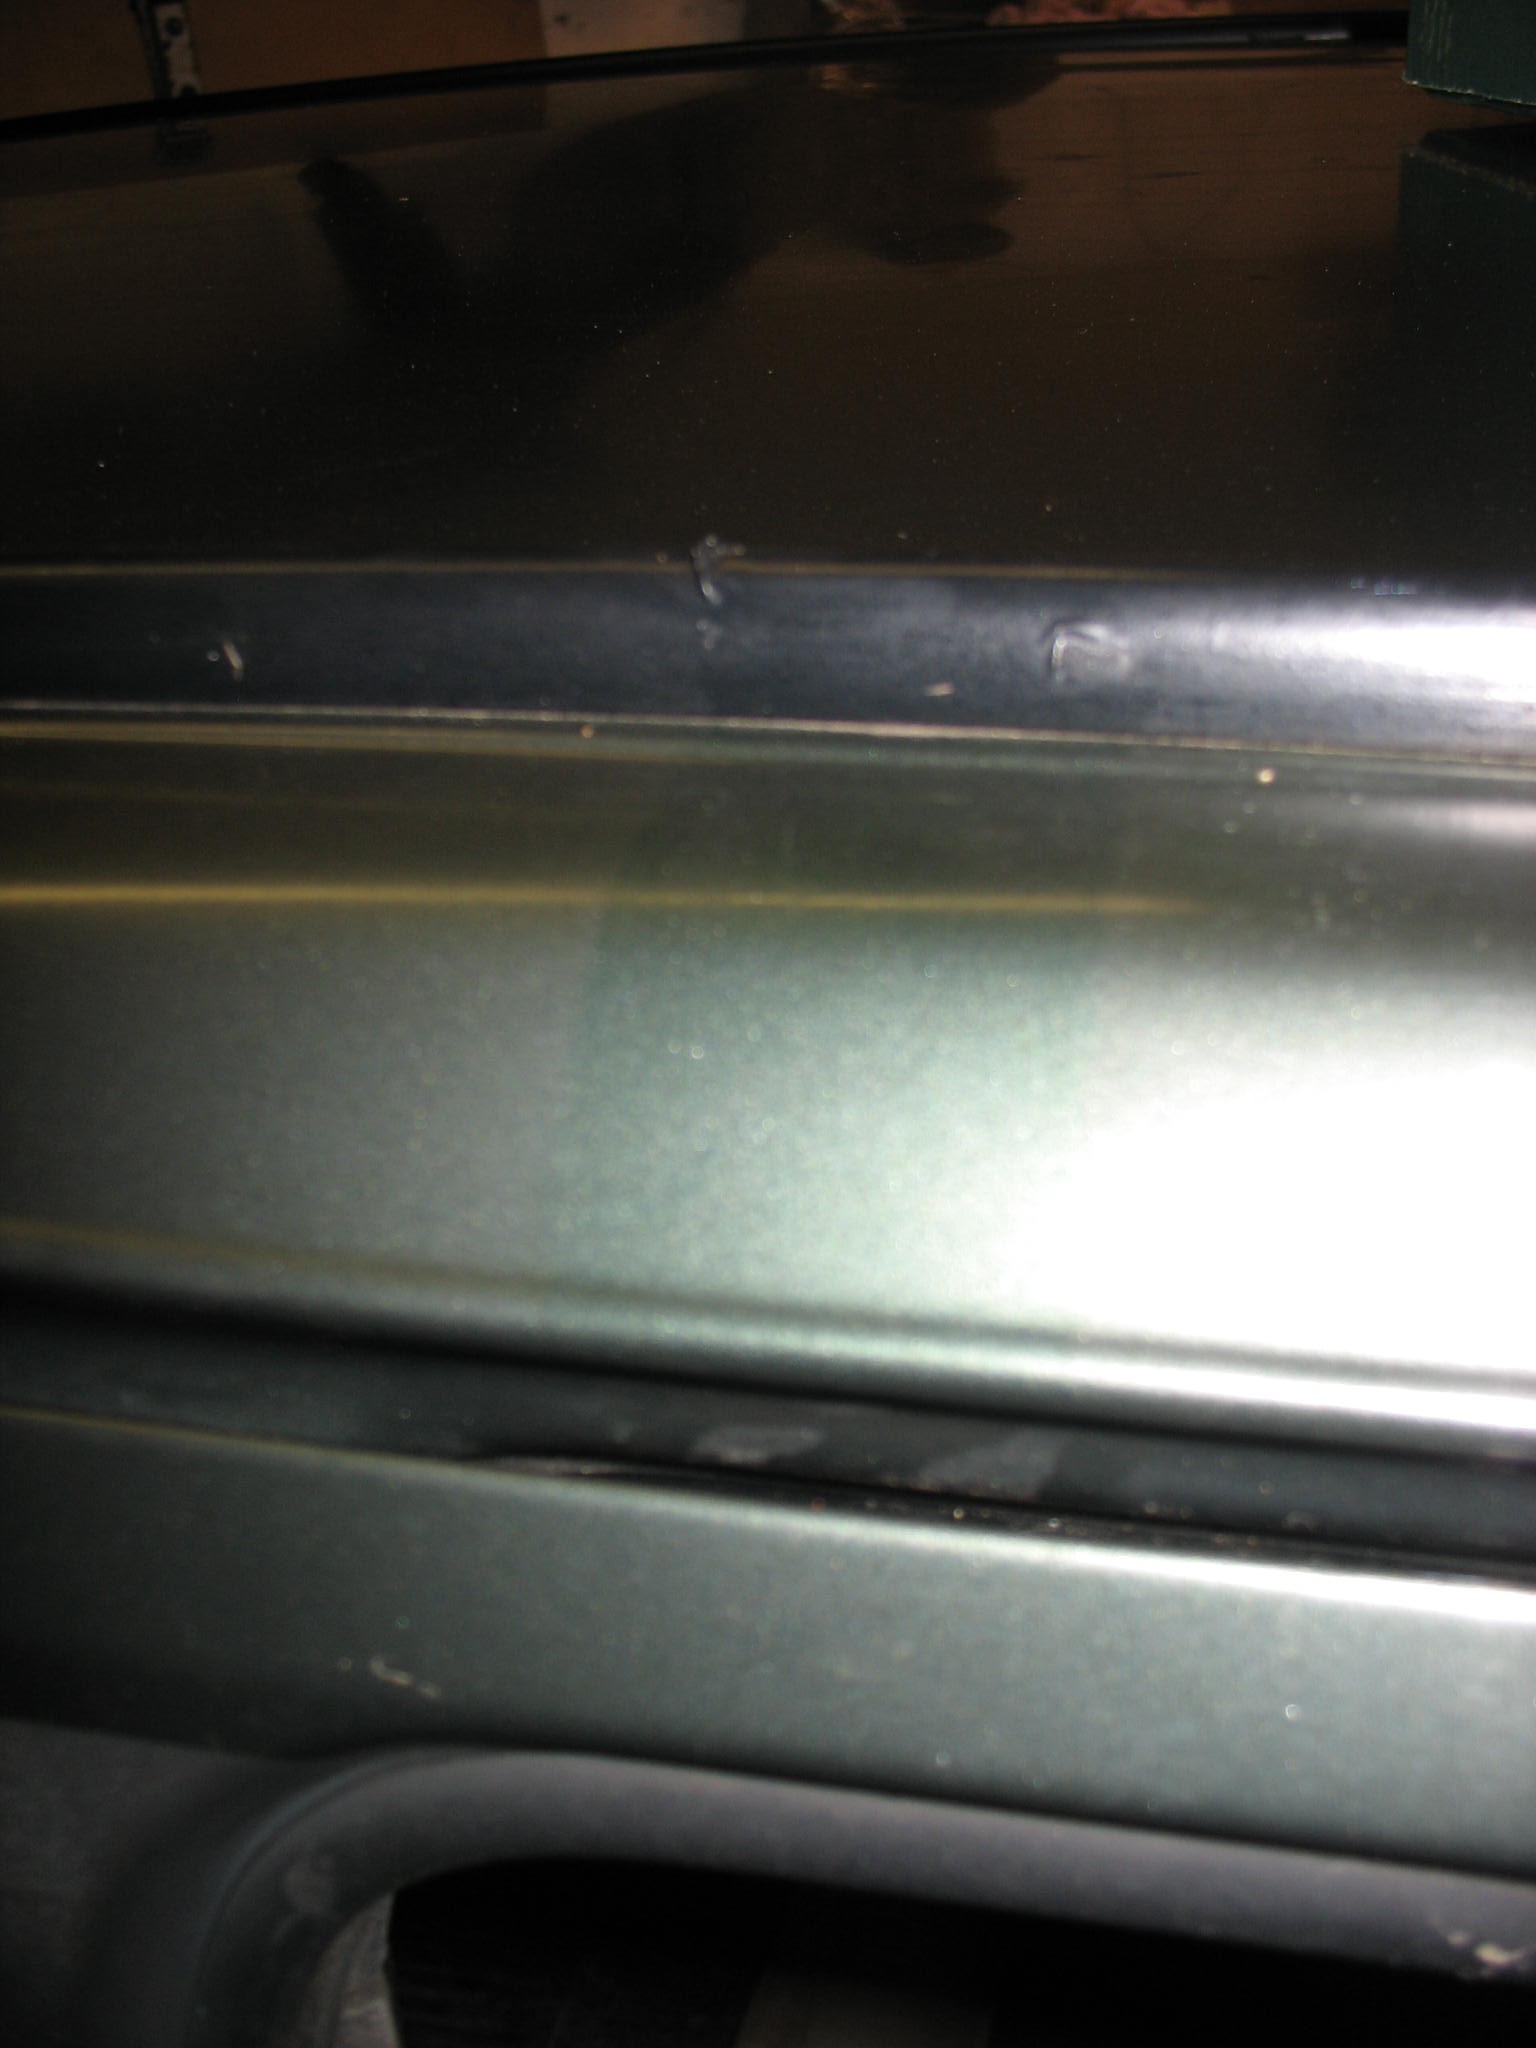
Not the geniune steering wheel and speedo, which does not make much difference to me at all. Roofrack presence evidence
IMG_18931.JPG


IMG_19081.JPG


IMG_1915.JPG


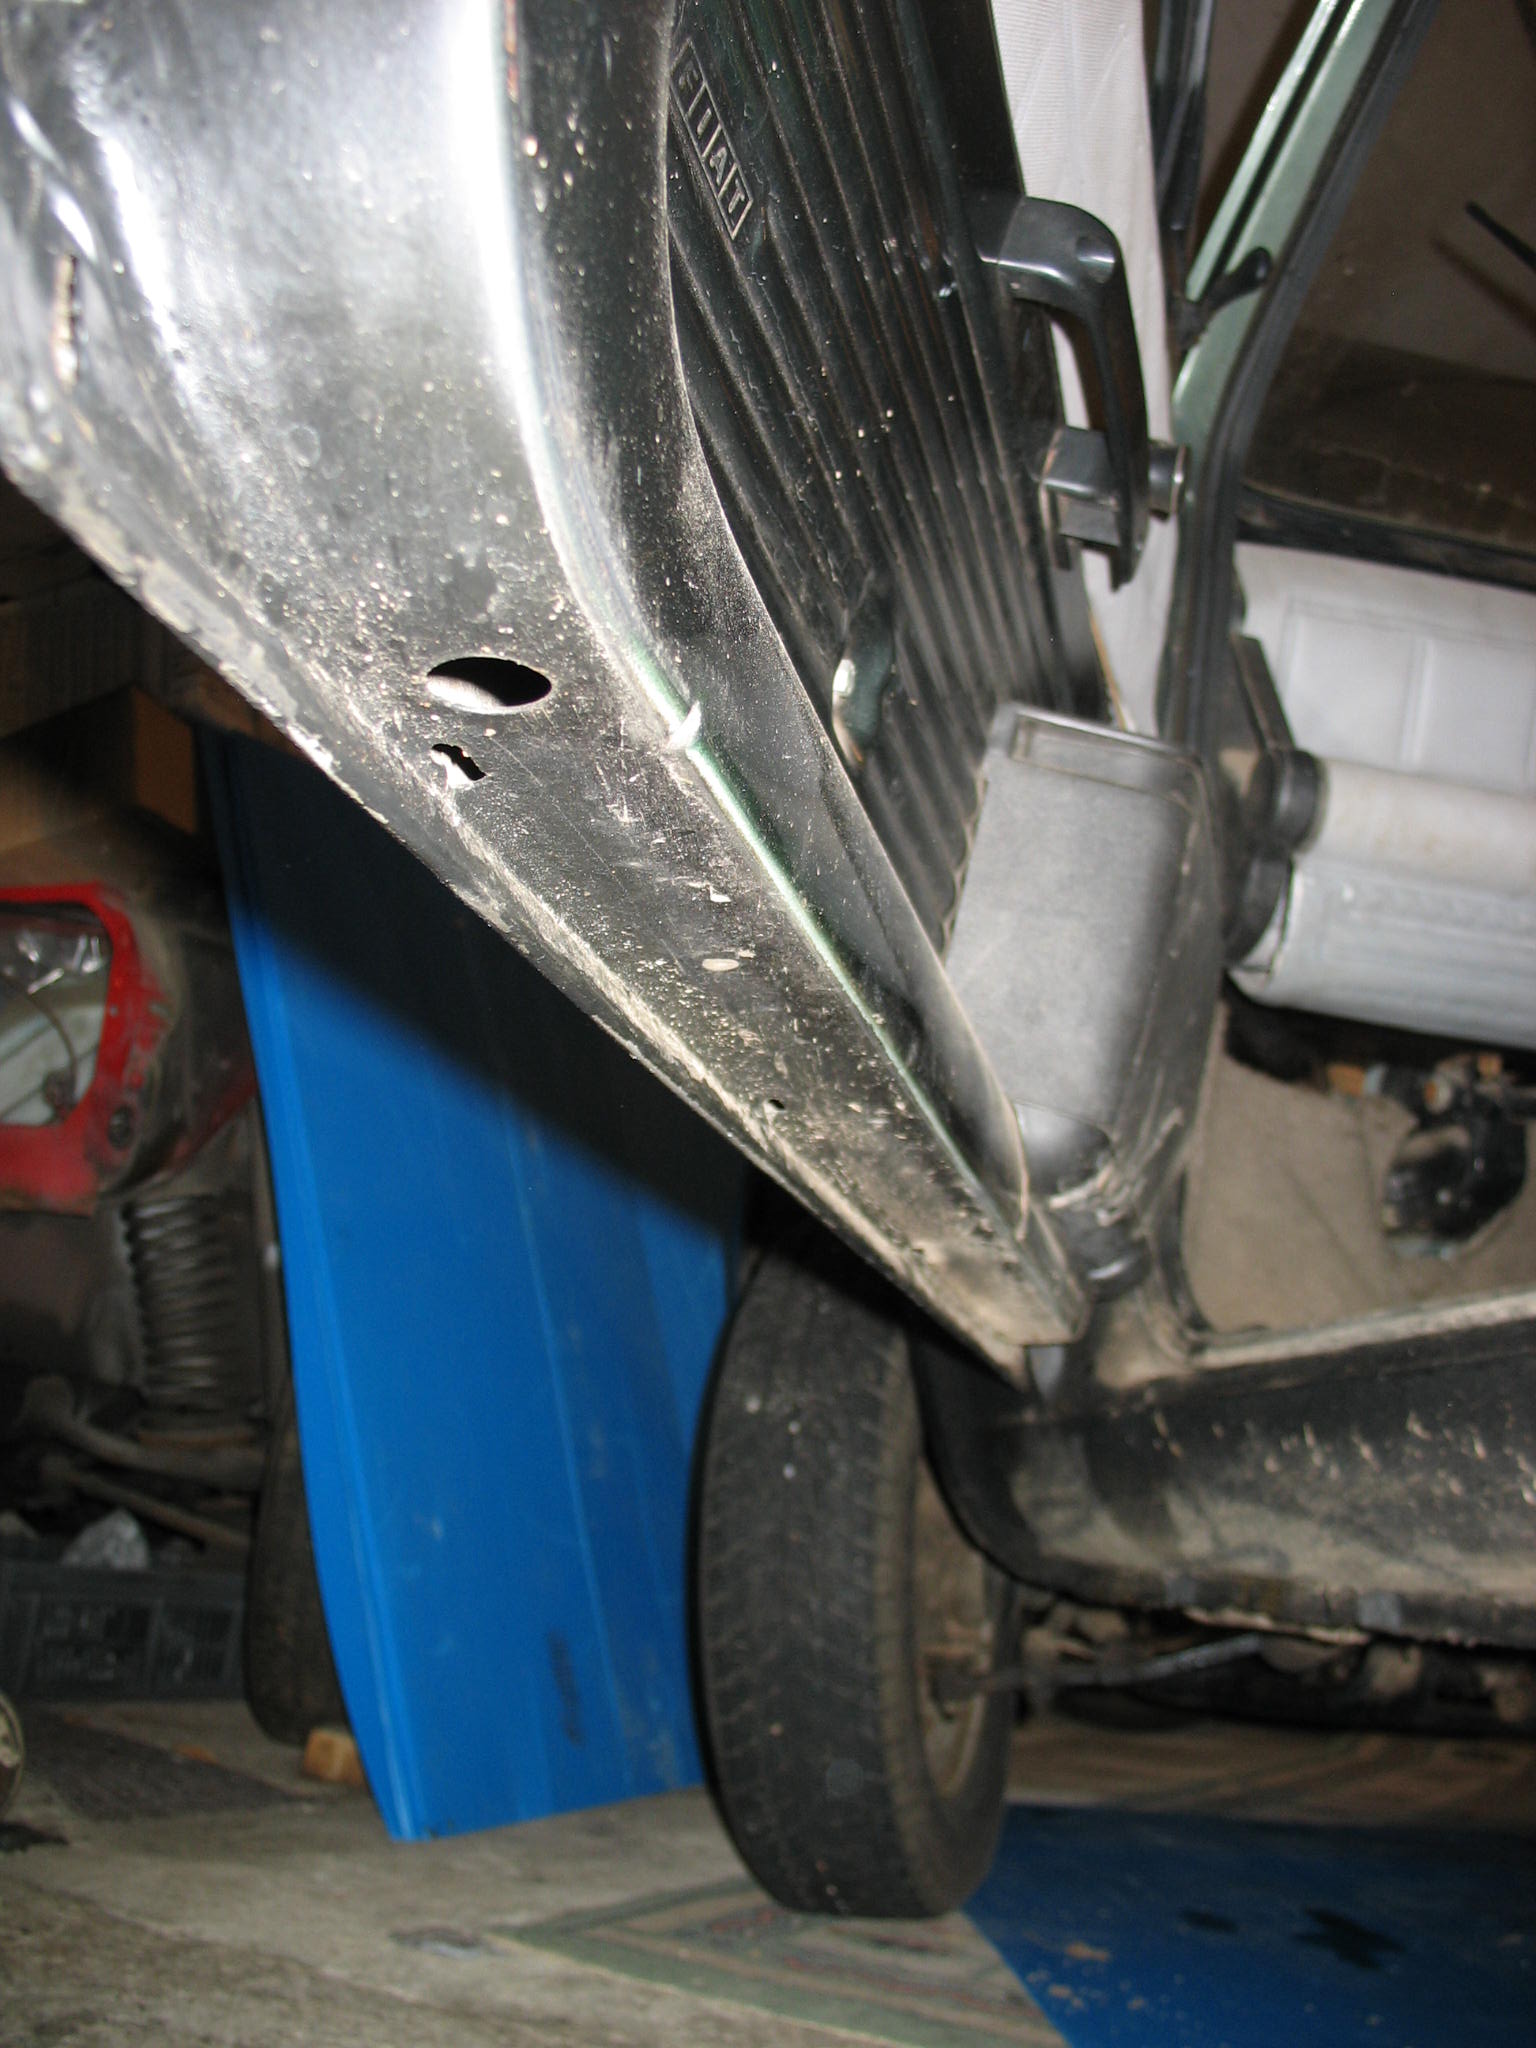
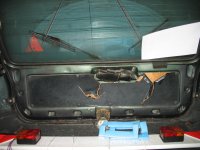
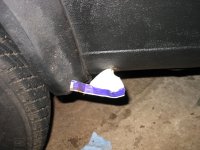
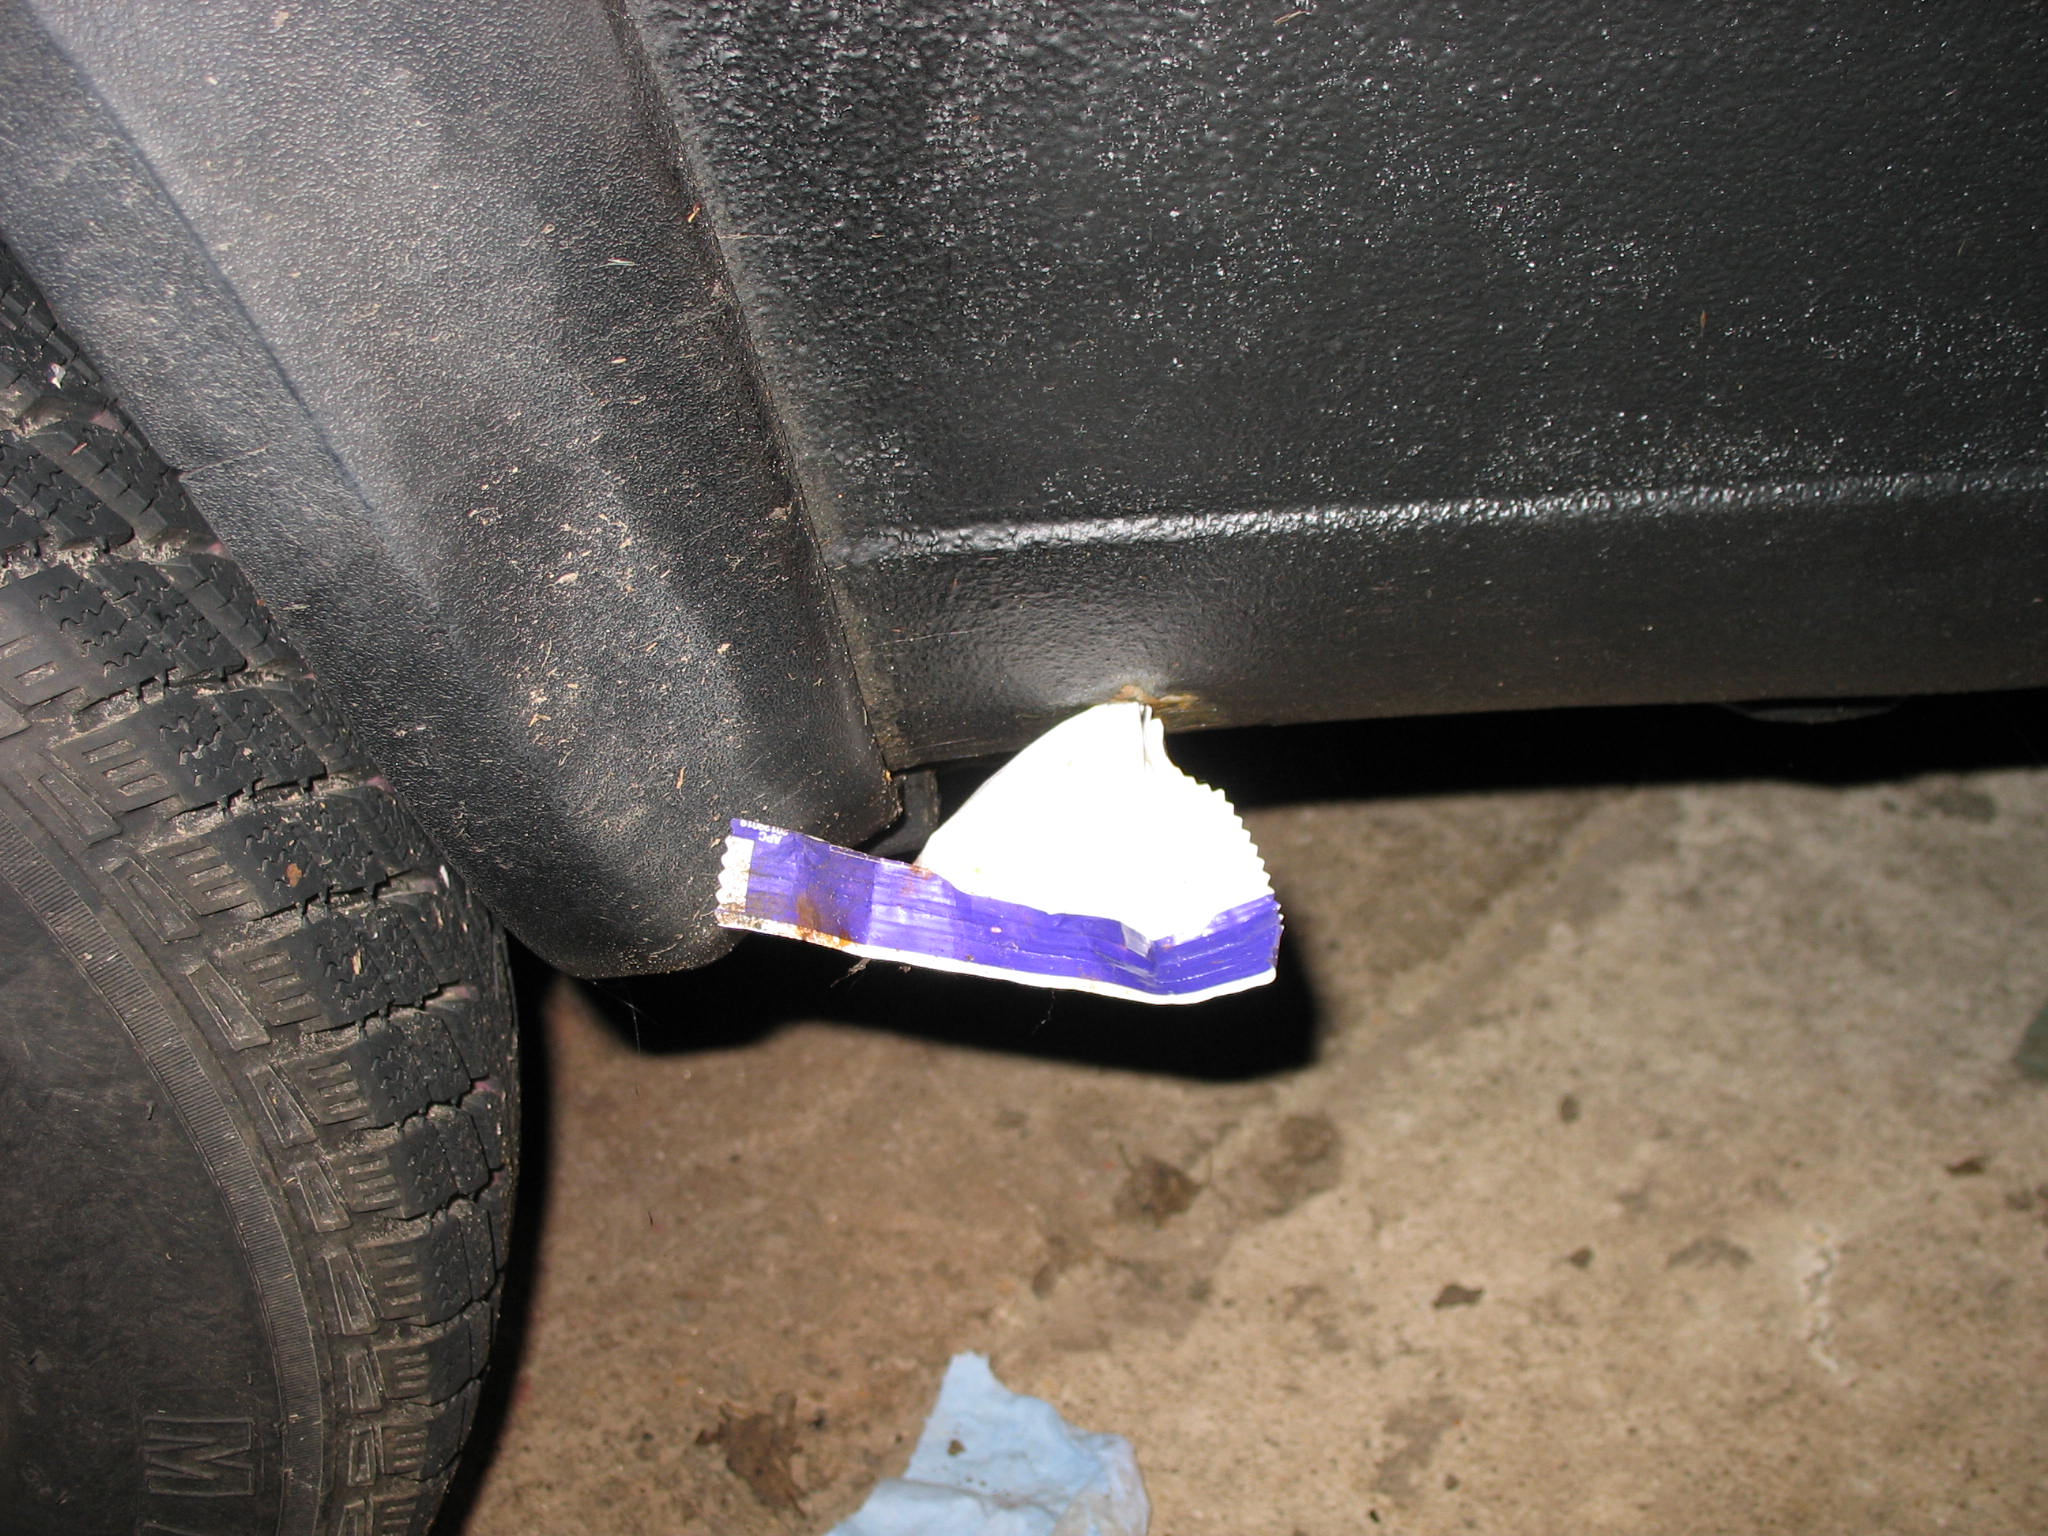
I dont want to know how this happened.
IMG_19191.JPG


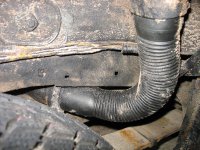
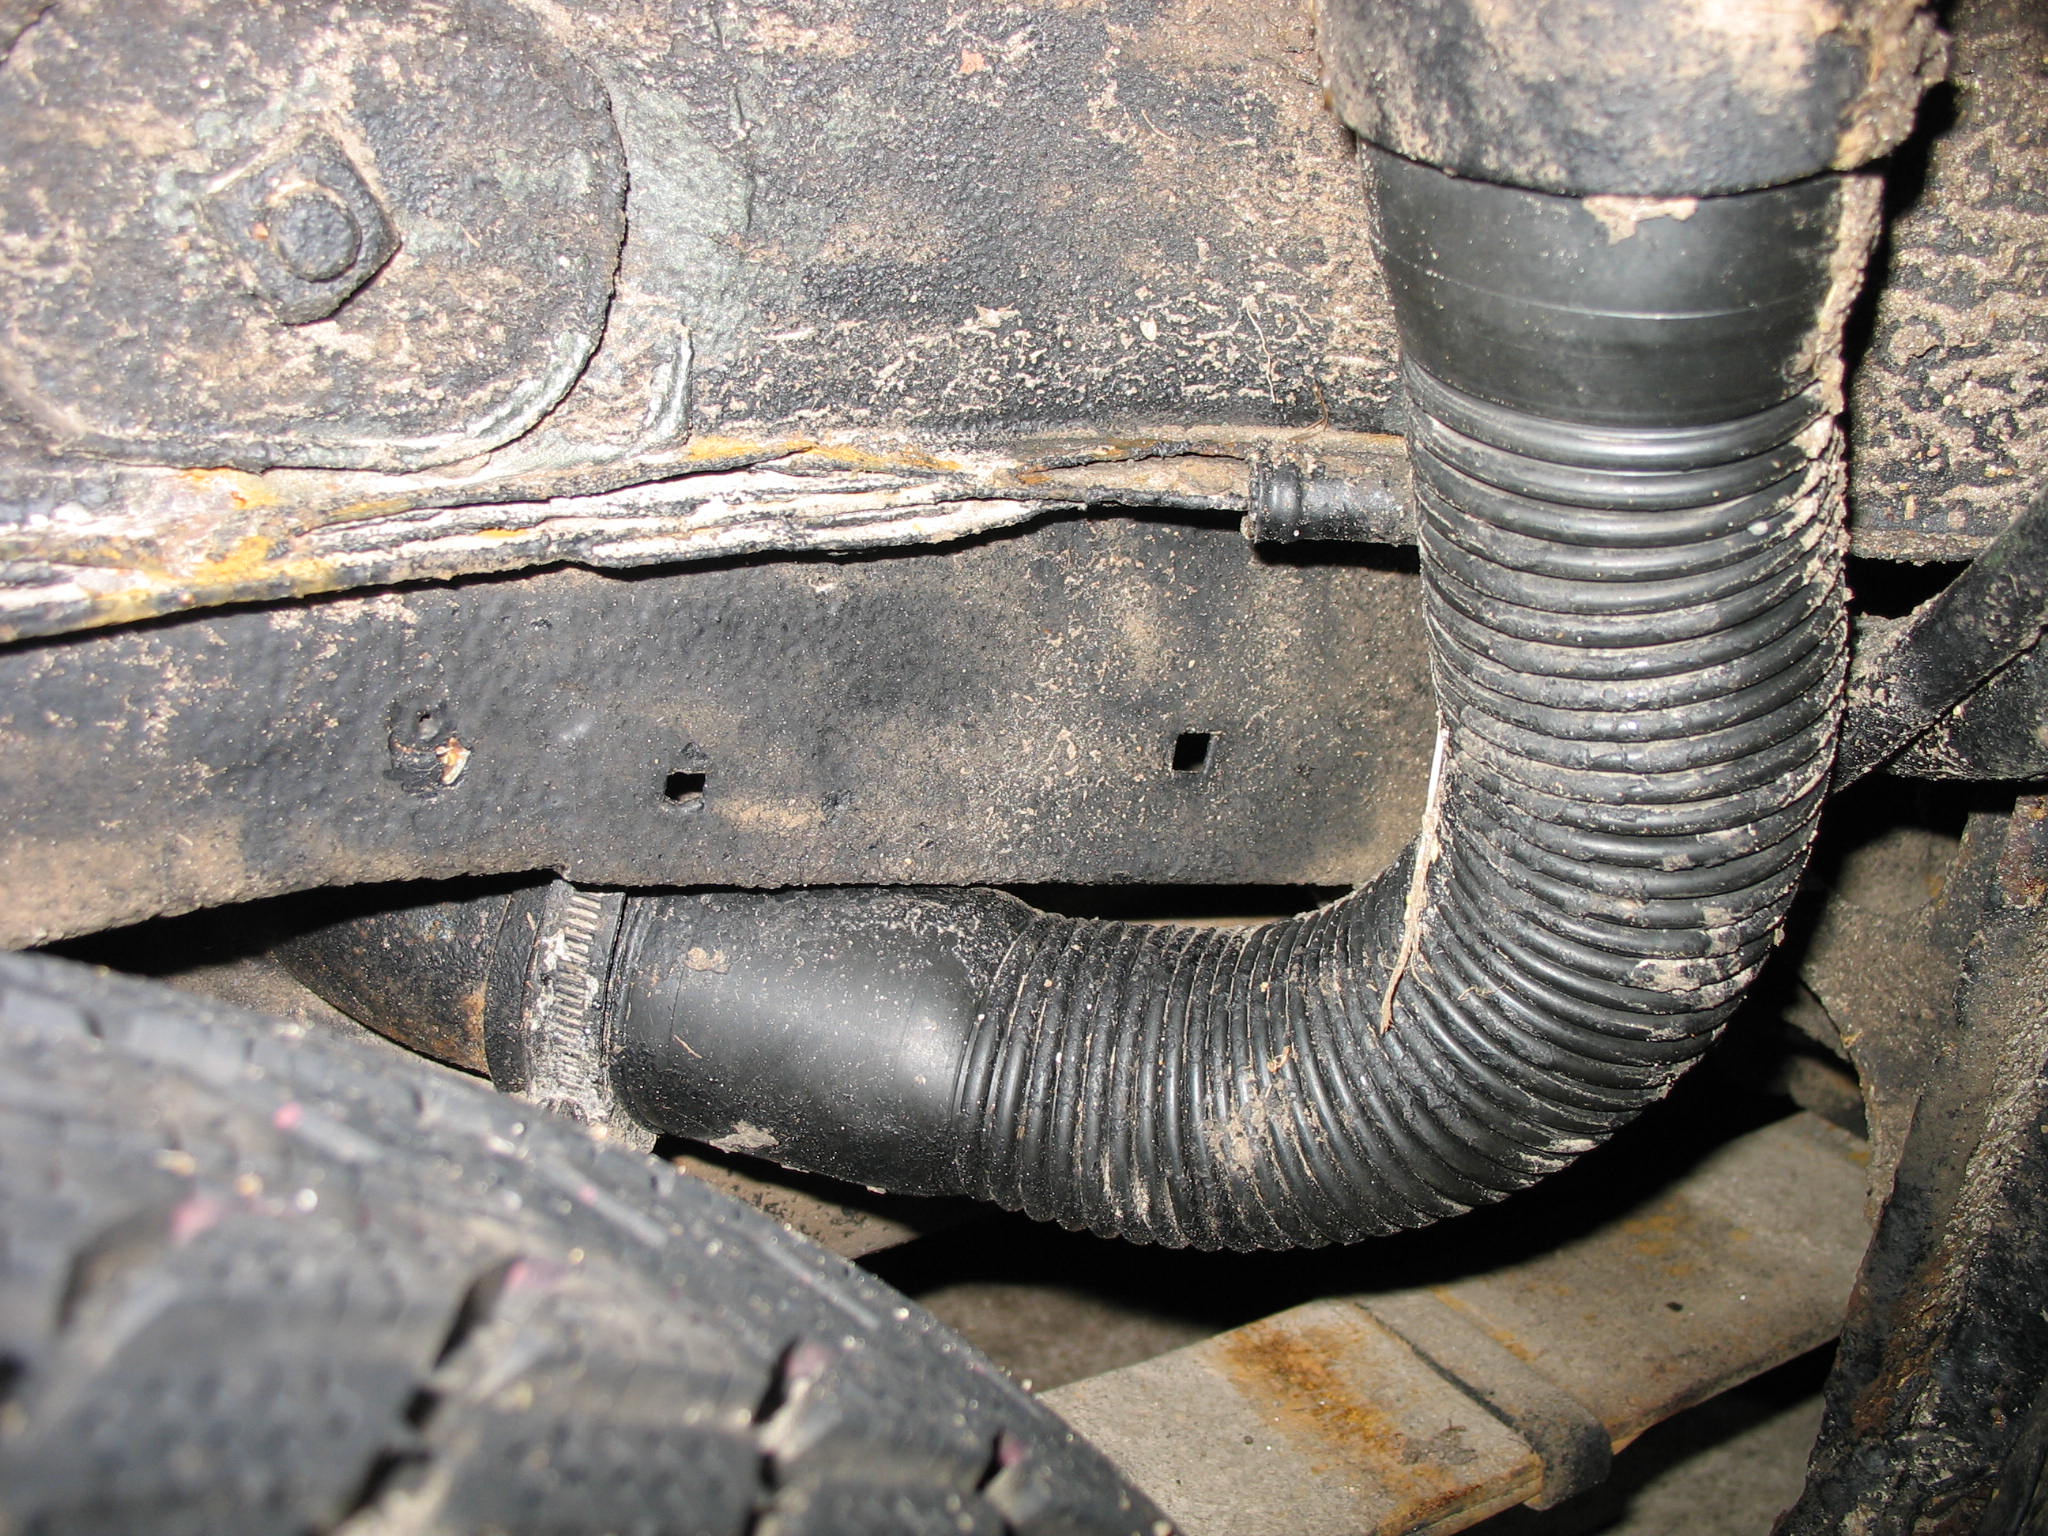
Filler pipe still untouched, what sort of DIY protections do you recon?
IMG_19202.JPG


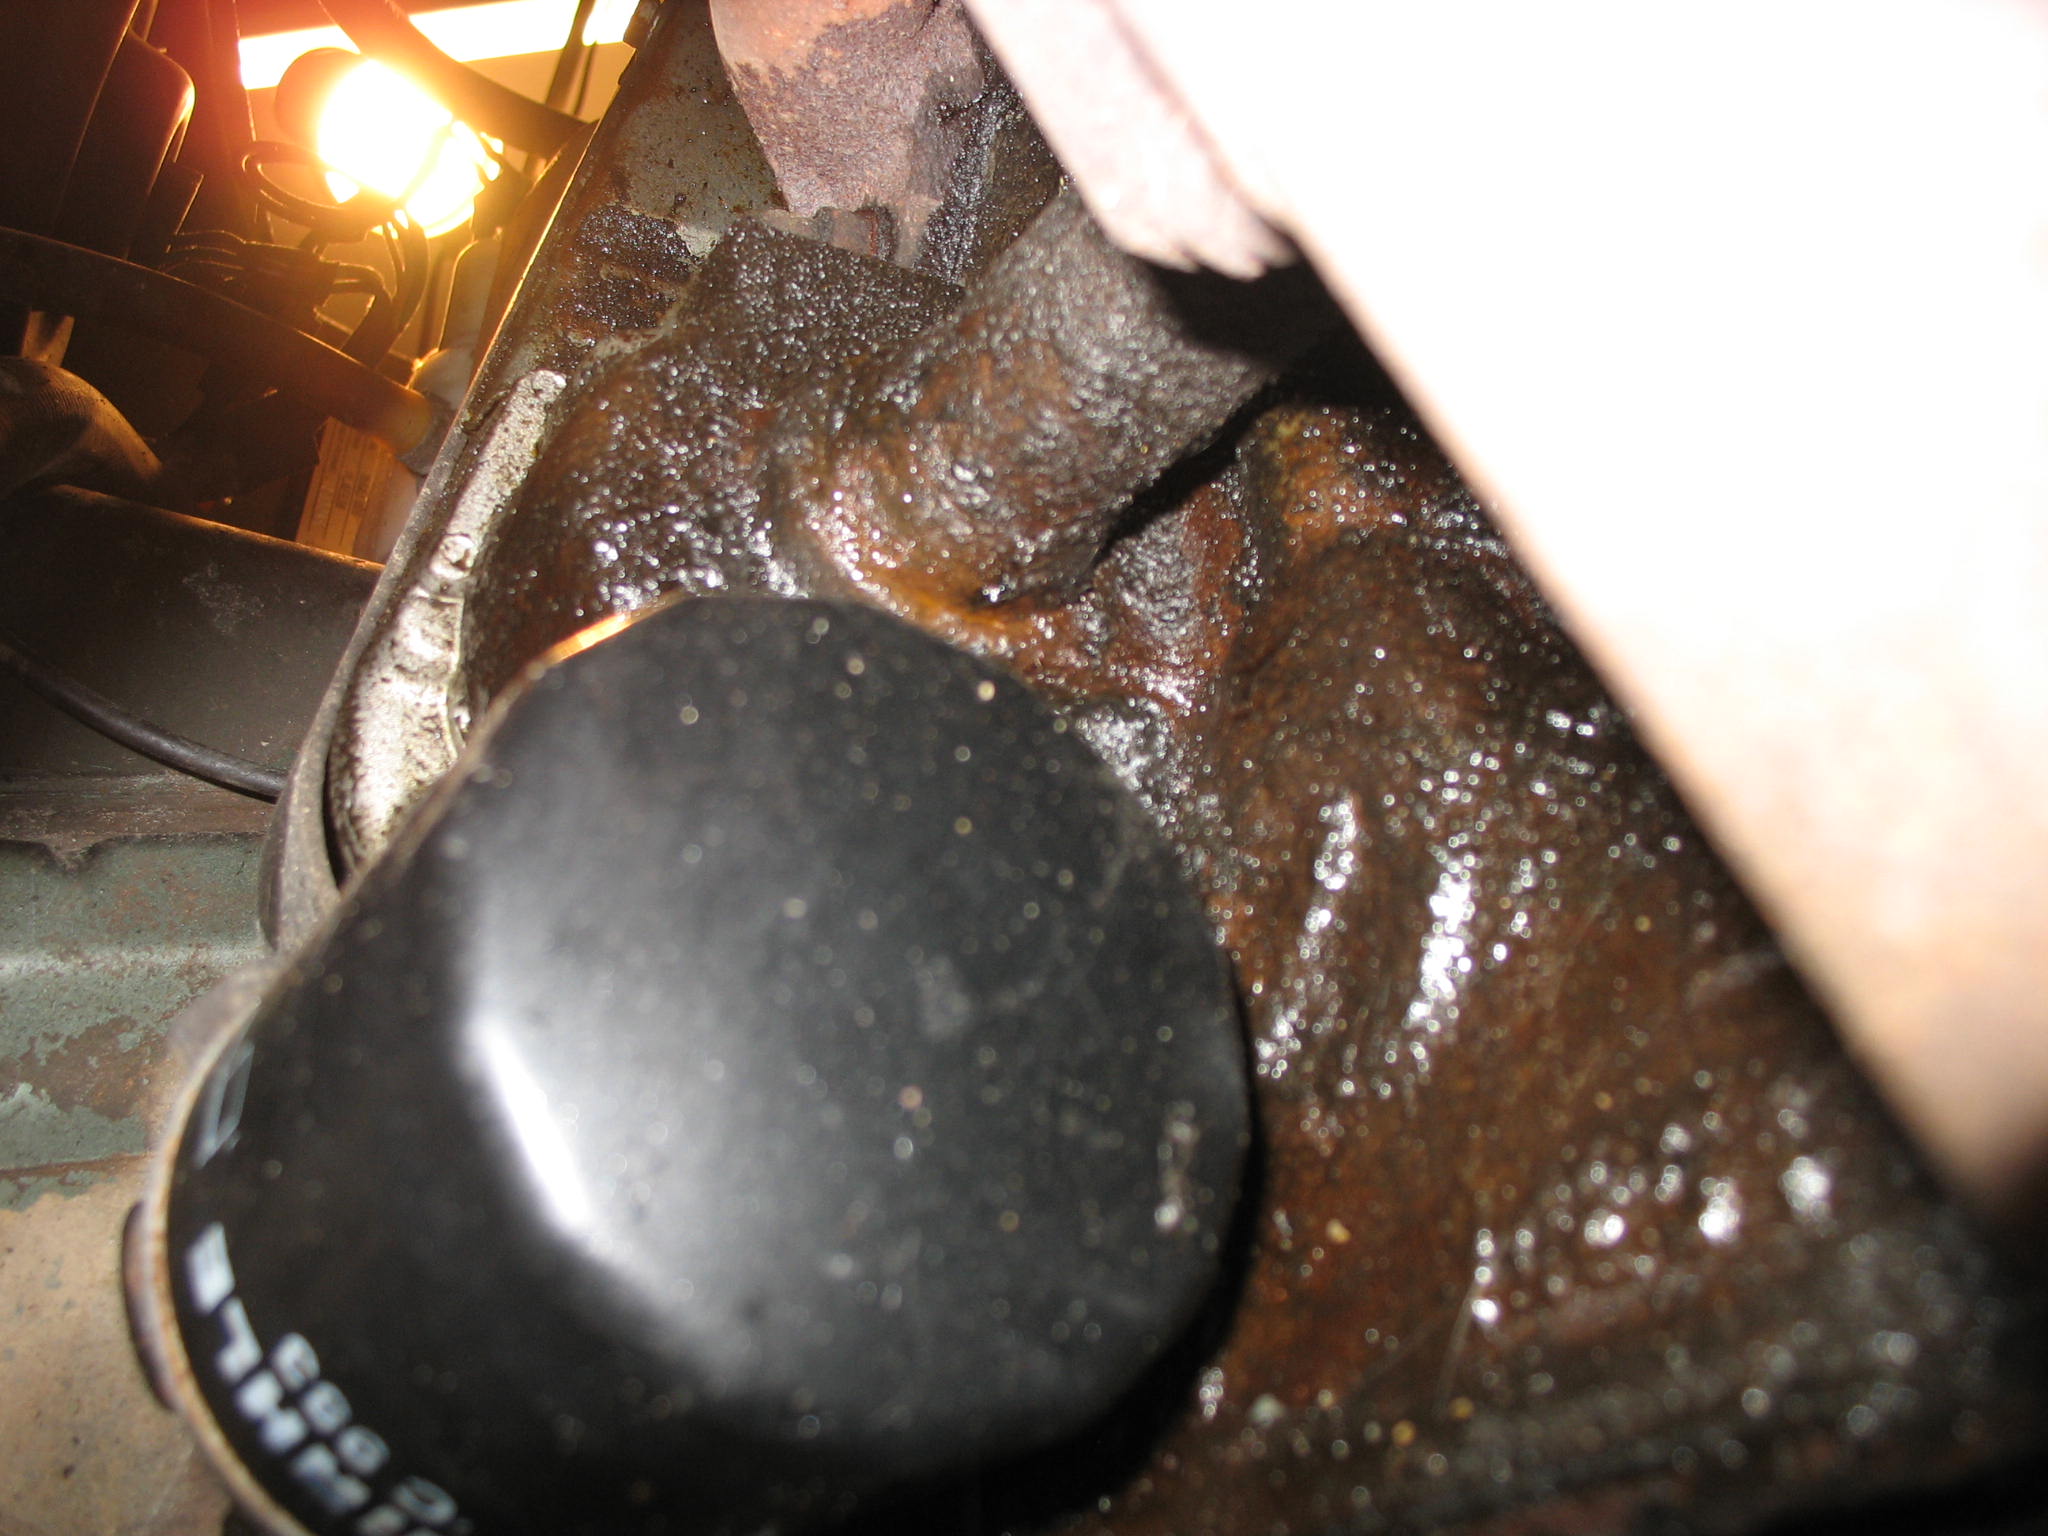
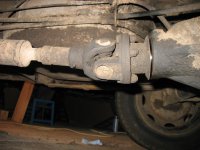
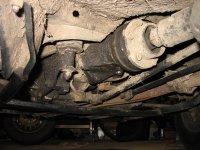
And time for the bad boy
IMG_1946.JPG


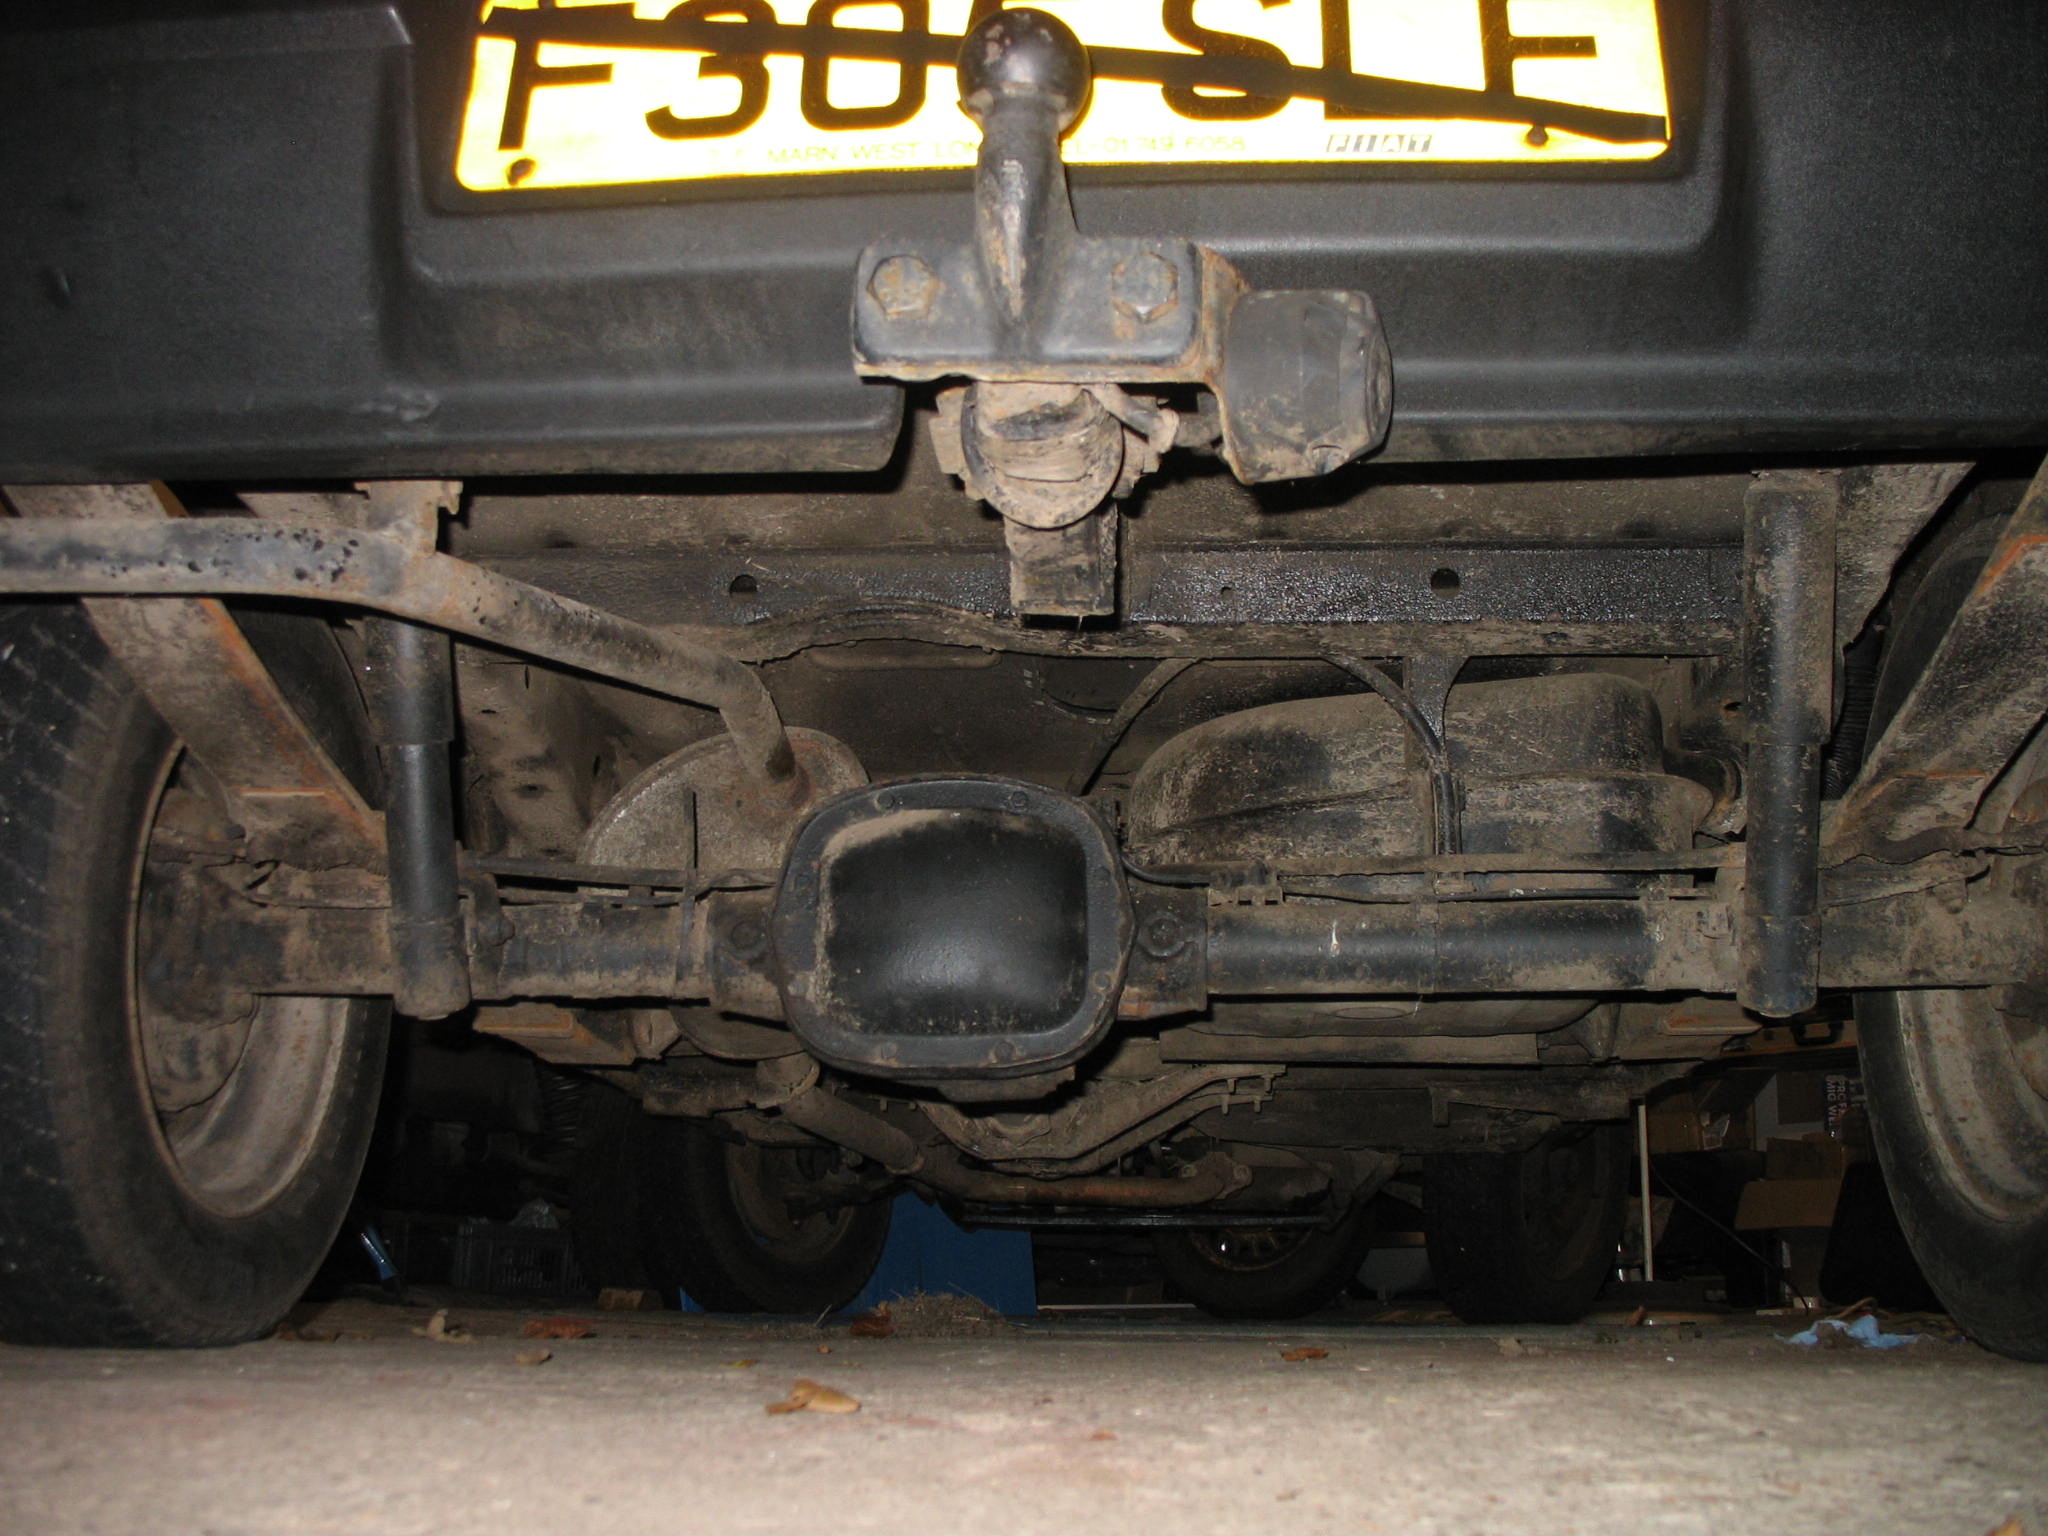
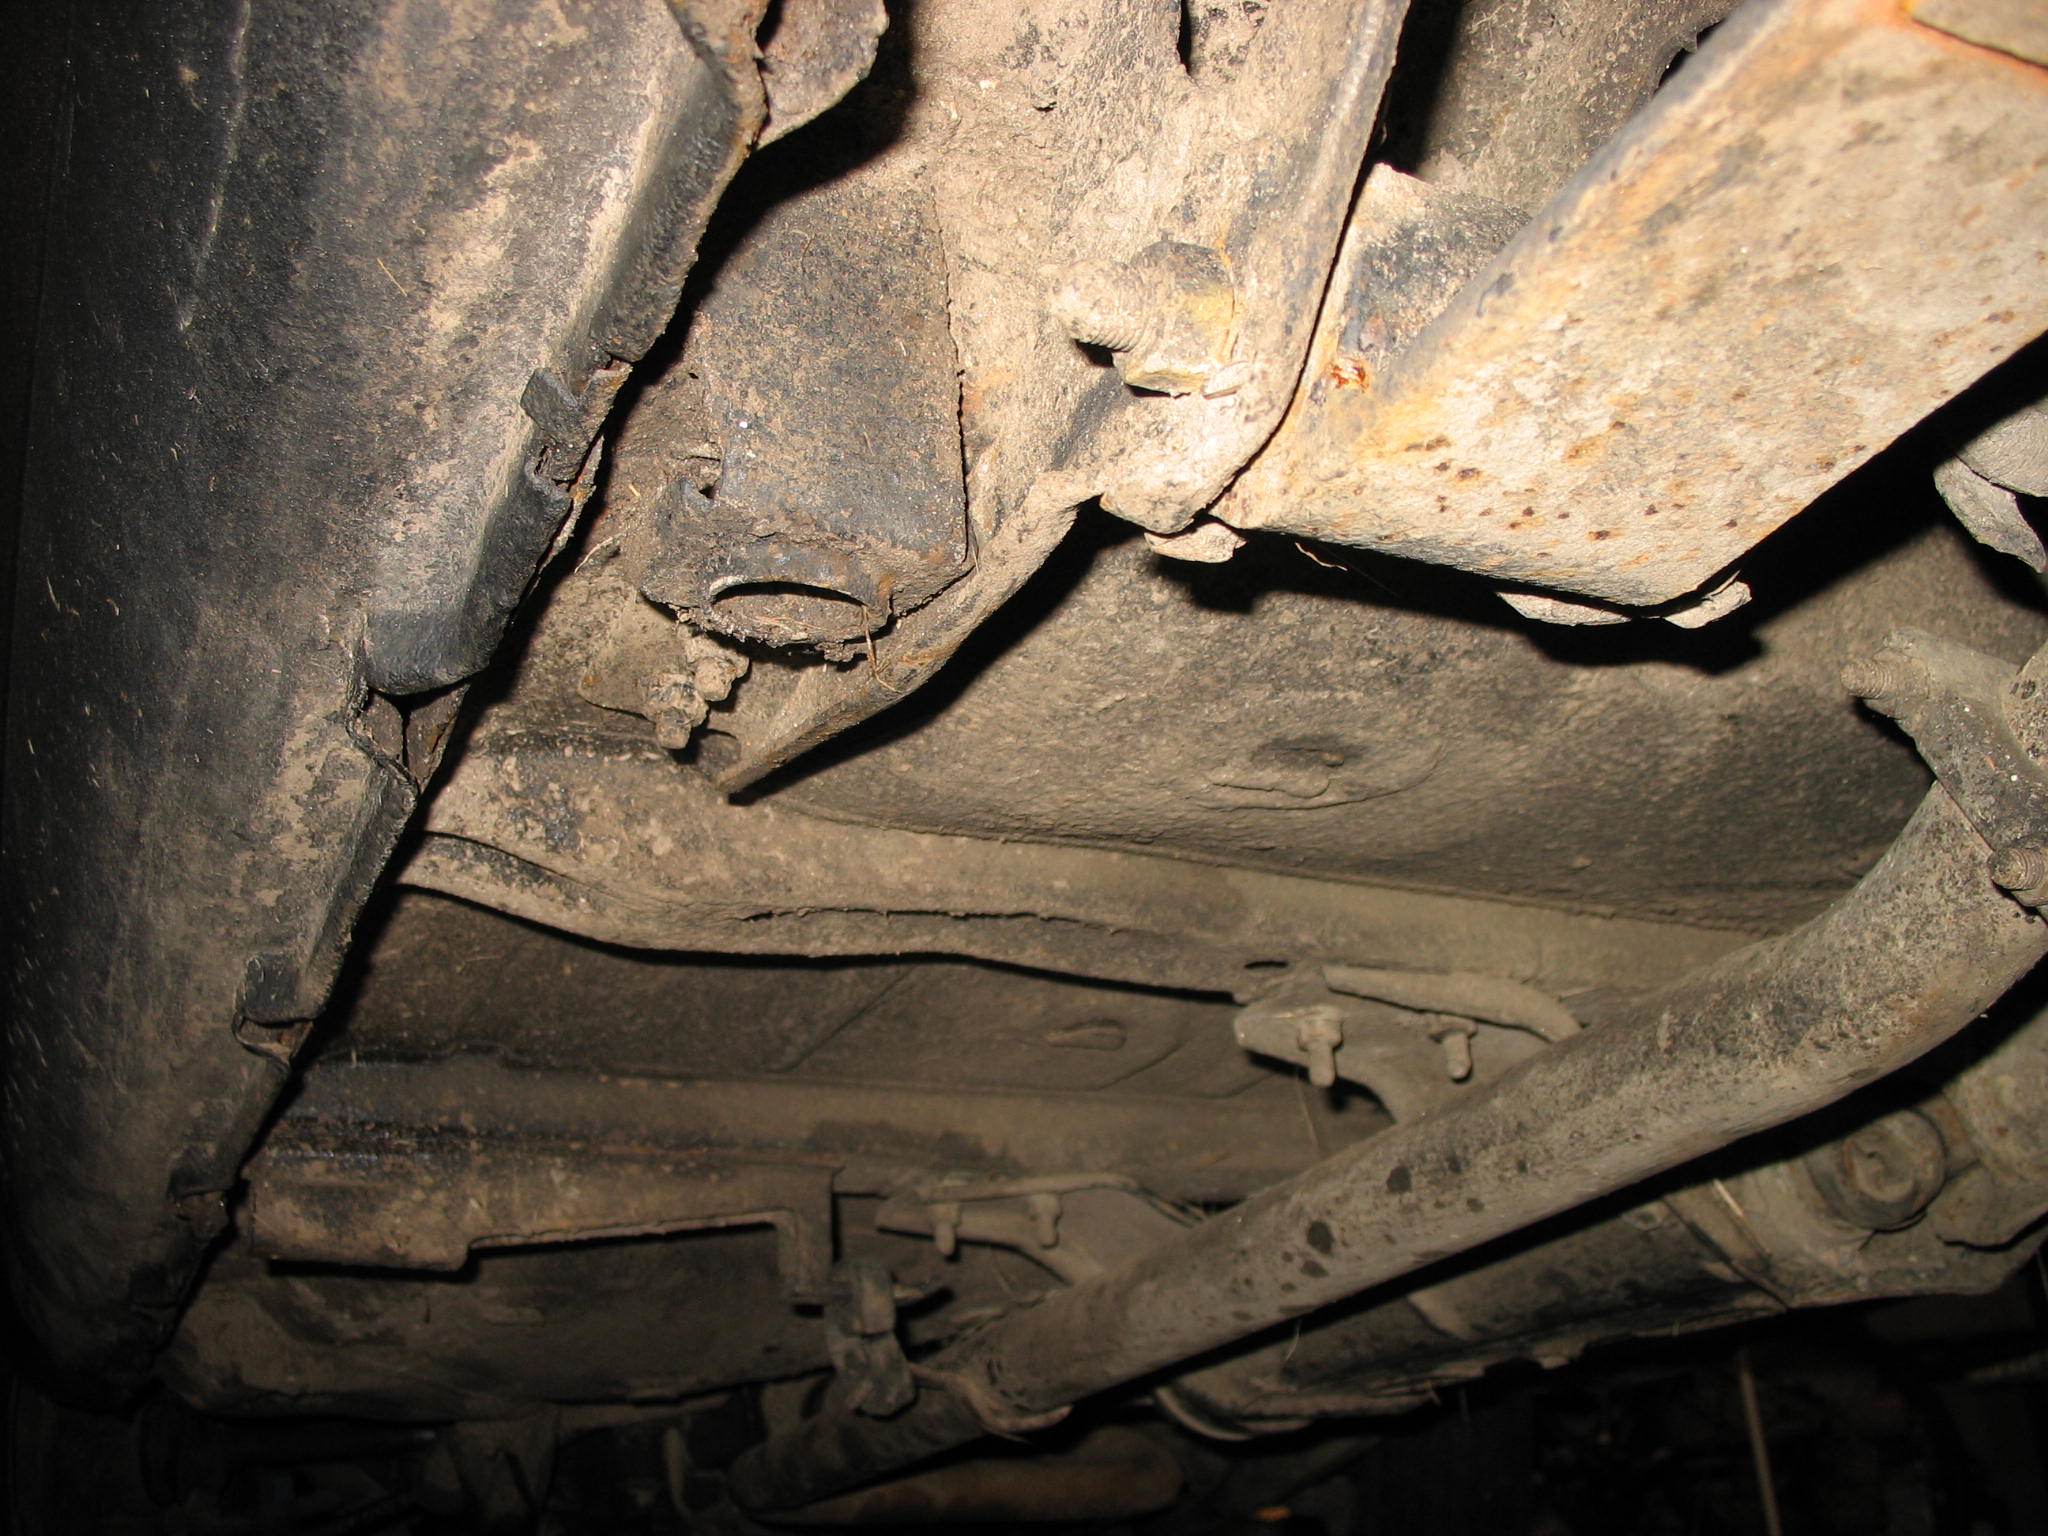
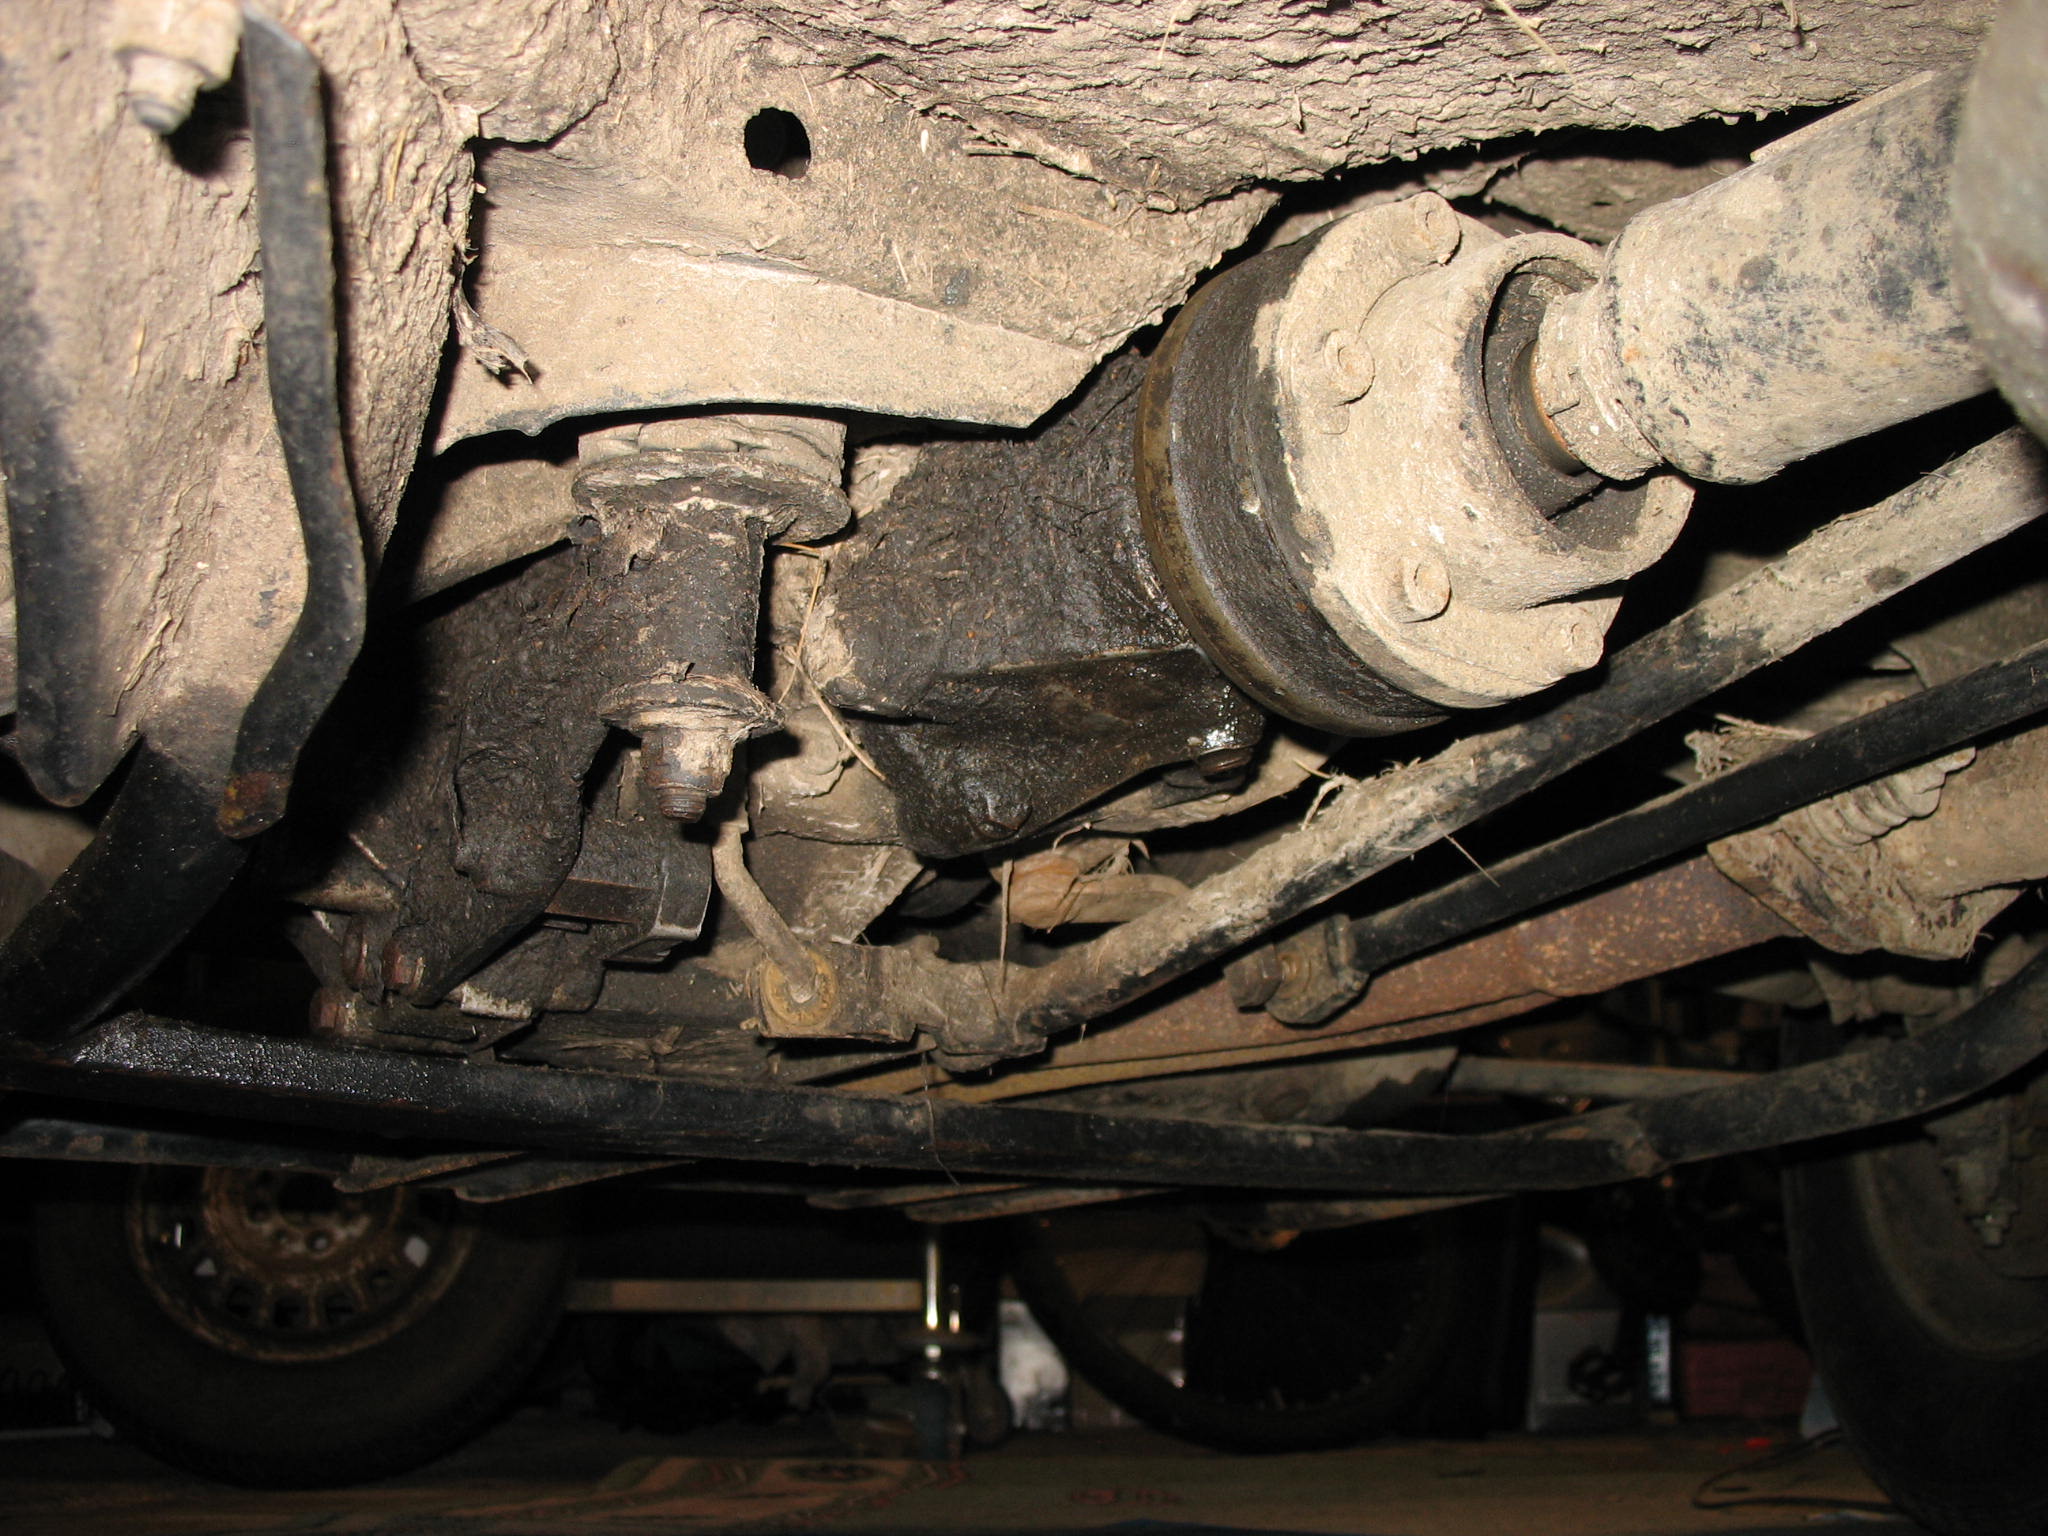
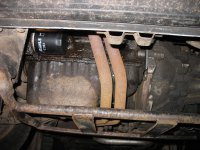
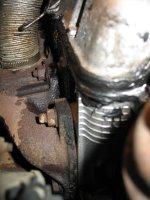
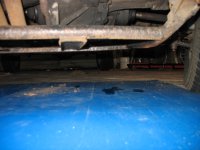
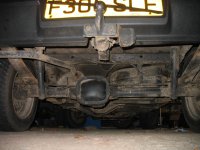
Is that gap between the propshaft and diff is normall?
IMG_19042.JPG


IMG_19022.JPG


IMG_19061.JPG


IMG_19442.JPG


IMG_19353.JPG


Dear FFCP section members, any comments, suggestions and observation are more than welcome, especcialy regards the 4x4 drive train i.e. leaks etc.
Done some preparation towards heater box removal and guess what i've found under? The original heater valve flexi rod stop nut, I knew its somewhere there. By any chance can somebody tell me where i can get the speedo flexi shaft? Got some details for two companies doing custom speedo flexi shaft but i'm scared to get the quote.
 
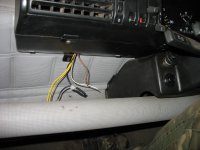
Been doing some work today on the wiring,
there was no earth distrubution issue at the time but from my experience i can say that the barrel crimp connectors are the most unreliable ones so i didn't want to wait till they broke.

Thats how they were done by one of the previous owner, not the best job.
IMG_19251.JPG


And how they do look now, i've decided to spread the wires to individual points of the hedgehod, which was cleaned to its original glory.

IMG_20682.JPG


After all, the whole hedgehog was covered in grease - same as on Formula '91 - 3 years ago.

IMG_2071.JPG


Same treatment was applied to the driver side one.

IMG_2072.JPG


Hope that will improve the ride.
 
yes, I have.
They are Mud power - Track - 42 Euro from Italy.

Pretty local, but 14 inch, and 175/70 .

Me don't want to rip fuel pipe- and 175 @ 14" might be to much for 50bhp.

Unless +20mm suspension rise + 5mm wheel spacer , hmmm. What are the Tonka tyres size?

edit: they are almost the same as on Tonka 175\65 vs 175\70
 
Last edited:
Speedo cable assy just been purcheased of ebuy.uk for £10.

Description was panda 82-86 but seller give me more details re flexi dimmentions and looks its the same shaft.
 
Speedo cable is exactly he same one, so i will use the flexi and the sleeve rather just the flexi. Fexi is now sunk in oil awaiting to be fitted.

Is there a method for removing the metal coolant pipe? There was a leak between the pipe and pump housing, so the o-ring need to be renew.
I've undo the M6 bolt holding the pipe to the block, but the pipe seems to stuck well it. Is it just a matter of working with the pipe to make it free, rotate and then just pull it out from the pump housing?
Cheers
Yes, just a push fit in the pump housing then secured with the one bolt. Probably been fitted with some sealant last time it was apart so stuck in place. Just work it free.
 
Did anybody tried them?

MaxSport Hakka 145R13 , E-marked @£51 each

Should I start saving now?
Hakka-150.gif

I had a pair of these when I first started out with my Panda, had to get inner tubes fitted from new as the bead wouldn't seal correctly as they were warped (may have just come from a bad batch though). They were good tyres for sticky and rocky terrain, plenty of nobbles. As you know though I have got the Ziarelli Trac 4x4 tyres which are excellent, 145/80/13. They are available to buy over the net from Italy, a great company to deal with, accept paypal as payment method and arrived next day :eek: Let me know if you want the link Jacob :)
 
My pipe rusted through and it's wasn't available from fiat when I needed one. Found on now

Managed to get it off, and Rustypanda was right! They do rust a lot- 3mm dia hole just next to the seal. Good thing is I had more luck and purcheased one OE a week ago. But it's still in Poland.
Looking inside the pipe I can tell the the whole system needs a good flush.
 
Guys, i'm desperate for advice!
Can somebody tell me what setup do you use to press in new rubber bushes into lower control arm? The old ones were badly perished and the bolt was no longer central.
I've already tried couple options but no luck, the most effective one was wraping tin around and compress it with 3 jubille clips but when i've started to pressing it with socket in a vise jubille clips just exploded. Next try will be with a kettle and hot water plus 50mm long pipe of same diameter as controll arm flange.
 
After good couple week it is time for short update.
Yes I've been busy doing whole lot of work on different things as I can't focus on one job.


Here is answer to my question from previous post " How to fit rubber bush in to track arm?"
The aswer is simple as 1+1!!!!

Get correct part to start with

Left -> Delphi item, Right -> No name China, yes i was trying to press in the big bush.

IMG_21121.JPG


IMG_2113.JPG


Delphi bushes took max 15min each to be fited and allign.

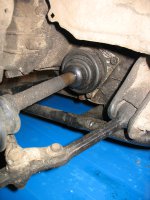
On the way to swap the inner shaft boots+plastic seal to the upgraded ones with bearings

New gear change shaft rubber boot vs. the old one
New one is actually from Uno, due to different design should last longer
IMG_21172.JPG


And fitted in situ, i've tried to use old tie rod end boot as a 4x4 lever gaiter but still need to put some tought into it.

IMG_2120.JPG


It might sounds wierd, but i'm actually starting suspention raising modification from new engine mounts.

IMG_2118.JPG


IMG_2119.JPG


More shiny parts fitted,

IMG_2127.JPG


After reading DragonMan comments agout ignition module getting hot and the idea of keeping it cool extra heat sink was added

IMG_2138.JPG


Last week after couple pints I've just wanted to tight up O/S head lamp, and i've ended up with snapped mounting bolt. The other two followed the firs one.
That's why there was wanted add but finally all three bolts were ammended

IMG_2141.JPG


Hard bit is to dig out the bolt out, fabricate simmilar, replace and seal the opening.

IMG_21461.JPG


Next step Alternator overhall

IMG_21651.JPG


Small black plastic grill located next to the regulator was missing, so small plate was fabricated to protect the brushes.

New old stock HT cables were purchased for £3.99 inc. p&p.

And my cherry on the top of the tart, brand new 127 gearbox flange ( not modified yet)
IMG_2177.JPG


If someone interested i've got one more which will be moded as well.

More to come.
 
Nice progress, I also bought new engine mounts. The big rubber bush you were struggling to push to the control arm may be in fact also the correct one. I have one spare control arm, new fiat item but with some patina after lying 25+ years in the garage, I bought it on "flea-market" along with some other bits from a guy ,who had panda 45S mk1 in the 80's. The rubber bush is bigger than in the control arms{ MOOG or Delphi, cant recall that } I've replaced two years ago in trekking.


Back
Top