


Introduction
Cameron onemanmade isn't the only member to have brought us a new restoration thread this week, the Northern division also has a new arrival.
As this is an introduction to the car aswell as a progress thread, I'll be taking the story forward from the point where I've started, plus hopefully finding out a bit of her past.
Monica (now named) has been amongst a couple of forum members now, where she has been dry stored for the past few years. David aquamarine got her at first, then she was moved a bit further north to Paul doctyler where she was due for a re-shell into his black 2wd chassis. Paul told me that he currently doesn't have enough time to complete the project, and has his sights on other projects at present, so he asked if I would like to have a go at this one...

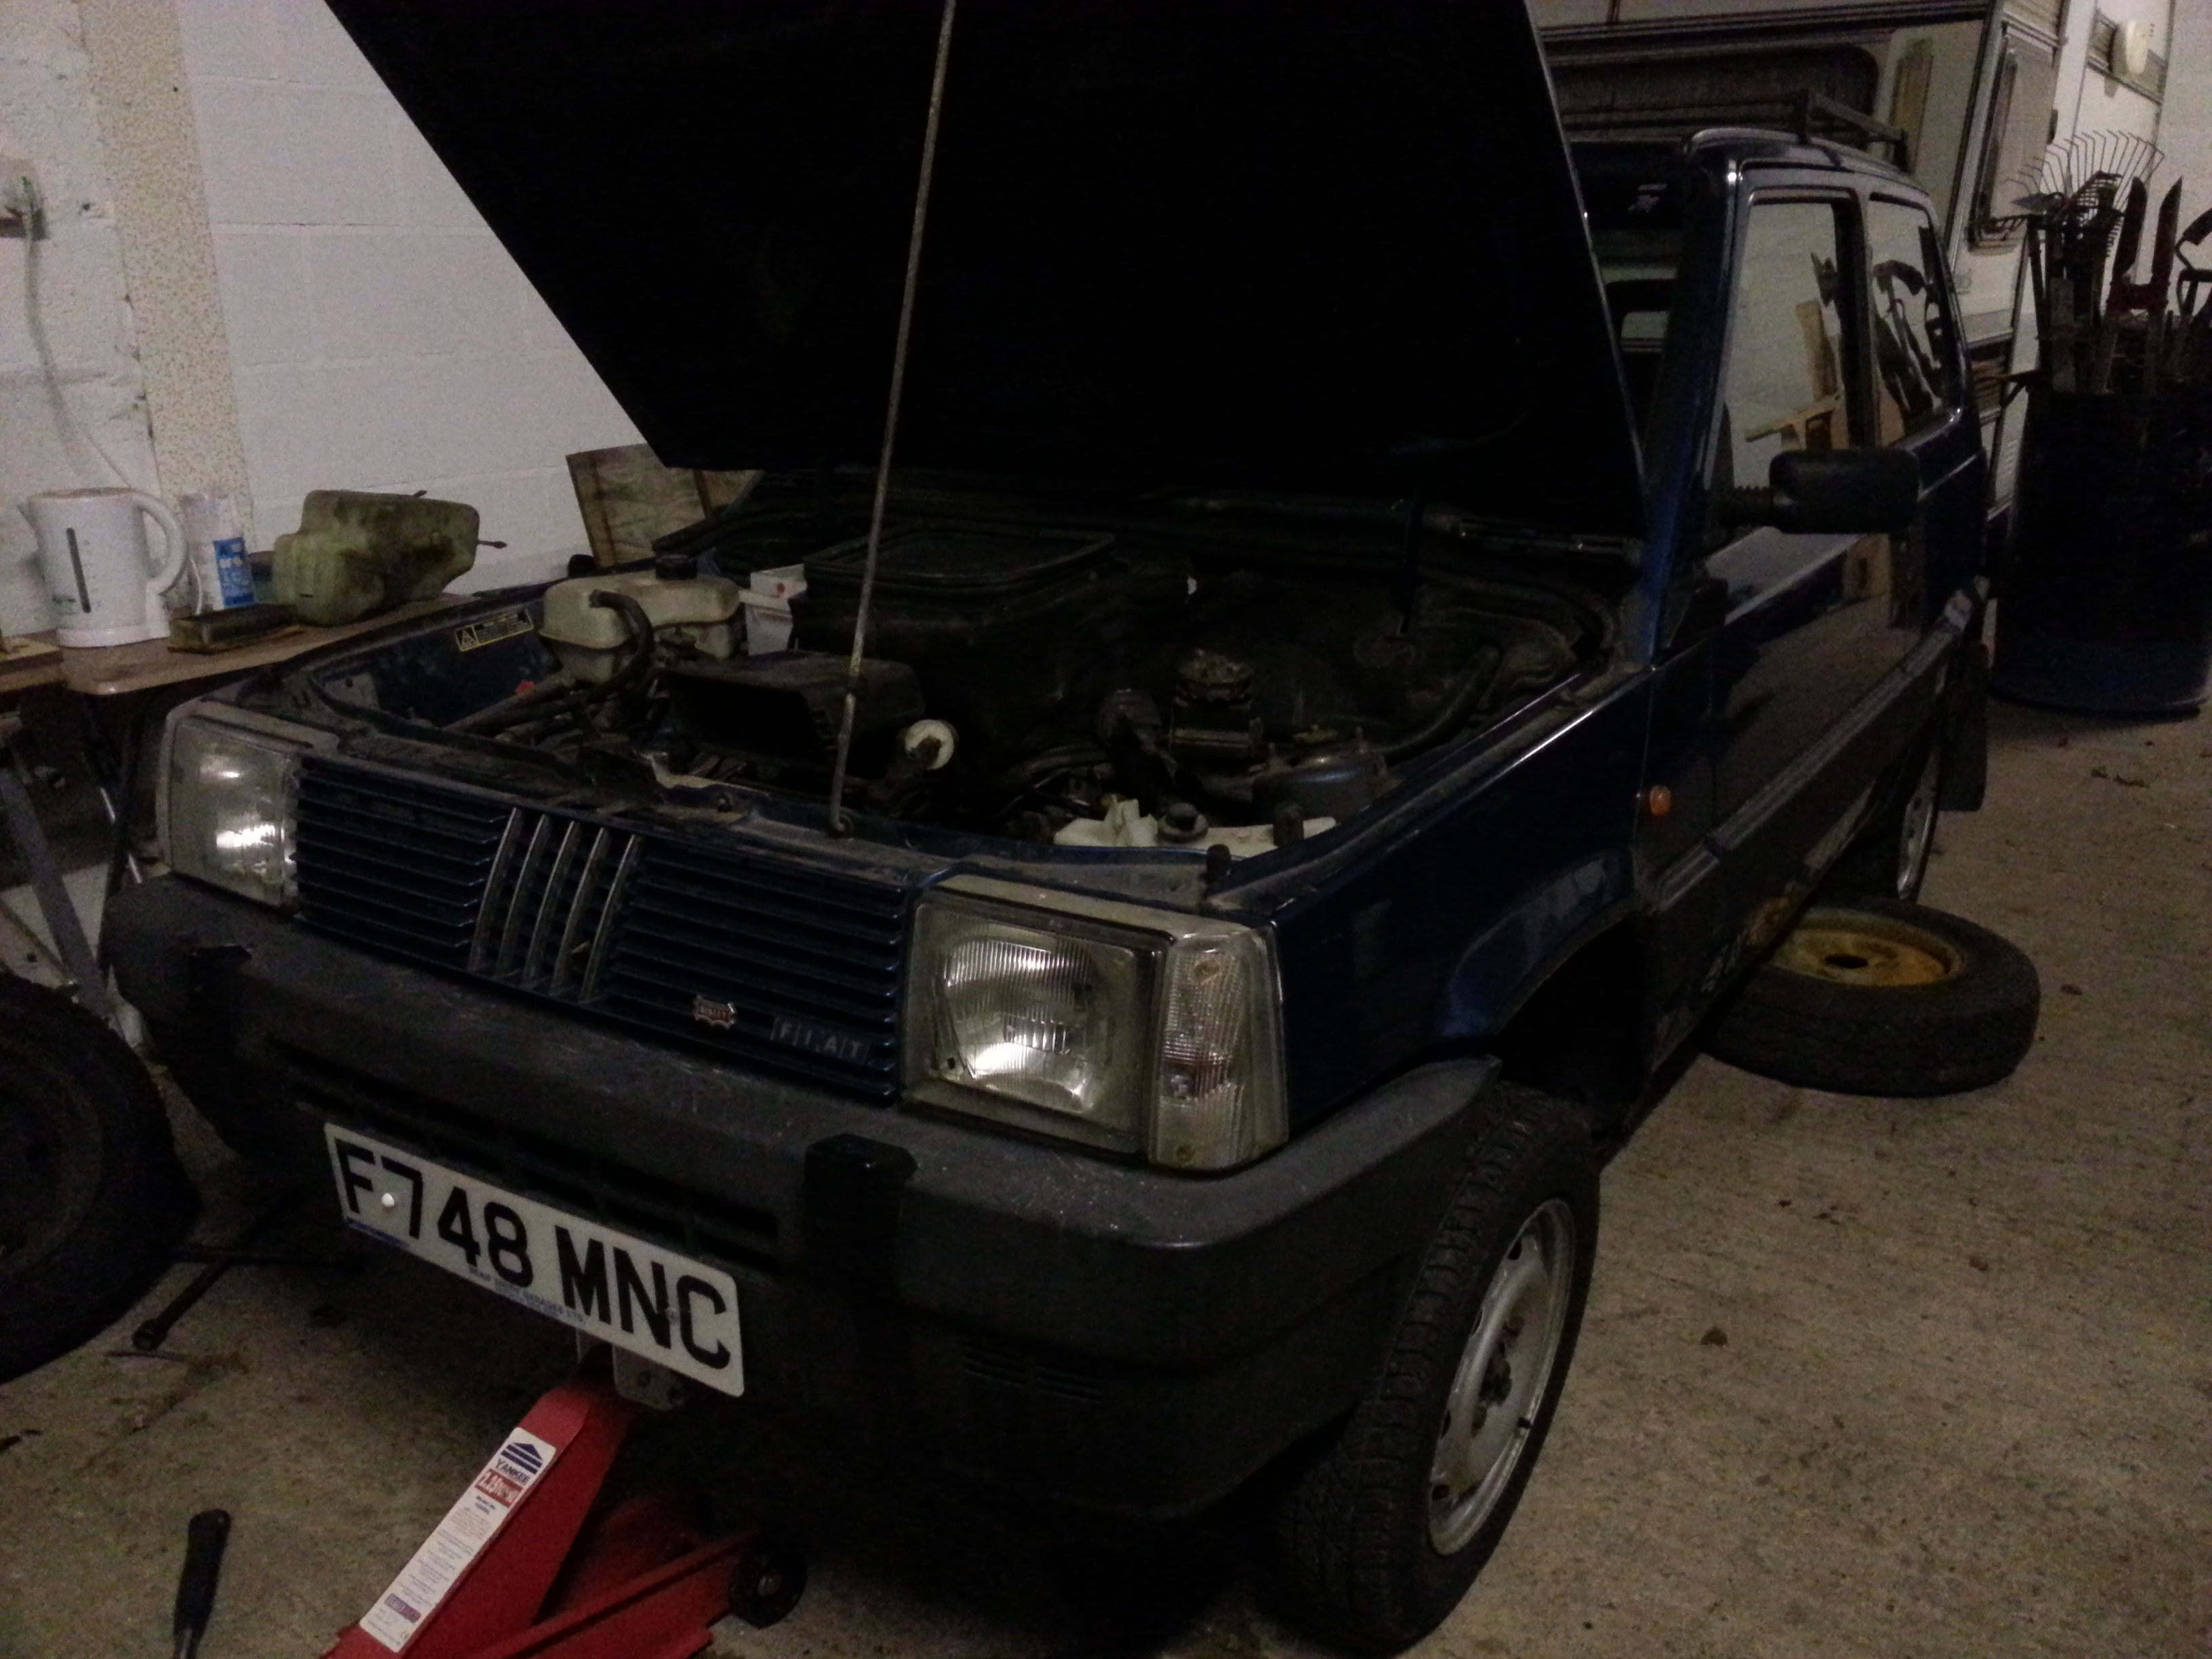
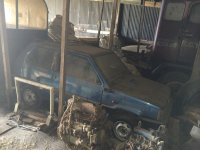
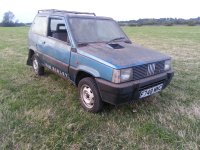
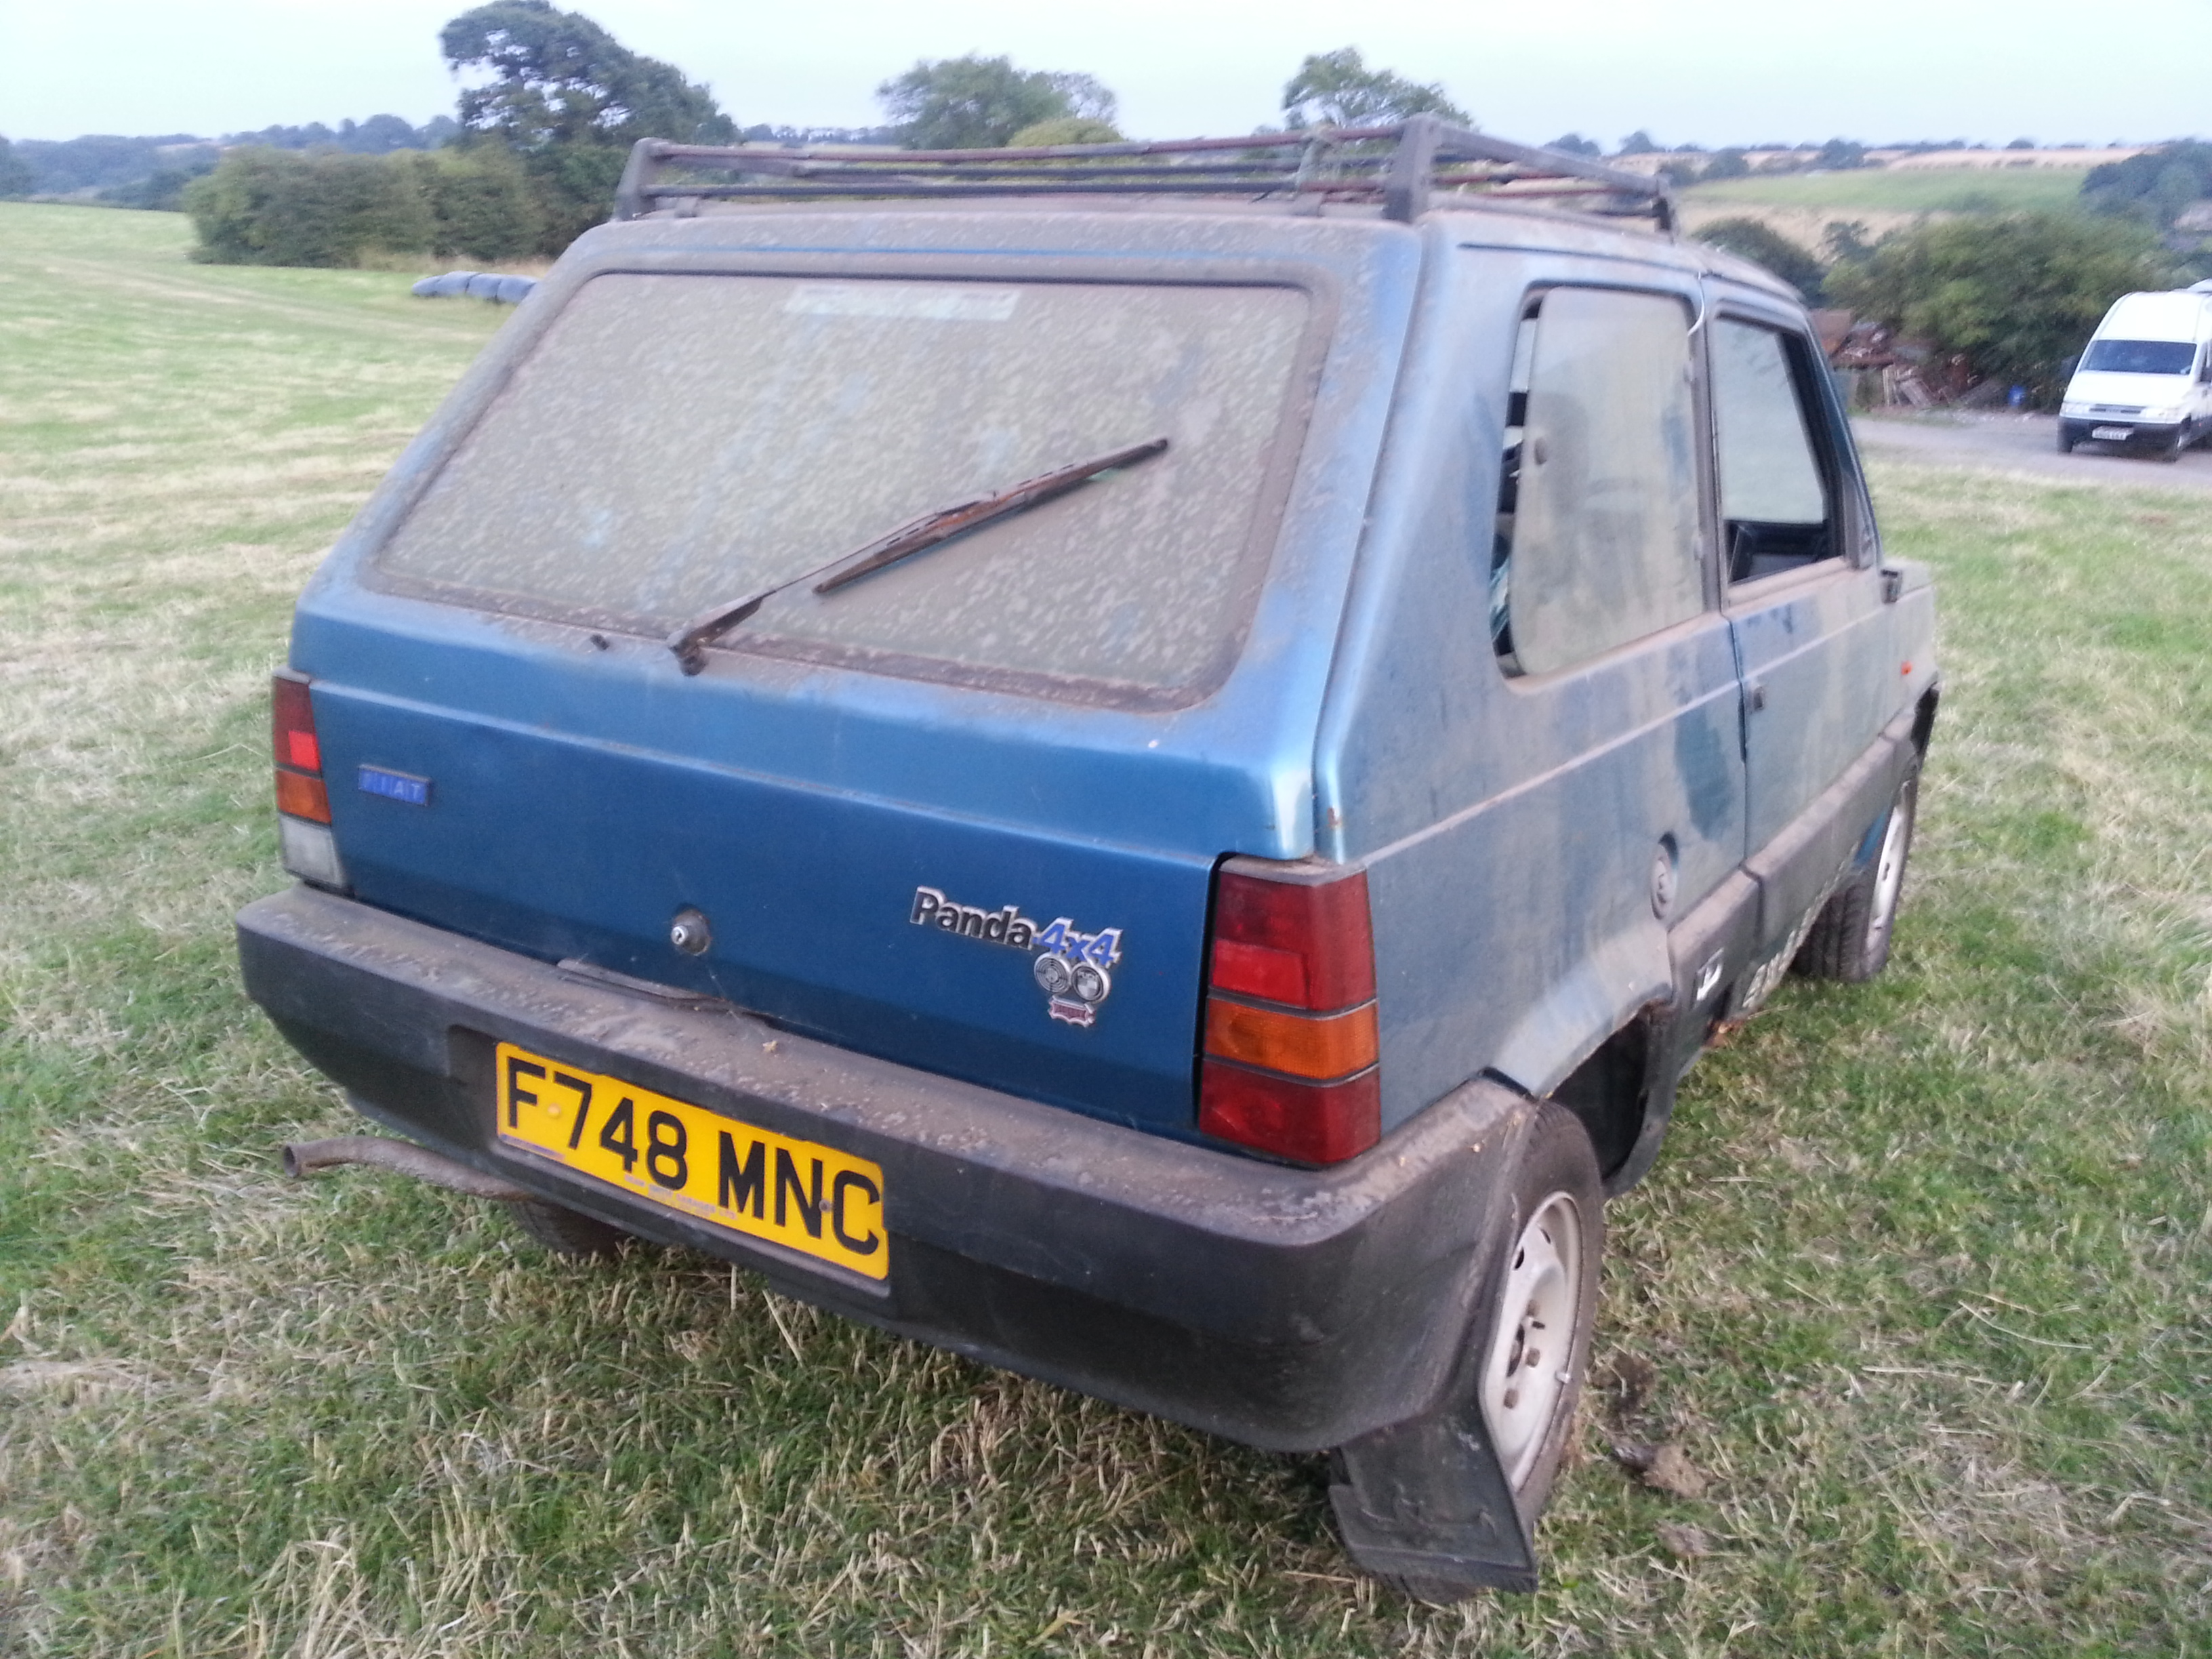
As I've only had a brief look over her at present, she is still wearing her coat of storage dust for the pictures...

Paul had been very helpful as always by dragging her out of the store for us to load up.
Originally she was due to be stripped for the drivetrain and running gear plus Sisley specifics for a reshell into a 2wd car as I have said, but we've had a look round her and to be honest I'm happy initially to get her back on the road. The idea of a reshell would be just right for a car like this, but it's something that would take me a long time to get finished - and with the current projects I have on the go it would take even longer!
My idea with Monica is for a basic repair and restore, and a return to the road. Then all being well she will be introducing a new member to our forum in the shape of Sam, our photographer and un-scared Discovery driver from the last Yorkshire weekend, whom most of you met. Sam came along to collect her and have a look with me...
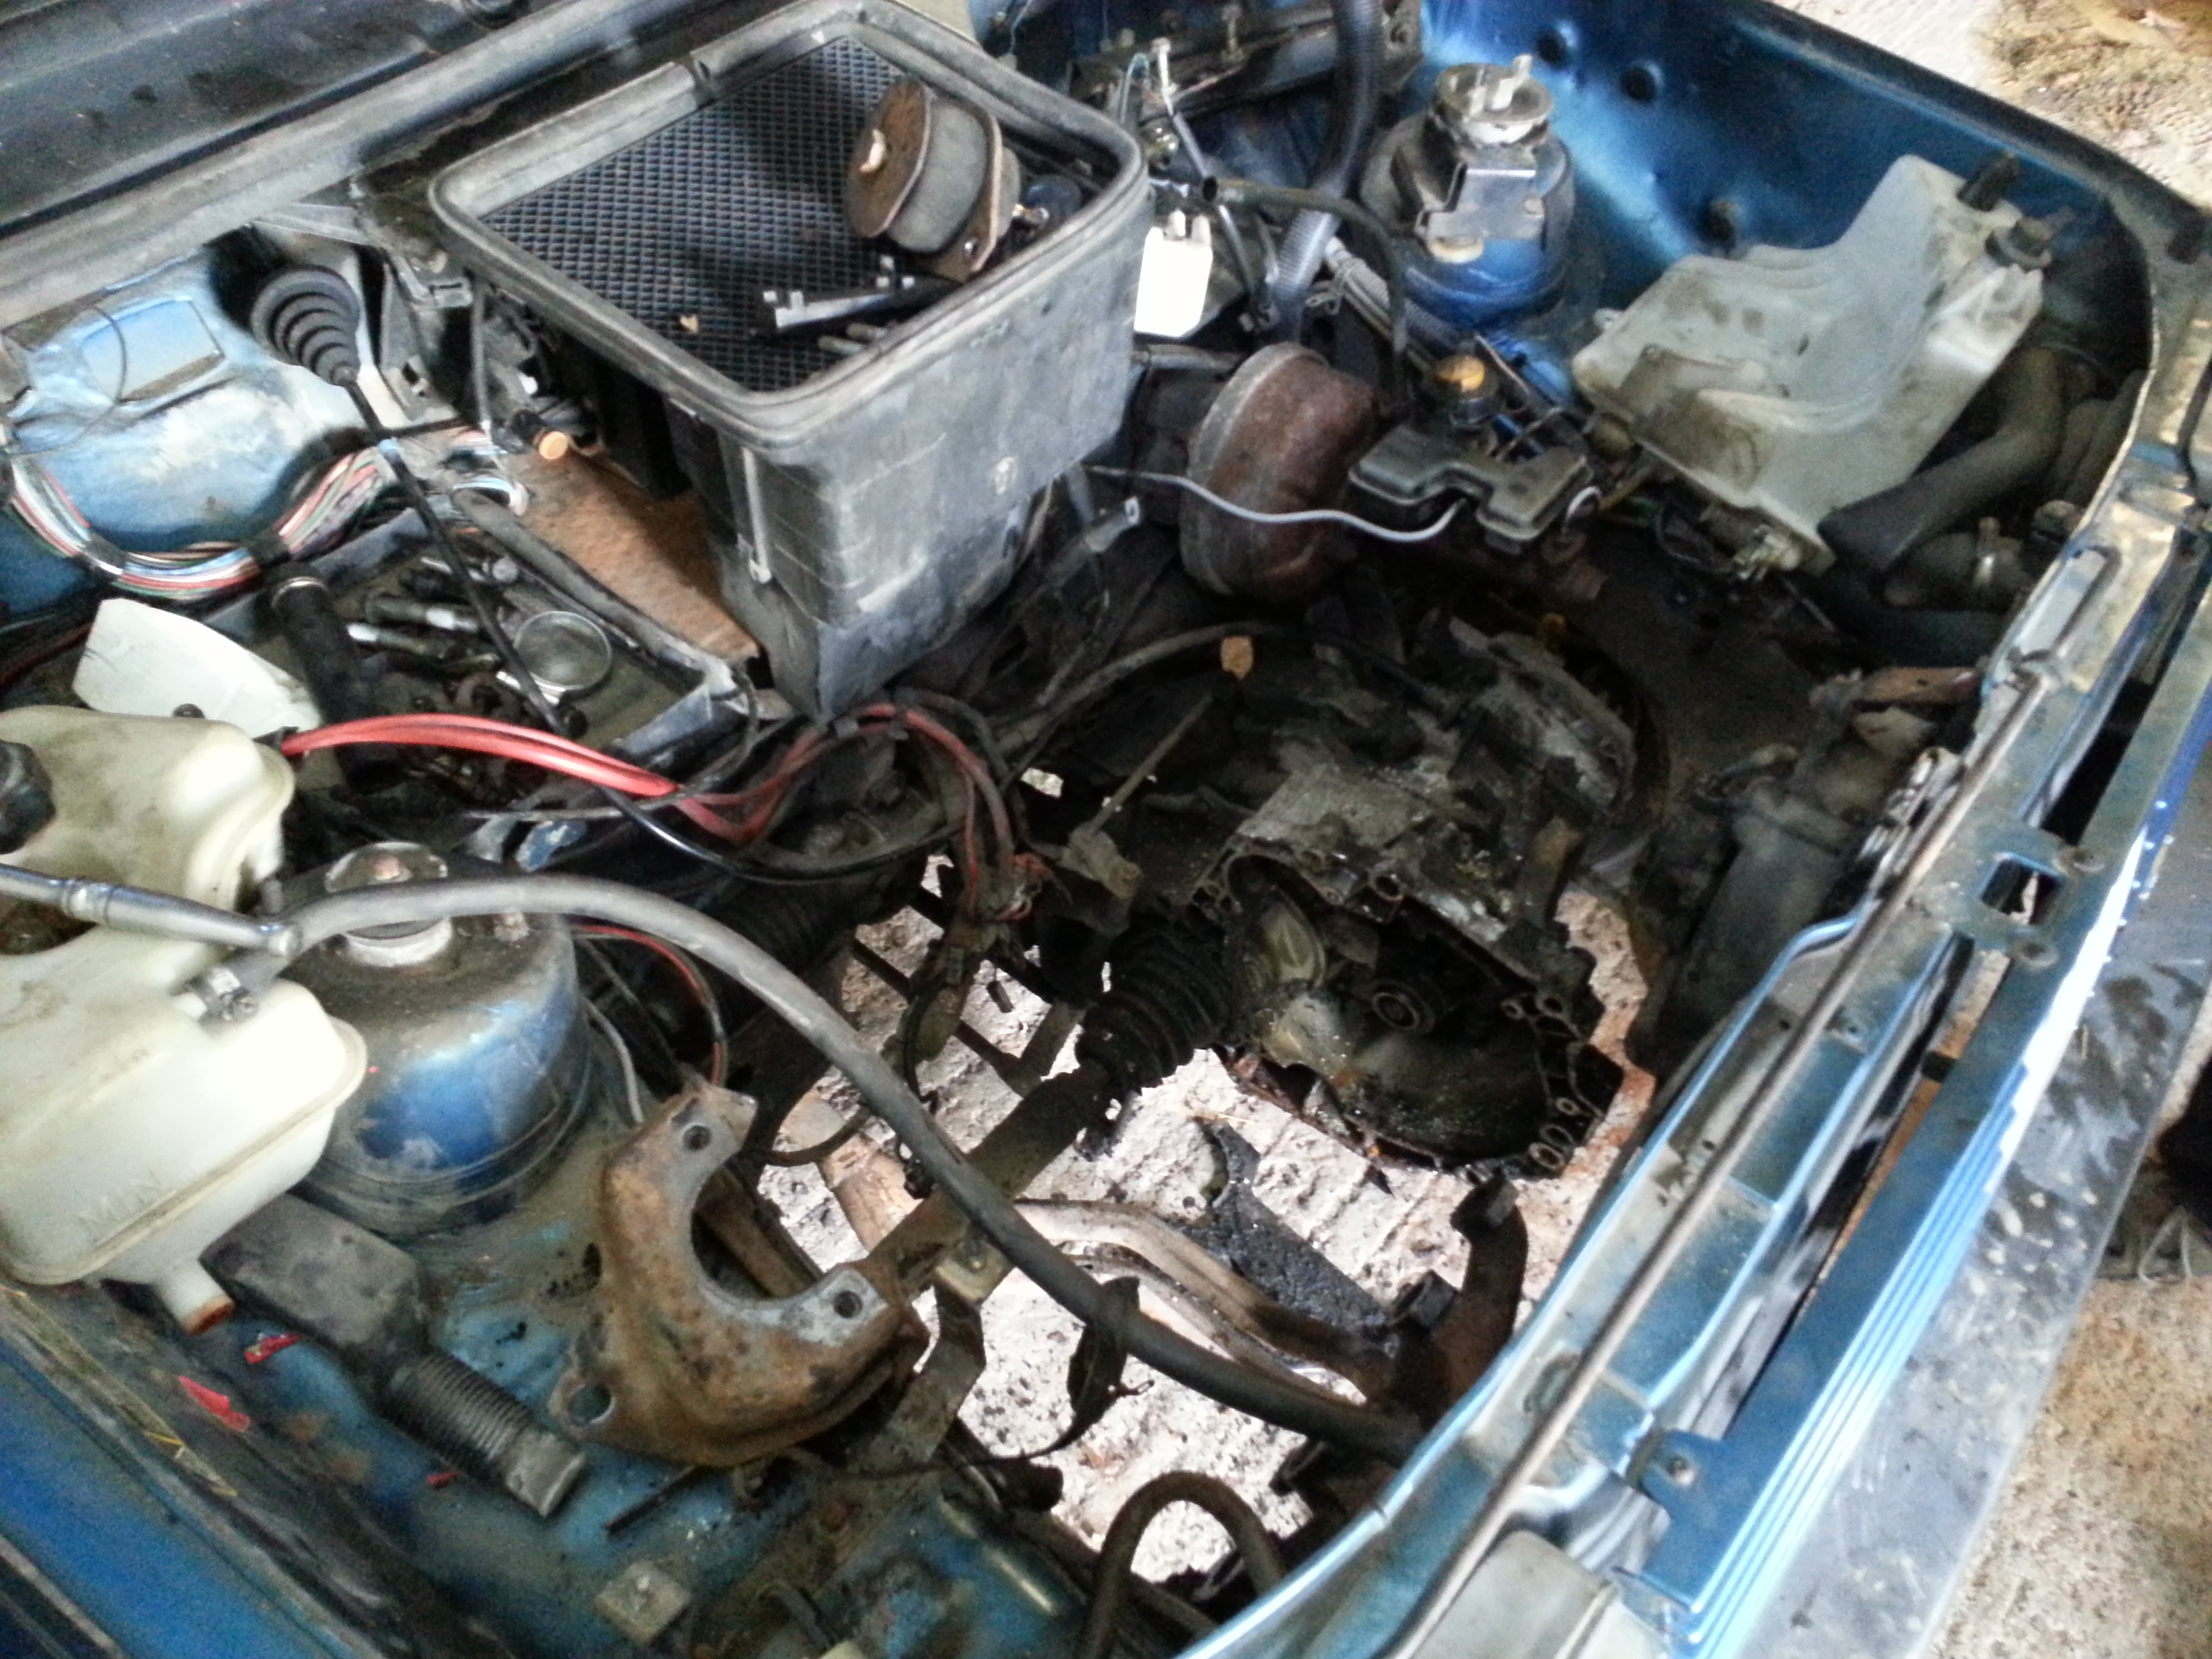
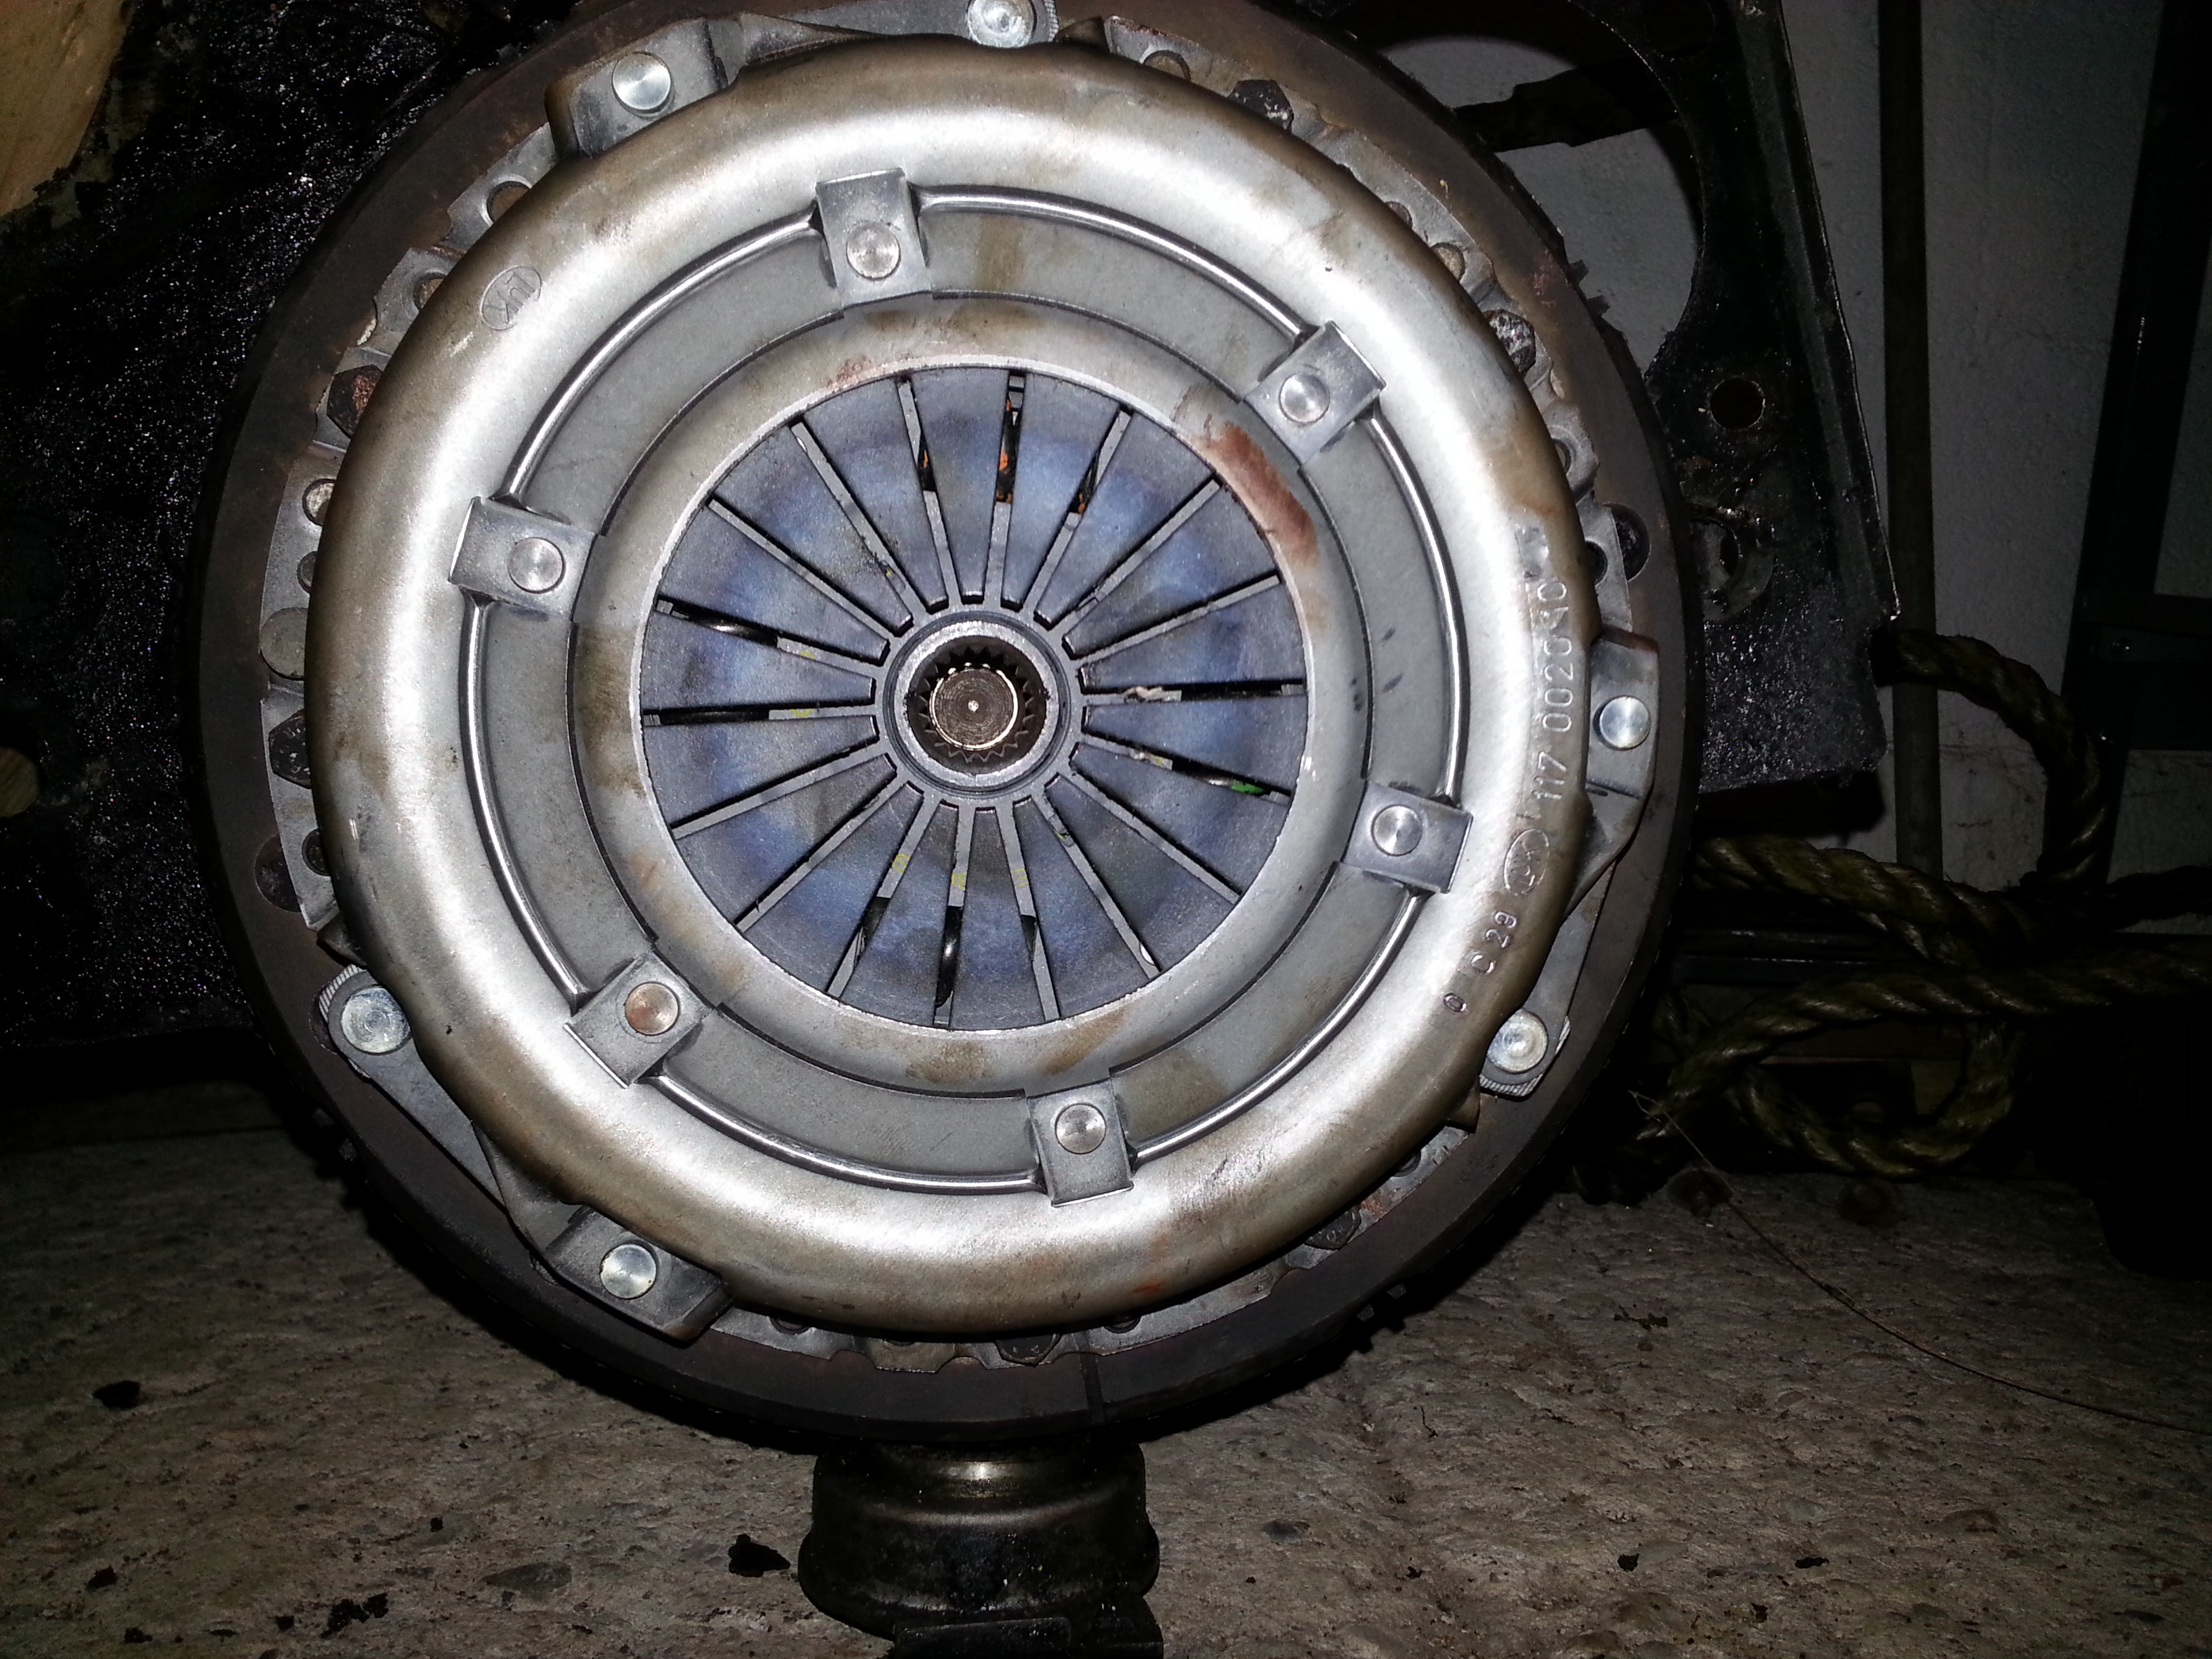
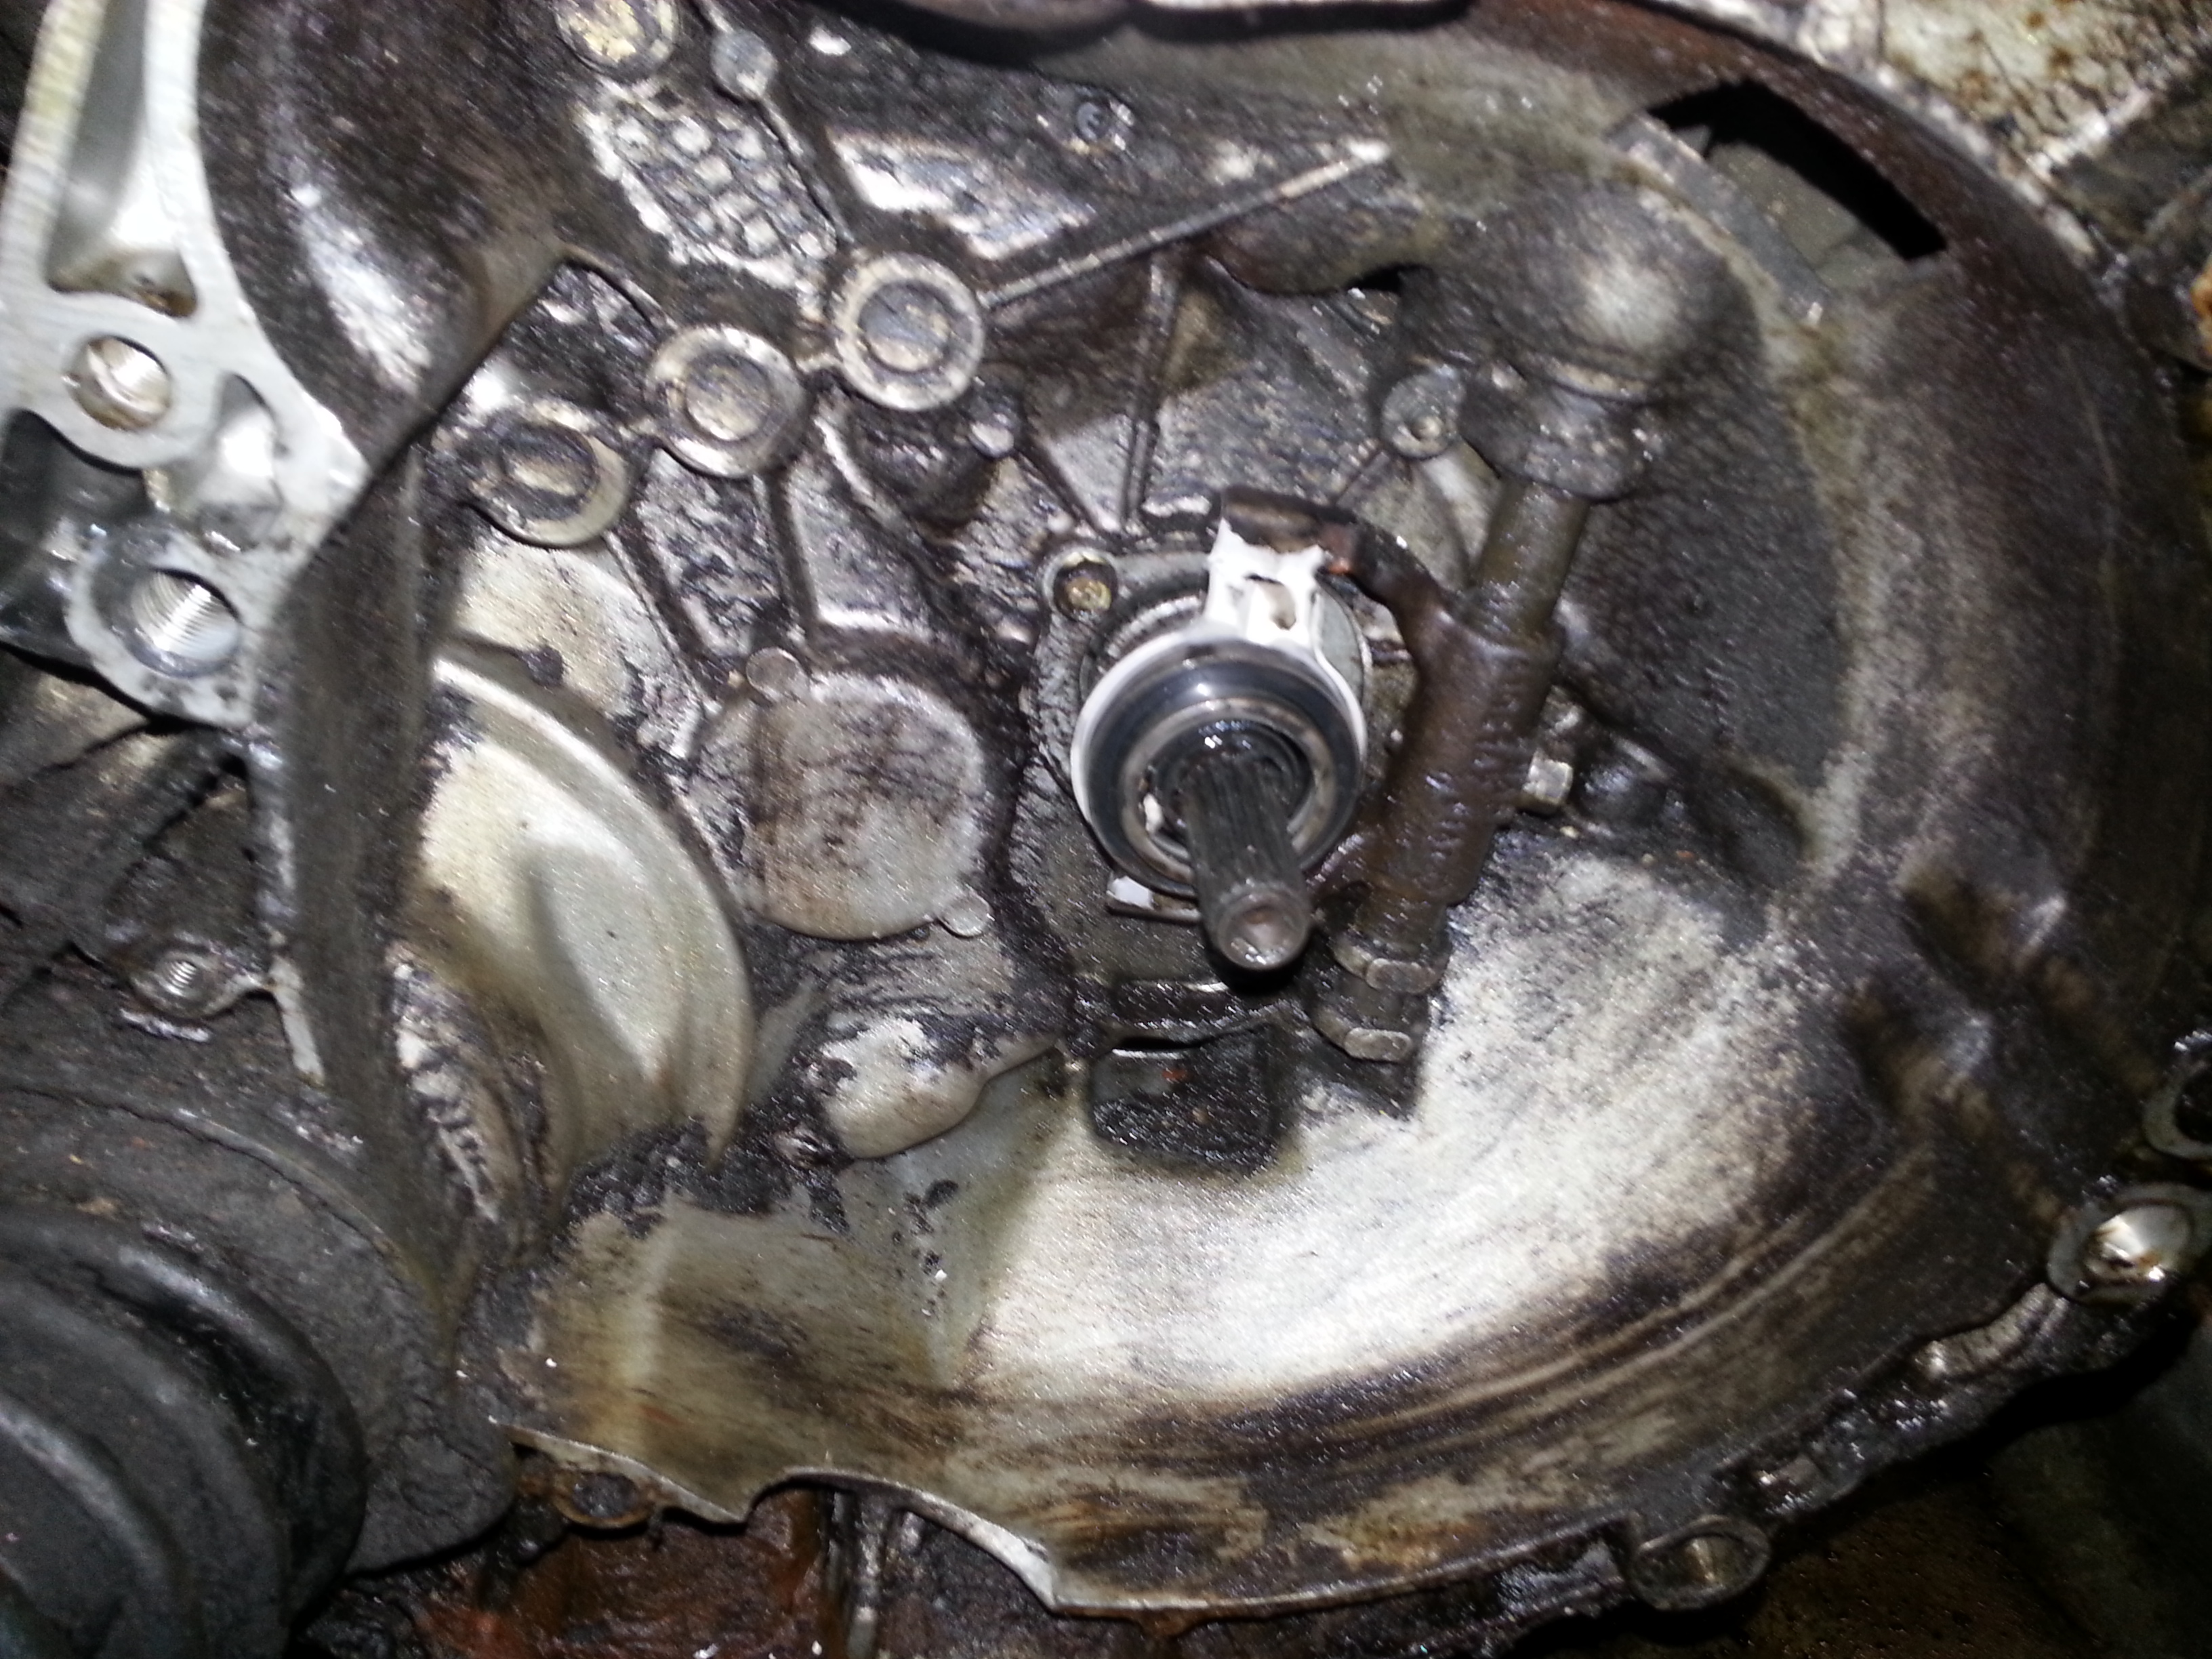
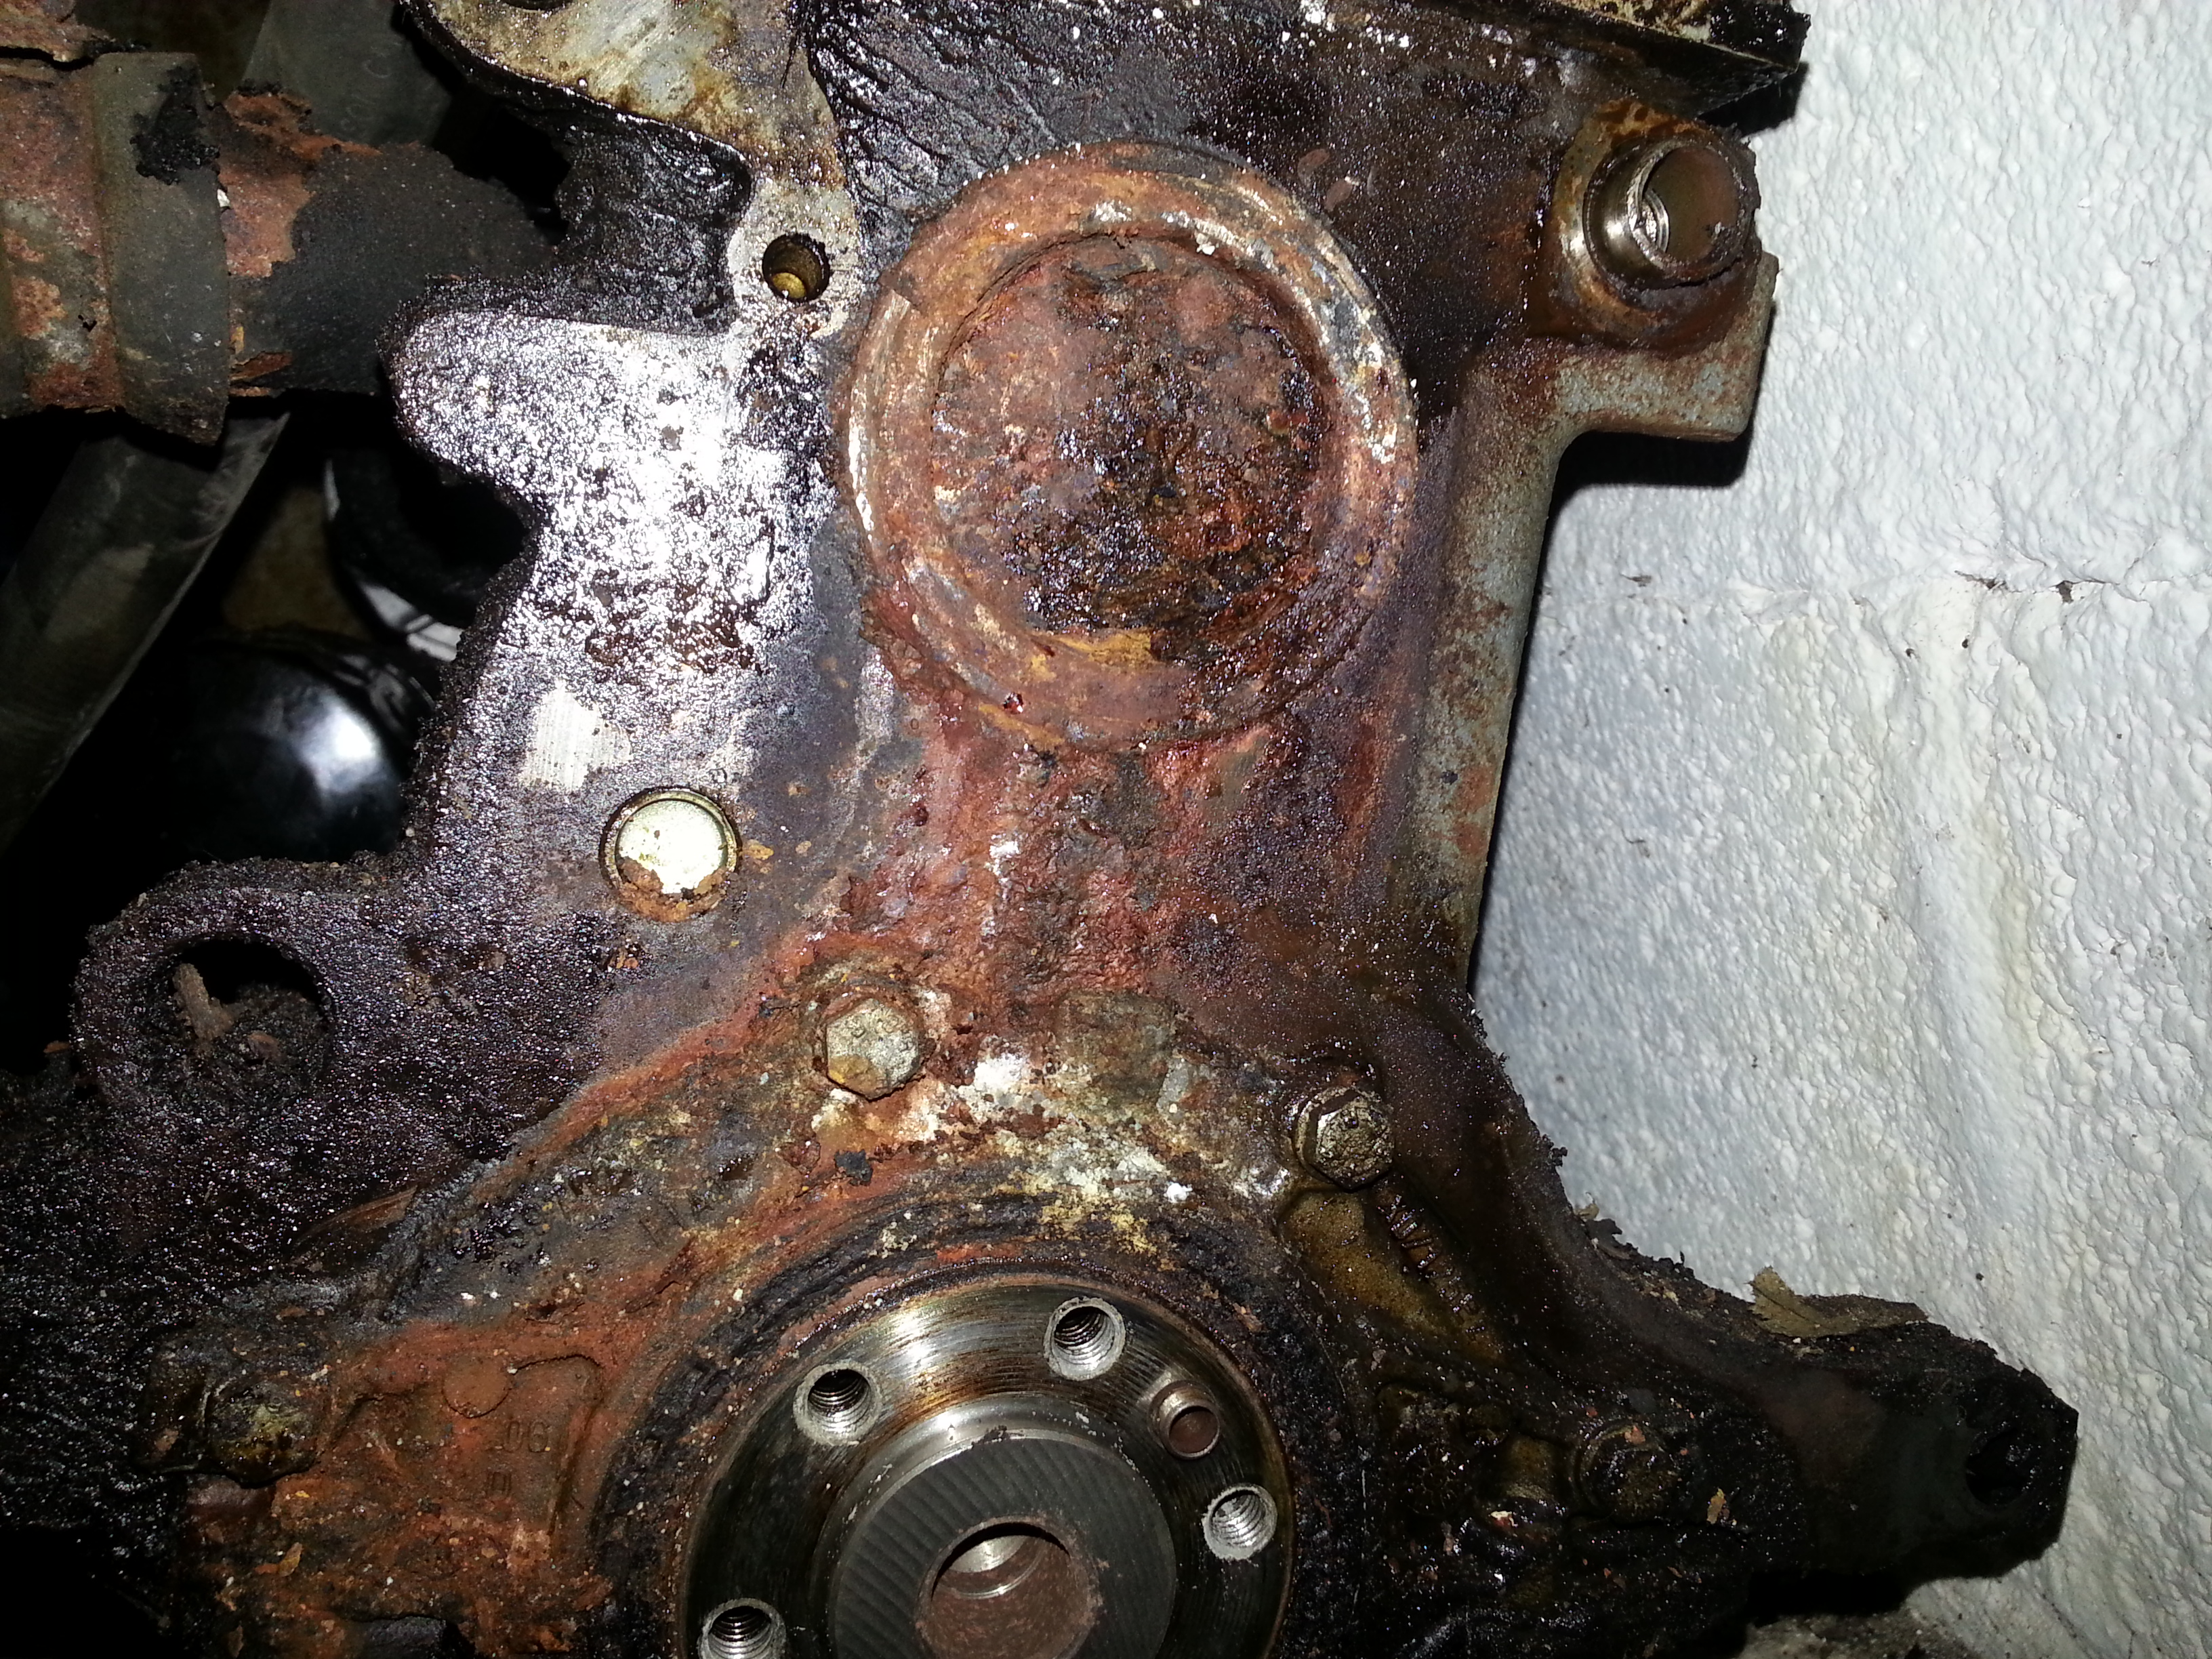
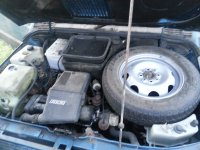
The work required is fairly common Panda stuff.
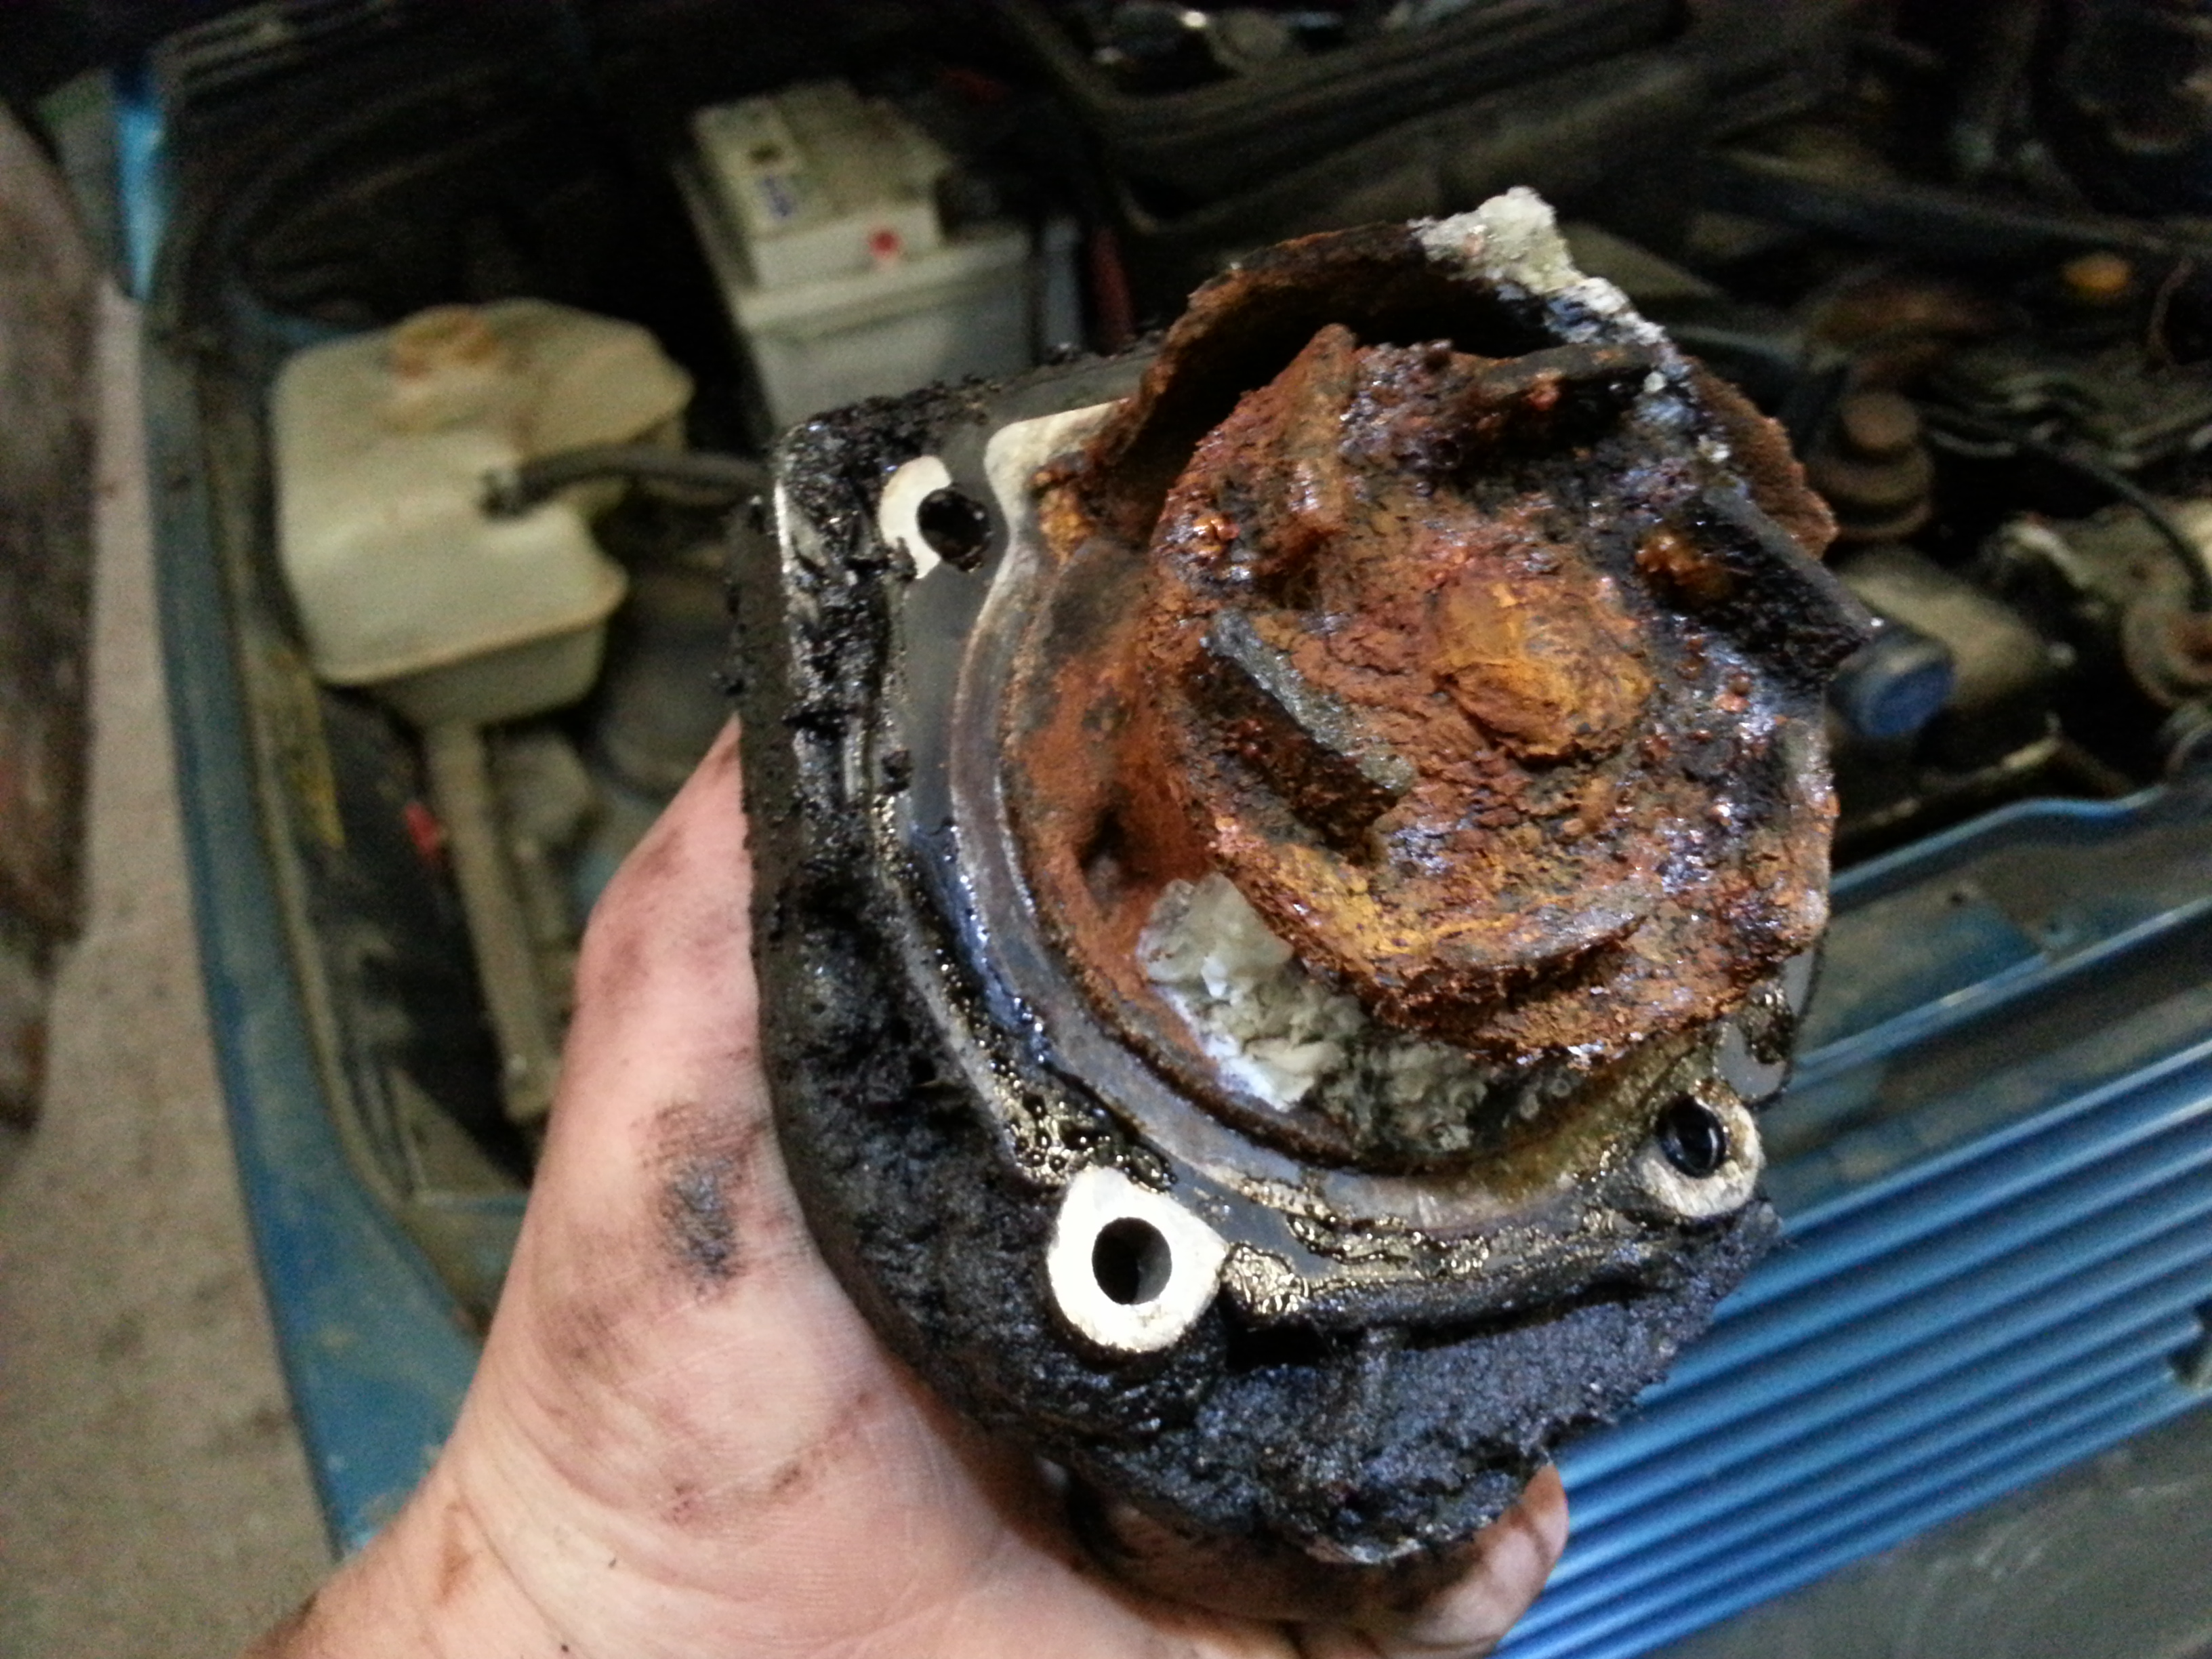
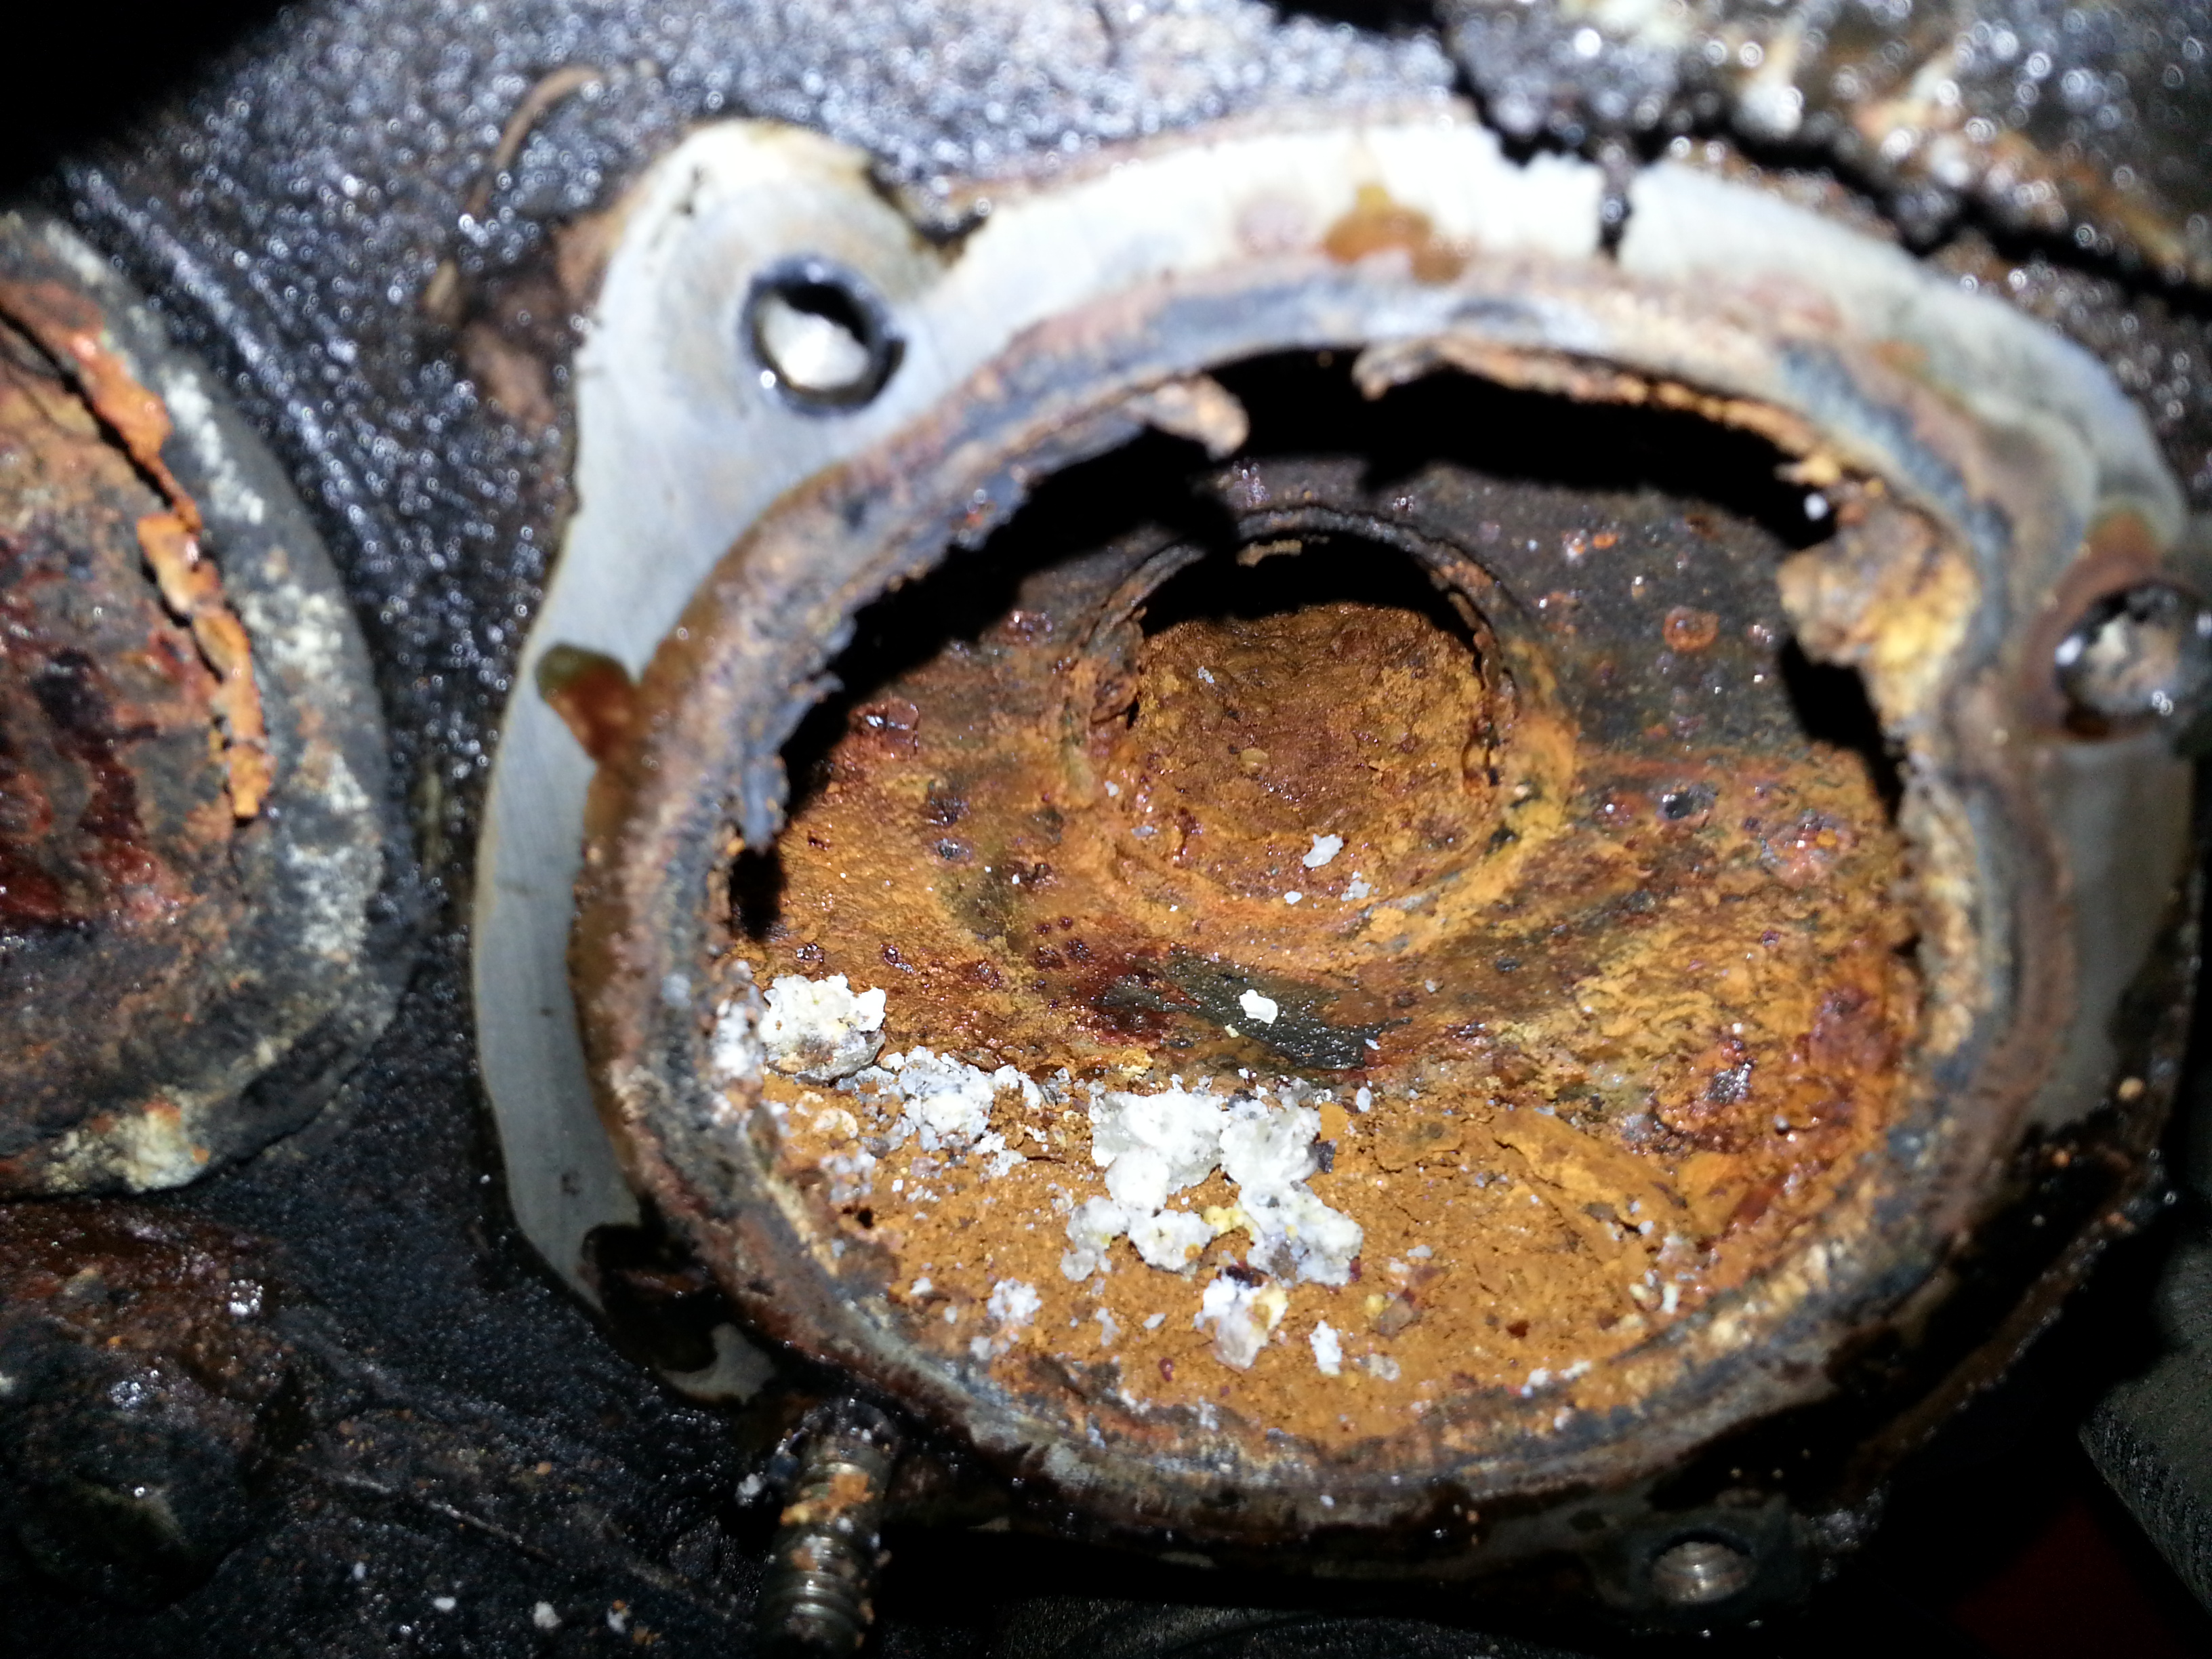
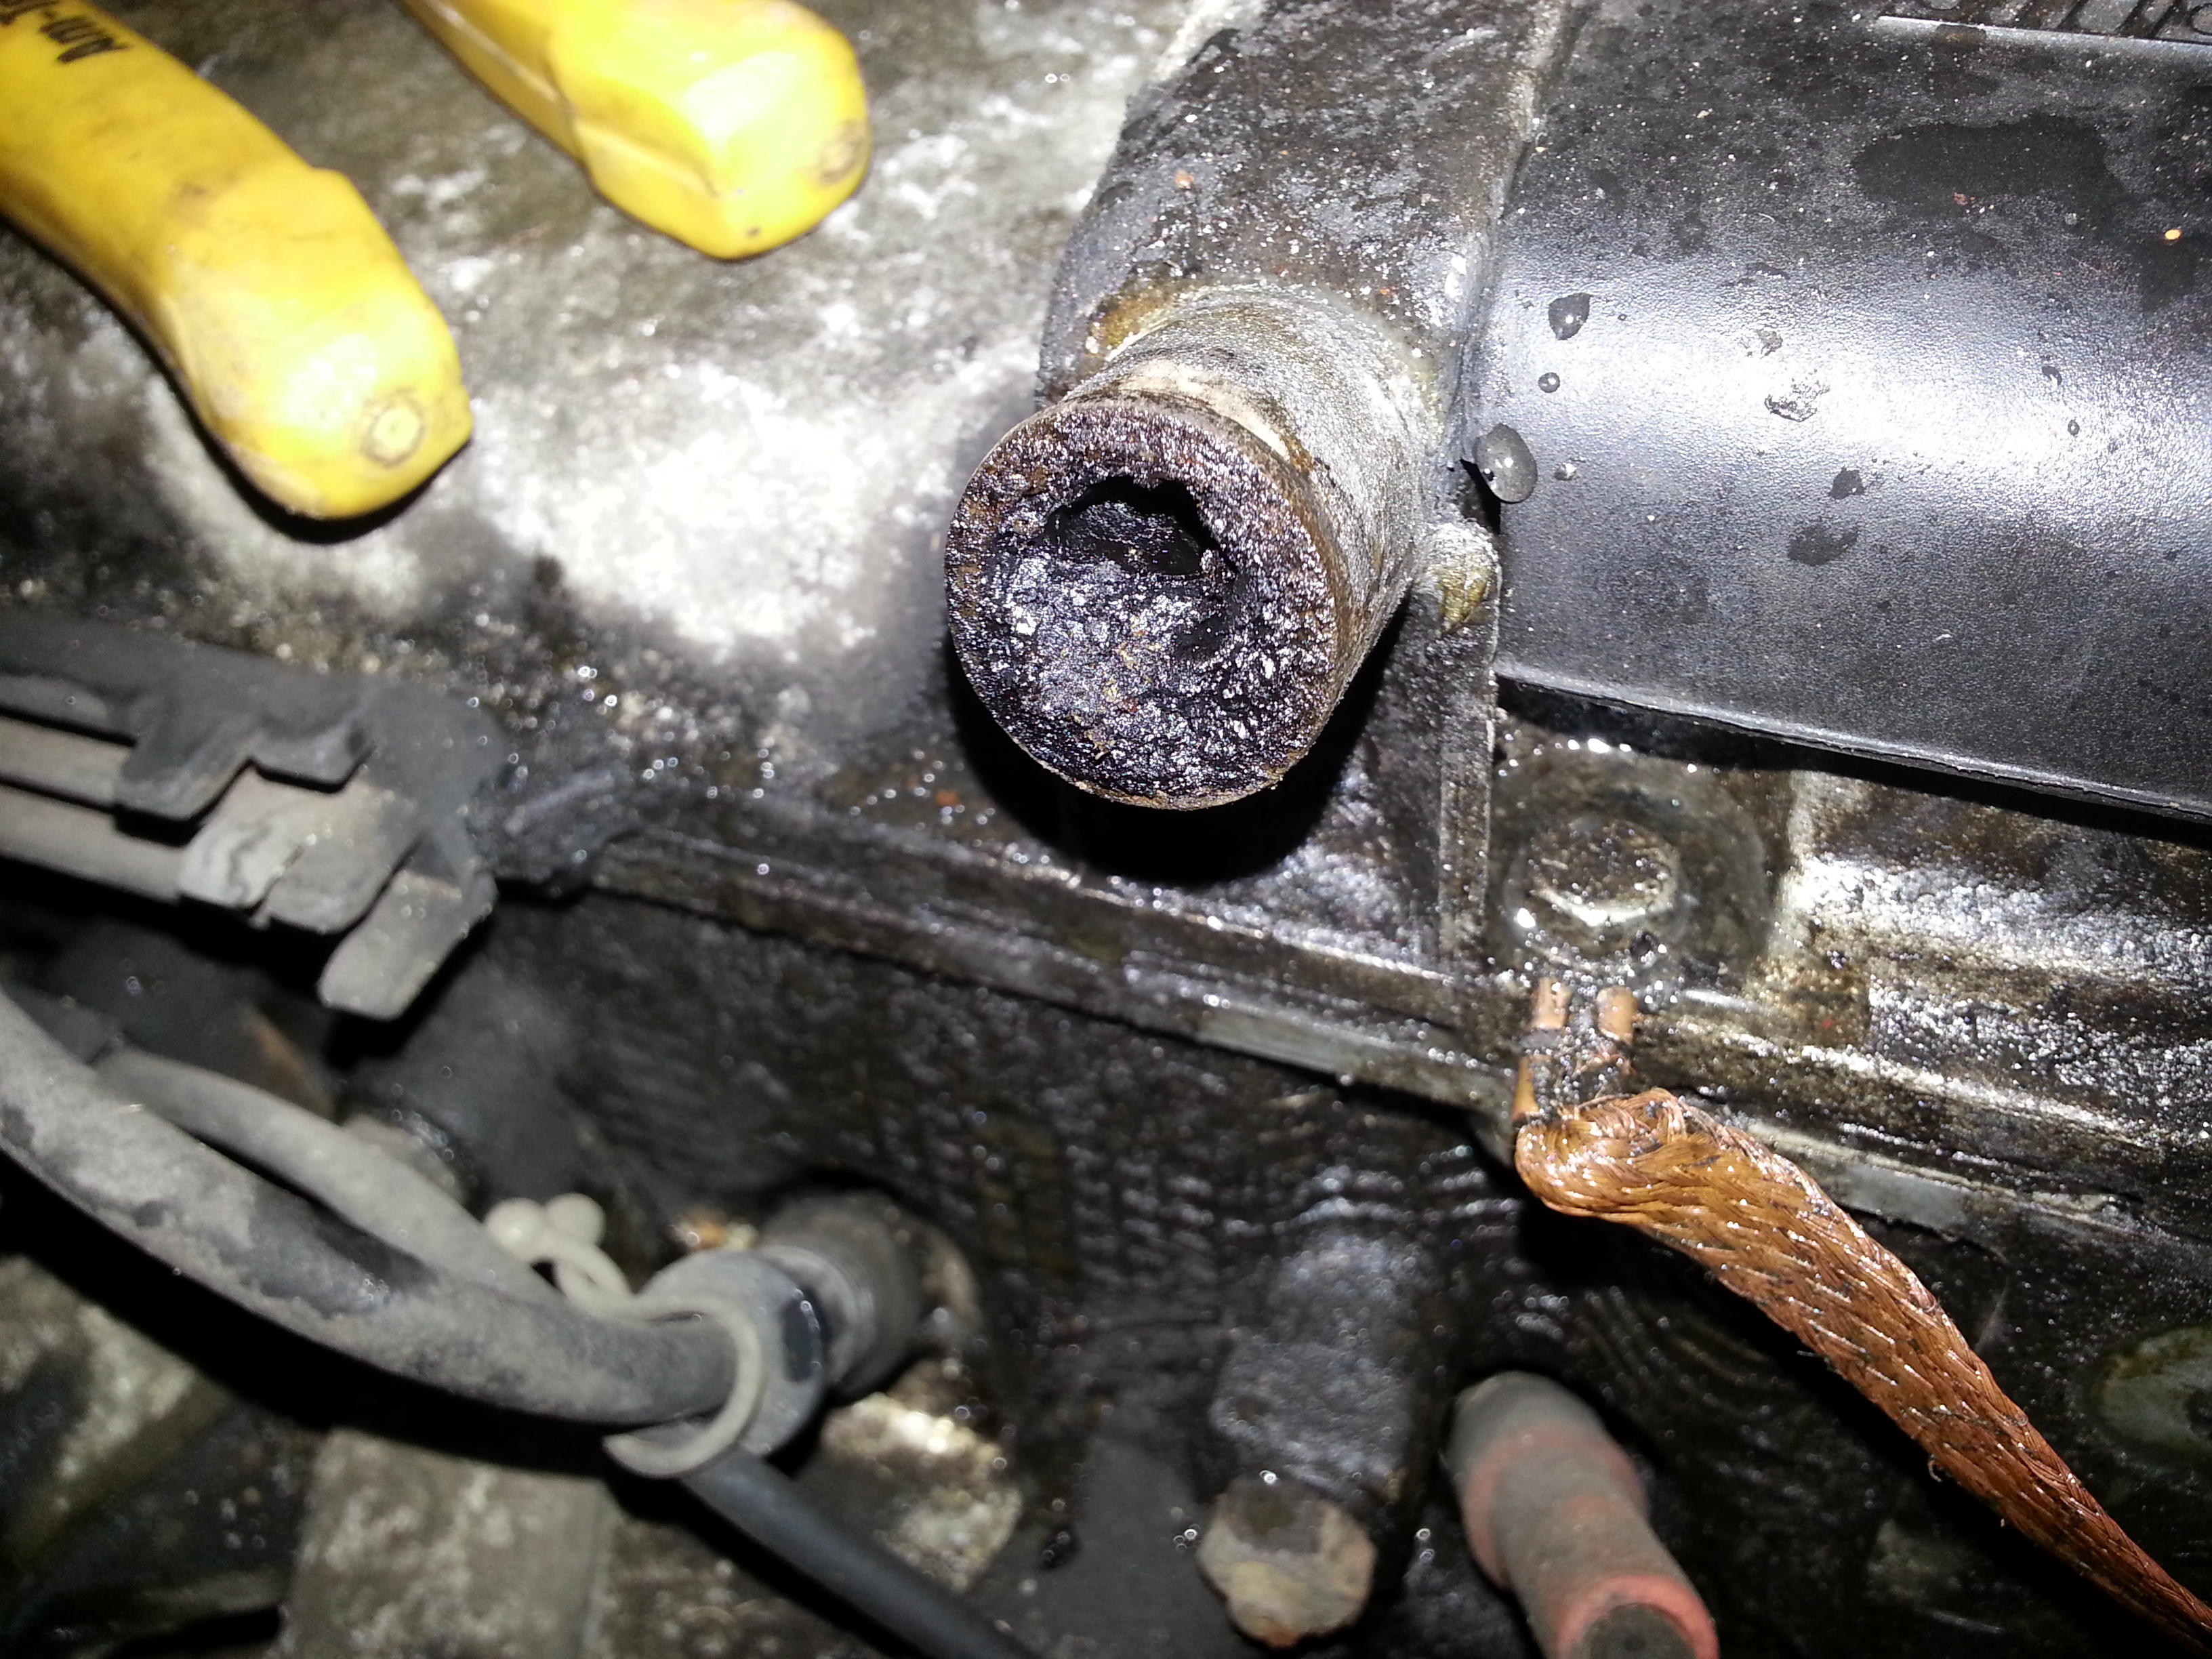
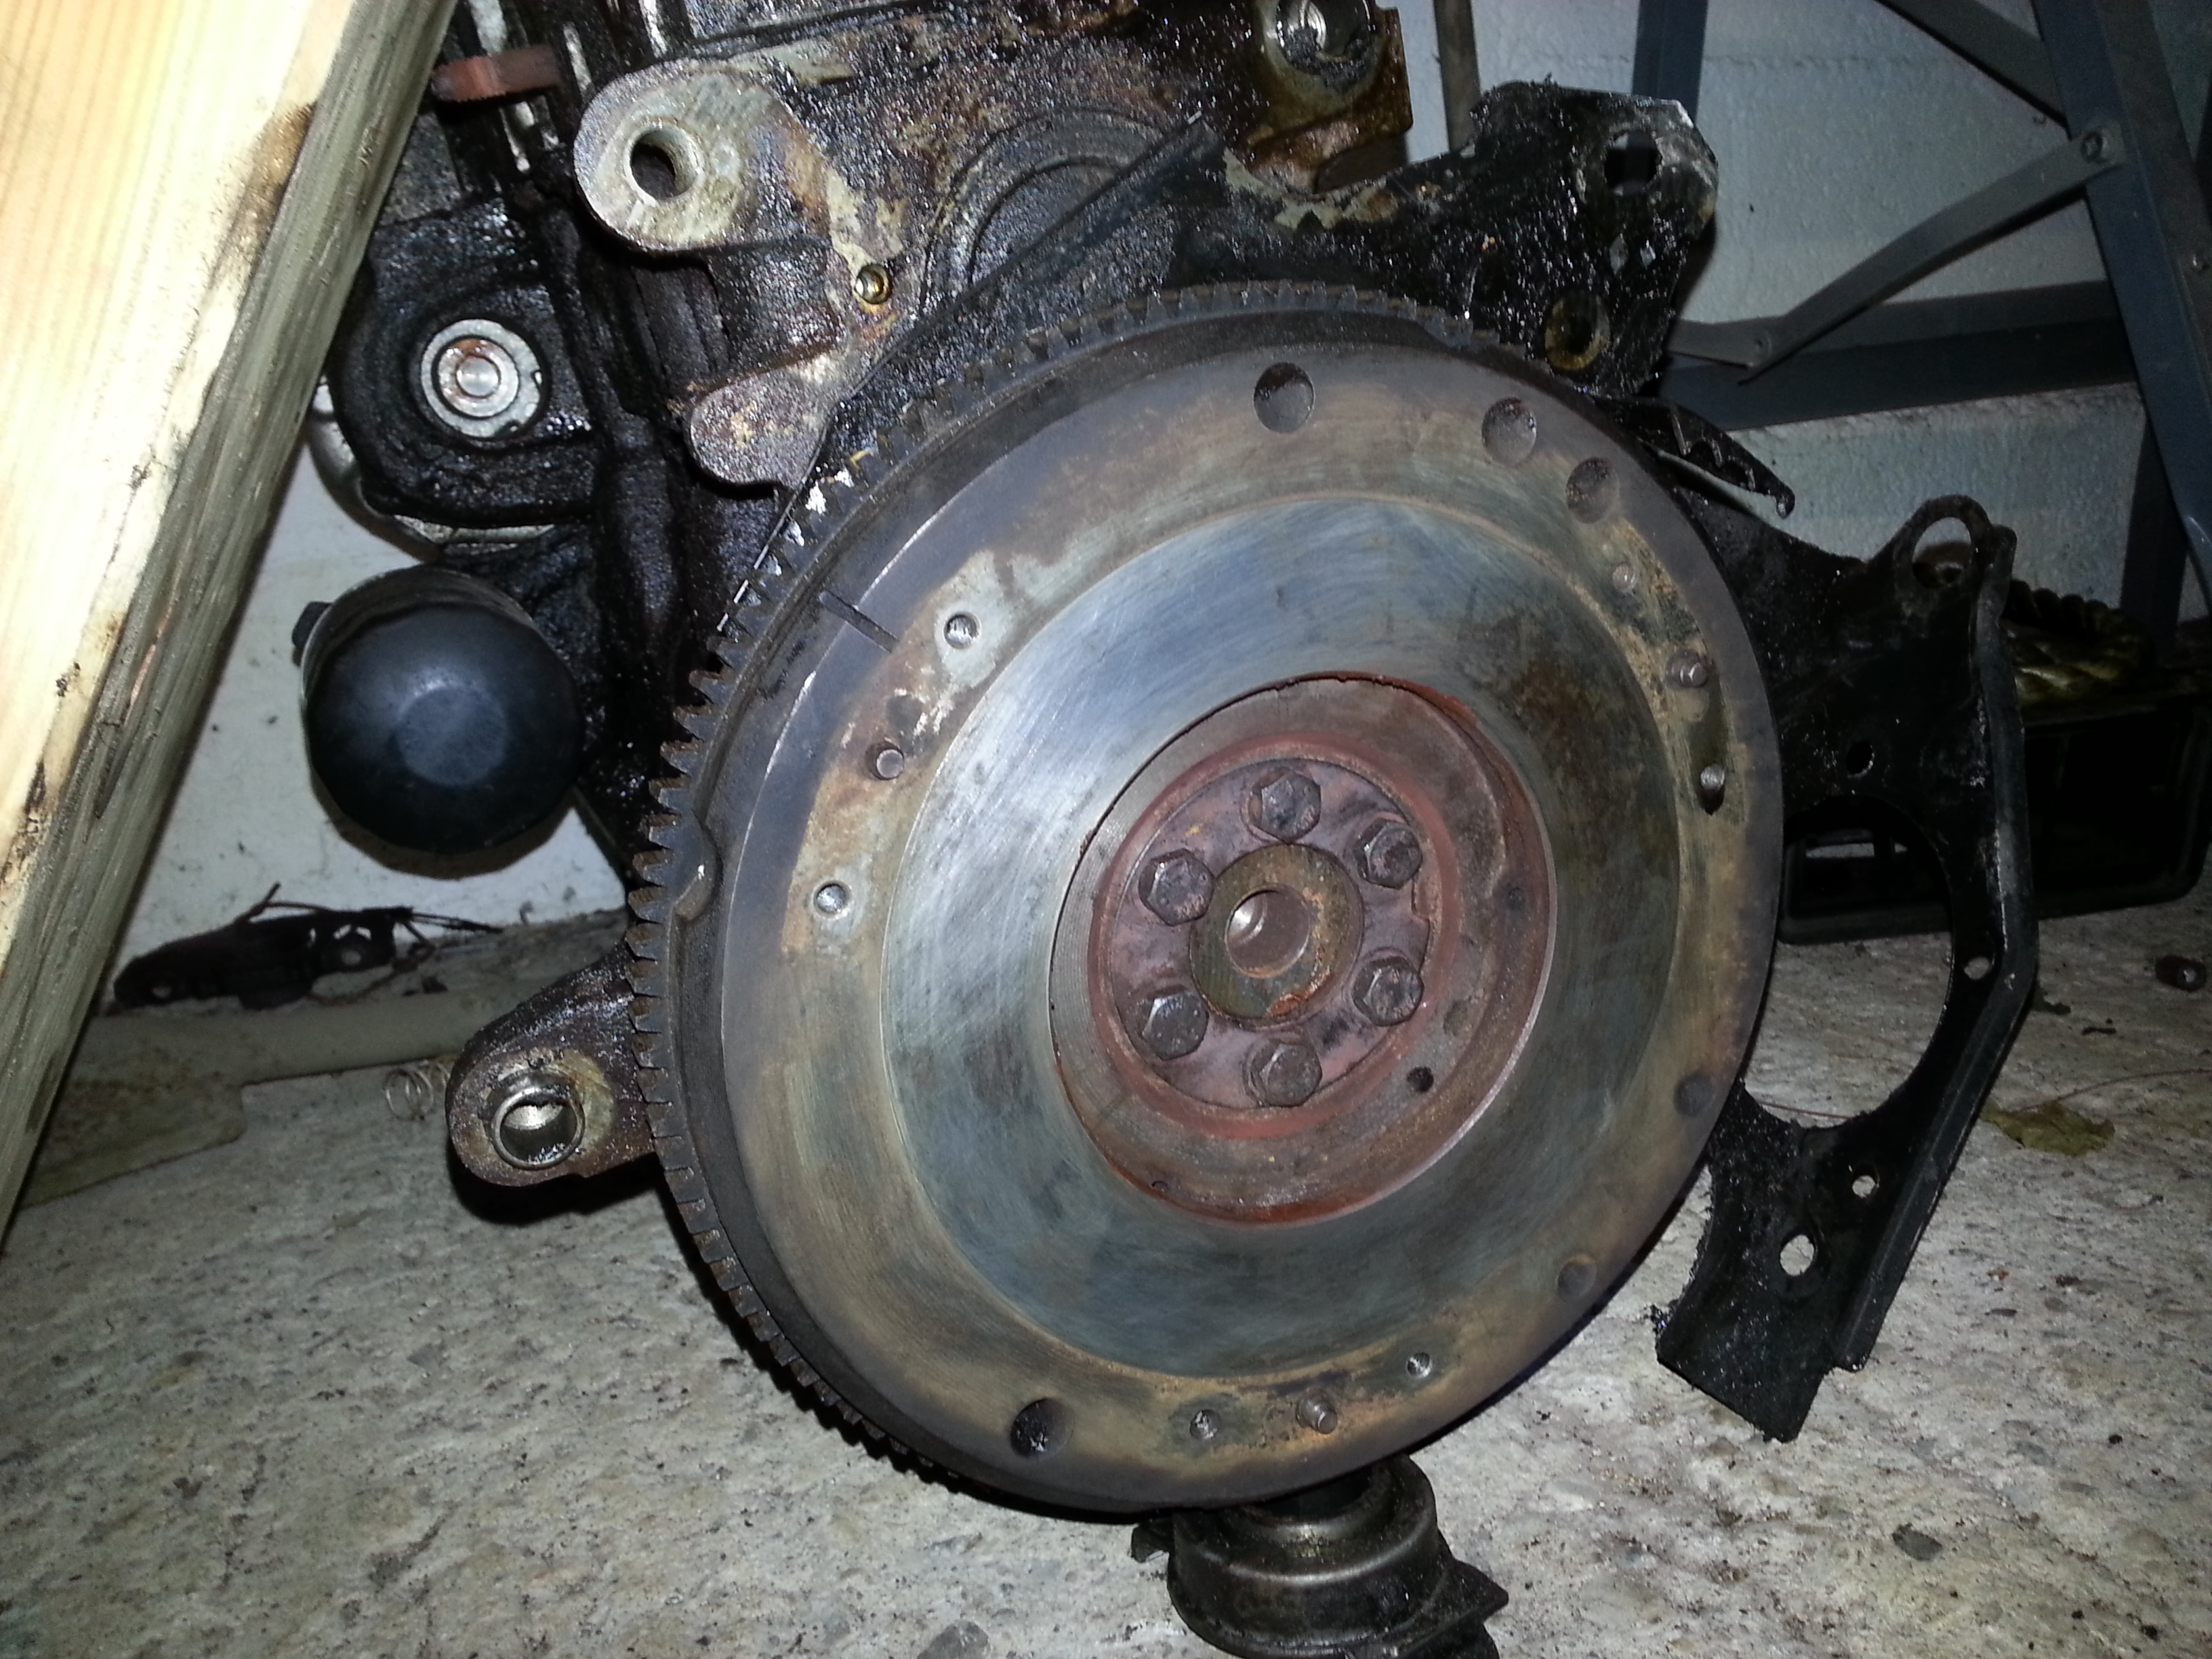
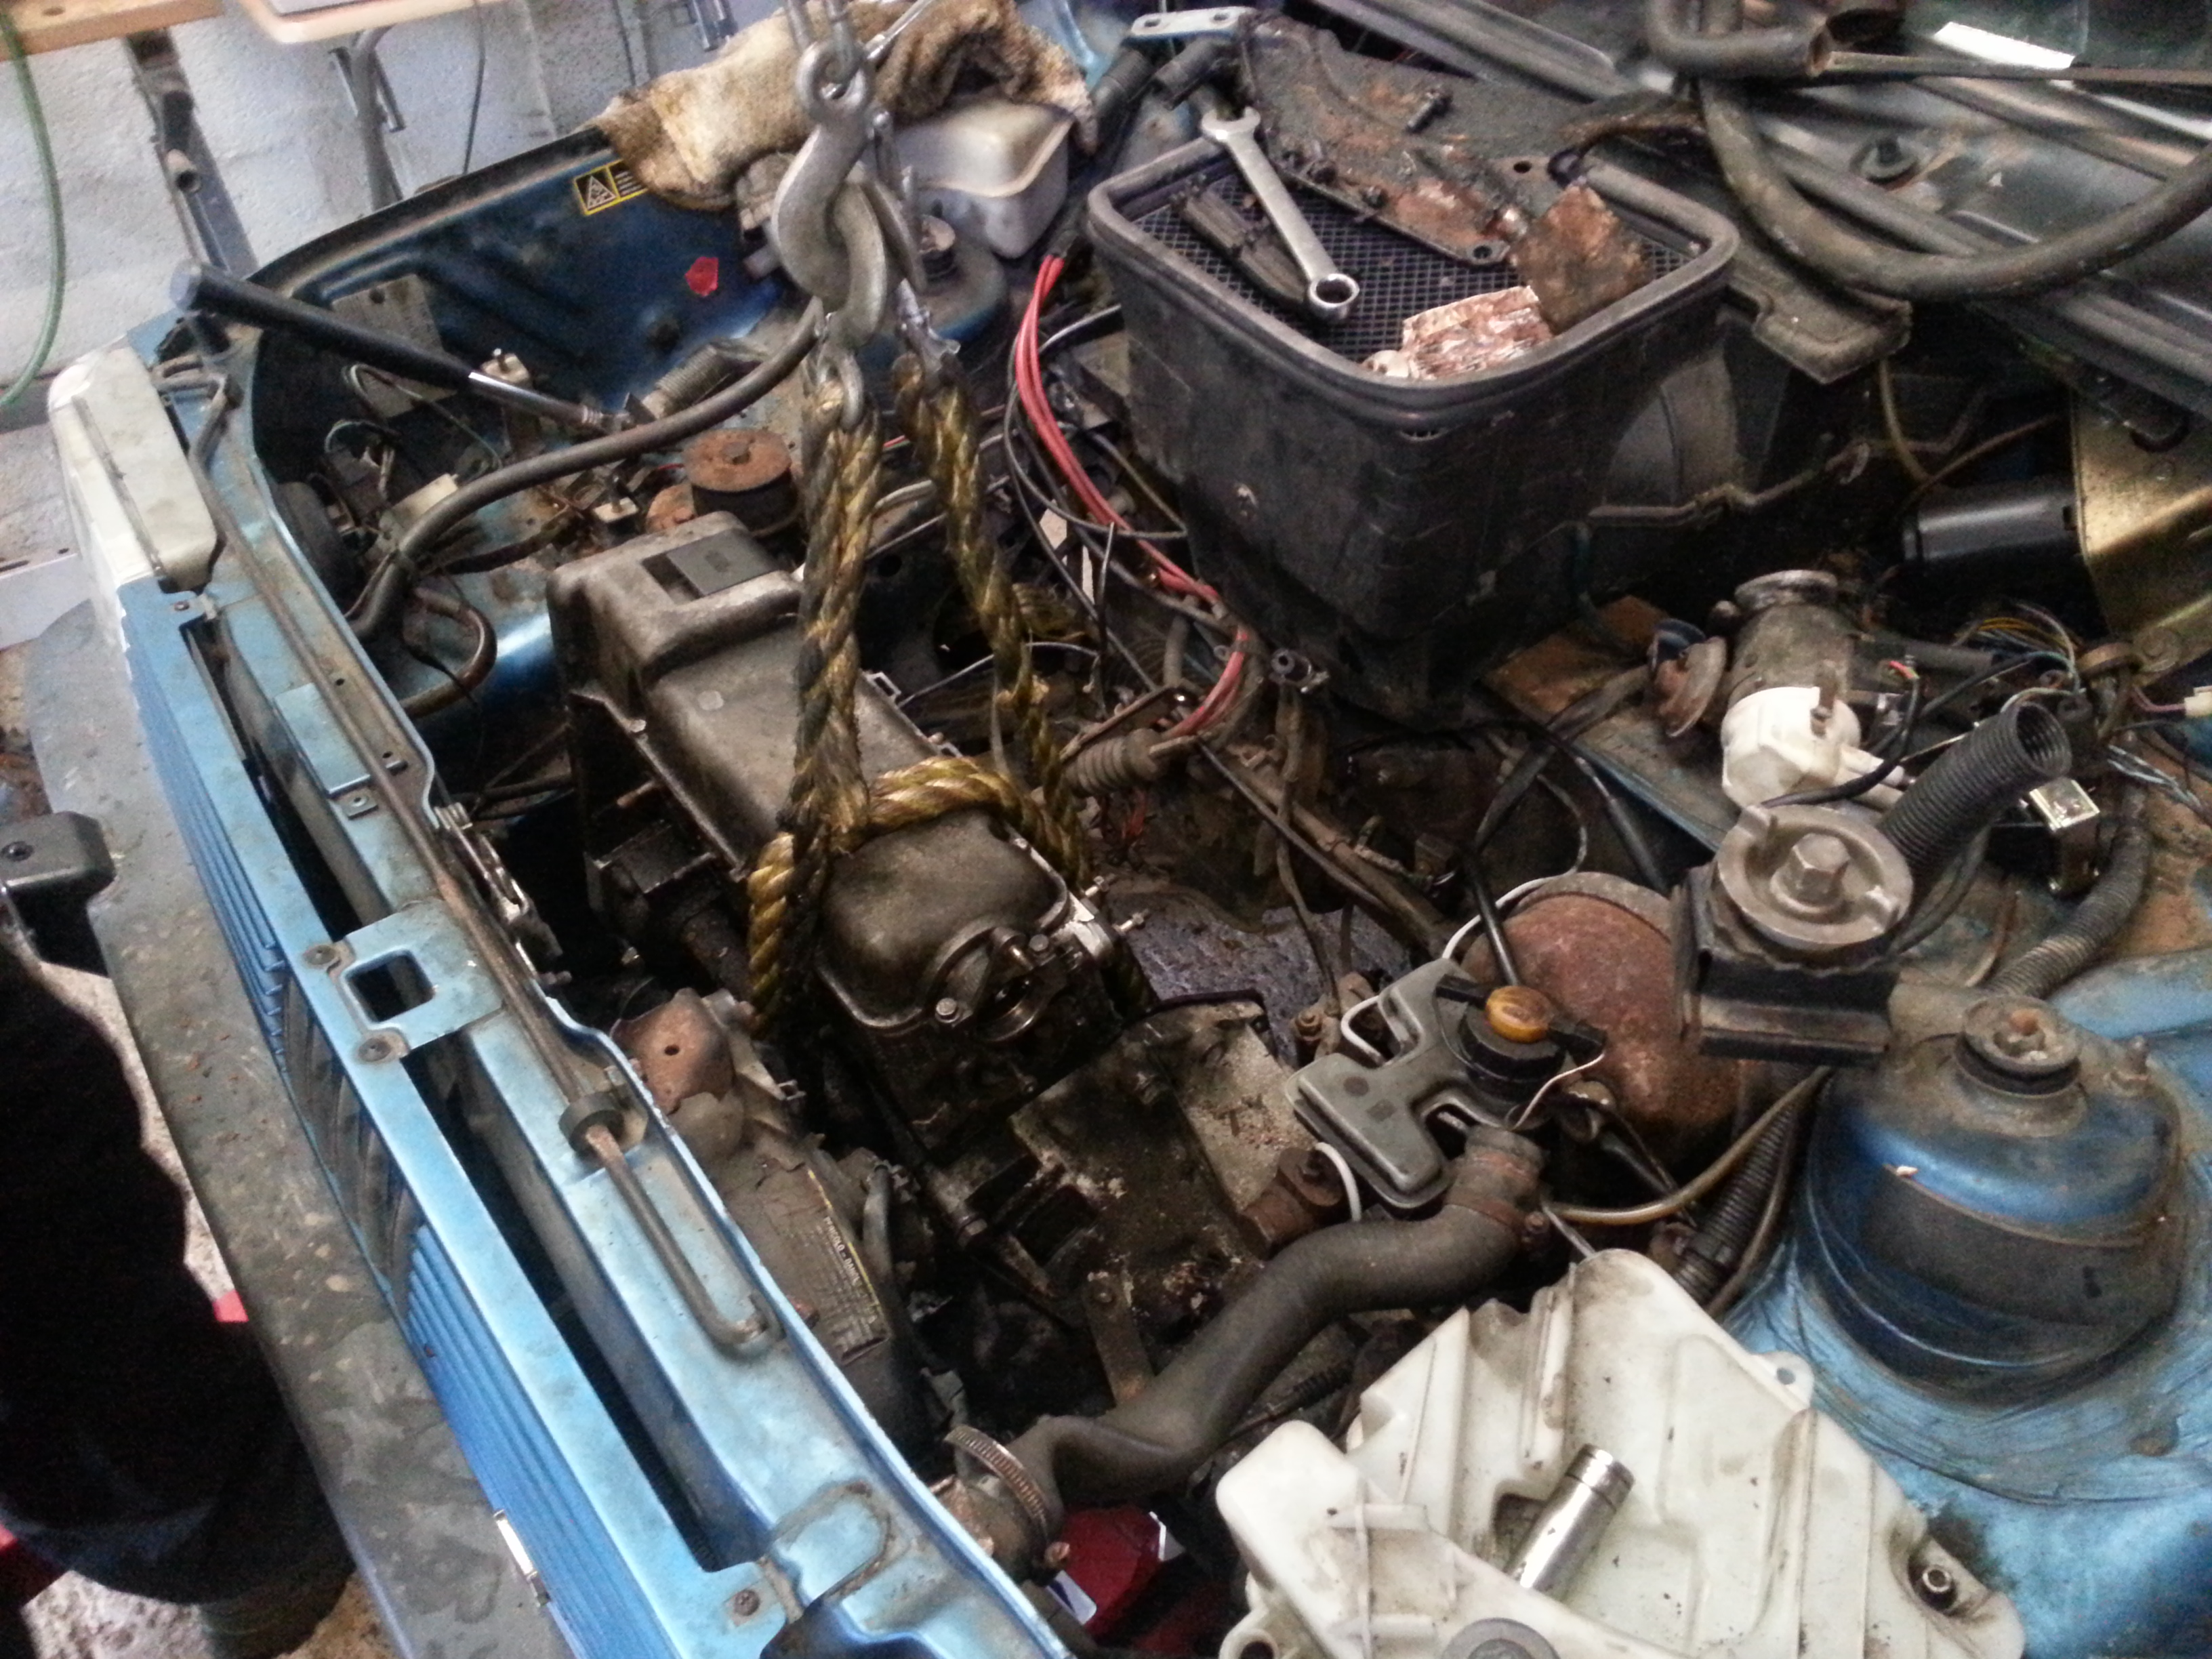
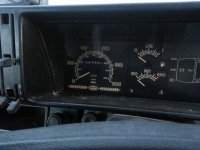
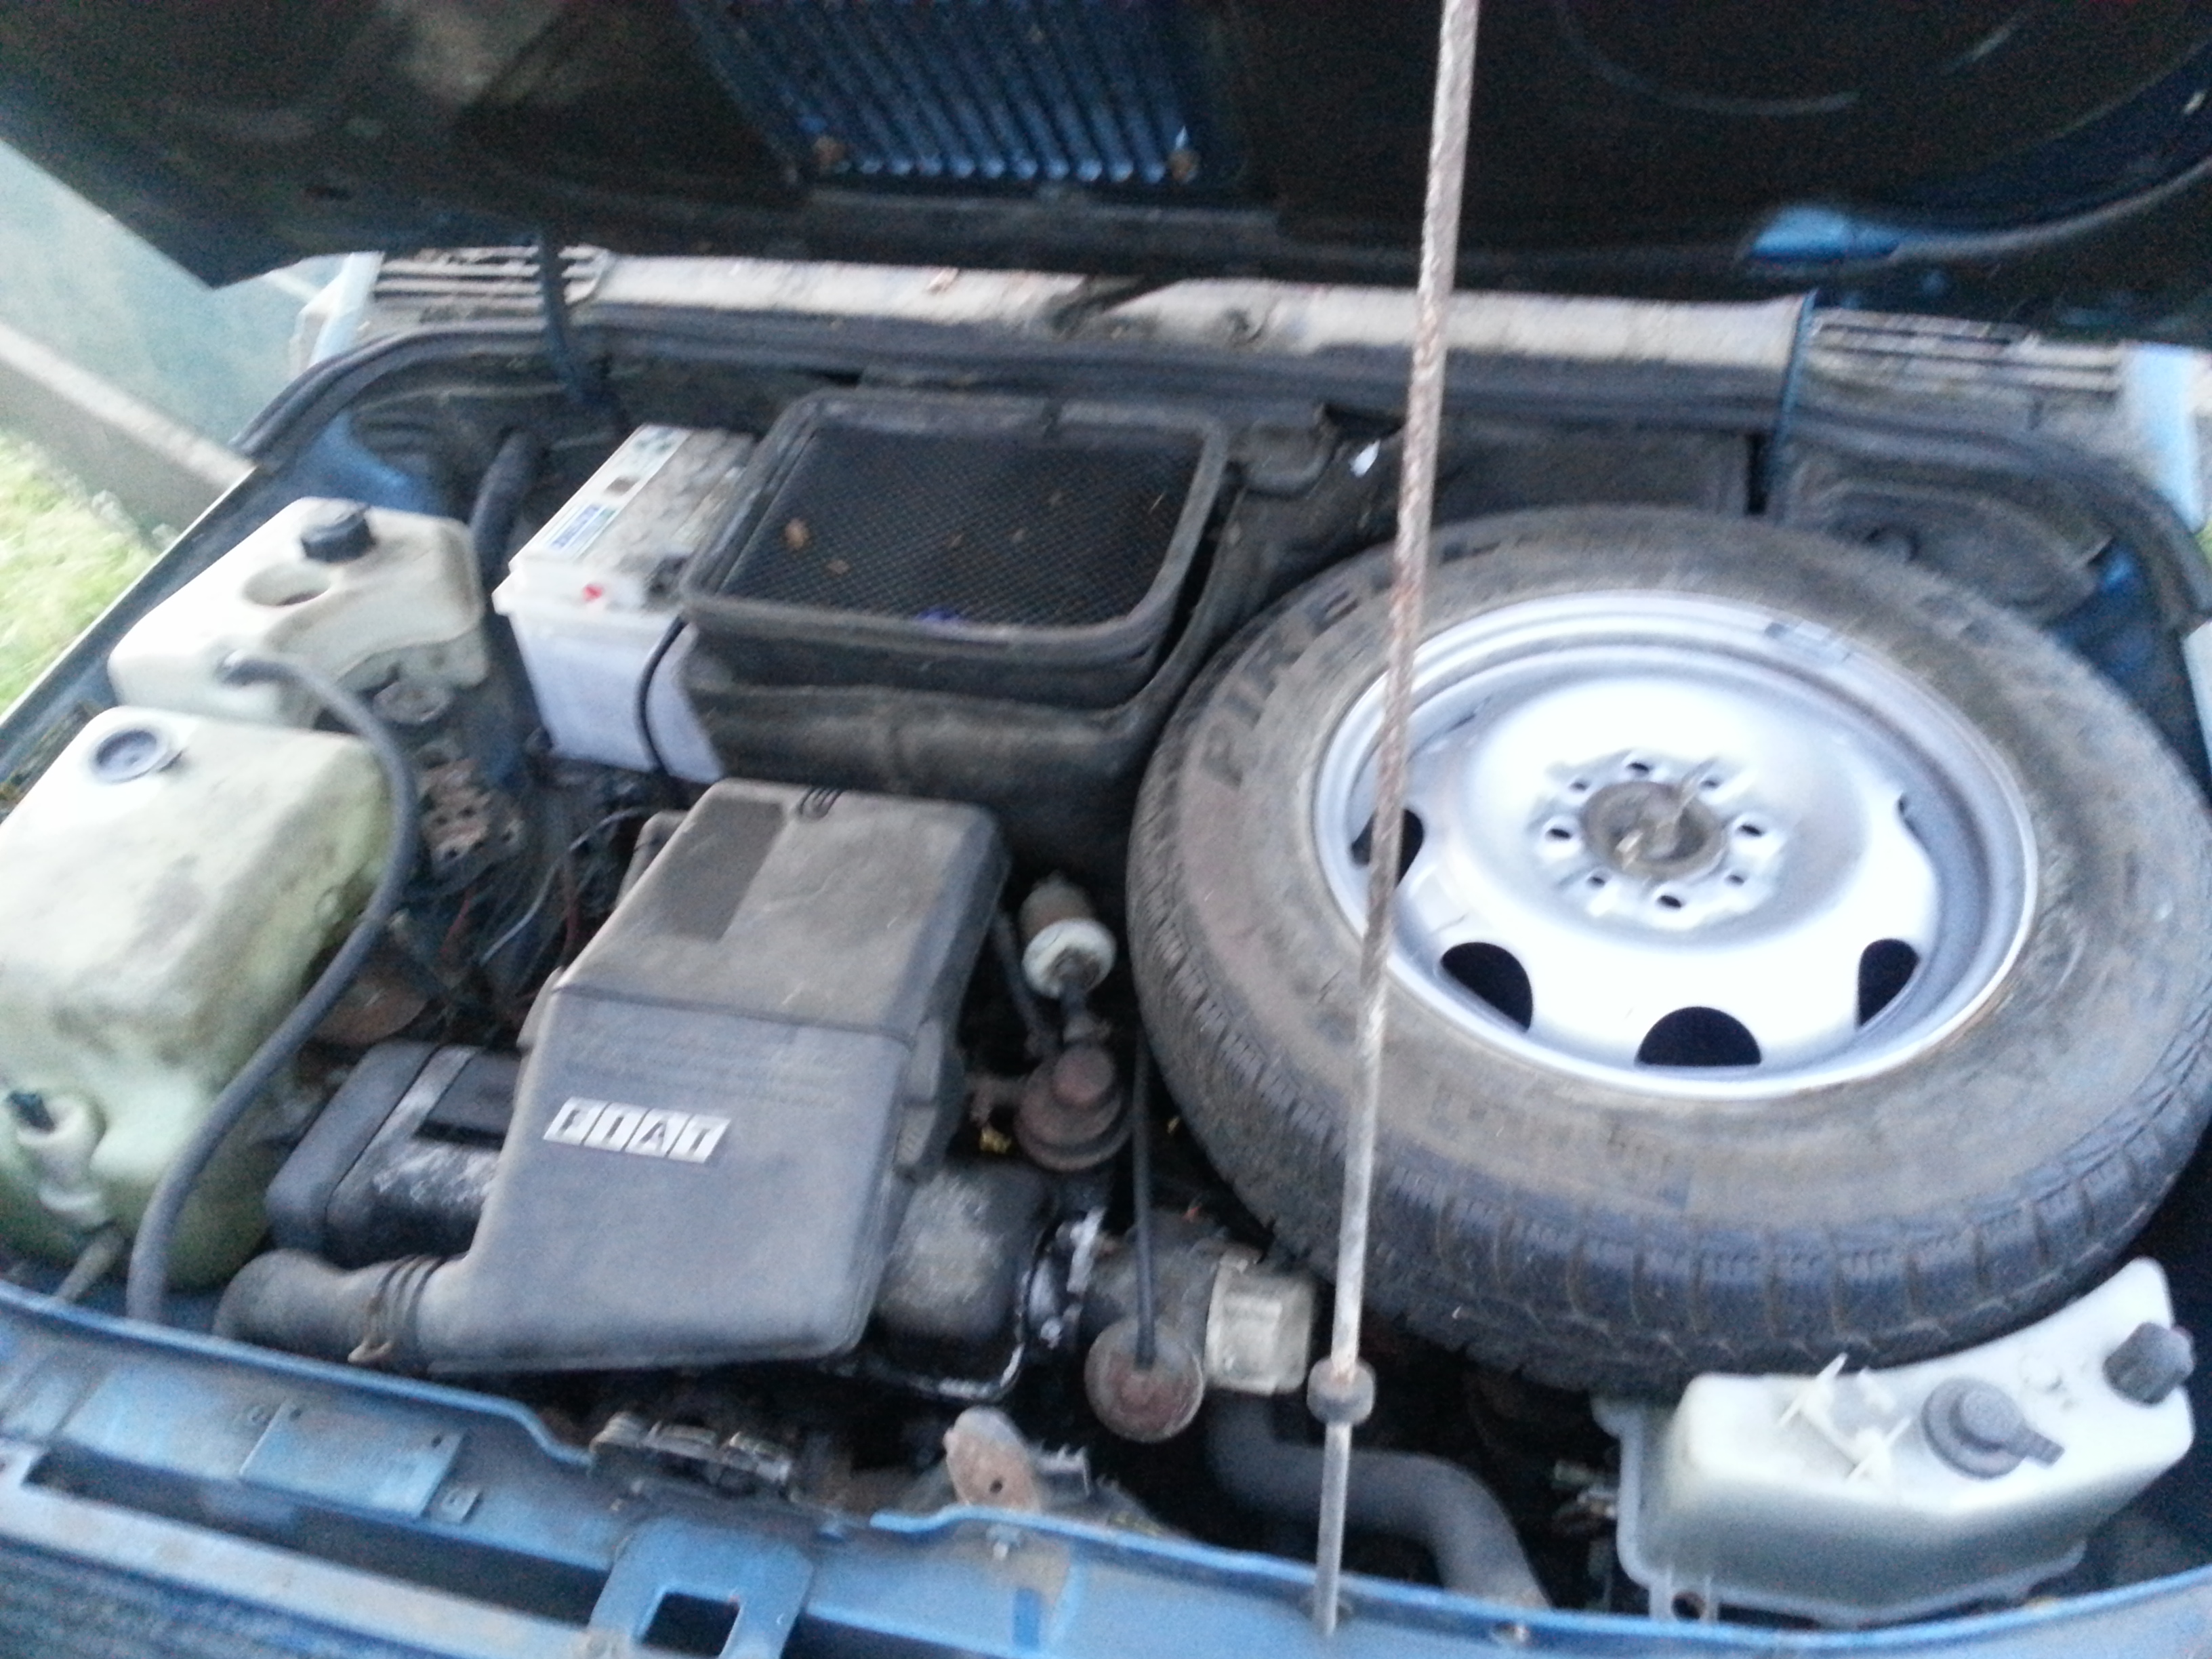
She doesn't run, Paul suspects an earth fault - I'll get a decent battery and we'll go from there.
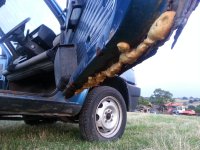
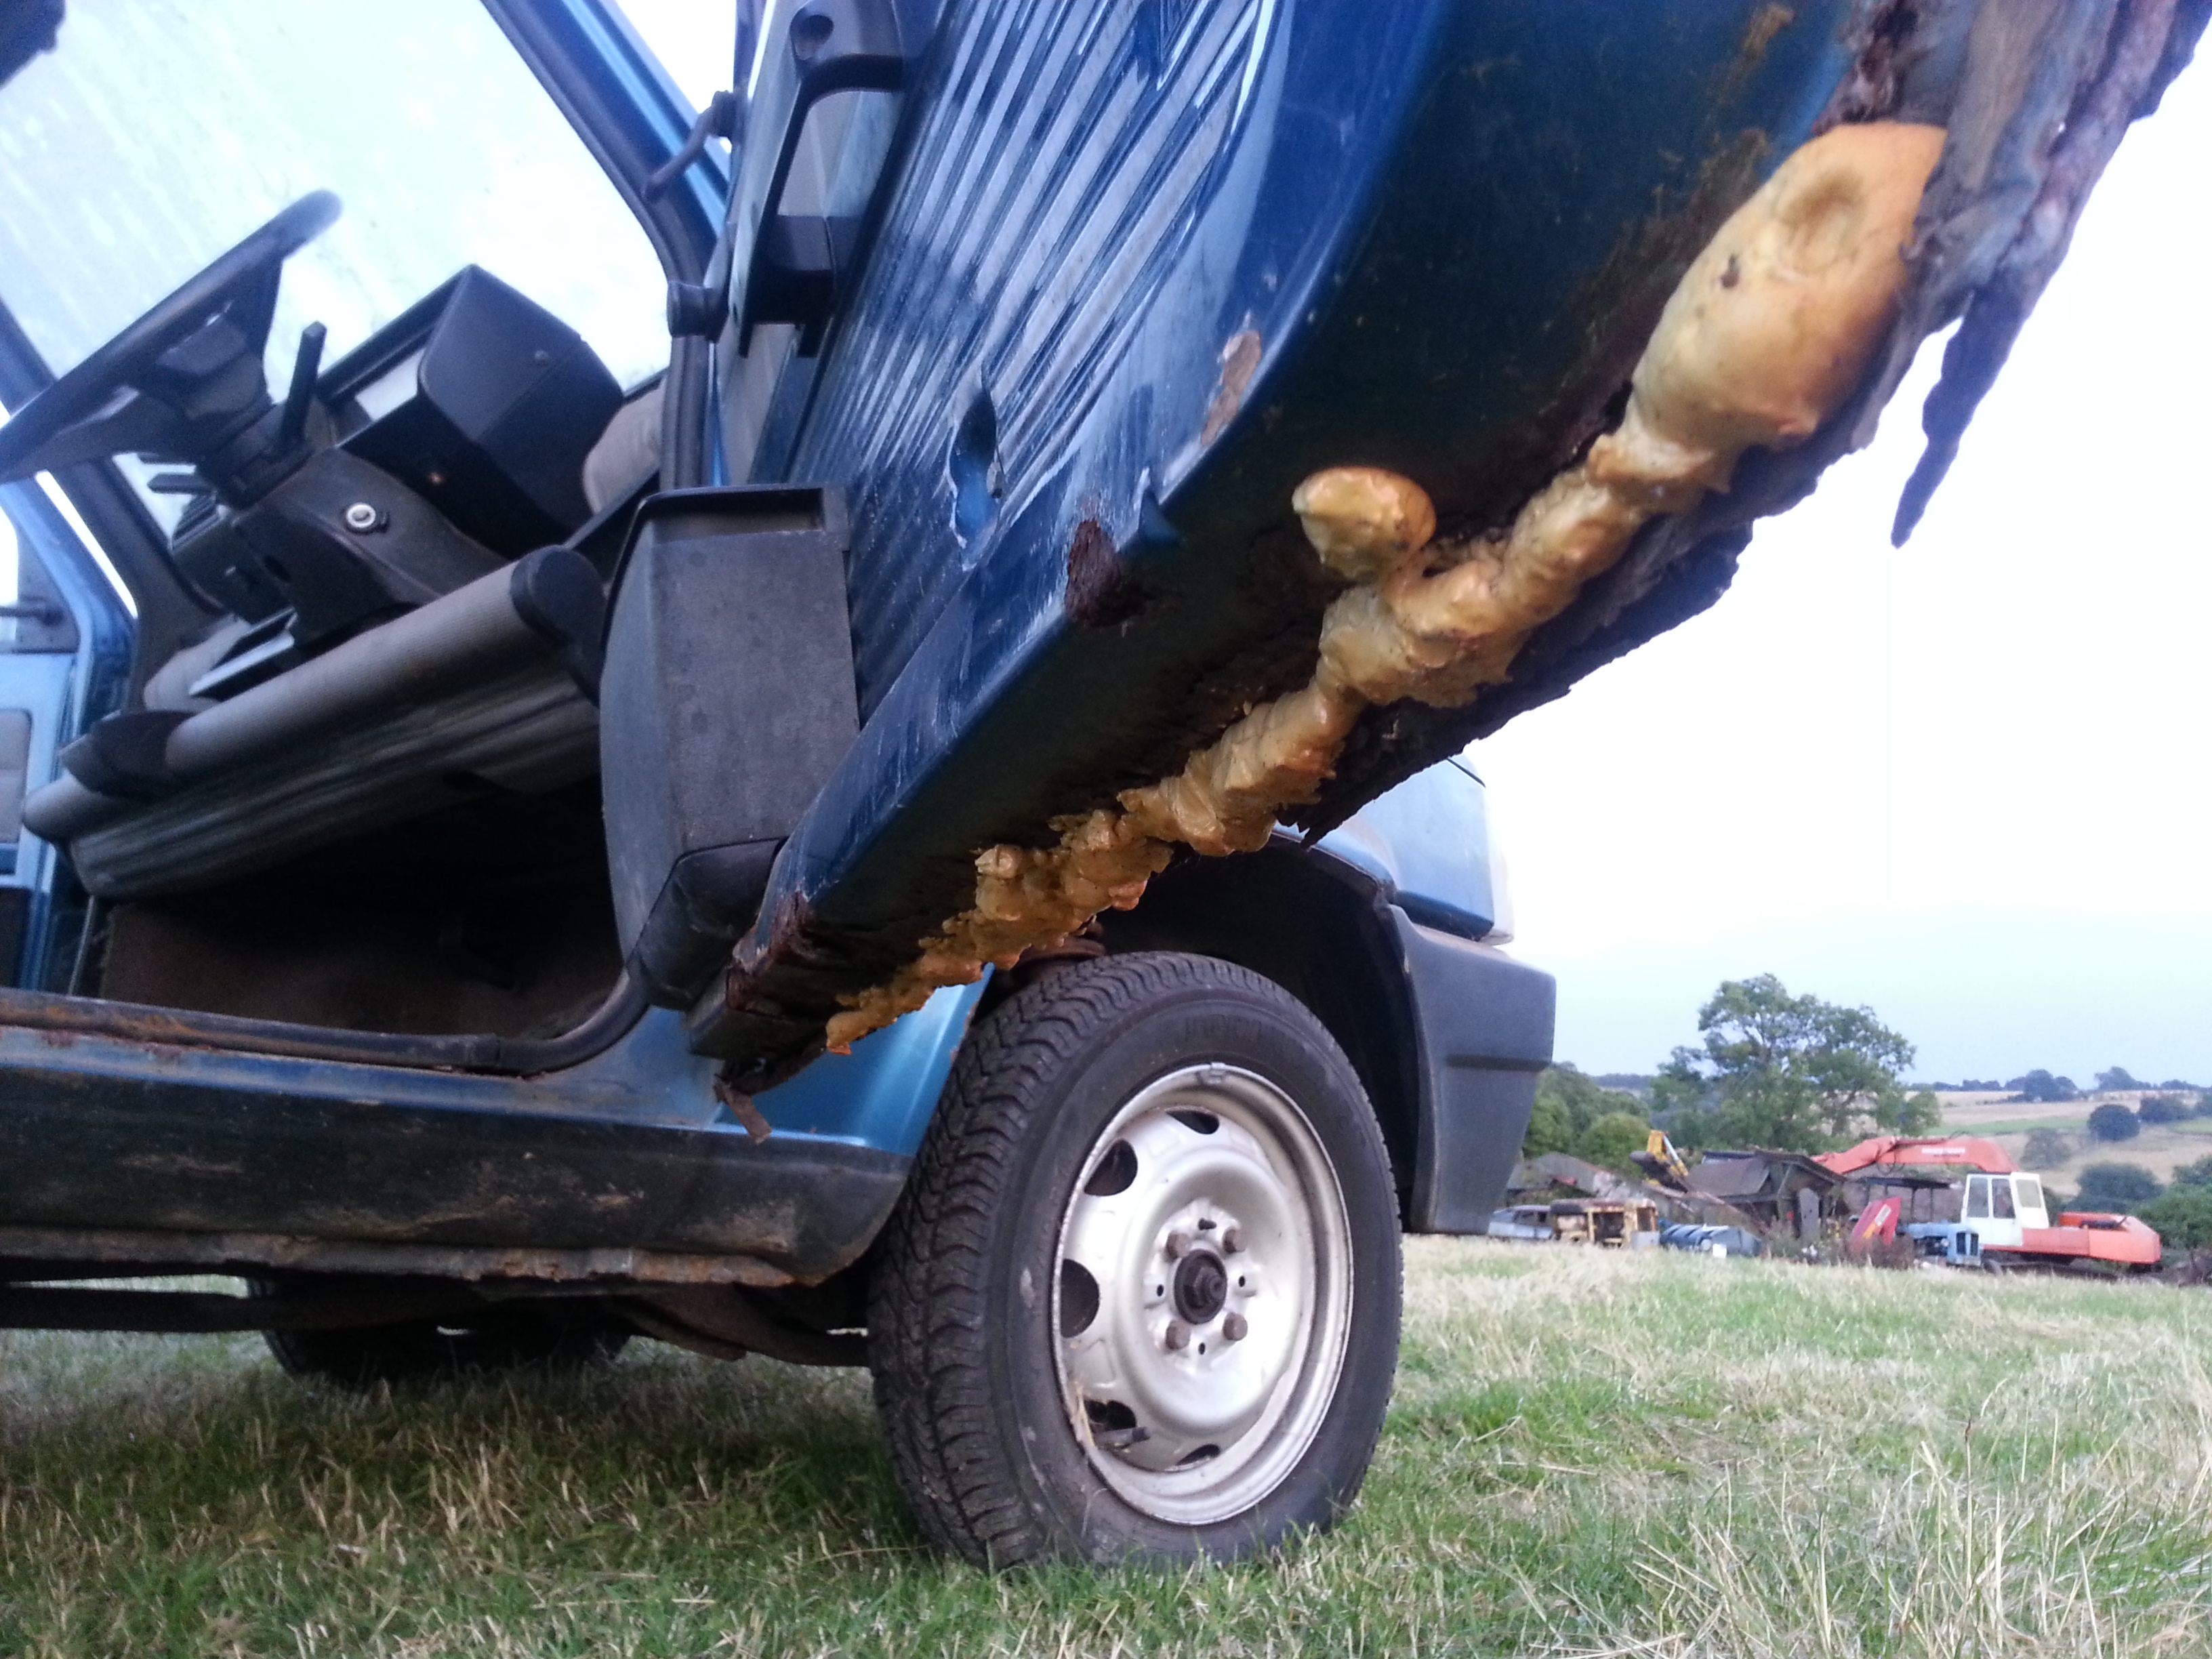
Doors... yep need them...
Yes that is expanding foam in the driver's door!
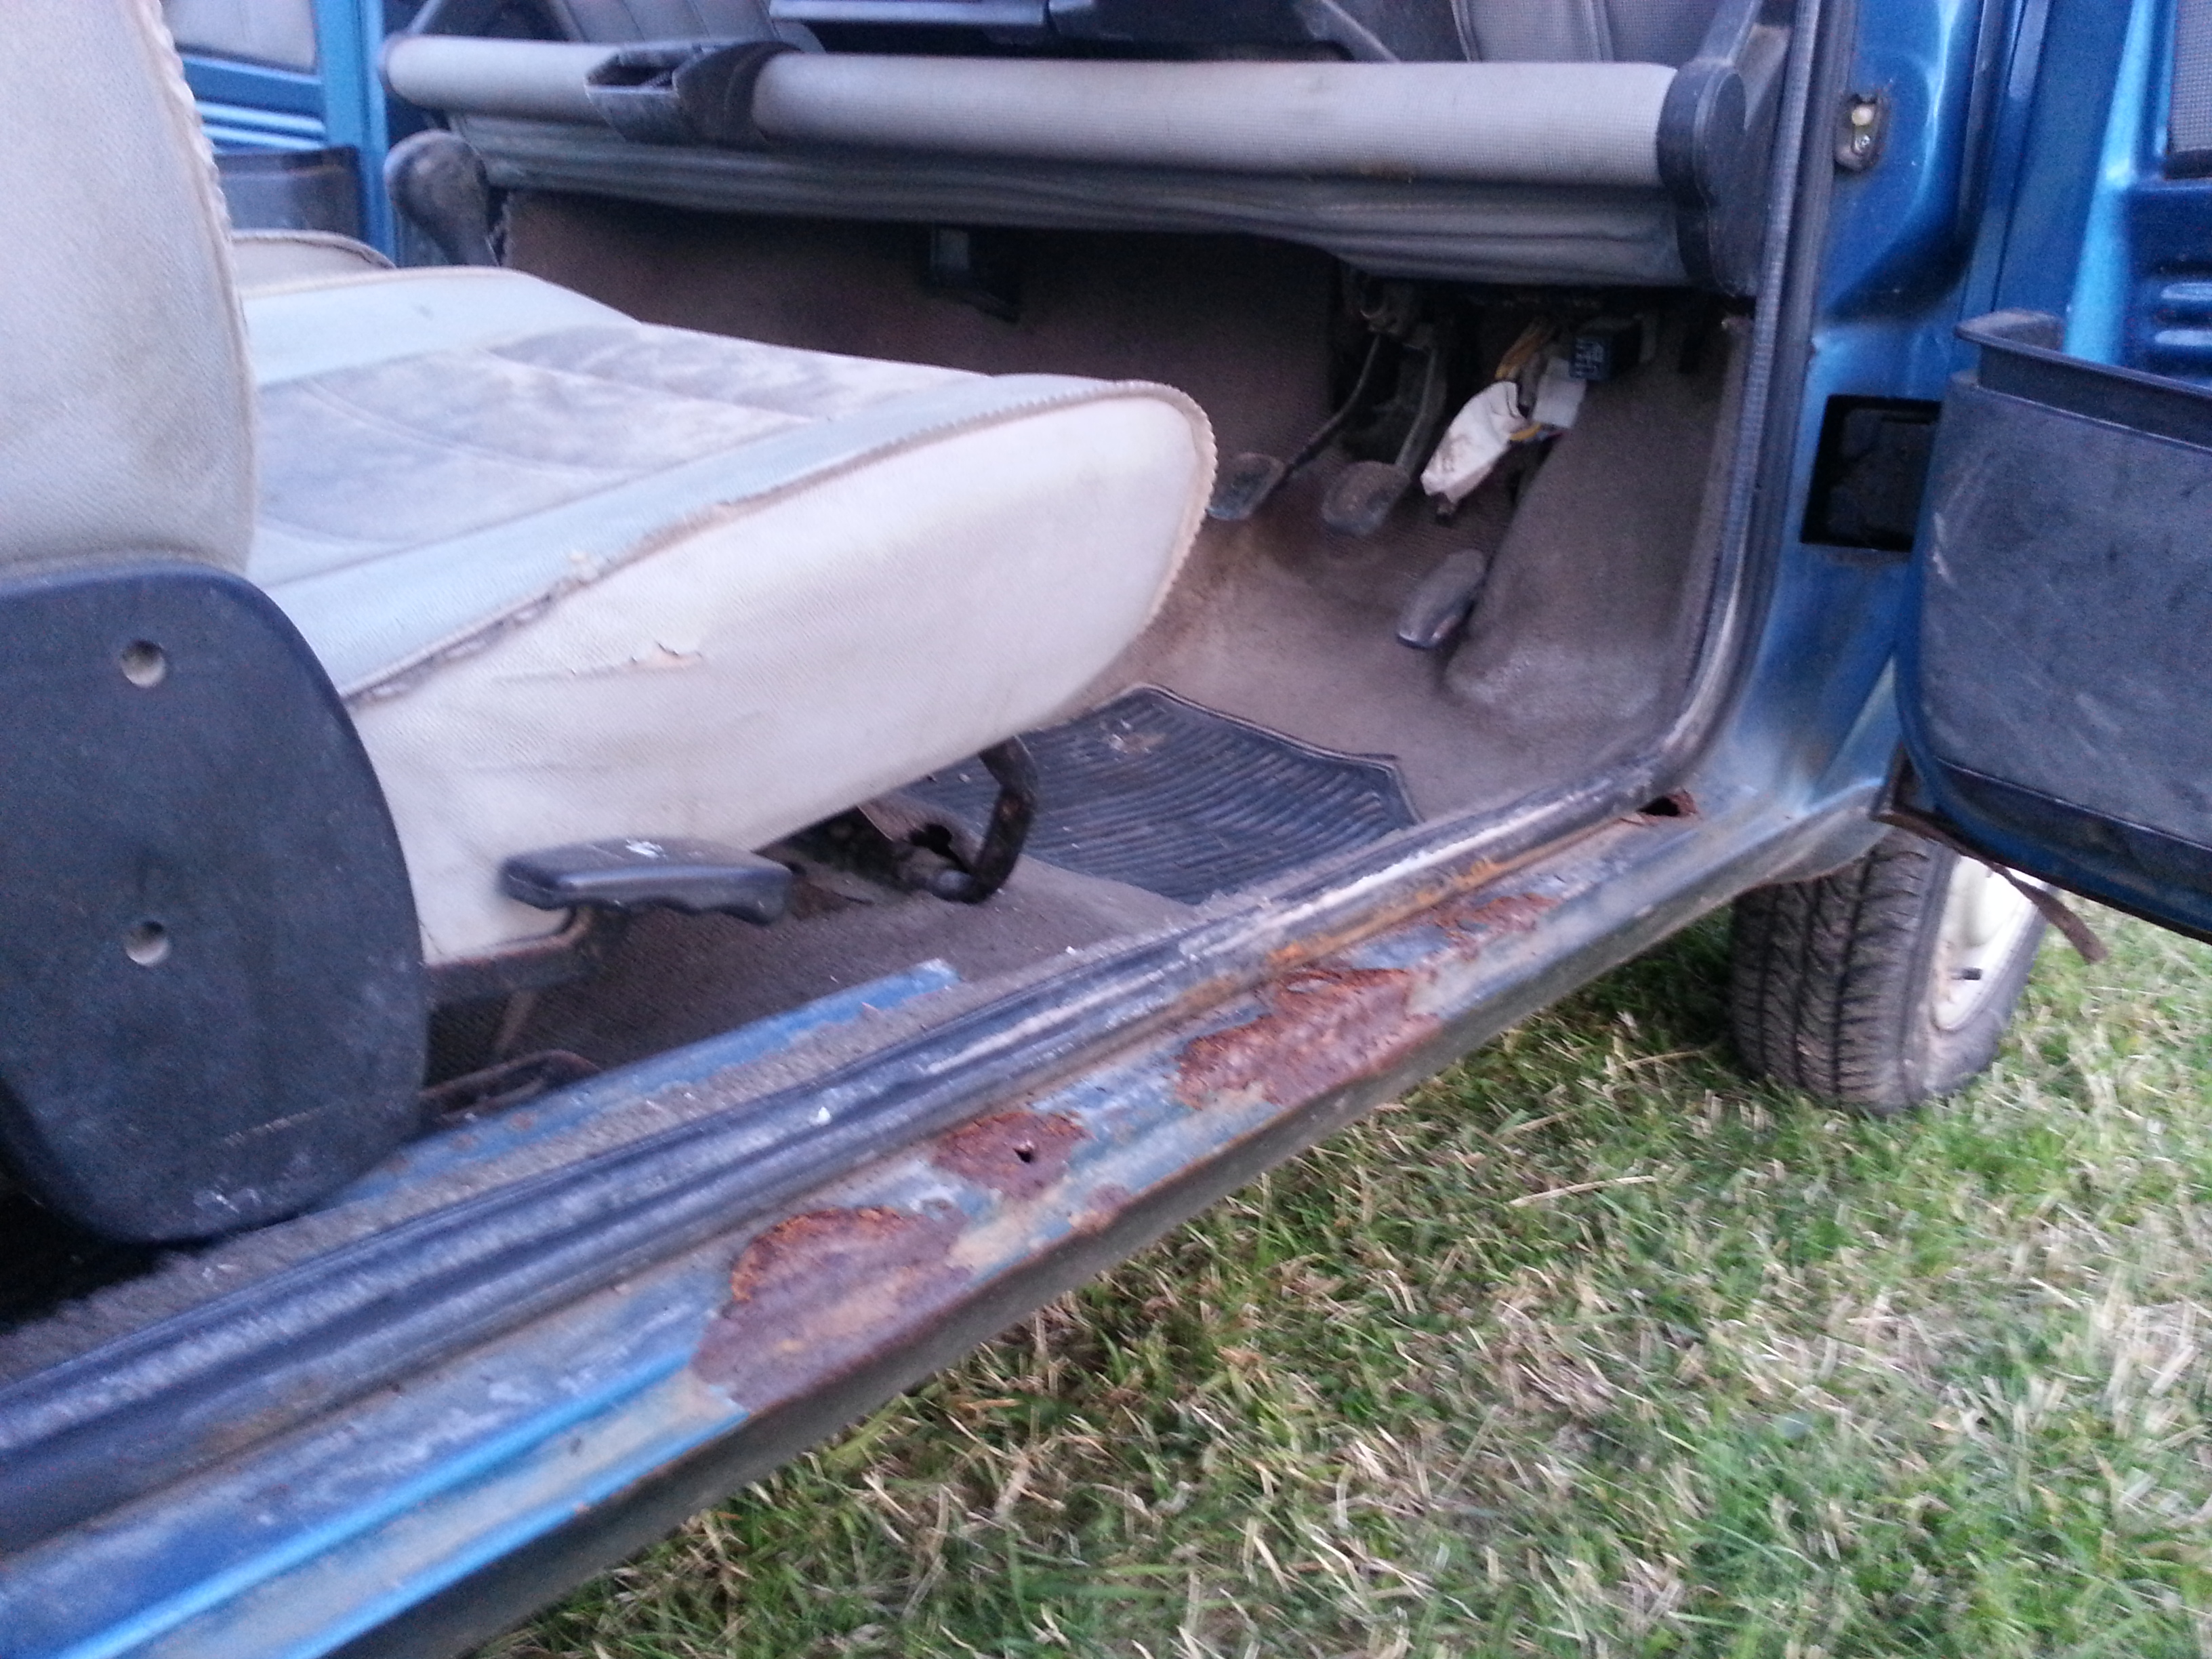
Welding to the footplates inside the doors...
Buff can donate these sections for replacement, his are just fine.
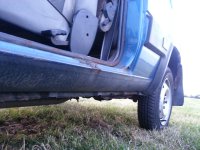
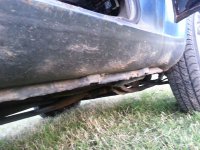
Looking at the sills, they appear to be in fair condition! A little bit of flaking here and there, but solid nonetheless...

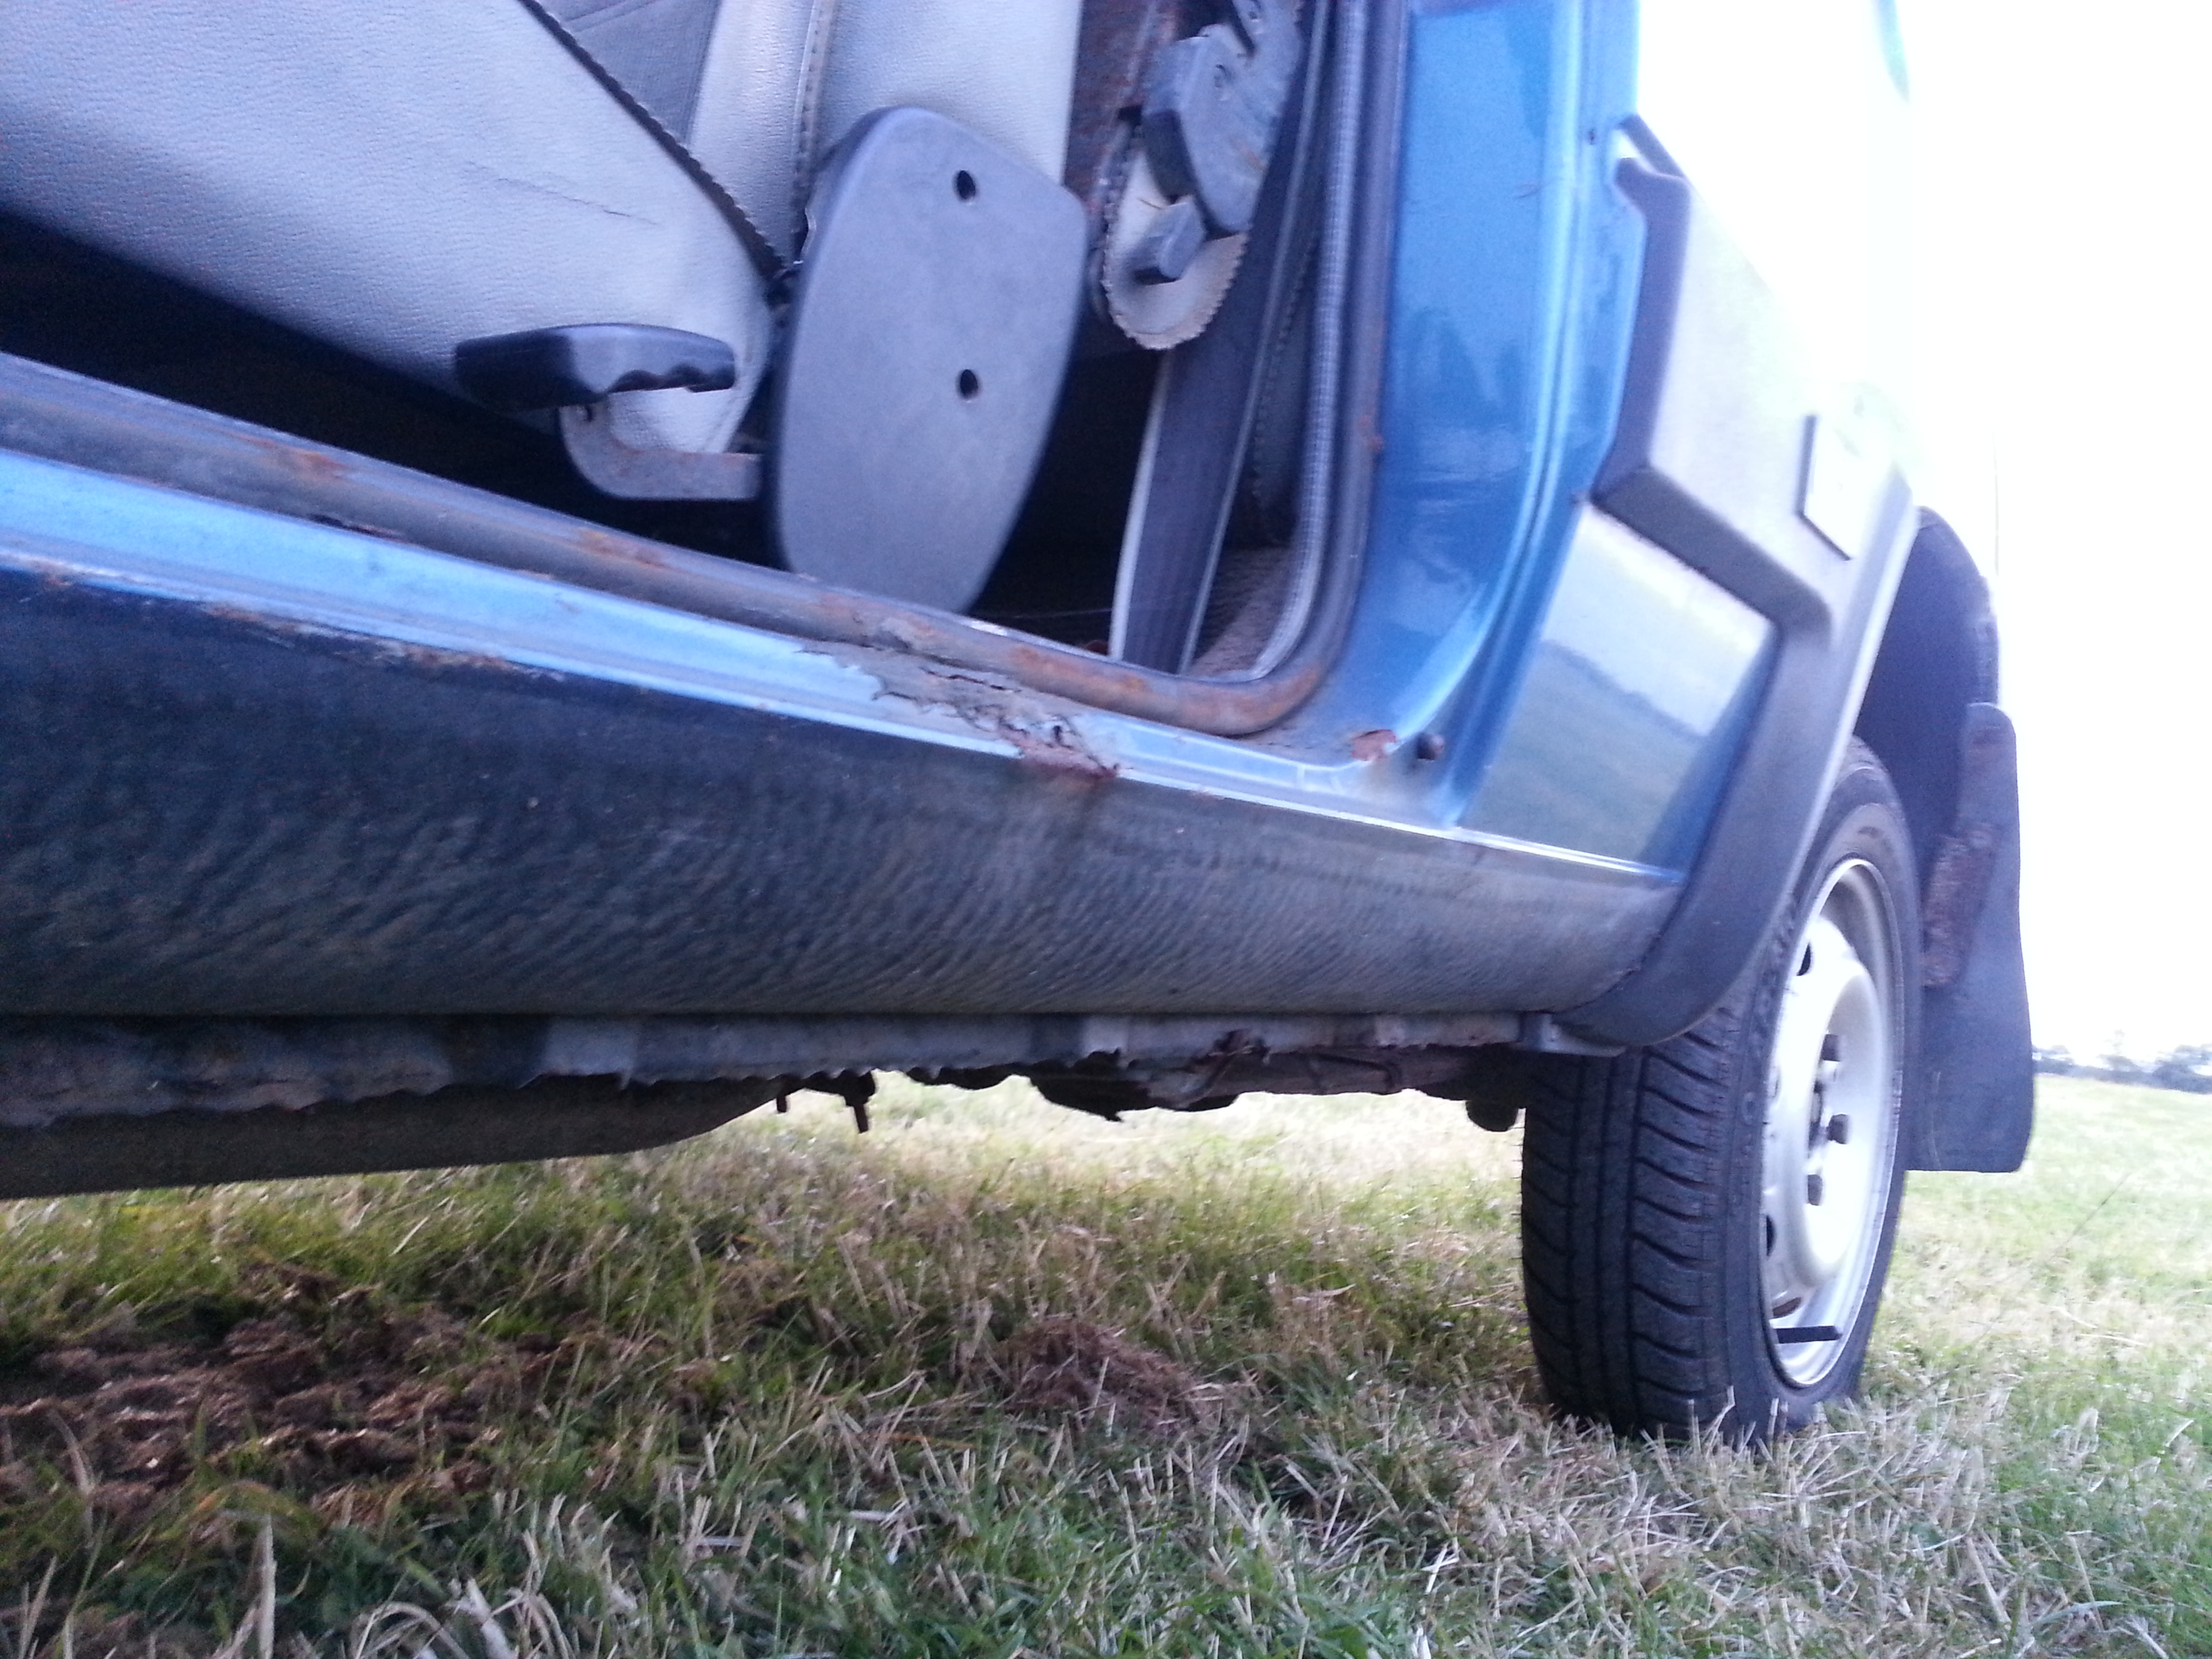
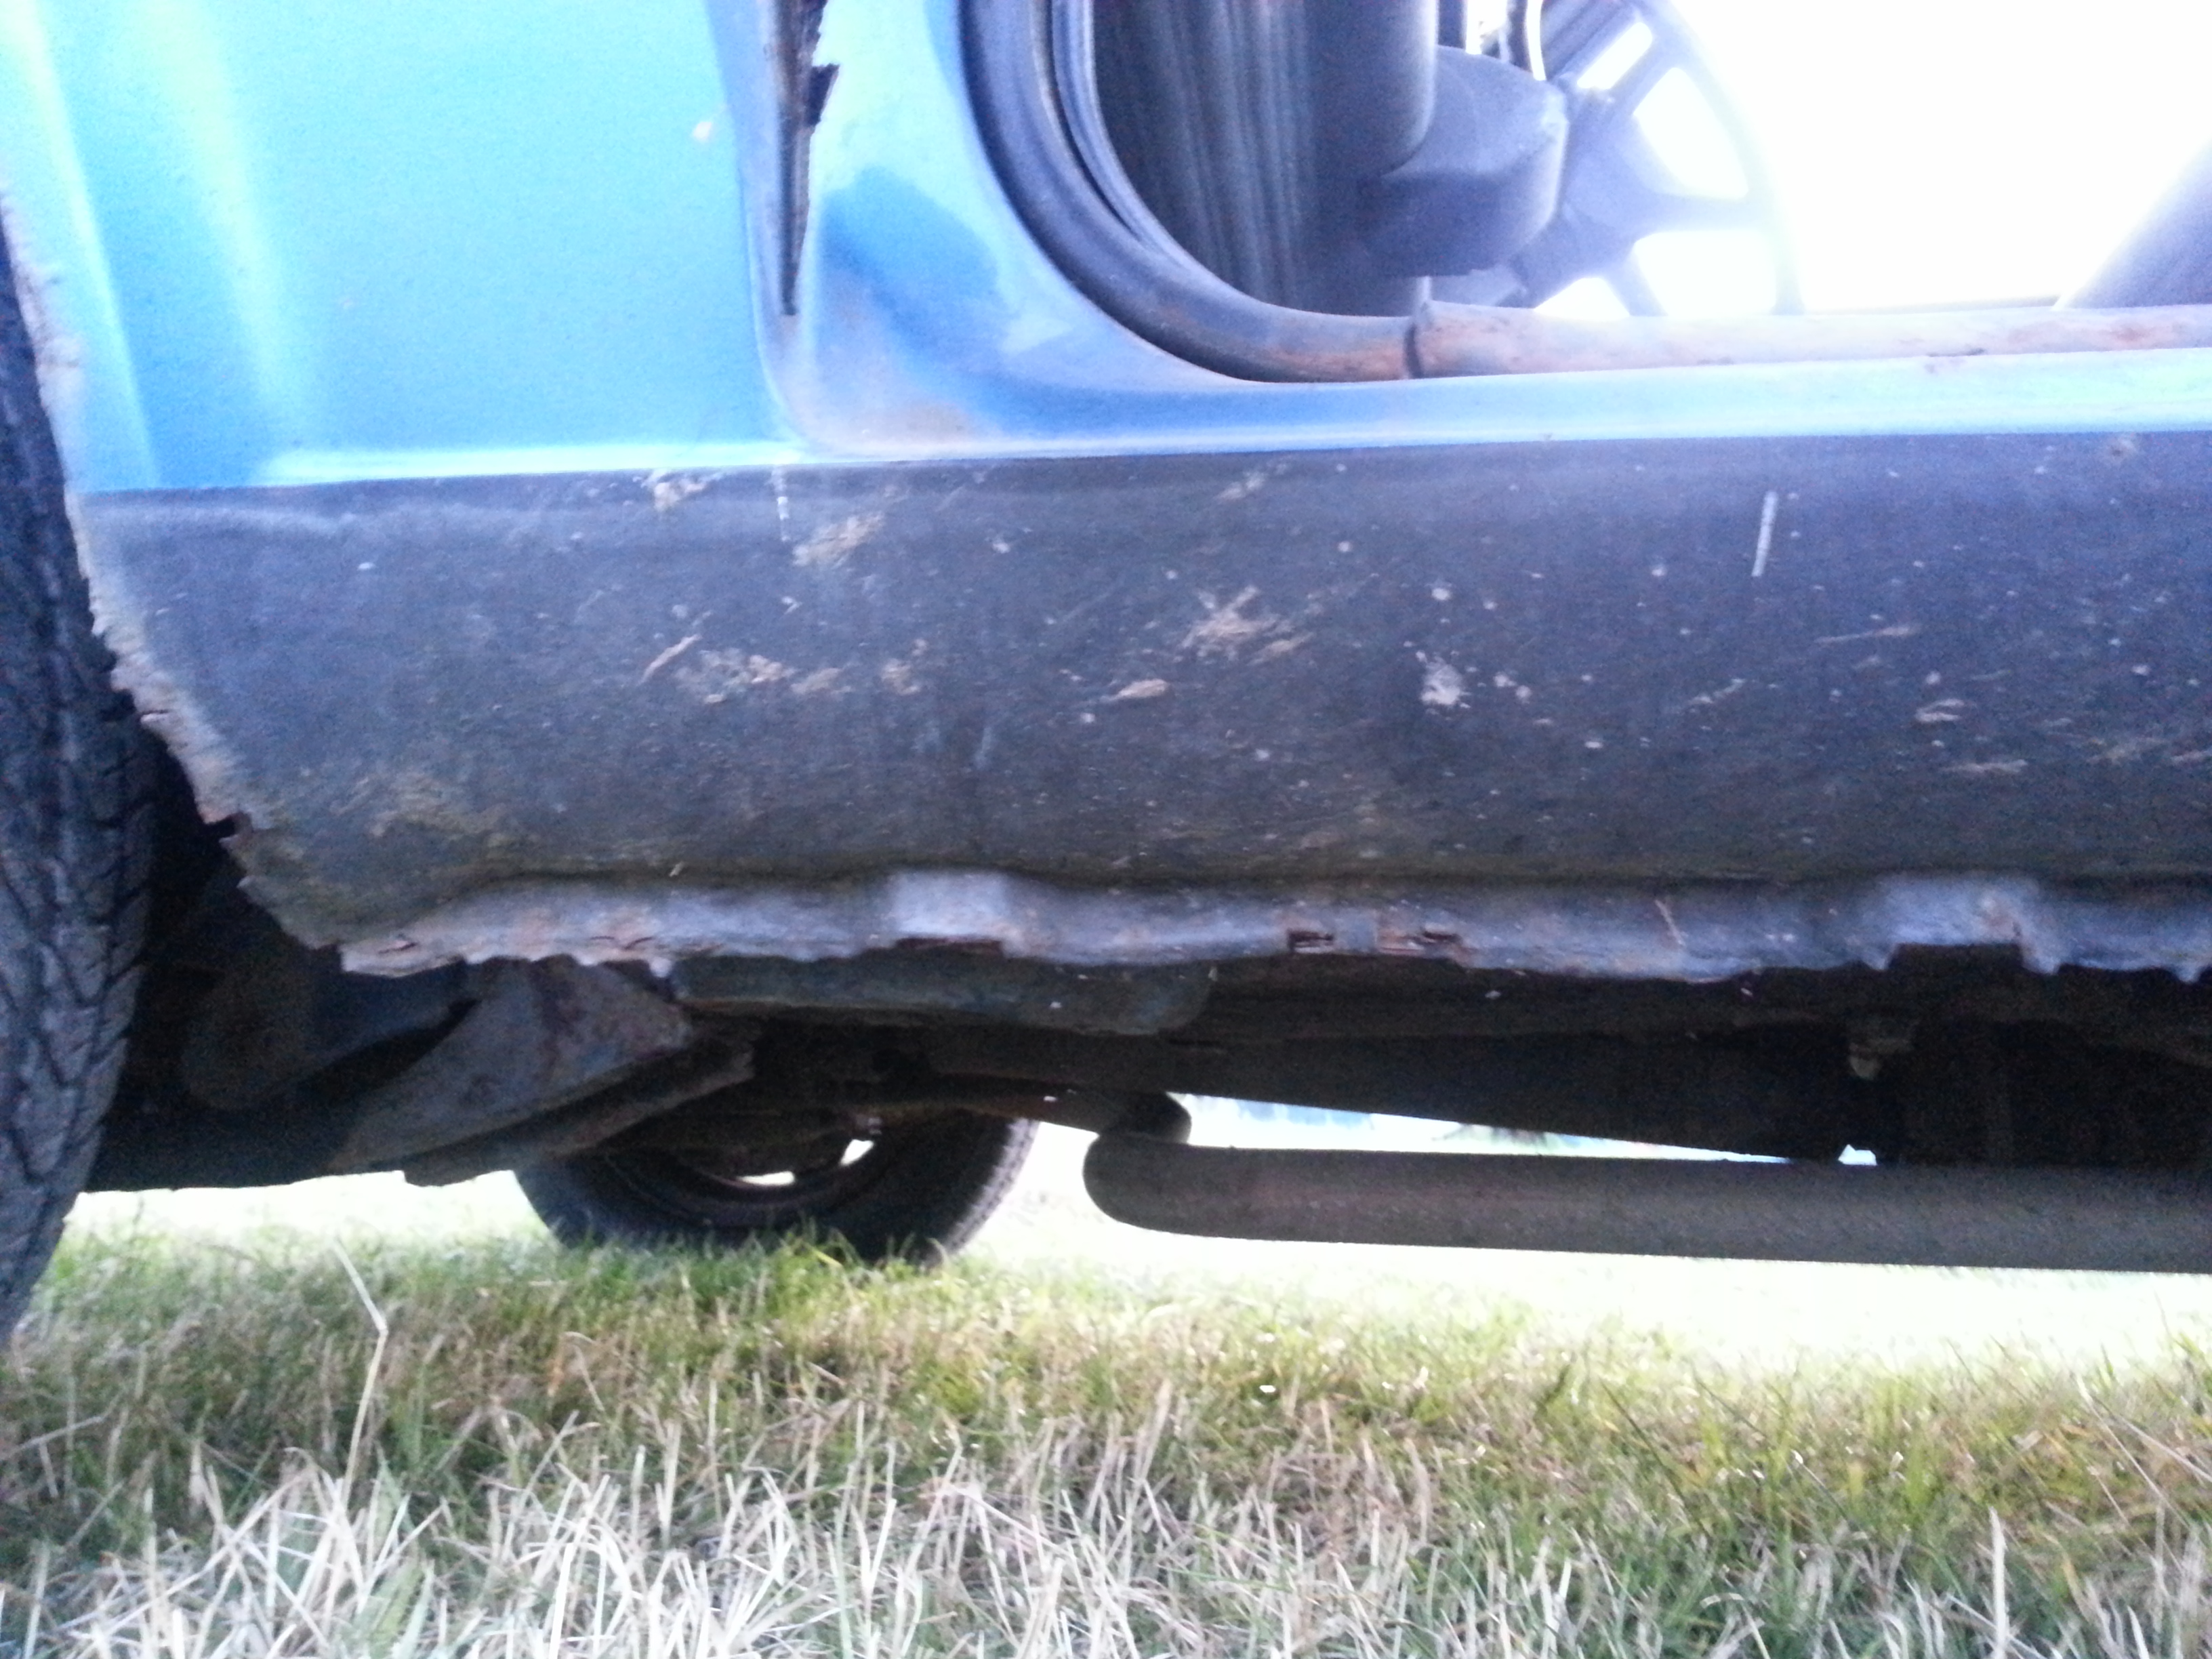
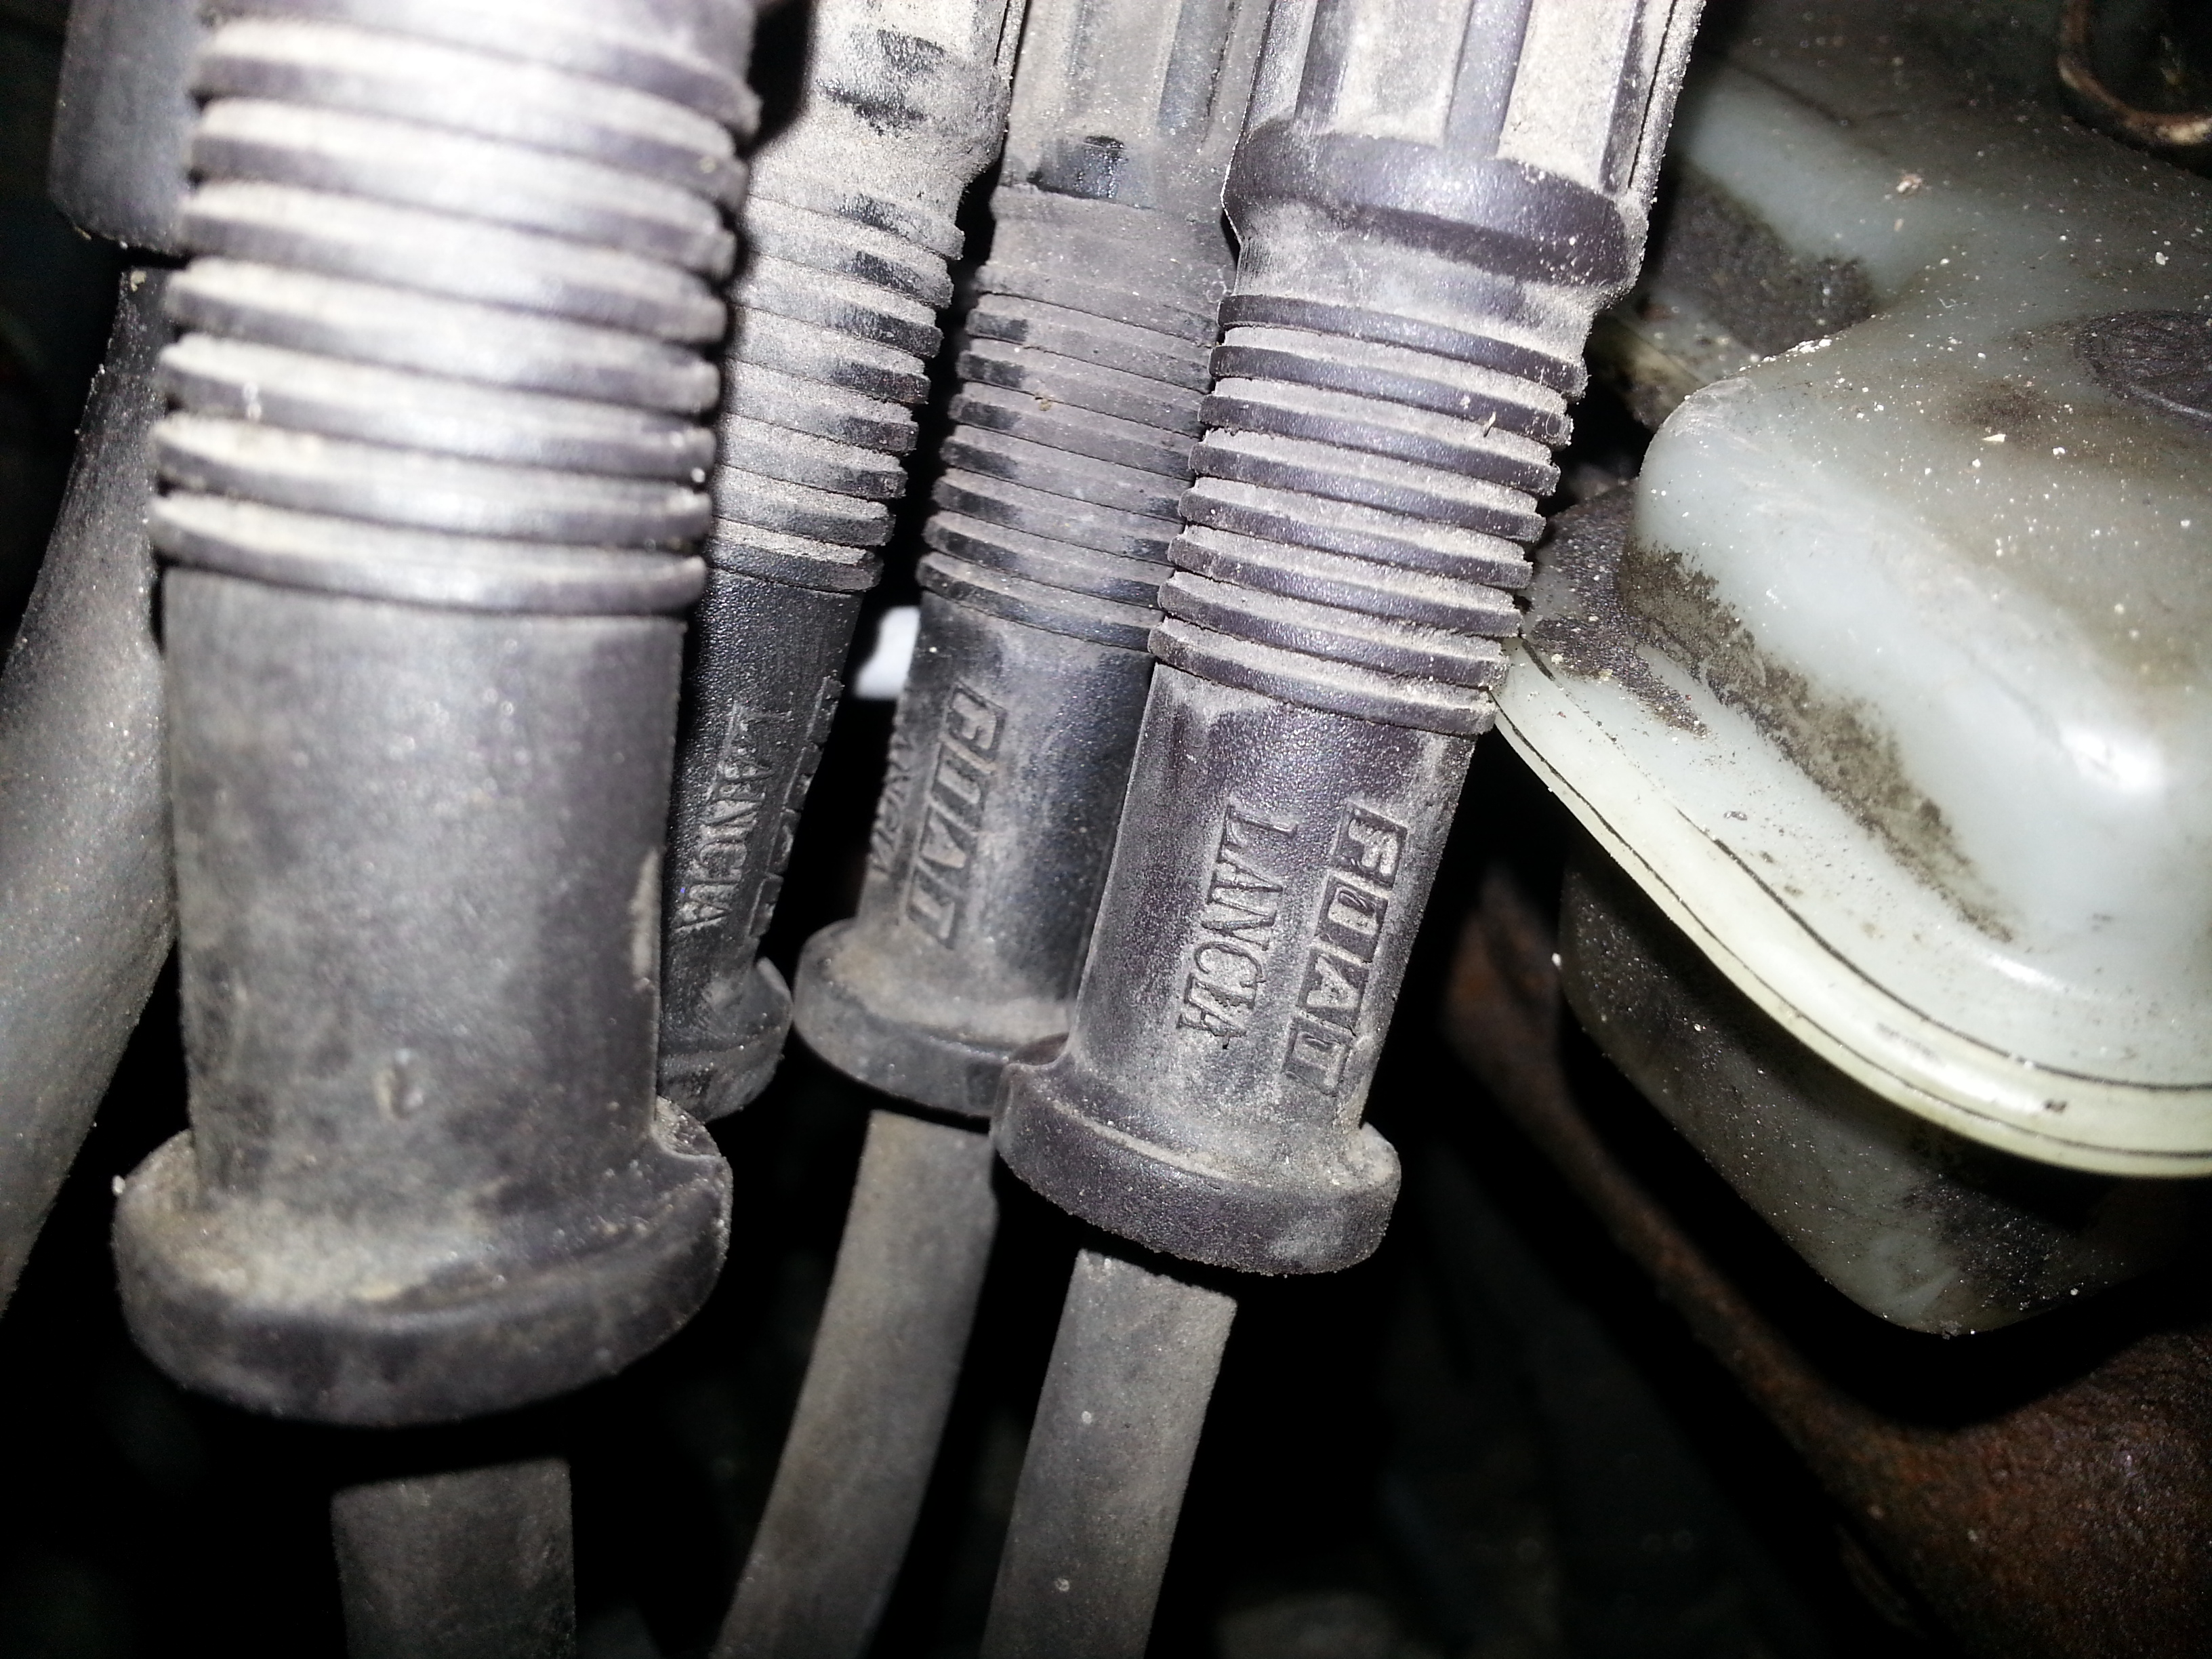
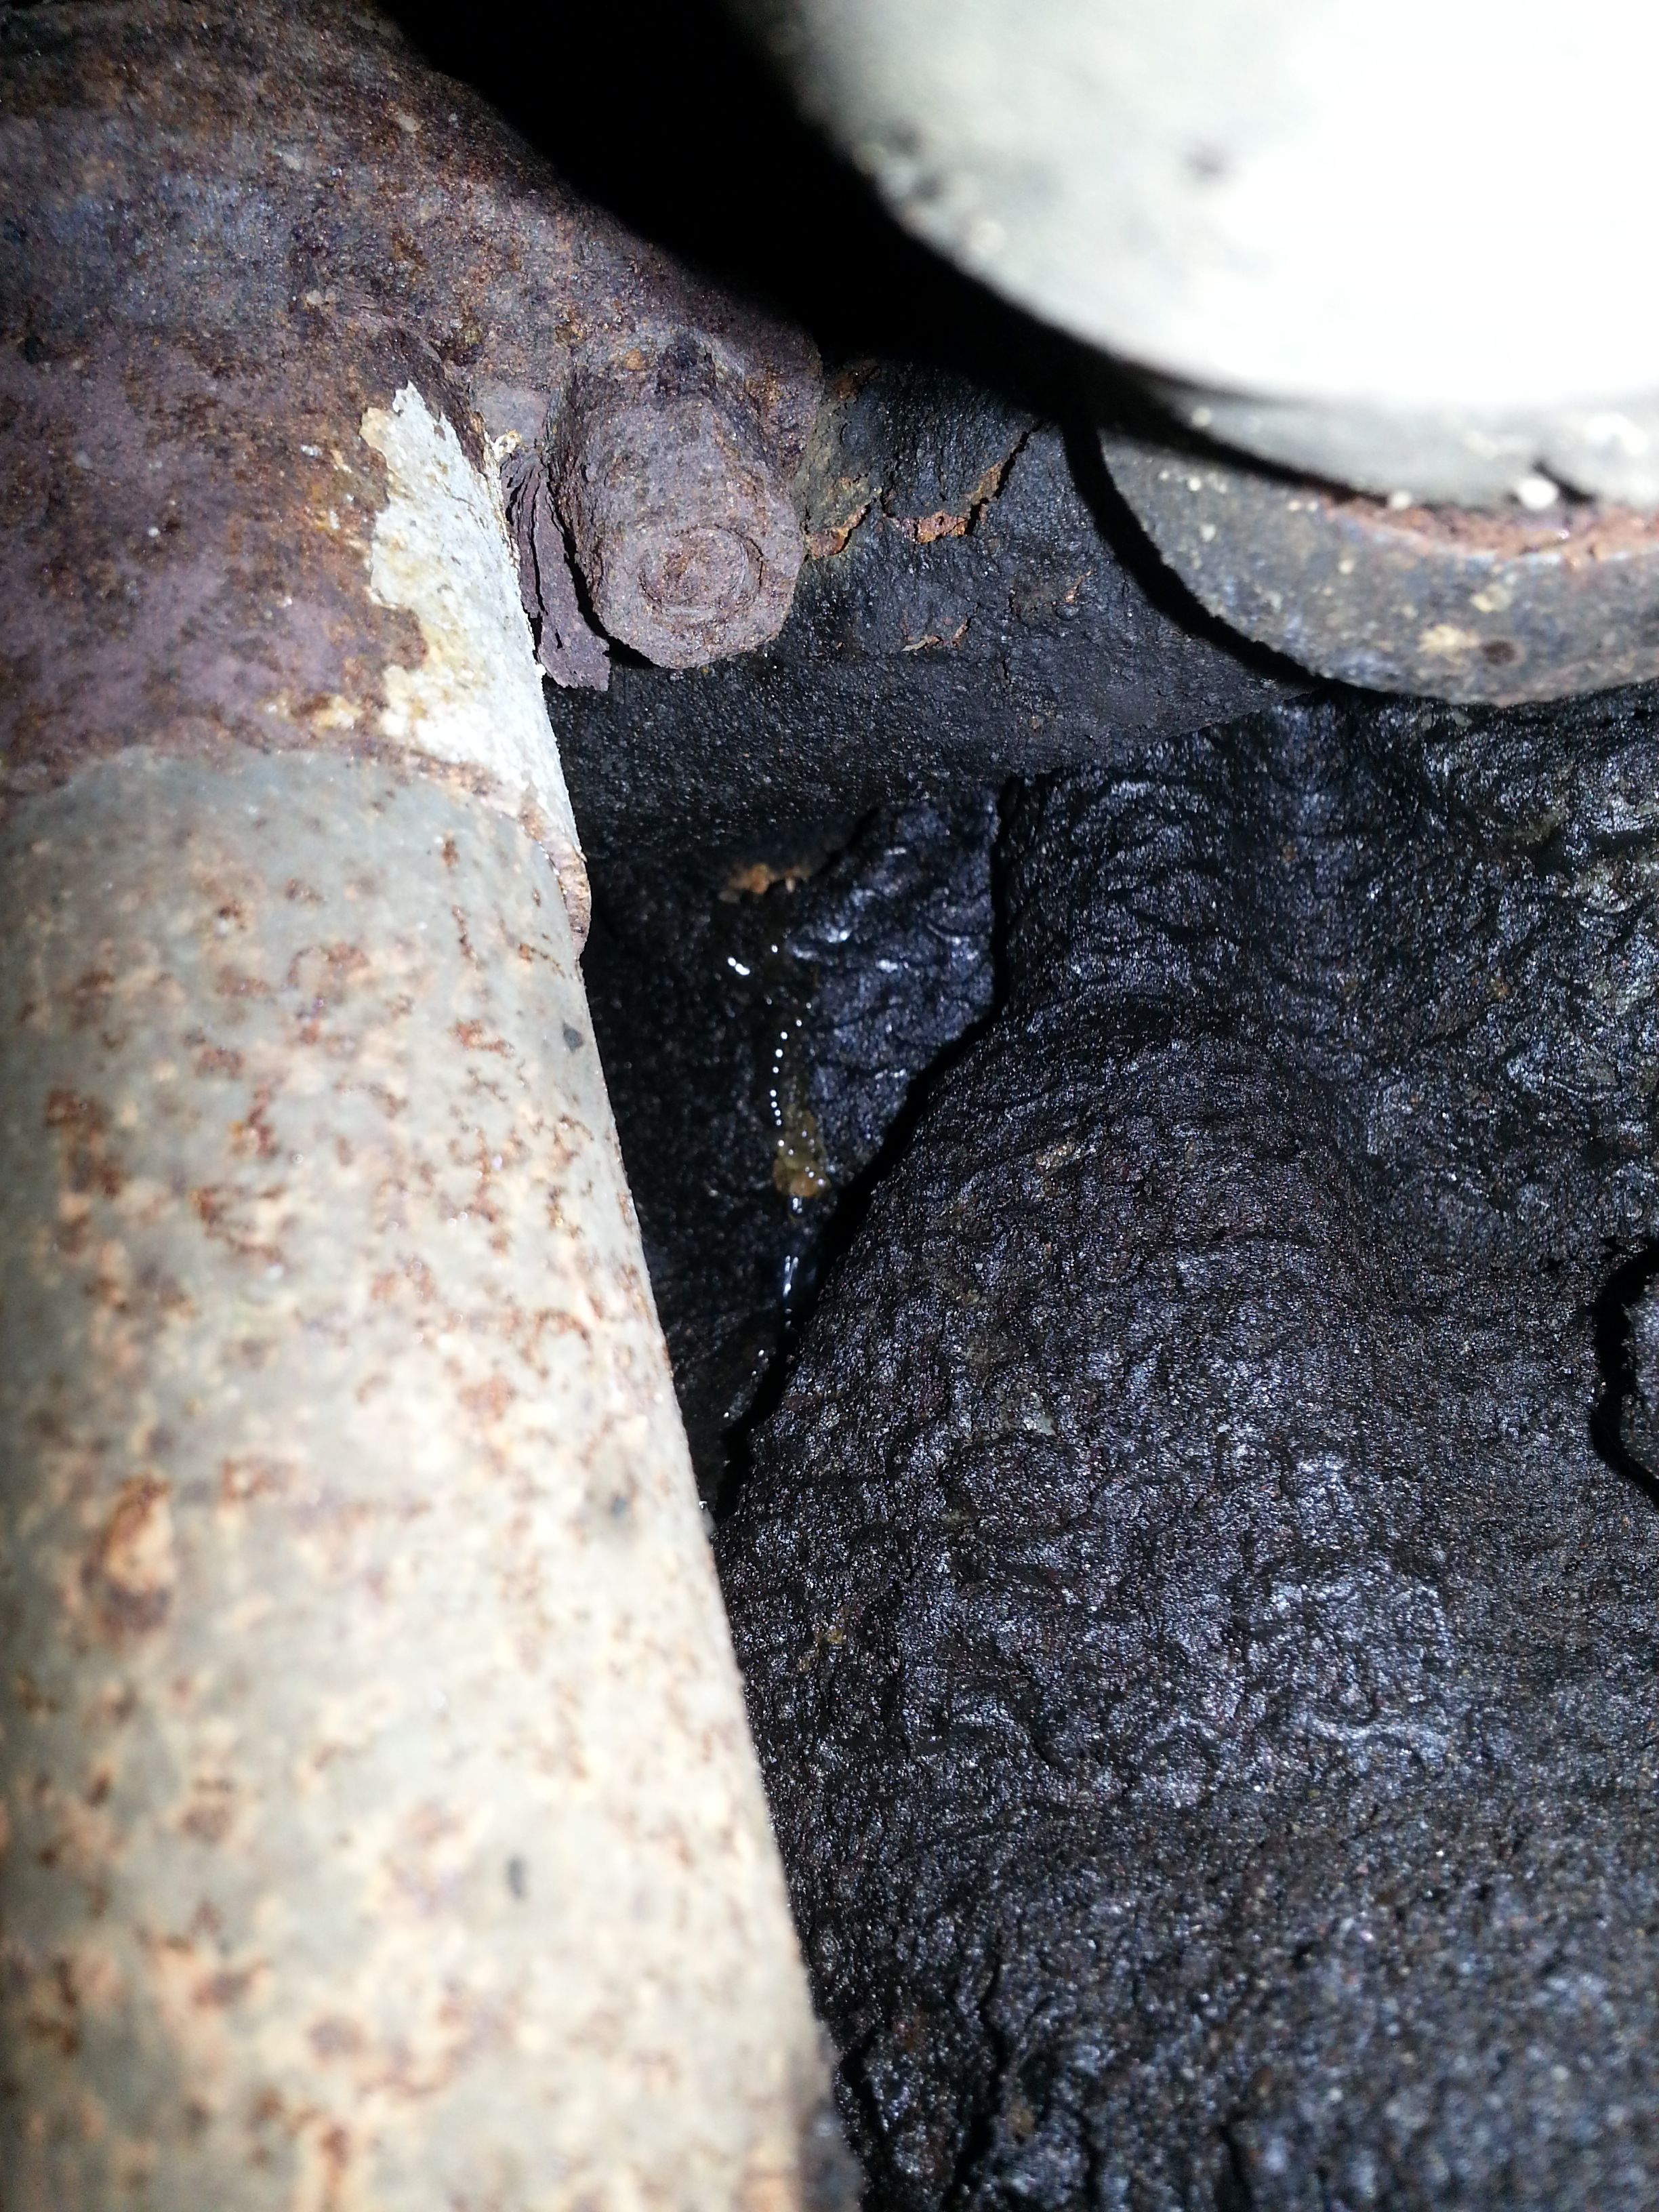
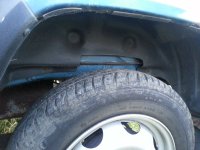
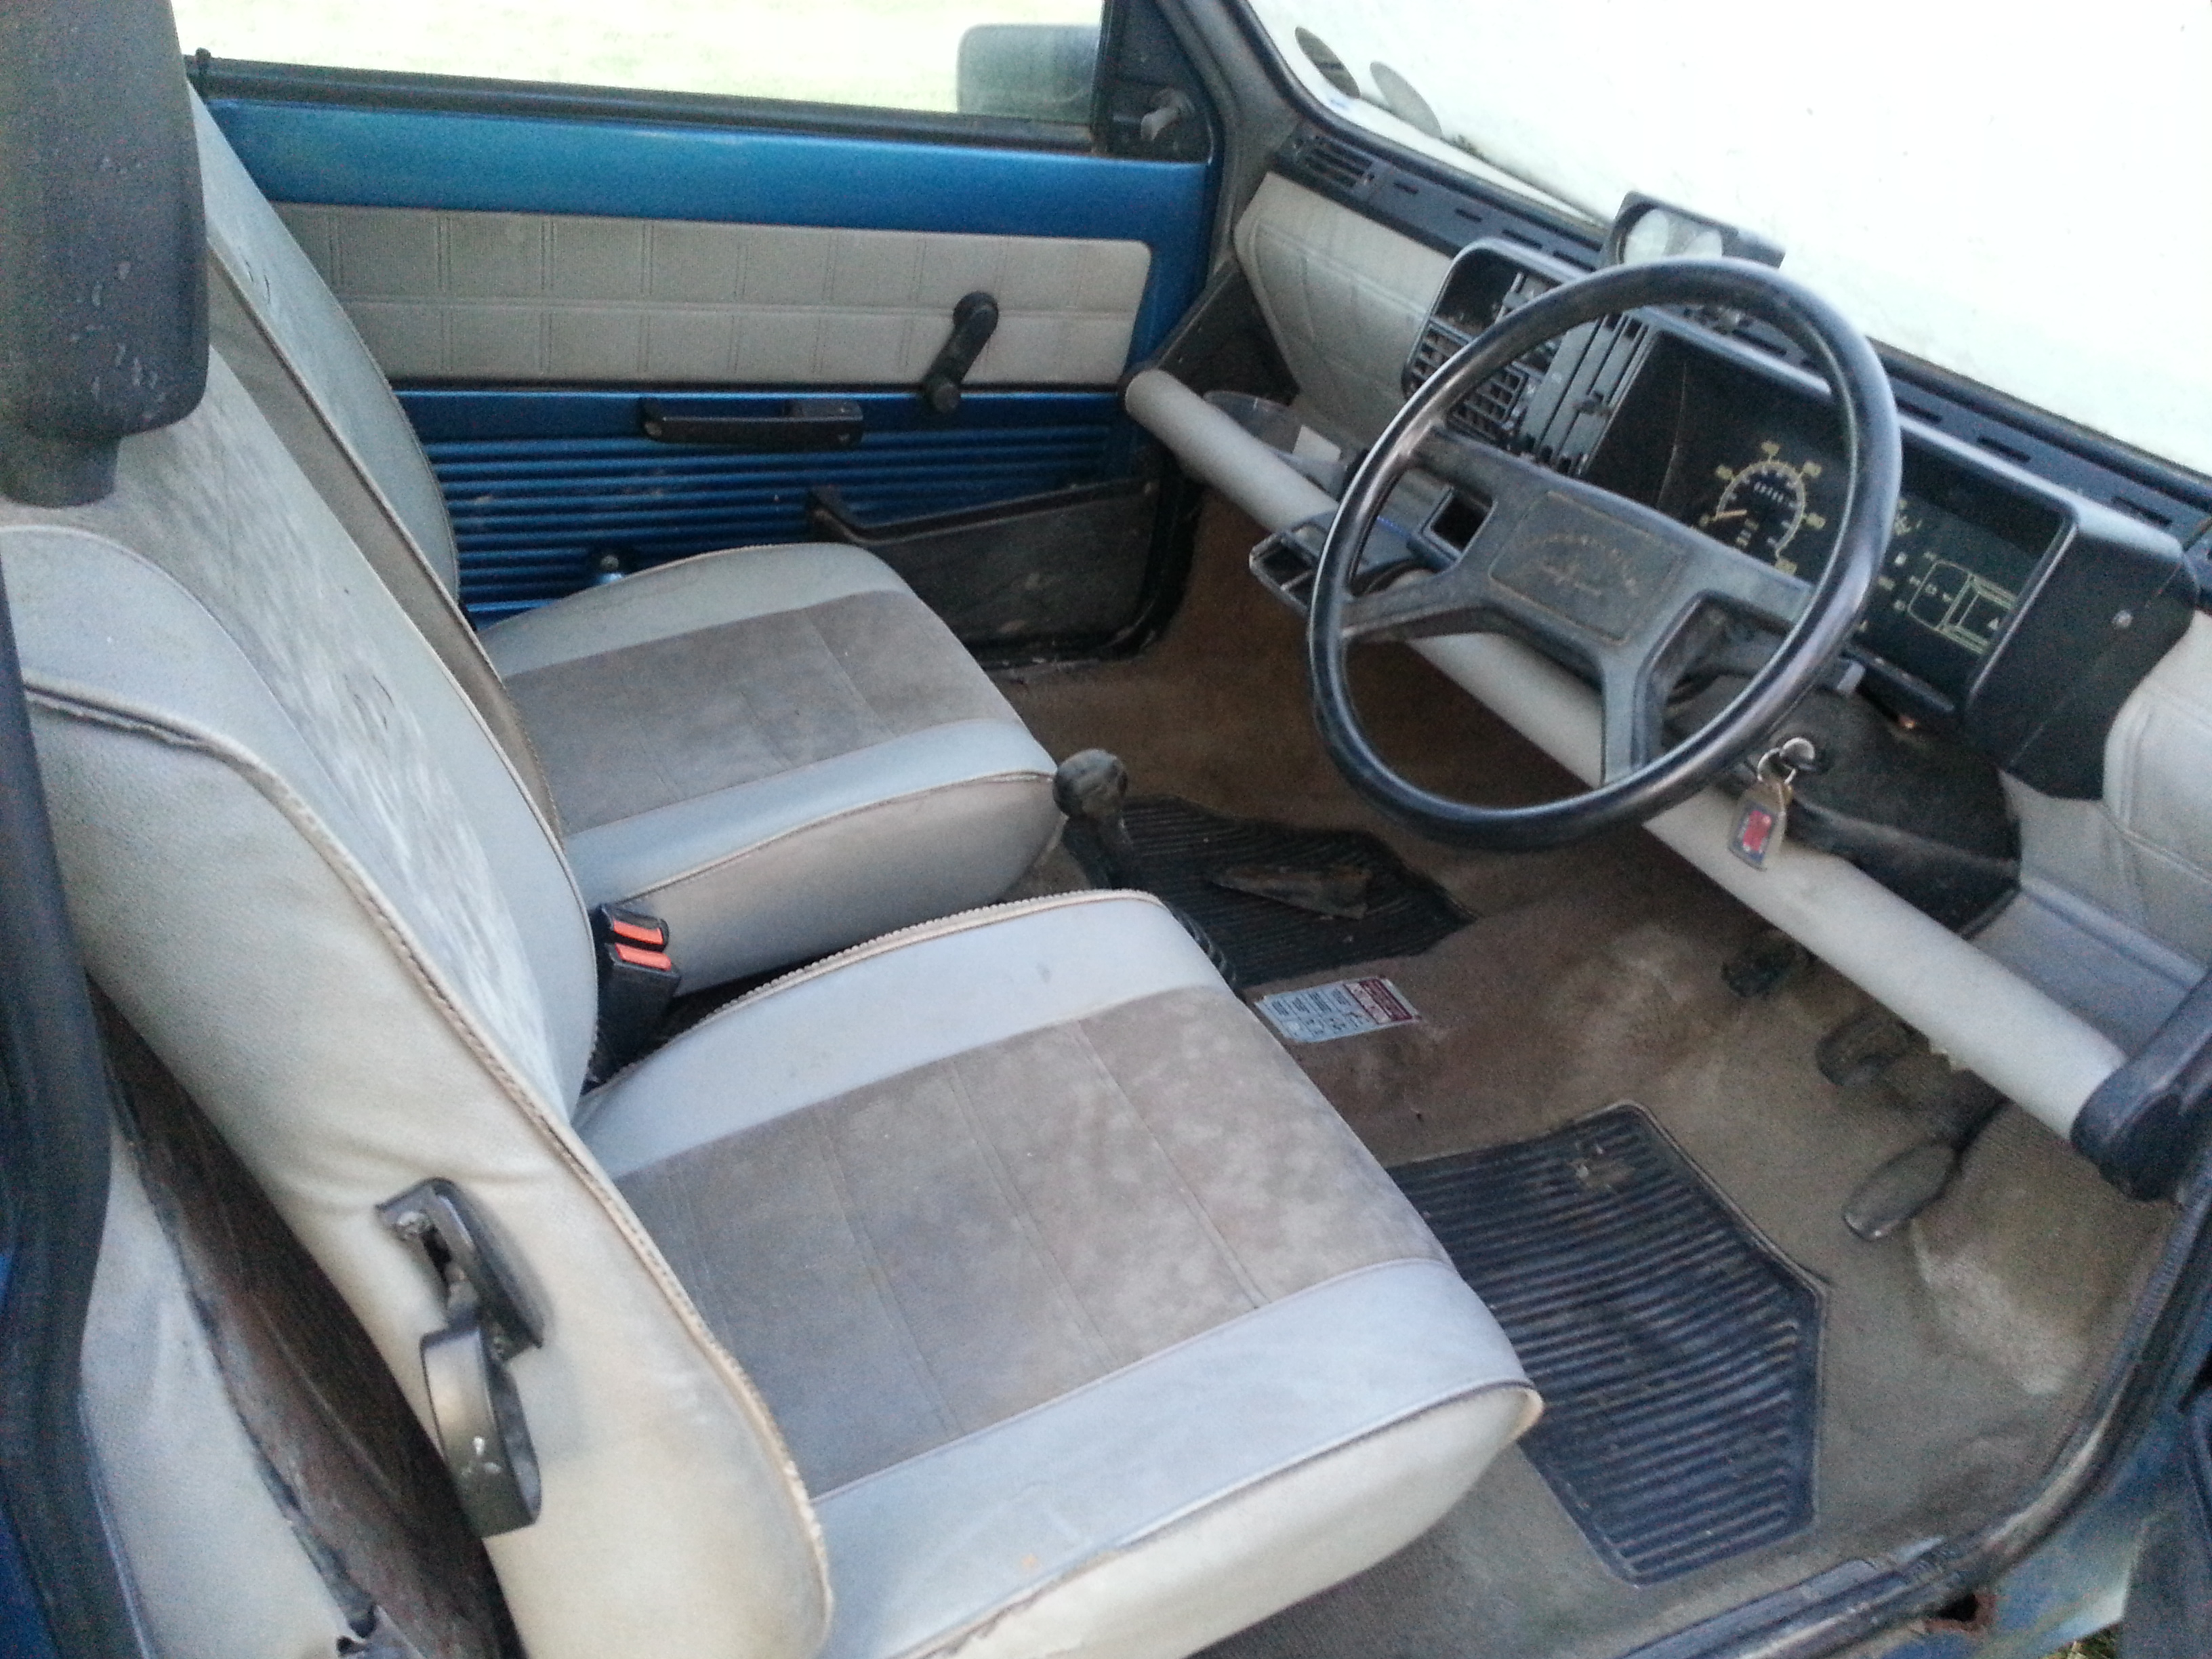
Having a quick look round the other usual areas, she seems to be in good condition in all, although I want to get in there with an old screwdriver to make sure...

I'll keep the progress updated as it is made.
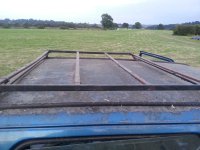
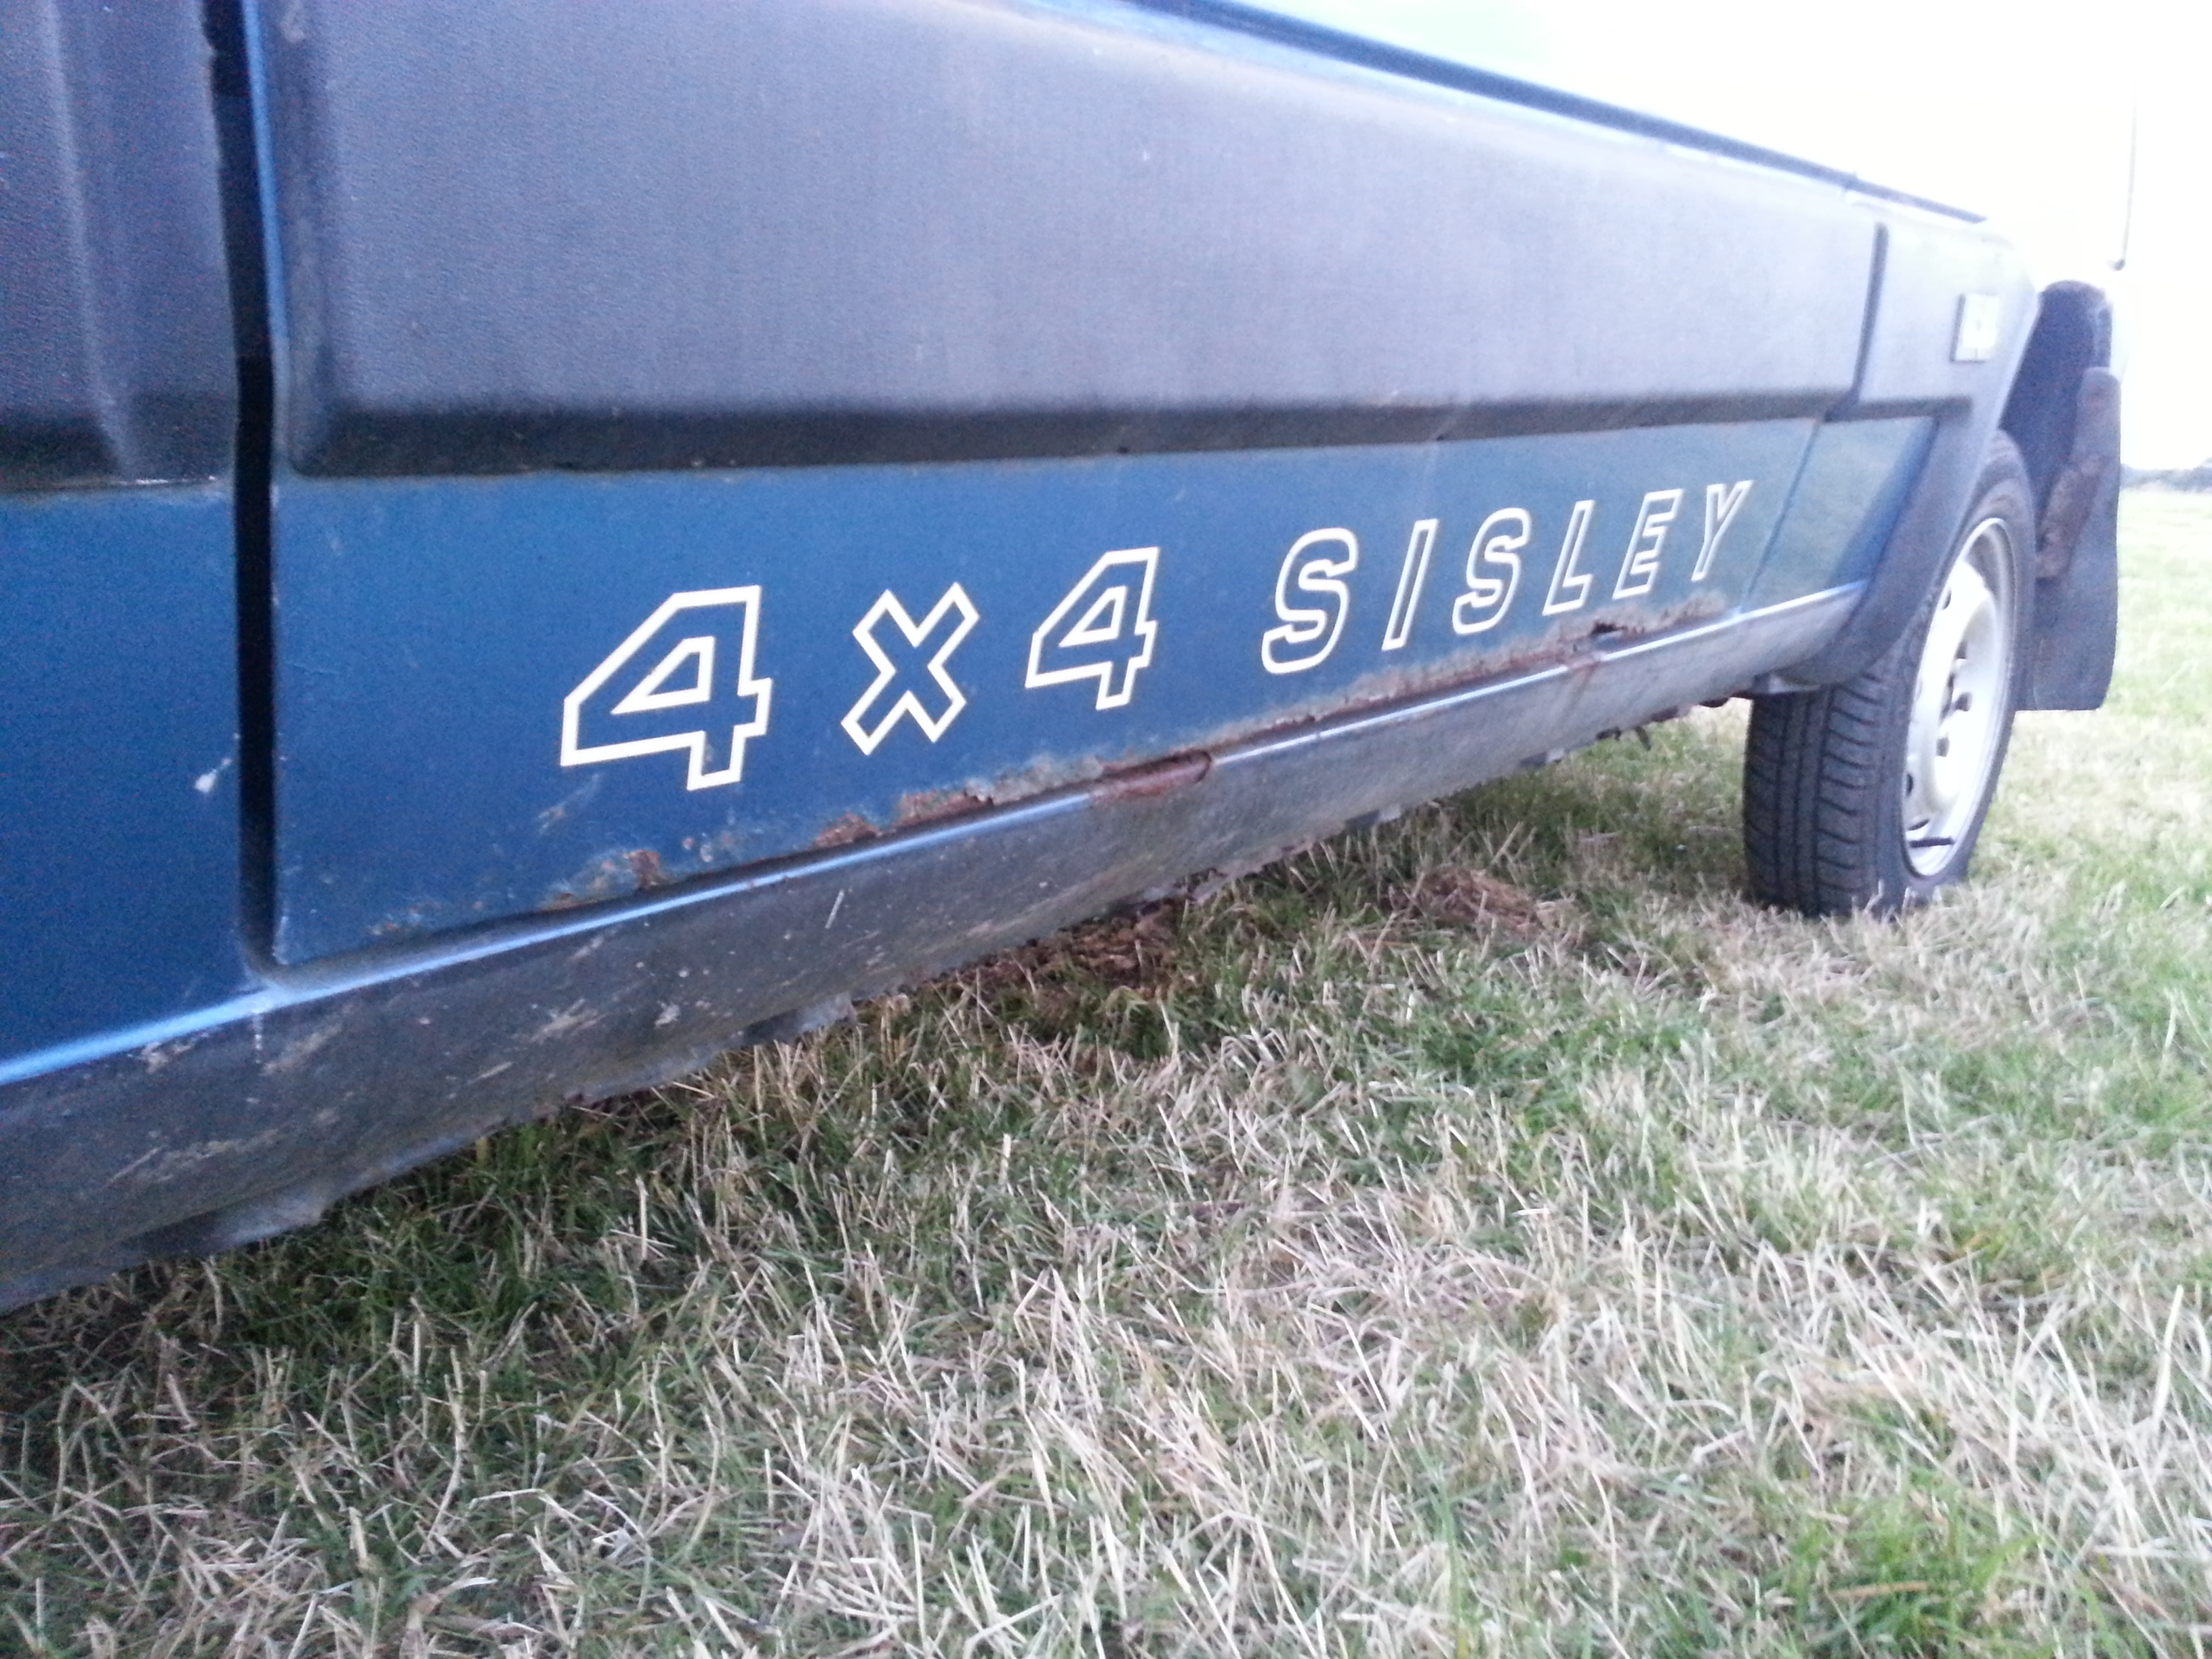
The majority of Sisley parts are present on this one, including the roof rack which is rusty but suprisingly solid...

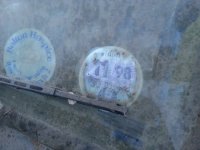
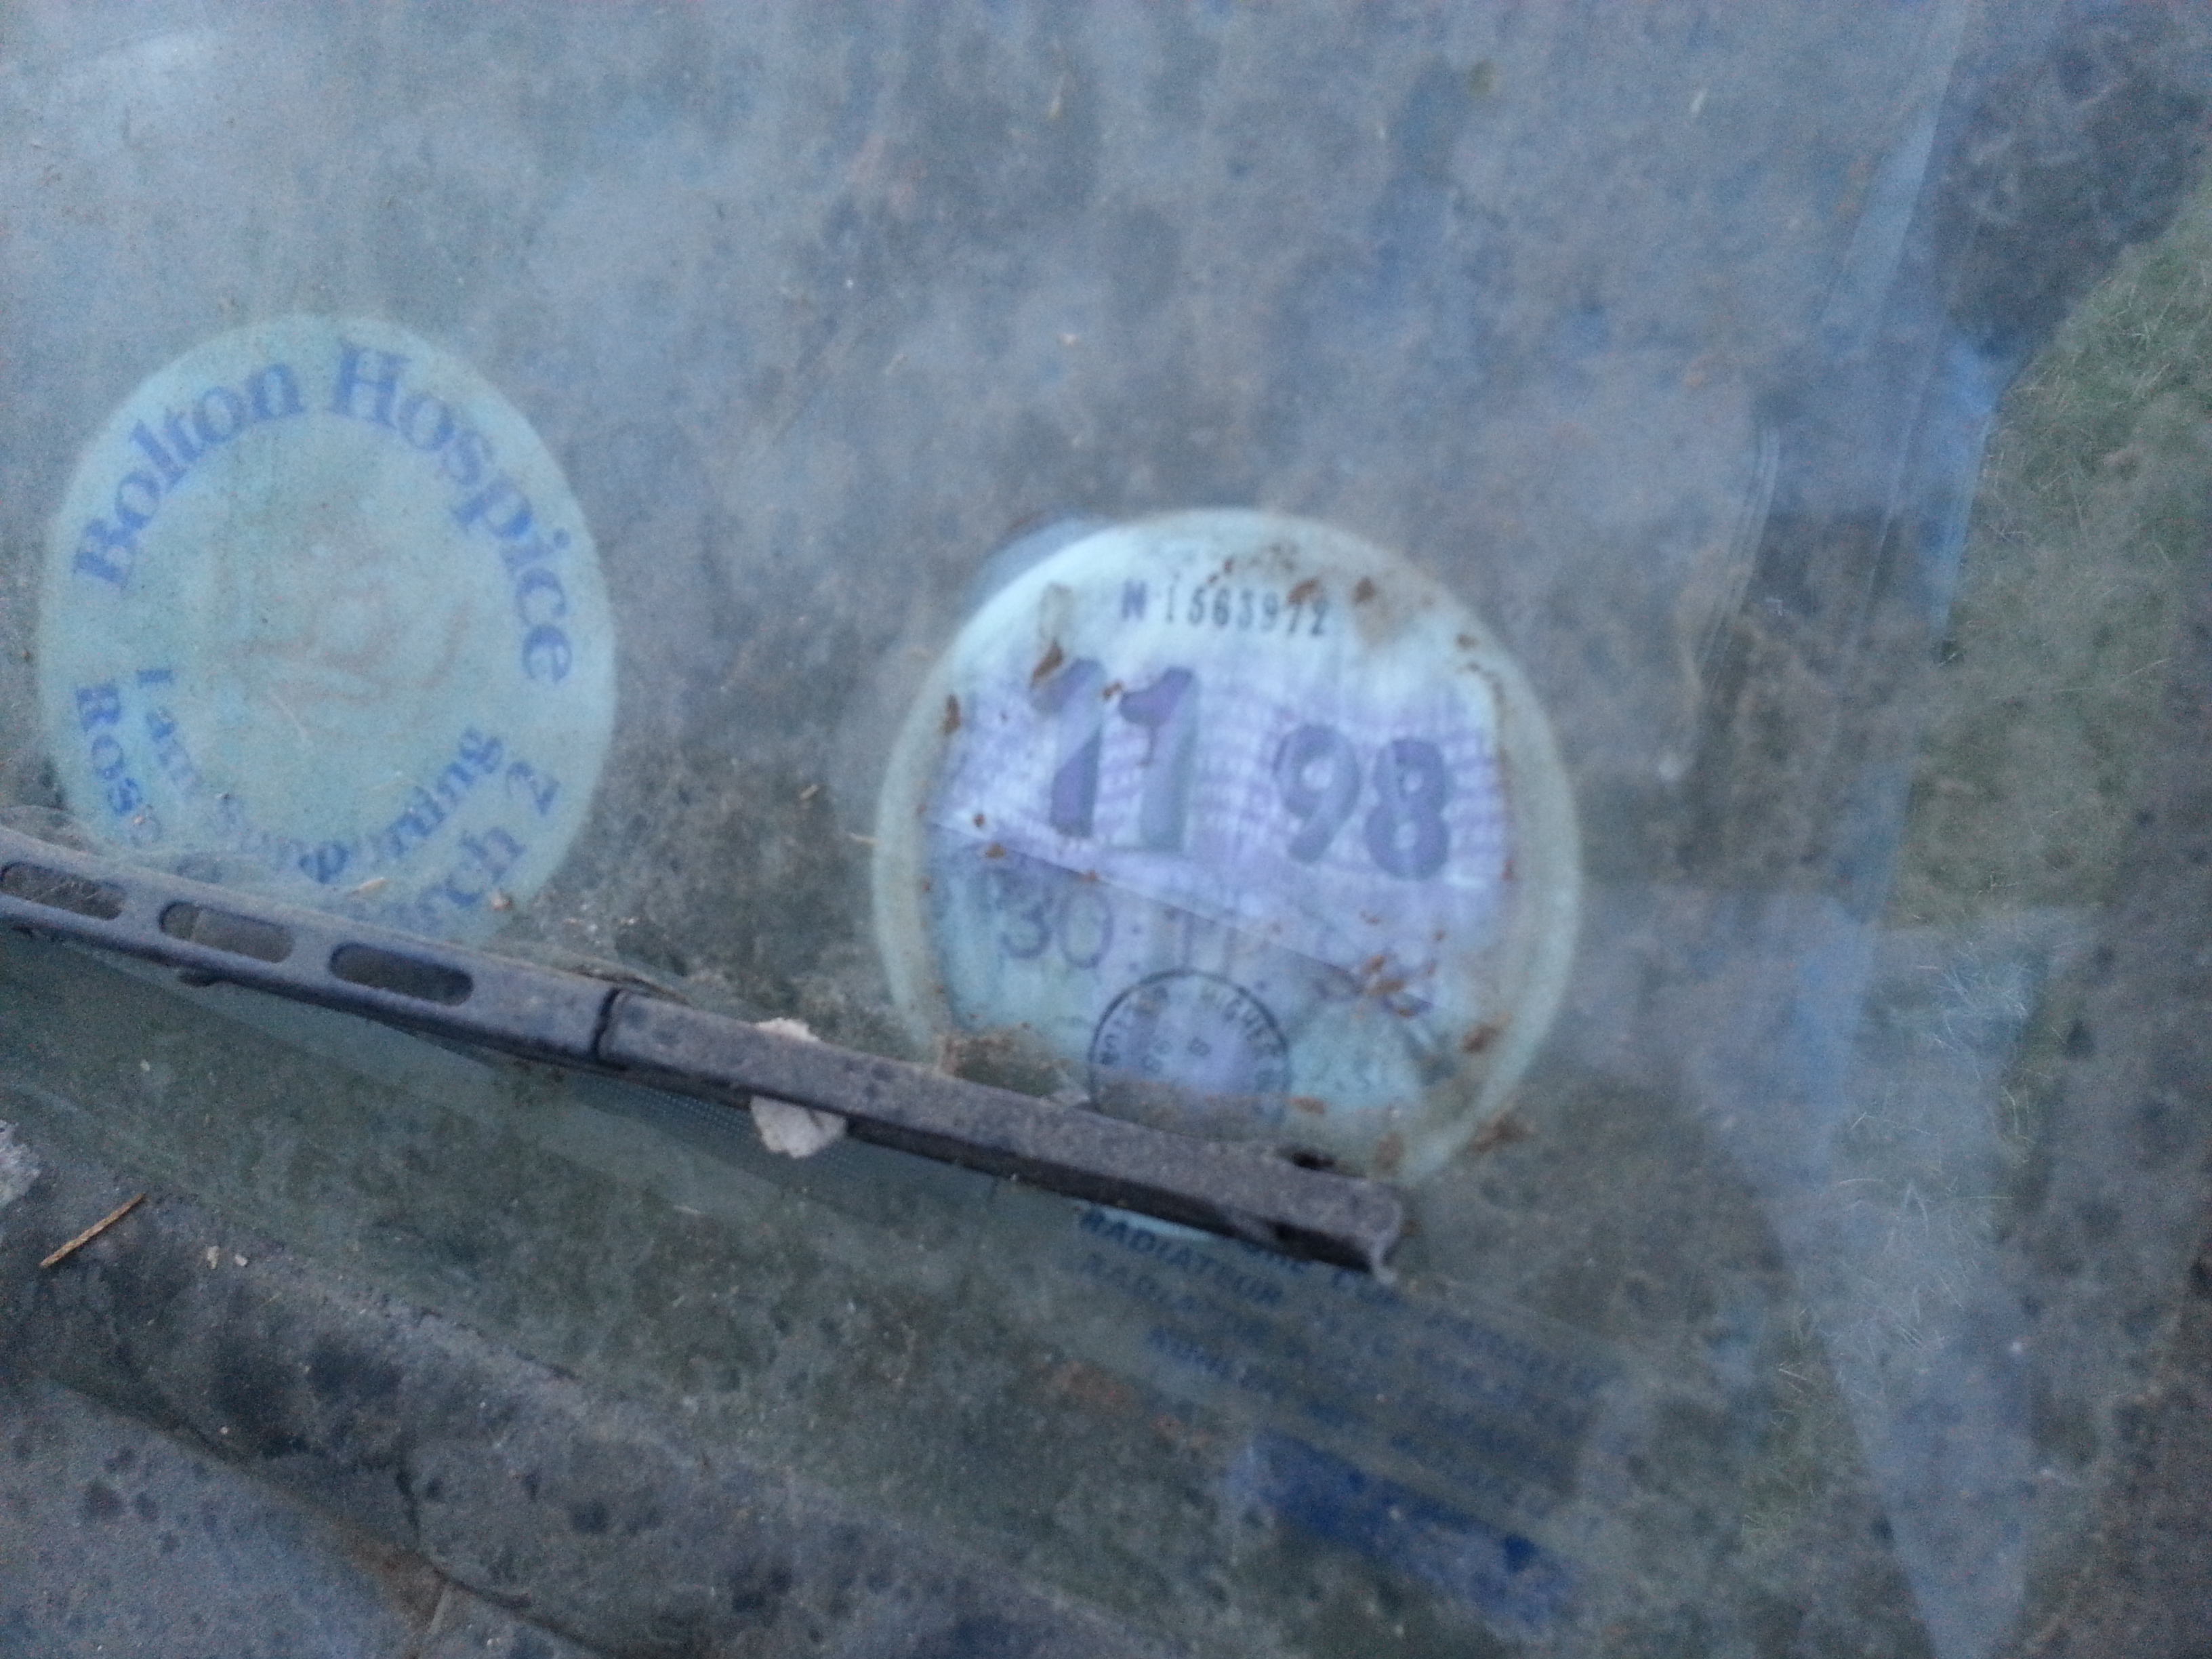
and then there's this, whether it is true or not...
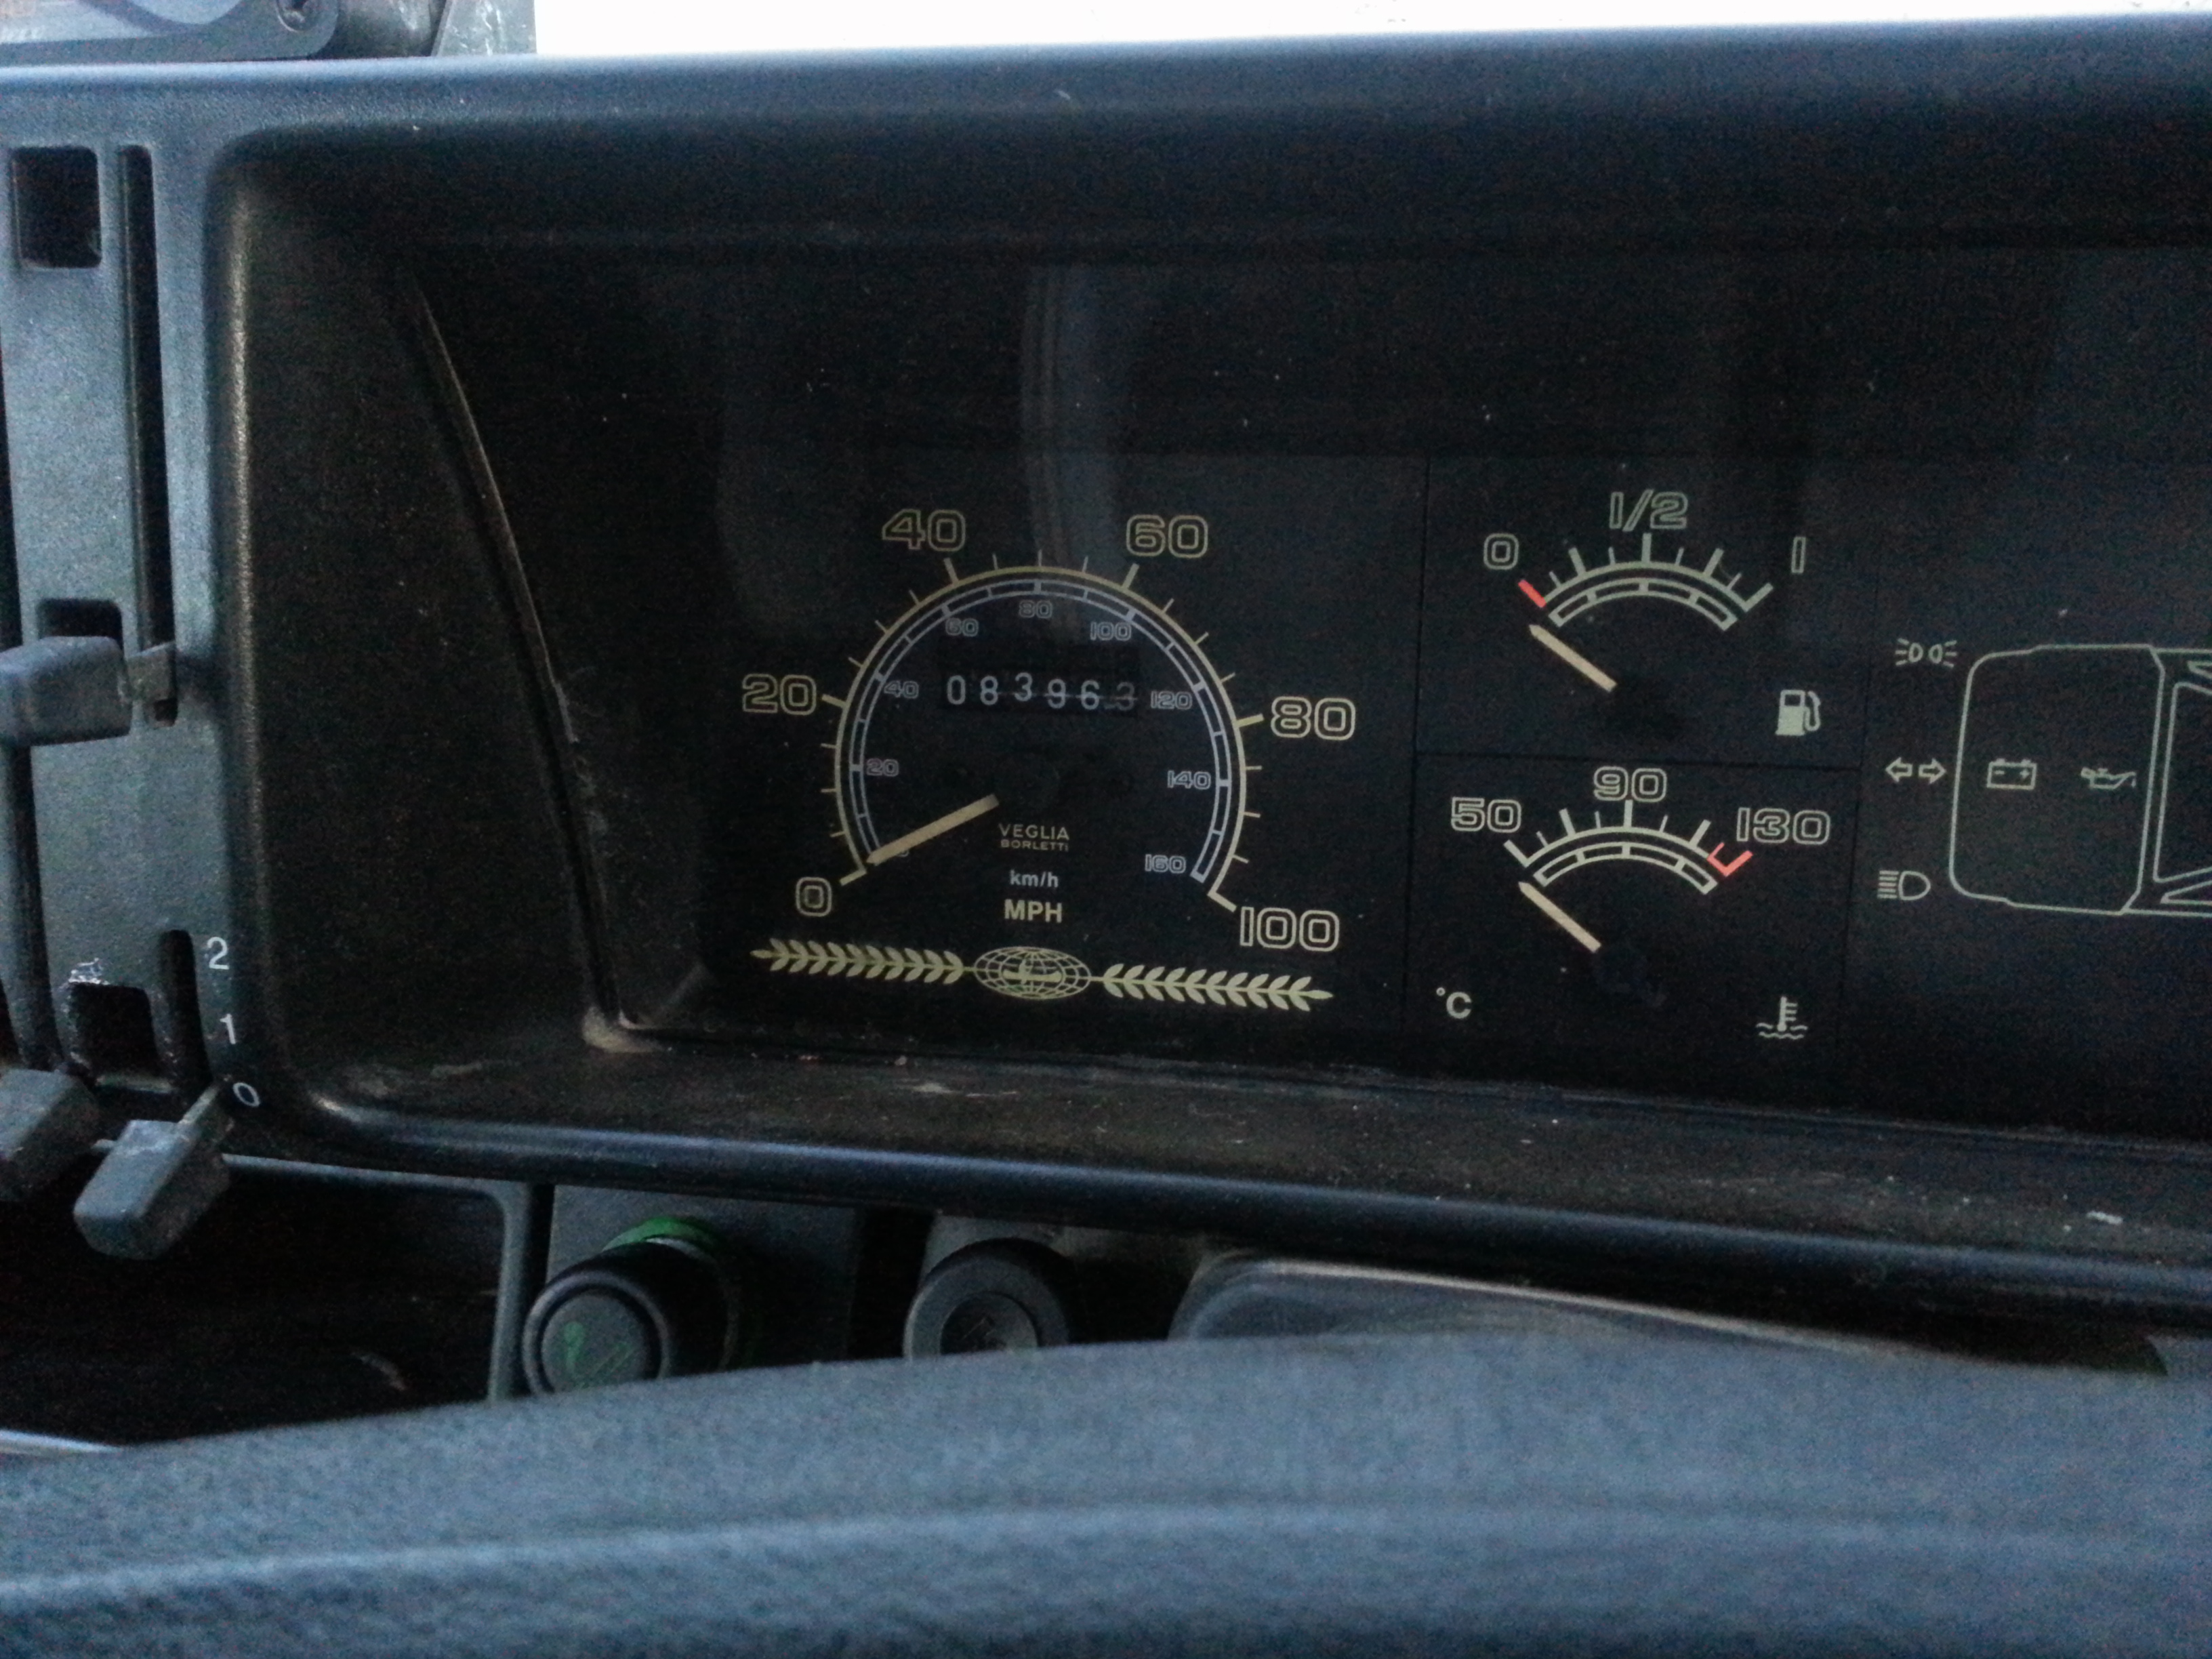
So she's with us now, first target for me is to get her running (after a good wash), so then I don't have to push it in and out of the workshop! Wish me luck, and I will report back")
As this is an introduction to the car aswell as a progress thread, I'll be taking the story forward from the point where I've started, plus hopefully finding out a bit of her past.
Monica (now named) has been amongst a couple of forum members now, where she has been dry stored for the past few years. David aquamarine got her at first, then she was moved a bit further north to Paul doctyler where she was due for a re-shell into his black 2wd chassis. Paul told me that he currently doesn't have enough time to complete the project, and has his sights on other projects at present, so he asked if I would like to have a go at this one...
As I've only had a brief look over her at present, she is still wearing her coat of storage dust for the pictures...
Paul had been very helpful as always by dragging her out of the store for us to load up.
Originally she was due to be stripped for the drivetrain and running gear plus Sisley specifics for a reshell into a 2wd car as I have said, but we've had a look round her and to be honest I'm happy initially to get her back on the road. The idea of a reshell would be just right for a car like this, but it's something that would take me a long time to get finished - and with the current projects I have on the go it would take even longer!
My idea with Monica is for a basic repair and restore, and a return to the road. Then all being well she will be introducing a new member to our forum in the shape of Sam, our photographer and un-scared Discovery driver from the last Yorkshire weekend, whom most of you met. Sam came along to collect her and have a look with me...
The work required is fairly common Panda stuff.
She doesn't run, Paul suspects an earth fault - I'll get a decent battery and we'll go from there.
Doors... yep need them...
Yes that is expanding foam in the driver's door!
Welding to the footplates inside the doors...
Buff can donate these sections for replacement, his are just fine.
Looking at the sills, they appear to be in fair condition! A little bit of flaking here and there, but solid nonetheless...
Having a quick look round the other usual areas, she seems to be in good condition in all, although I want to get in there with an old screwdriver to make sure...
I'll keep the progress updated as it is made.
The majority of Sisley parts are present on this one, including the roof rack which is rusty but suprisingly solid...
and then there's this, whether it is true or not...
So she's with us now, first target for me is to get her running (after a good wash), so then I don't have to push it in and out of the workshop! Wish me luck, and I will report back