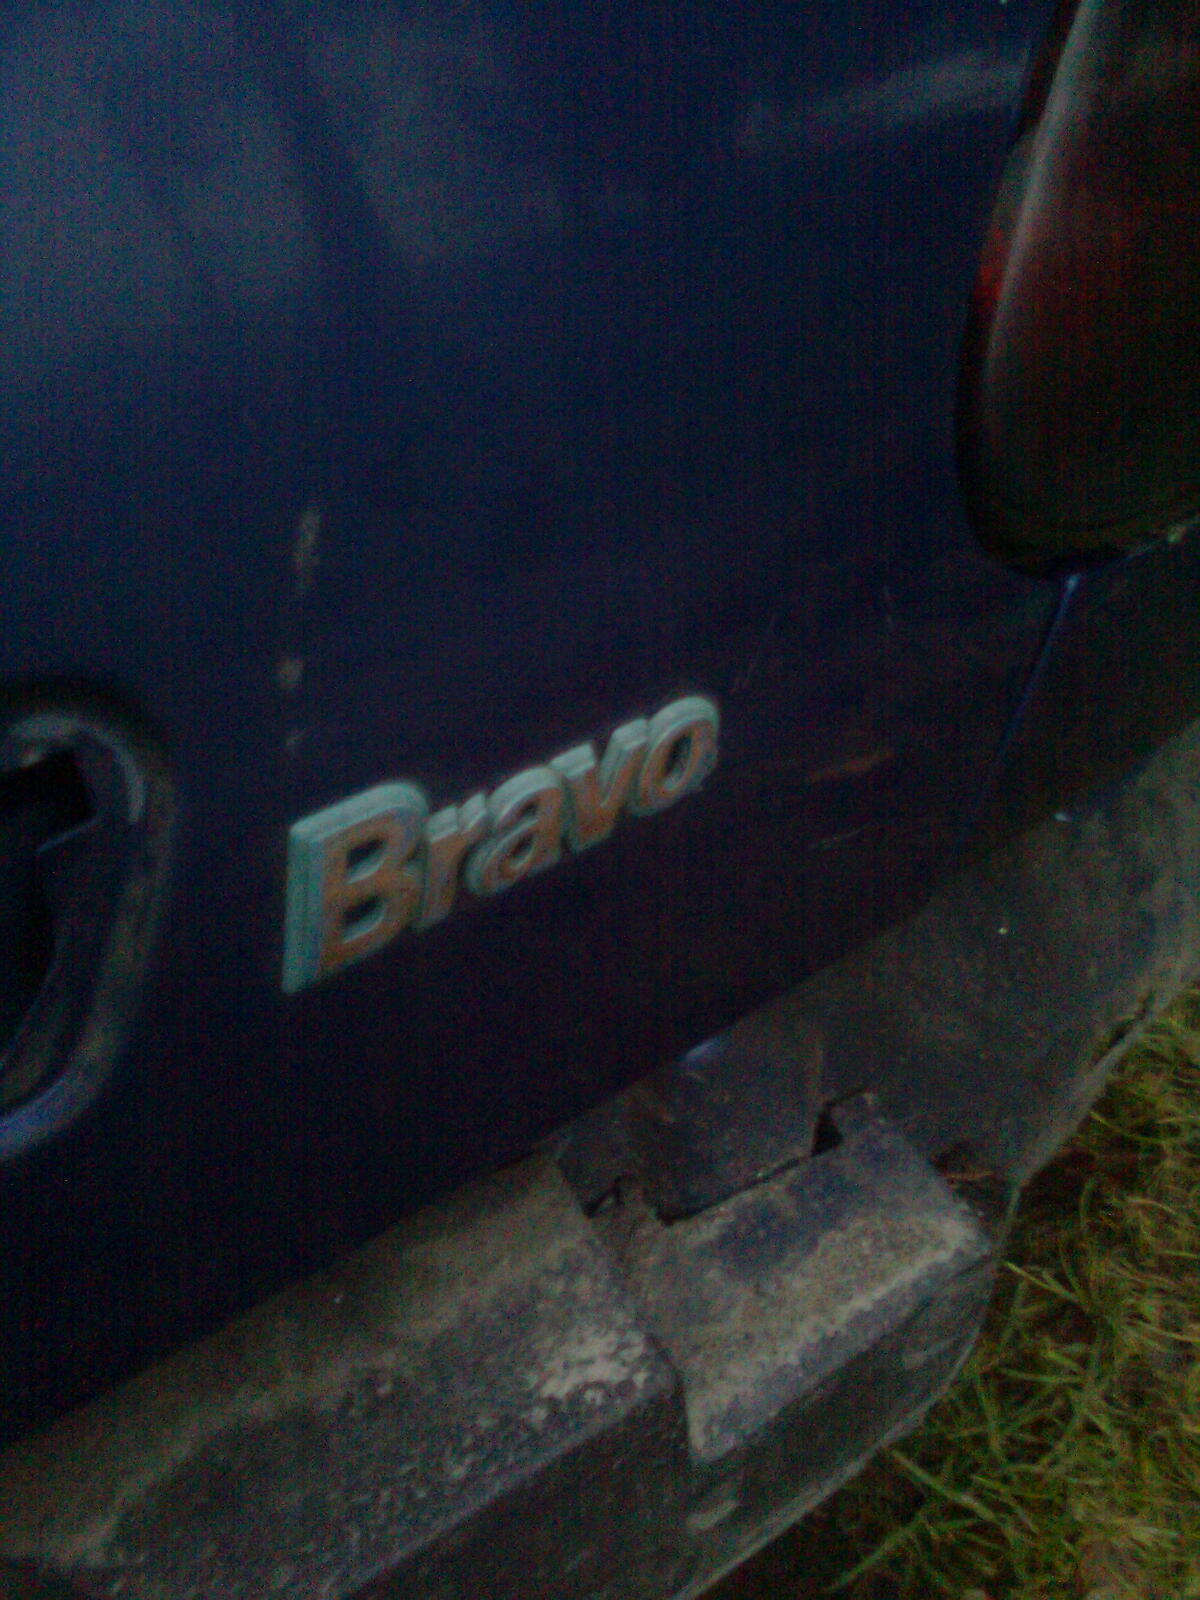
Image0159.jpg

Bravo (Classic) Van with a difference!!!.

Introduction

Heres the replacement for my highly abused yet extremely reliable Bravo.... Another Bravo (y) I'm moving up a year here :D Not going to be bitten like the last time, this is going to have a strip down and re-rustproof with a few bits to be thrown in too (copper lines all round are in the plans). Most importantly, this car is going to be converted to a van and painted black with some "toys" installed... More pics soon! :)

Image0159.jpg
  • Like
Reactions: Joshhh
exactly (y)

i saved mine from the scrap heap when my engine blew.Took me a year and a half to find an engine,find someone to fit ,get it mot'd, ins and taxed :) the long wait was worth it tho (y)
 
Update time!!

First things first, due to bad muscle fatigue (trust me the reason is, er.... :D ;) yeah that'll do!!!) I haven't got as much done as I wanted to (n) but I have a week to go cuckoo bananas on this car before college hols are up :D

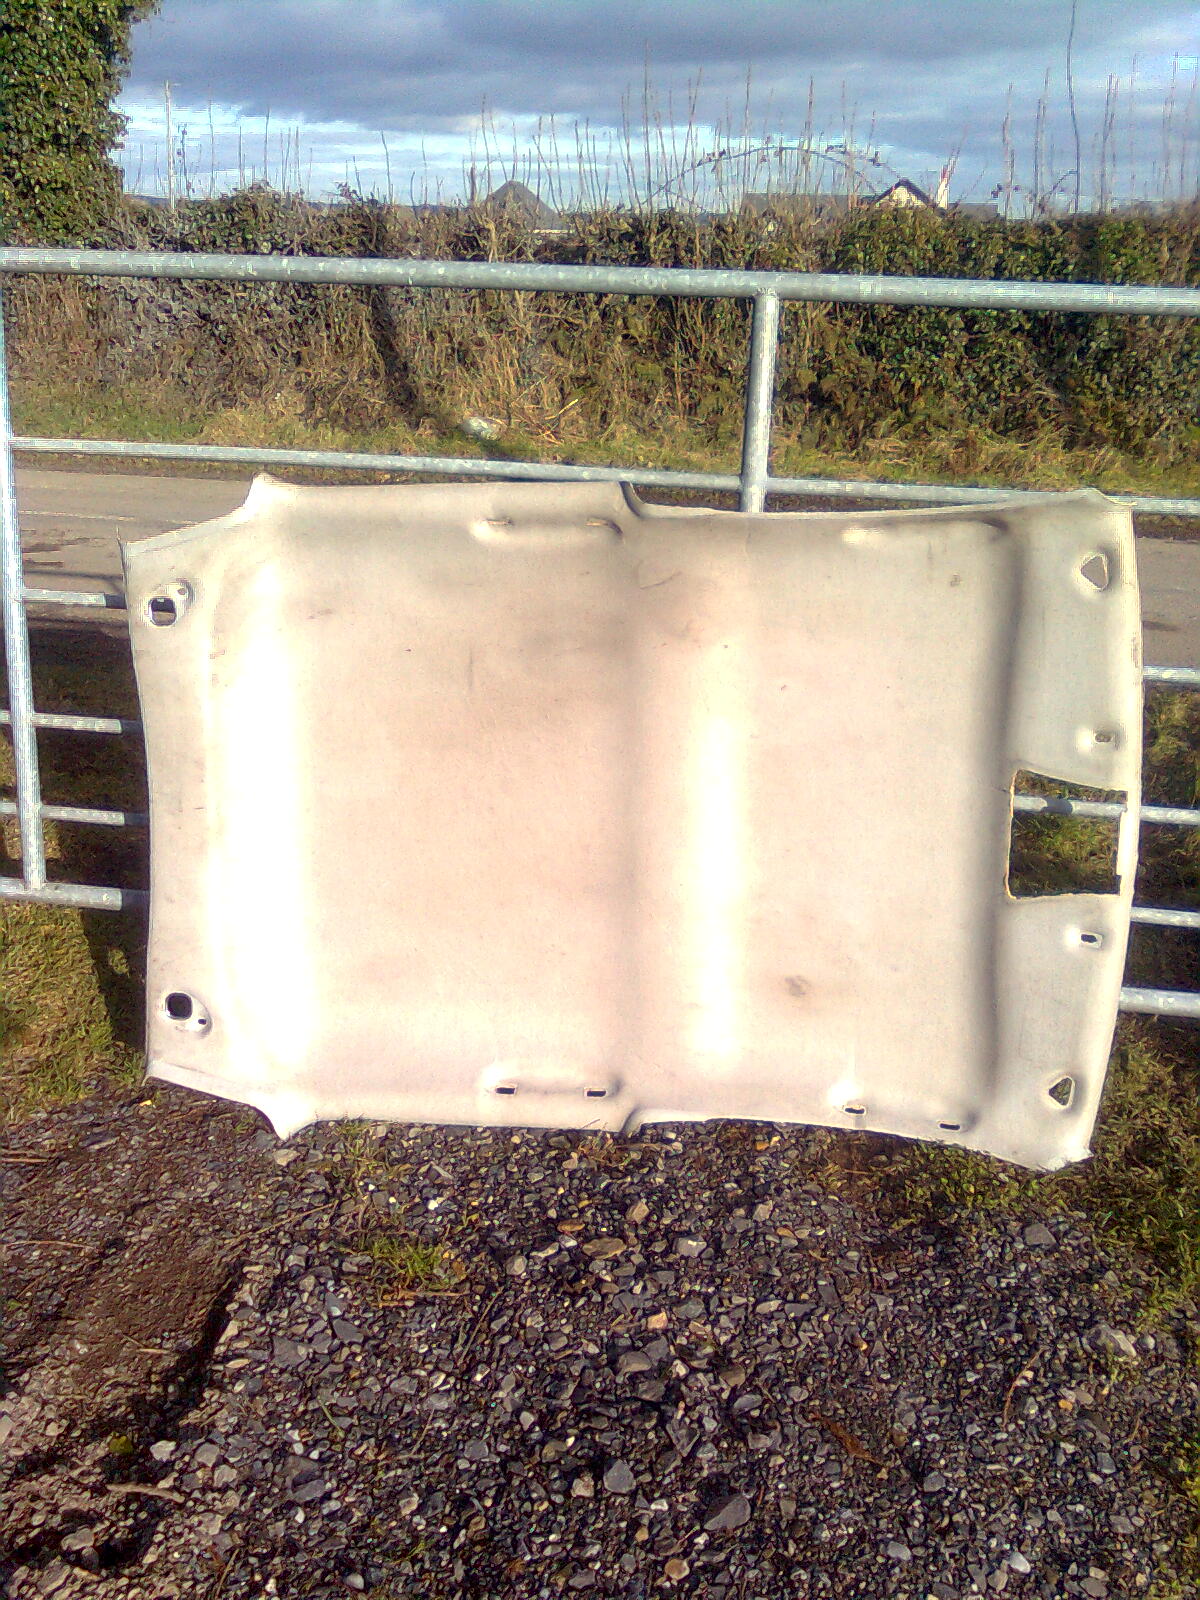
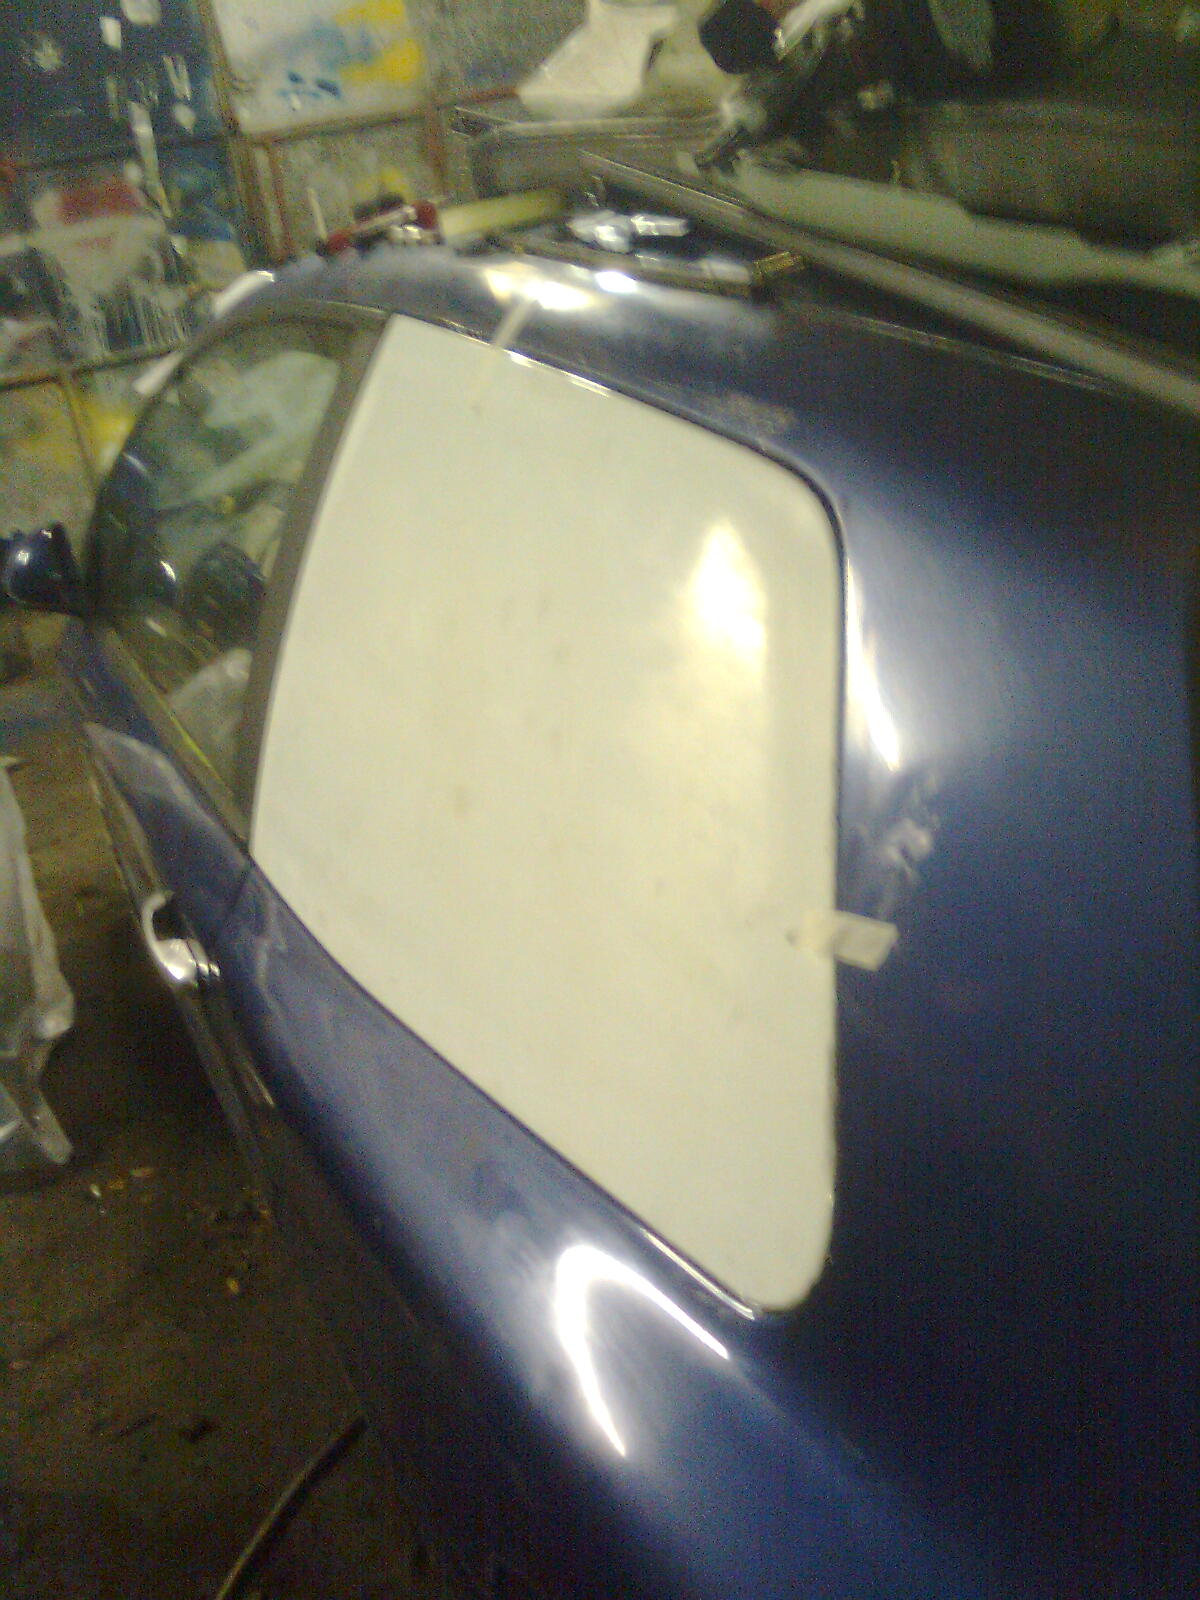
The rice krispies box is a mean solution to keep the damp out of the car when it rains :) or you'll end up with a very soggy carpet... :yuck:

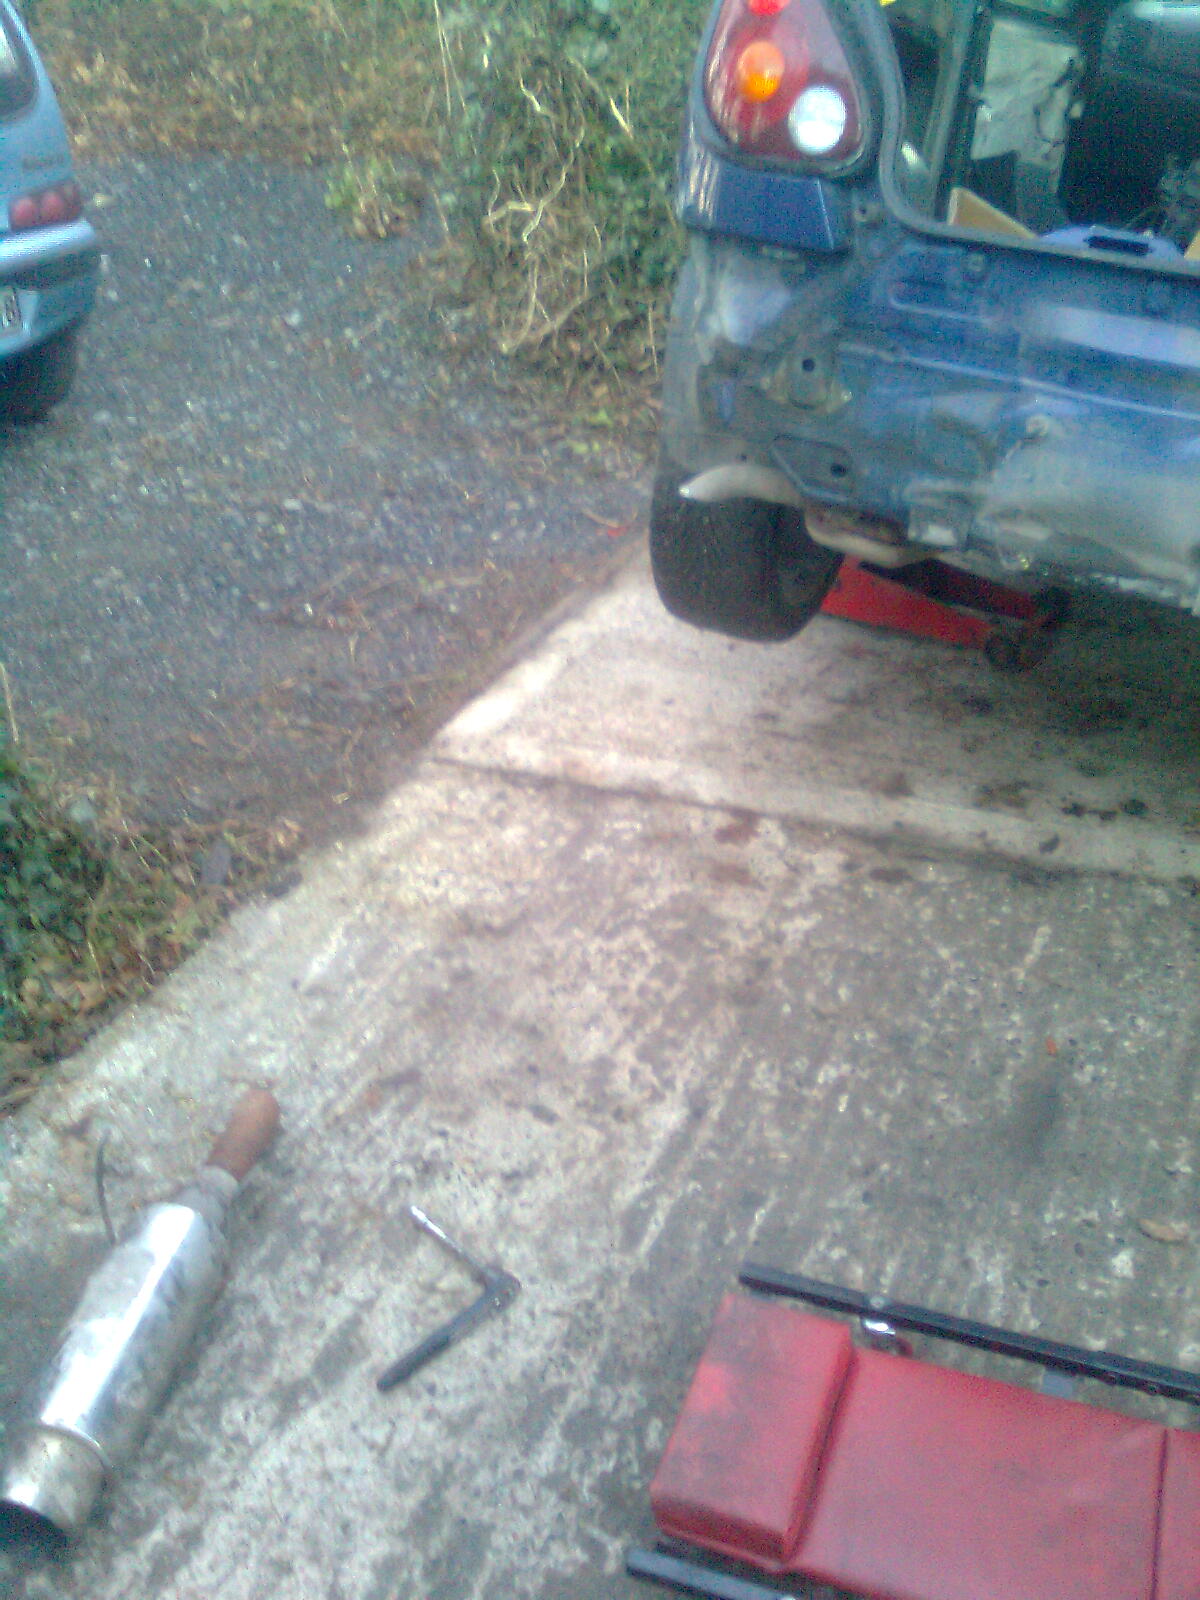
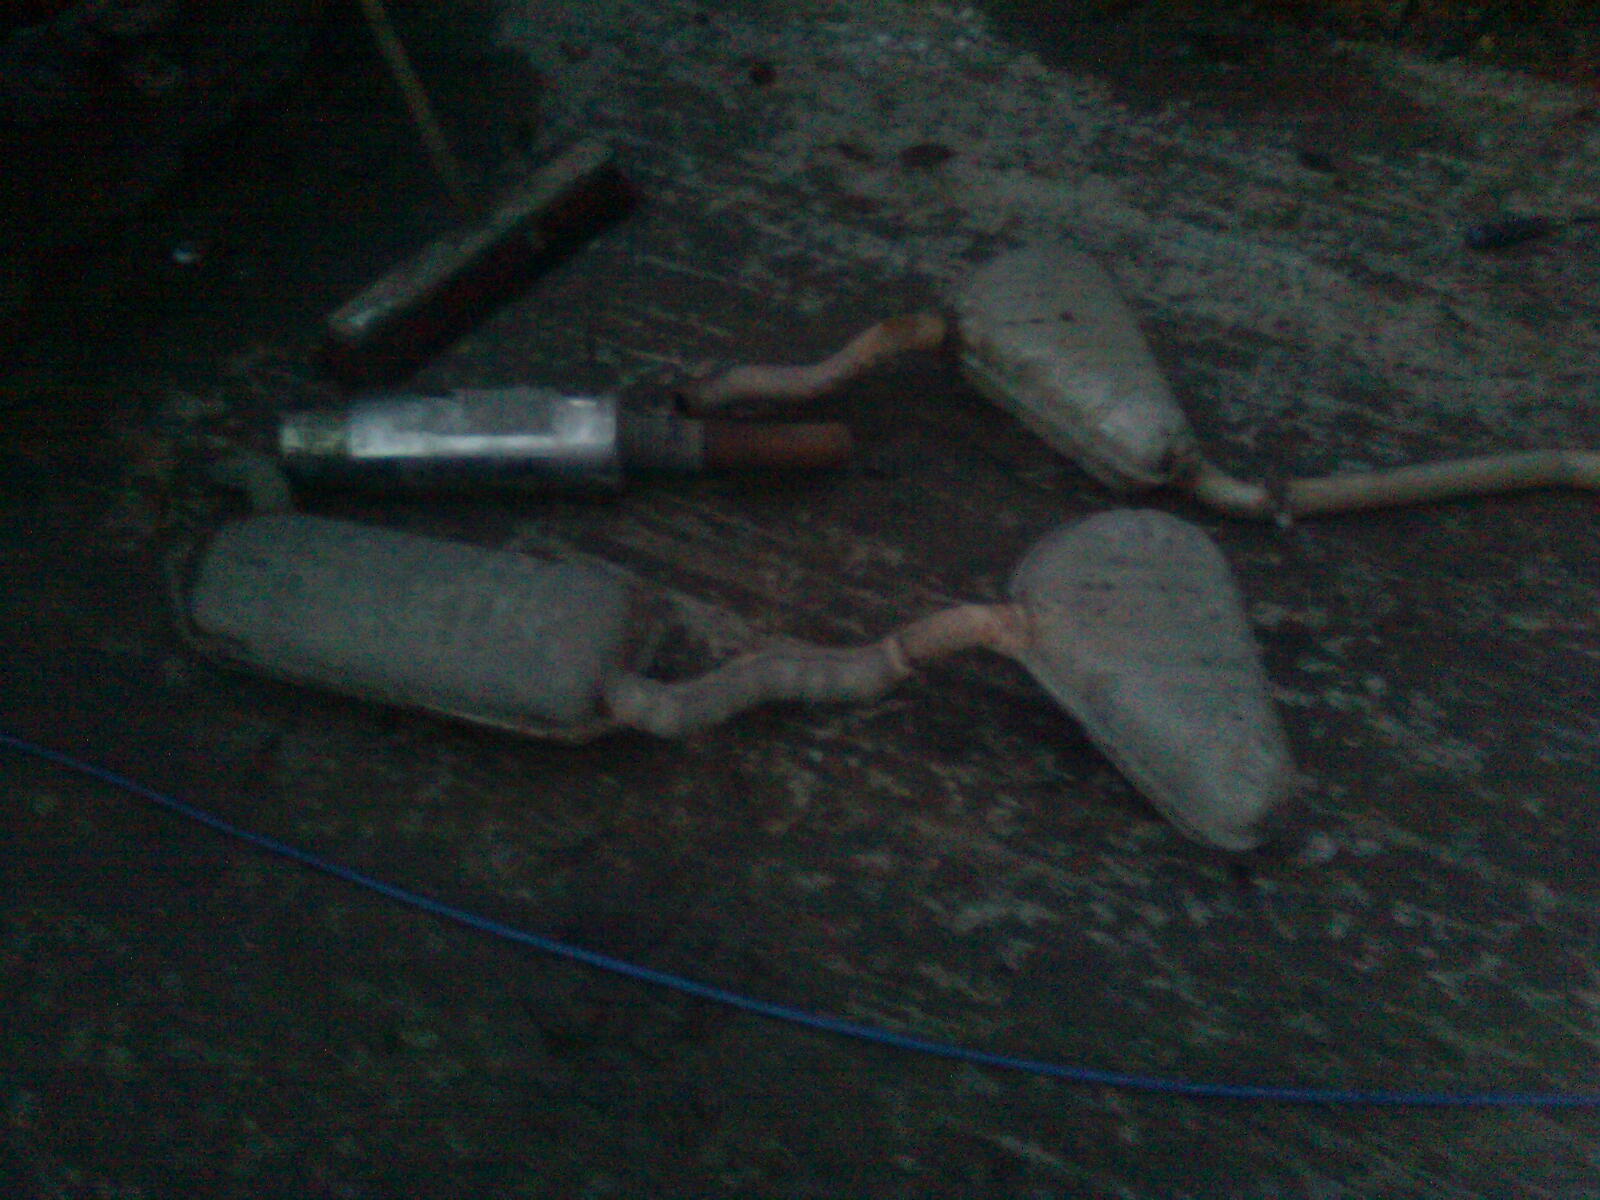
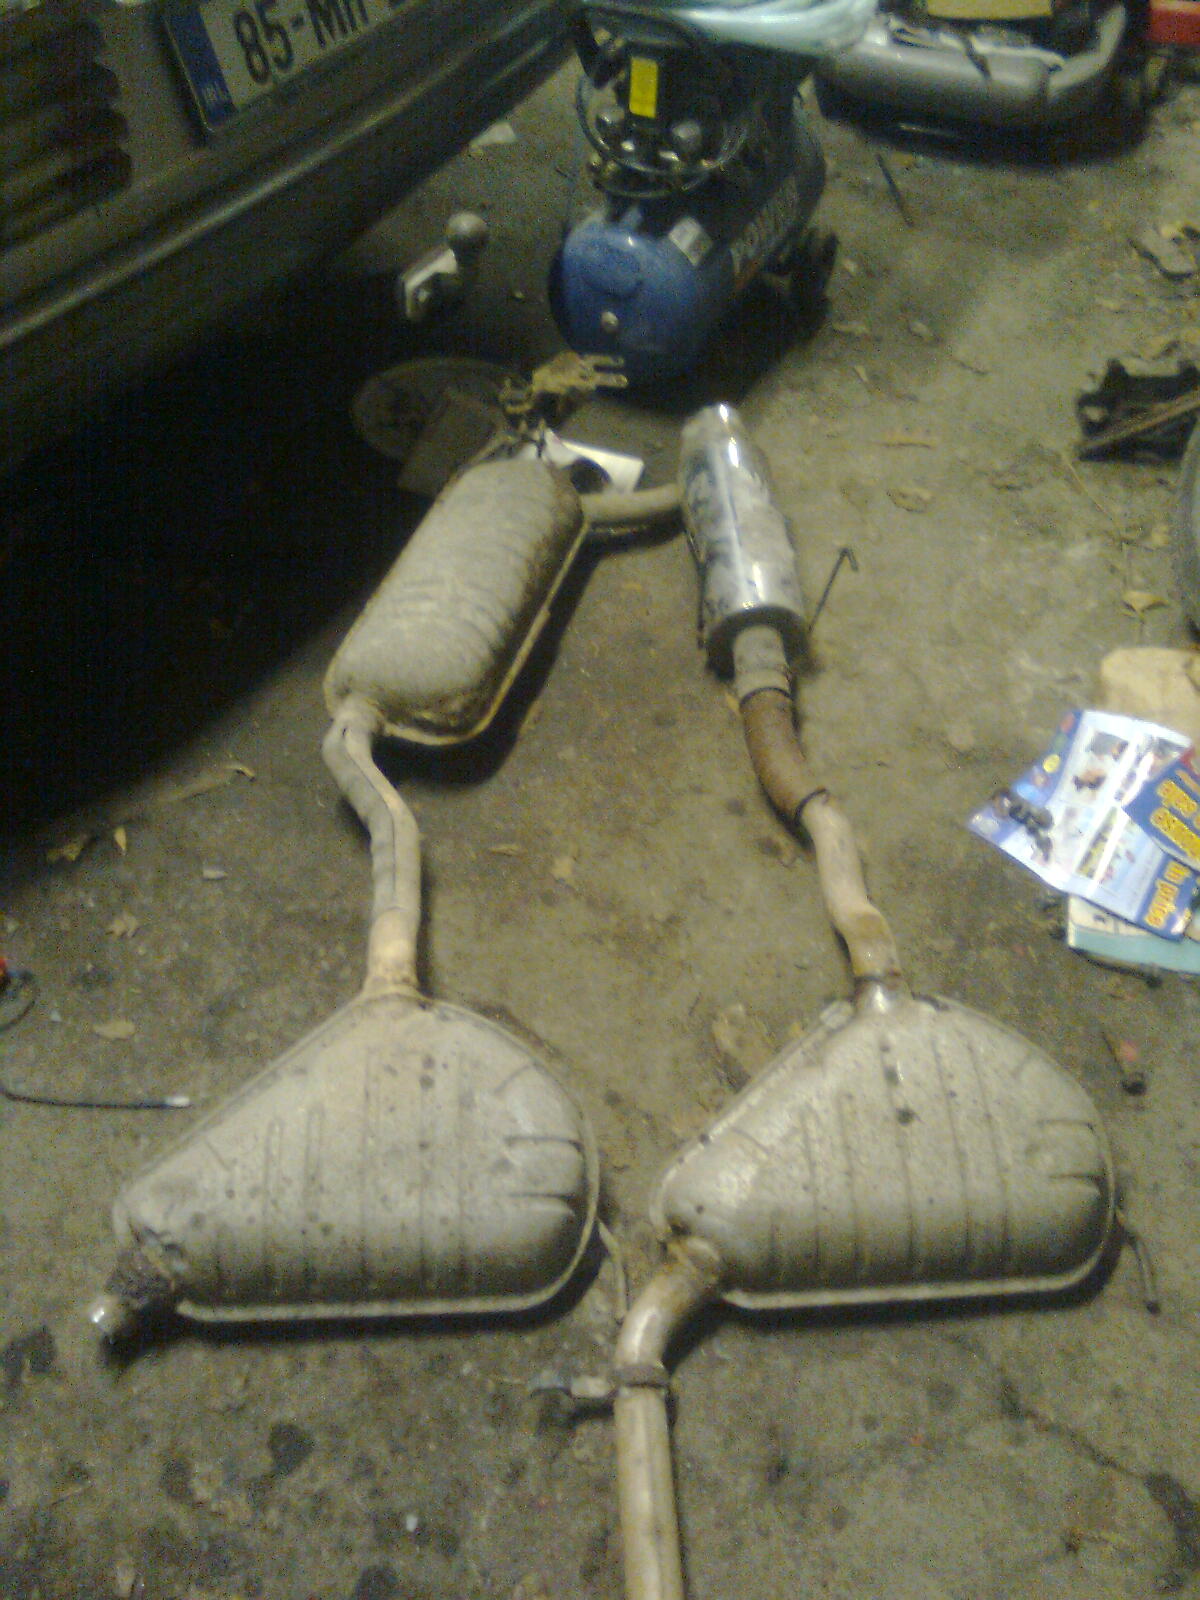
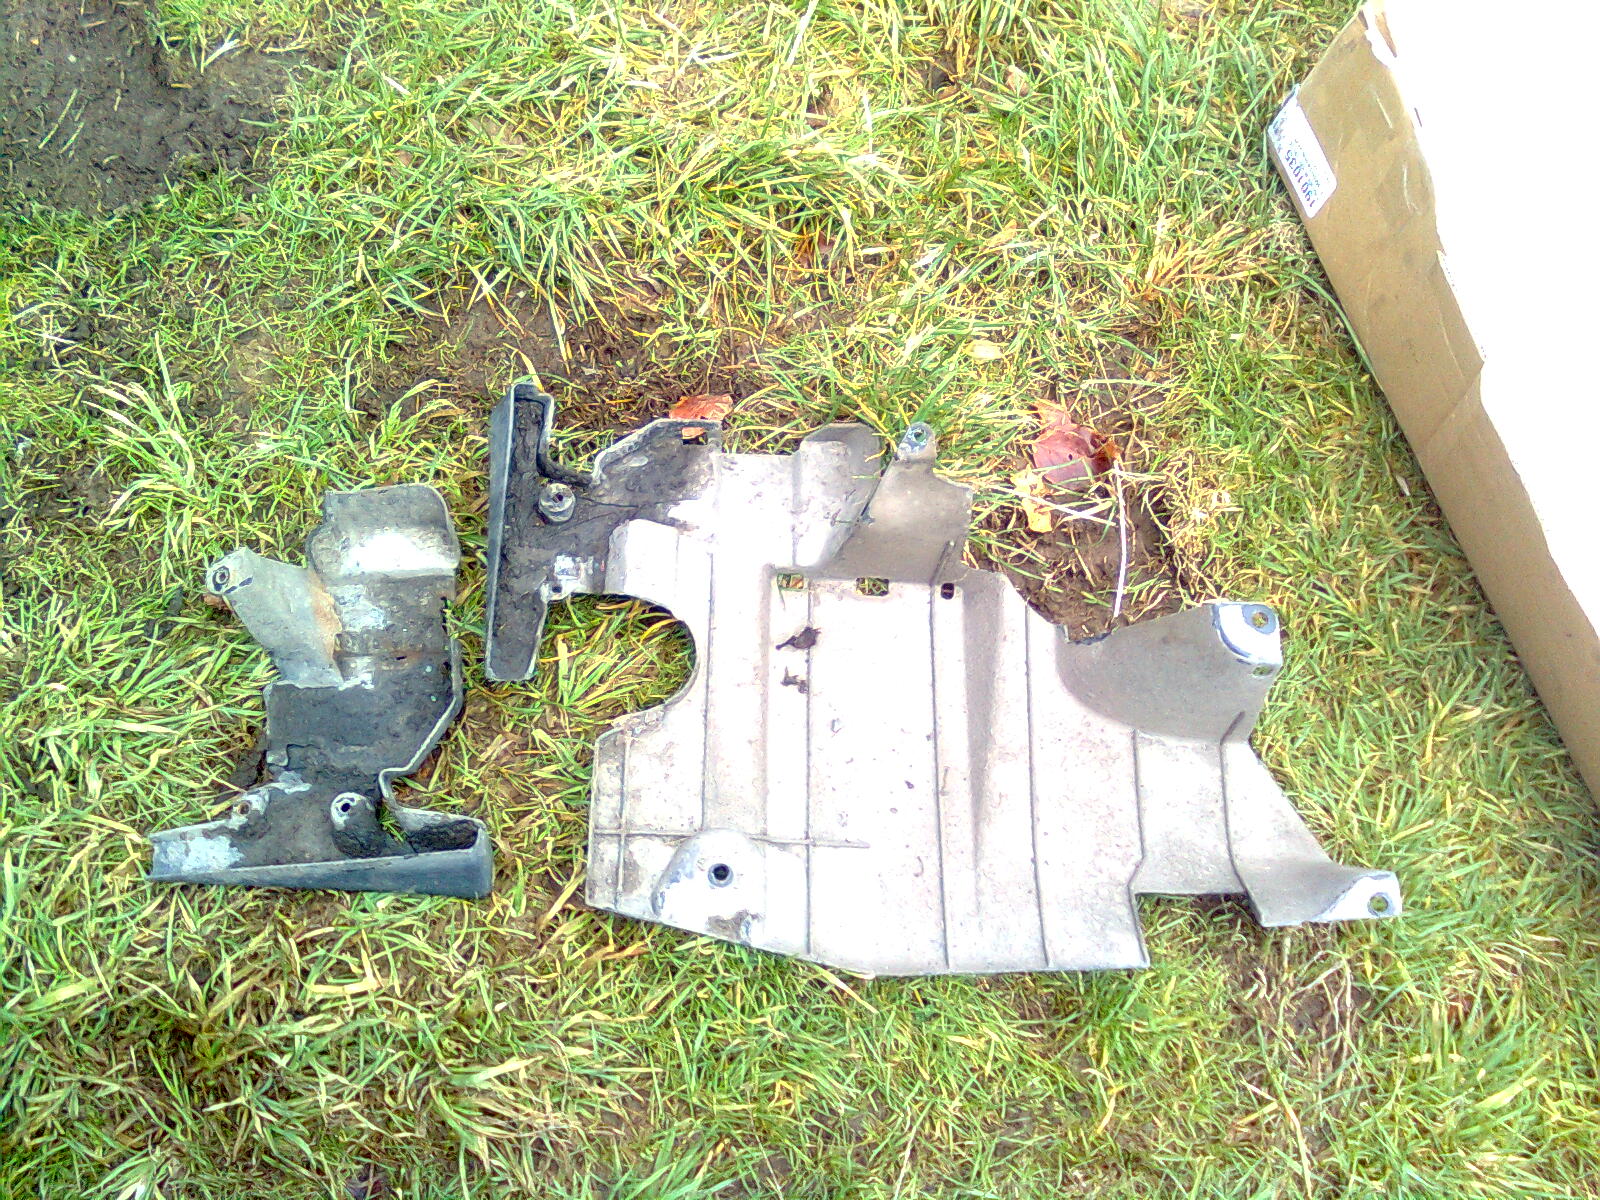
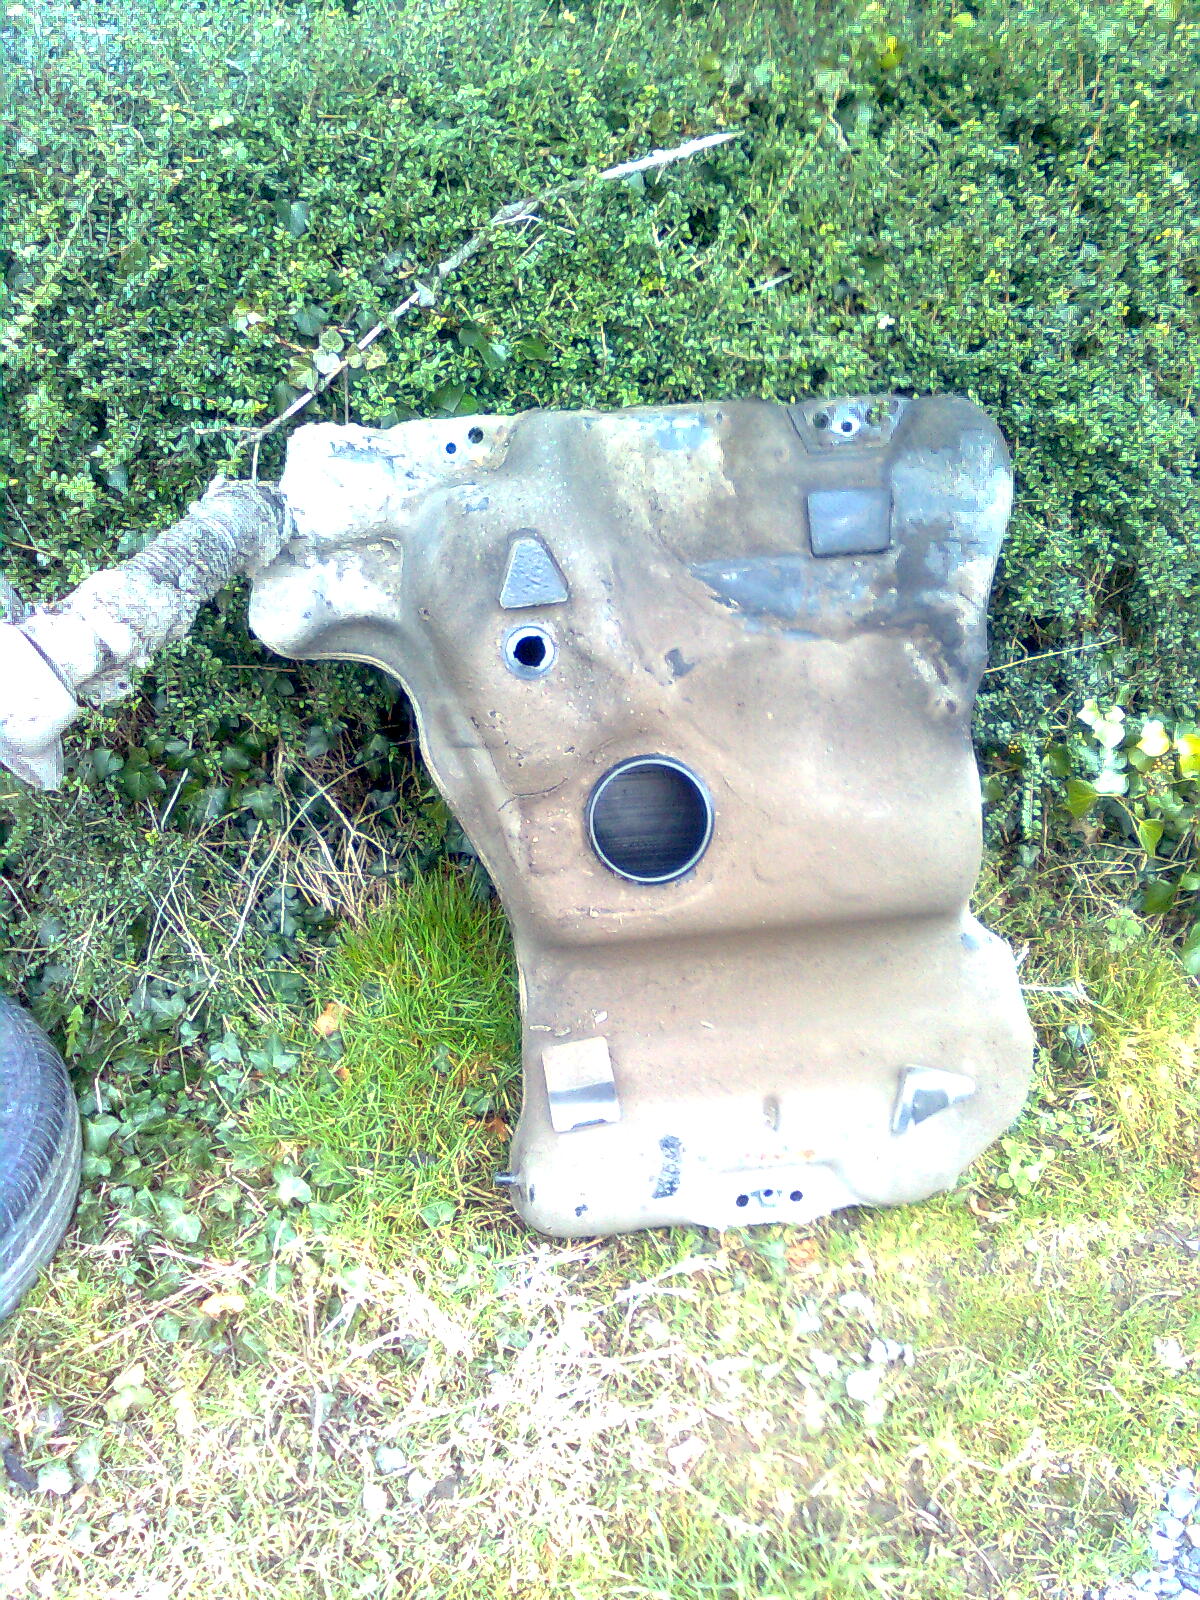
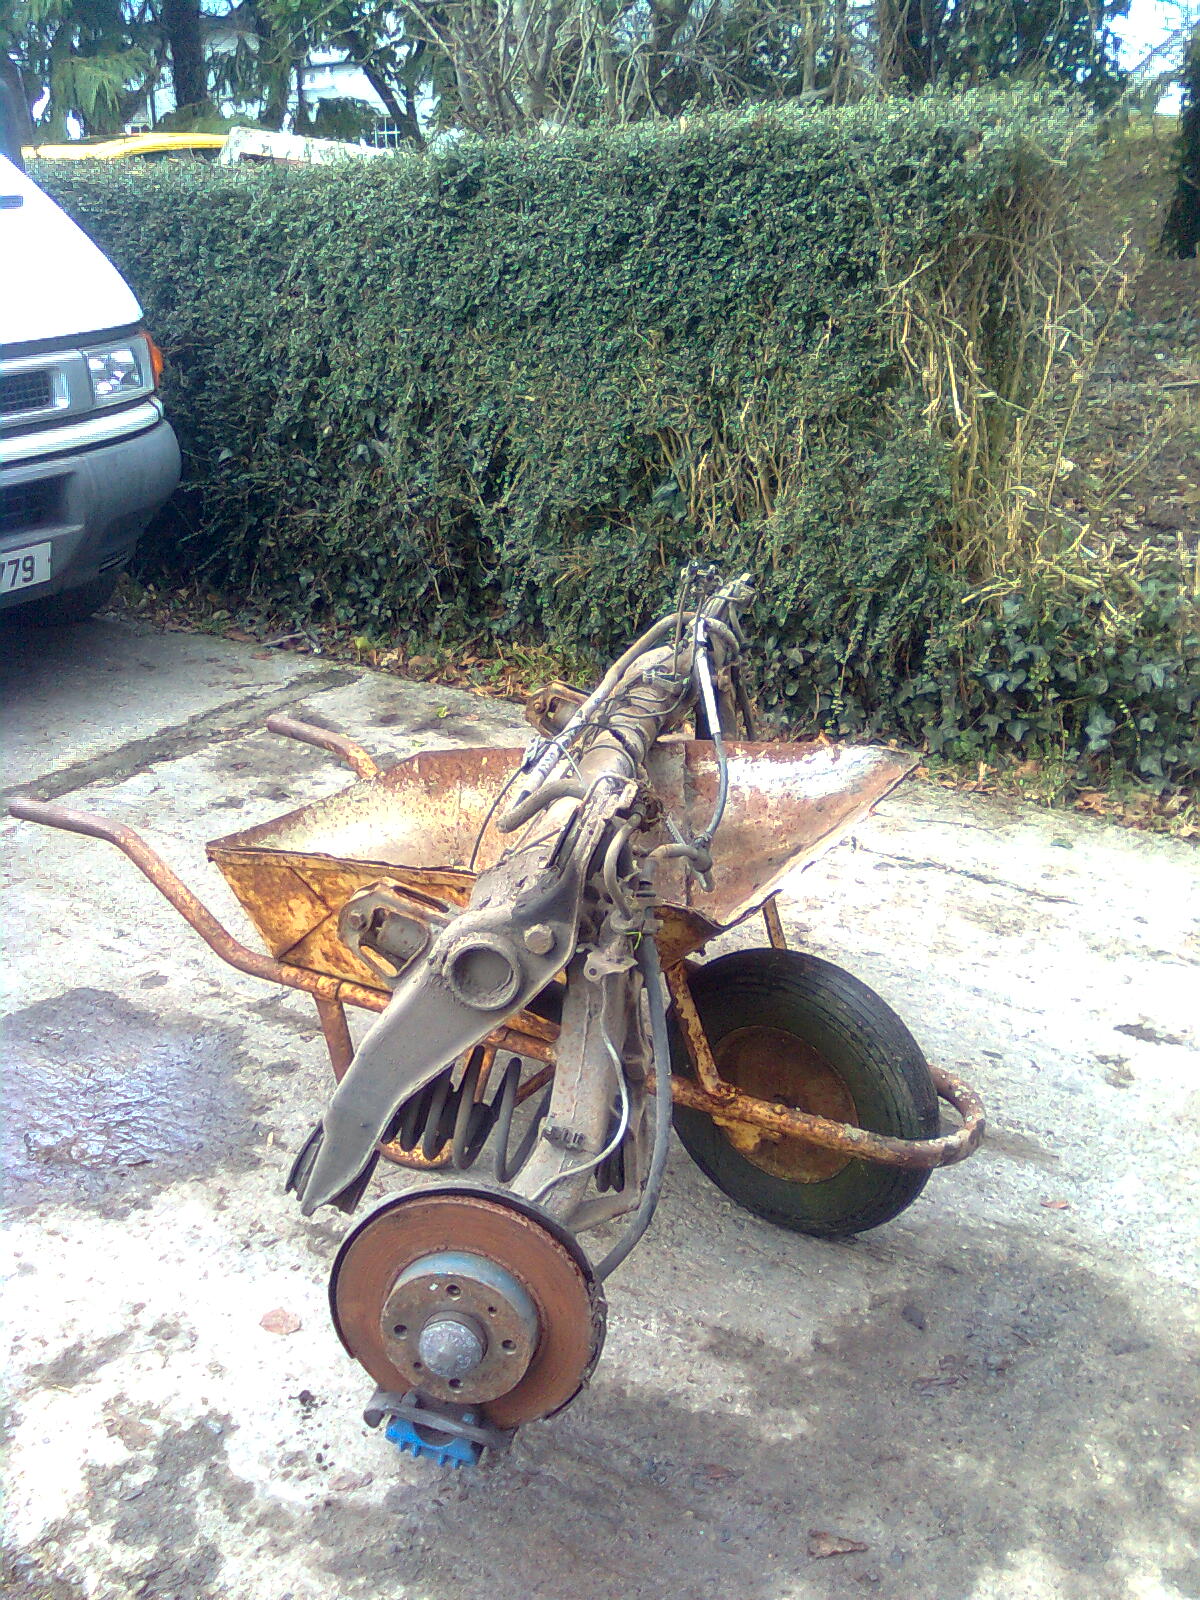
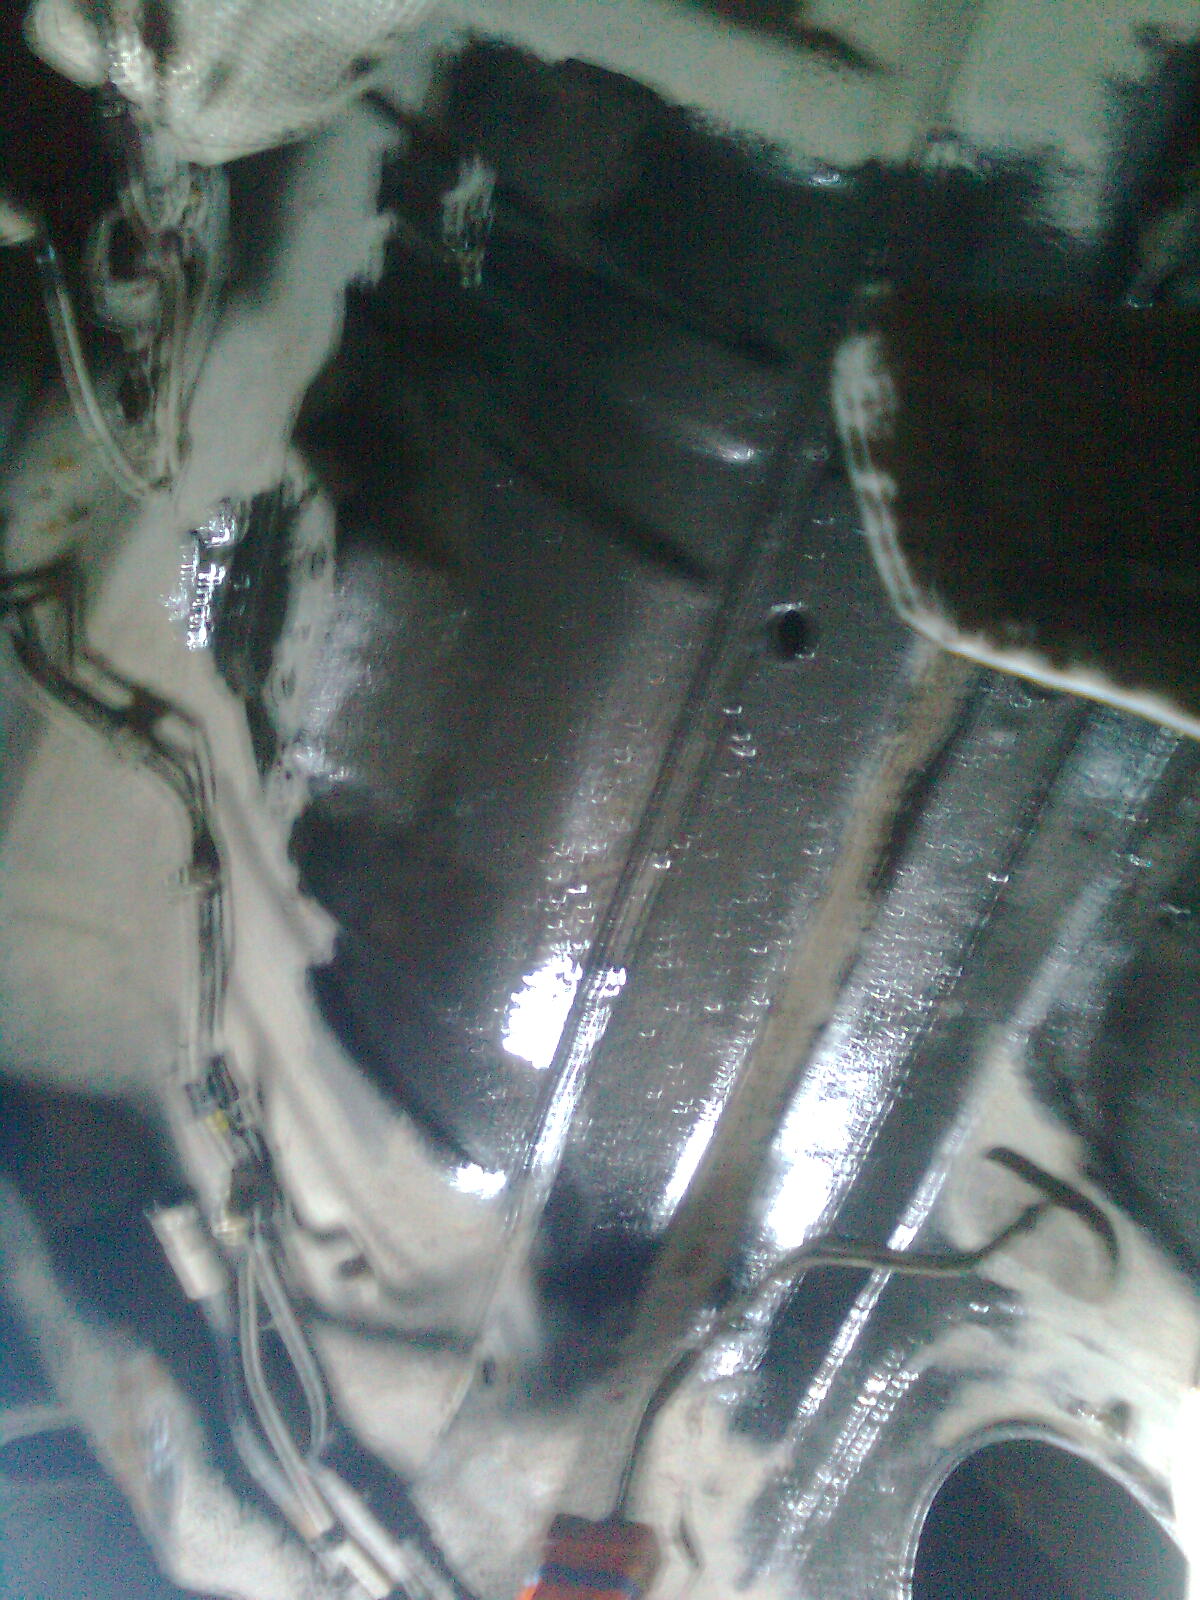
Lets start with this. If the exhaust wont come off...
Image0380.jpg


The consaw cures all :slayer:
Image03811.jpg


It also allows you to cut lumps out of the car. Dressed down with a grinder for the desired effect
Image03821.jpg


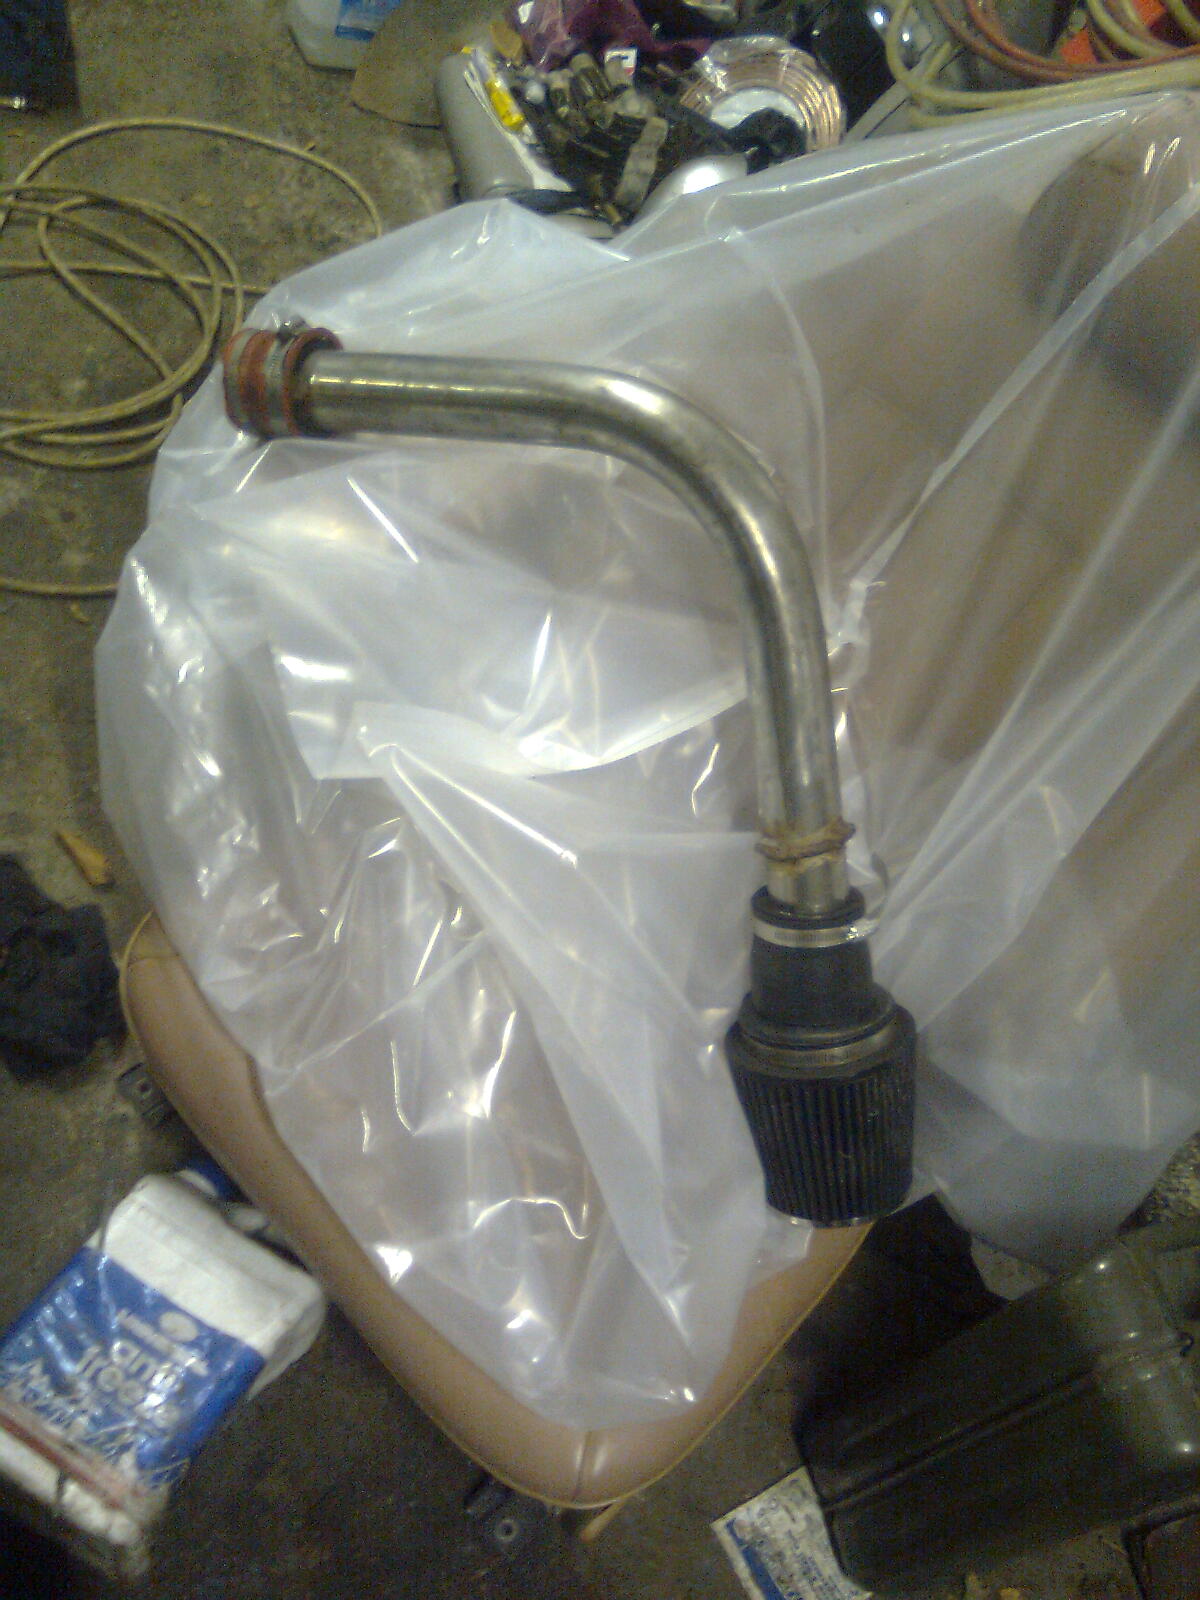
And to measure up. All ready to be welded (y)
Image03831.jpg


Then it got too dark (n)

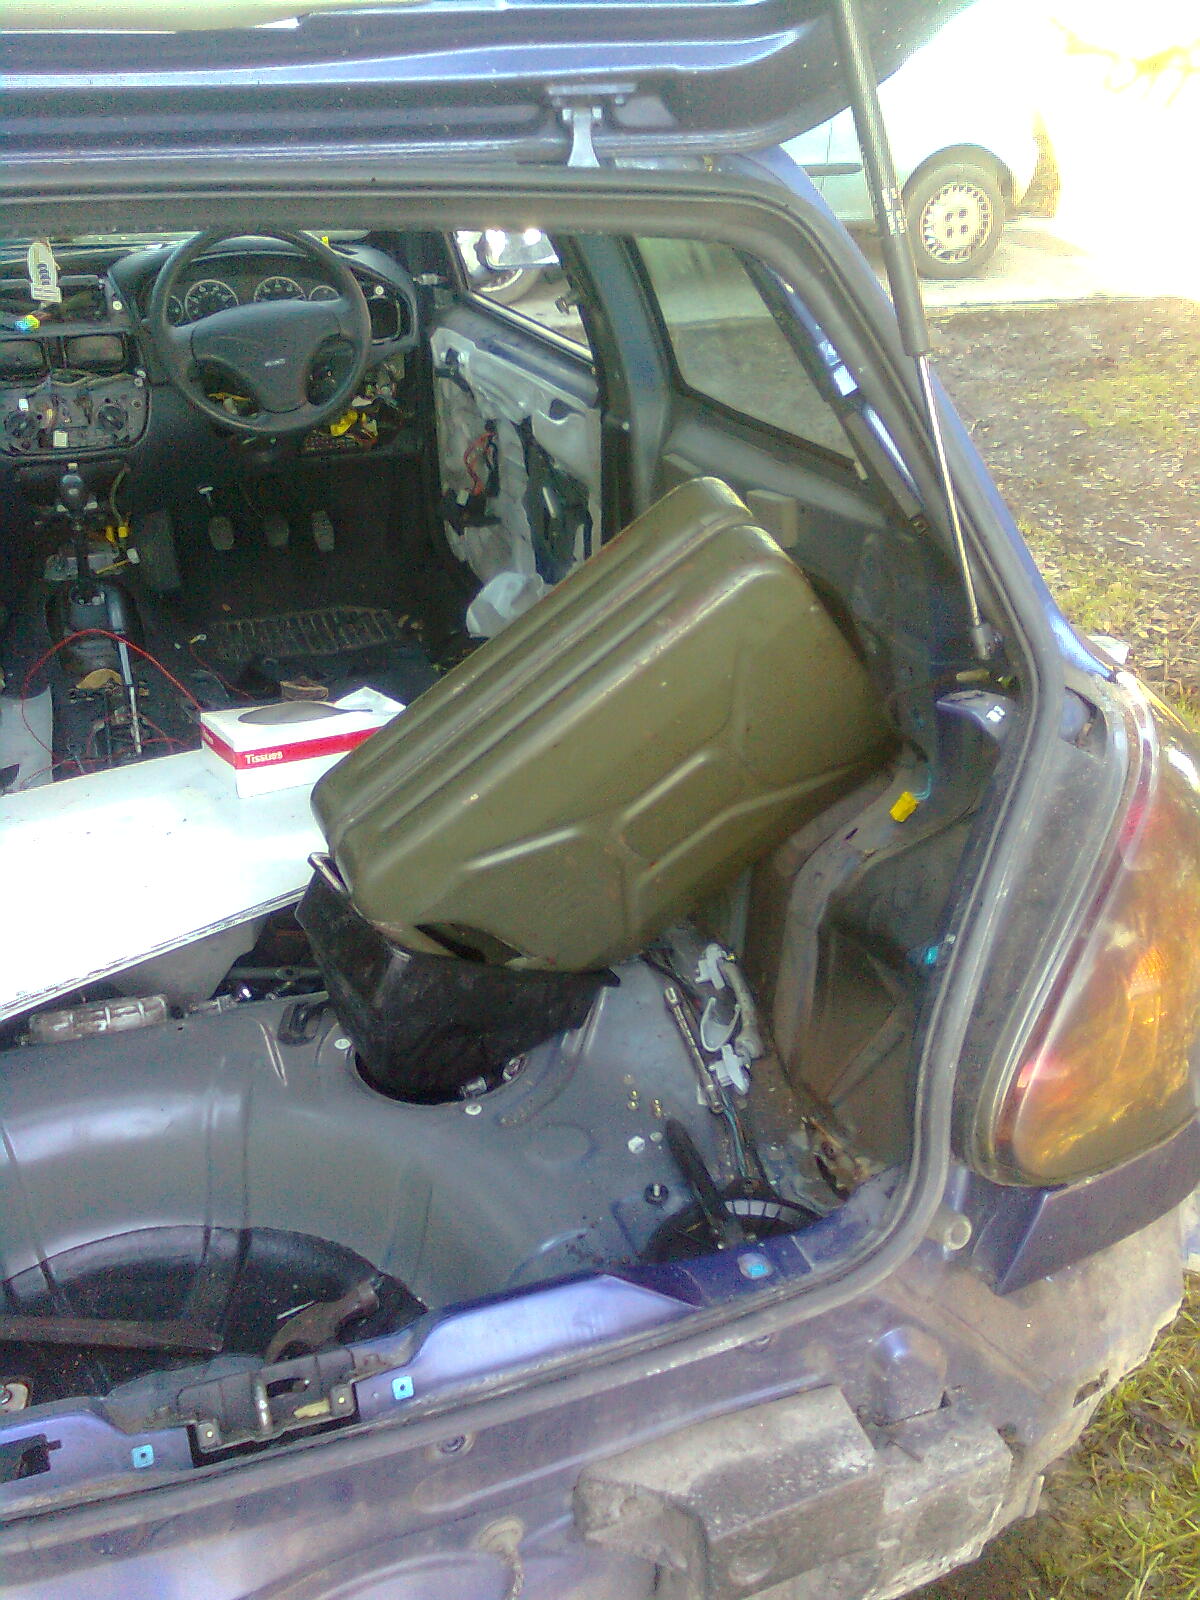
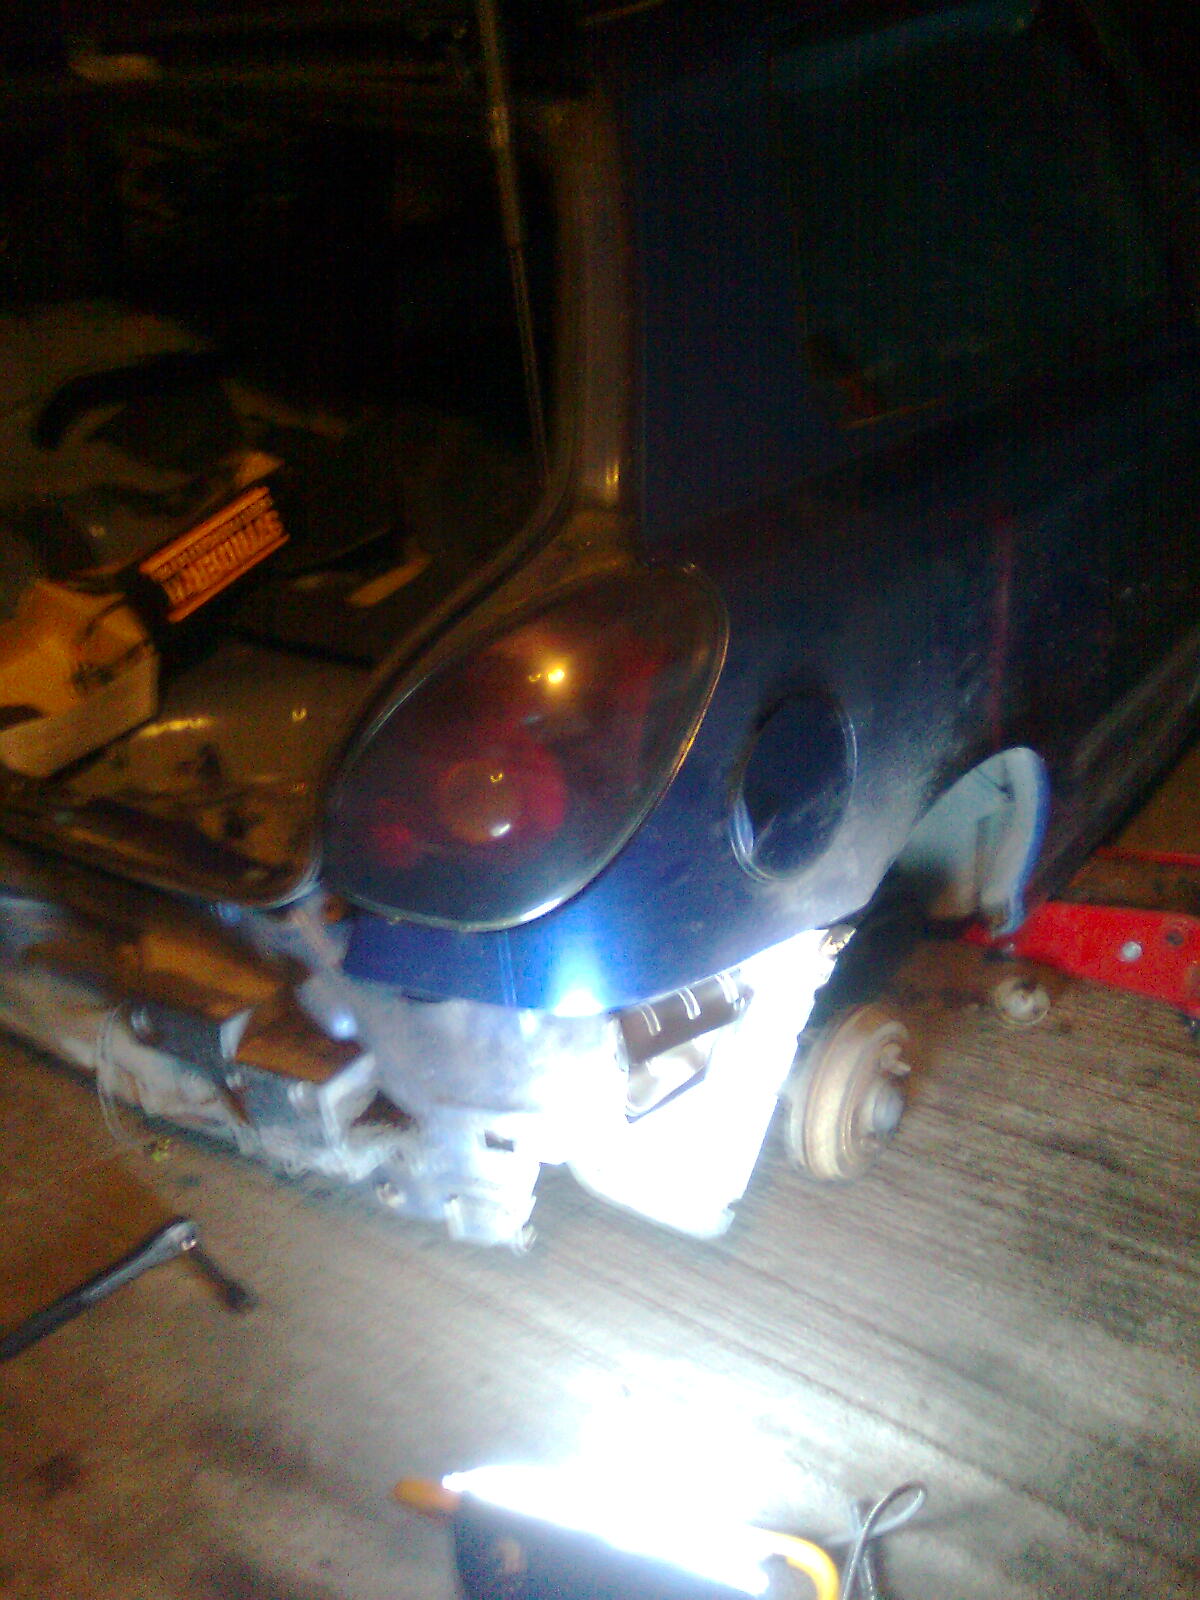
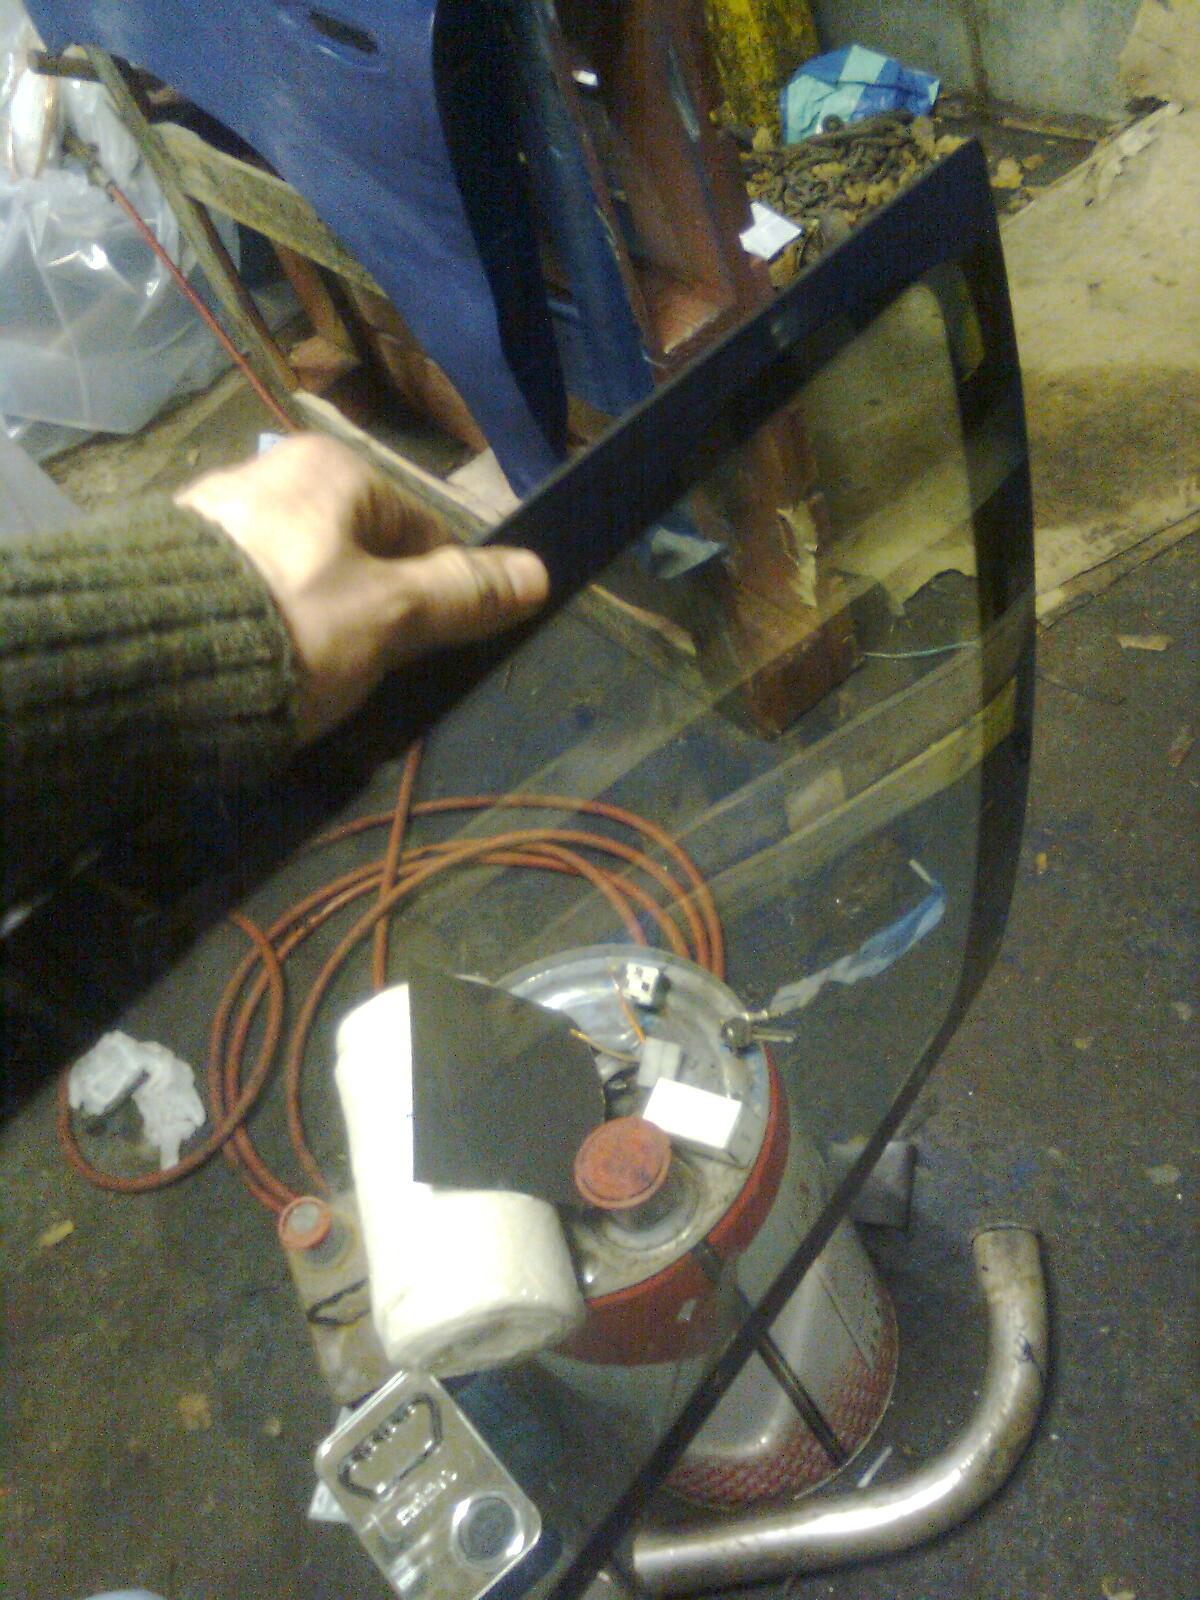
The next day I decided the fuel pump was beyond its sell by date as it was making a horrendous racket :mad: not to worry I have a selection of 3 of these pumps :D:D:D

As you can see, discoloured
Image03851.jpg


Mmmm new secondhand pump on yet another rice krispies box :cool:
Image0387.jpg


Better fill her up a bit first!
Image03861.jpg


Clever biscuits disguised as tissues :ROFLMAO: 
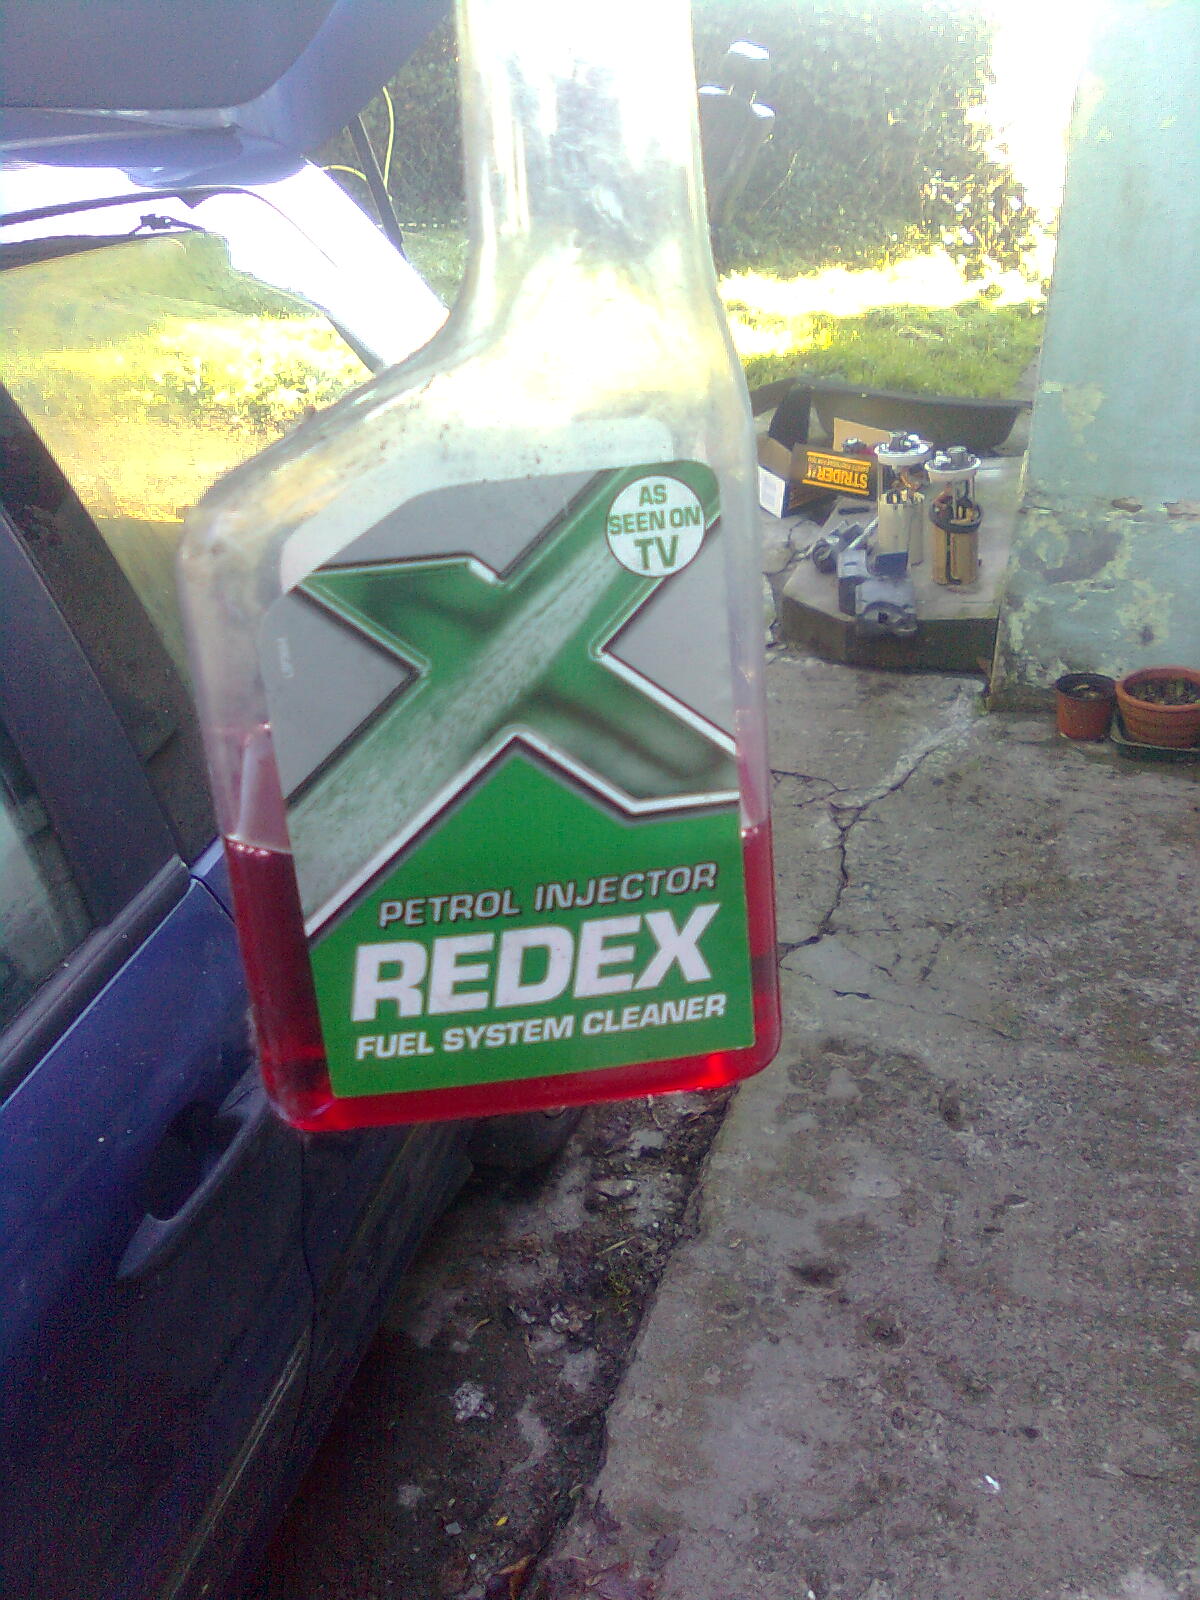
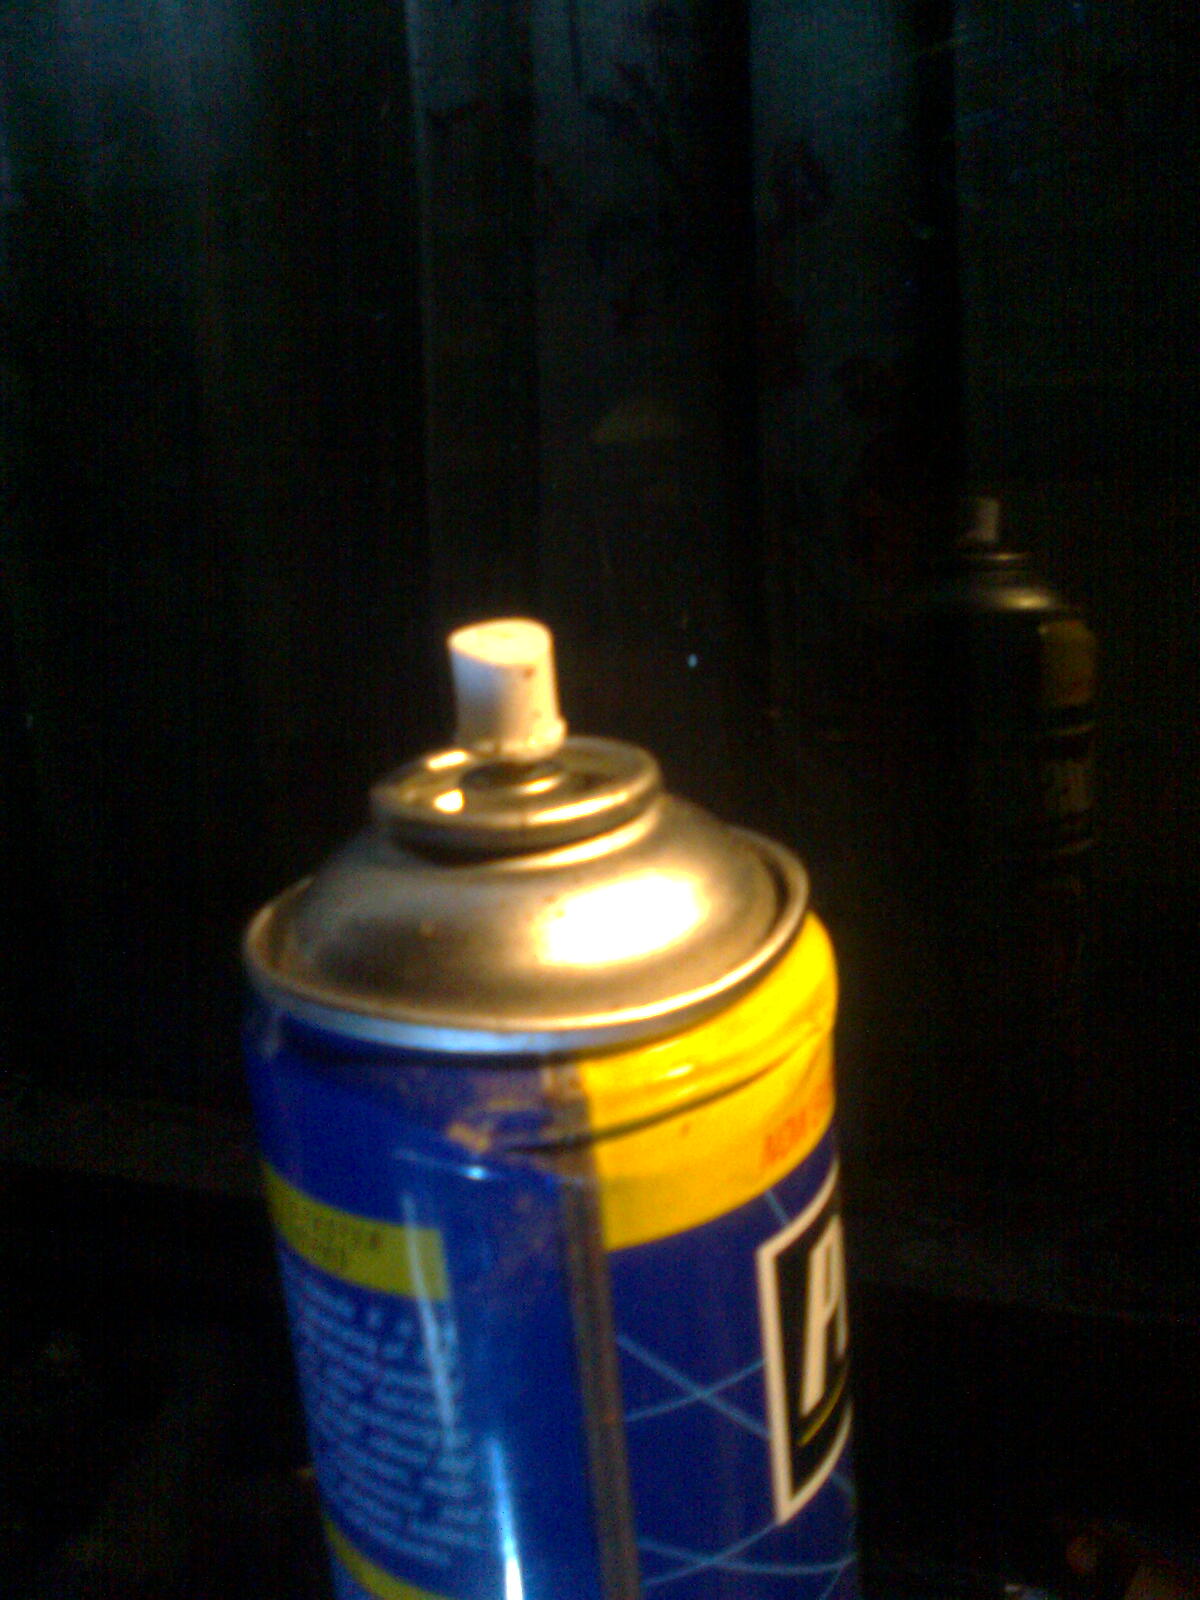
Add some of this stuff
Image0388.jpg


As seen on tv...? :confused: Screw it all in. Stand back and admire handiwork :)
Image0389.jpg


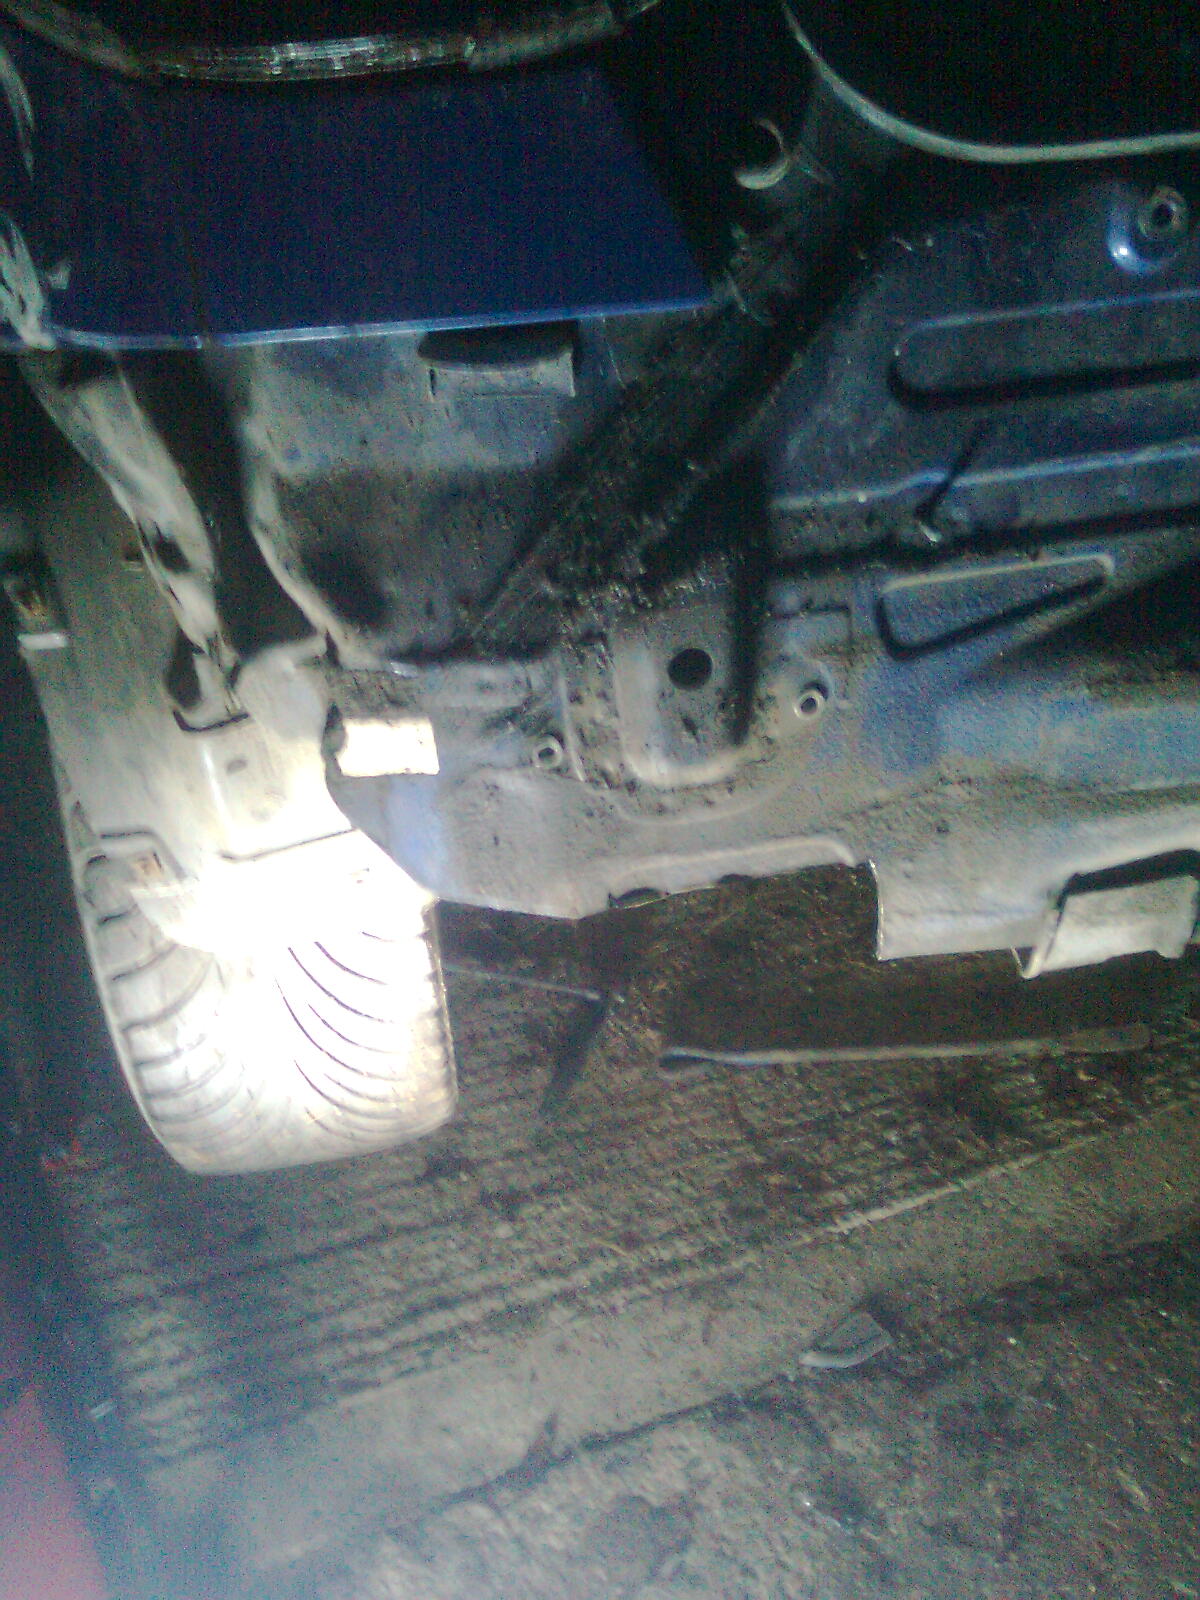
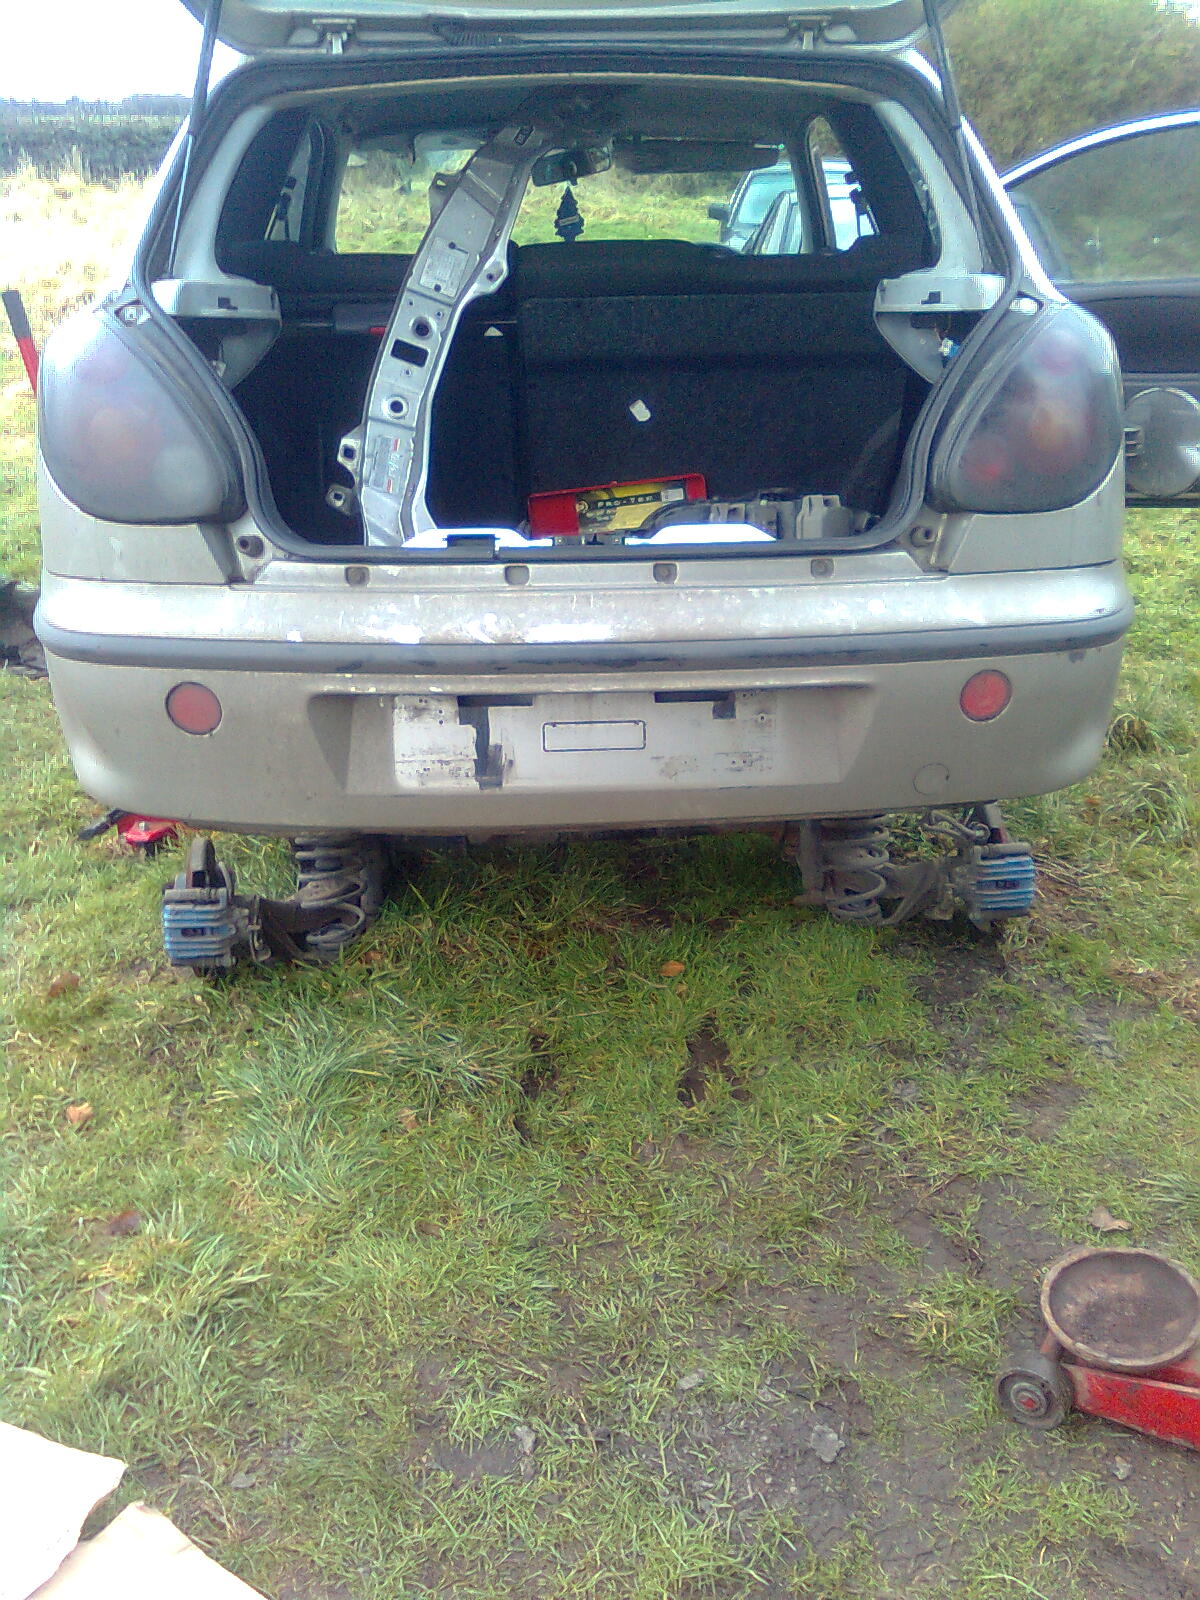
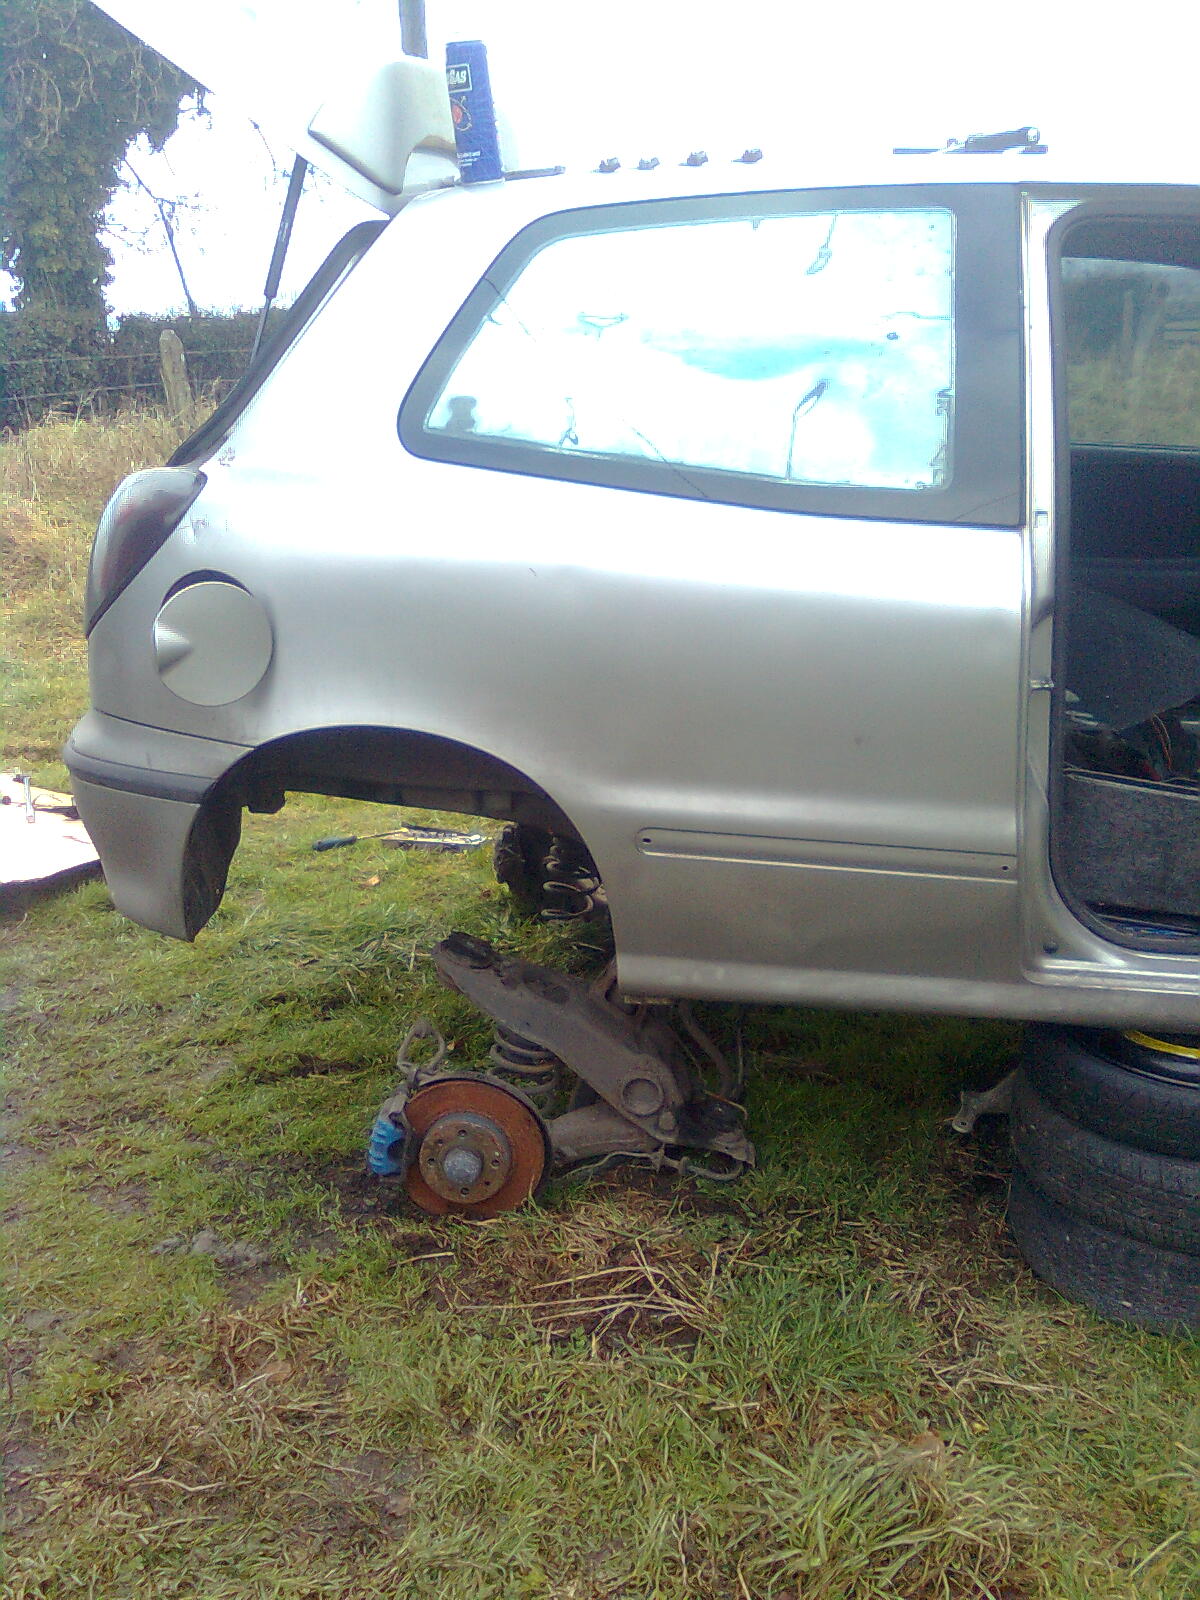
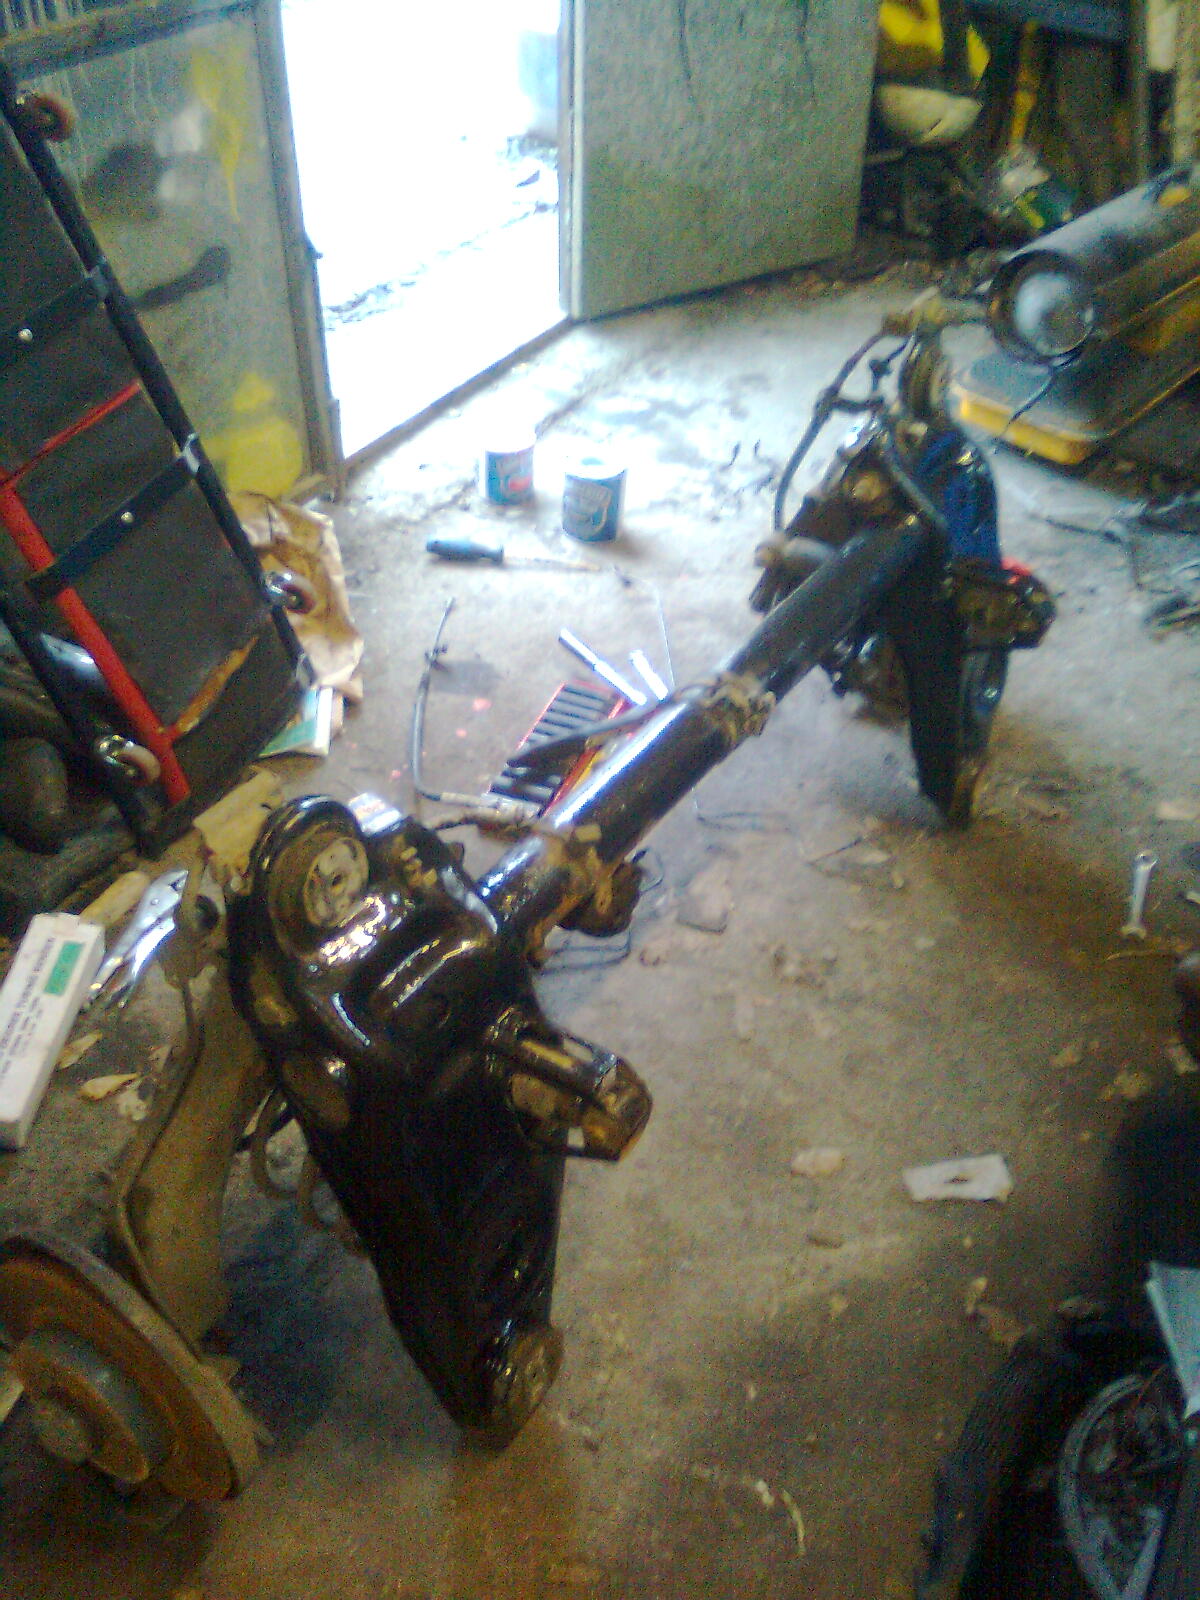
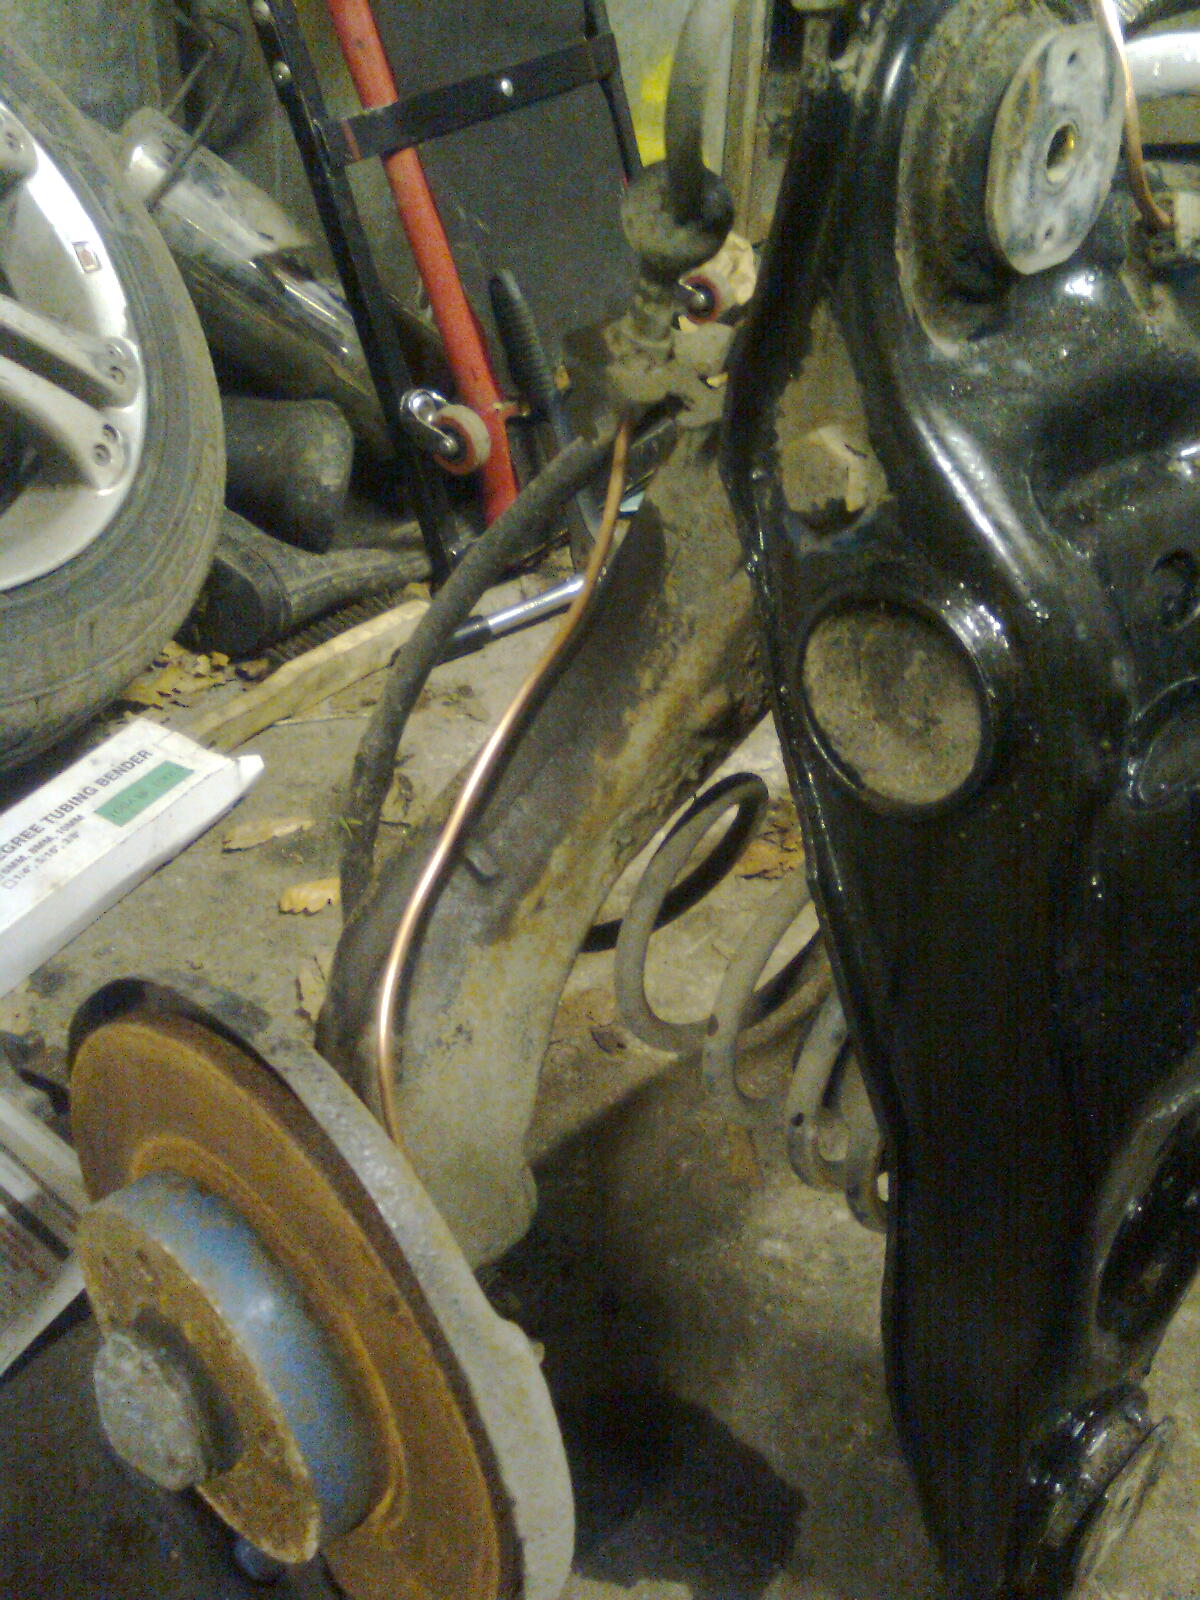
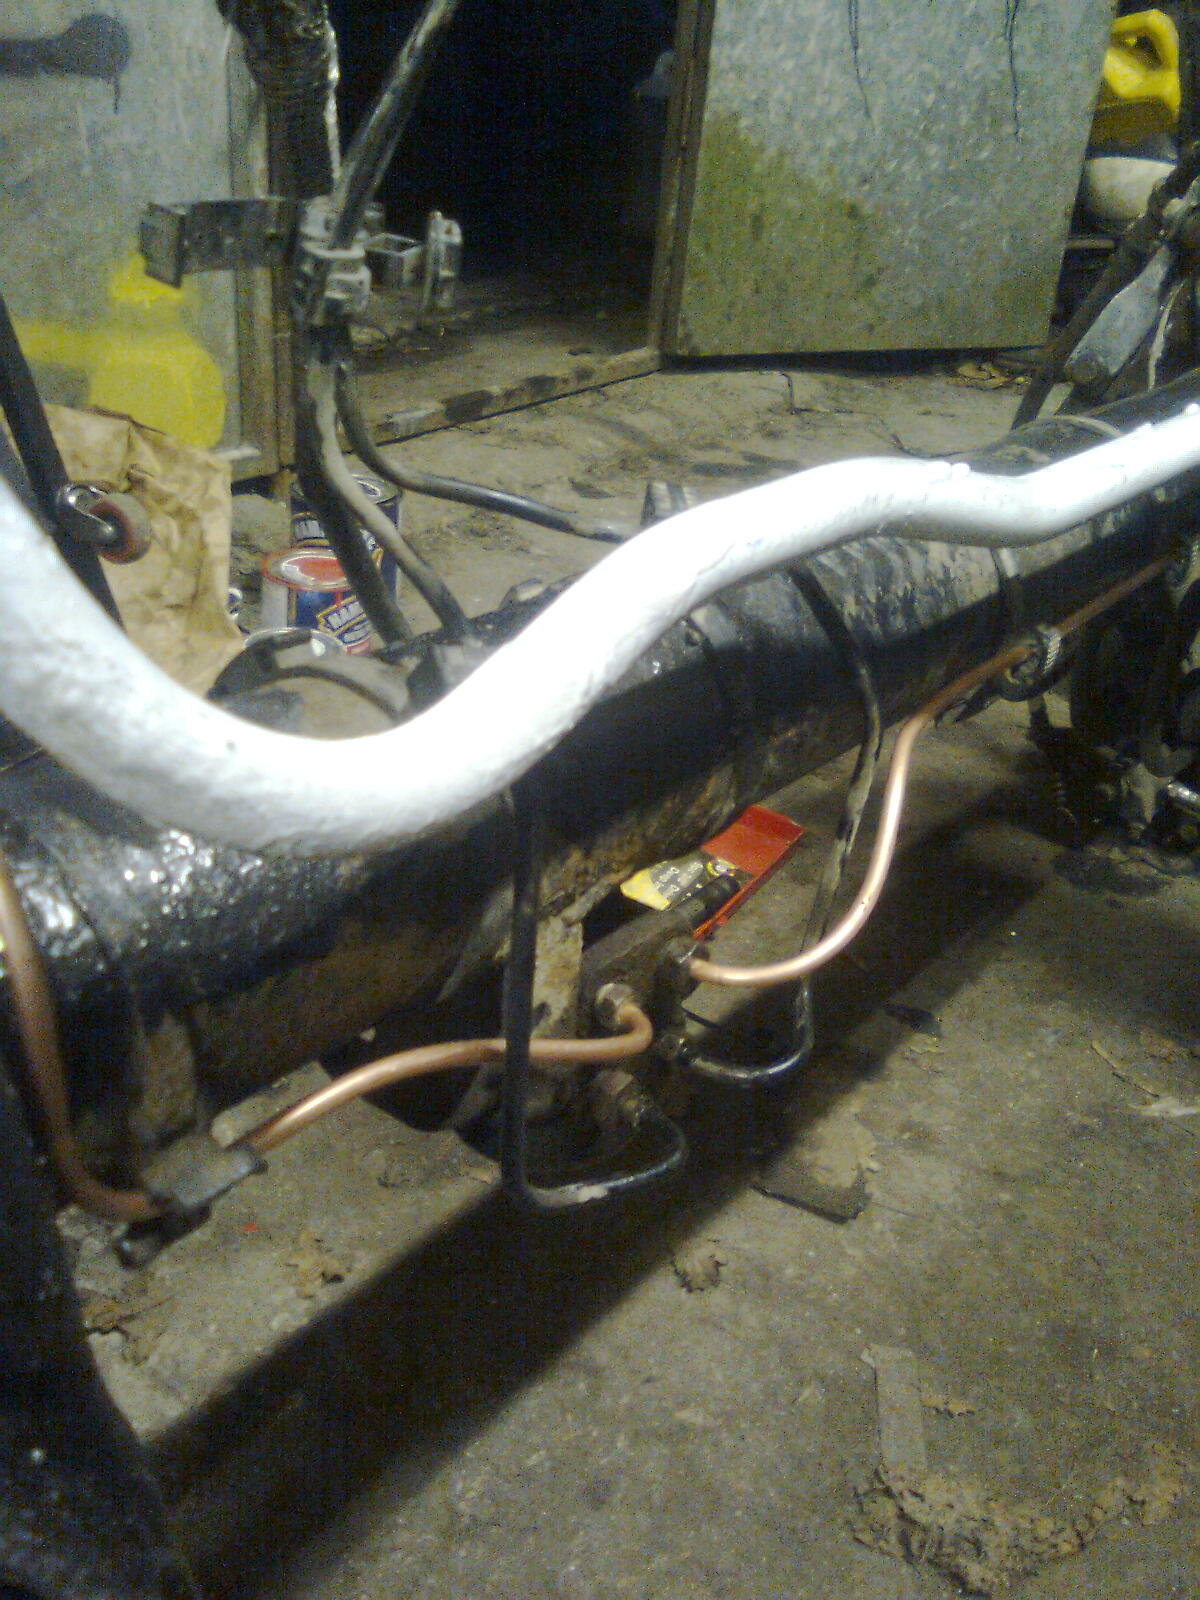
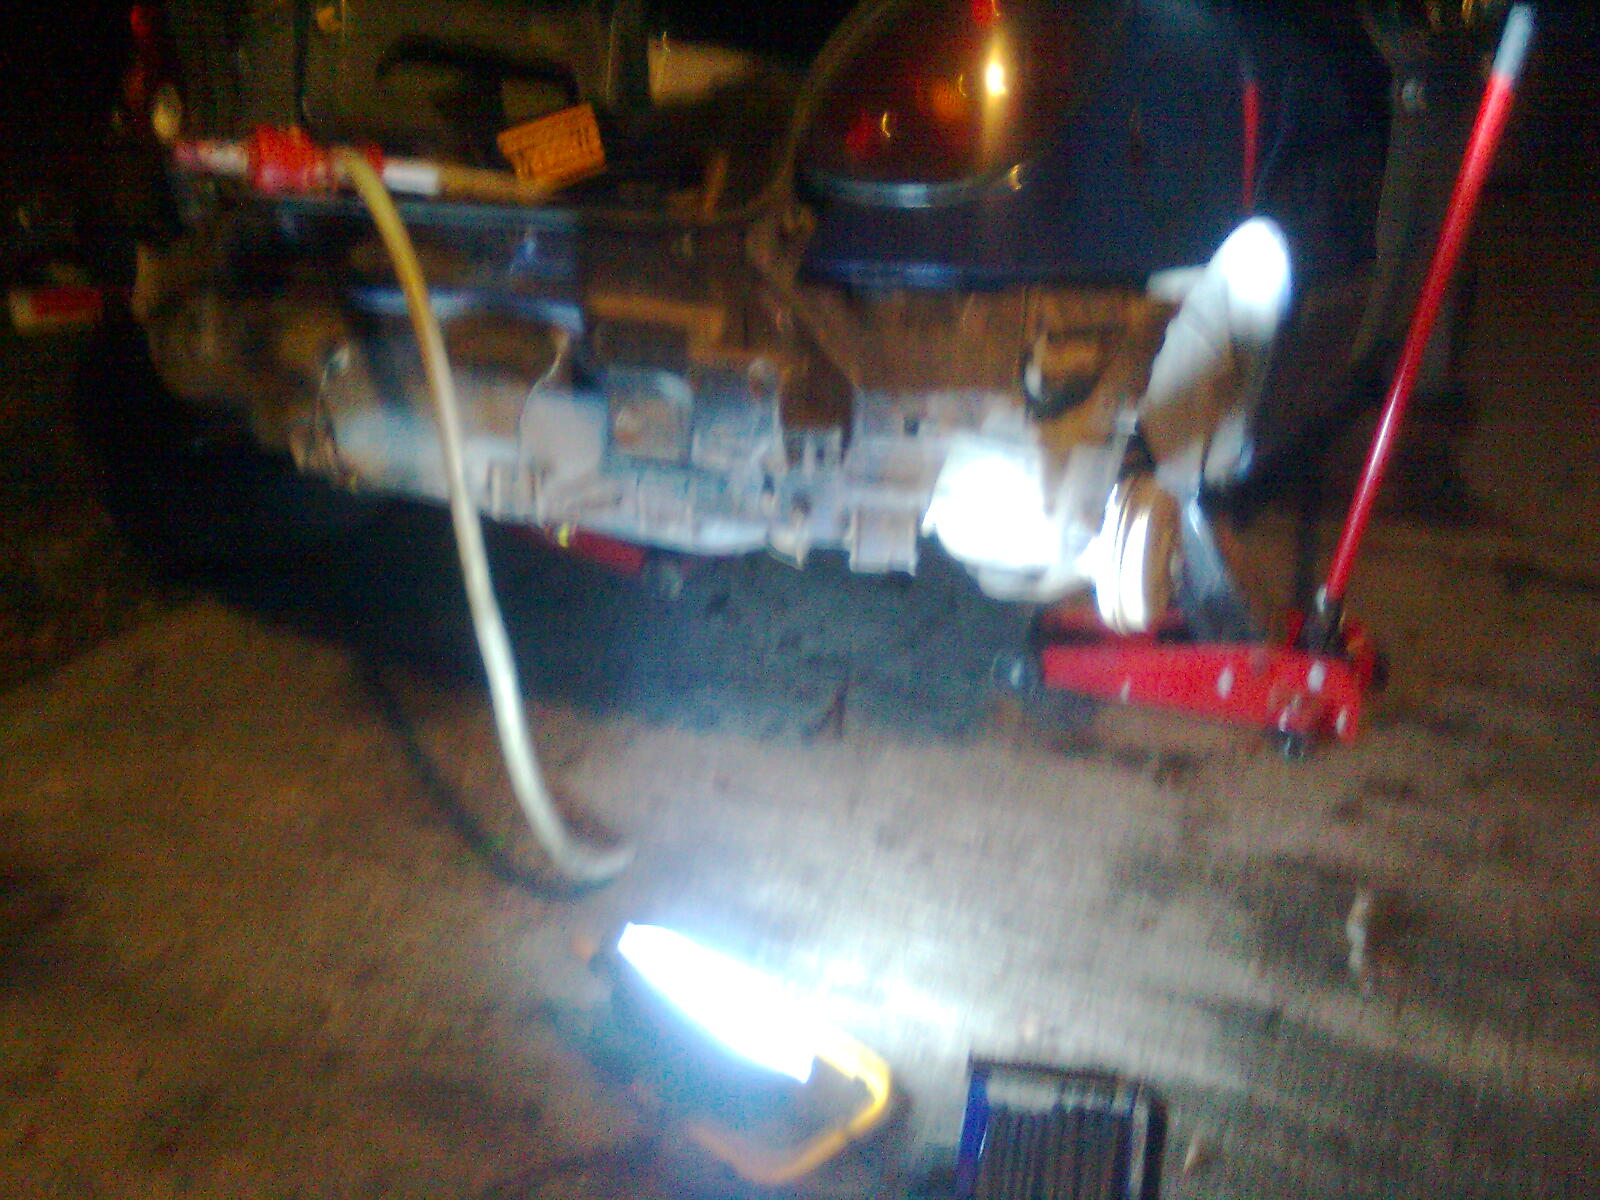
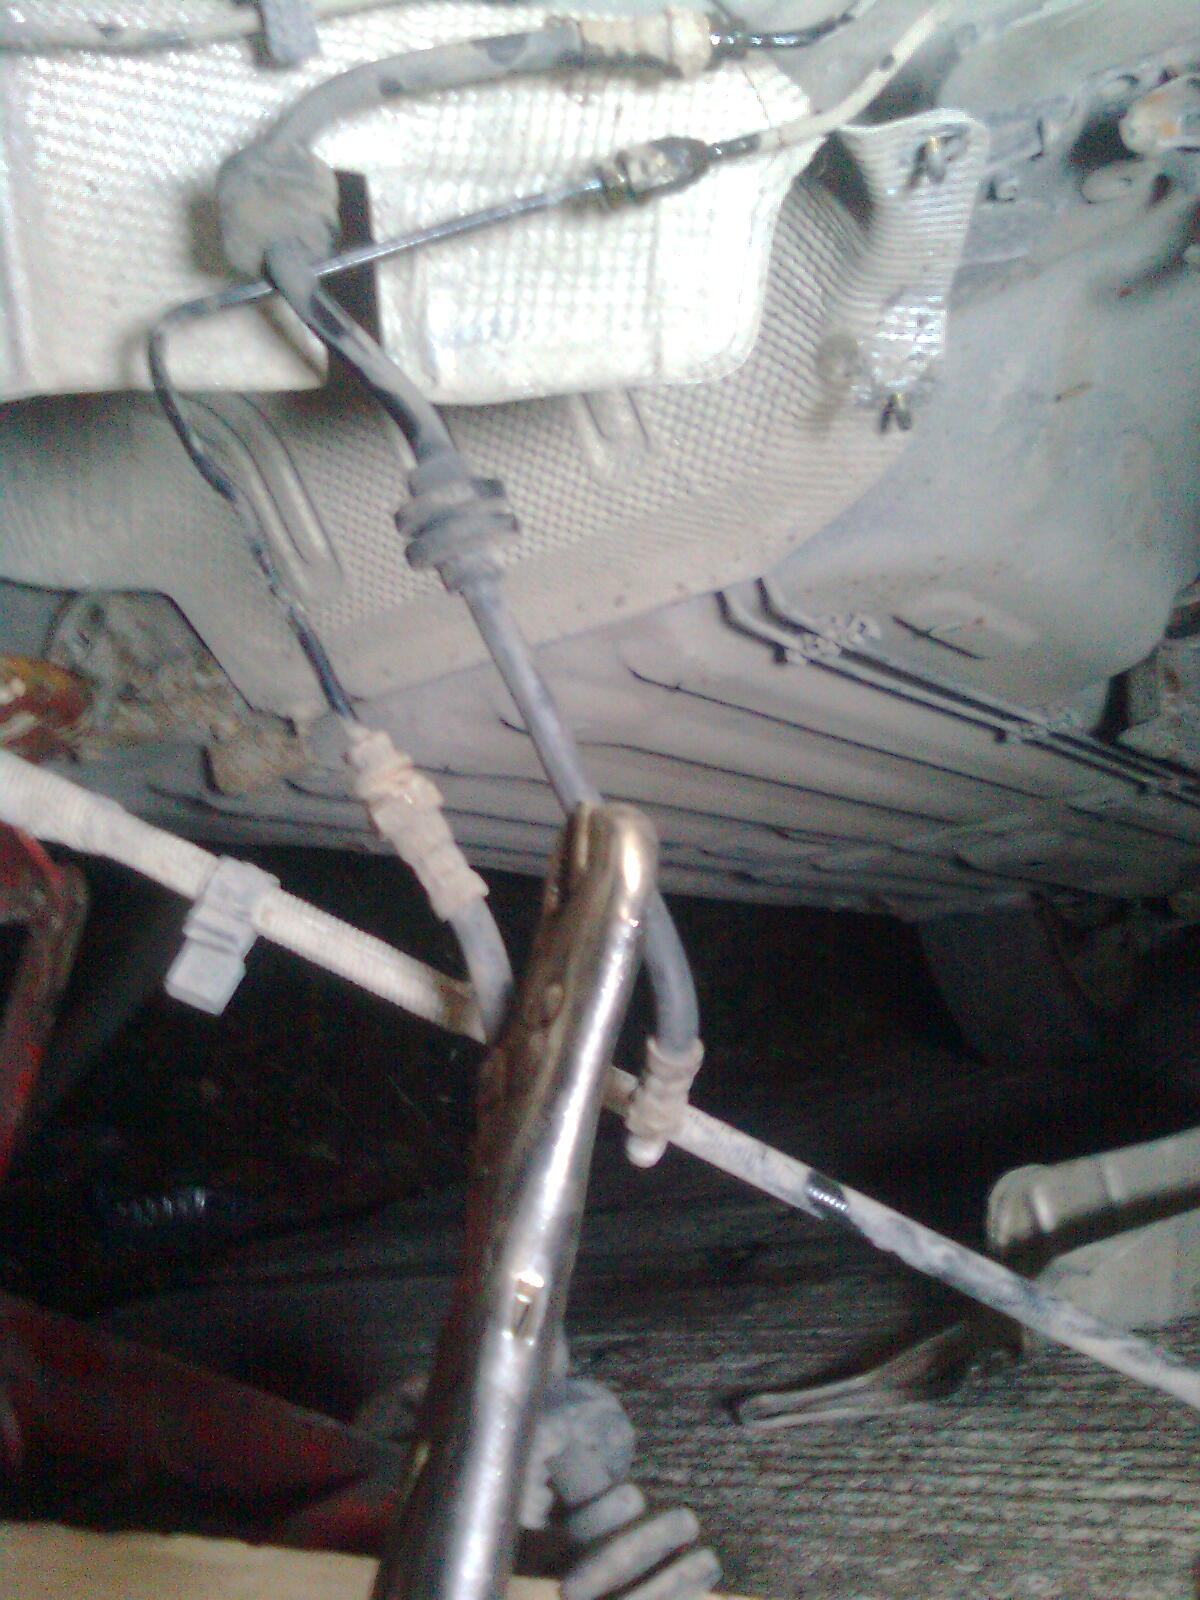
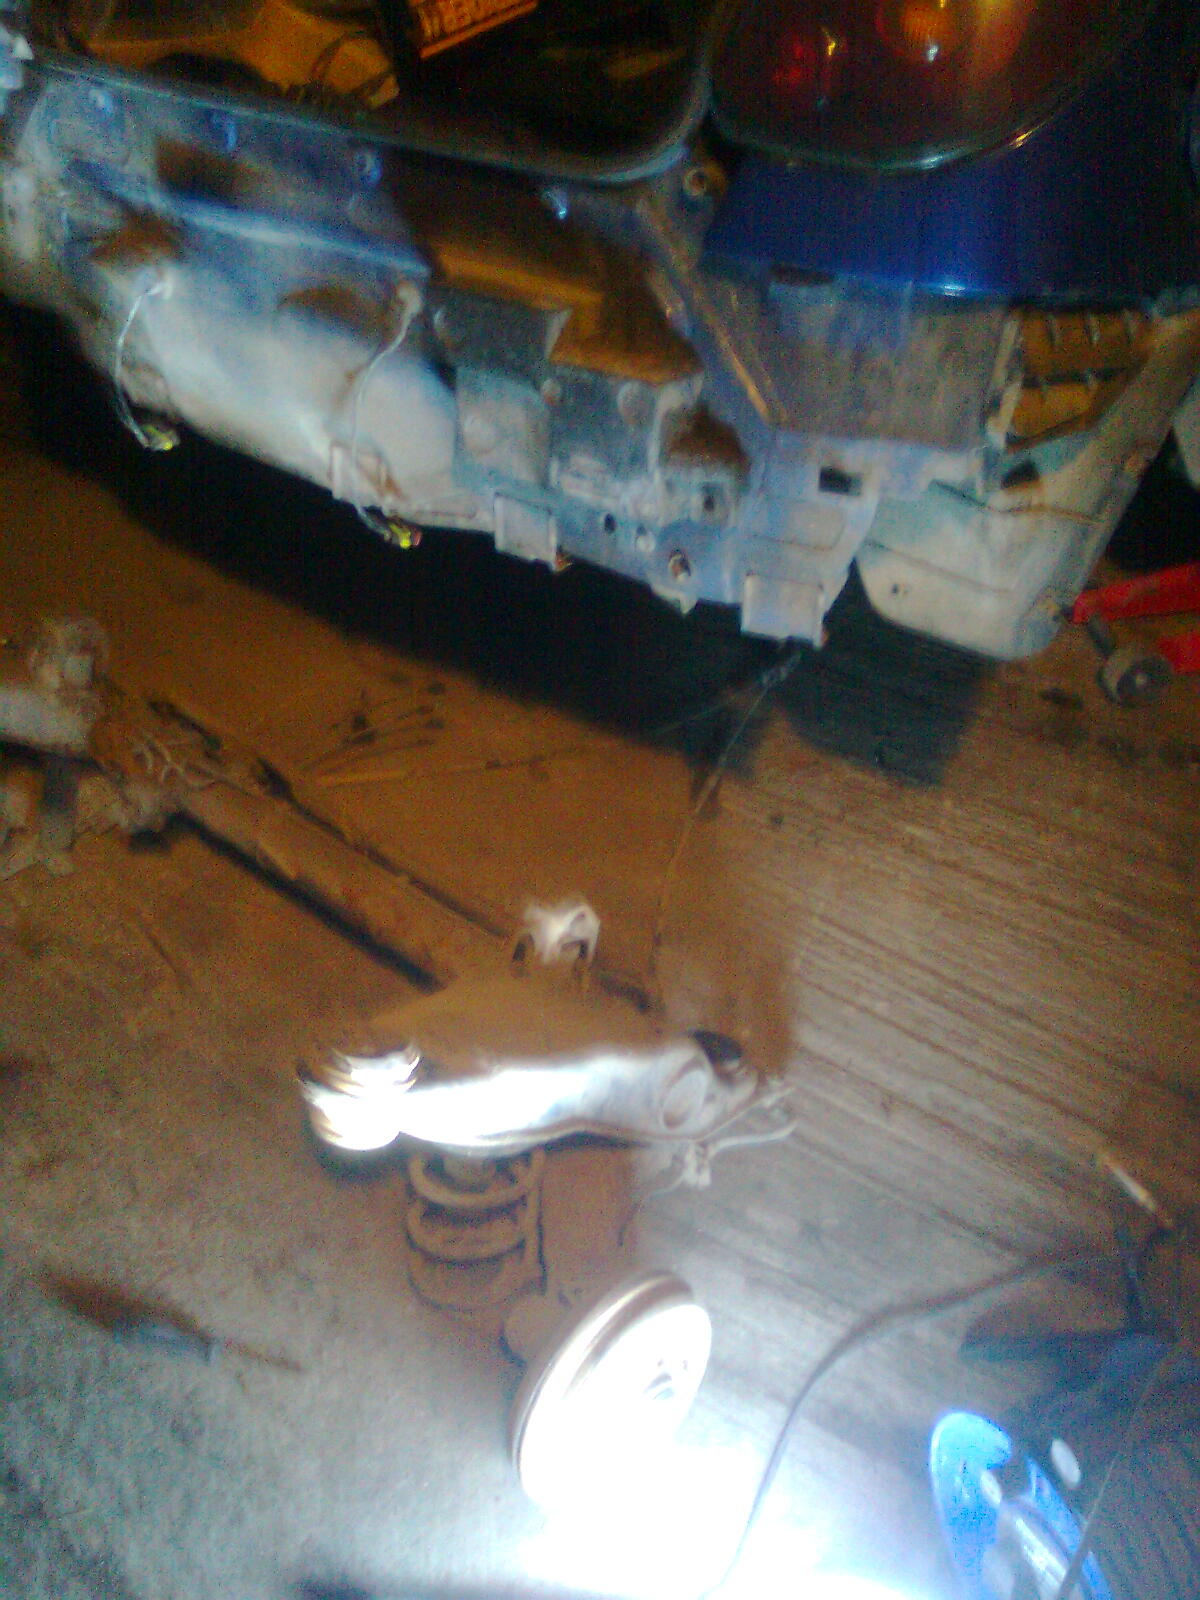
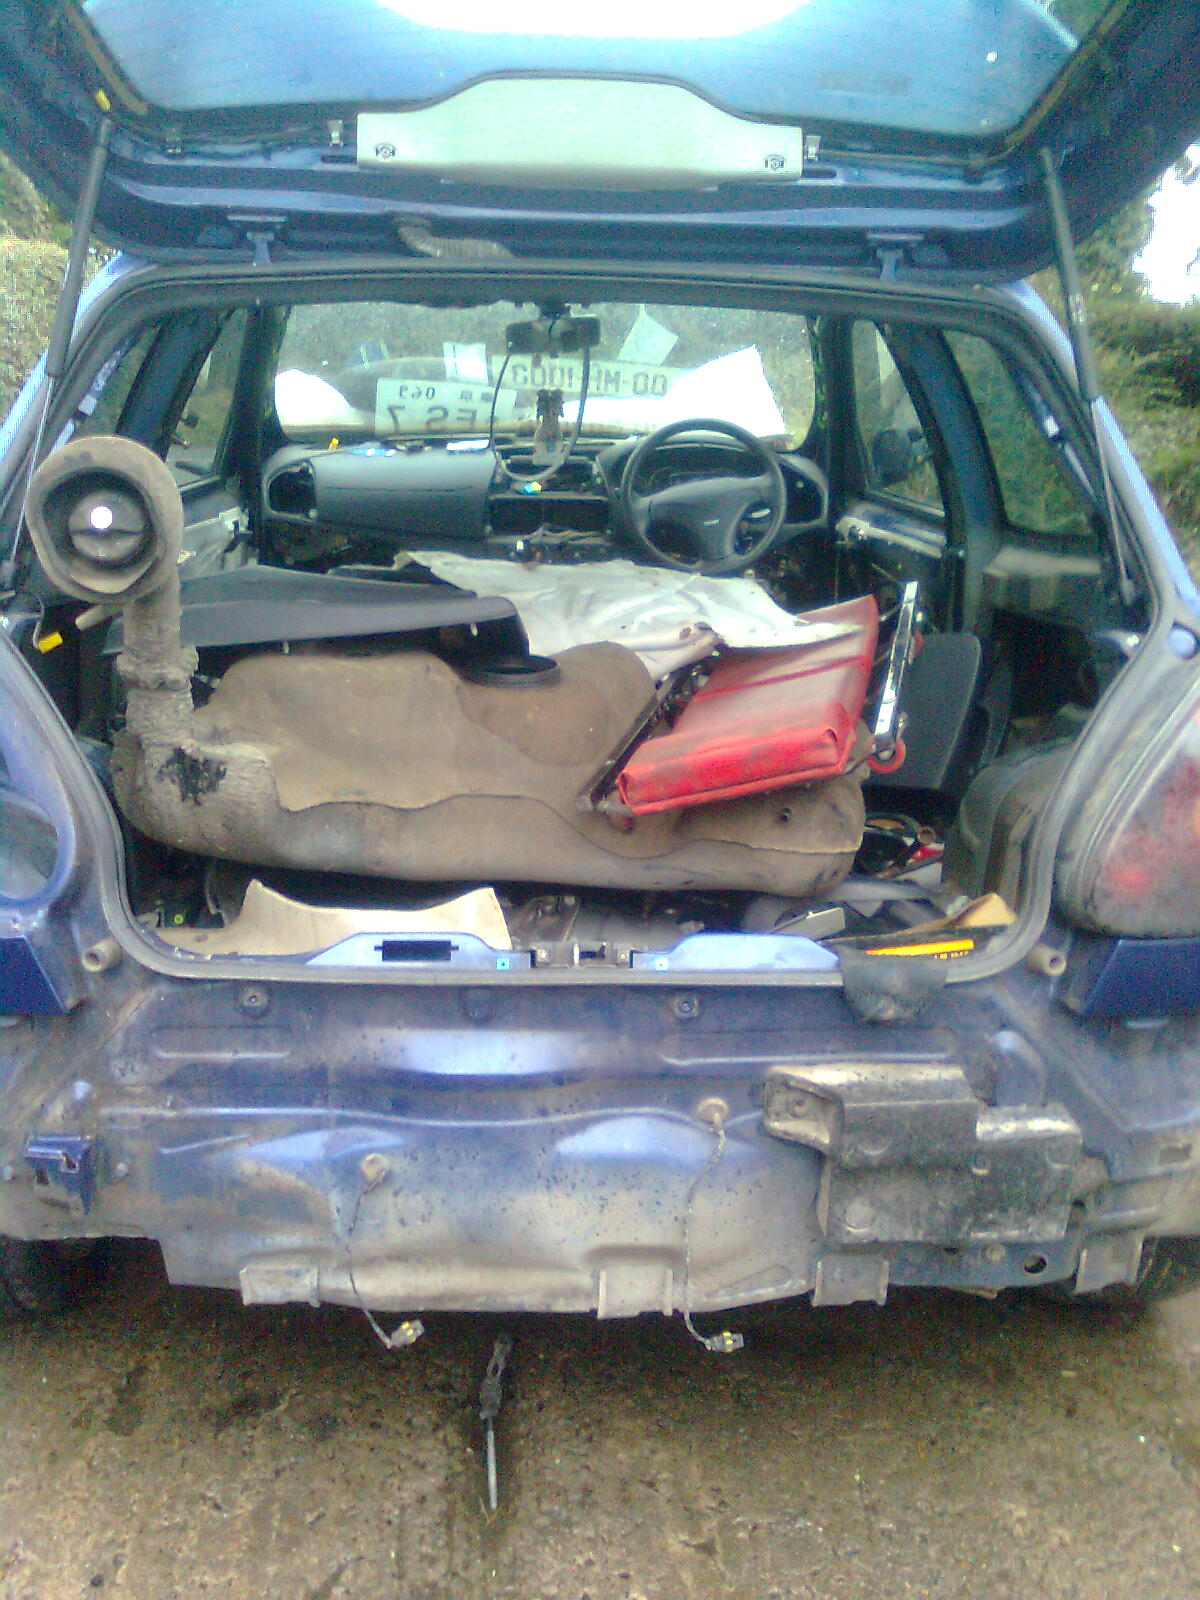
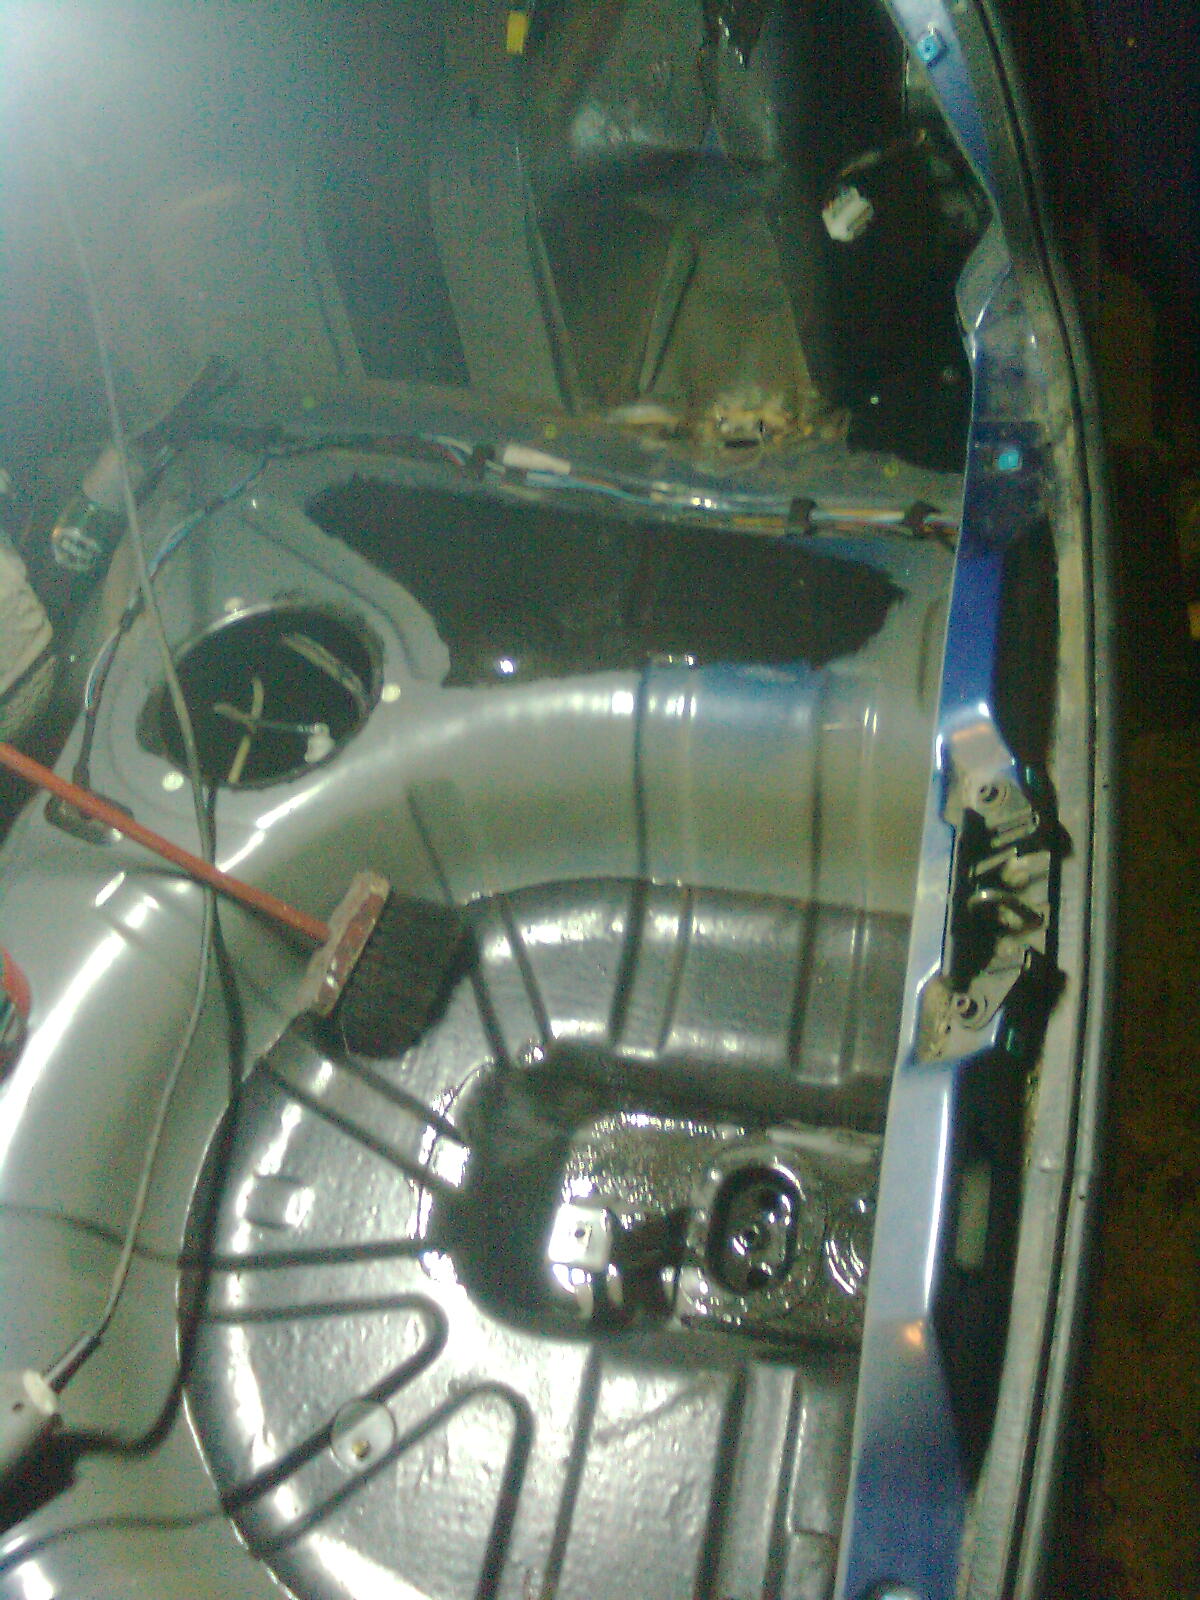
Then I realised I have to take the rear axle out due to wonkey rear arms, which means emptying and dropping the tank, D'OH!!! :doh::doh::doh: Oh well... :rolleyes:

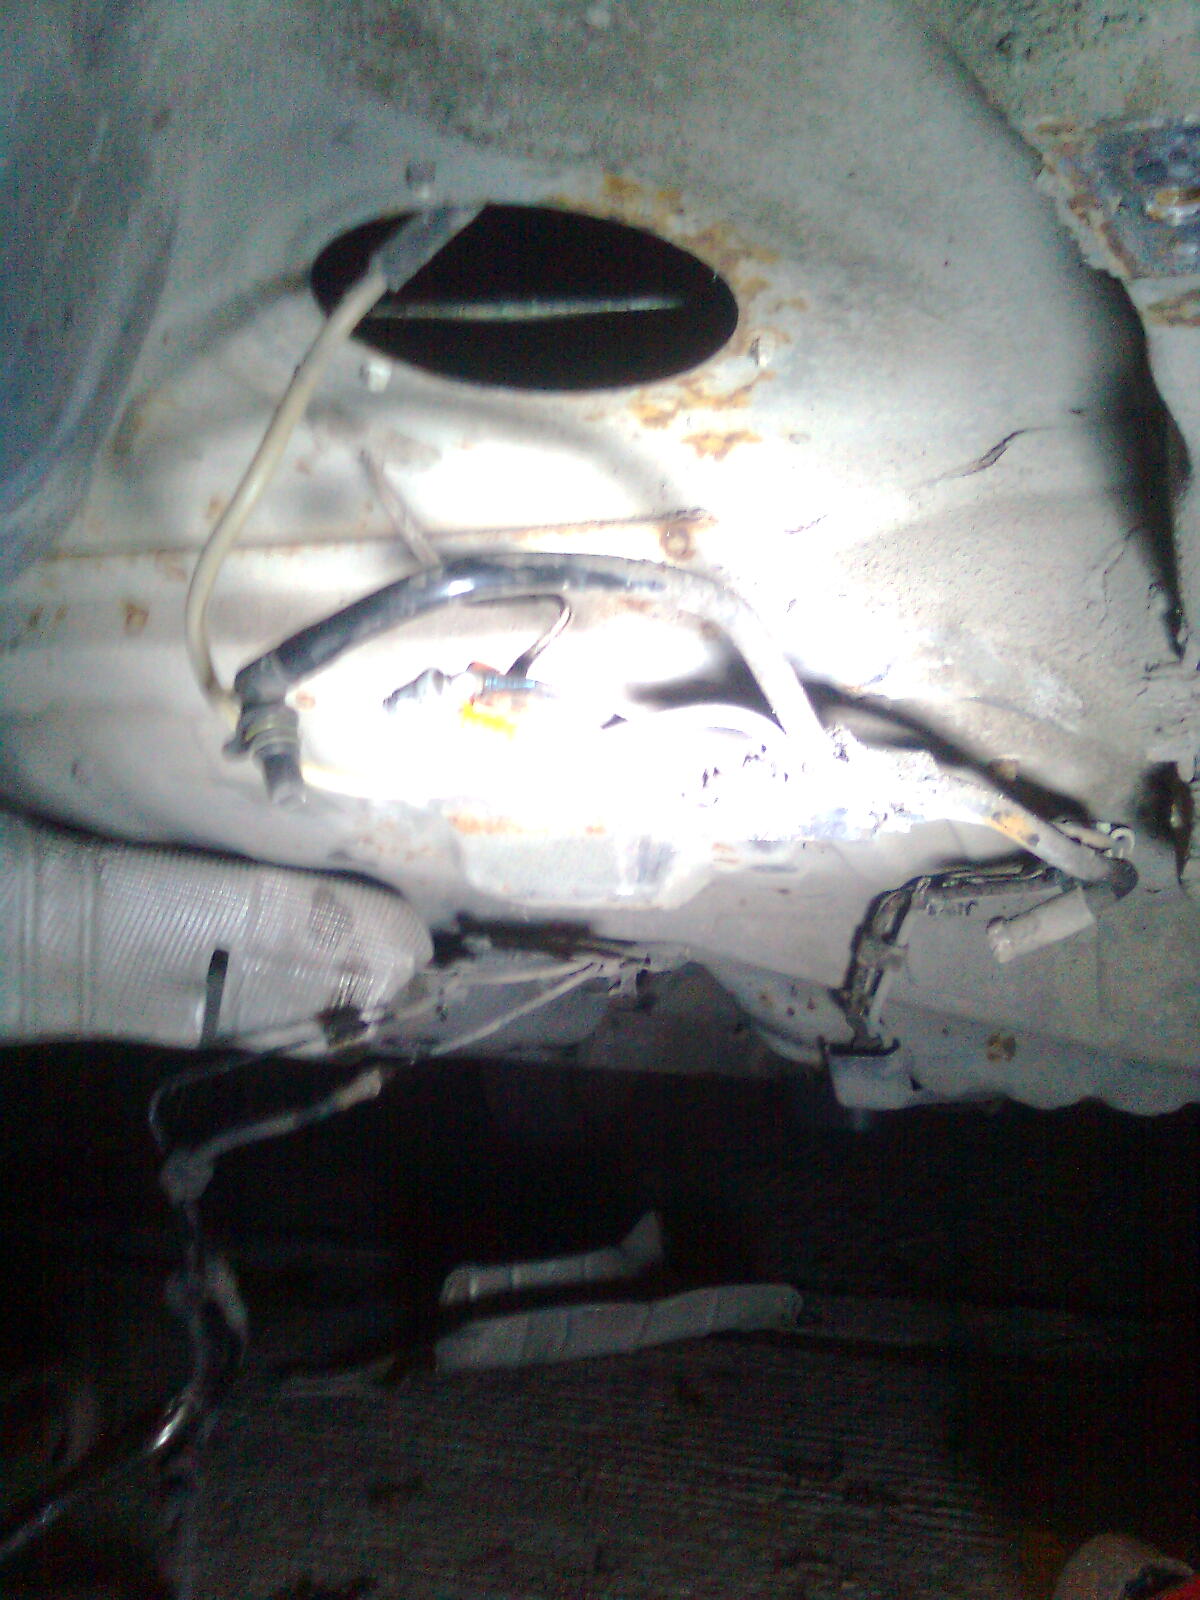
Roll on the next day and I get this
Image03911.jpg


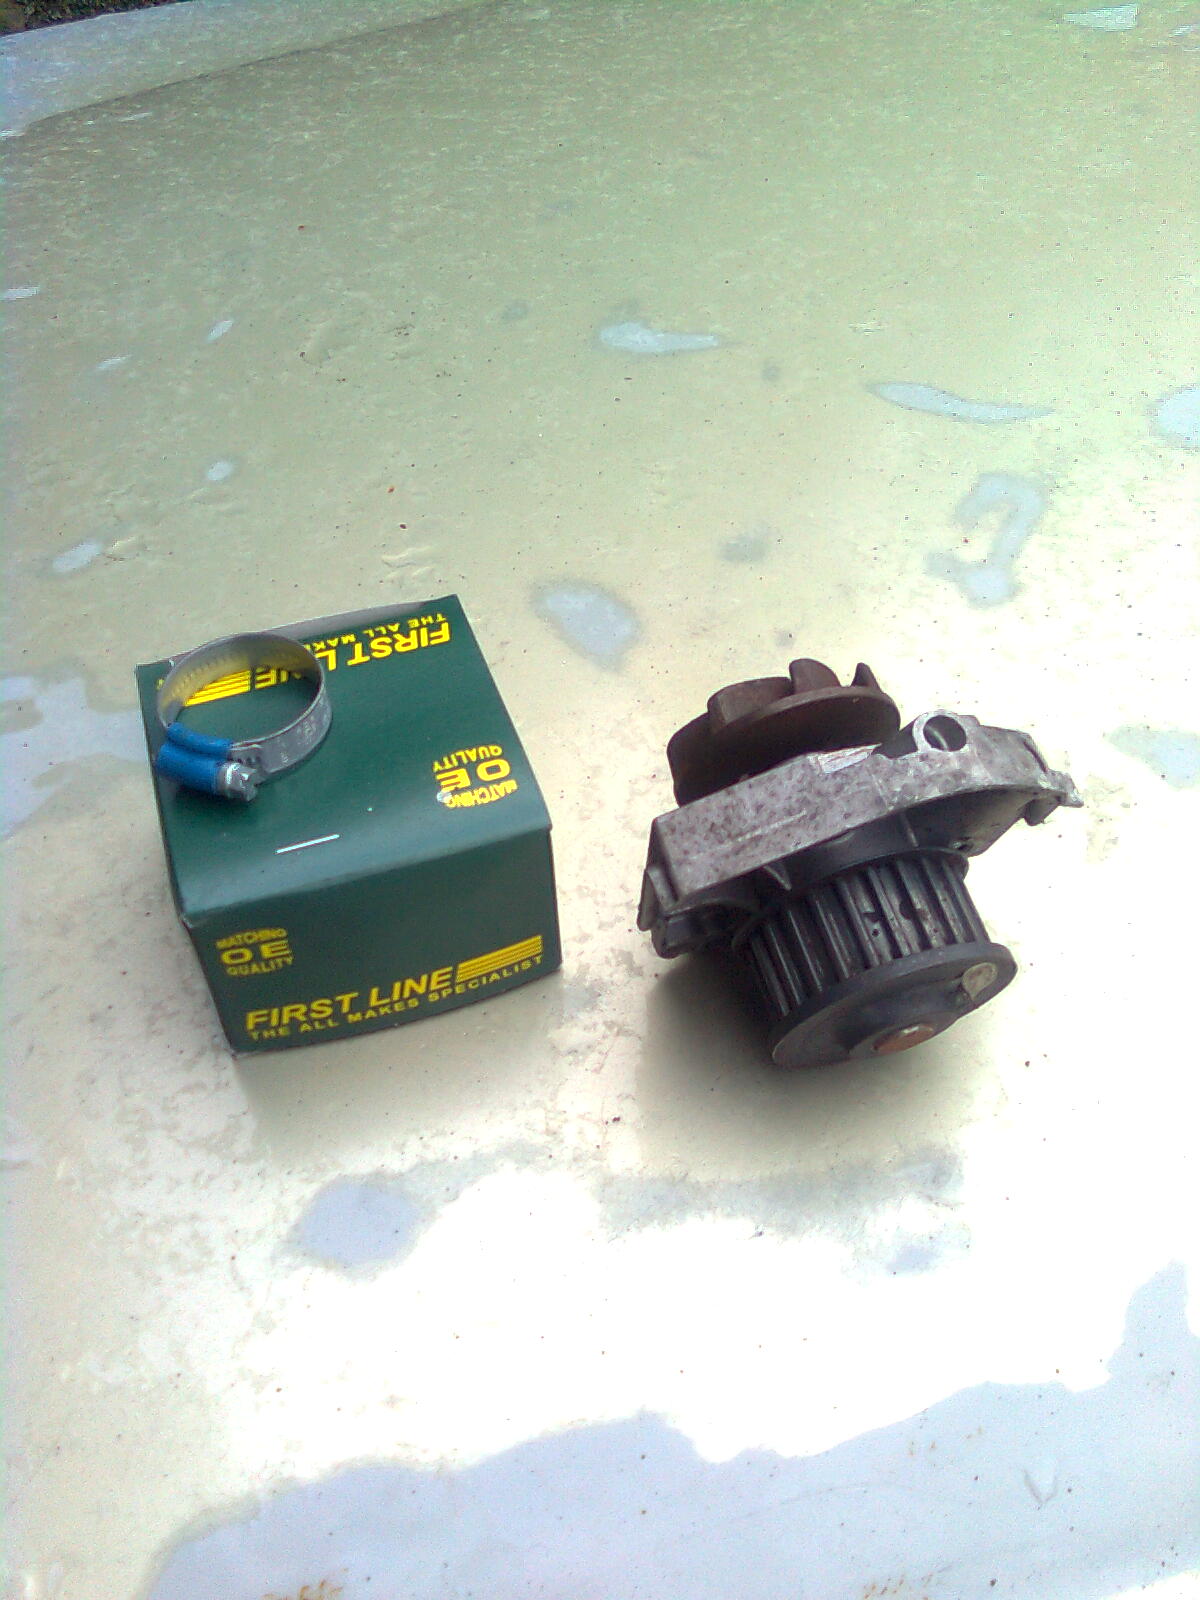
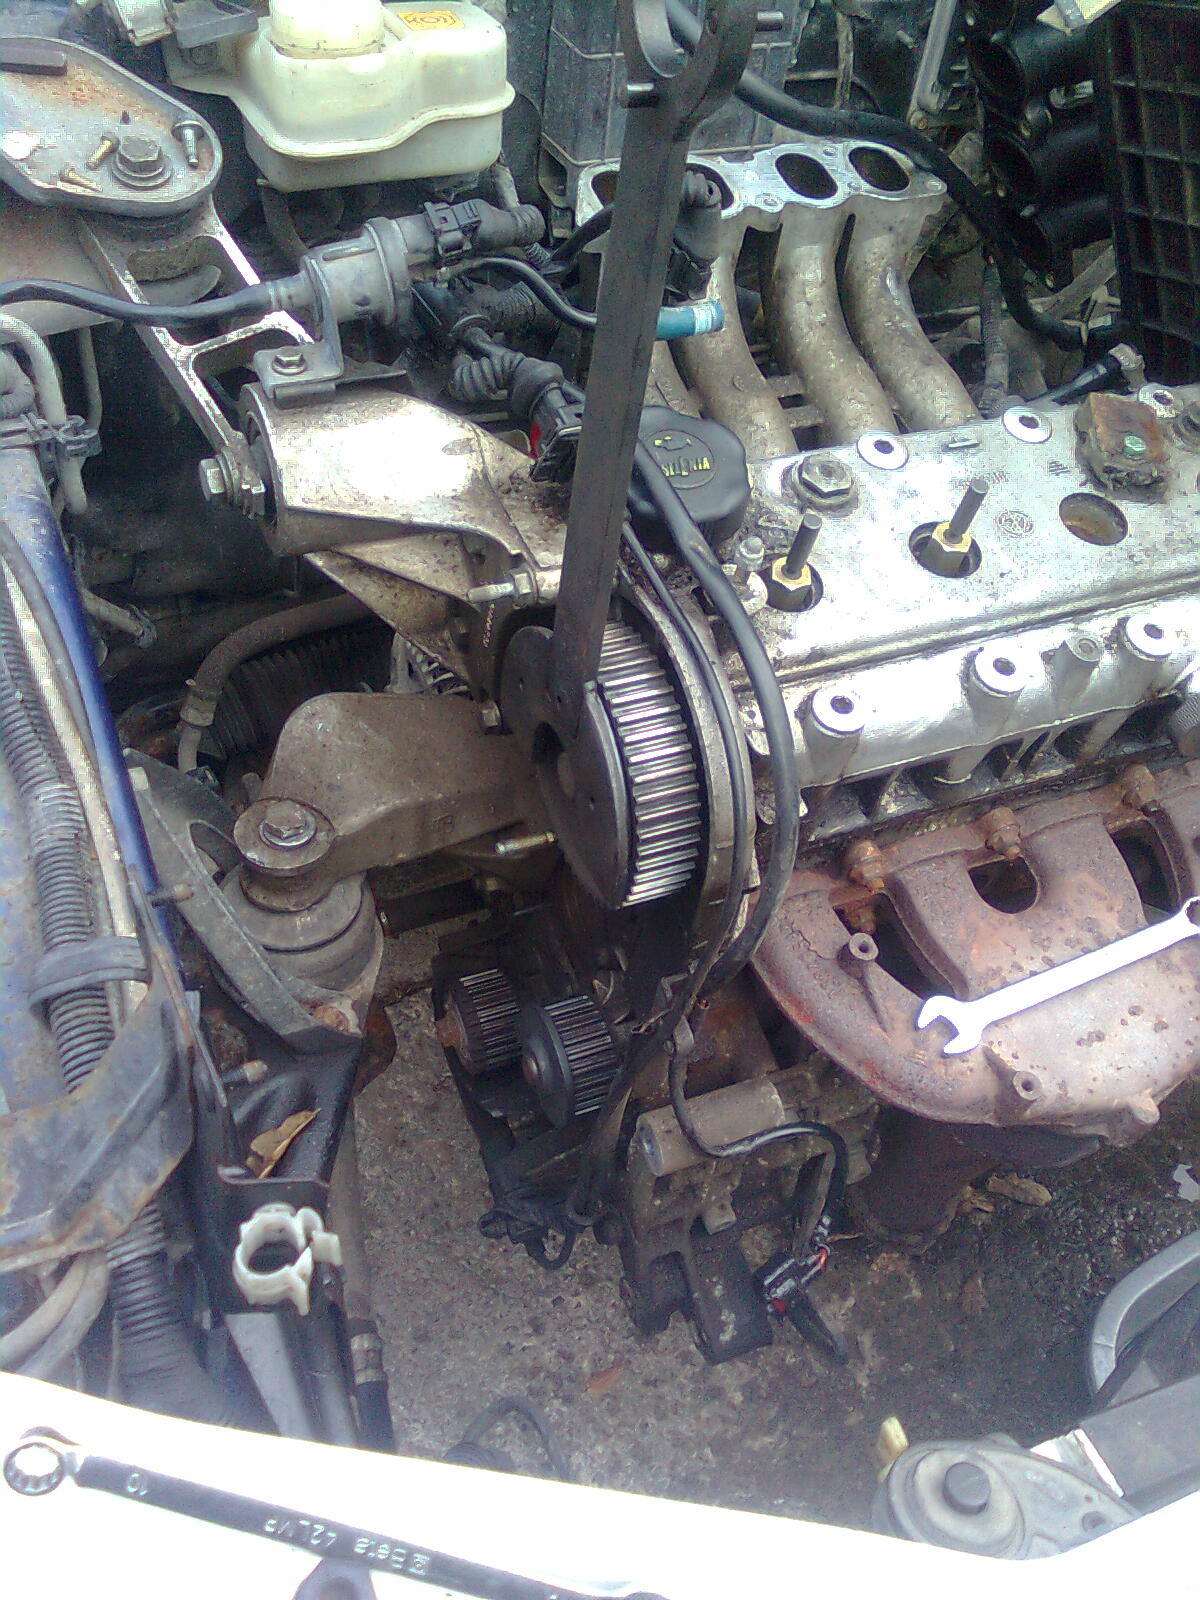
Hold on wheres the water pump?
Image0392.jpg


Ah thats better :) 
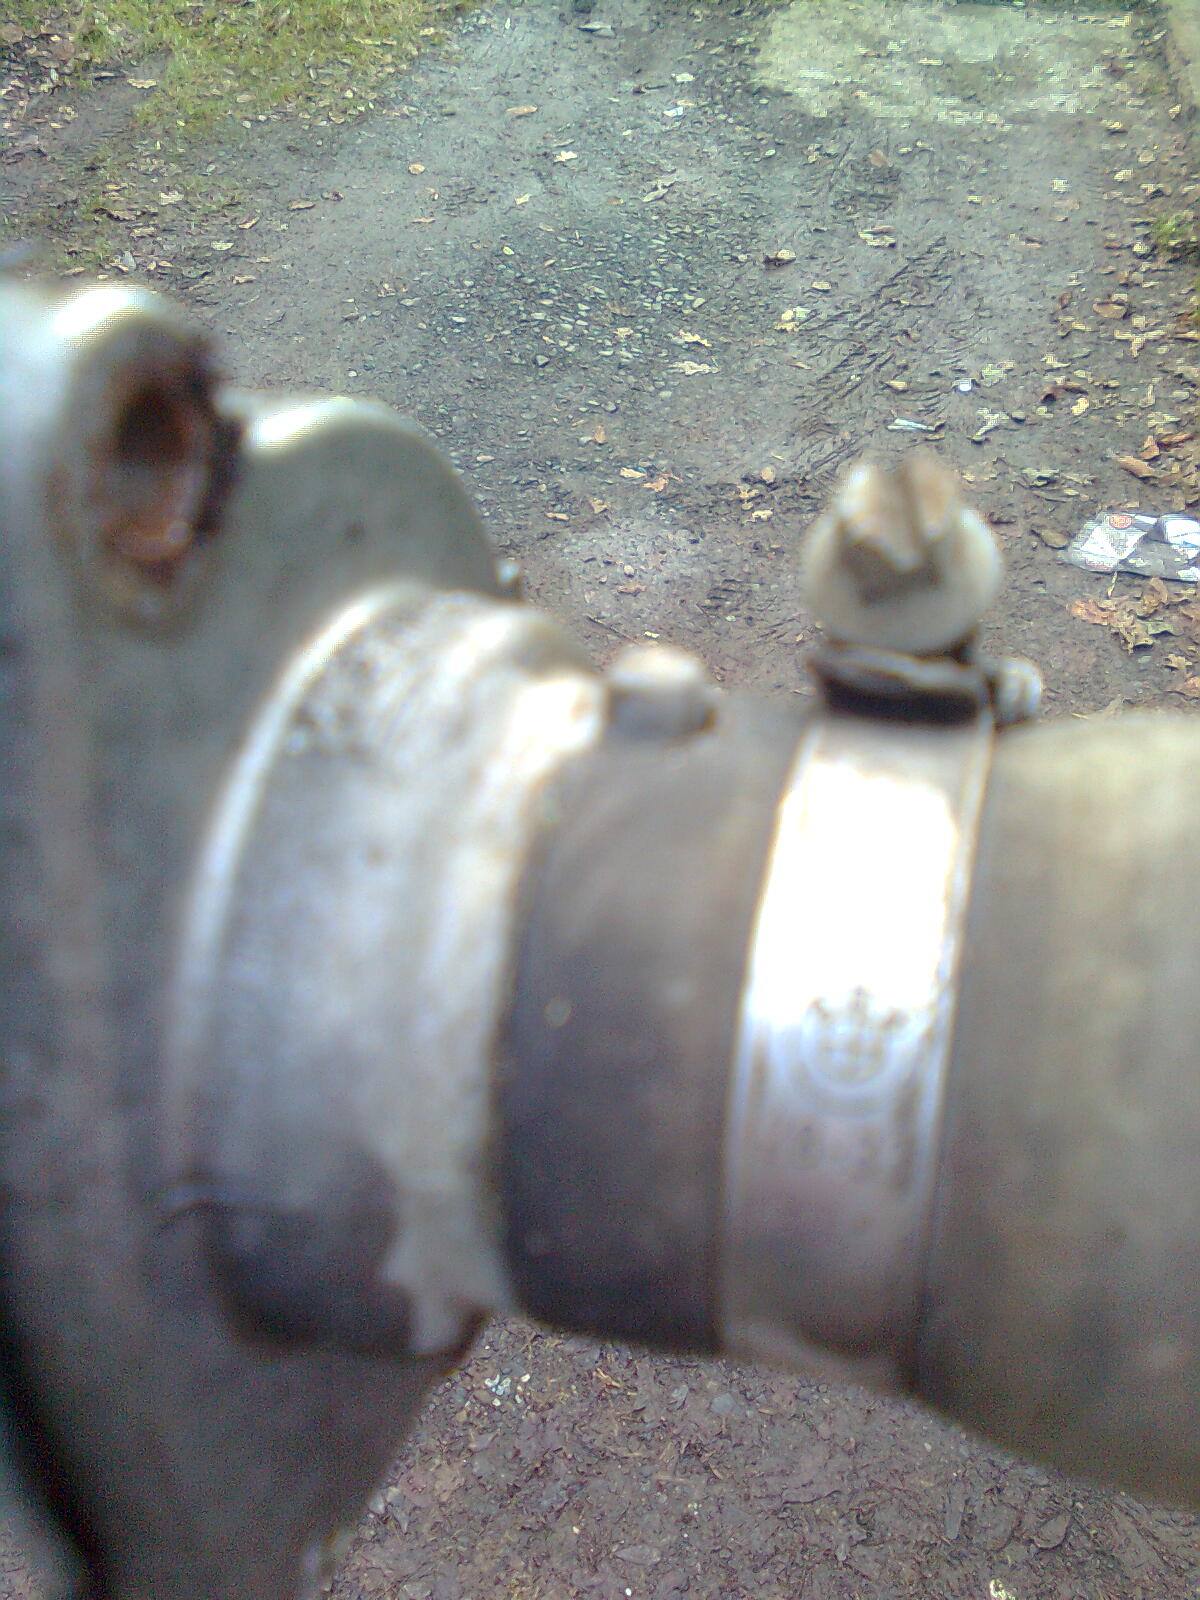
The thermostat was an original part, or was it... Note the hose clip ;)
Image0393.jpg


(y)

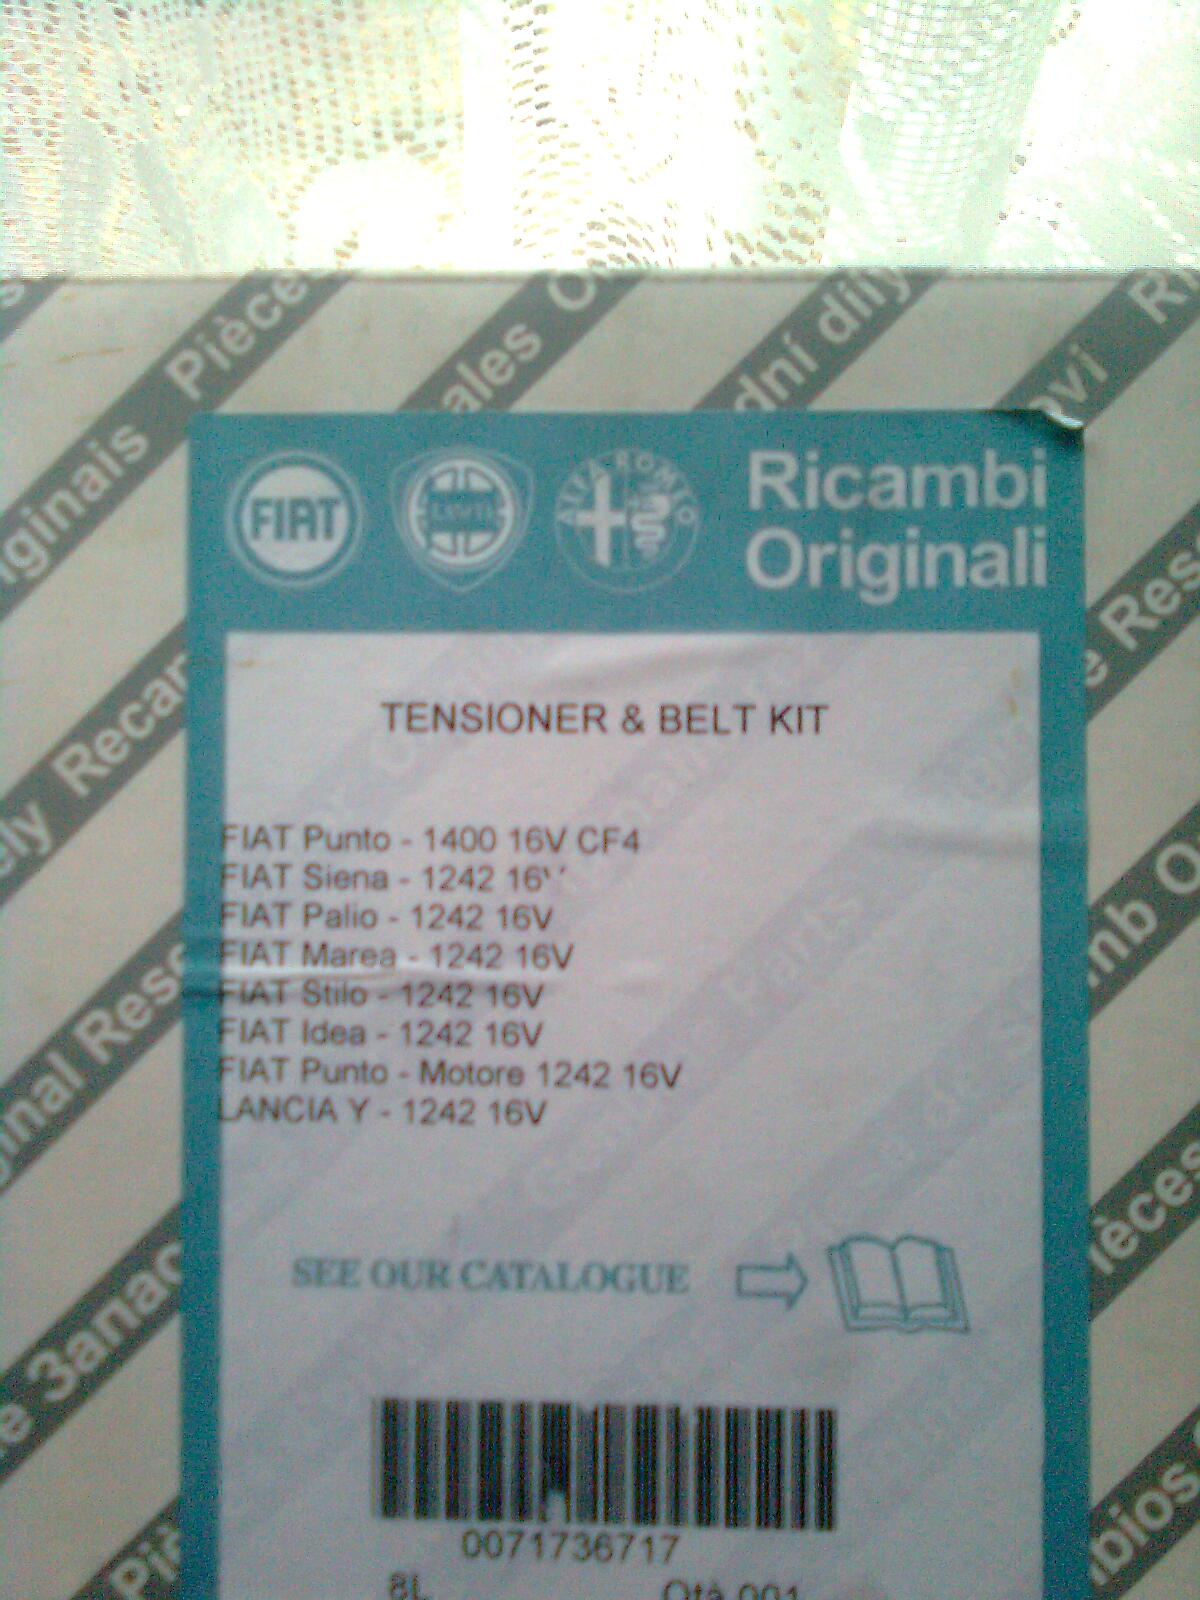
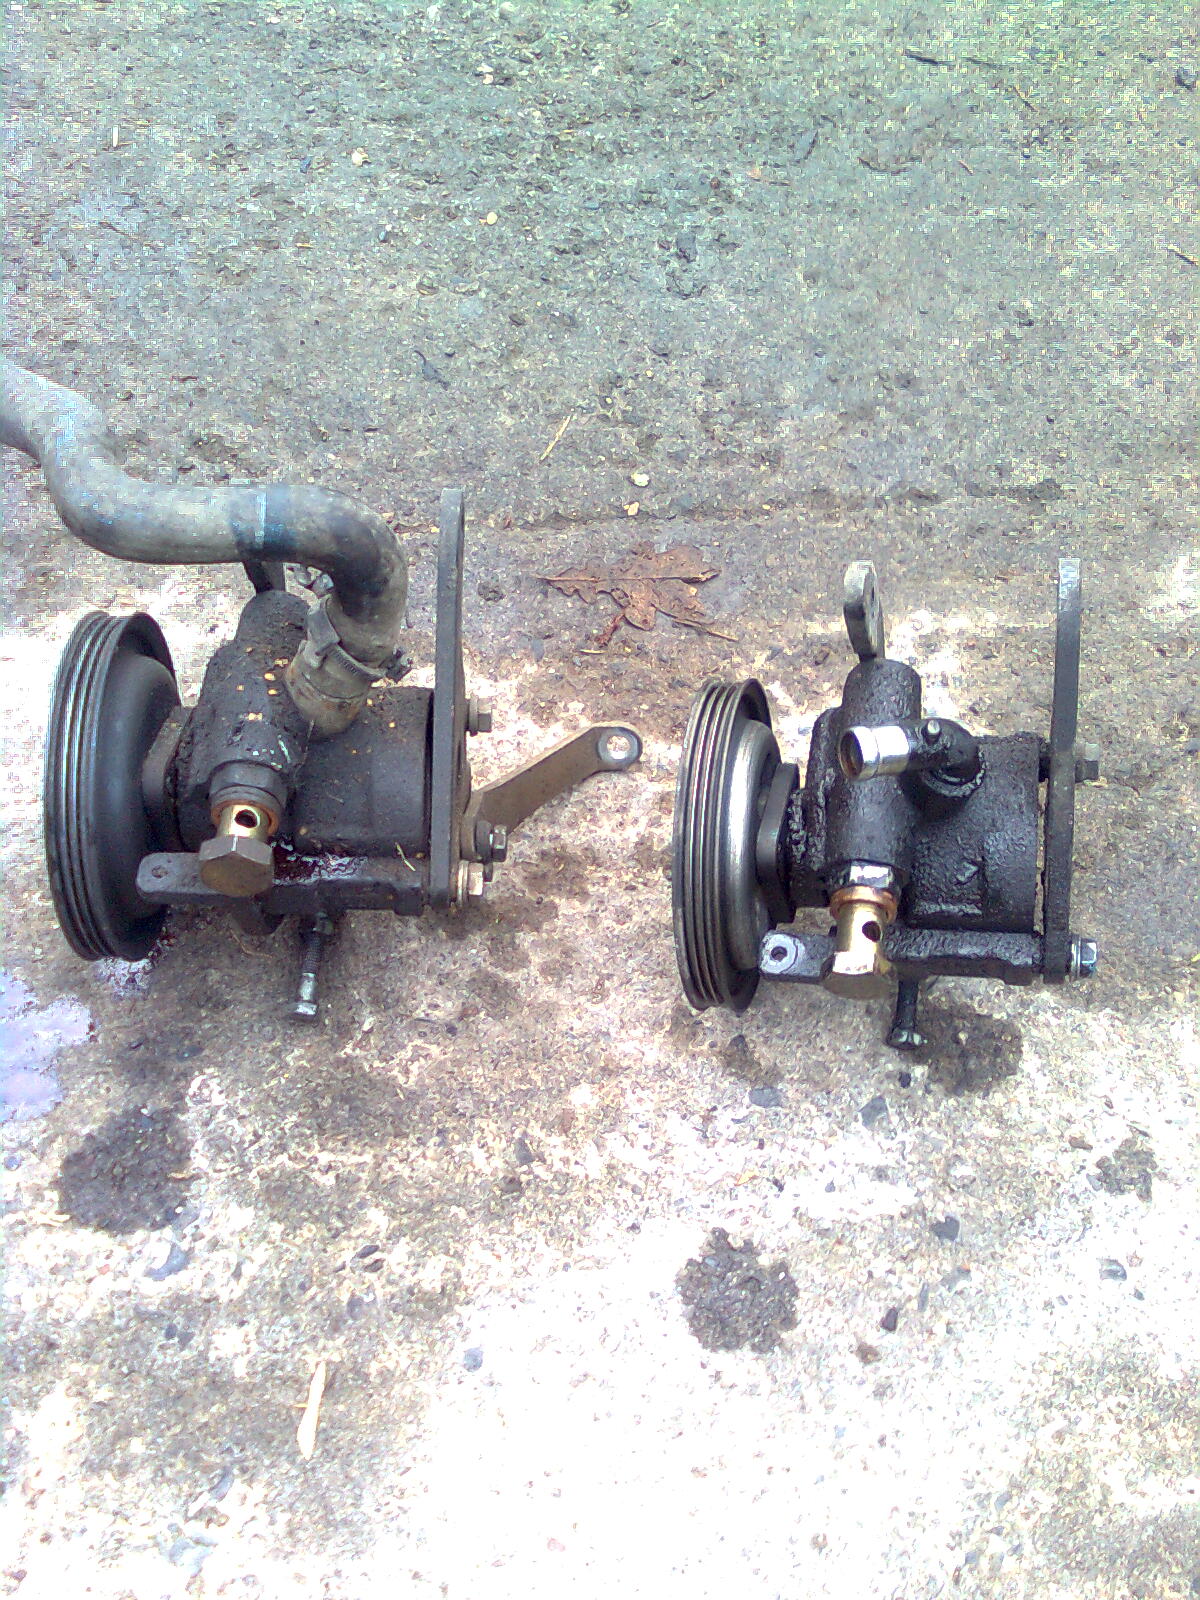
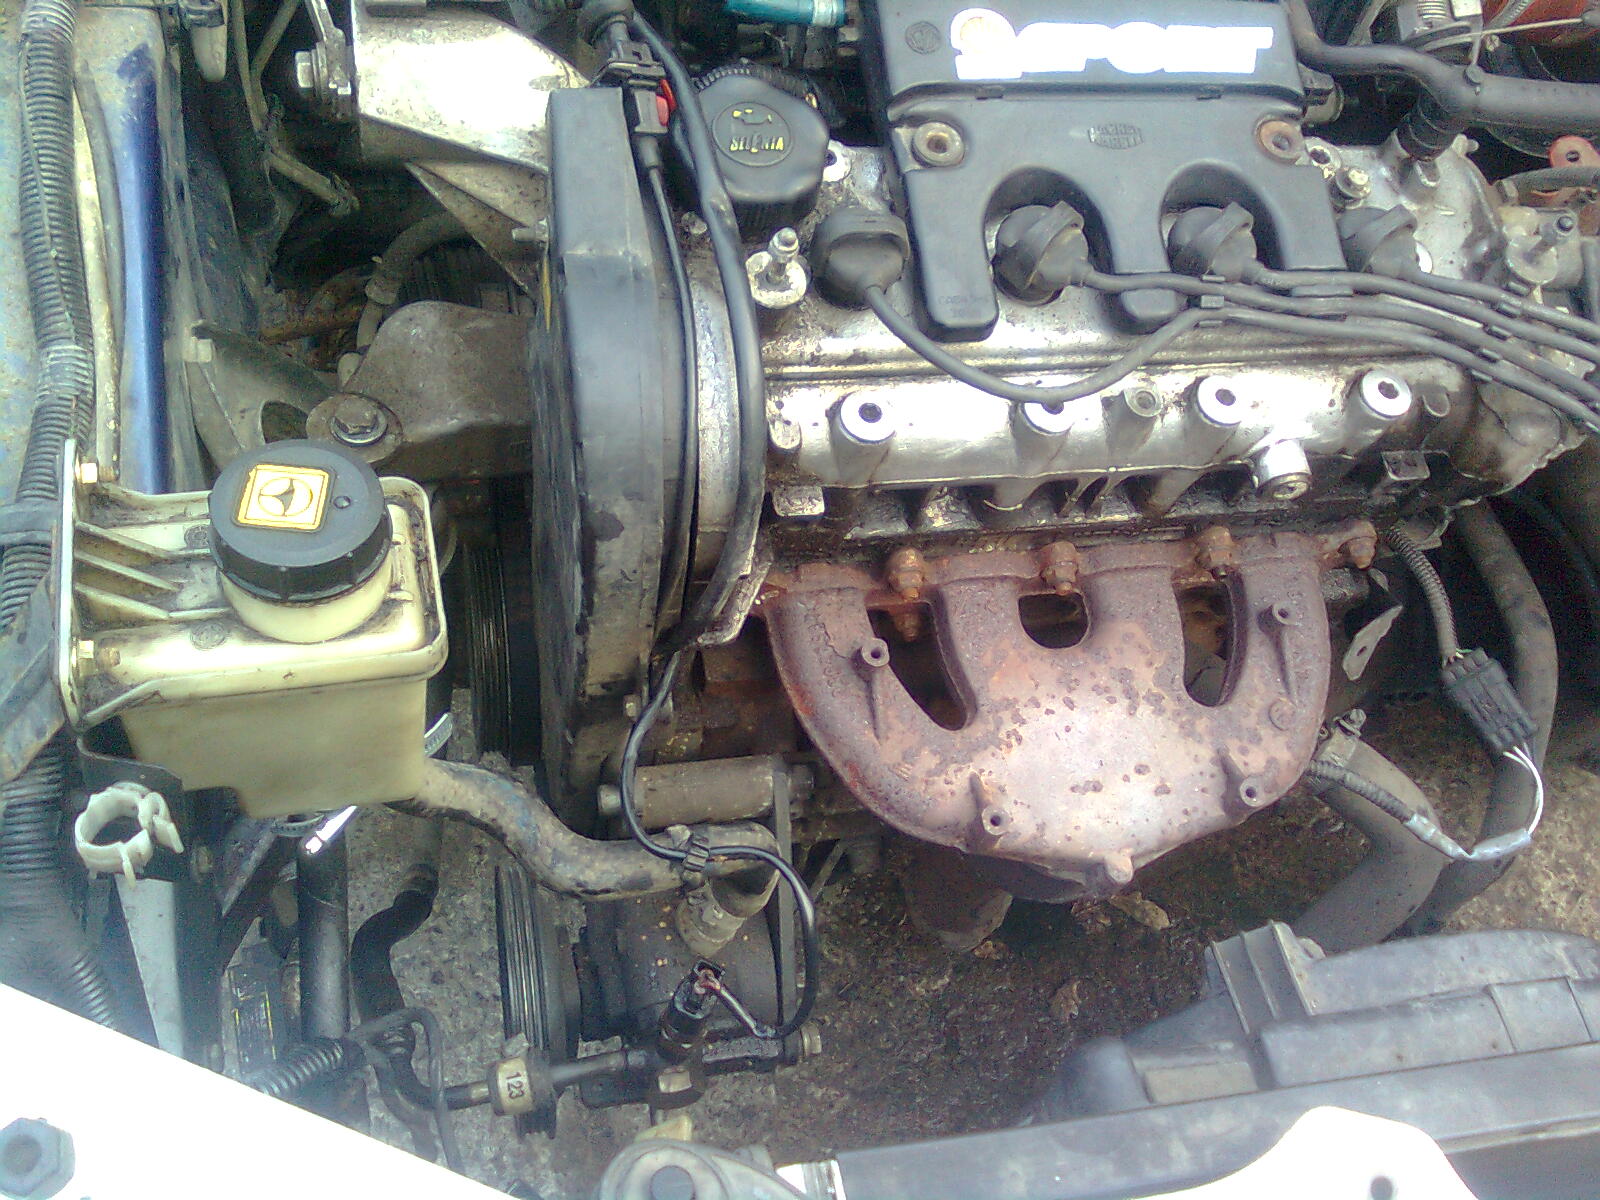
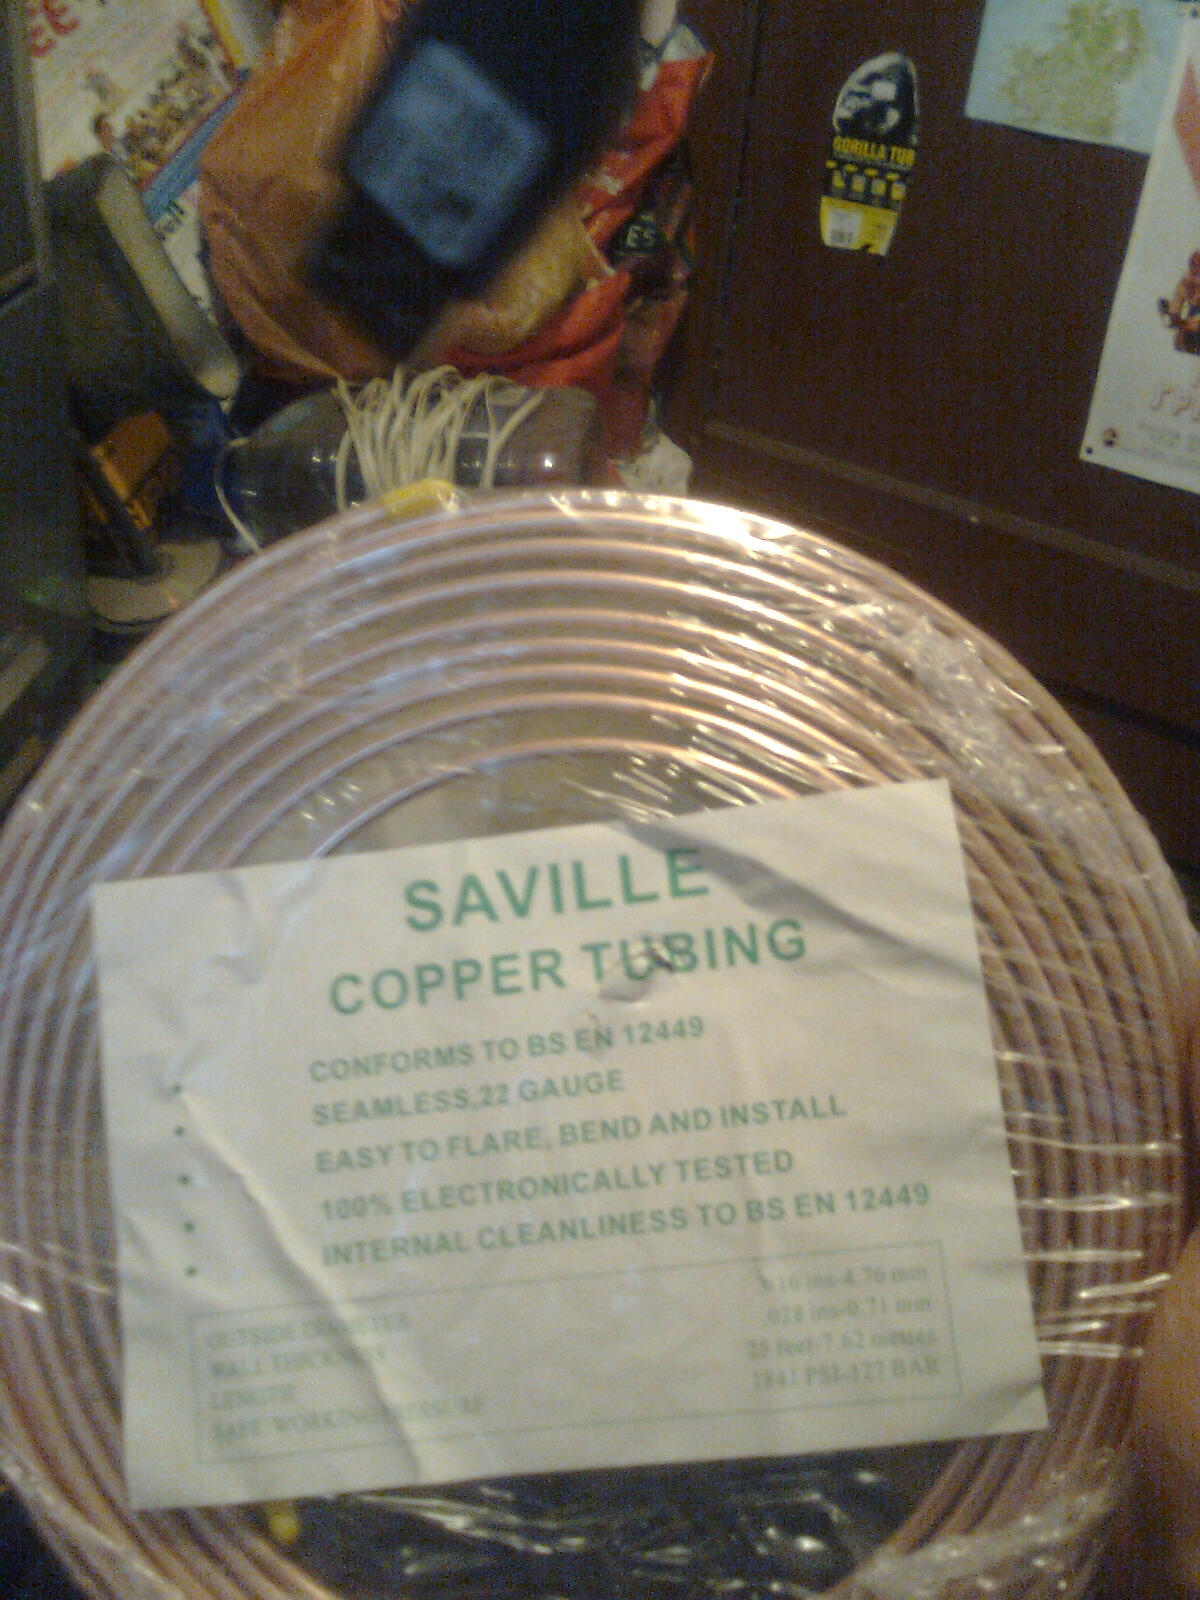
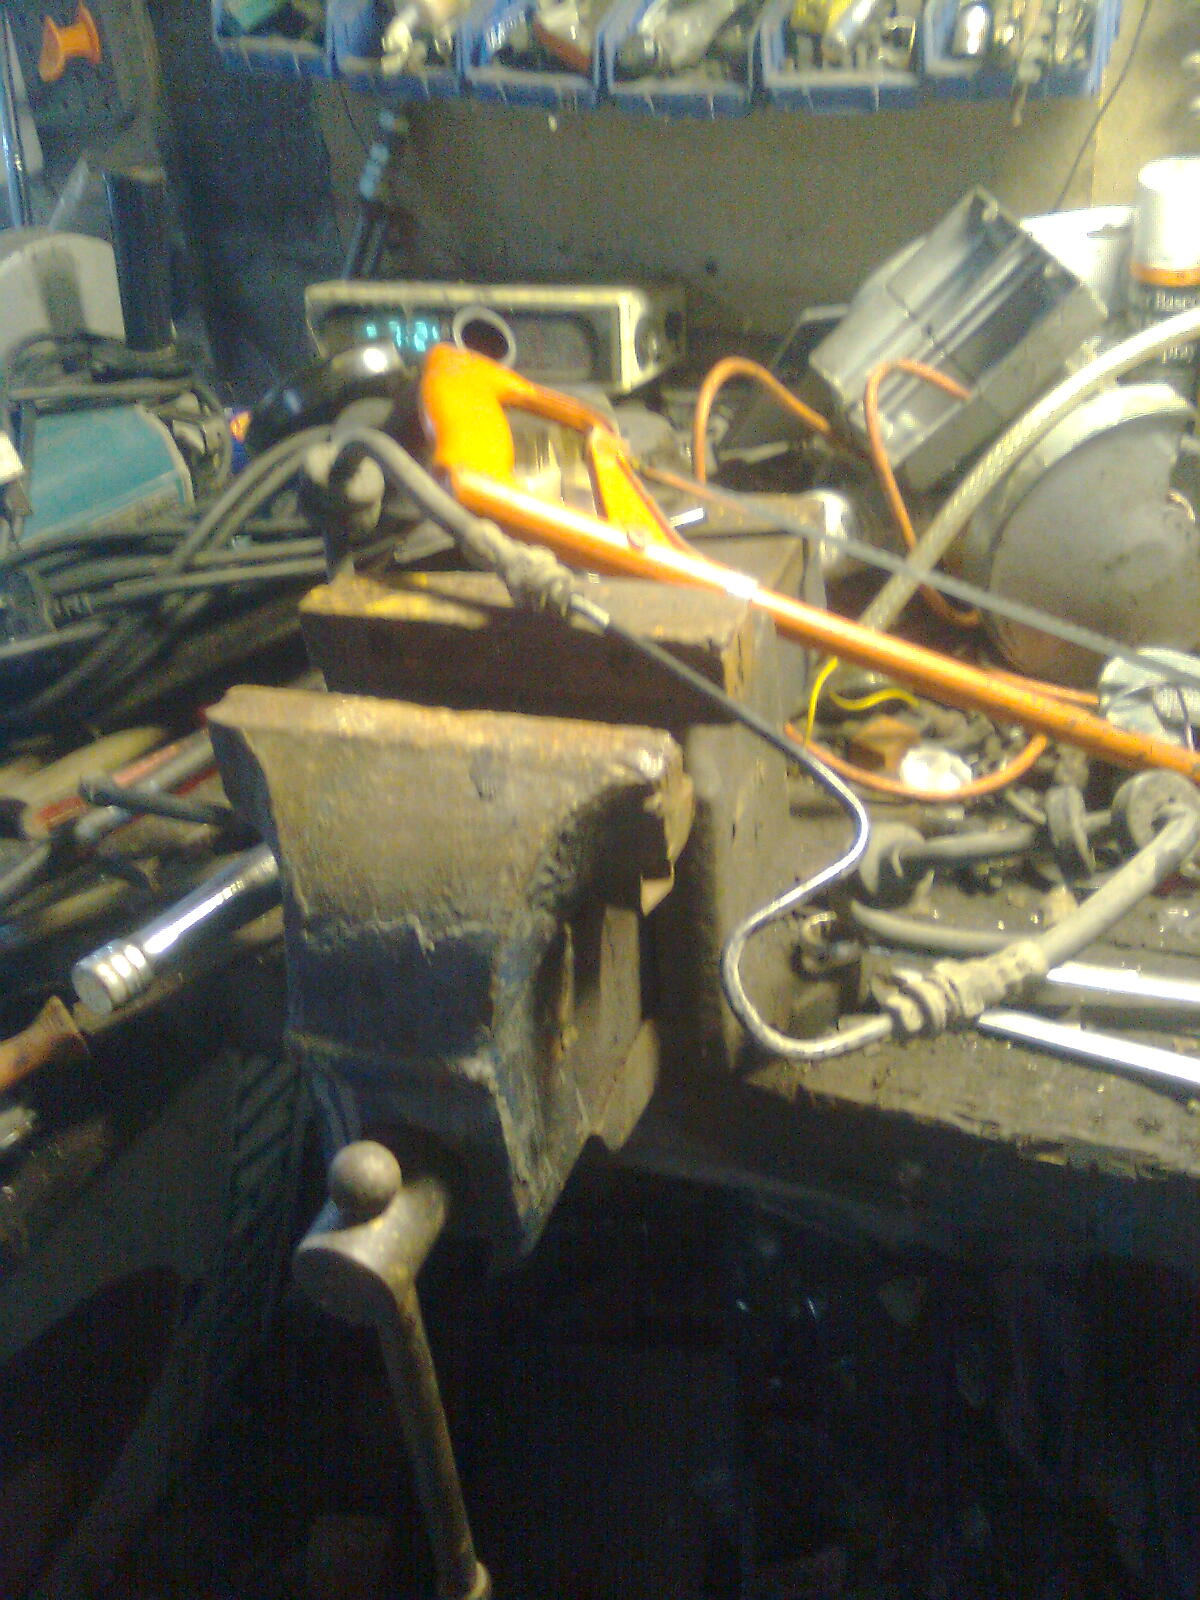
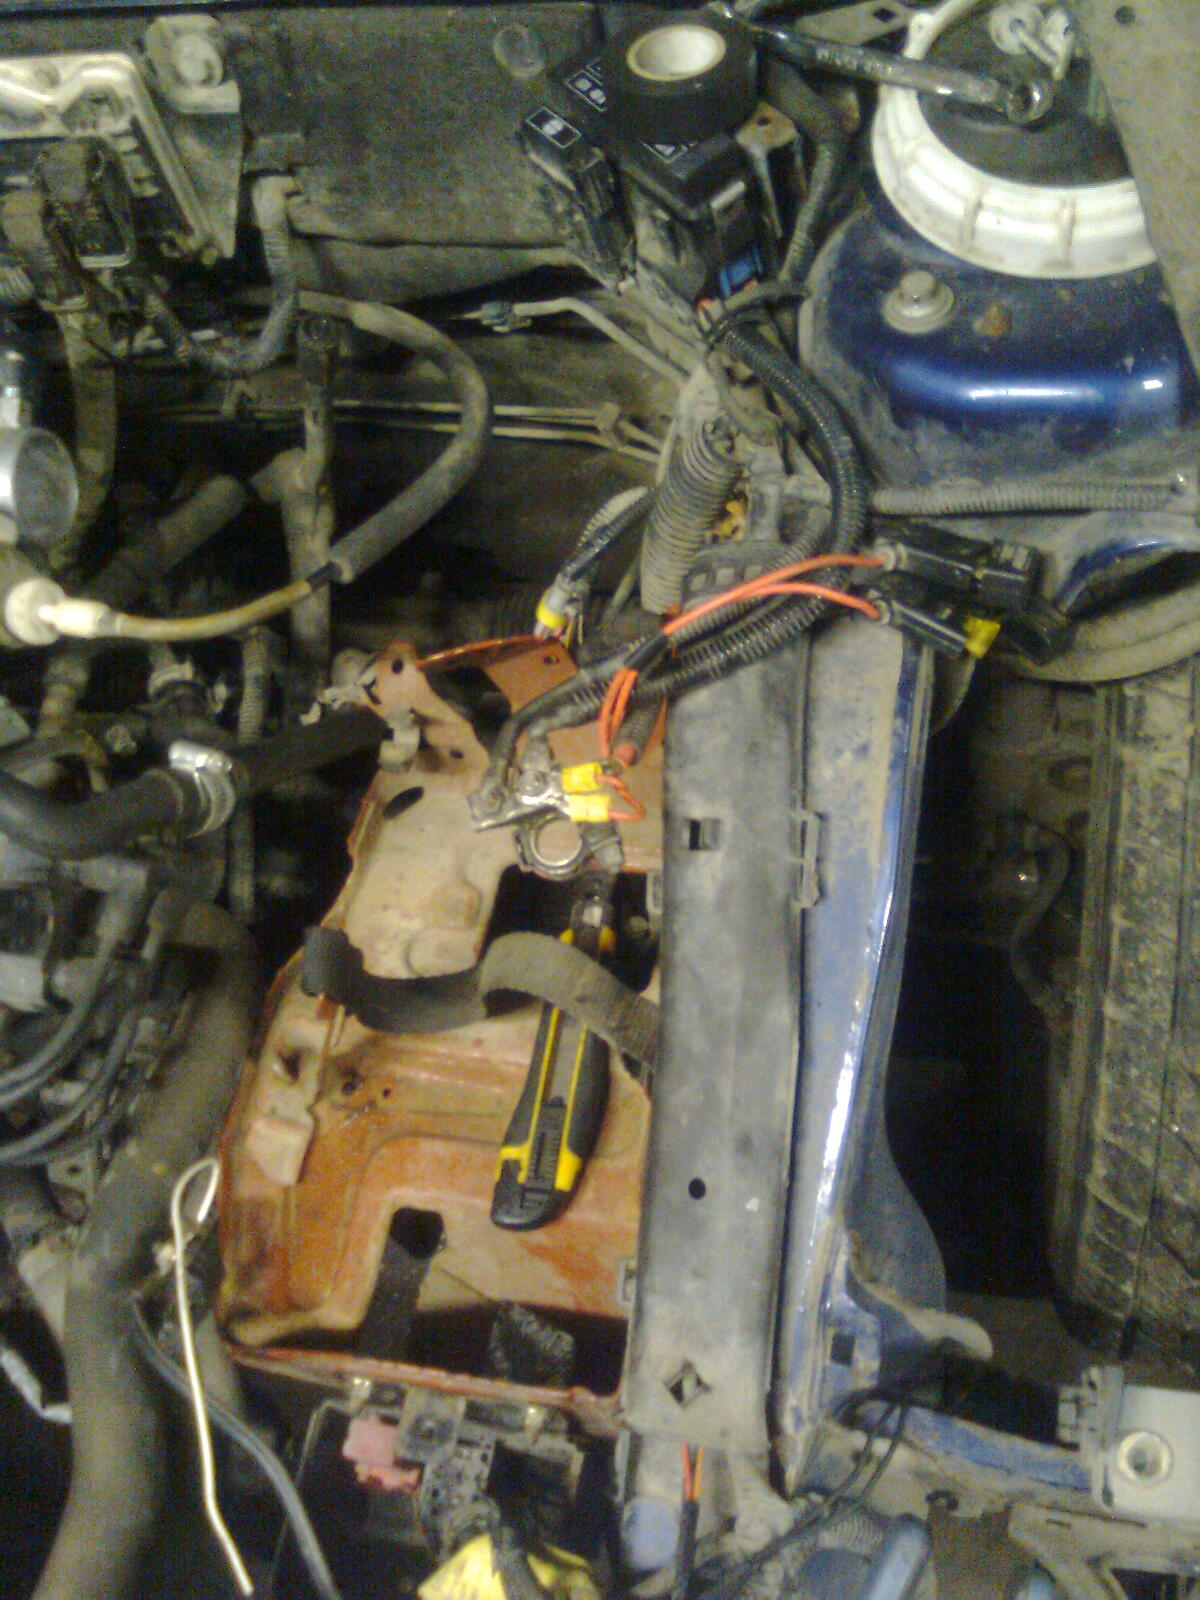
As its a standard t-belt change, naturally I'm going to change the belt, tensioner, pump, steering pump....
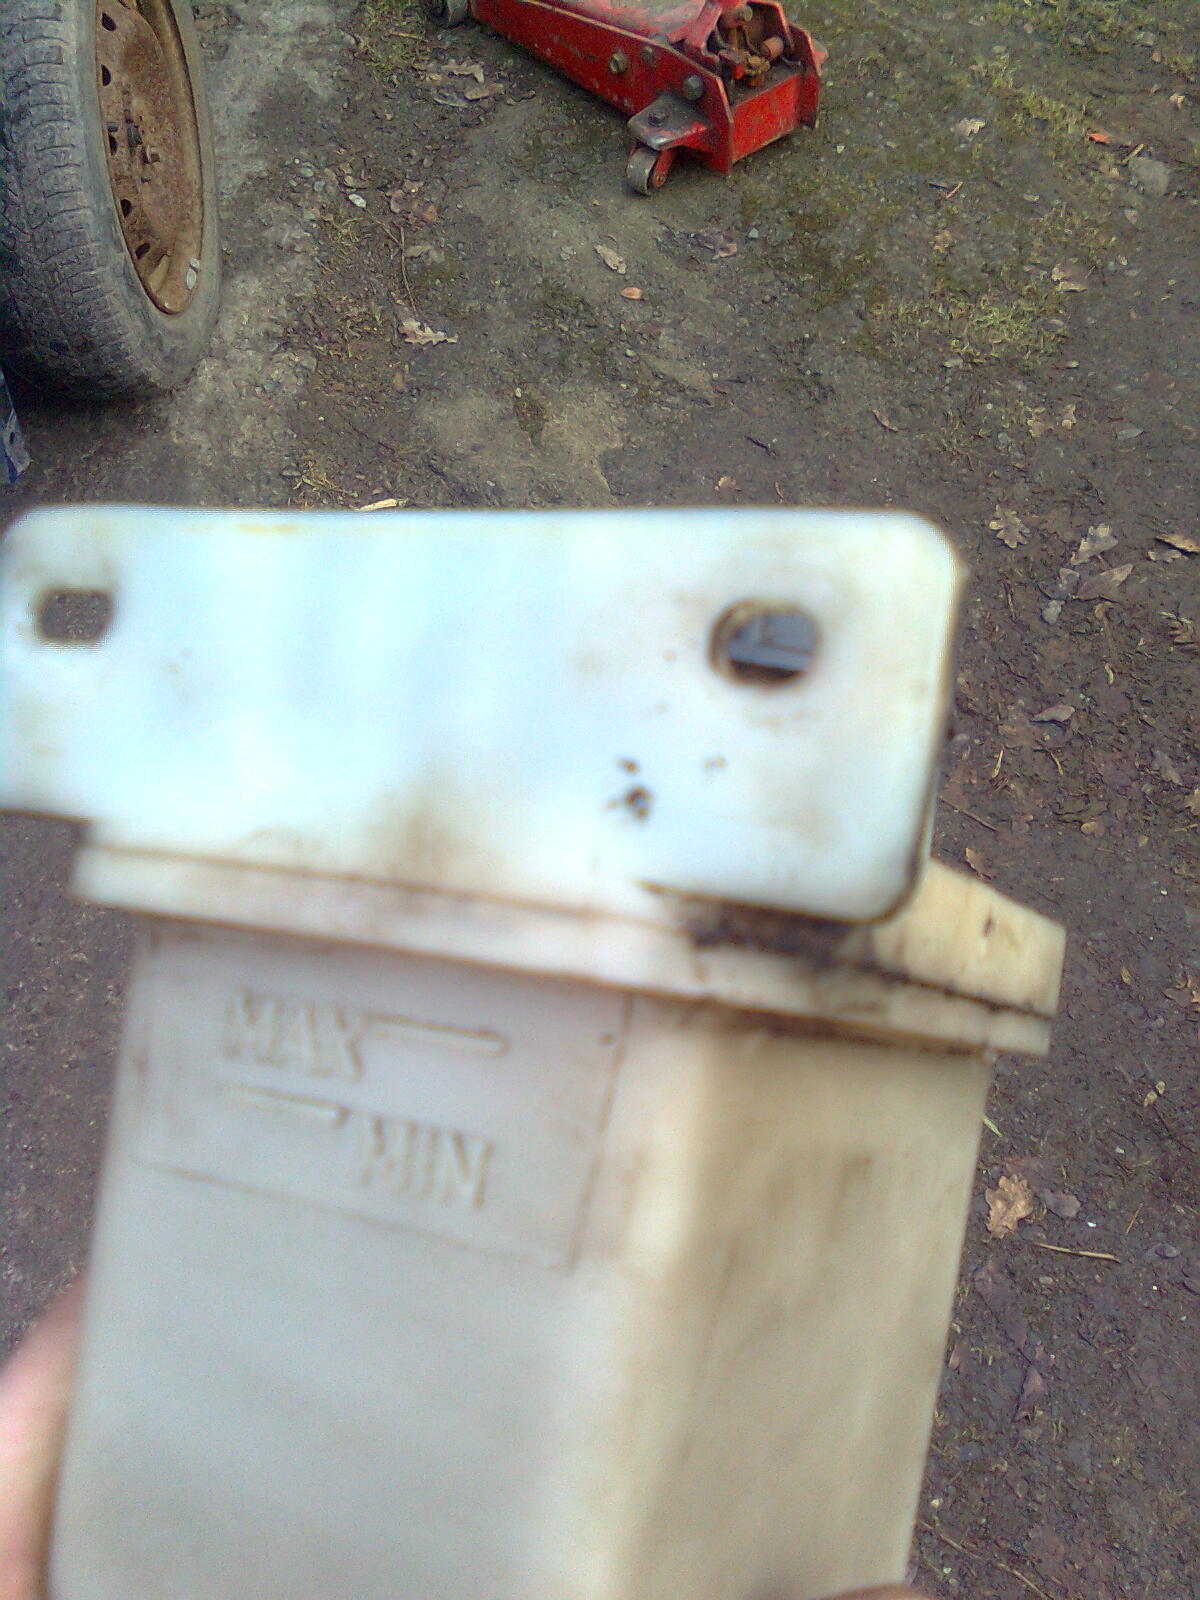
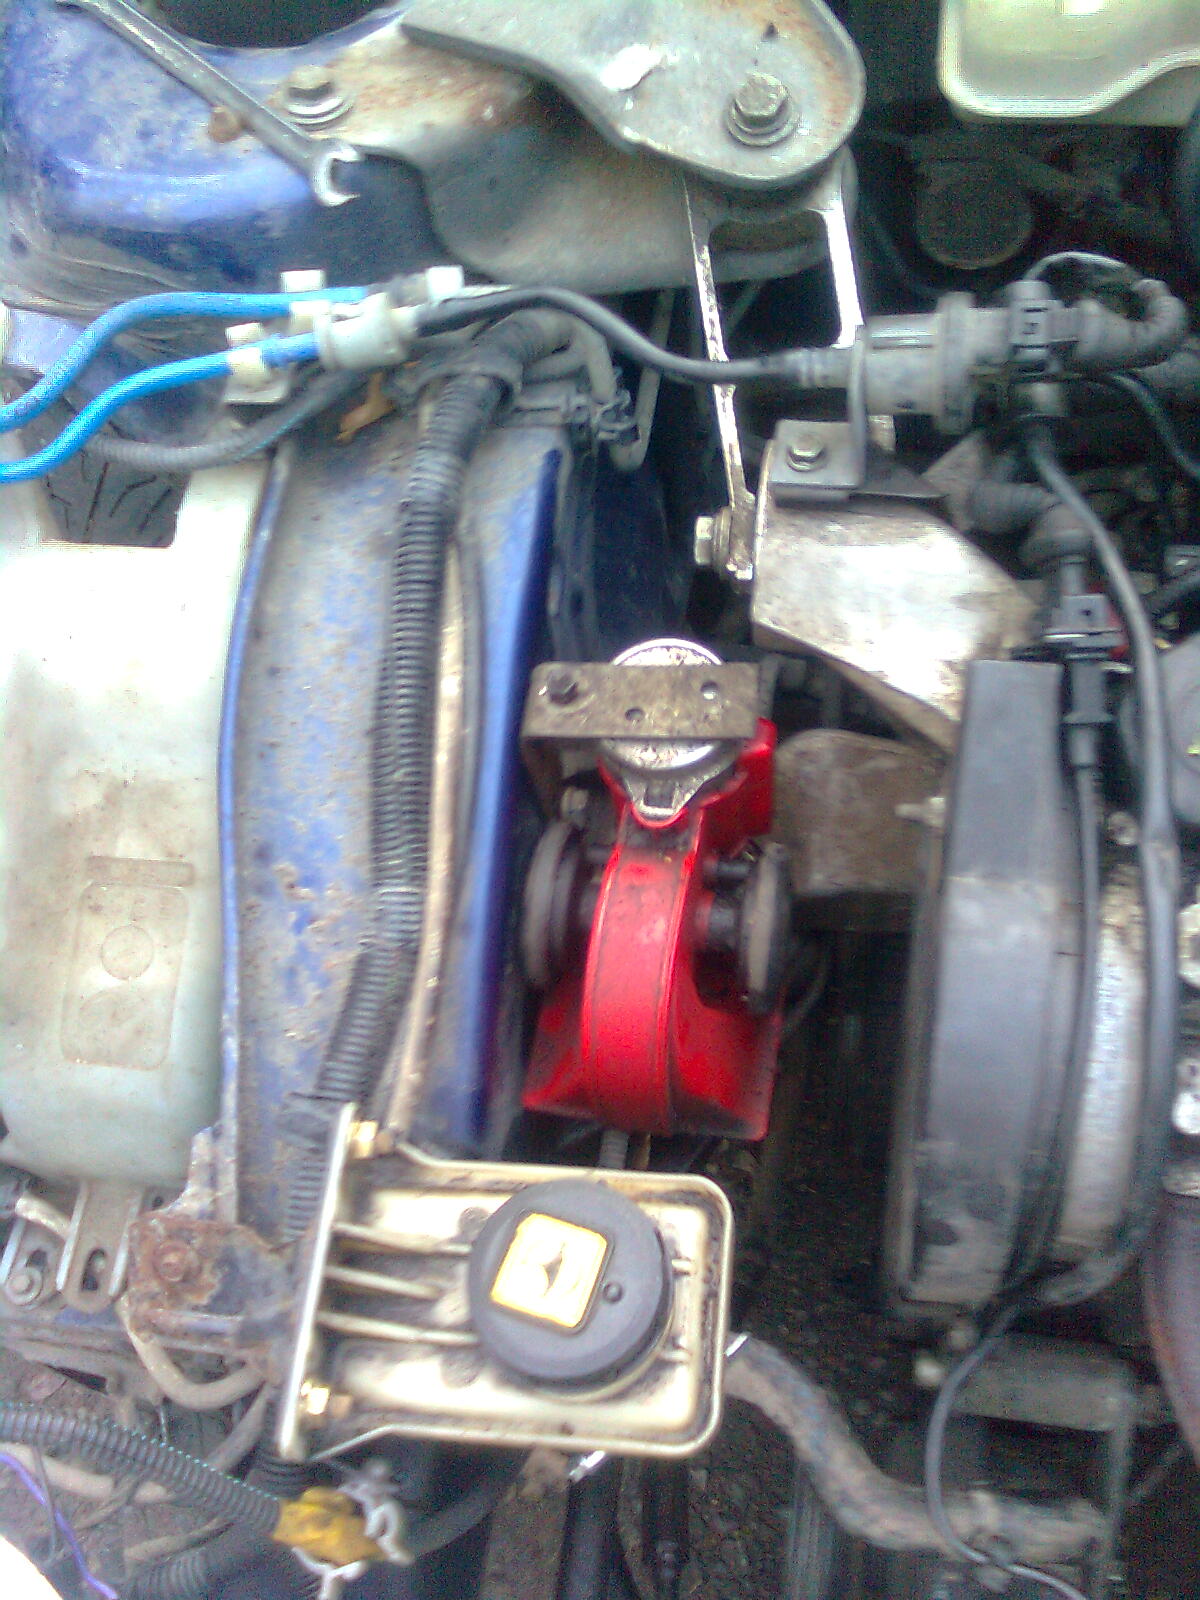
Image0395.jpg


And pump resivoir (y)
Image0394.jpg


What use is a level indicator on the back??!!! Its no fun if an Italian car has no quirks :ROFLMAO: The old pump on the right was squeeking at an annoying frequency. It was also losing fluid... :eek:

30 minutes later...
Image0396.jpg


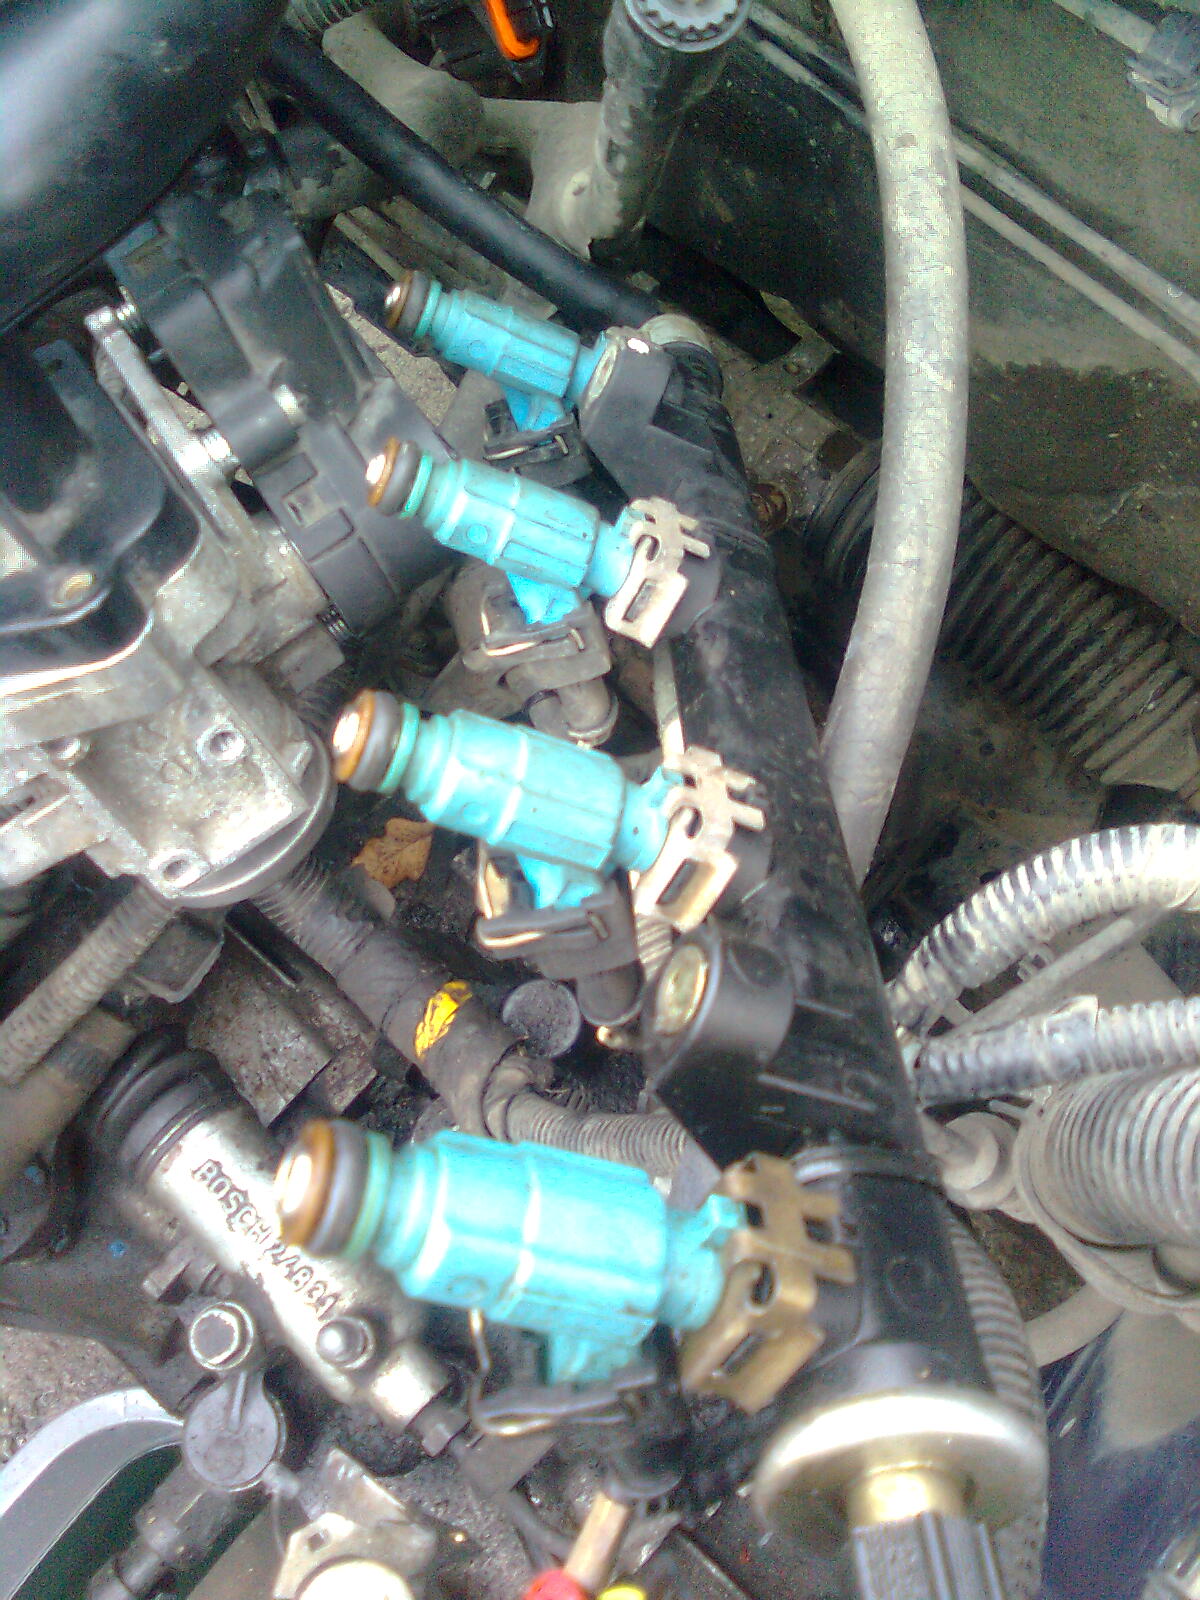
I also noticed that injector no 1 was discoloured compared to the rest of the injectors :confused: at least I have 16 to play with...!!!
Image0397.jpg


45 mins later...
Image0398.jpg


Job done, time for a coffee (y) 
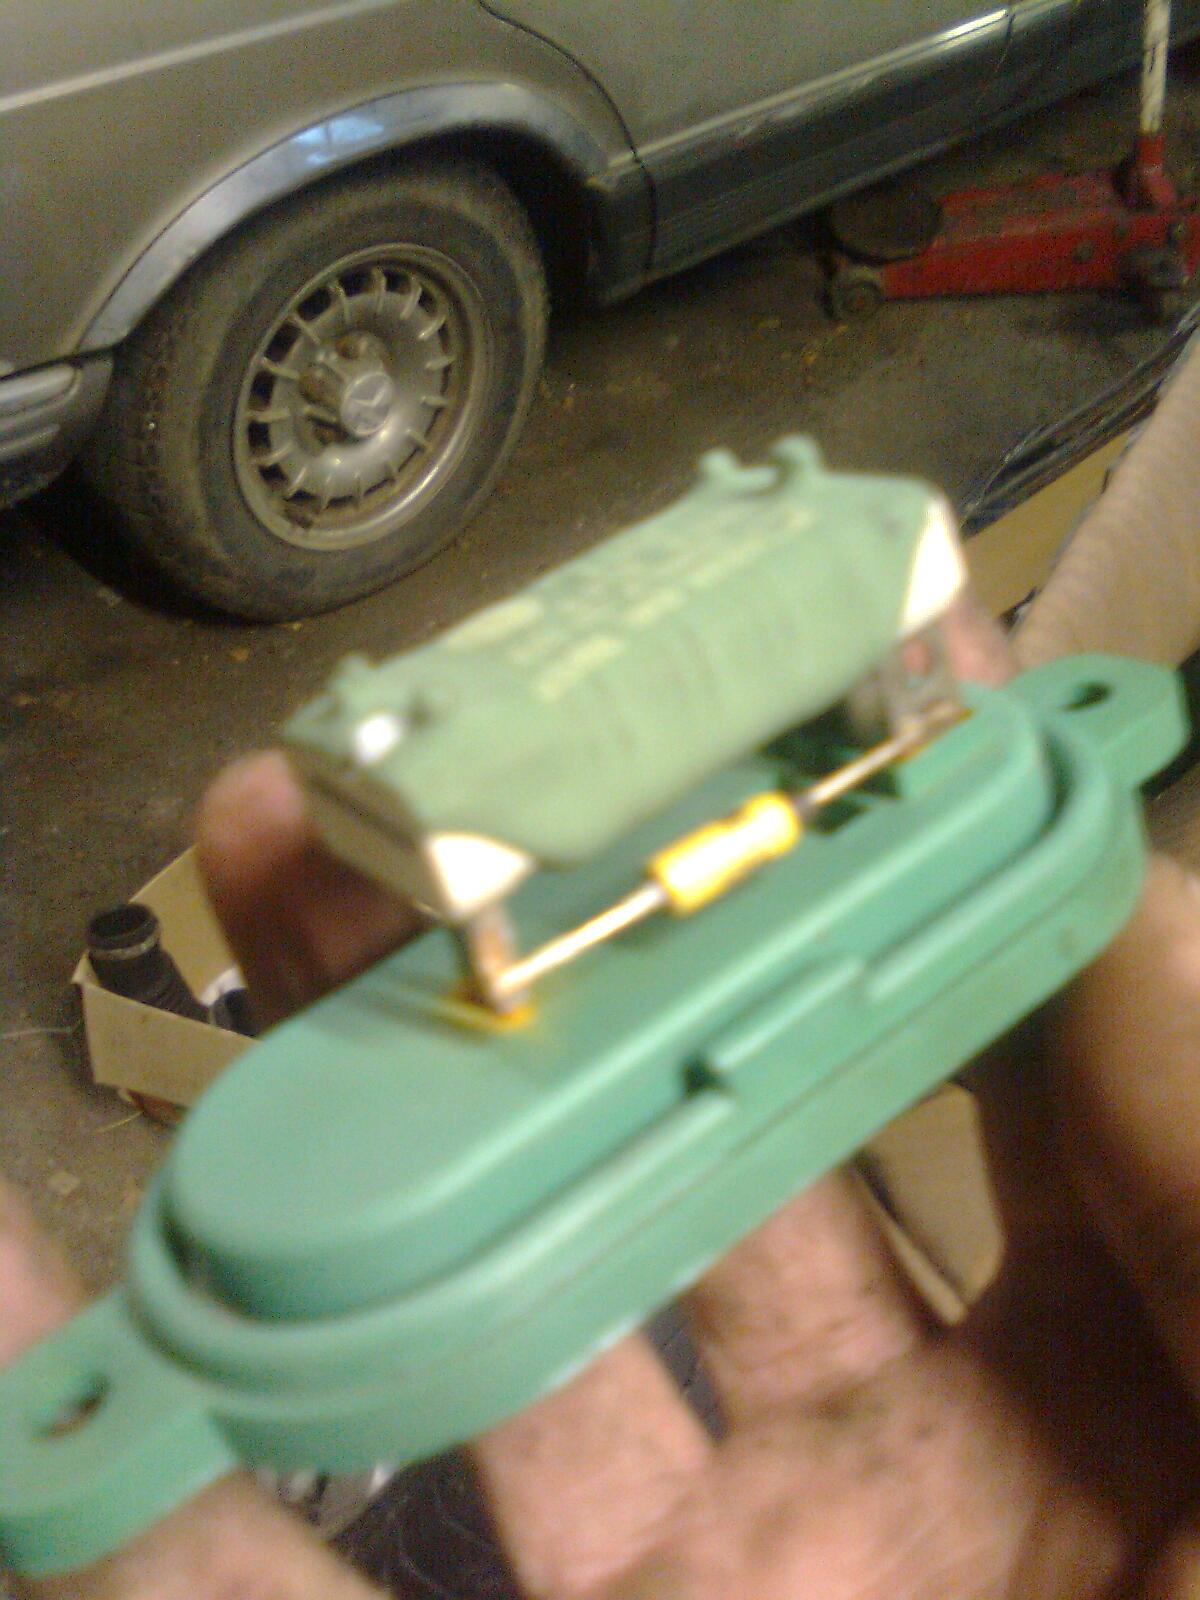
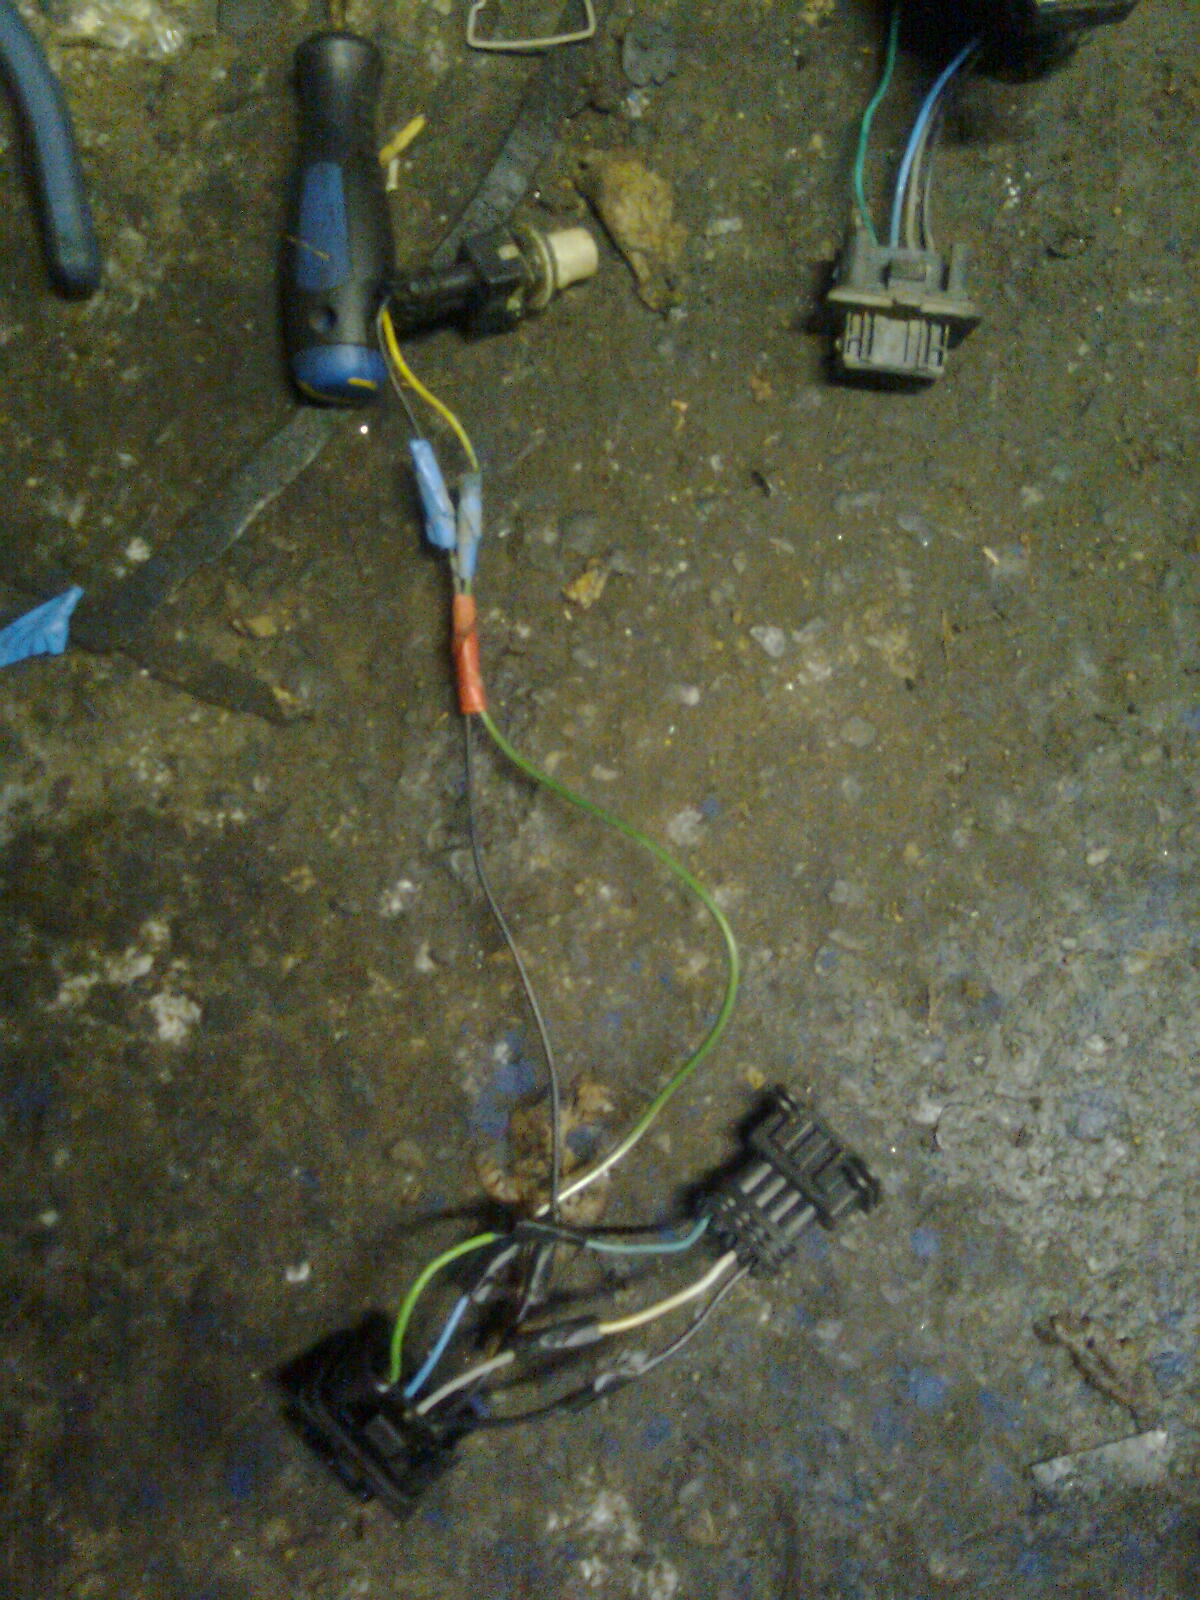
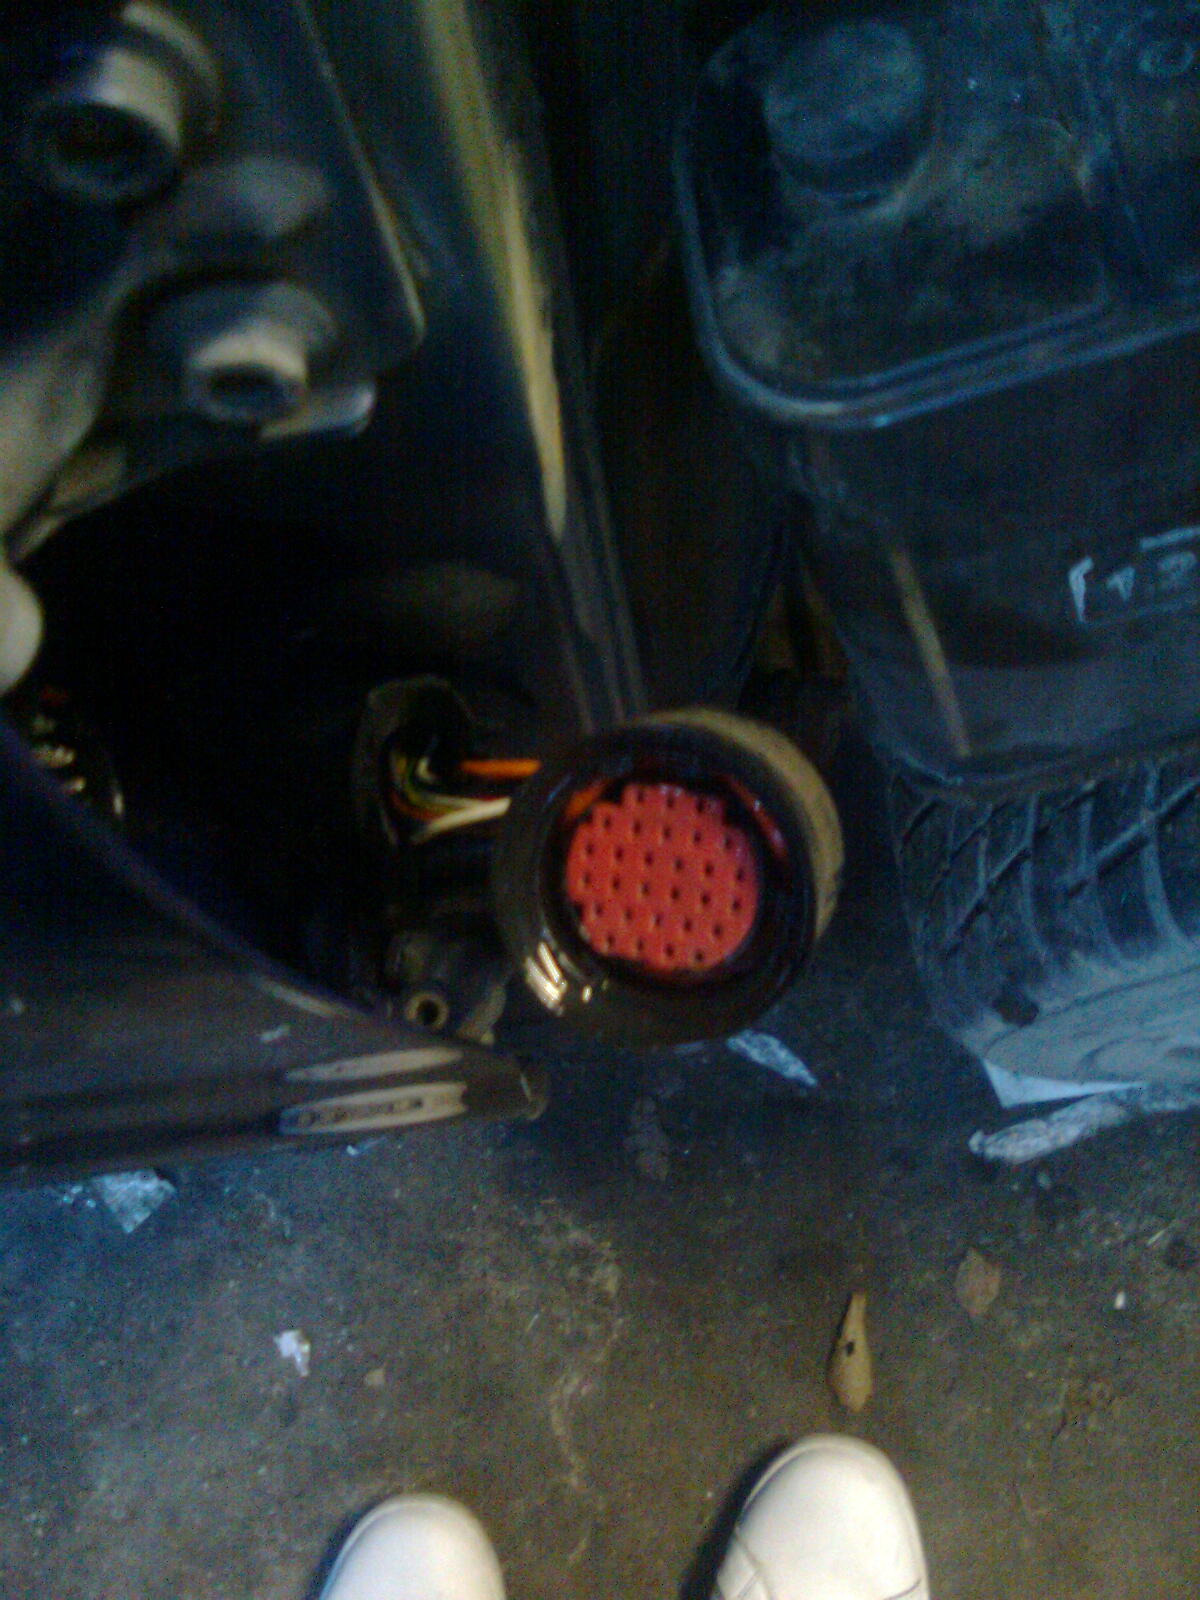
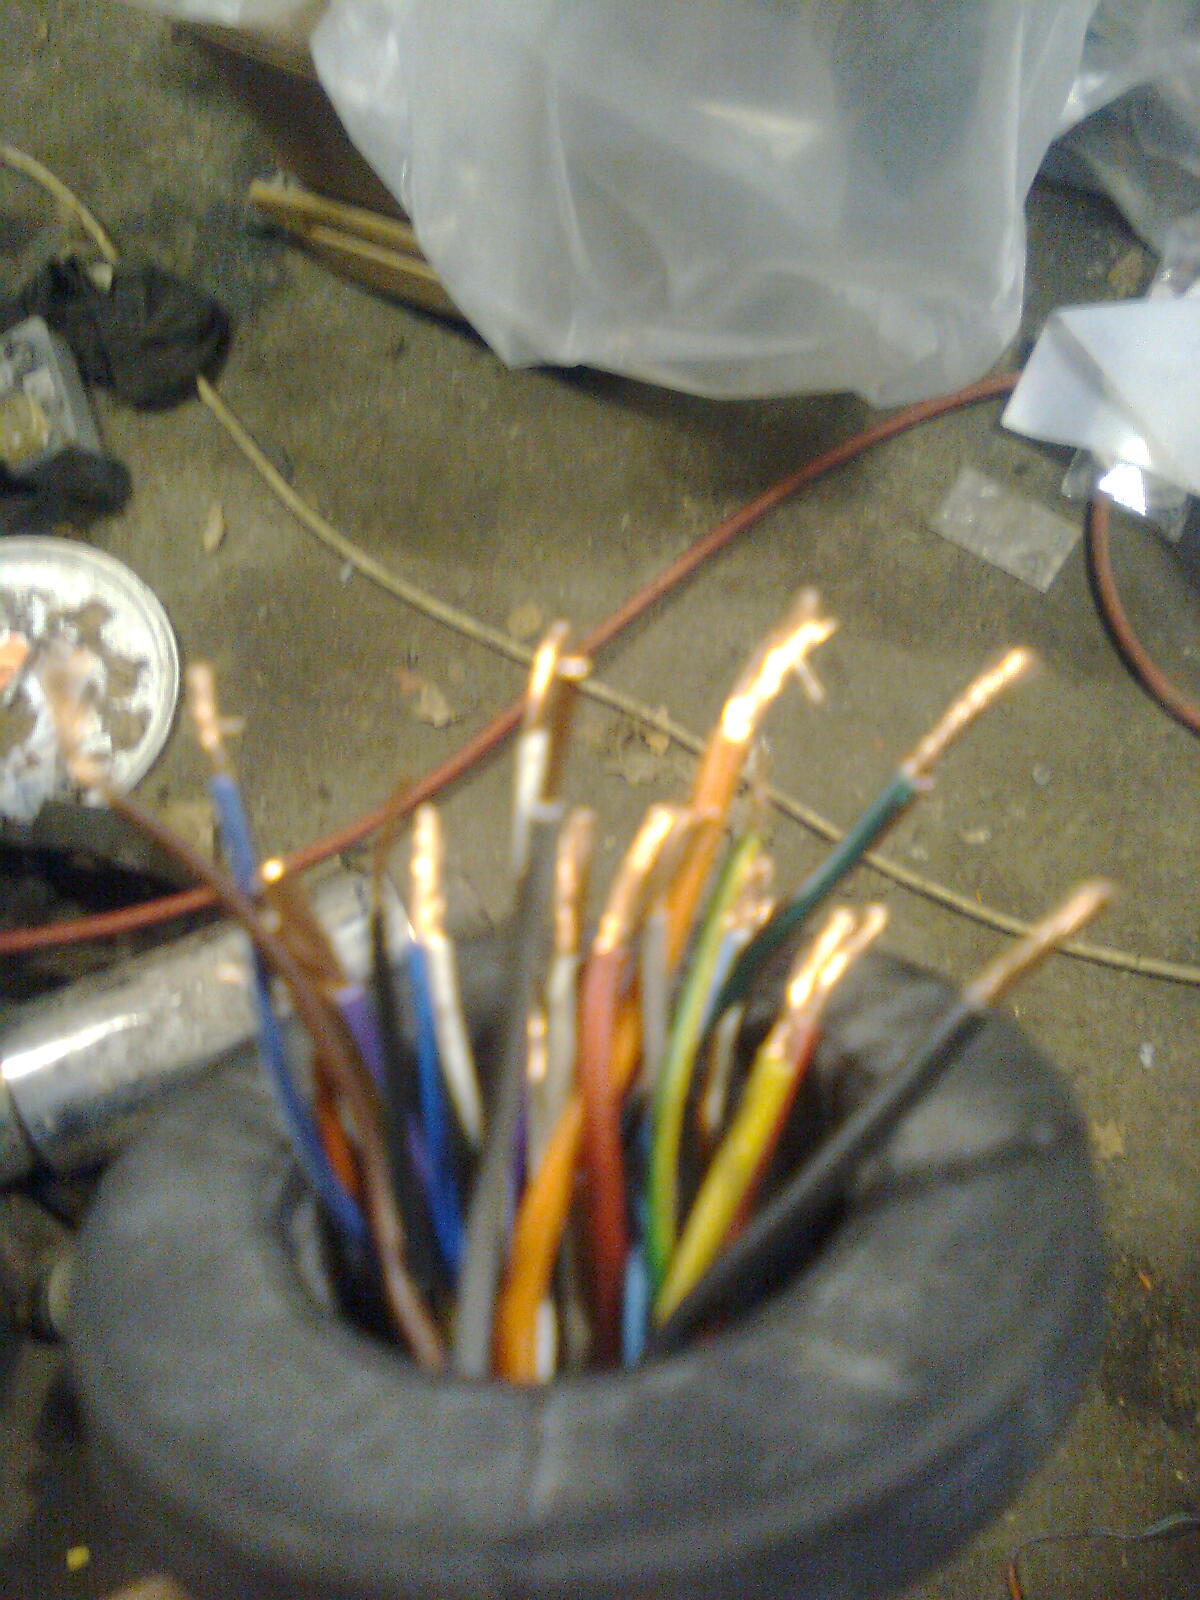
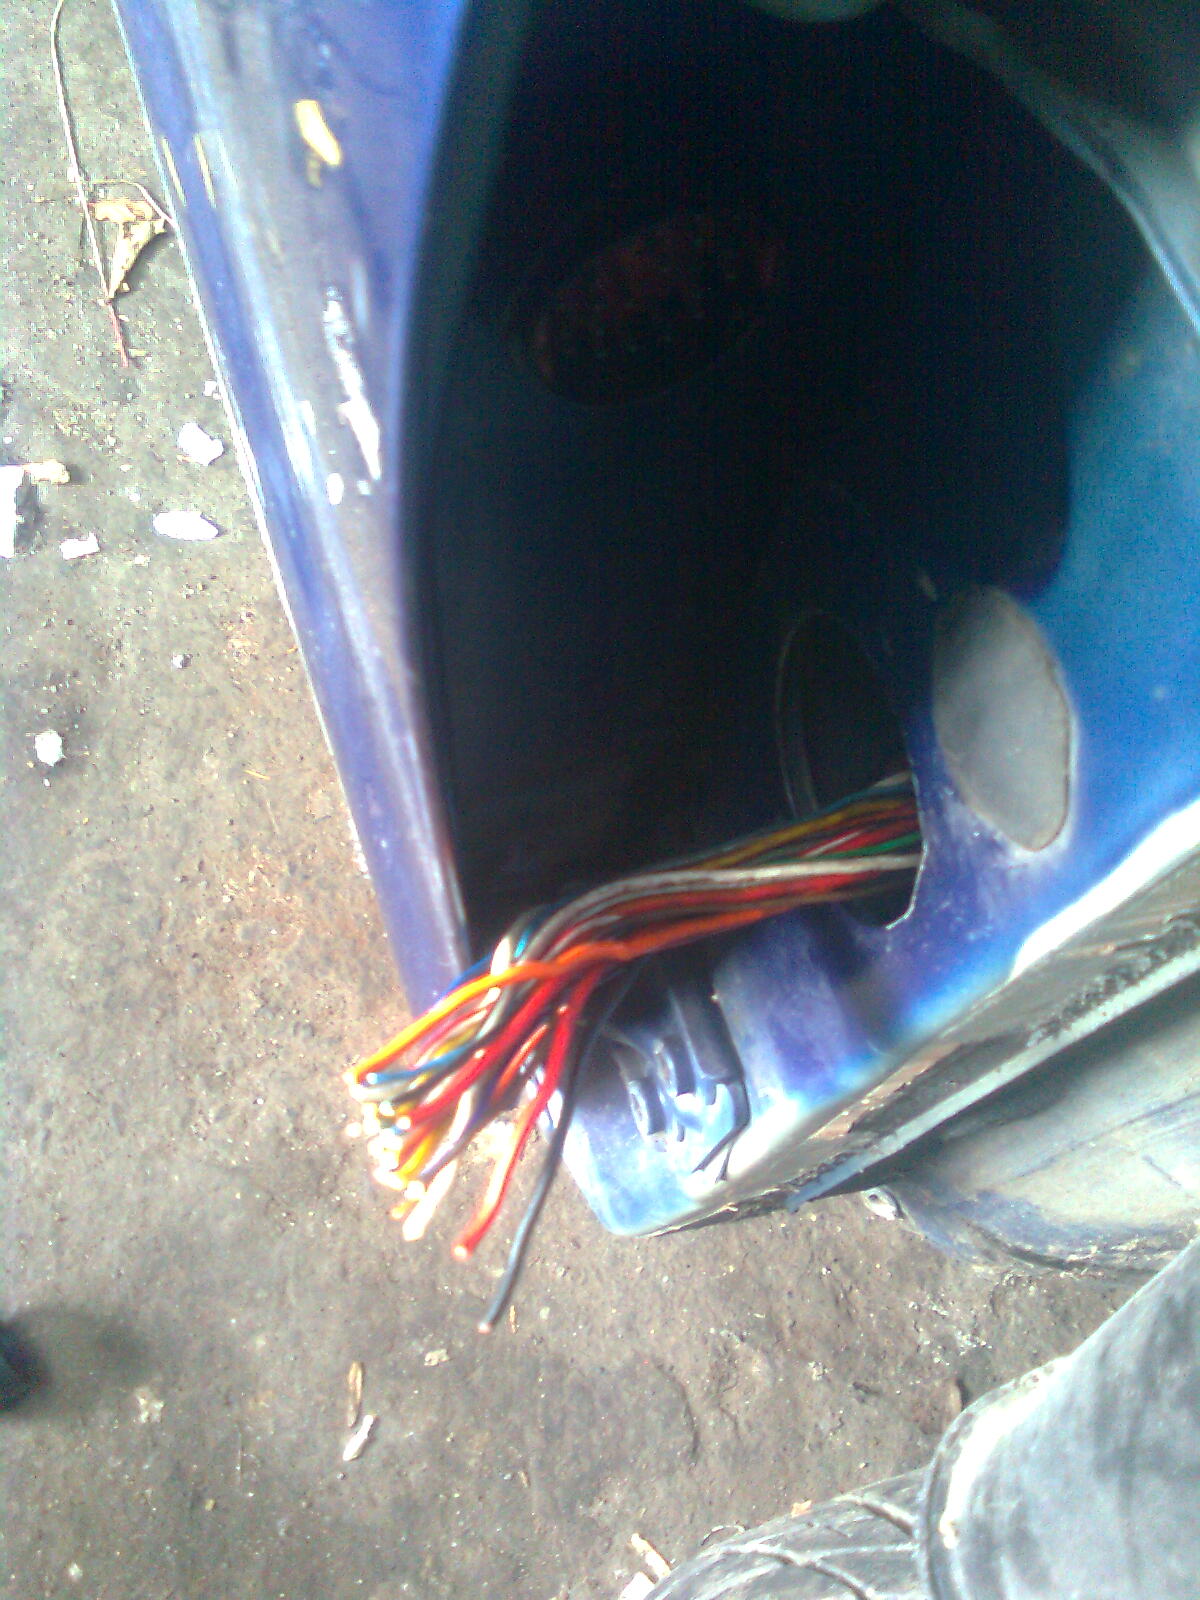
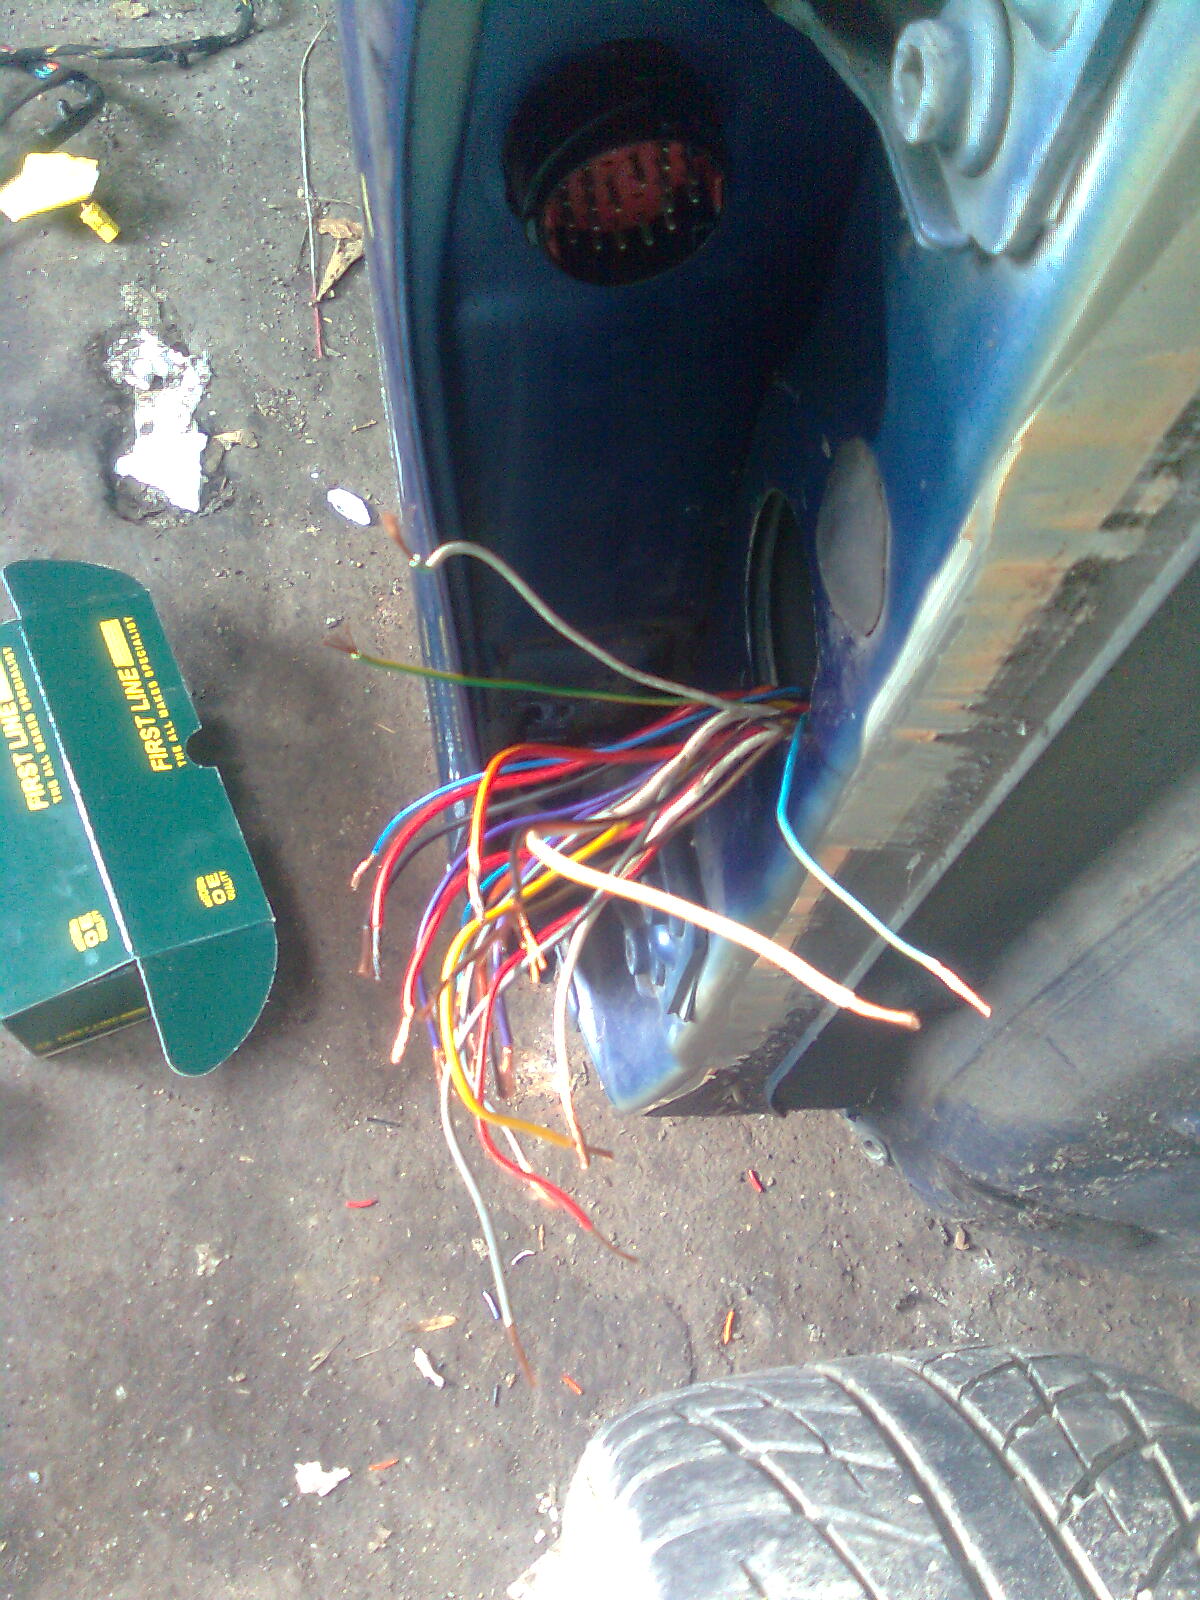
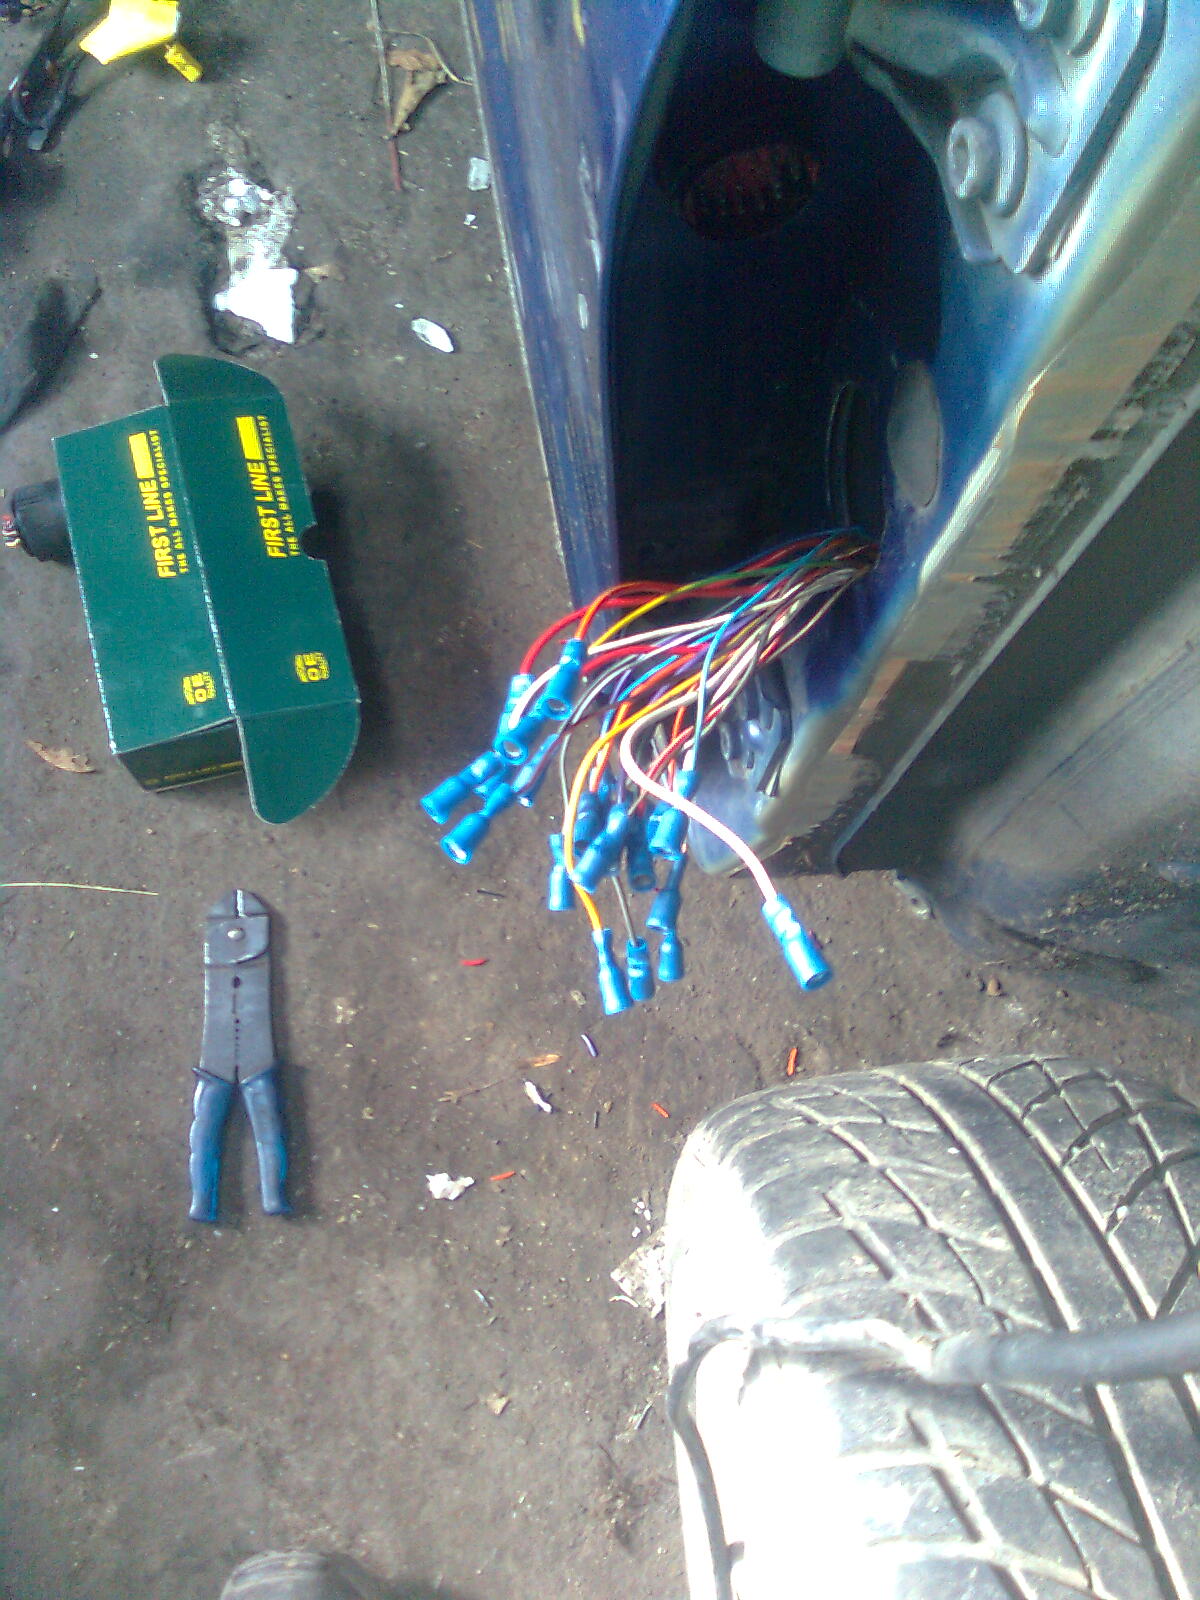
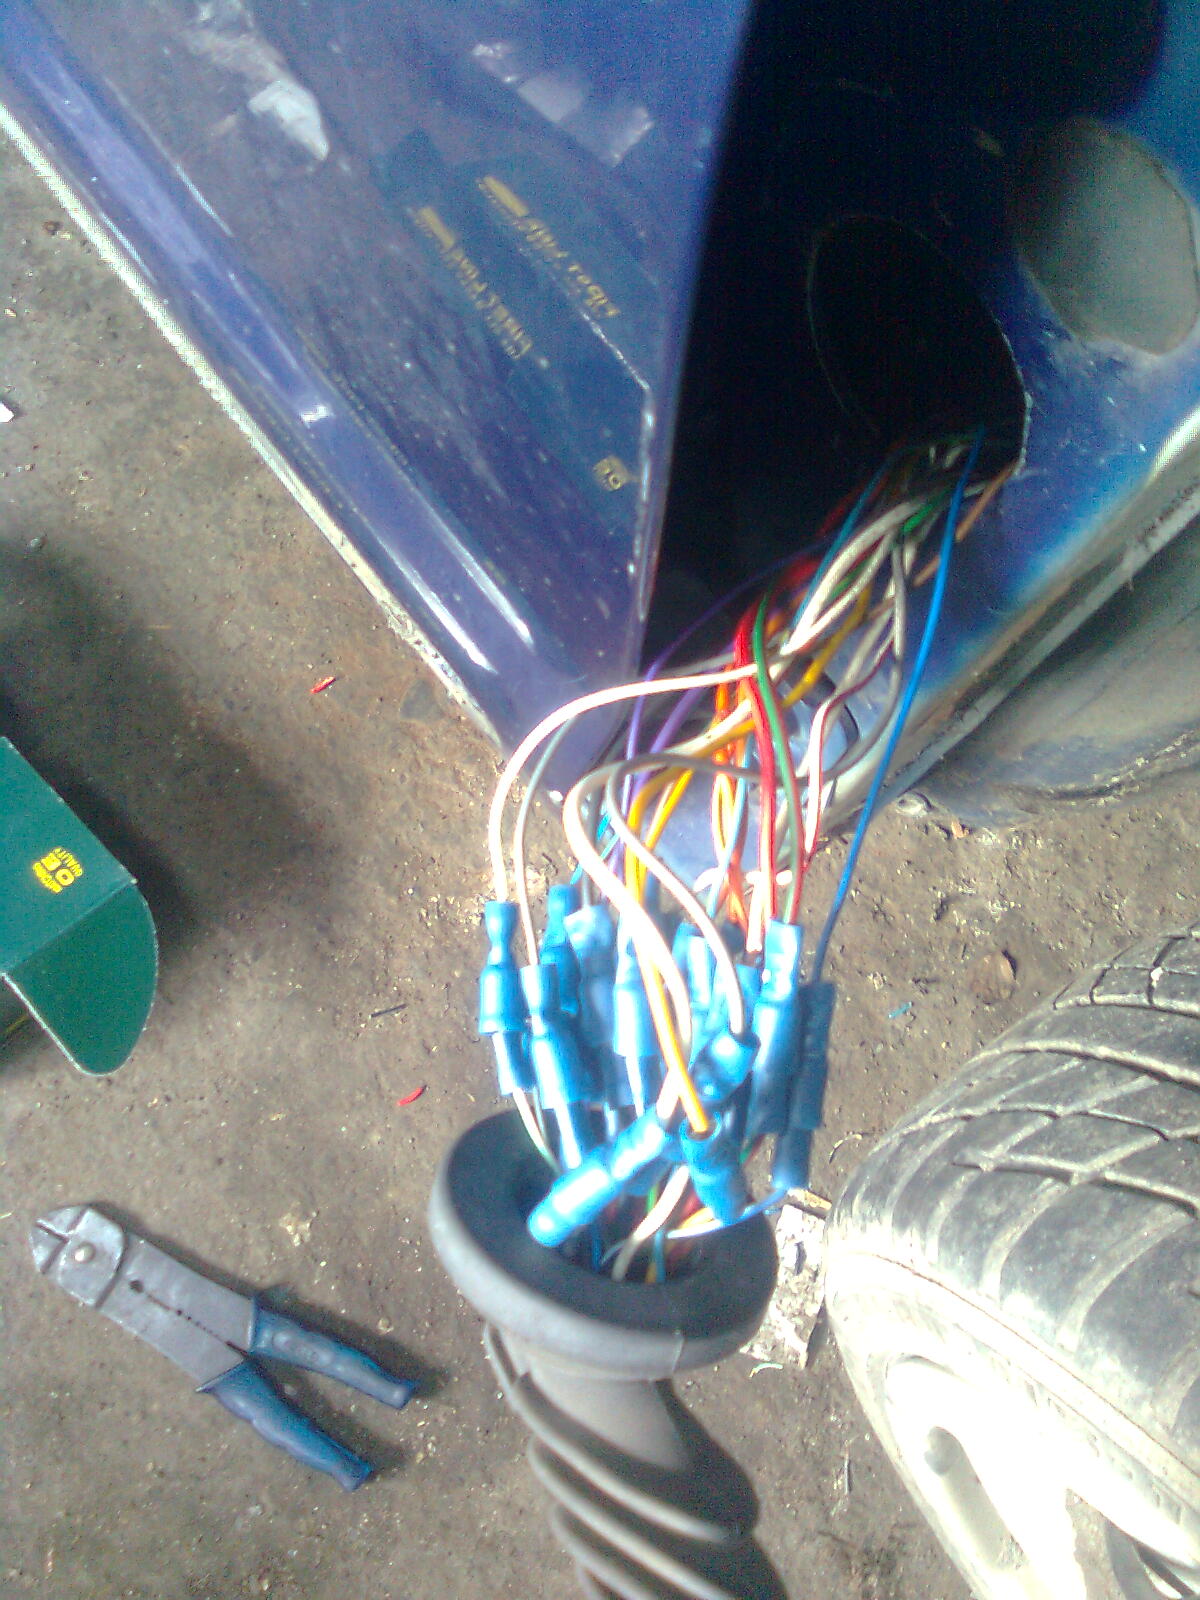
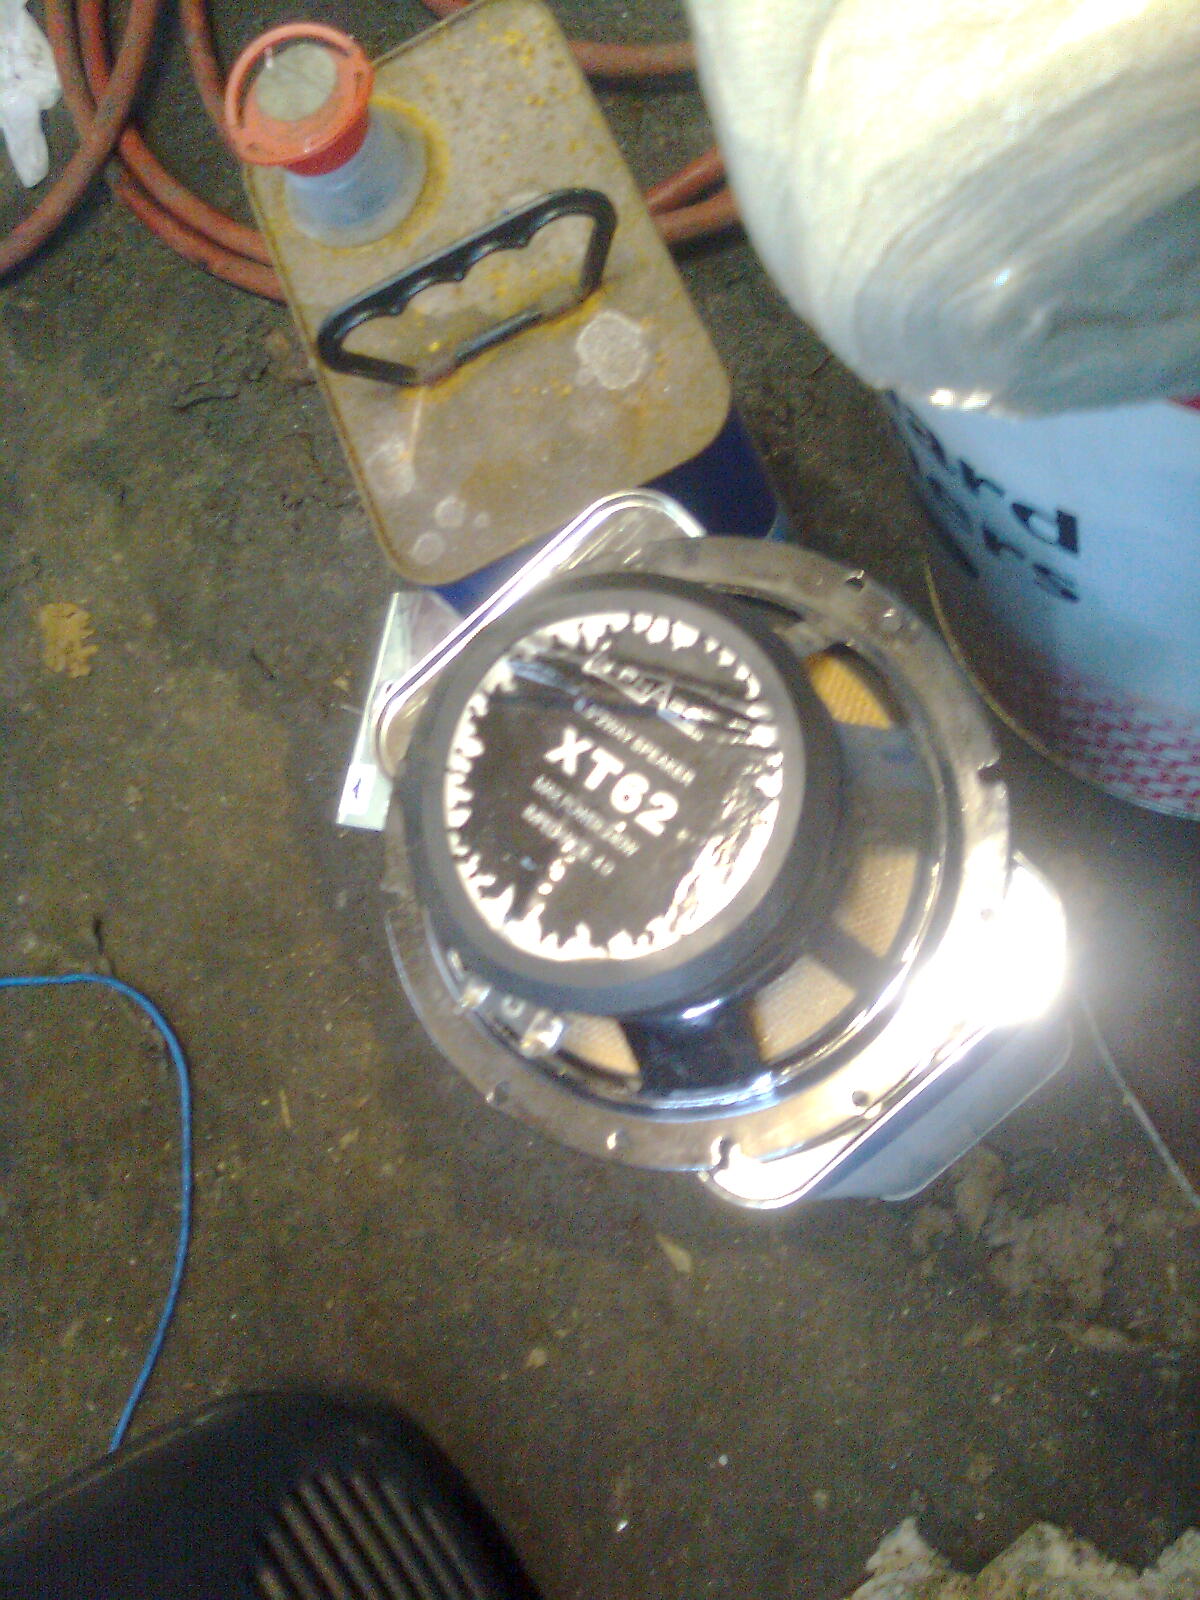
I also needed a horn. So out of the inventory I got...
Image0399.jpg


My old car had 10 novelty horns (imagine the messy wiring!!!) I'll just keep 2 this time (y)

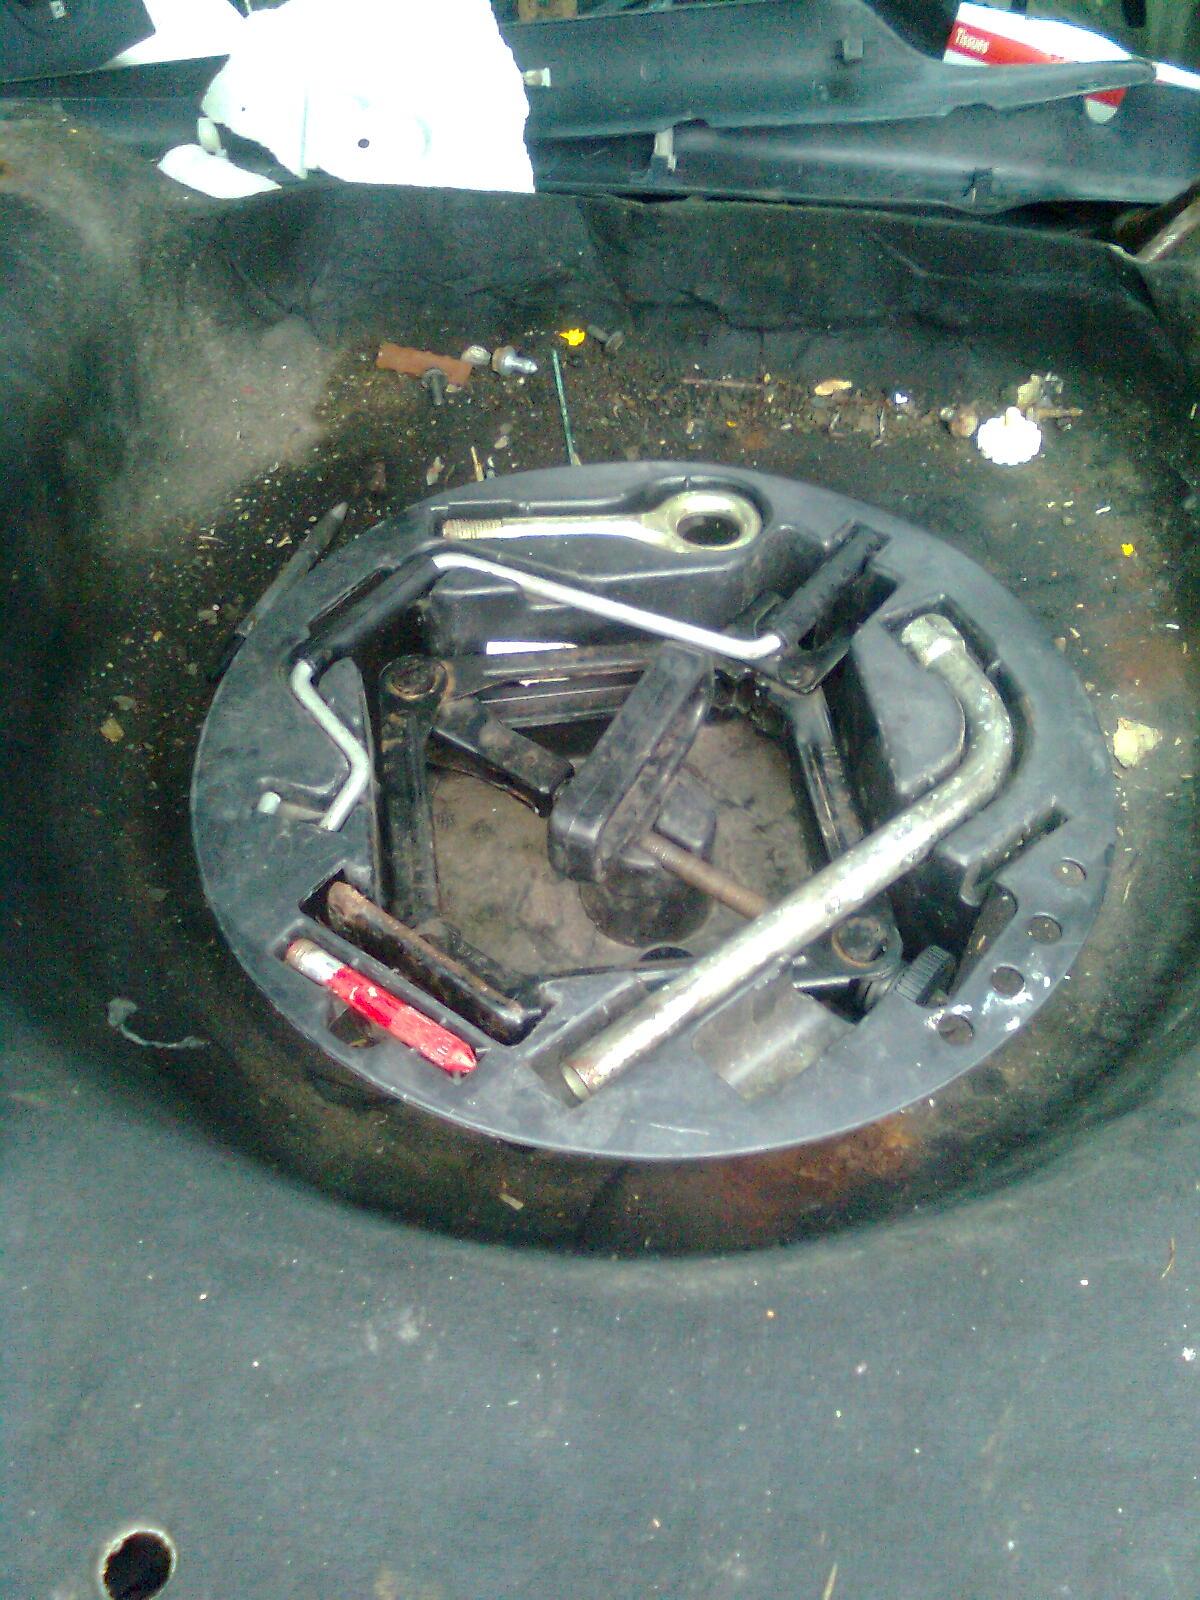
Suddenly, new tool kit :yum:
Image0402.jpg


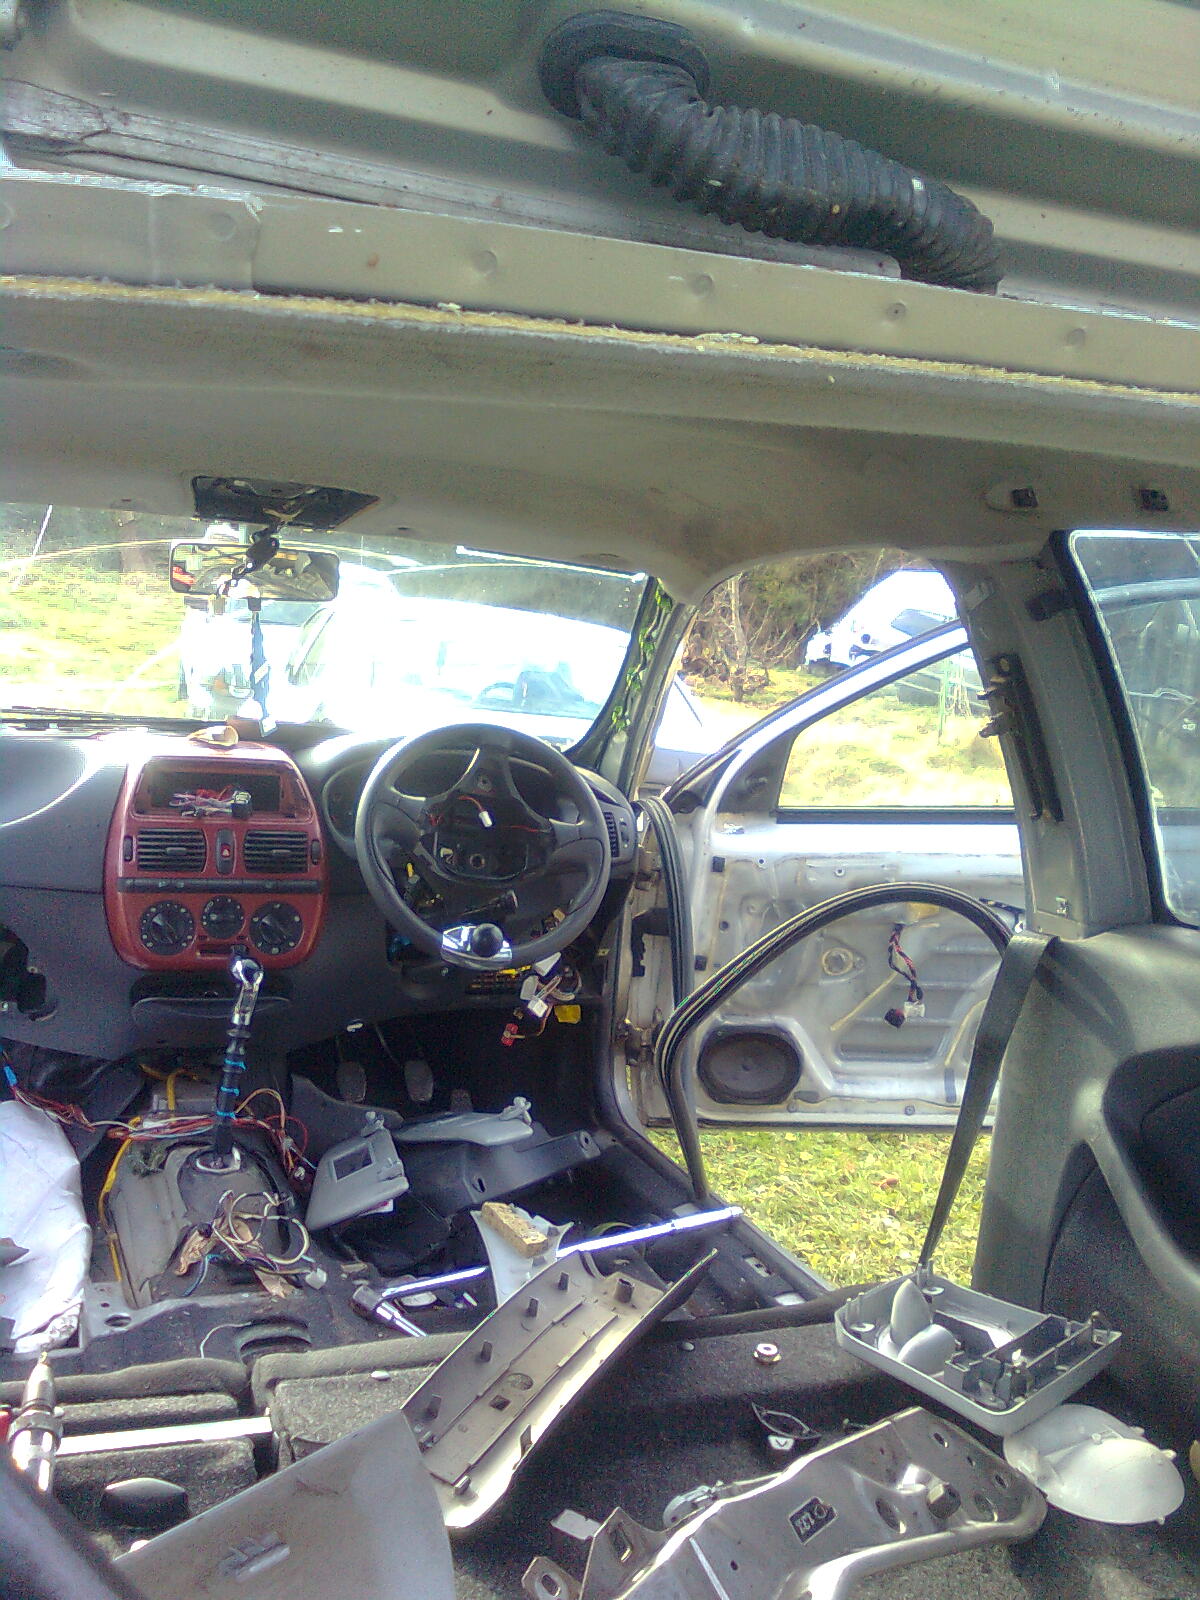
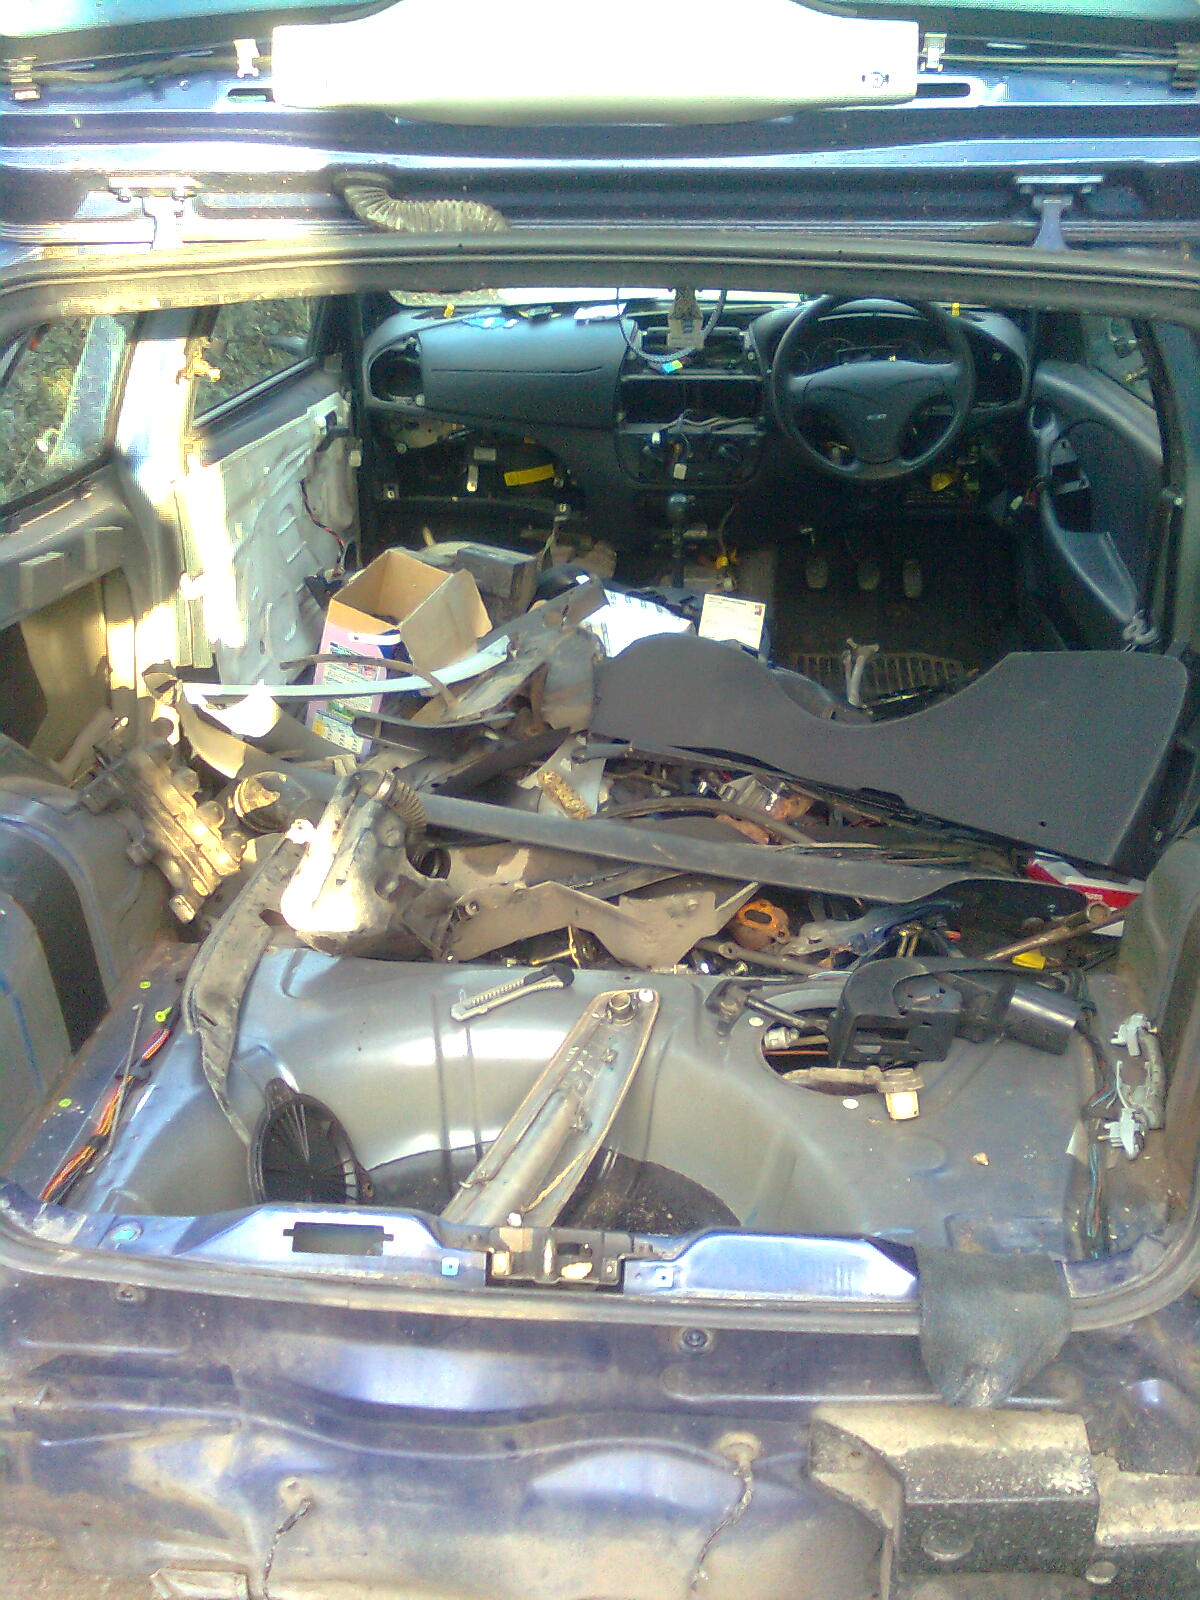
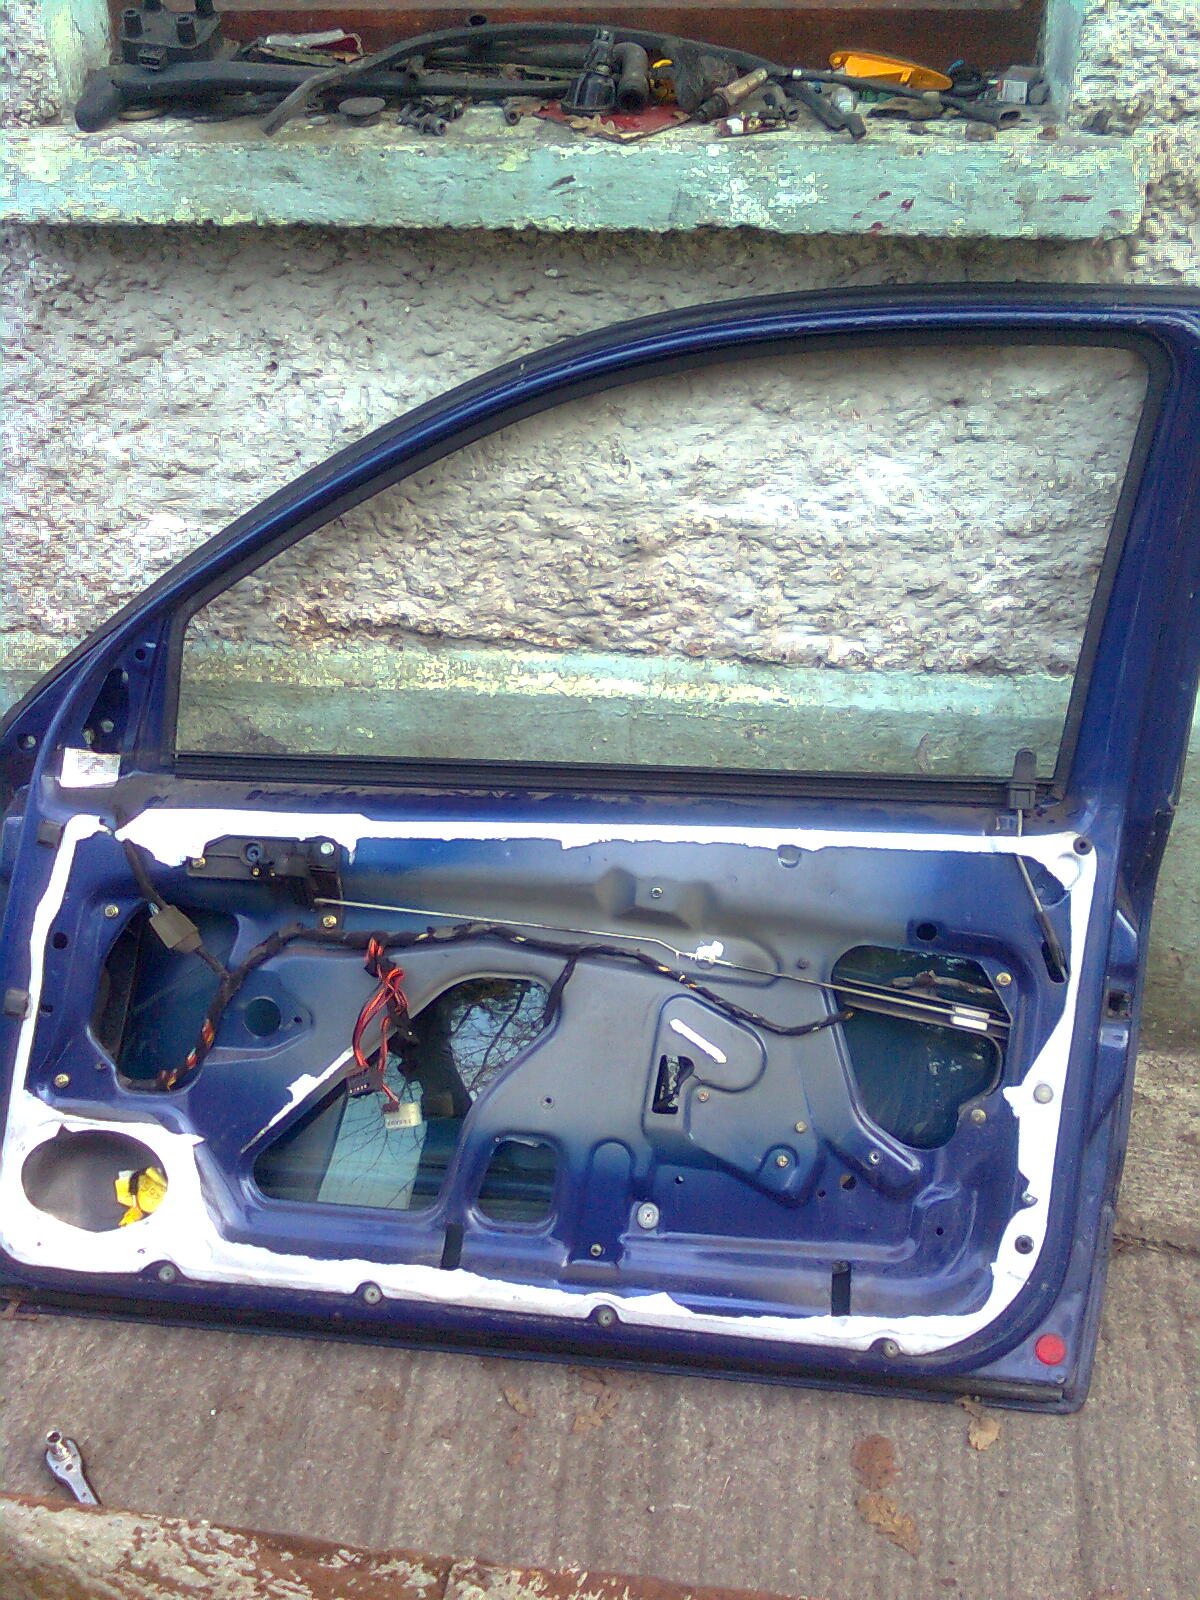
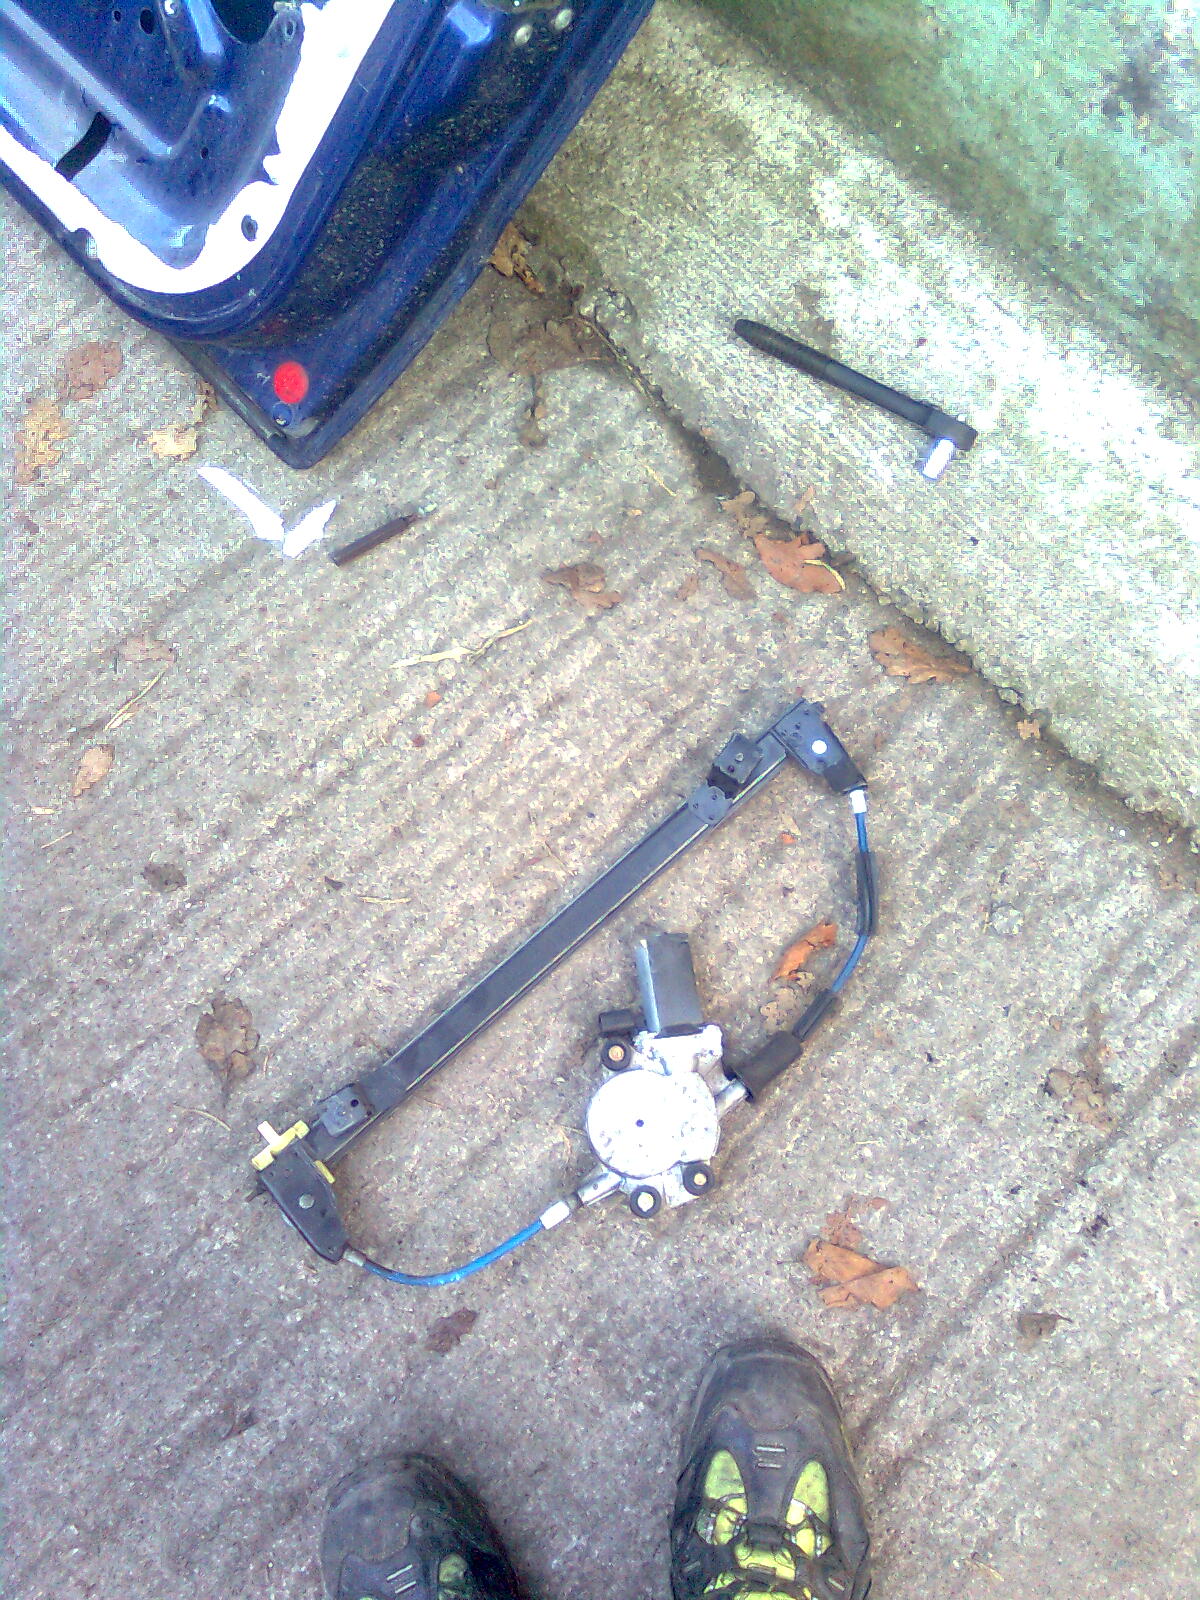
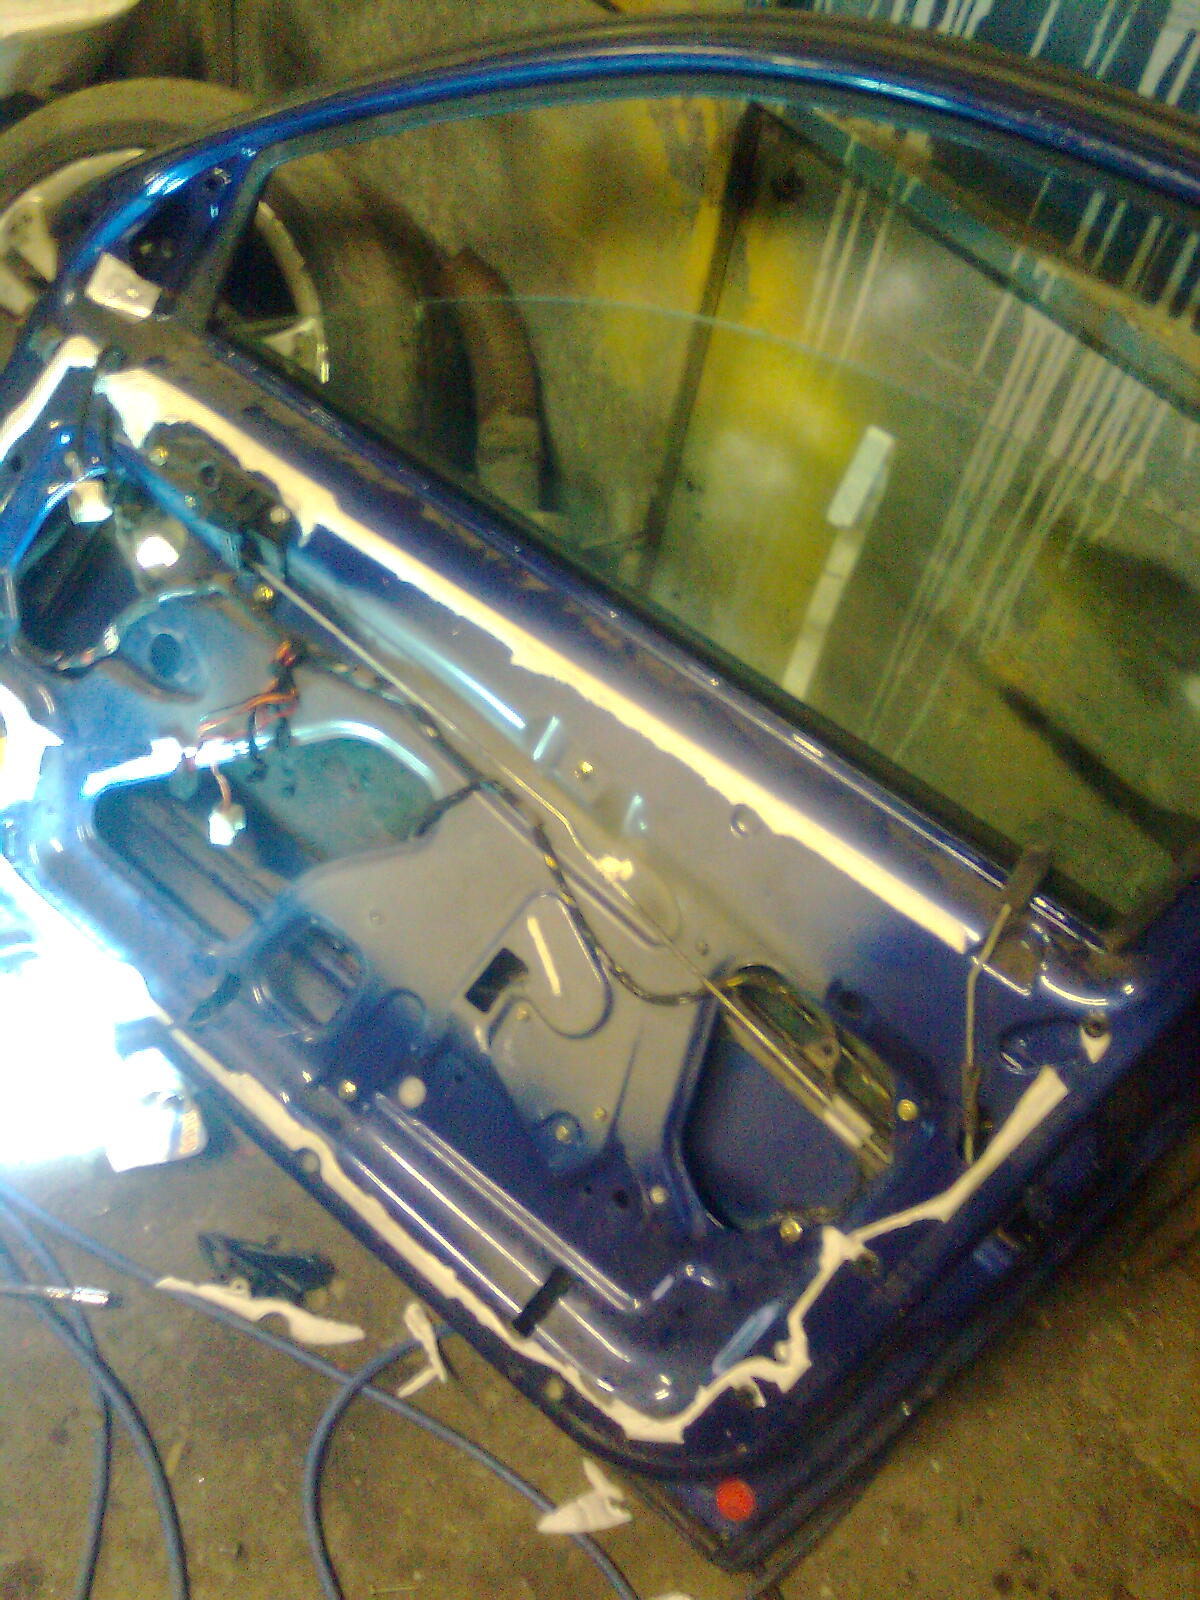
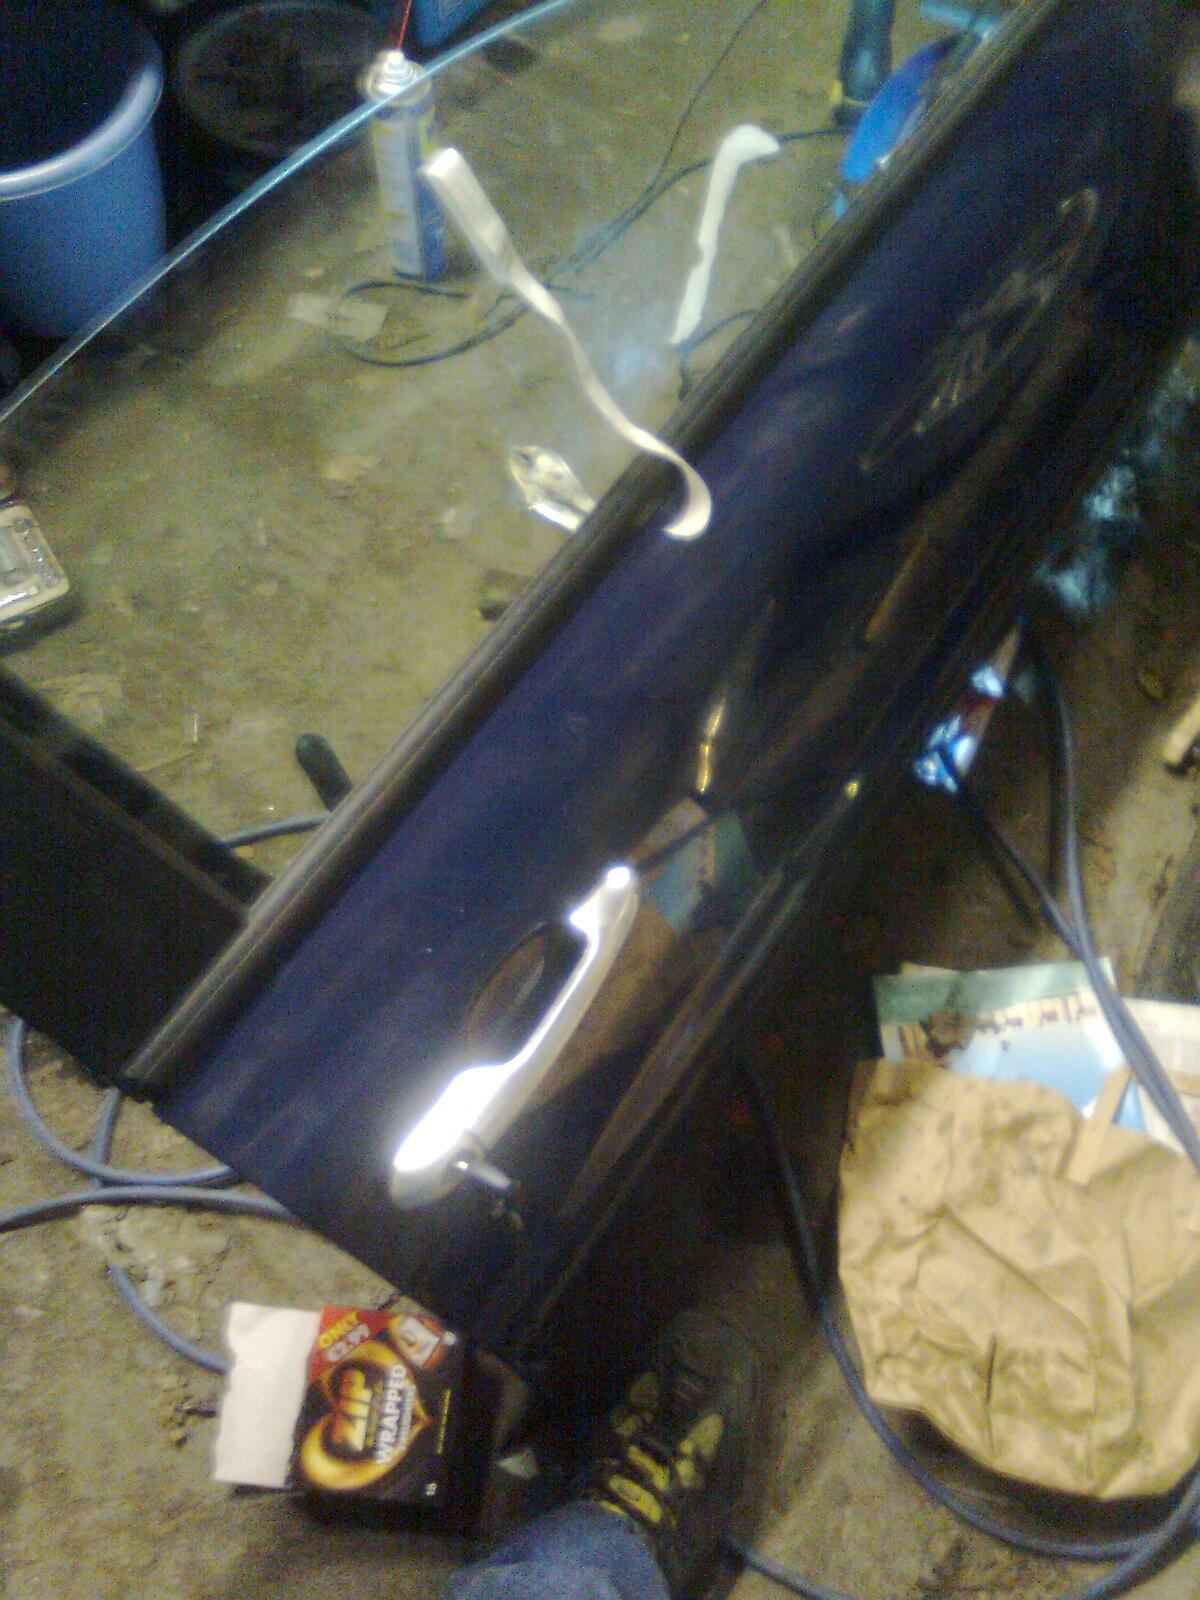
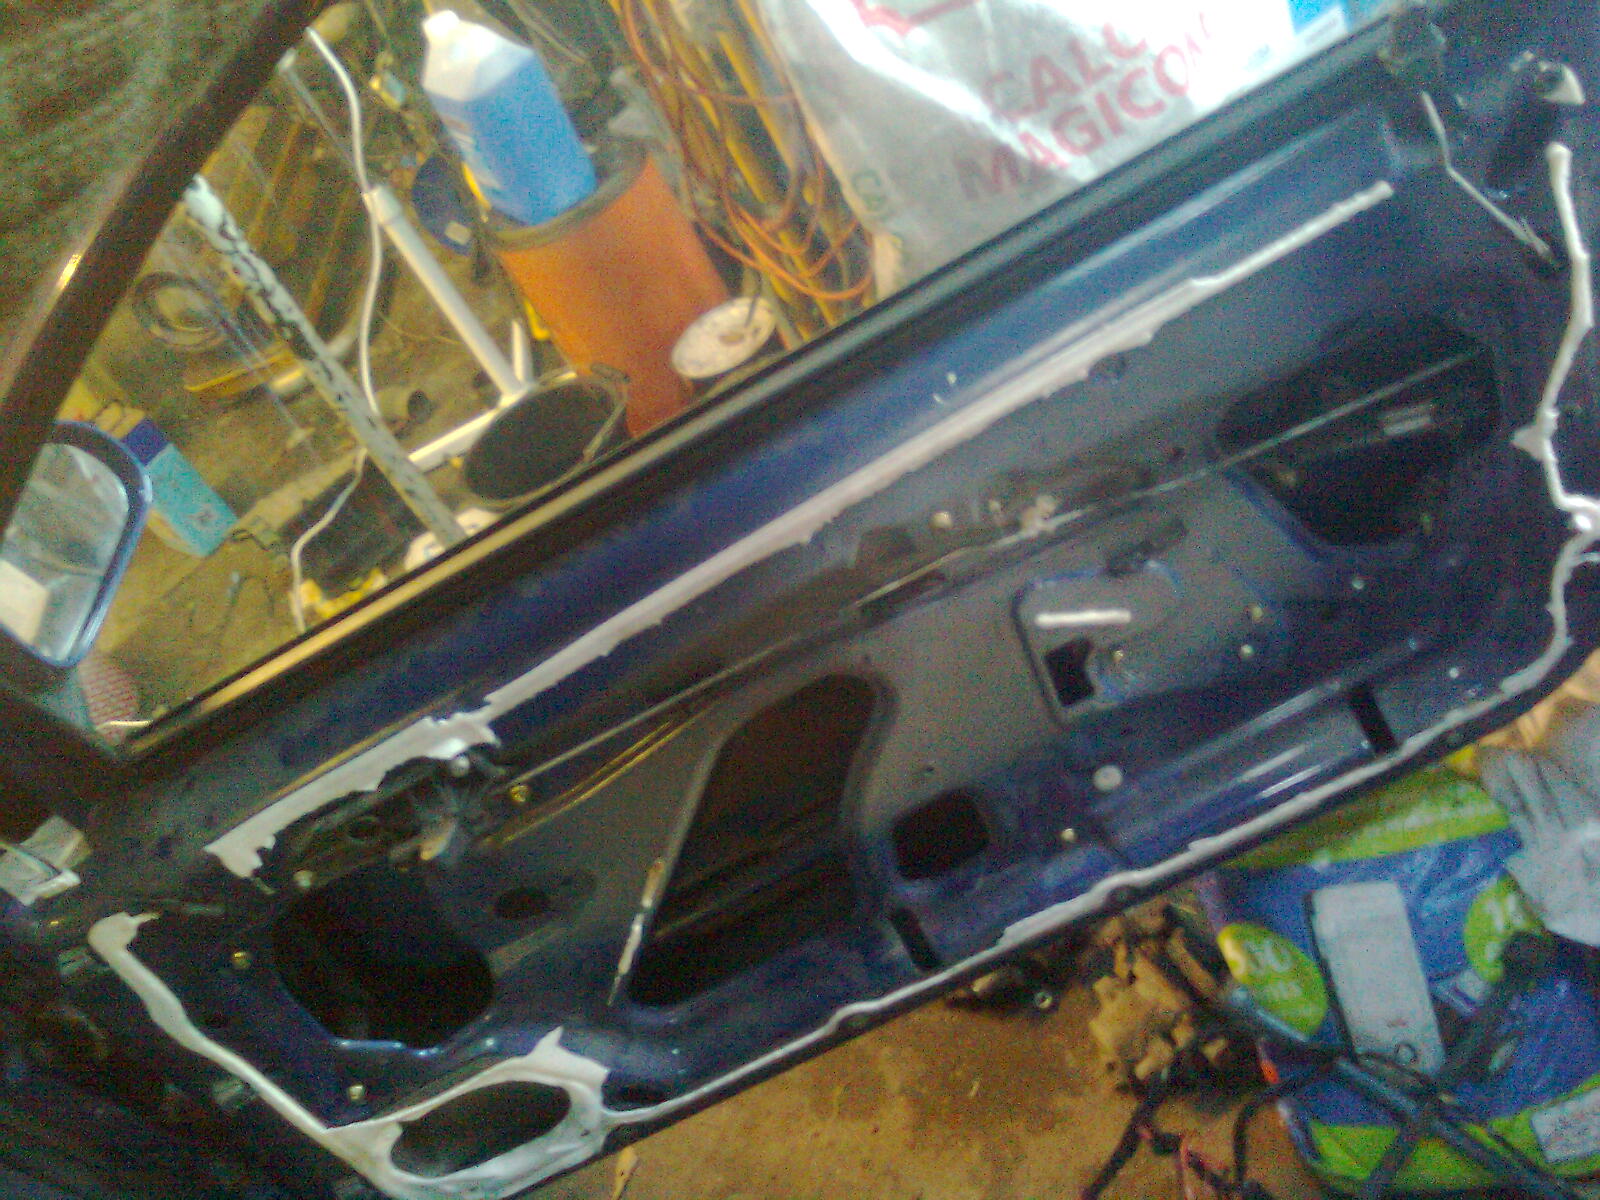
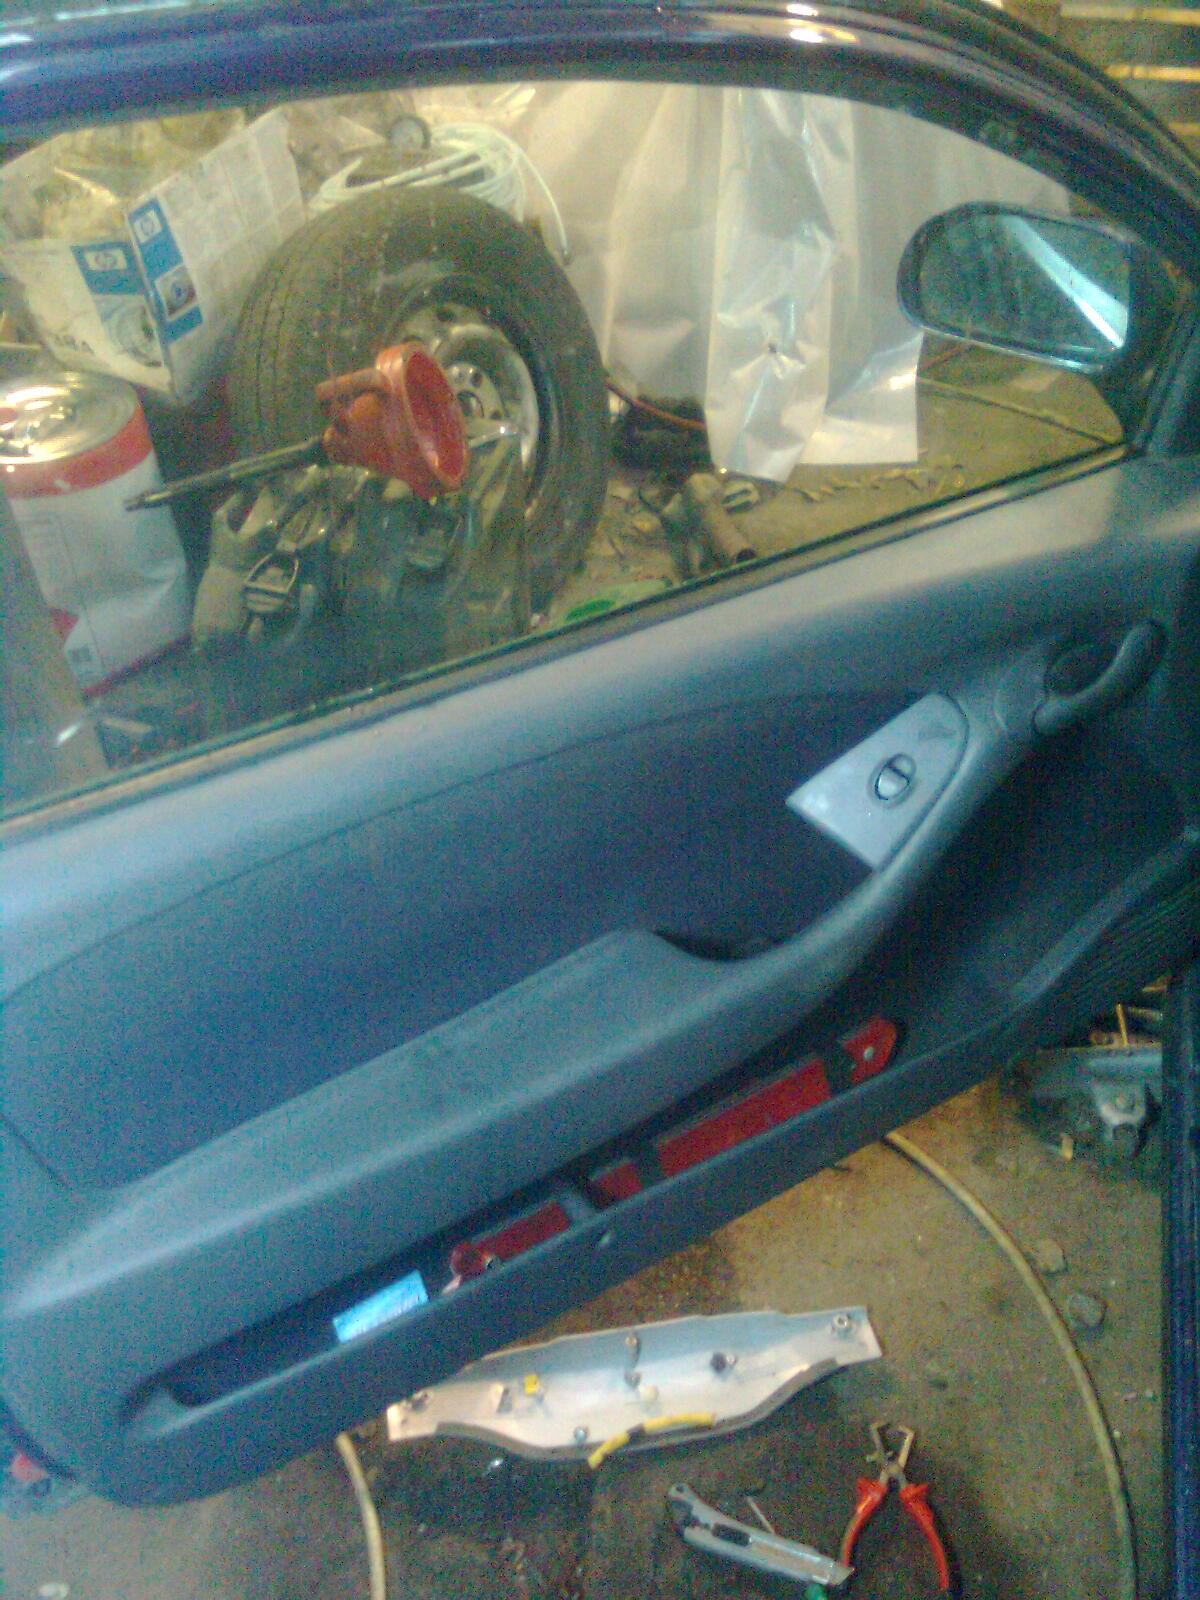
And the door cards are ready for leather (y)
Image03841.jpg


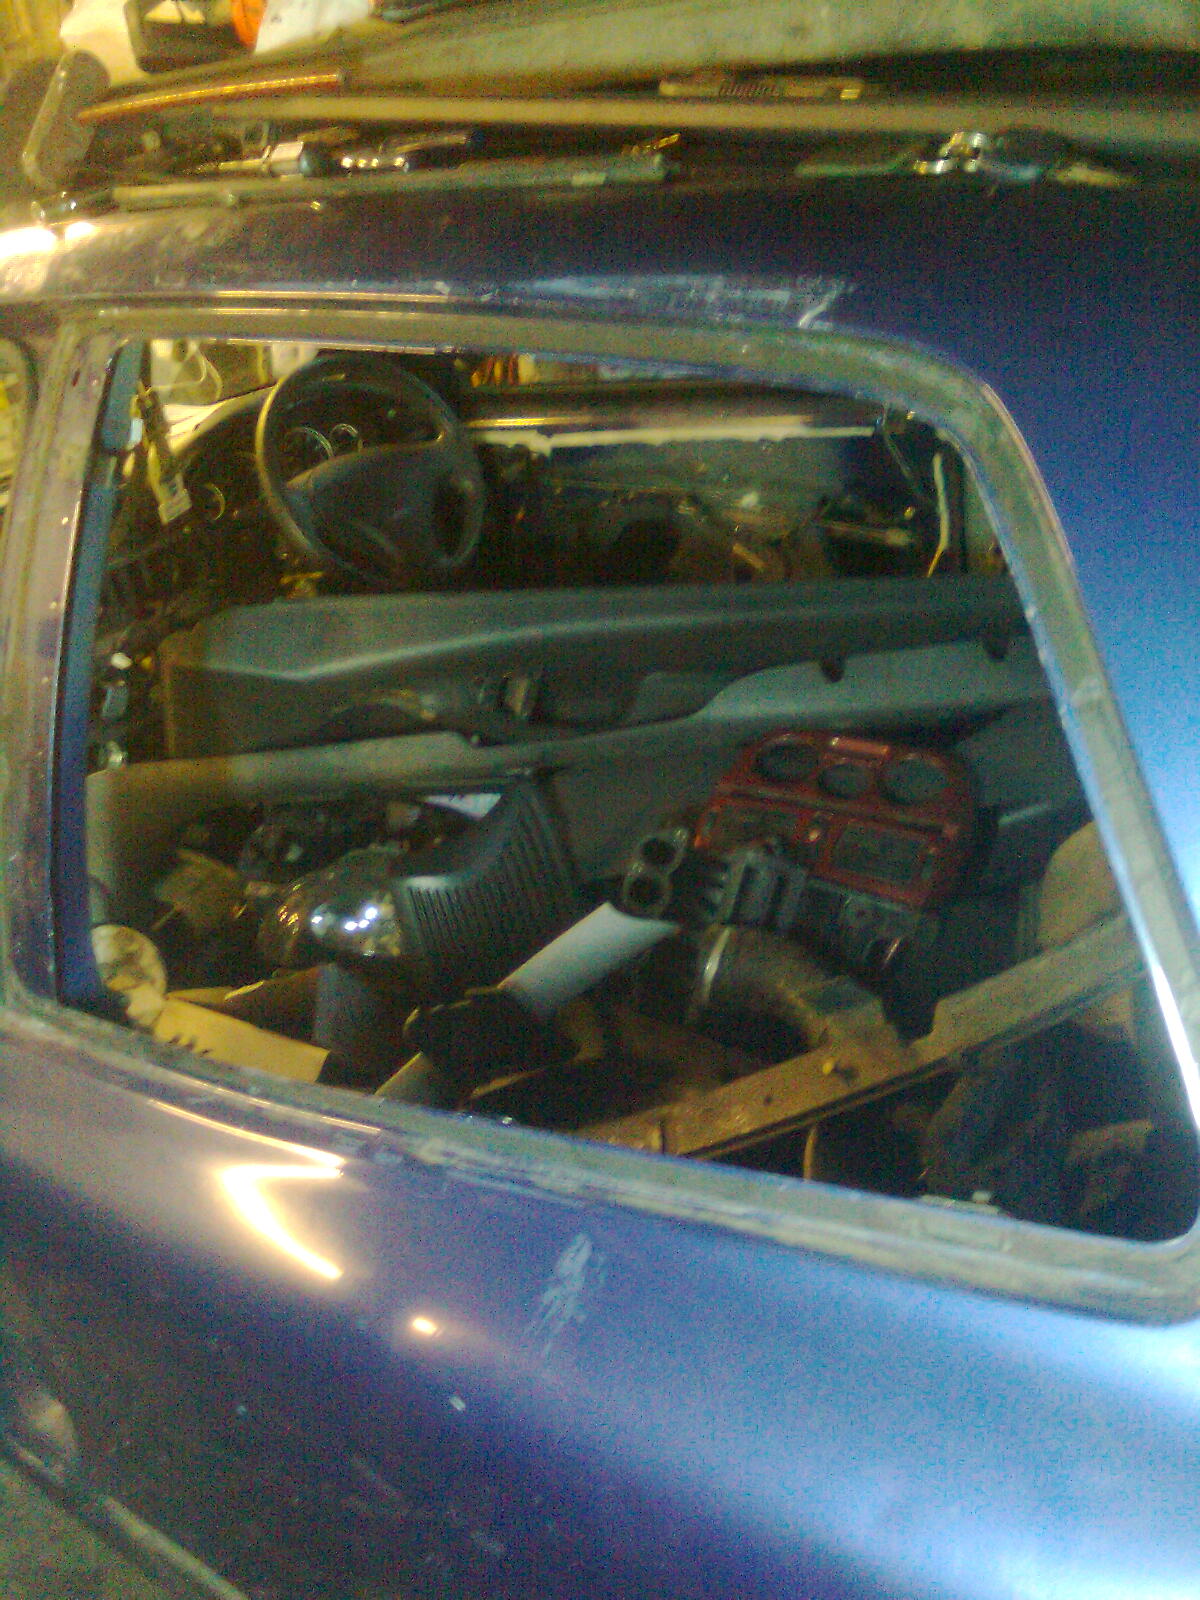
Now its too dark, boo earns (n)

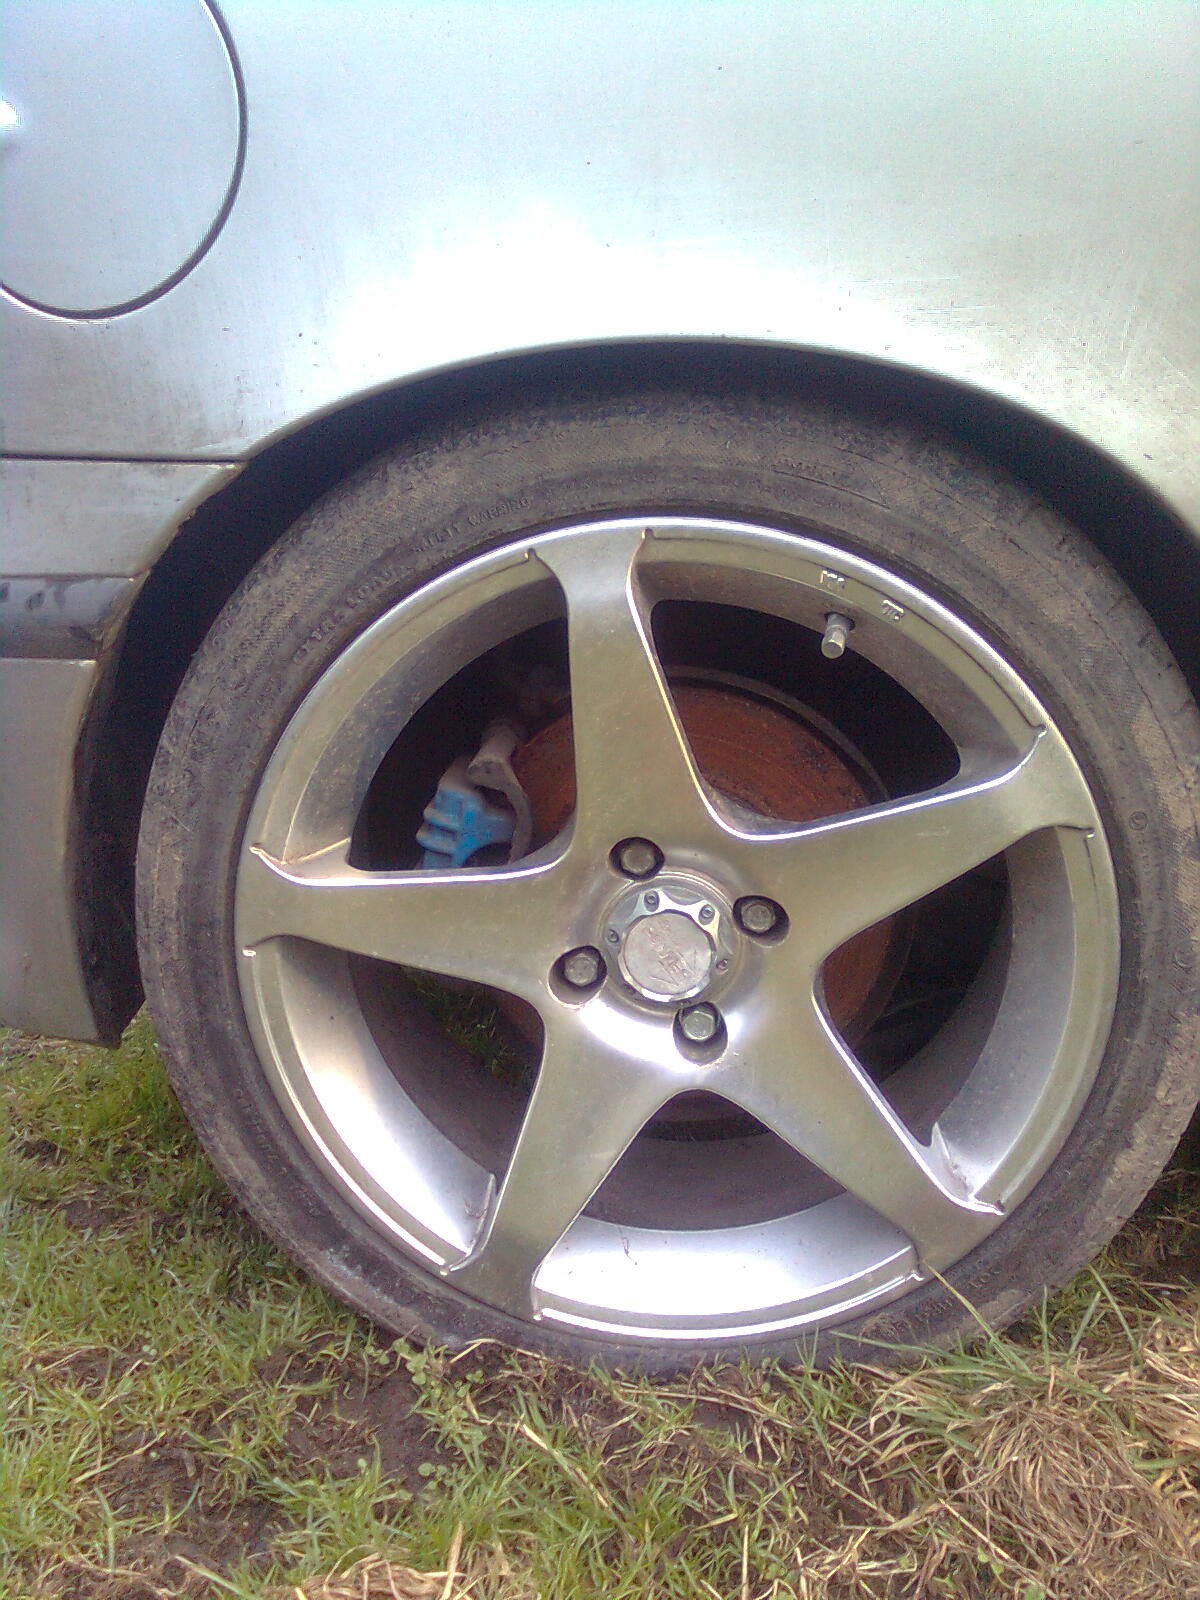
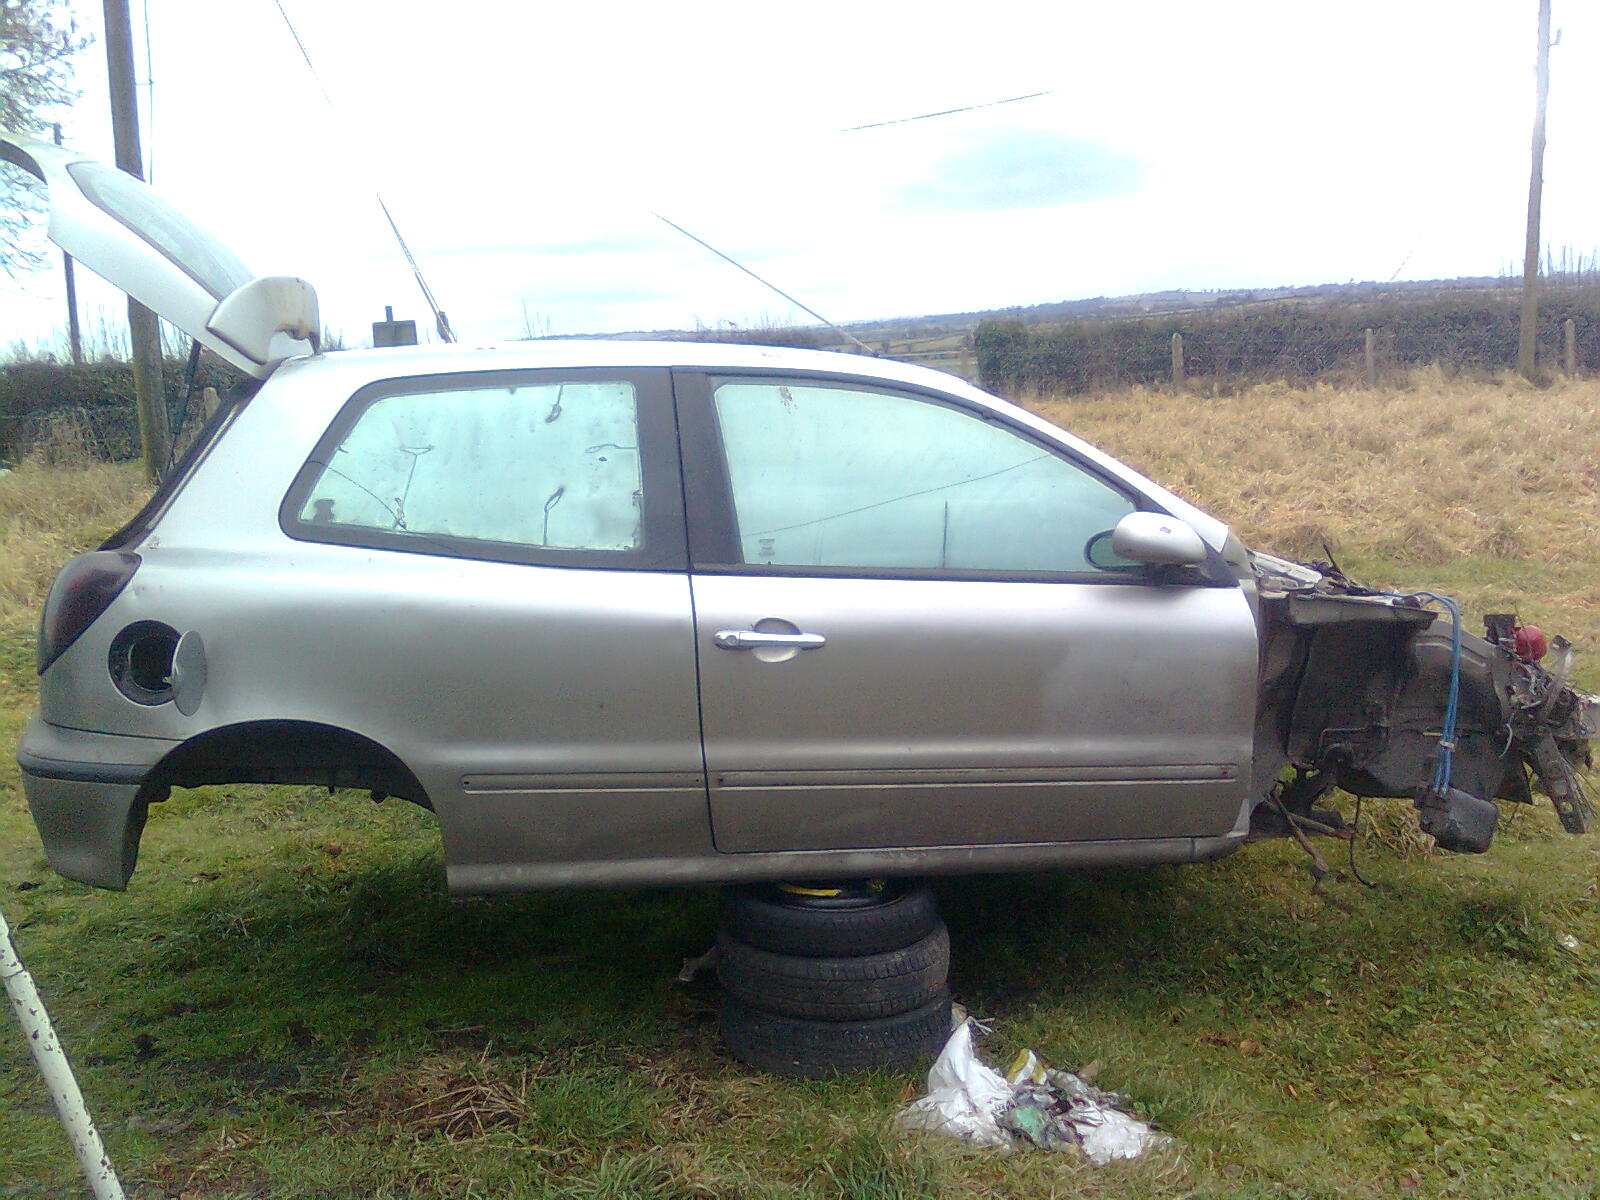
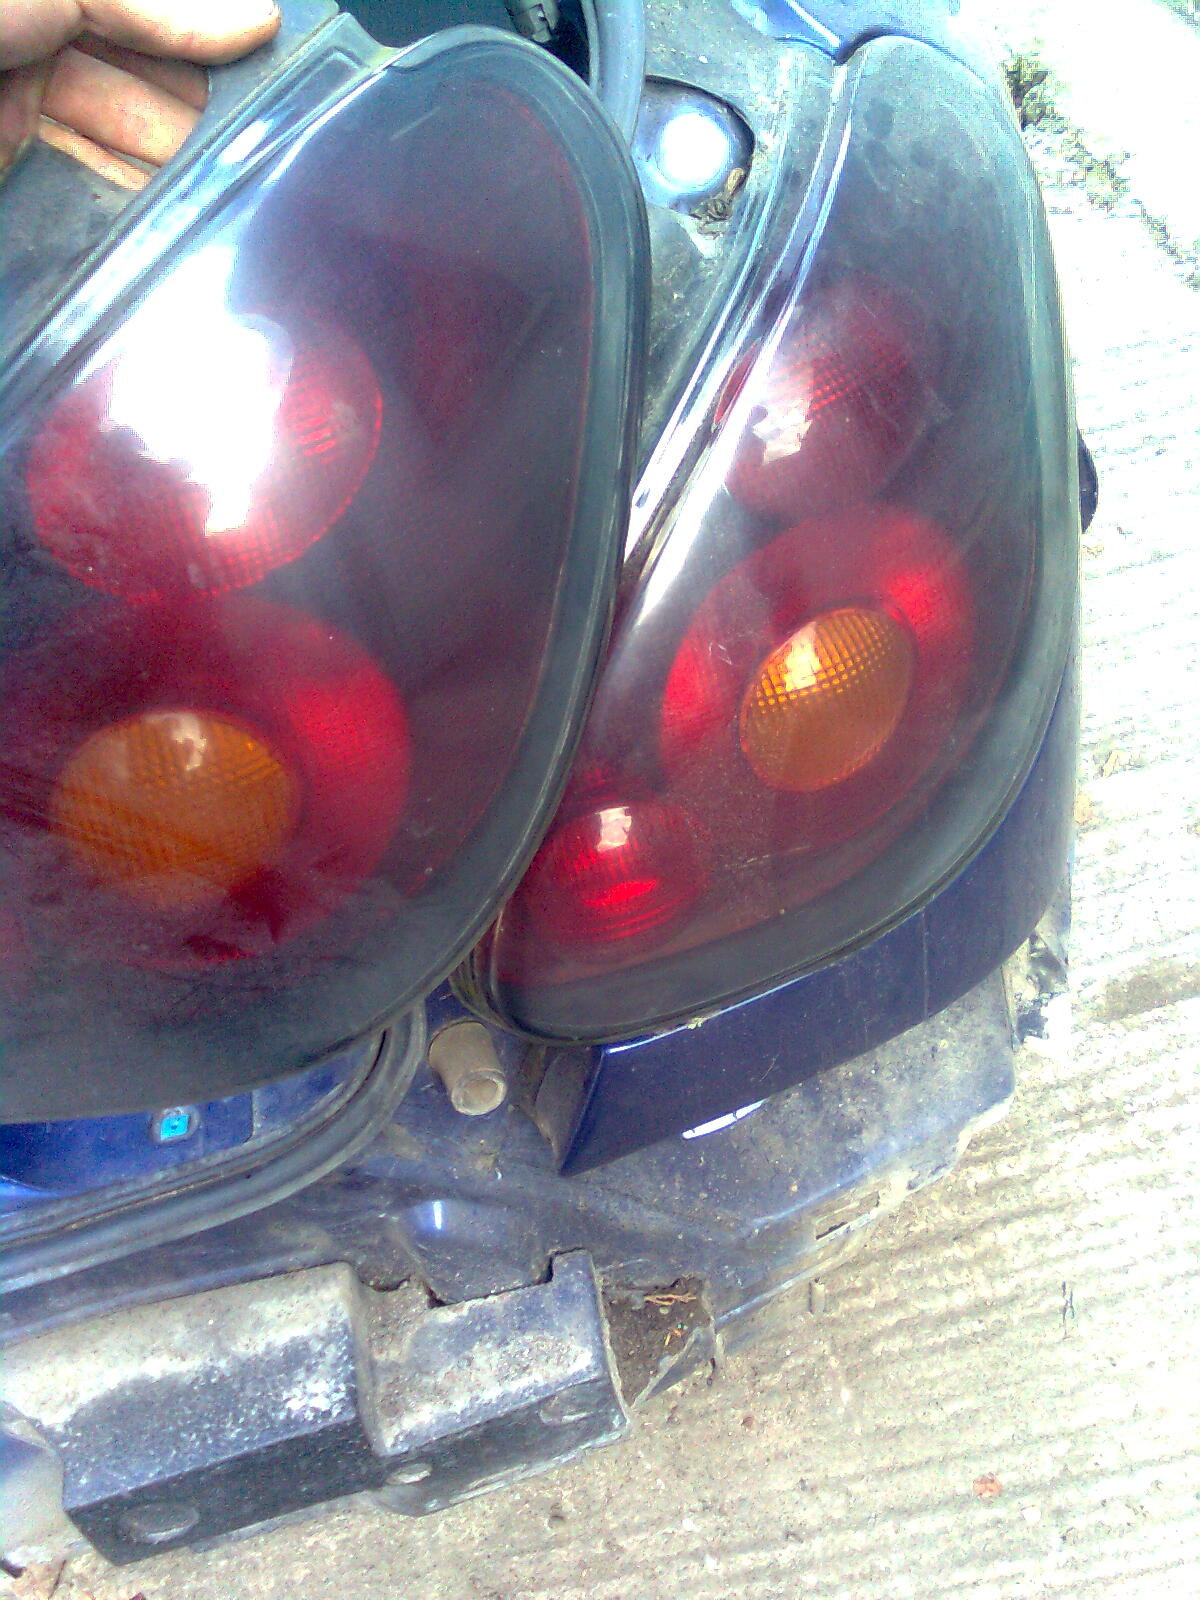
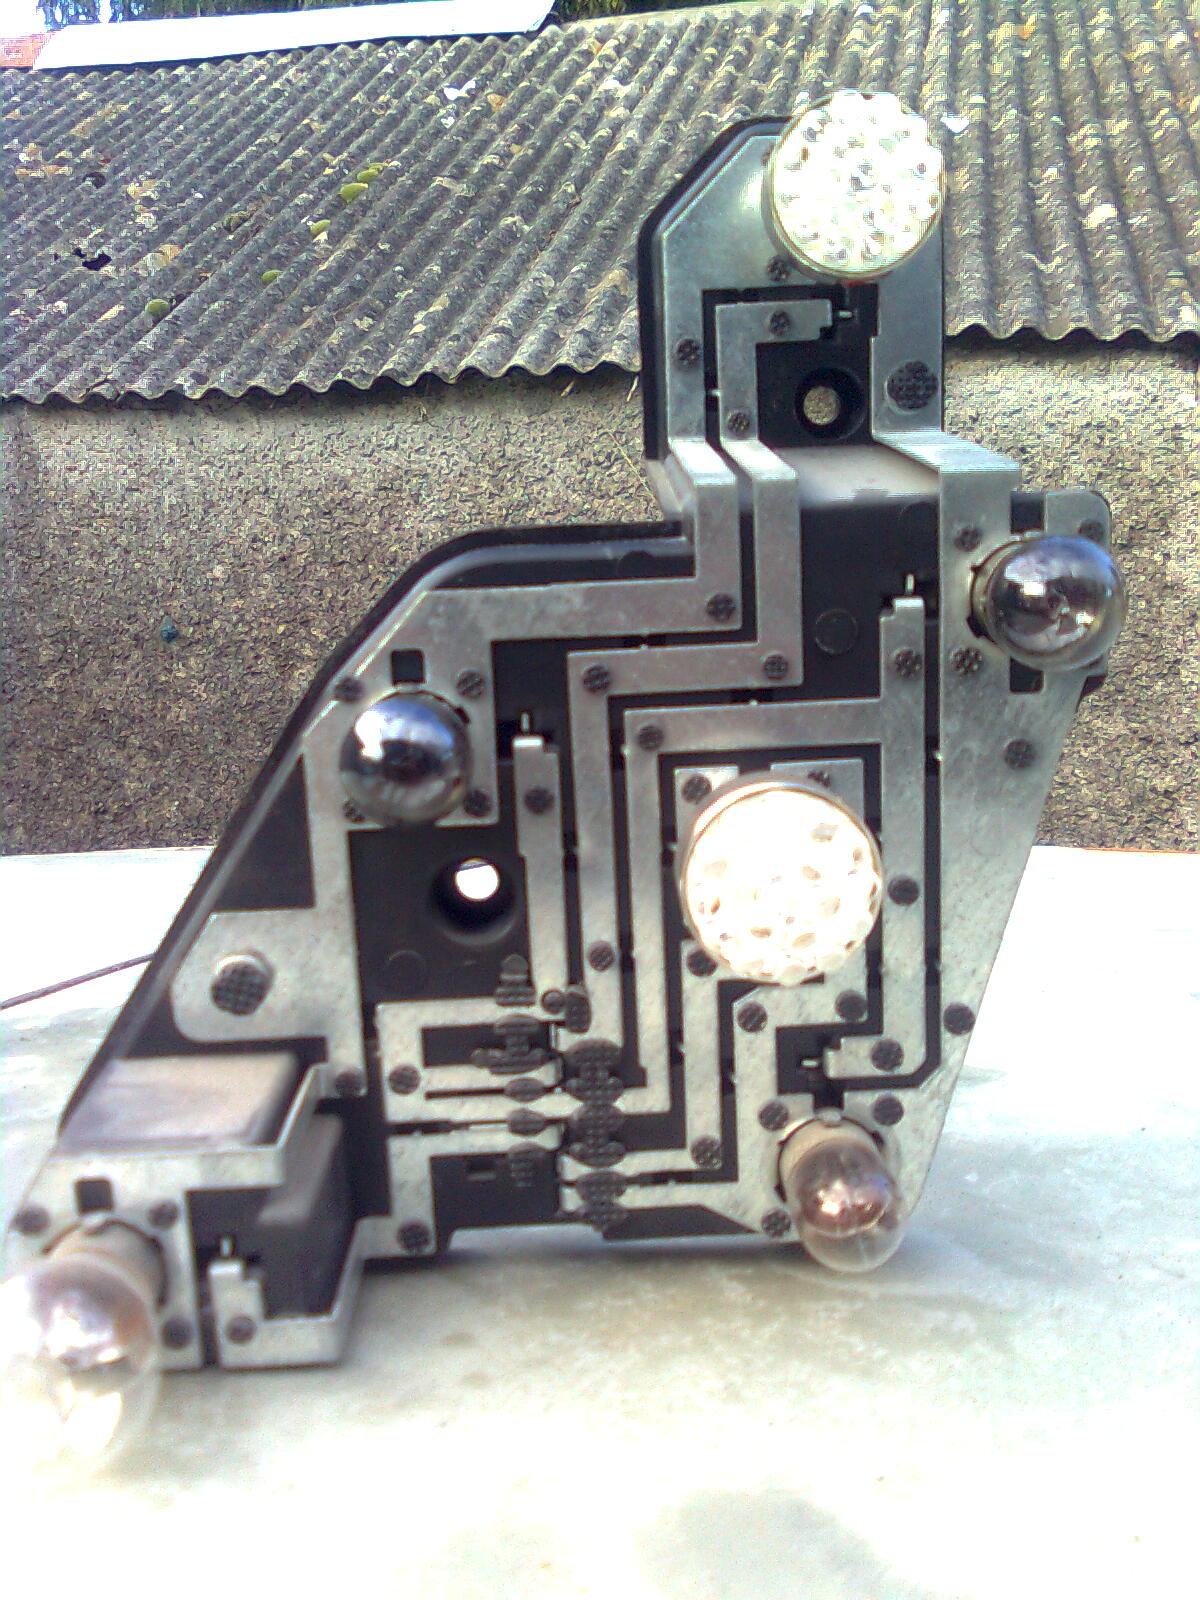
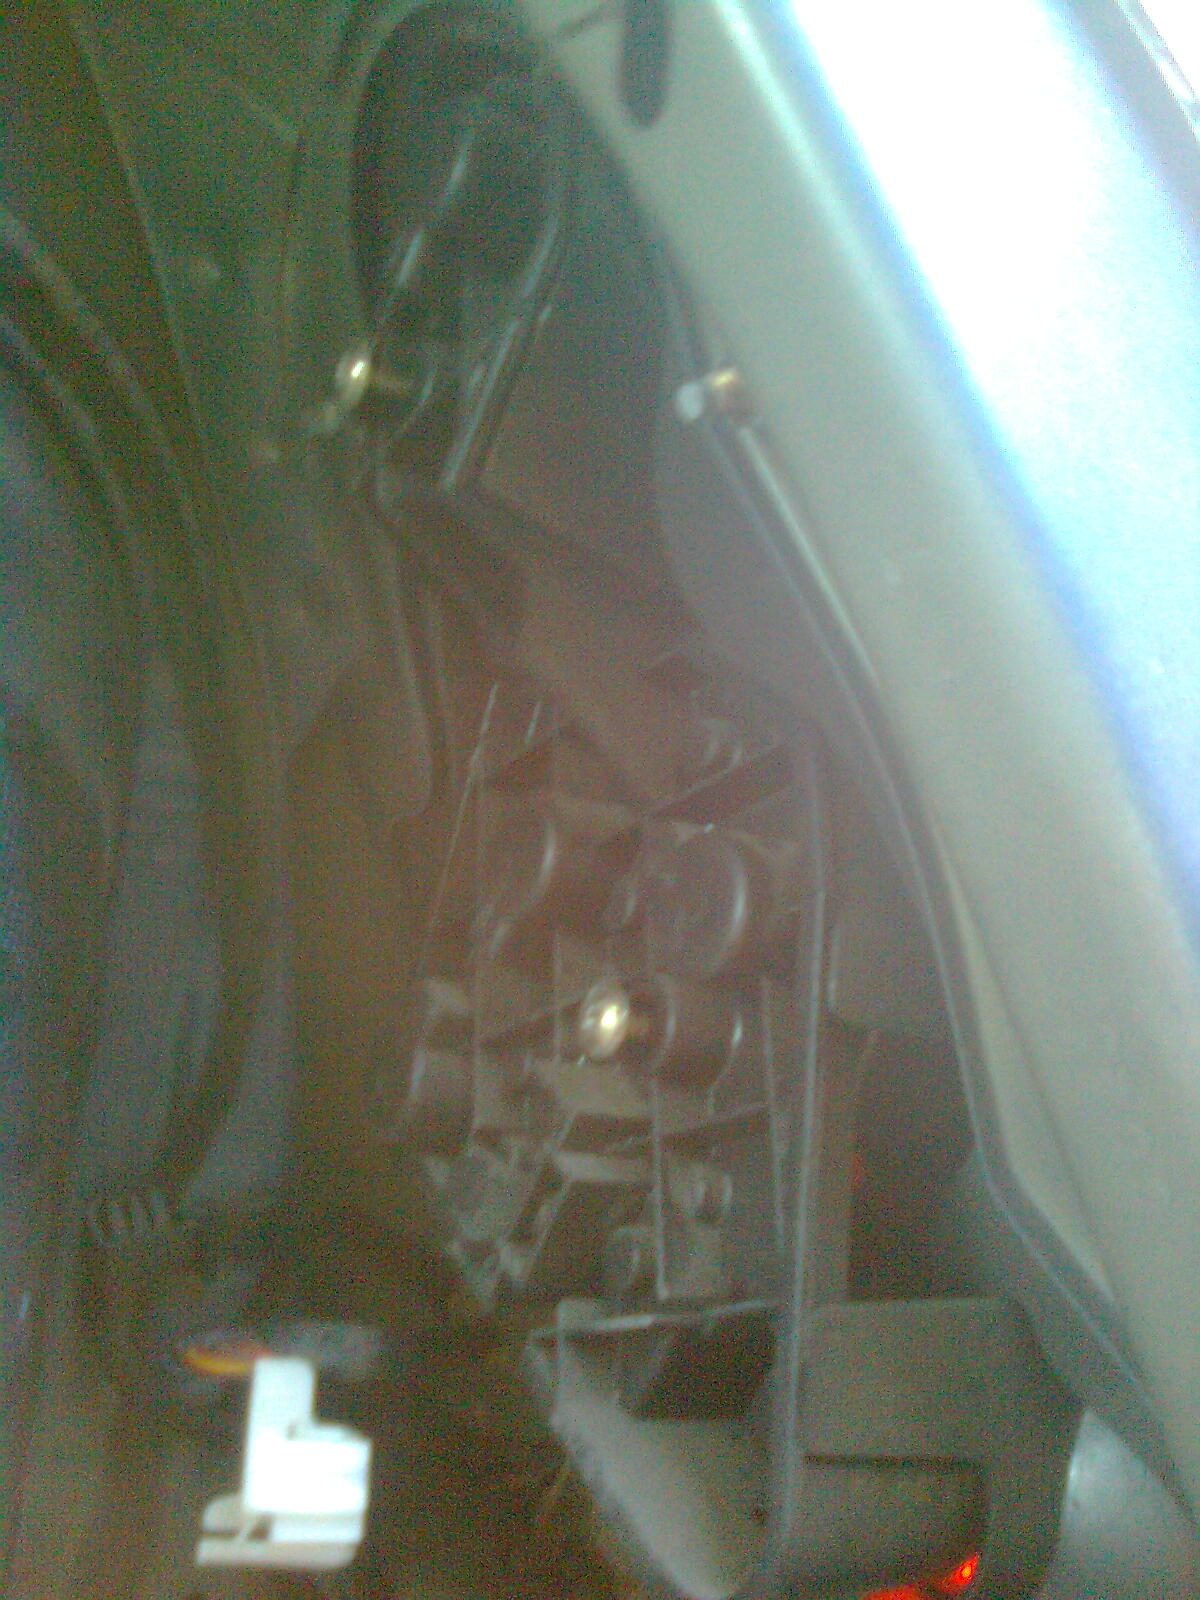
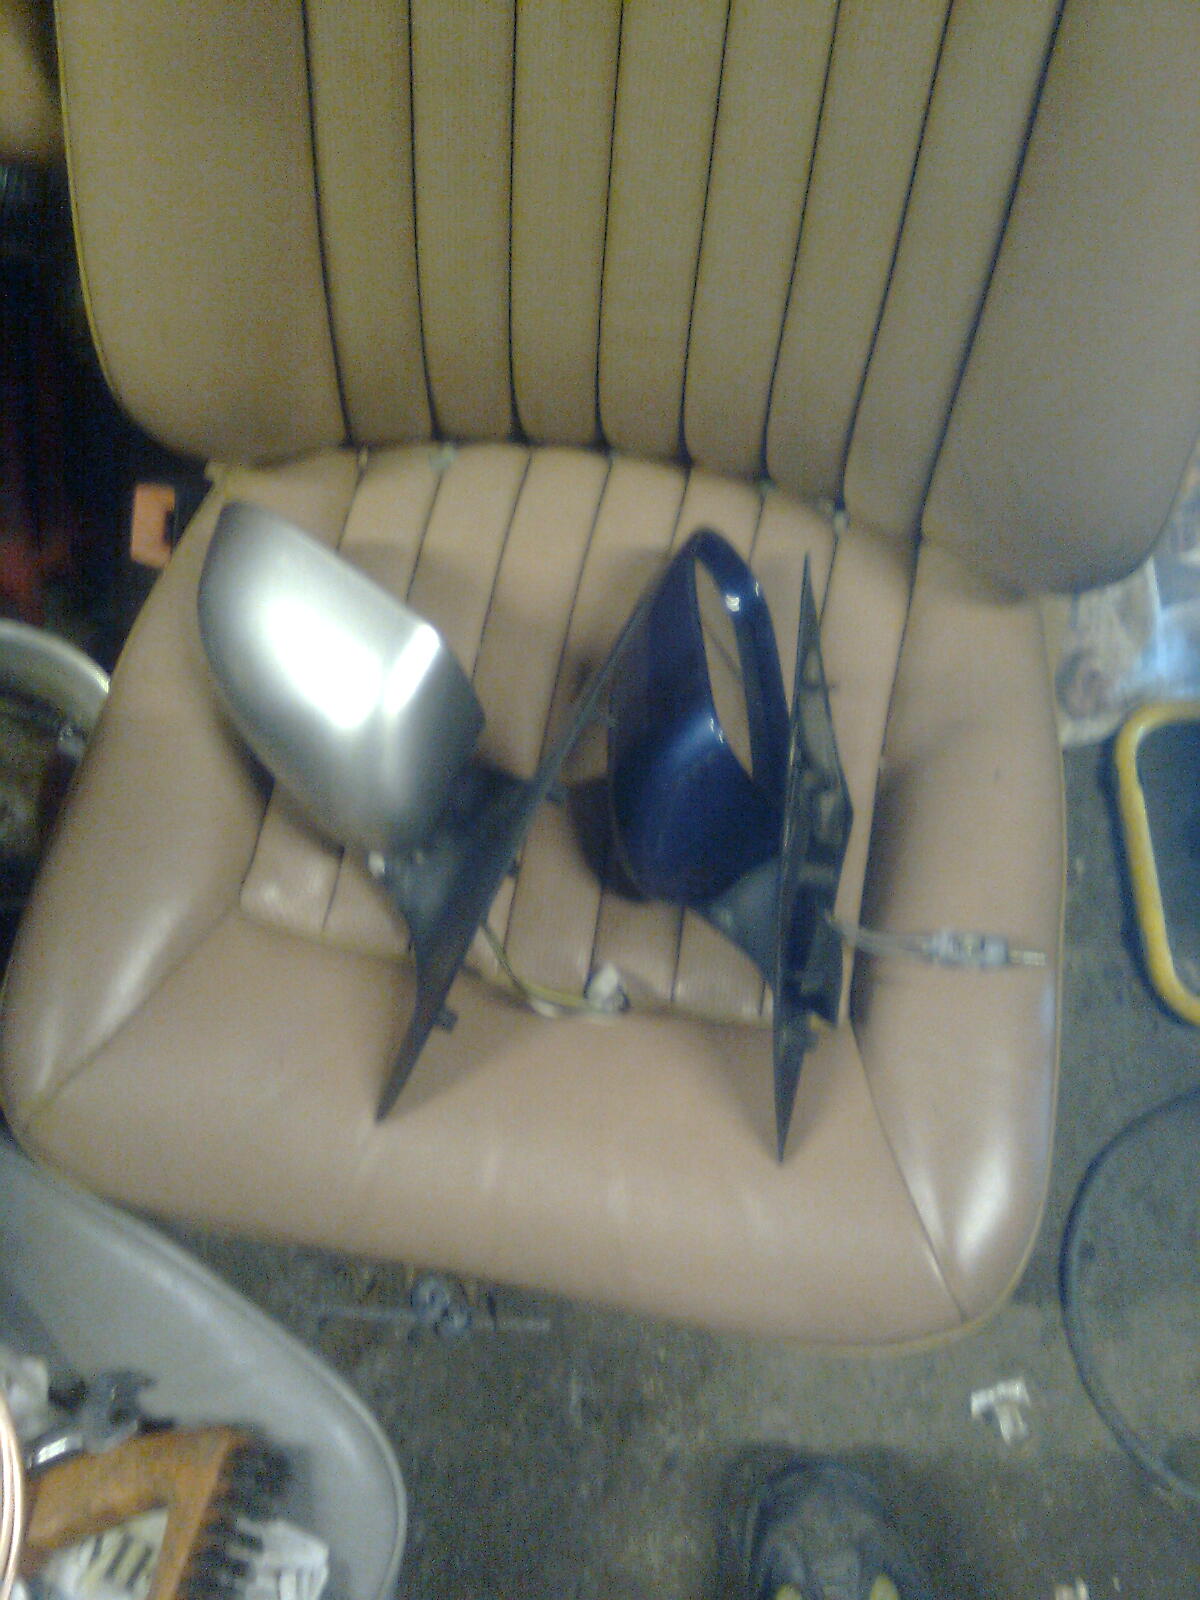
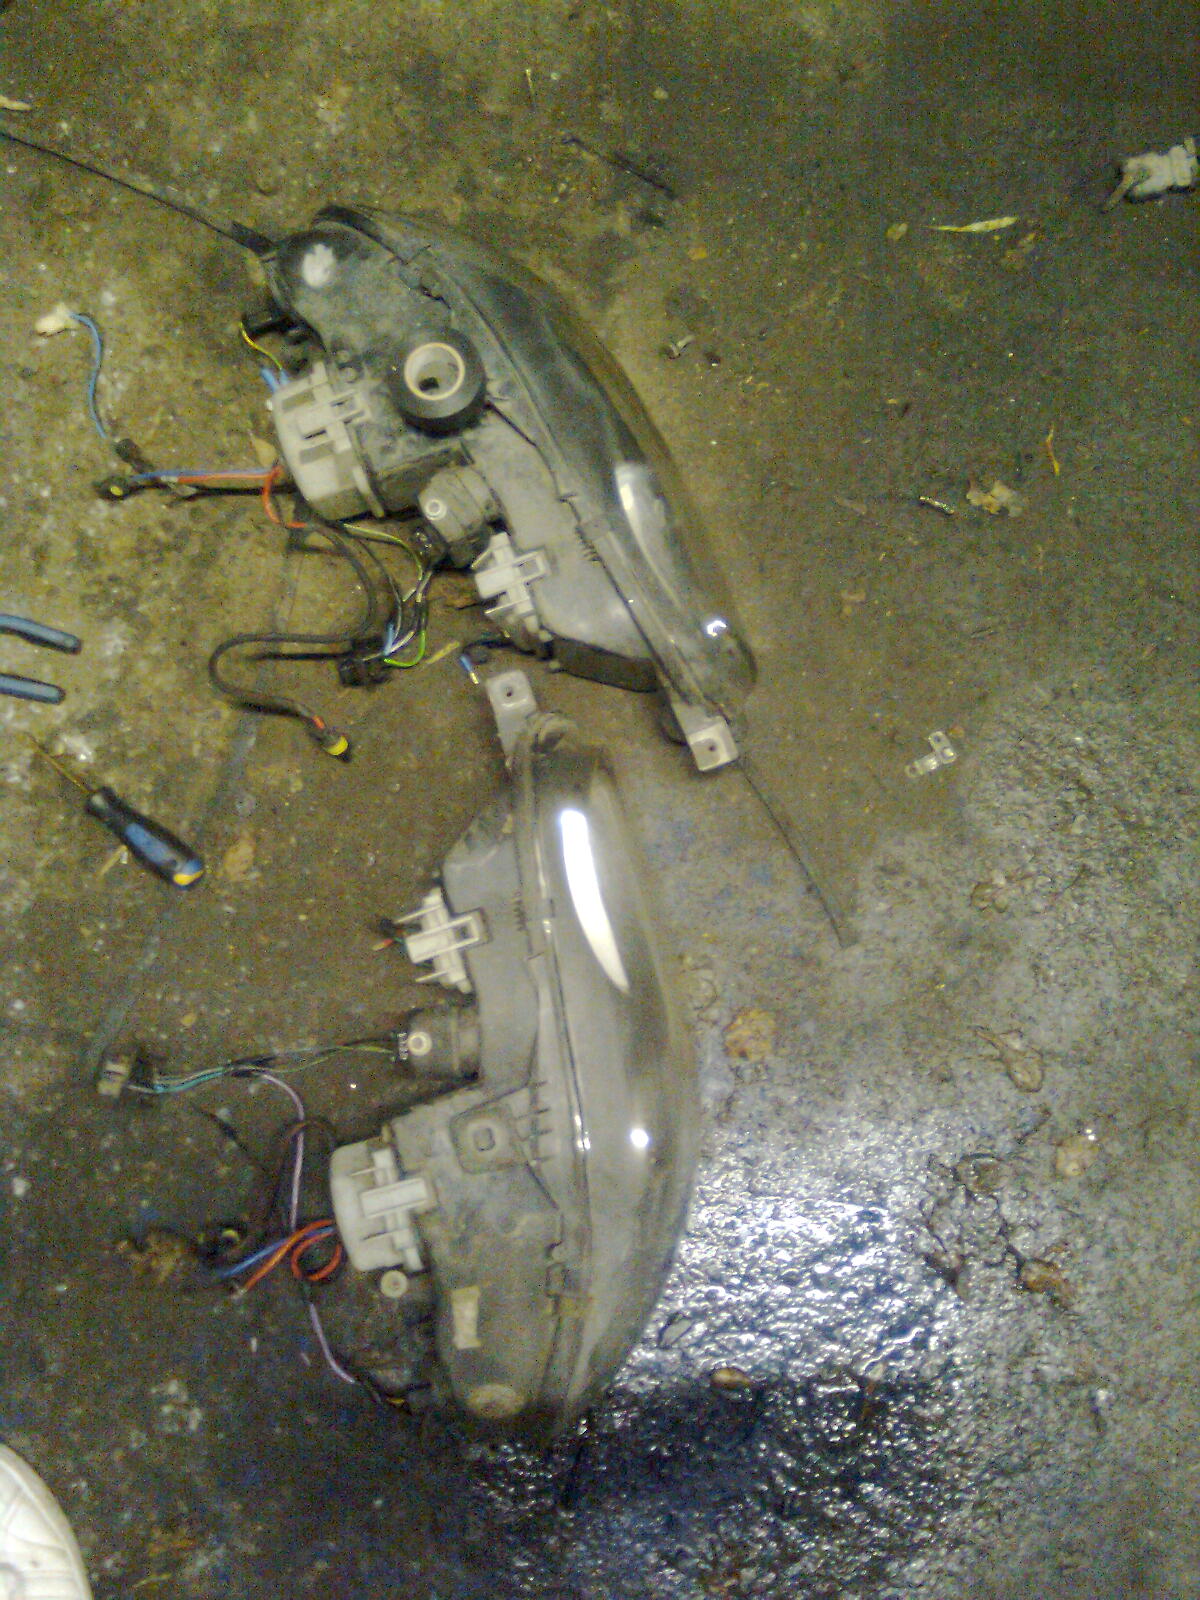
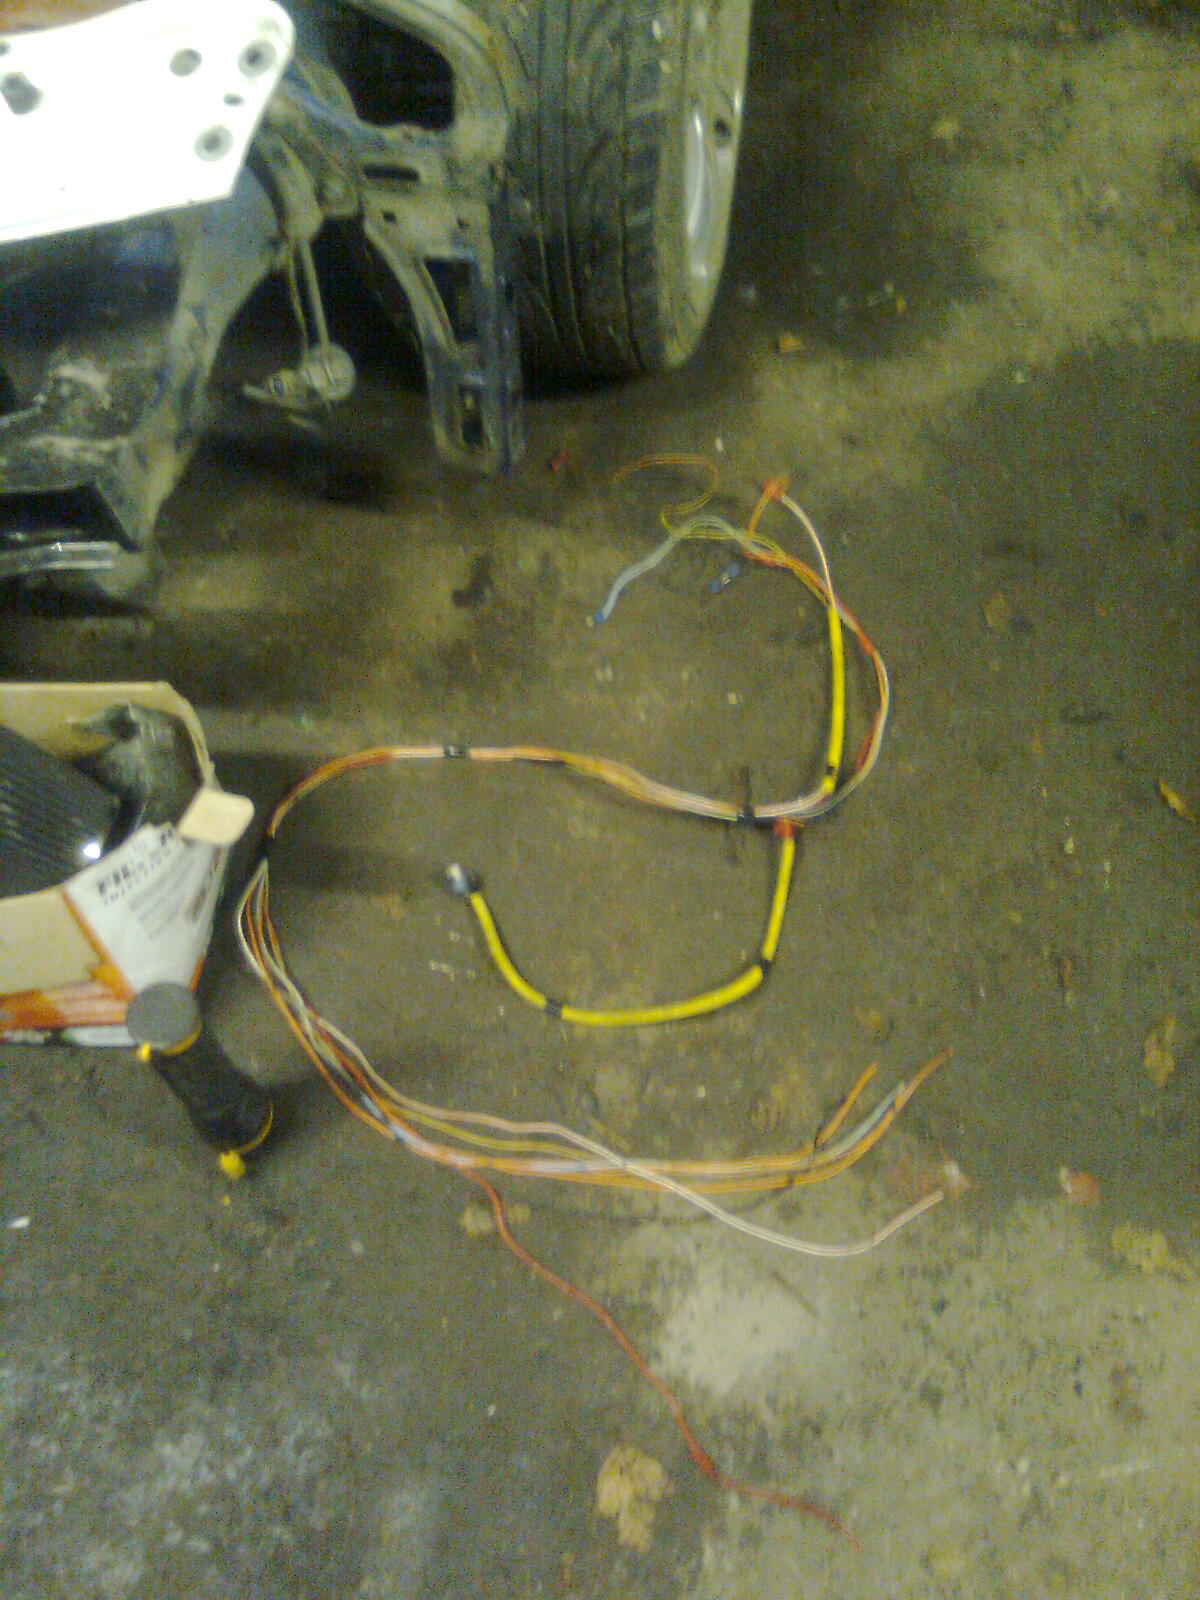
For the next update I hope to transfer this...
Image0403.jpg


(Yes that Mercedes wheel
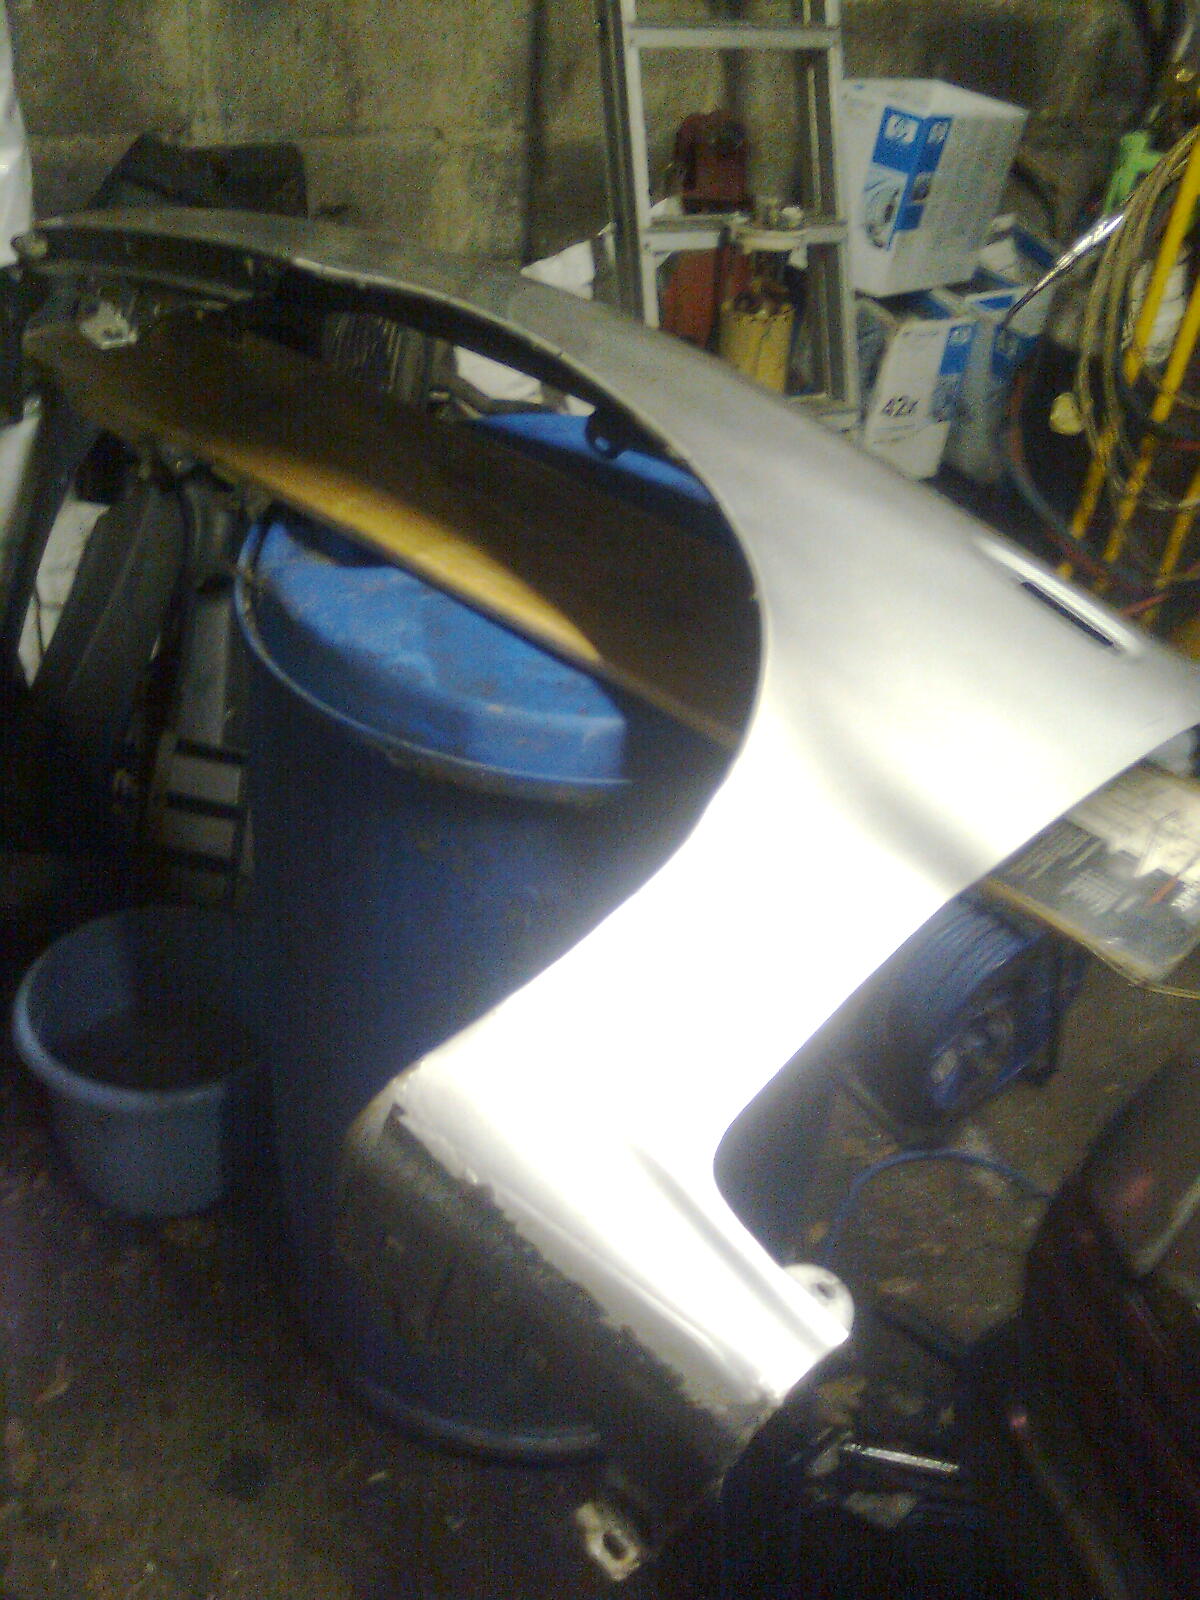
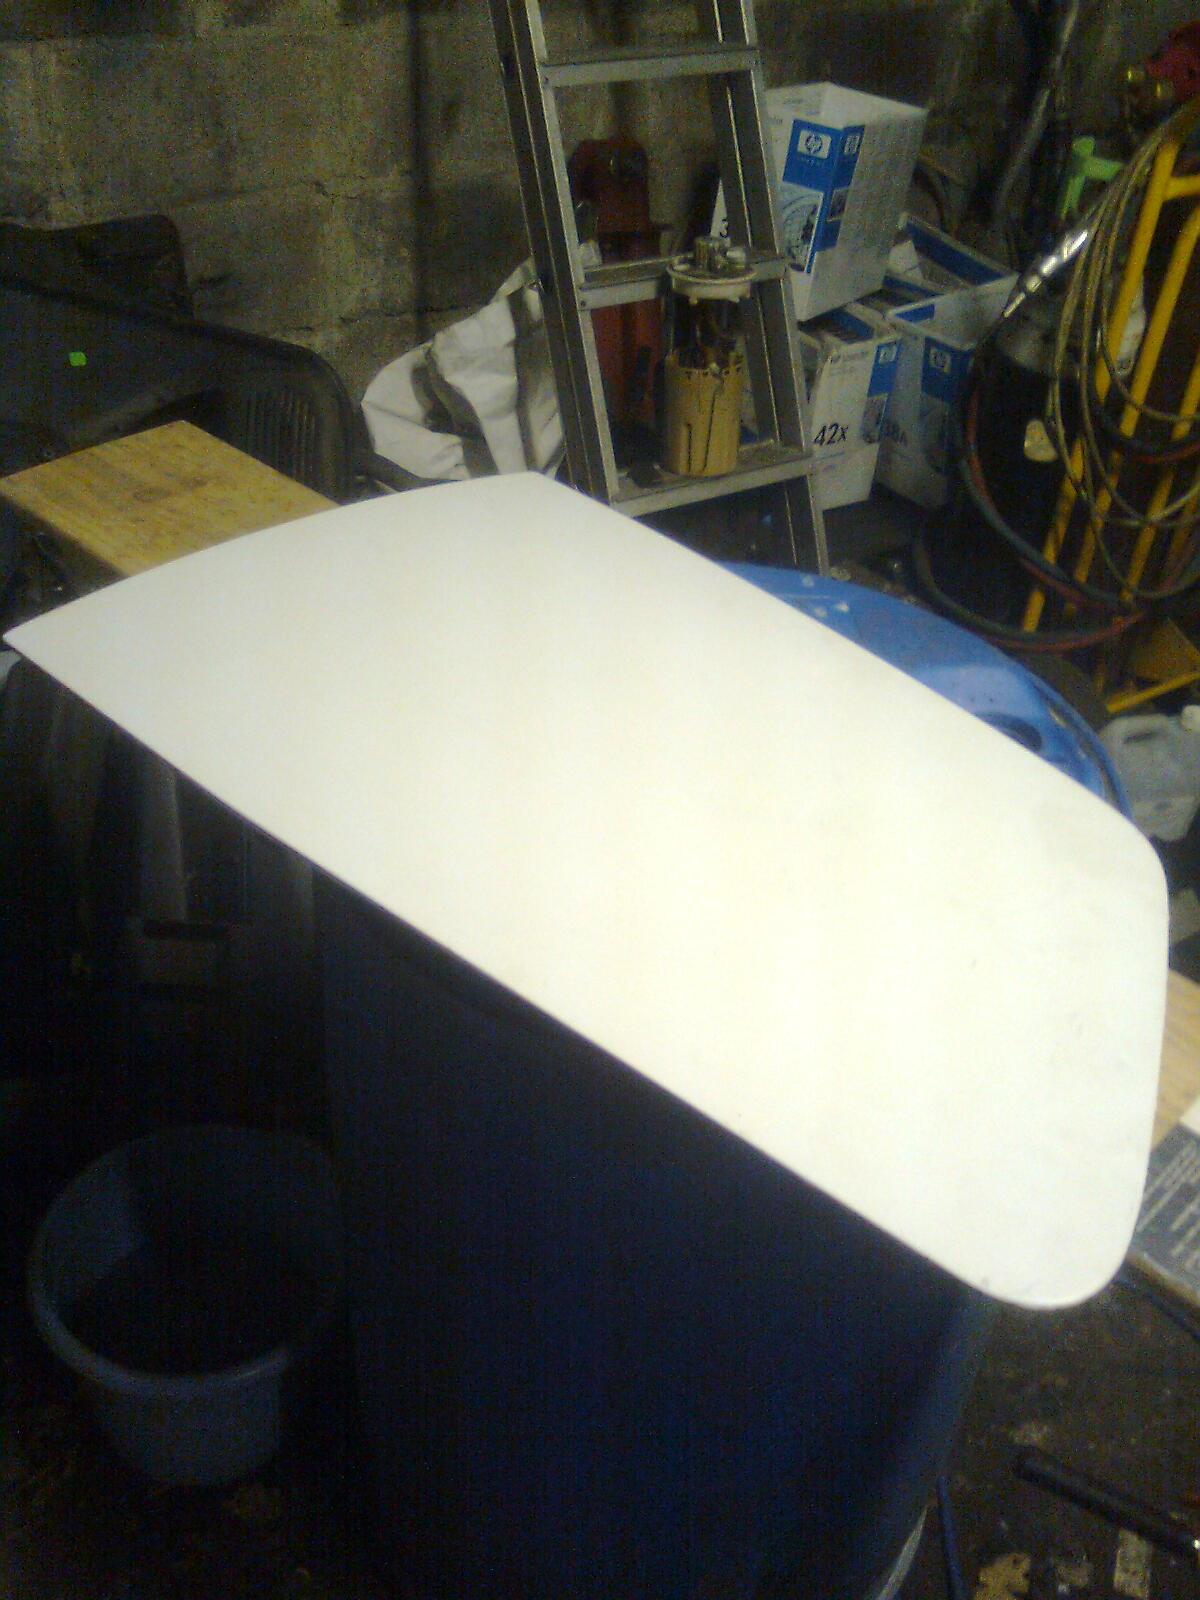
 :D) This (y)
Image0401.jpg


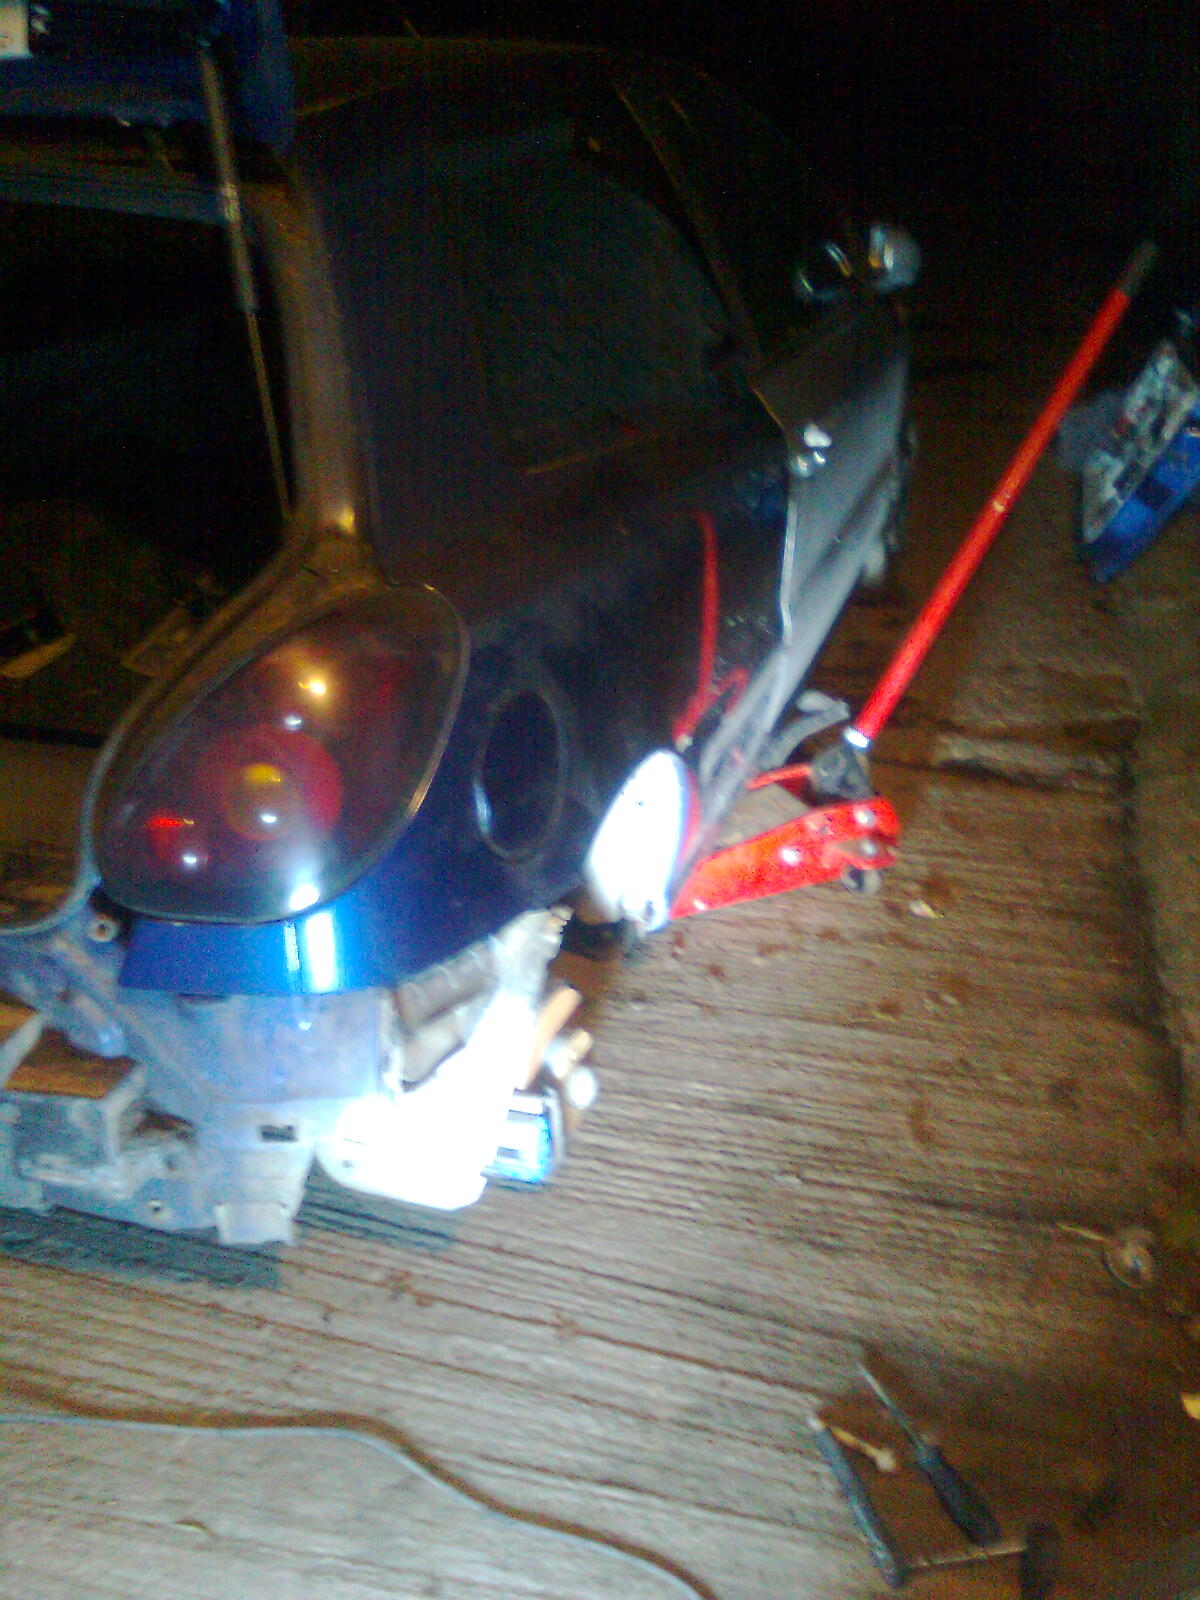
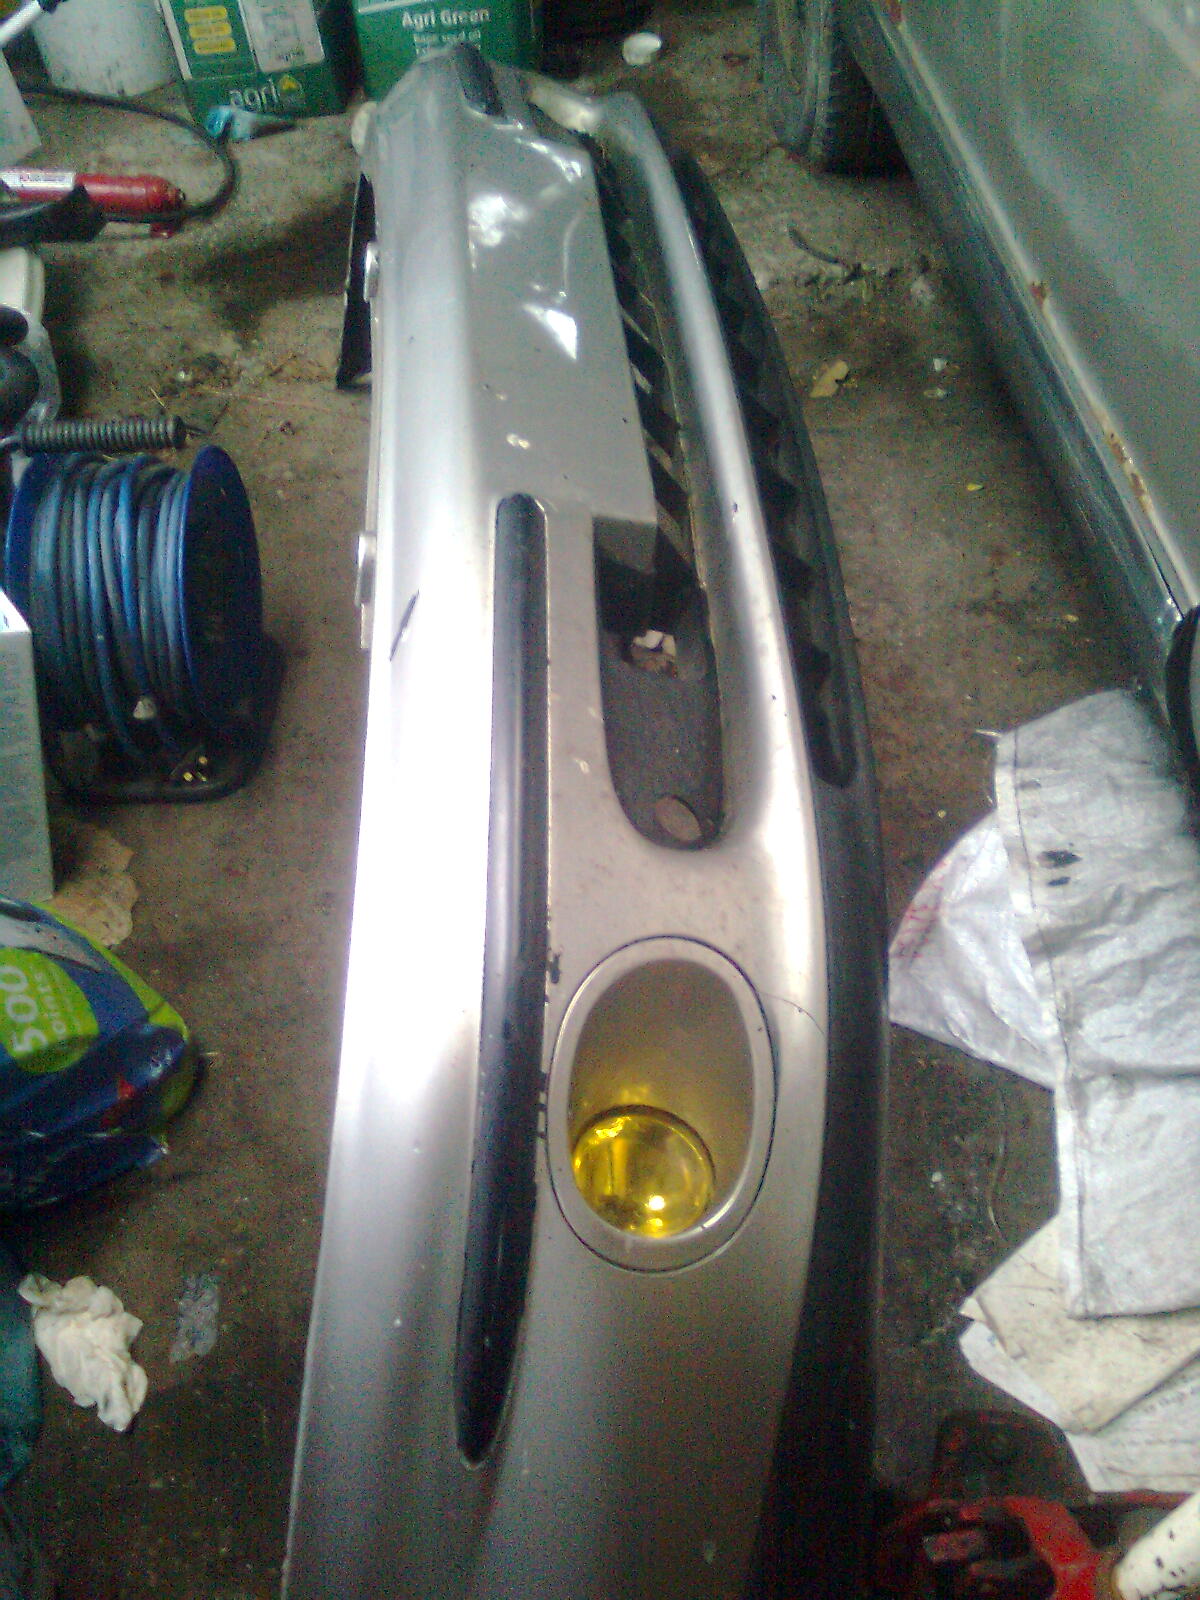
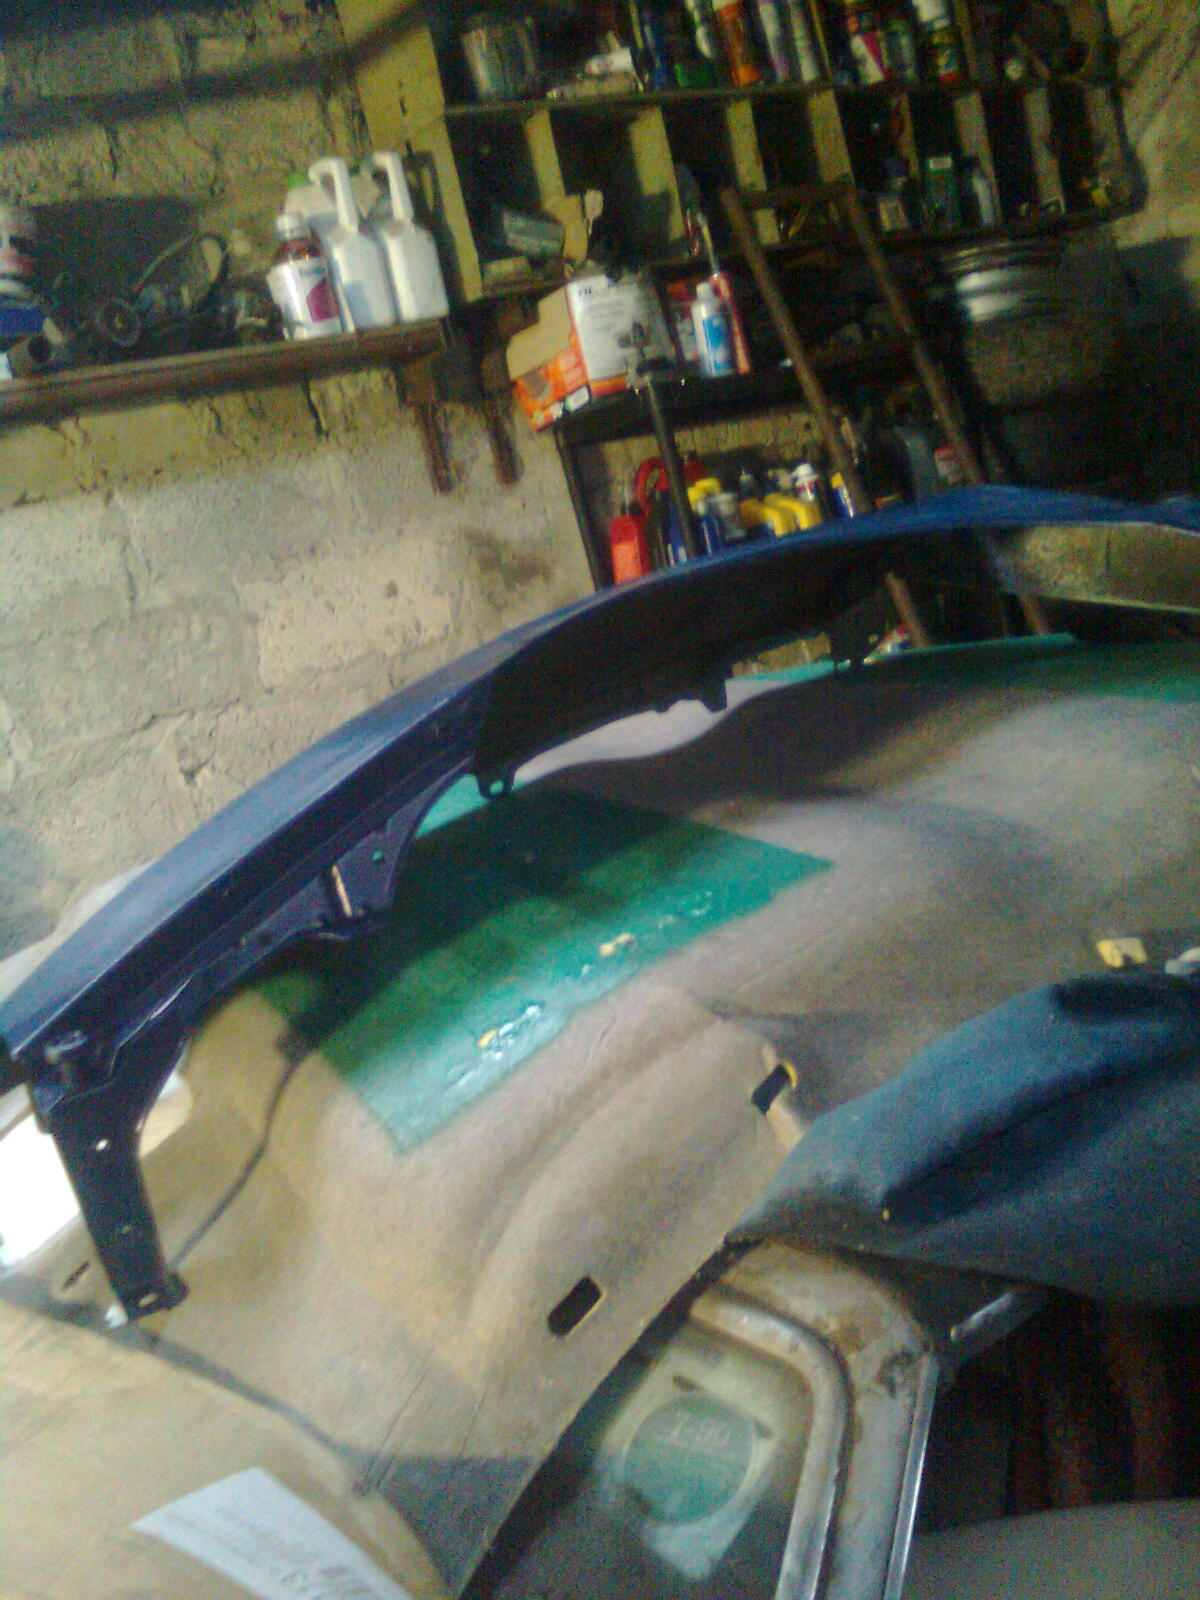
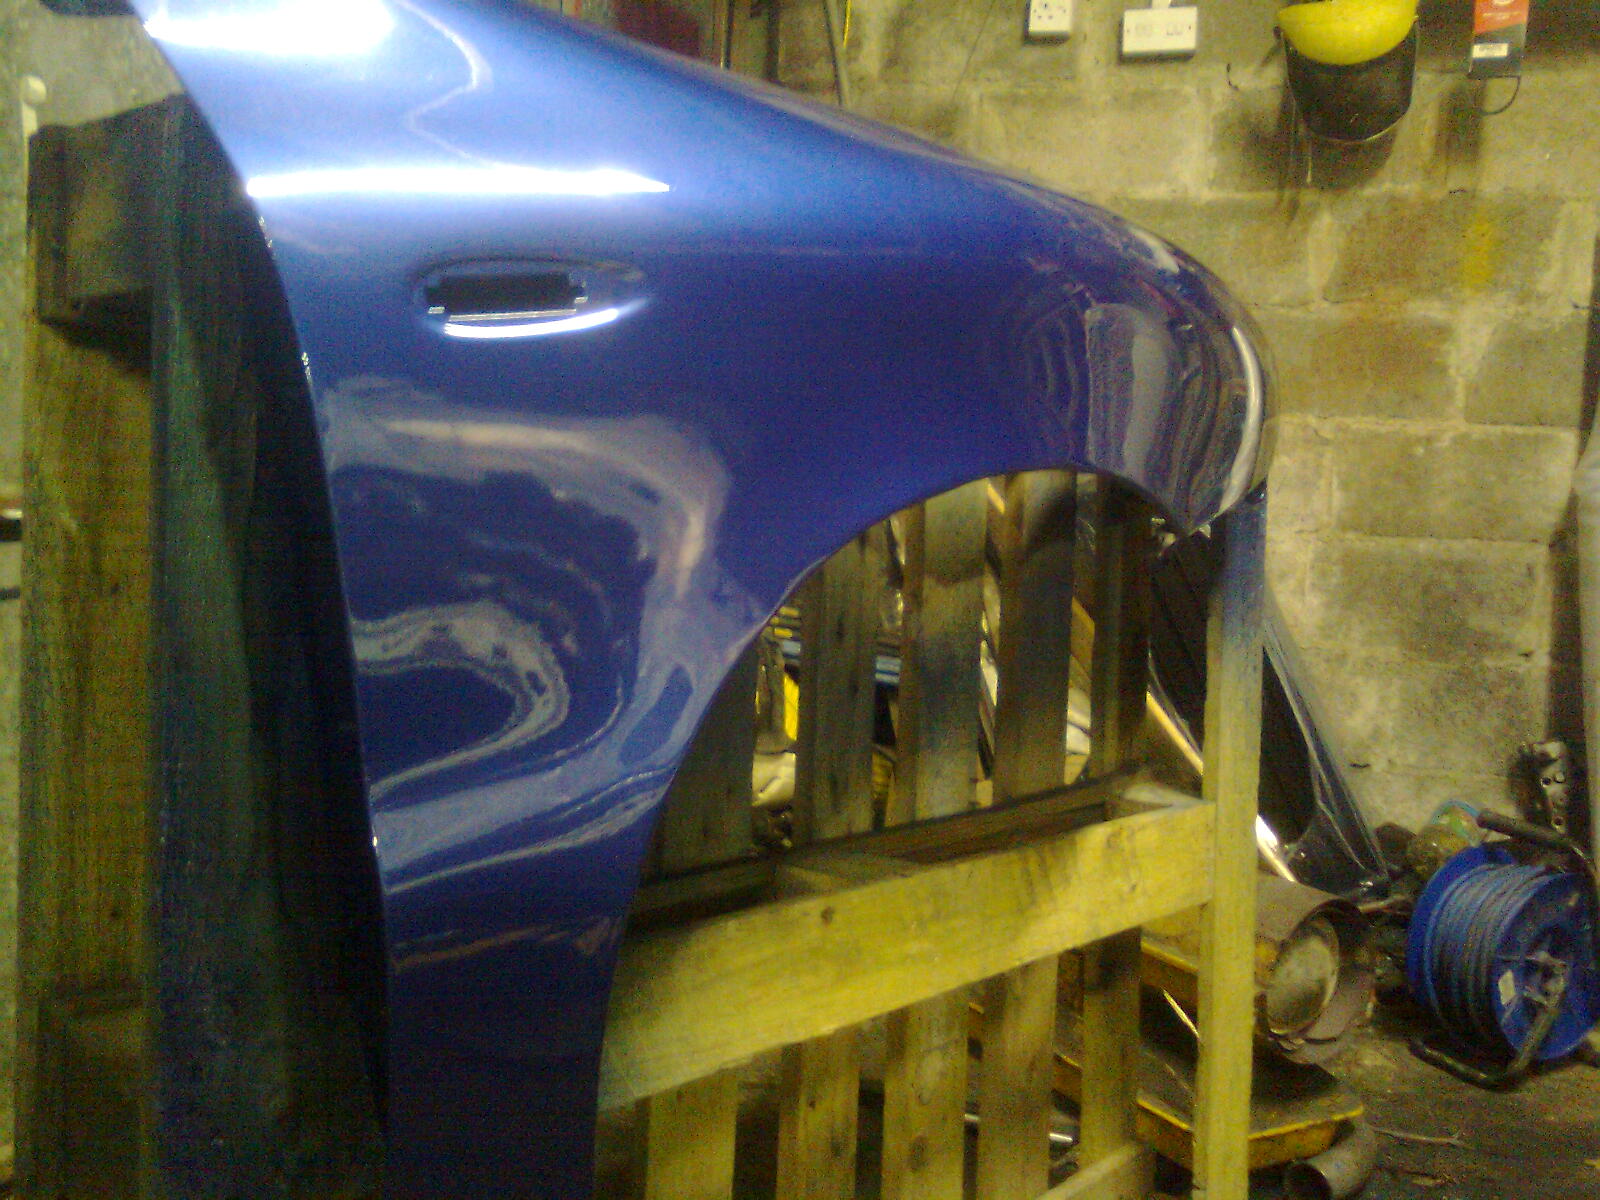
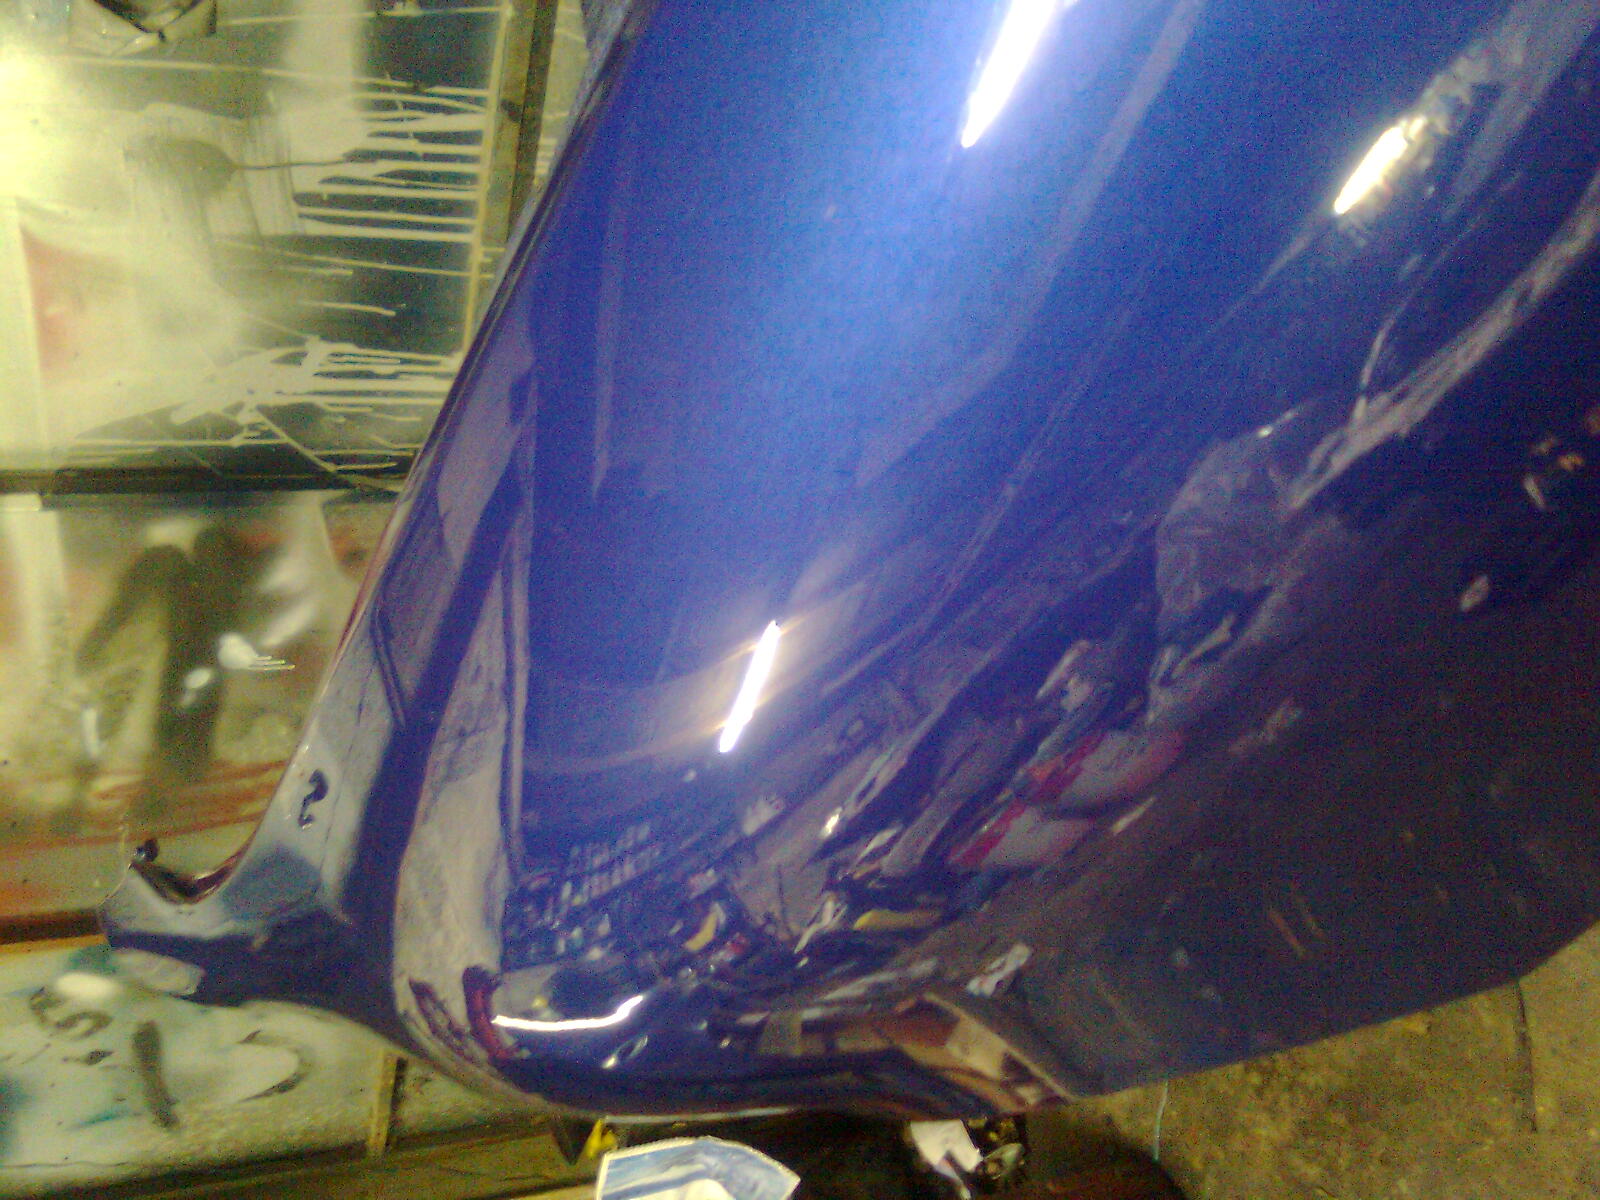
And have this ready for paint
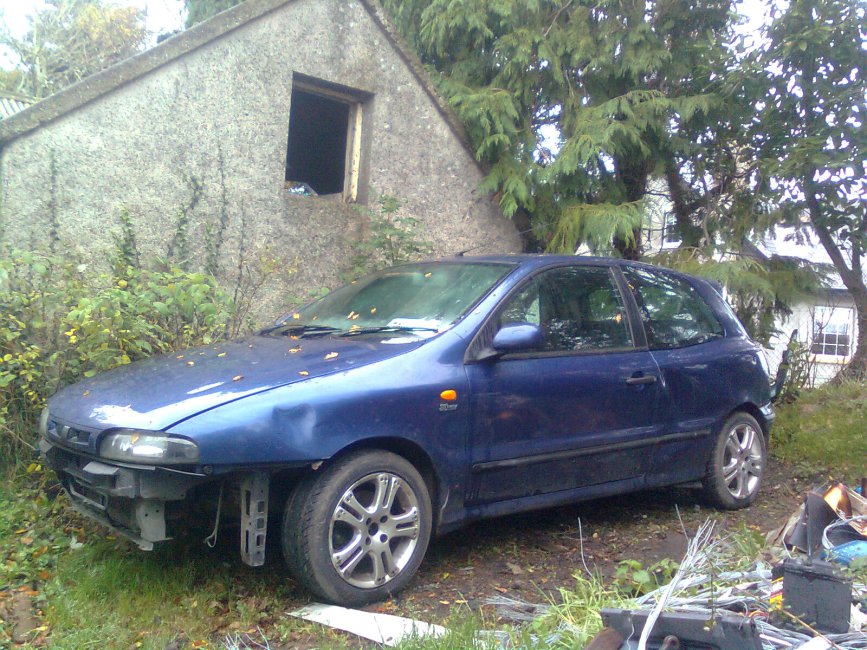
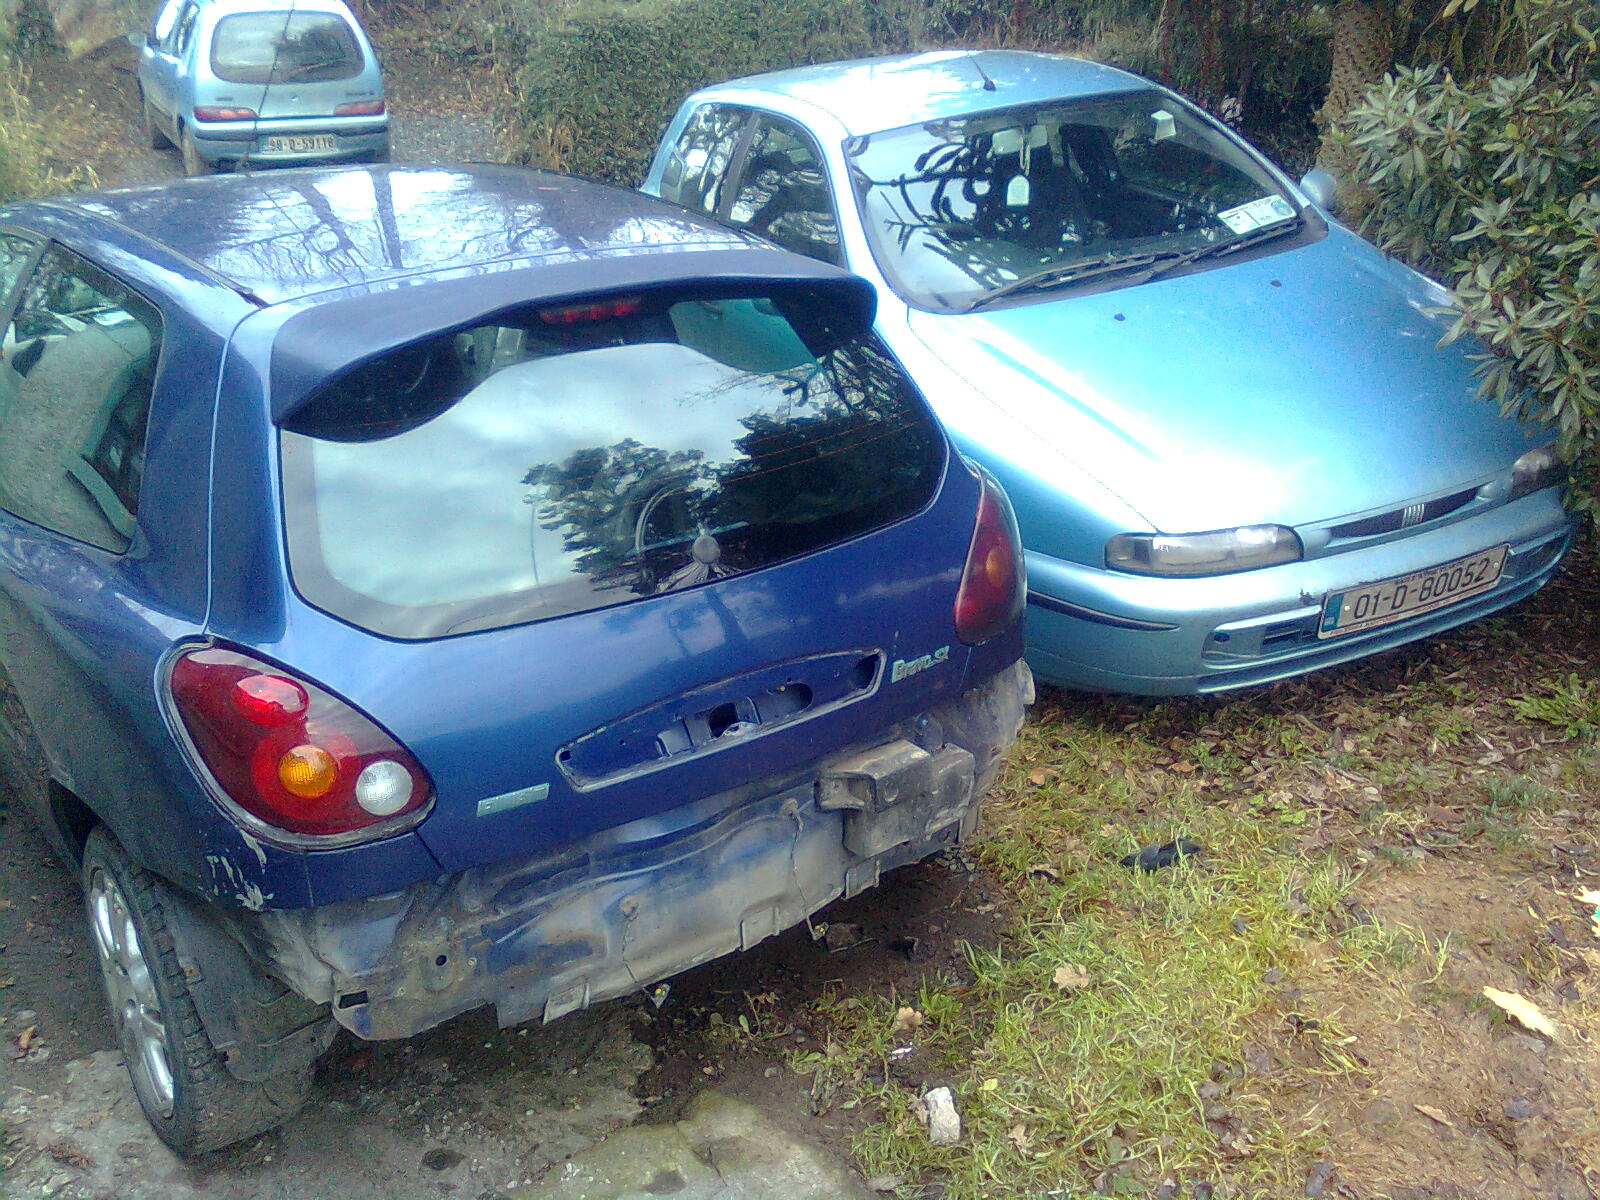
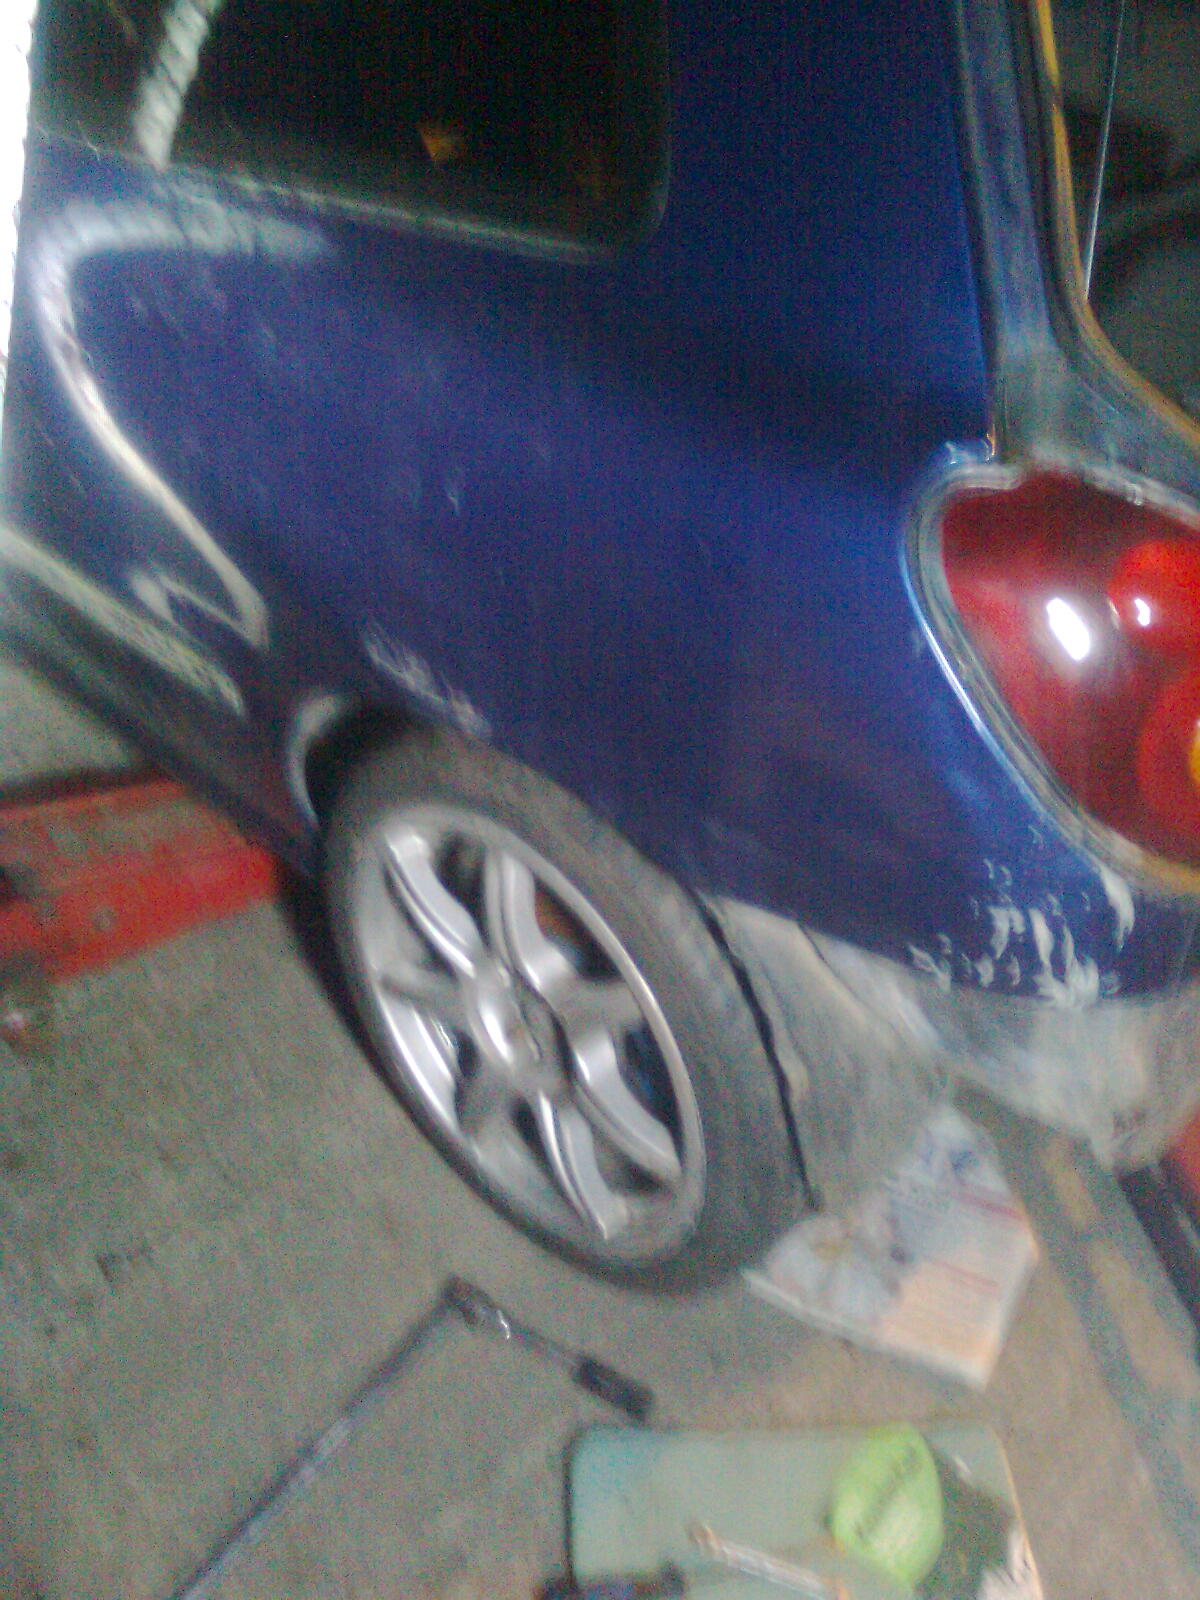
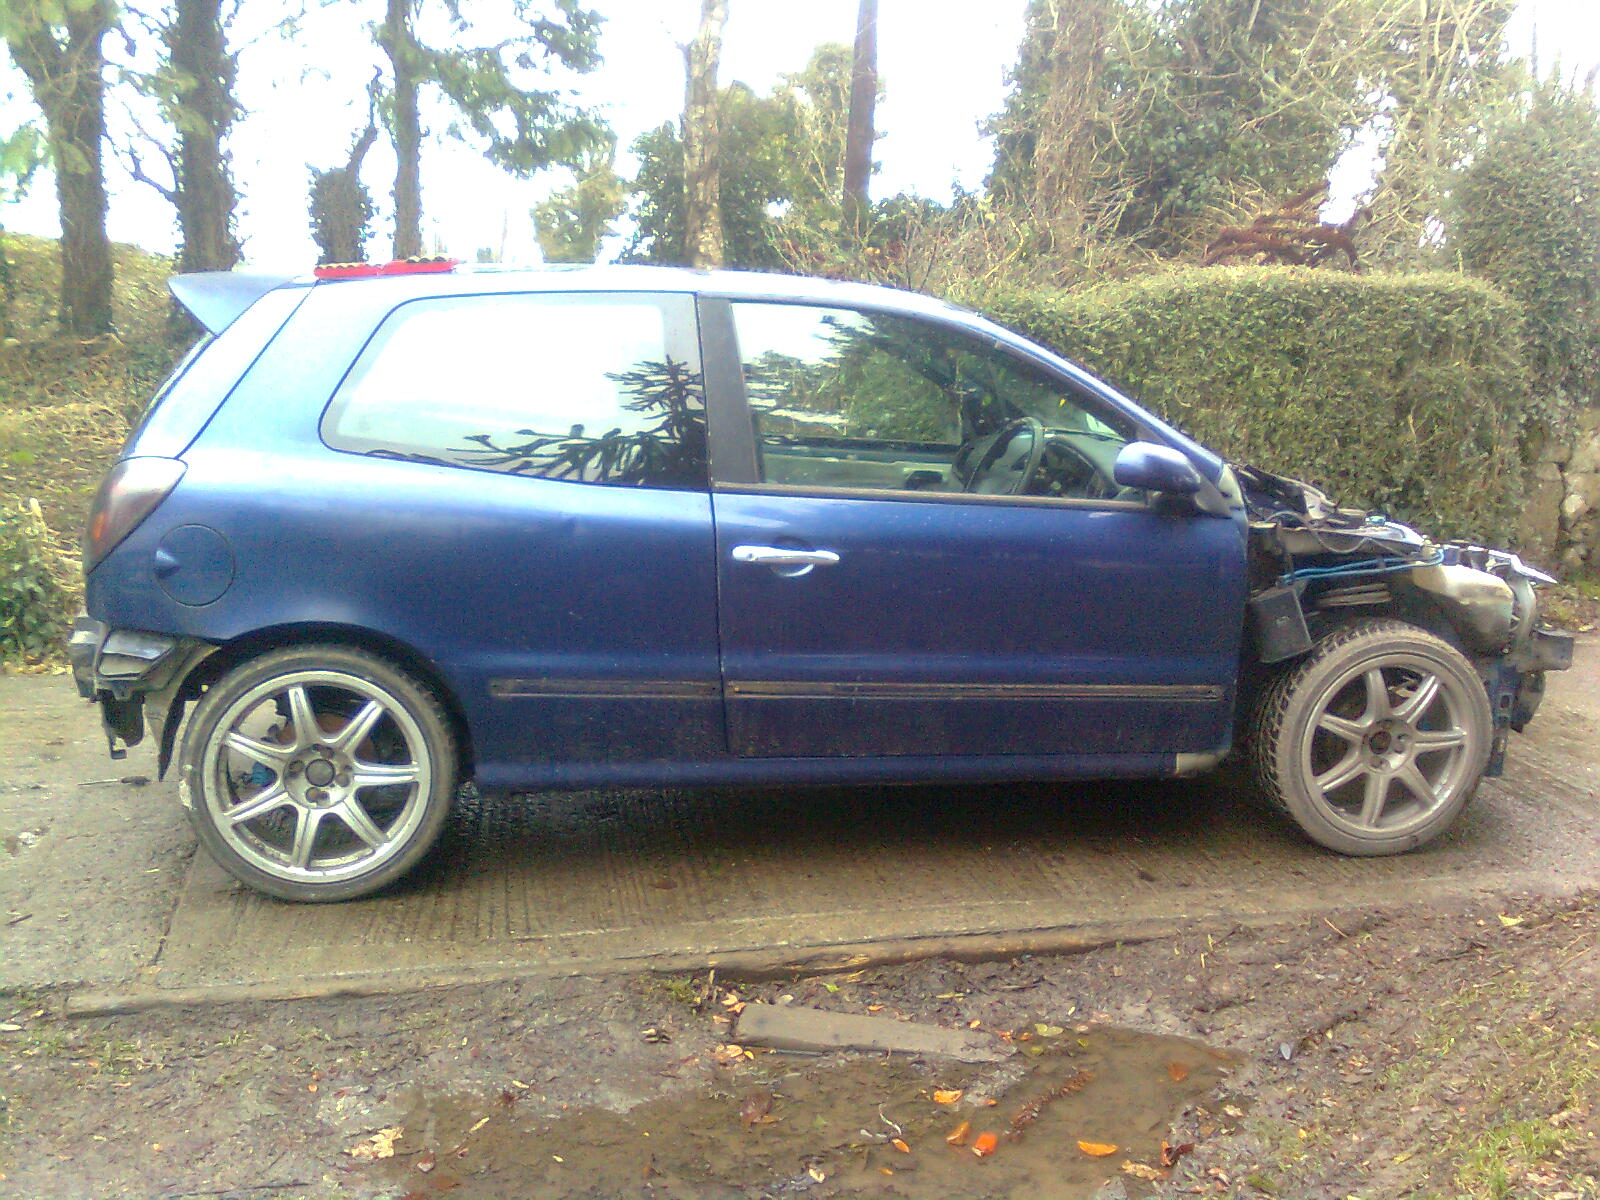
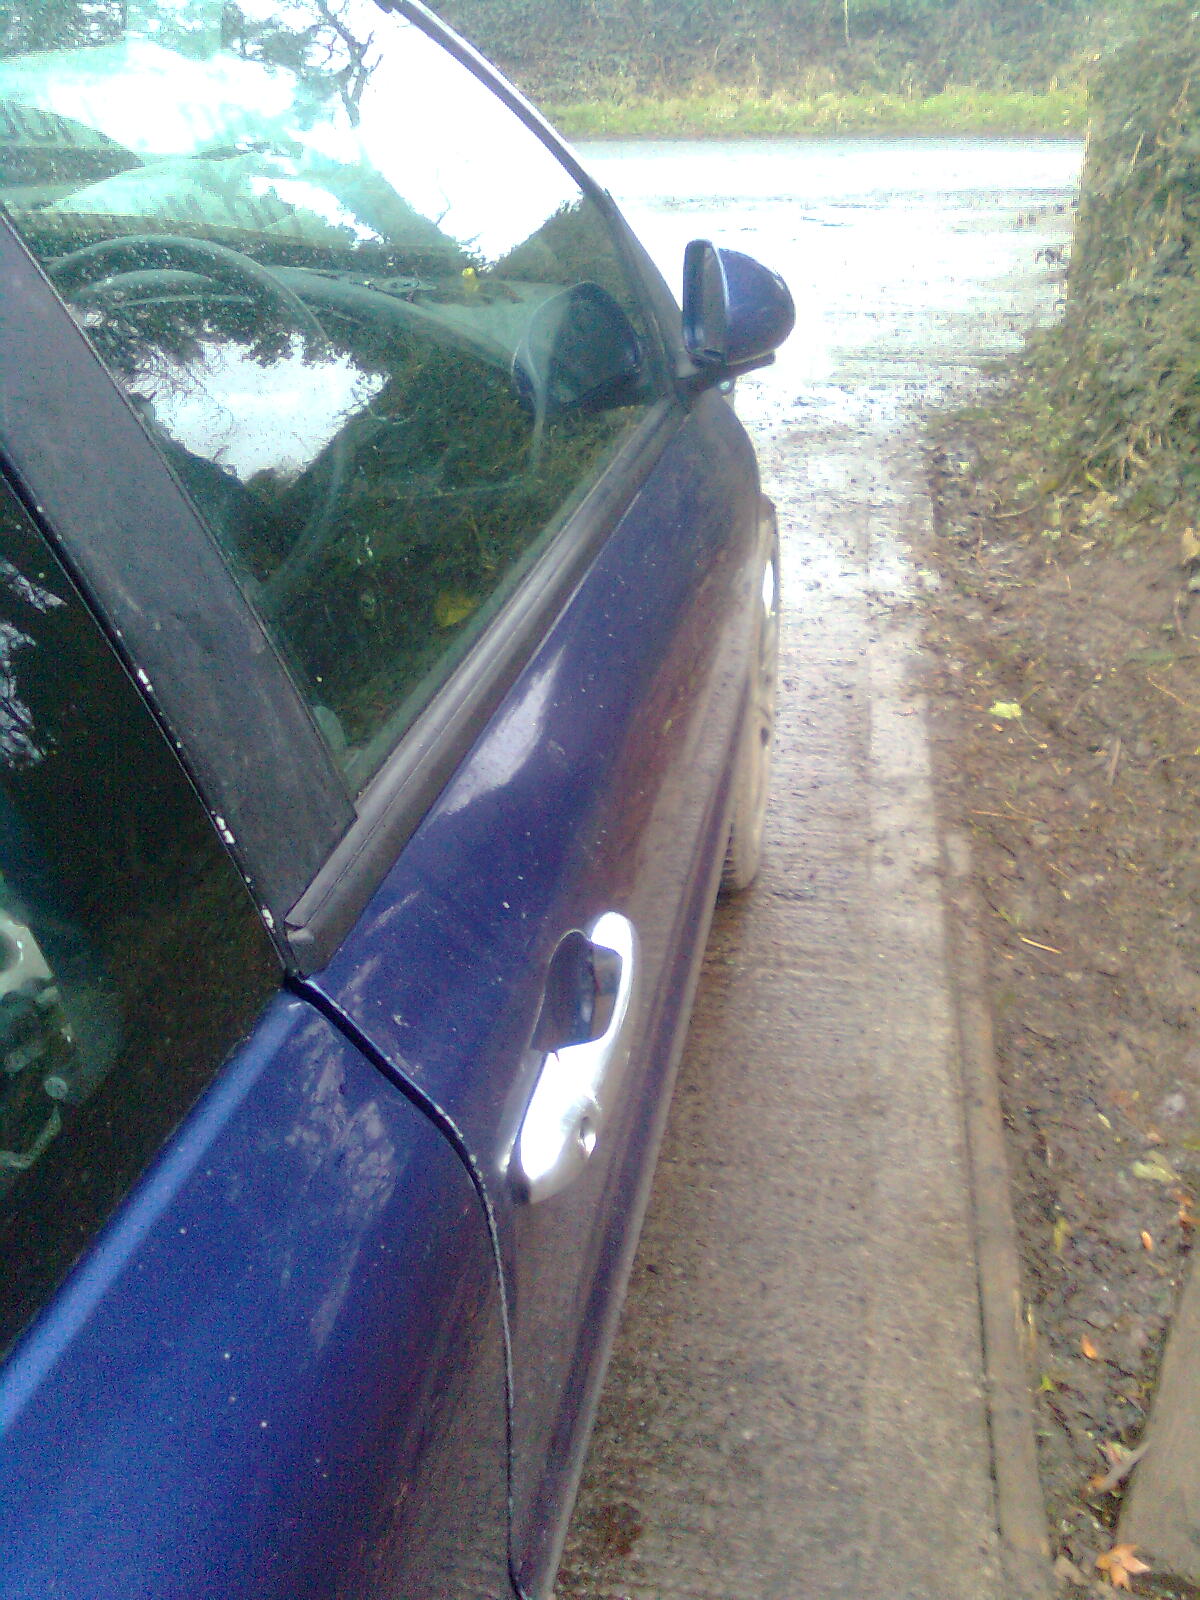
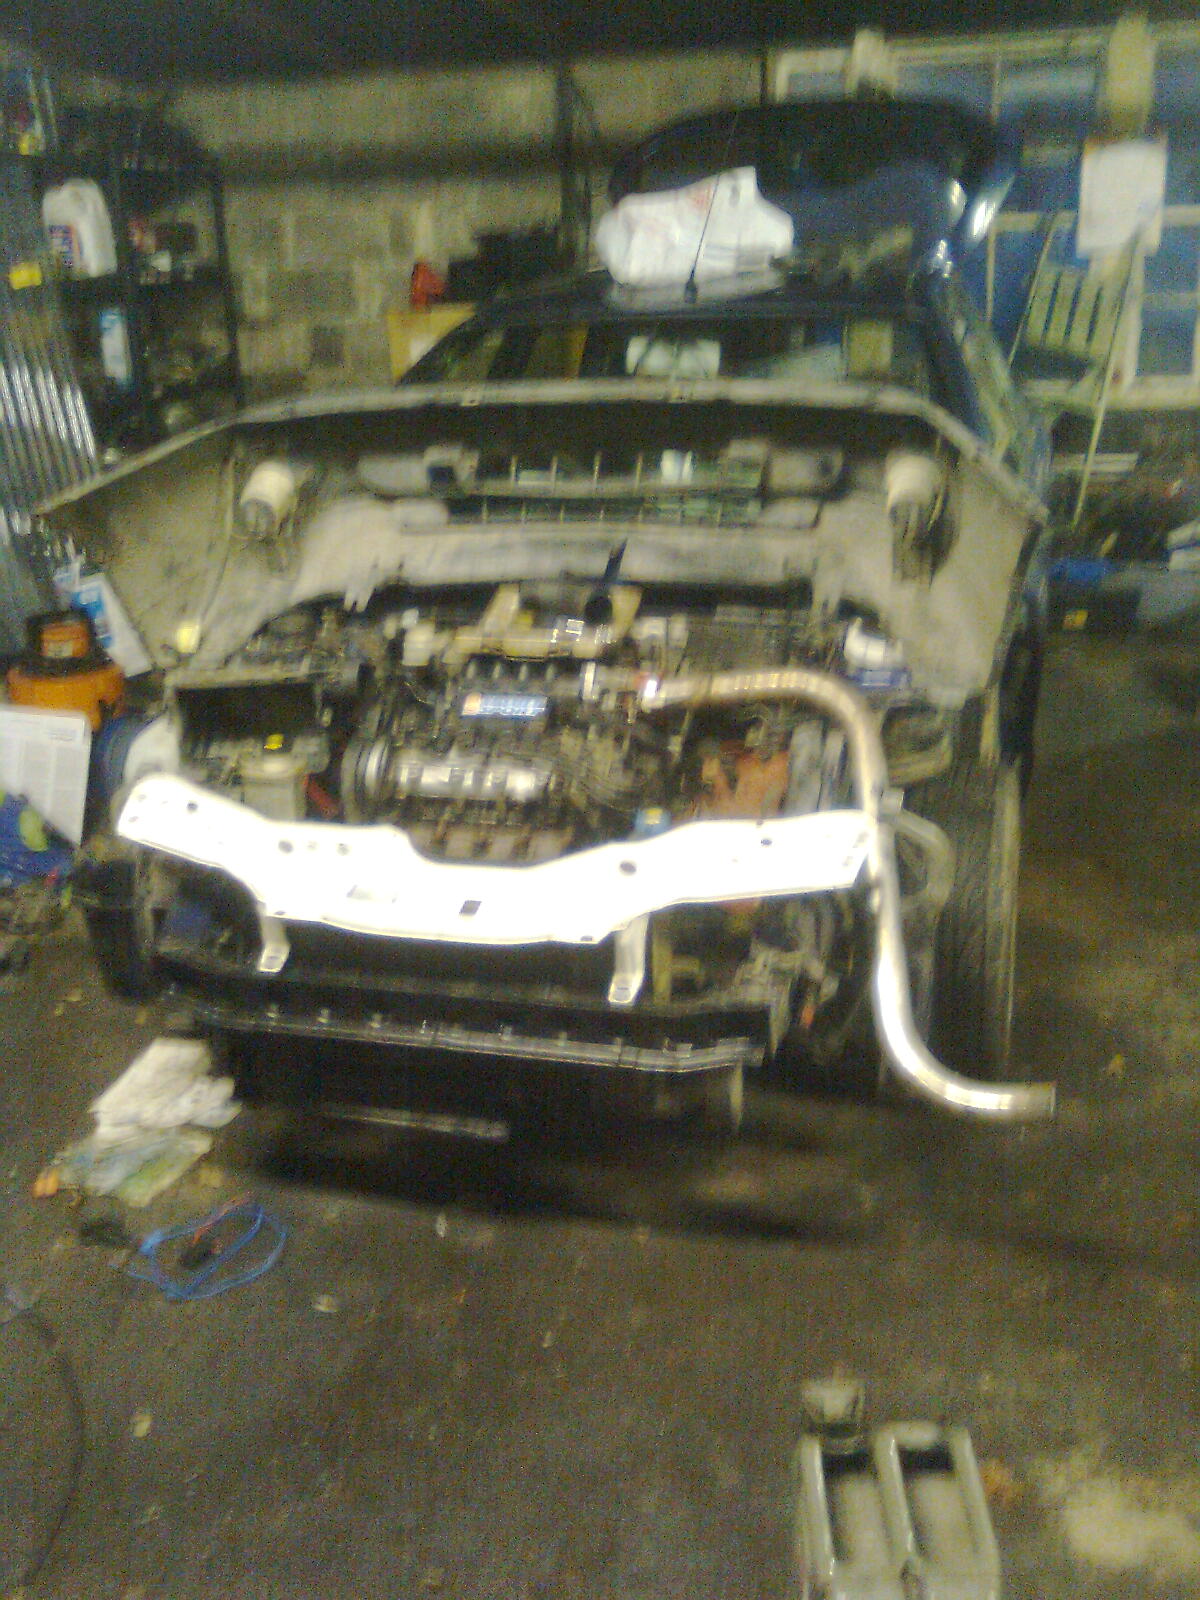
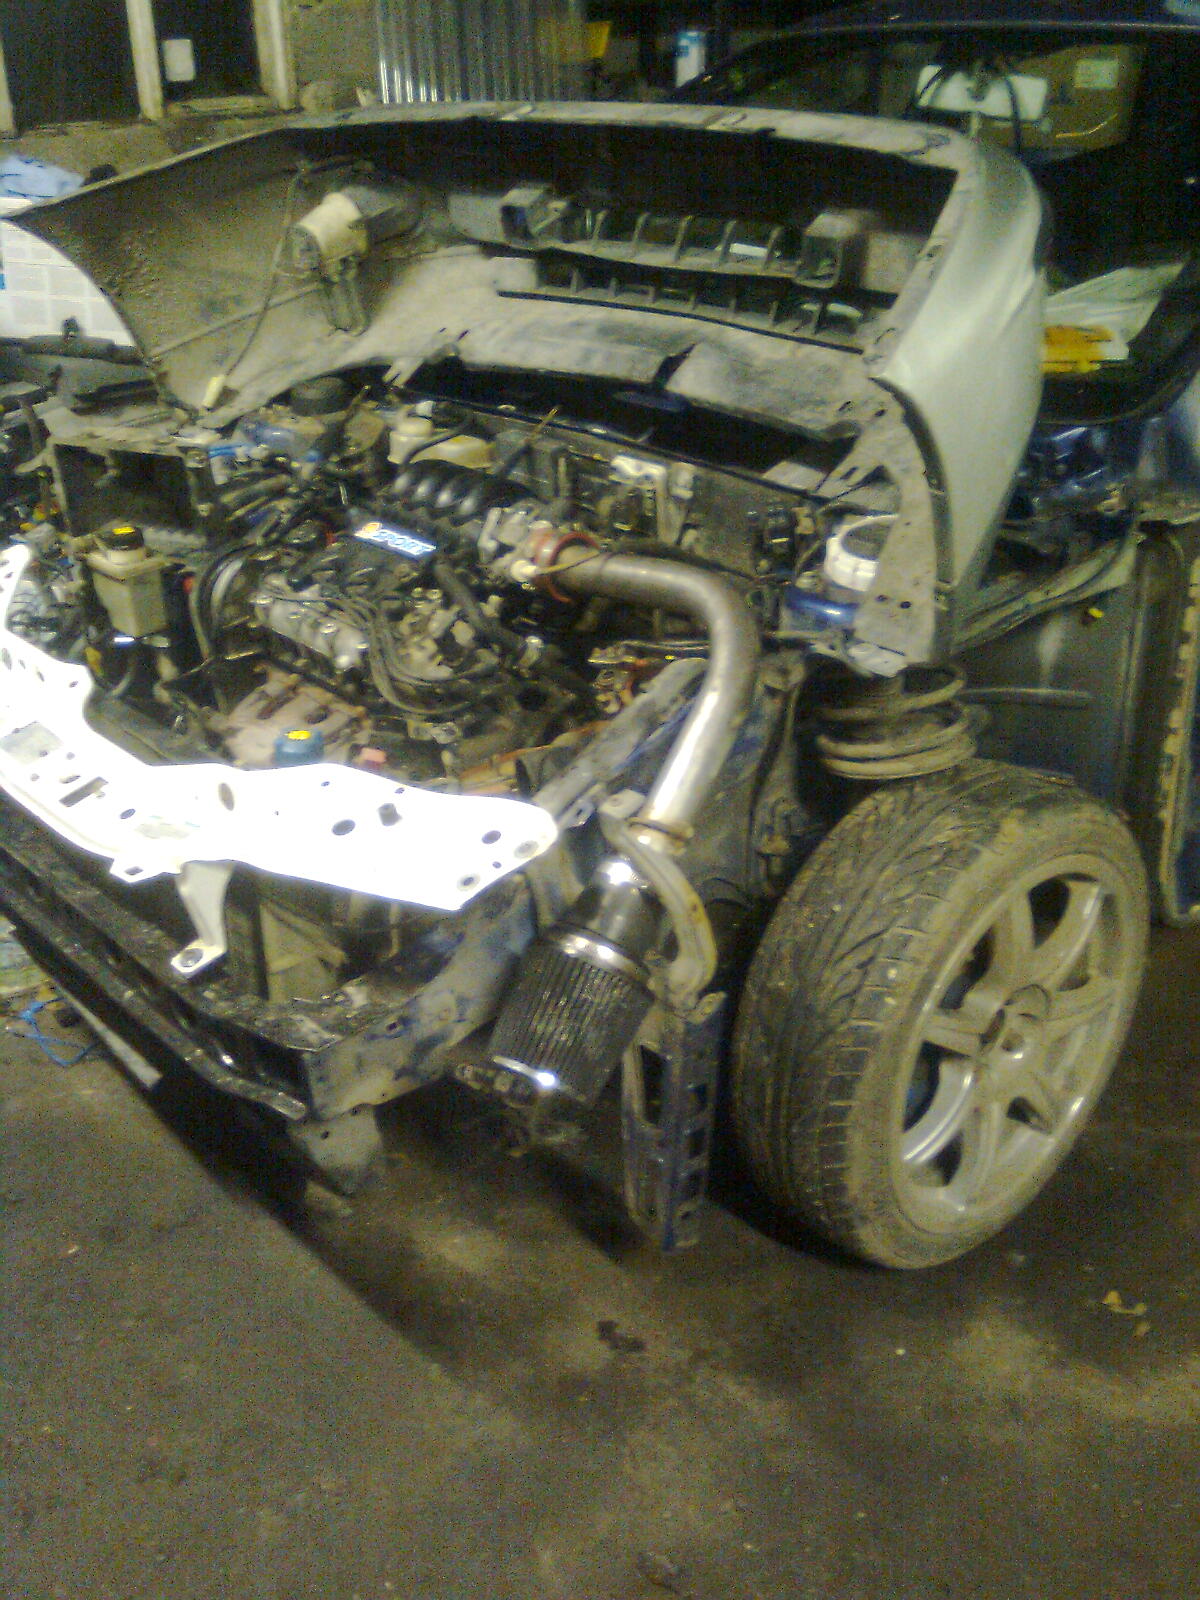
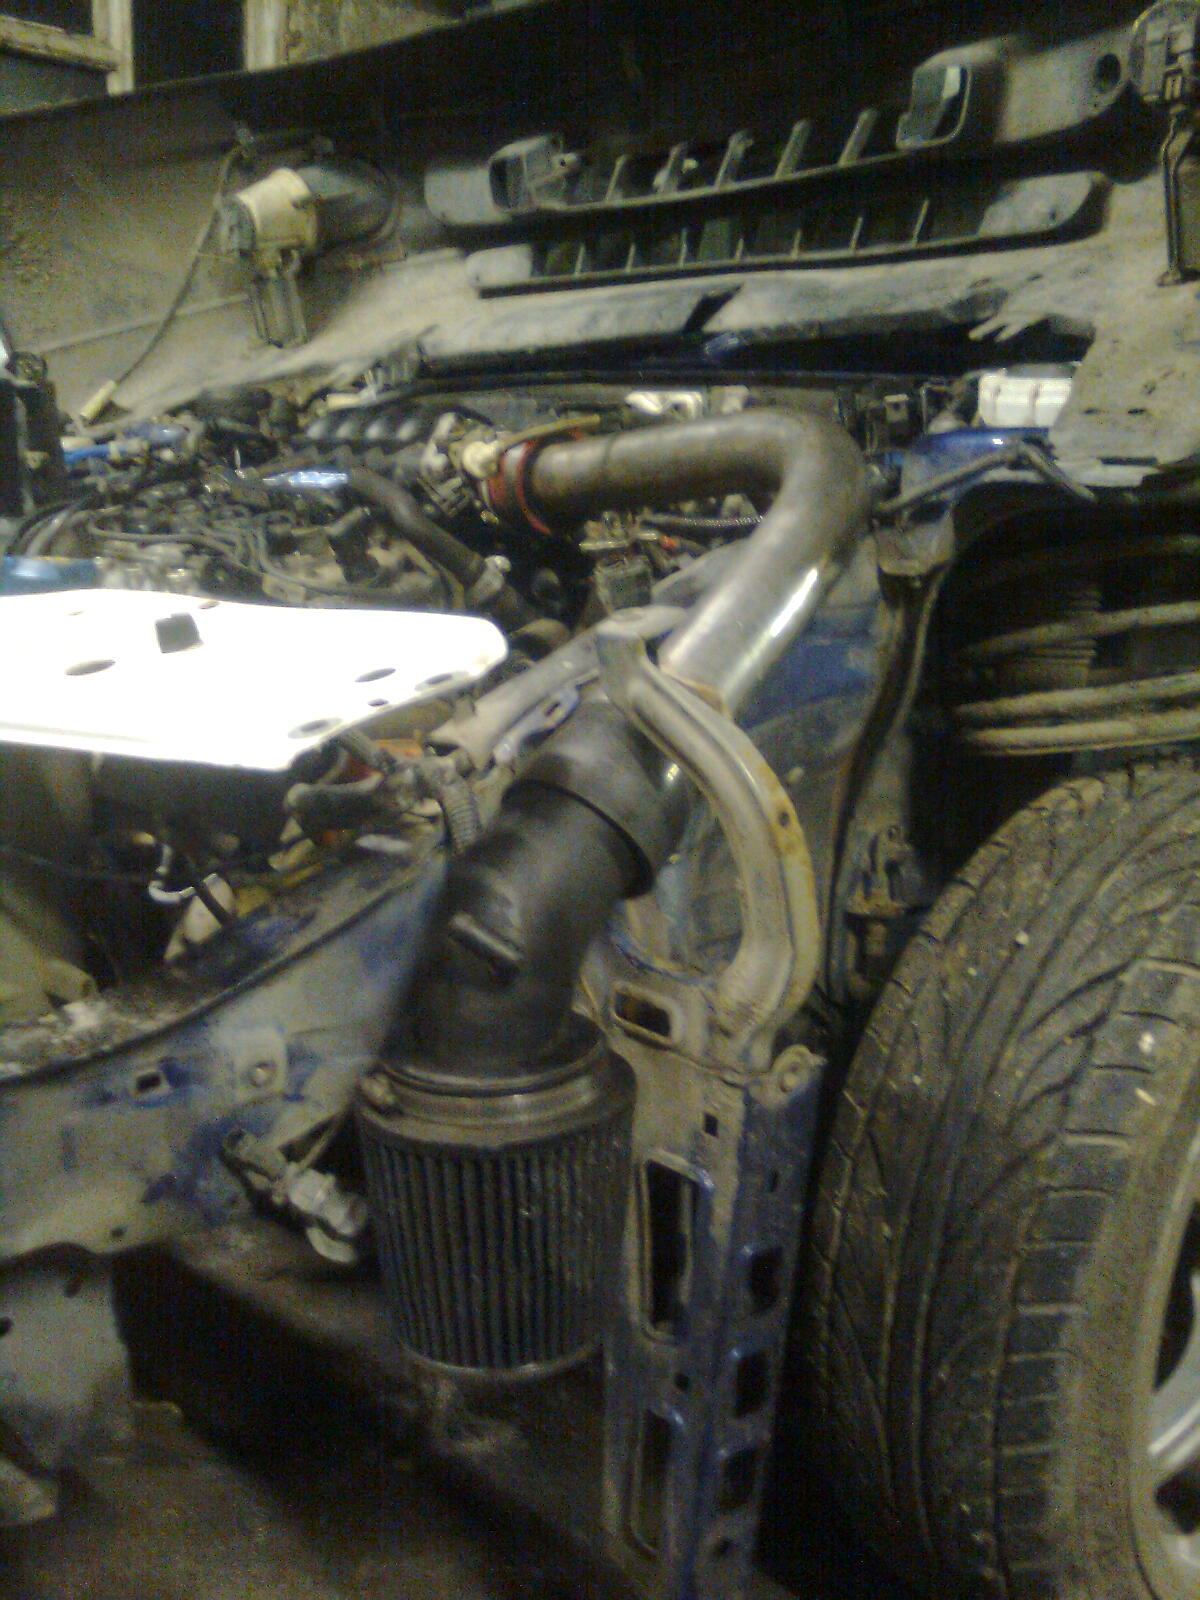
Image0404.jpg


So as she stands (y)
Image0390.jpg


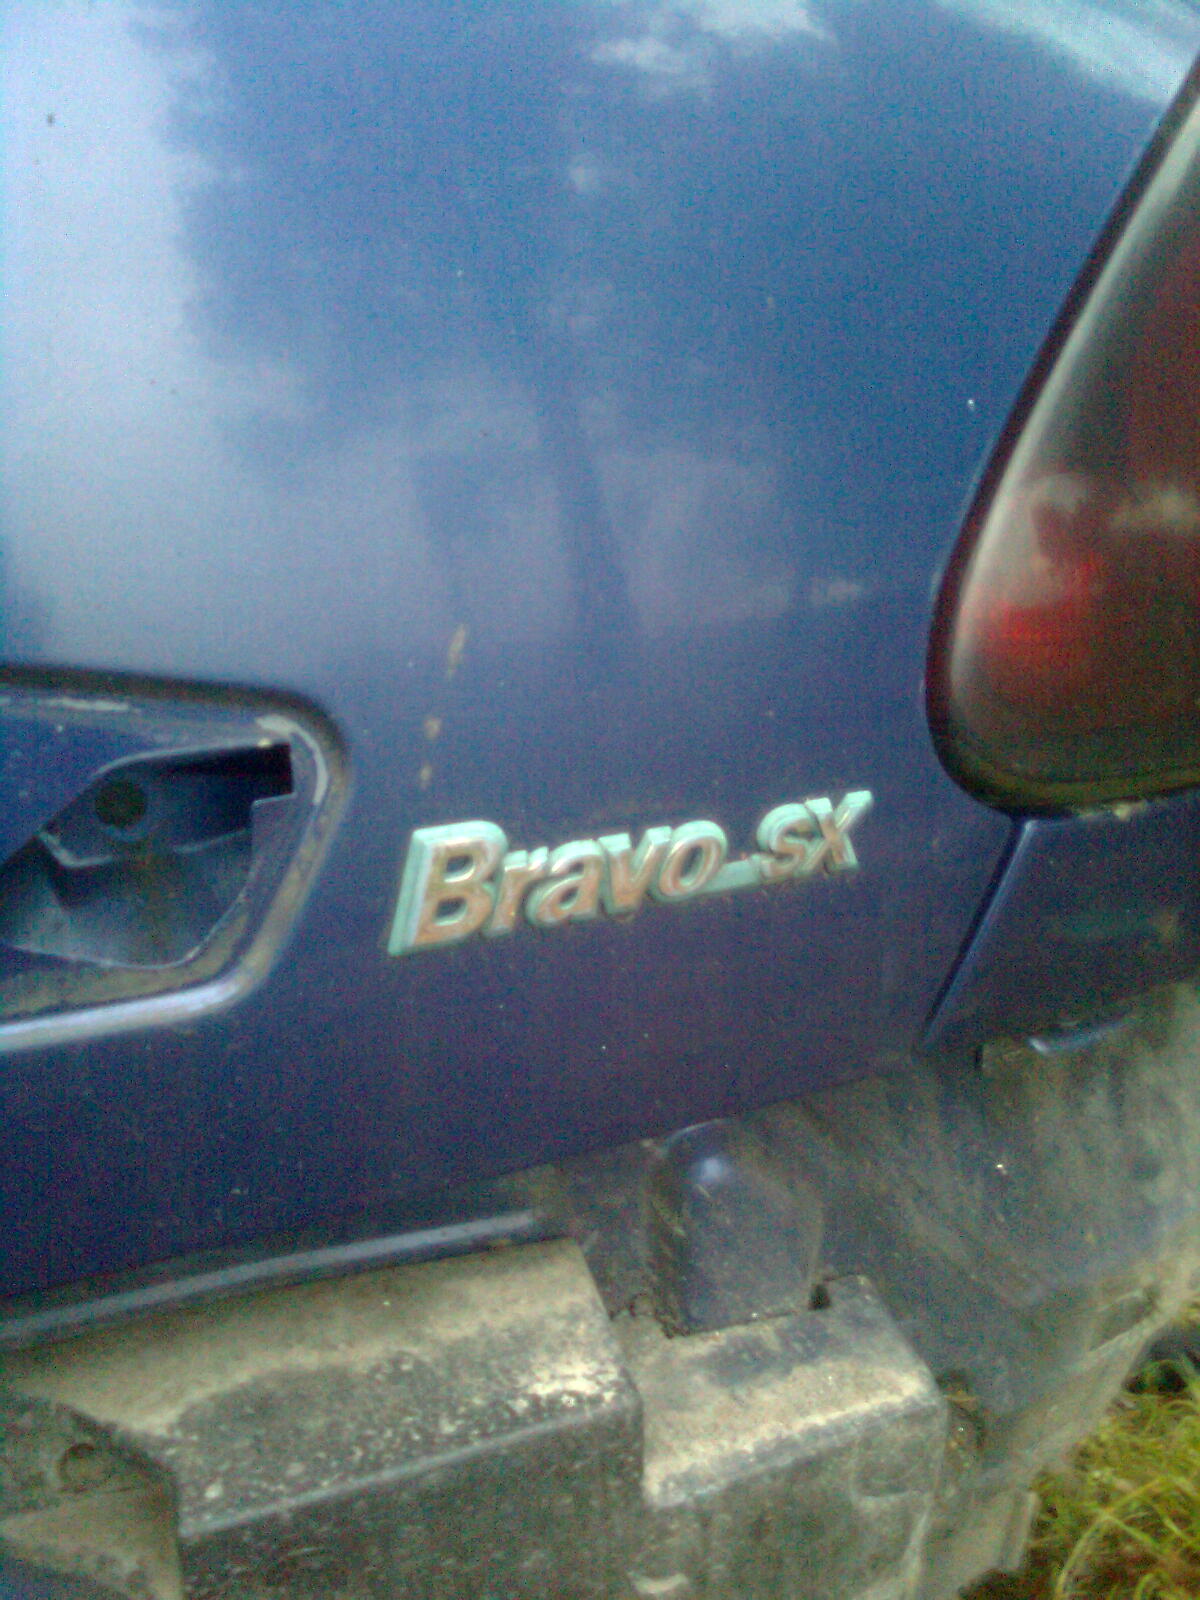
That Seicento is photobombing every chance it gets :D:D:D

Until the next update, I'll need plenty of :sleep:...! :D
 
Last edited:
Wow when you update you really go all out dont you! Im loving the work so far. and you eat way too many rice krispies haha (y)

Cheers! The rice krispies aint mine I prefer my cooked breakfasts hehe :yum:

Look forward to some more updates:), ooh what colour you spraying the plastic ? and your rather lucky to have all those spare parts, wish i had my own mini inventory :)

Don't worry plenty more updates are on their way! I was thinking originally red like my old car but decided to coleur code them with the car :p Must get some pics up of our stock!

Update time! I'm on a long coffee break :D

I've come to the realisation that I can't get the axle in today as the yard is totally jammed up therefore leaving me no space to work. Plus I'm away in the evening (y)

I did get some stuff done though :)

I leave the painting to my dad, I'd make a mess of it (as you'll see later). He does a damn good job too, even with a very bent wing (y)
From these:
Image211.jpg
To...
Image0017.jpg
And the process starts all over again :p
Image0405.jpg
Image0406.jpg


That wing is badly dented if you look at it closely btw...

Onto this morning :)
Image0410.jpg


Wait, what am I doing?
Image04131.jpg


Still making no sense...:D
Image0415.jpg


Wait a minute...
Image04111.jpg


Where are these from :confused:
Image0409.jpg


Ahhh alls revealed now :)
Image04141.jpg

Image04121.jpg
Image0408.jpg


Its not that heavy either (y)
Image0416.jpg


And you can see the yard jammed up in that pic :mad:

So after my big coffee I'm going to fit this and put the rice krispies box in retirment :D
Image0417.jpg


And make my own pipes while the axles on the ground :yum::yum::yum:
Image0419.jpg


Hats off to the other car :worship: as it now stands... Not much needed to make road worthy :ROFLMAO: Next on the transfer list is the Alfa handles and window motor :) Spot my crappy painting?
Image0418.jpg


Untill the next update!!! :spin::spin::spin:
 
Update.... Again!!! :D

This has been a great few days off, spent it doing what I do best... Drinking coffee :ROFLMAO:

Remember the pollen filter...?
Image04211.jpg


Thats better :) Youd be surprised how dirty those can get, a worthy investment for the summer...

I can't understand how the wrong roof trim ends up on these cars :confused: all corrected mind you ;)
Image0420.jpg


I don't like advertising the slightly luxurious model as it isn't slightly luxurious anymore :p
Image04221.jpg


2 minutes later...
Image0423.jpg


Thats better (y) then it got dark and I had to go :yum:

Today and I dig out some of my brake pipe kit :woot:
Image0424.jpg


I made the kit up myself with a flaring tool, pipe bender, pipe cutter and various brake spanners. Cost a horrendous amount in its day but was worth it (y)

If you are doing an axle change and are afraid of losing fluid, make up your own custom pipe and use a vice grips on 2 old hoses
Image0426.jpg


Axle...
Image0427.jpg


Rusty (n) cant have that...
Image0428.jpg
Image0429.jpg
Image0430.jpg


Yes, thats copper piping :worship:
Image04311.jpg
Image0432.jpg


Now just to swap the axles. Means dropping the tank. Which I broke :cry:
Image0433.jpg


Don't worry I have spare tanks :p

Heres the hoses and vice grips in action
Image0434.jpg


Slam it to the ground:cool:
Image0435.jpg


It wasnt low enough, then I found out why
Image0436.jpg


Whoops :eek:

A short while later...
Image0437.jpg


(y)

Remember a running theme with this car? :mad:
Image0438.jpg


I fought back :slayer:
Image0439.jpg


Now refitting the axle is the reverse of removal
Image04411.jpg


:yum:
Image0440.jpg


Thats it now fitted. Bonus was putting the Lensos back on :woot:
Image04421.jpg


I'm aiming for the interior next, hoping to get a start on it at least (y)

I can't wait to see this cosmetically finished on the outside....!!!! :D
 
I am a little envious of all these non-sunroof Bravo's you have in the background. ;)

I dont think I've seen one over here yet...! :p


Update, again! Final one of the week :(

Ive lost the economic use of both my hands after a 3hr battle with a door handle :cry: hence the lack of pictures of the finished product (n)

Lets start here :) the car is in need of some "essentials" from my old car
Image04431.jpg


To the eagle eyed people out there, thats the Tempra in the back ground, infront of my 525i, in the distance is yet another stripped Bravo and behind it is the remains of a Ducato van (y)

Most important of all...
Image0445.jpg


Thanks to Adrians guide on wiring polys without butchering the loom, Ive sourced out some wonkey lamps and will get cracking as soon as I can :)
Image0447.jpg


Not much left...
Image0444.jpg


Ahhh the only way to transport parts :ROFLMAO:
Image0446.jpg


Now I have too many of these. Some day I will get a euro version finances permitting :)
Image0448.jpg


A worthy mod is an led conversion
Image0449.jpg


Yes I do have the resistors for them. Tail lights and other lights can be left alone imo as theyre not switched on and off as much as the brakes or indicators (y)

This car has those hateful tail lights that take a phillips screw to hold the cluster in :mad:
Image0450.jpg


Or rather had... :devil:

The luxurious interior. Wheres wally :ROFLMAO:
Image04511.jpg


Now onto this pig :mad:
Image0452.jpg


I lost the use of my fingers trying to get this out (n)
Image0453.jpg


This made it worse
Image0454.jpg


Immediately taking the "new" handles and fitting the lock
Image0455.jpg


Notice it is now dark in the photos. I cannot ever repeat the conversation I had with this door :p
Image0456.jpg


Dammit it looks better on this car
Image0457.jpg


And to top it all, an electric heated mirror conversion (y)
Image0458.jpg


After a new window regulator and relay, the window still refuses to work right. The door loom is completely worn out at the plug. I'm not looking foreward to changing that :cry:

I did learn how to put those bloody handles in an easier way though, so thats something I guess... (y)

Its too dark to do anything now. And the end of my hols (n) what will I have done for the next update... :yum:
 
Last edited:
i miss having a project like this to do, im jealous!!! :eek: until i get another bravo for the v6 to dismantle :D i got nothing to do ha...but im really enjoying these updates, nice to see a bravo in spares to see what goes where and all the hidden bits where you never thought they'd be, spose thats what makes a project interesting :)
 
Last edited:
Small update, havn't done very much due to college and the crap weather. College is necessary, that utterly useless, crap weather isn't. Would it ever sod off :mad::mad::mad:

Some daylight photos now that my hand has healed fully :)

The very eagle eyed will spot the wrong shock on this car :confused:
Image04611.jpg
Image0465.jpg
Image0464.jpg
Image04621.jpg


Electric mirrors fitted and connected. Attach the buttons and hopefully it will work
Image04631.jpg
Image0466.jpg


This needs prepping up
Image0467.jpg


And these need fitting to the car
Image0468.jpg


I realy am very very cheesed off with the weather :mad: wonder what I'll have done for the next update... :yum:
 
Another update!

This time I've taken it handy but some important things were added to the car :)

One of my favourite sayings: "if in doubt, do it yourself"
So I decided ages ago to make yet another custom intake for the 1.2 :chin:

We start with this...
Image0469.jpg


Chop it a little...
Image0470.jpg


Test fit it :cool:
Image04711.jpg


Oh dear, it snags the lights :doh: with part of the original kit, result:
Image04721.jpg


Stand back and admire handiwork (y)

Now for the lights :D
Image04731.jpg


Thanks again Adrain for the guide (y) I'm not butchering the loom and may possibly swap the lights for test purposes... Reason for that is further down the page

Need wonkey lights to cut plugs from
Image0475.jpg


Bit of manufacturing...
Image04741.jpg


Fit and put to one side :D
Image0476.jpg


Now for my "offroad" 100w full beams ;) the need relaying, or the switch will burn!!!

Just fabricated the wiring for now and attached the fog light plugs (y)
Image0477.jpg


For pin 30 on the relays with 20A fuse and a negative
Image0478.jpg


Finally, time to fit the ballasts for the HIDs :D
Image0479.jpg


Suitable locations are not a problem :)
Image0480.jpg


And thats it for now...
Image04811.jpg


Thats almost everything on the front sorted, just the lights, wings, bumper, bonnet and wiper motor to fit. I'll see about the interior for the next update (y)
 
A small update time! :D

Due to usual suspects (yes the crappy weather and college excuses again) naff all has been done :cry: but some of what I did get done was essential so not a dead loss (y)

Tomorrow is my day off (no weekend for the wicked :p) so an attack will be made to get some of the list sorted :)

What needs to be done, from this point:
  • Sort interior (theres none at the mo) possibly fit temp interior
  • Push side back in
  • Fit new front arms
  • Fit wings once painted
  • Fit front of car + Back bumper
  • Fit fuel tank
  • Fit van panels and paint
  • Fit exhaust
  • Sort the push start
  • Fit new handbrake + cables
  • Full service (oil, coolant, fluid flush again etc)
  • Tax it (it is insured) and enjoy :cool:

Not a lot but just time consuming (especially dreading the interior, more so the steel floor and roof lining!!!)

Now for some pics :)

I found these during a rummage in the small storage area...
Image04821.jpg


I couldnt believe my eyes :eek:
Image04831.jpg


Bilsteins!!!! :worship: This was too good to be true. And it was. Theyre for a mk1 Punto :bang: oh well back to the drawing board... :rolleyes:

Now if you have been folowing this thread youll know Ive had wicked trouble with the window motor as its unusable at times. I came to the conclusion it was the door loom :chin:

So one bright but damp day I set to work (y) First, get a fully loaded loom from a mk2
Image0495.jpg


5 mins later...
Image0496.jpg


Lots of swearing and 15 mins later...
Image0497.jpg


Yaaay! All fitted (y) Test time....

STILL DOESN'T WORK RIGHT!!!!! :mad::mad::mad::mad::mad::mad::mad::mad:

So I went for a coffee and had a think...

Had a poke round this
Image0498.jpg


Its horrendously loose and corroded :idea:

Time to get a "new" plug (y)
Image0499.jpg


Shorten and strip it...
Image0500.jpg


What a miserable job that was :cry: fit bullet connectors (y)
Image05011.jpg


Then my hand froze so I went in. I realy should get that checked out...

Next day however...
Image0506.jpg


And yet another hateful job :bang:
Image0507.jpg


But progress was made (y)
Image0508.jpg


Now the fun part: joining them all up (y) so many coleurs the same, nearly went colourblind!!!
Image0509.jpg


Fit it snug...
Image0510.jpg


Horay it works properly!!! Even with my backwards switches :D result (y)

And thats as far as I got.... I realy hope I'll have something significant done for the next update, its in need at this stage...!!! (y)
 
Update! Were getting there people ;)

Mainly cosmetic but all very necessary. I have very little time to work on my car these days but any chance I get I'm at it (y)

First, match up the doors
Image05111.jpg


Then install these...
Image05121.jpg


Then hide it all away :eek:
Image0513.jpg


Wheres the leather door cards? Simple answer, havnt had the time to upholster them yet. In due time... :D

Now for the windows :D
Image0514.jpg
Image0516.jpg
Image0515.jpg
Image0517.jpg


All ready for the pannels (y)

Onto the boot, which needed more rustproofing...
Image0518.jpg
Image0519.jpg


Now onto this:
Image0520.jpg


Hats off to my dad for a brilliant paint job :worship:
Image05211.jpg


When fitted, time to put half the front on :p
Image05221.jpg


Dont worry, I didnt forget the left hand side :D
Image05231.jpg


What will I have done for the next update.... (y)
 
Back
Top