With our old Mazda MX5, we too had the first set of wheels replaced under warranty after 3 years, the only car we've ever bought where this has been a real issue by the way. The second set were almost as bad after the following 3 years at which point the six year warranty with Mazda was up anyway. Though they did replace the two rear quarter panels just two months from the six year anti perforation warranty expiring and that saved us a cool £2.5k !!


General Refurbing Wheels
- Thread starter typecastboy
- Start date
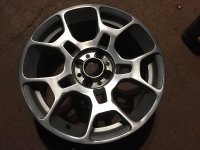
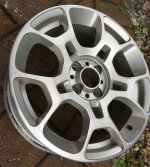
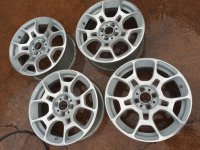
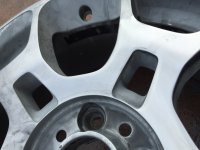
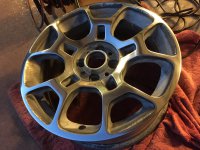
") here are the other photos:
here are the other photos: