Well here it is folks - the stretching part....
I'm not gonna say much on this part - the pictures speak for themselves.
When stretching the material over it is important to keep checking on the face side - so that you can see any wrinkles developing, and then you can work them out of the fabric as you glue it down.
I would also suggest having a few spare glue sticks handy - I used 9 in total.
It is easier to start at the top of the panel and work the top flat edge, and then begin to work your way round the corners...
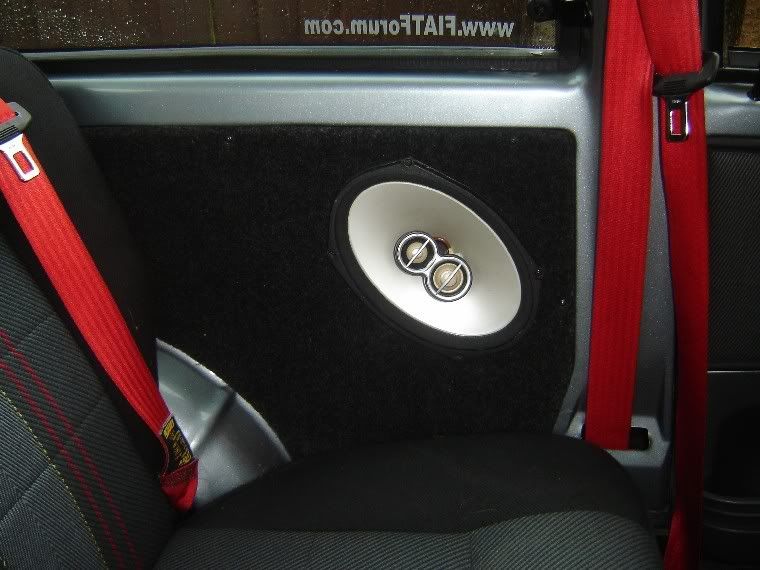
Hopefully you can see in the next two pics, that the material is wrinkle-less due to the stretching process...
I operate a "trim as you go" sort of situation - that way I'm getting rid of loose and needless material without it getting in my way:
And hopefully when you are finished they should look like this:
(sorry about the poor lighting on this one!)
Ok - so you've made them, next task is to re-insert those red securing pins - I popped down to my local scrap yard(s) and raped every sei in the yard for as many pins as I could remove intact (you need a total of 12 good ones).
All told cost me £4 for them - though they are probably small enough to just pocket, and leave without paying for them... But I have morals
")
Once the securing pins are back on the panels, then "refitting is reversal of removal"
- just don't forget to hook up your speaker wires first, 'cos these babys probably arn't gonna come back out easily!
Will take a pic once mine are back in the car