Right well time to change these crusty old droplinks then.. Was a good lad today and took pics as i went along (well of one side anyway, same job each side so no point taking pics of both) so anyone wanting to do this can see it step by step
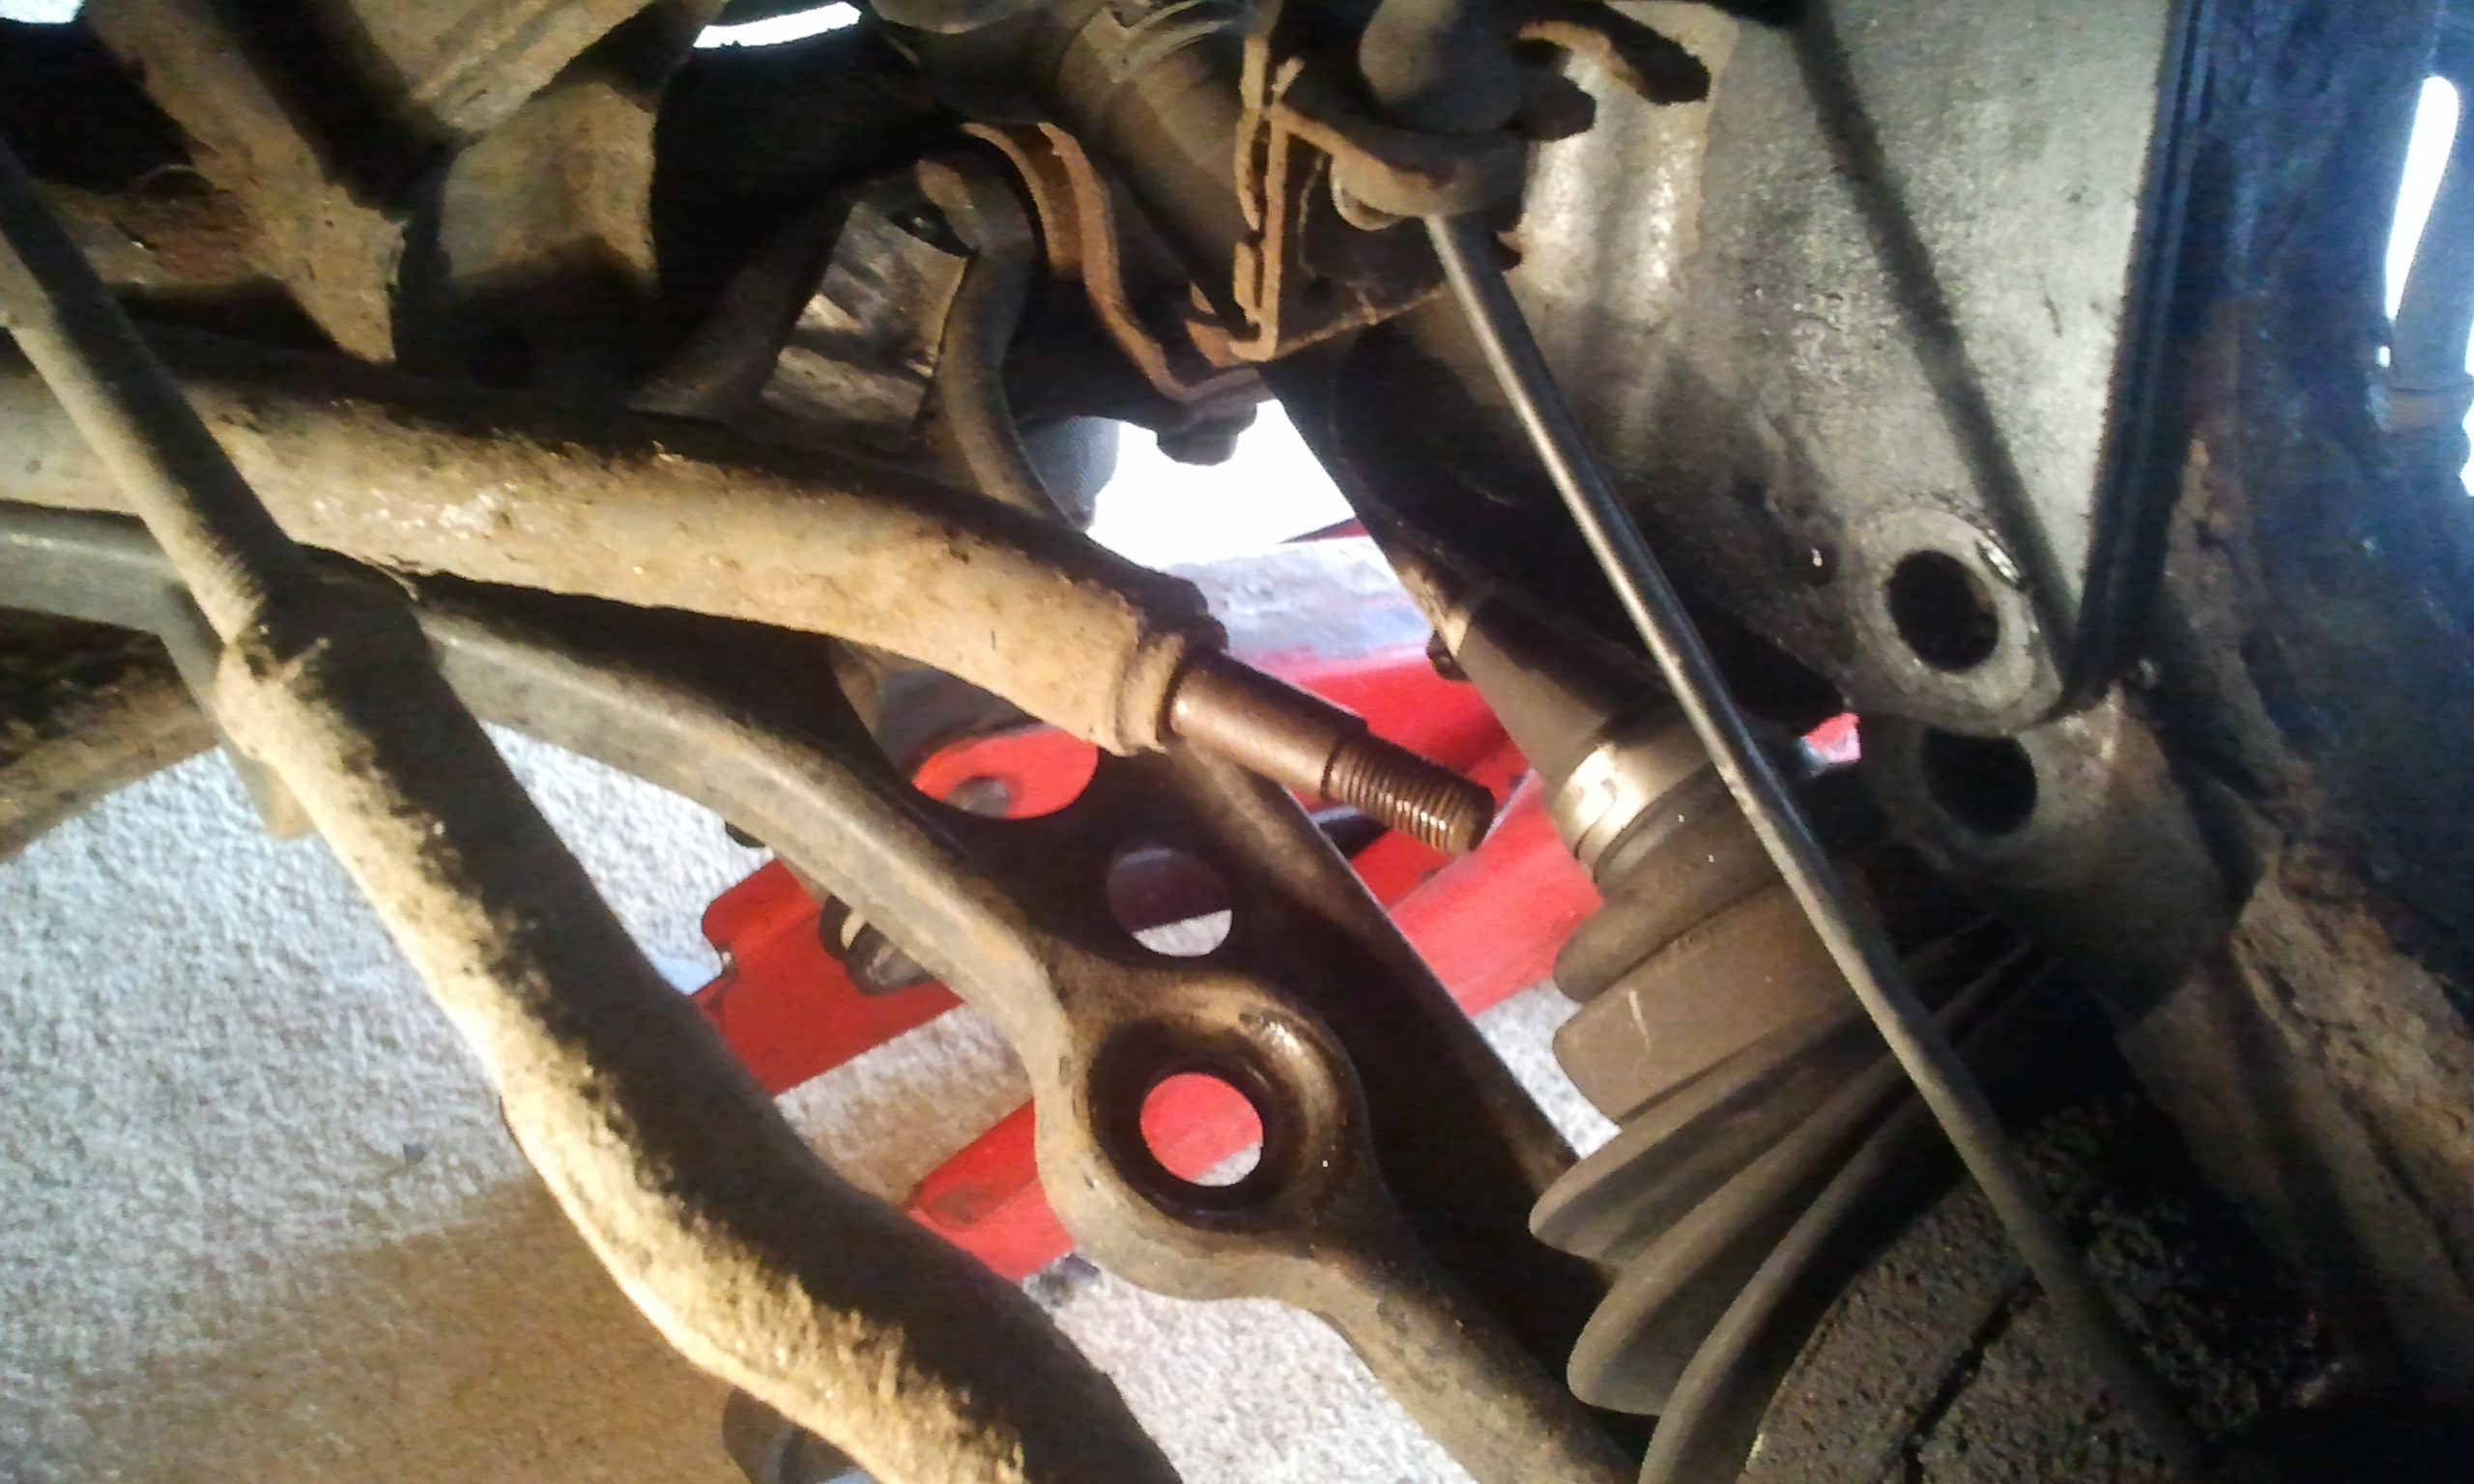
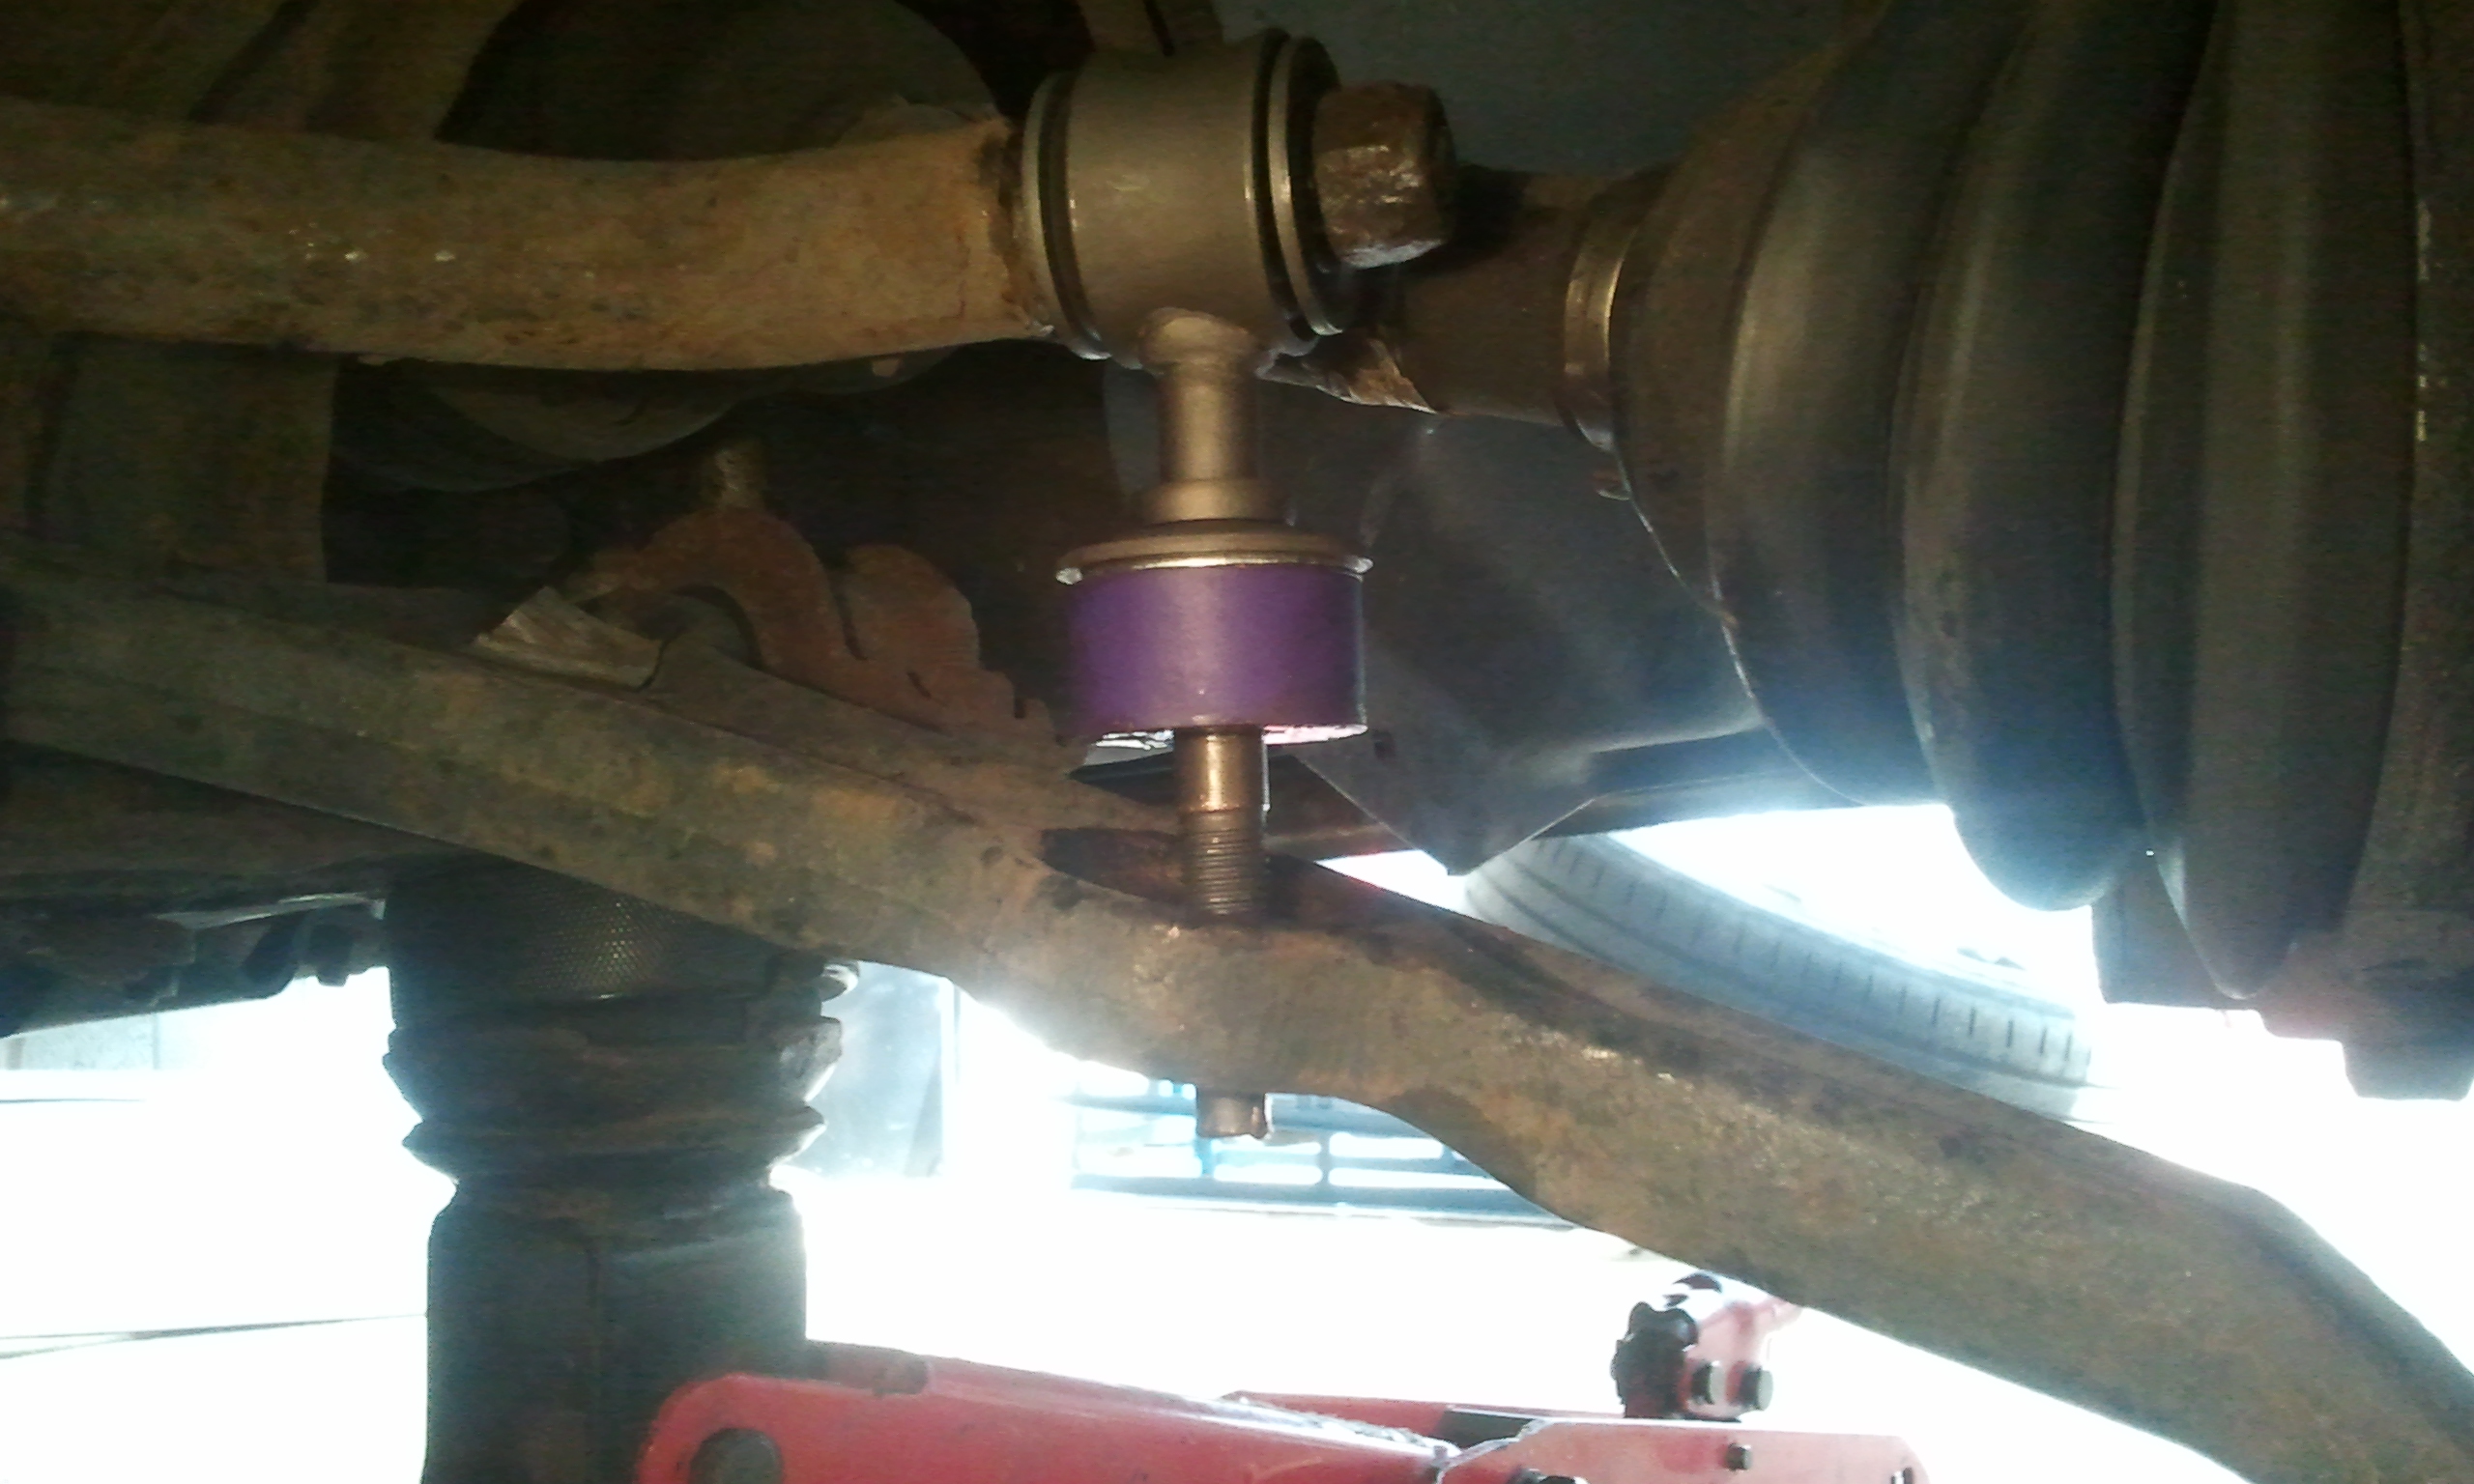
The offending item
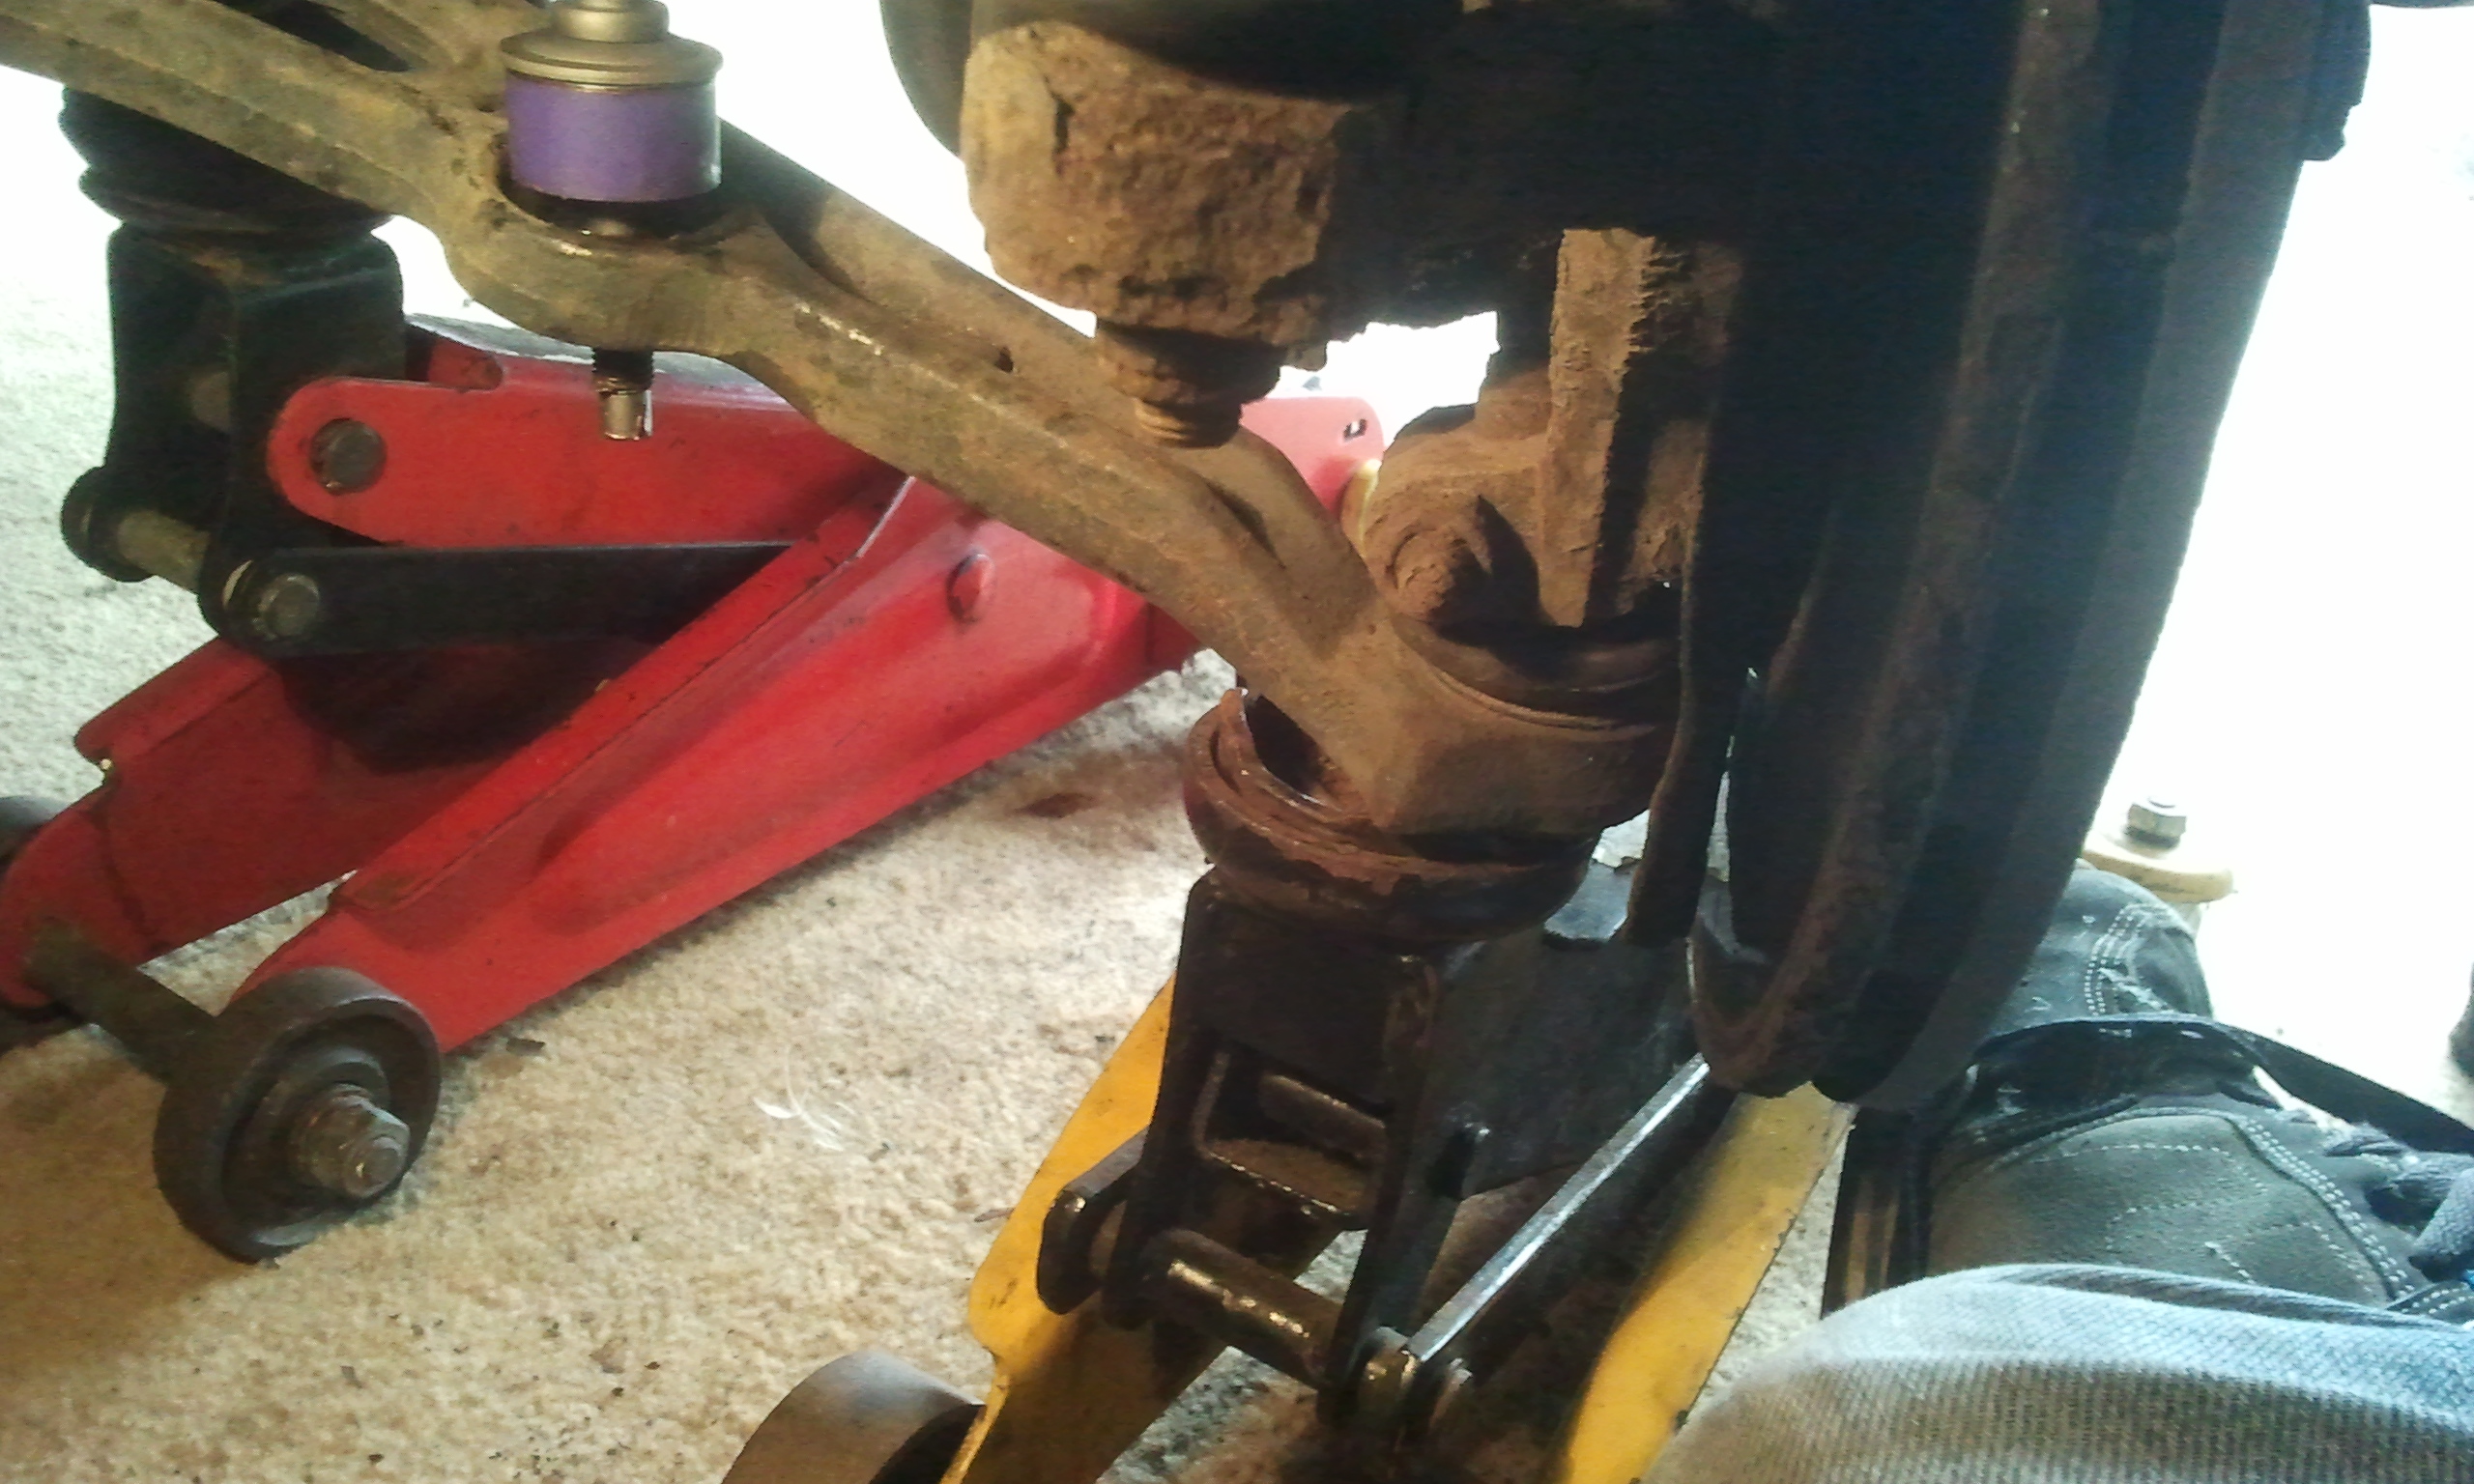
Thankfully they have been off recently (well a year or so ago) when the bottom arms were changed so were not too hard to get off but i did spray liberally with penetrating fluid anyway. Remove both nuts. It won't come out cause the arm doesn't drop far enough with gravity alone - so undo both spindle to shock bolts and push the arm down a bit more, I stuck a bolt back in to it didn't spring back up like so.
This alone isn't quite enough to get the drop link out so stick a bar in-between the arm and the ARB
I found and used my actual crowbar on the other side and it required much less effort than using the jack handle as in that pic..
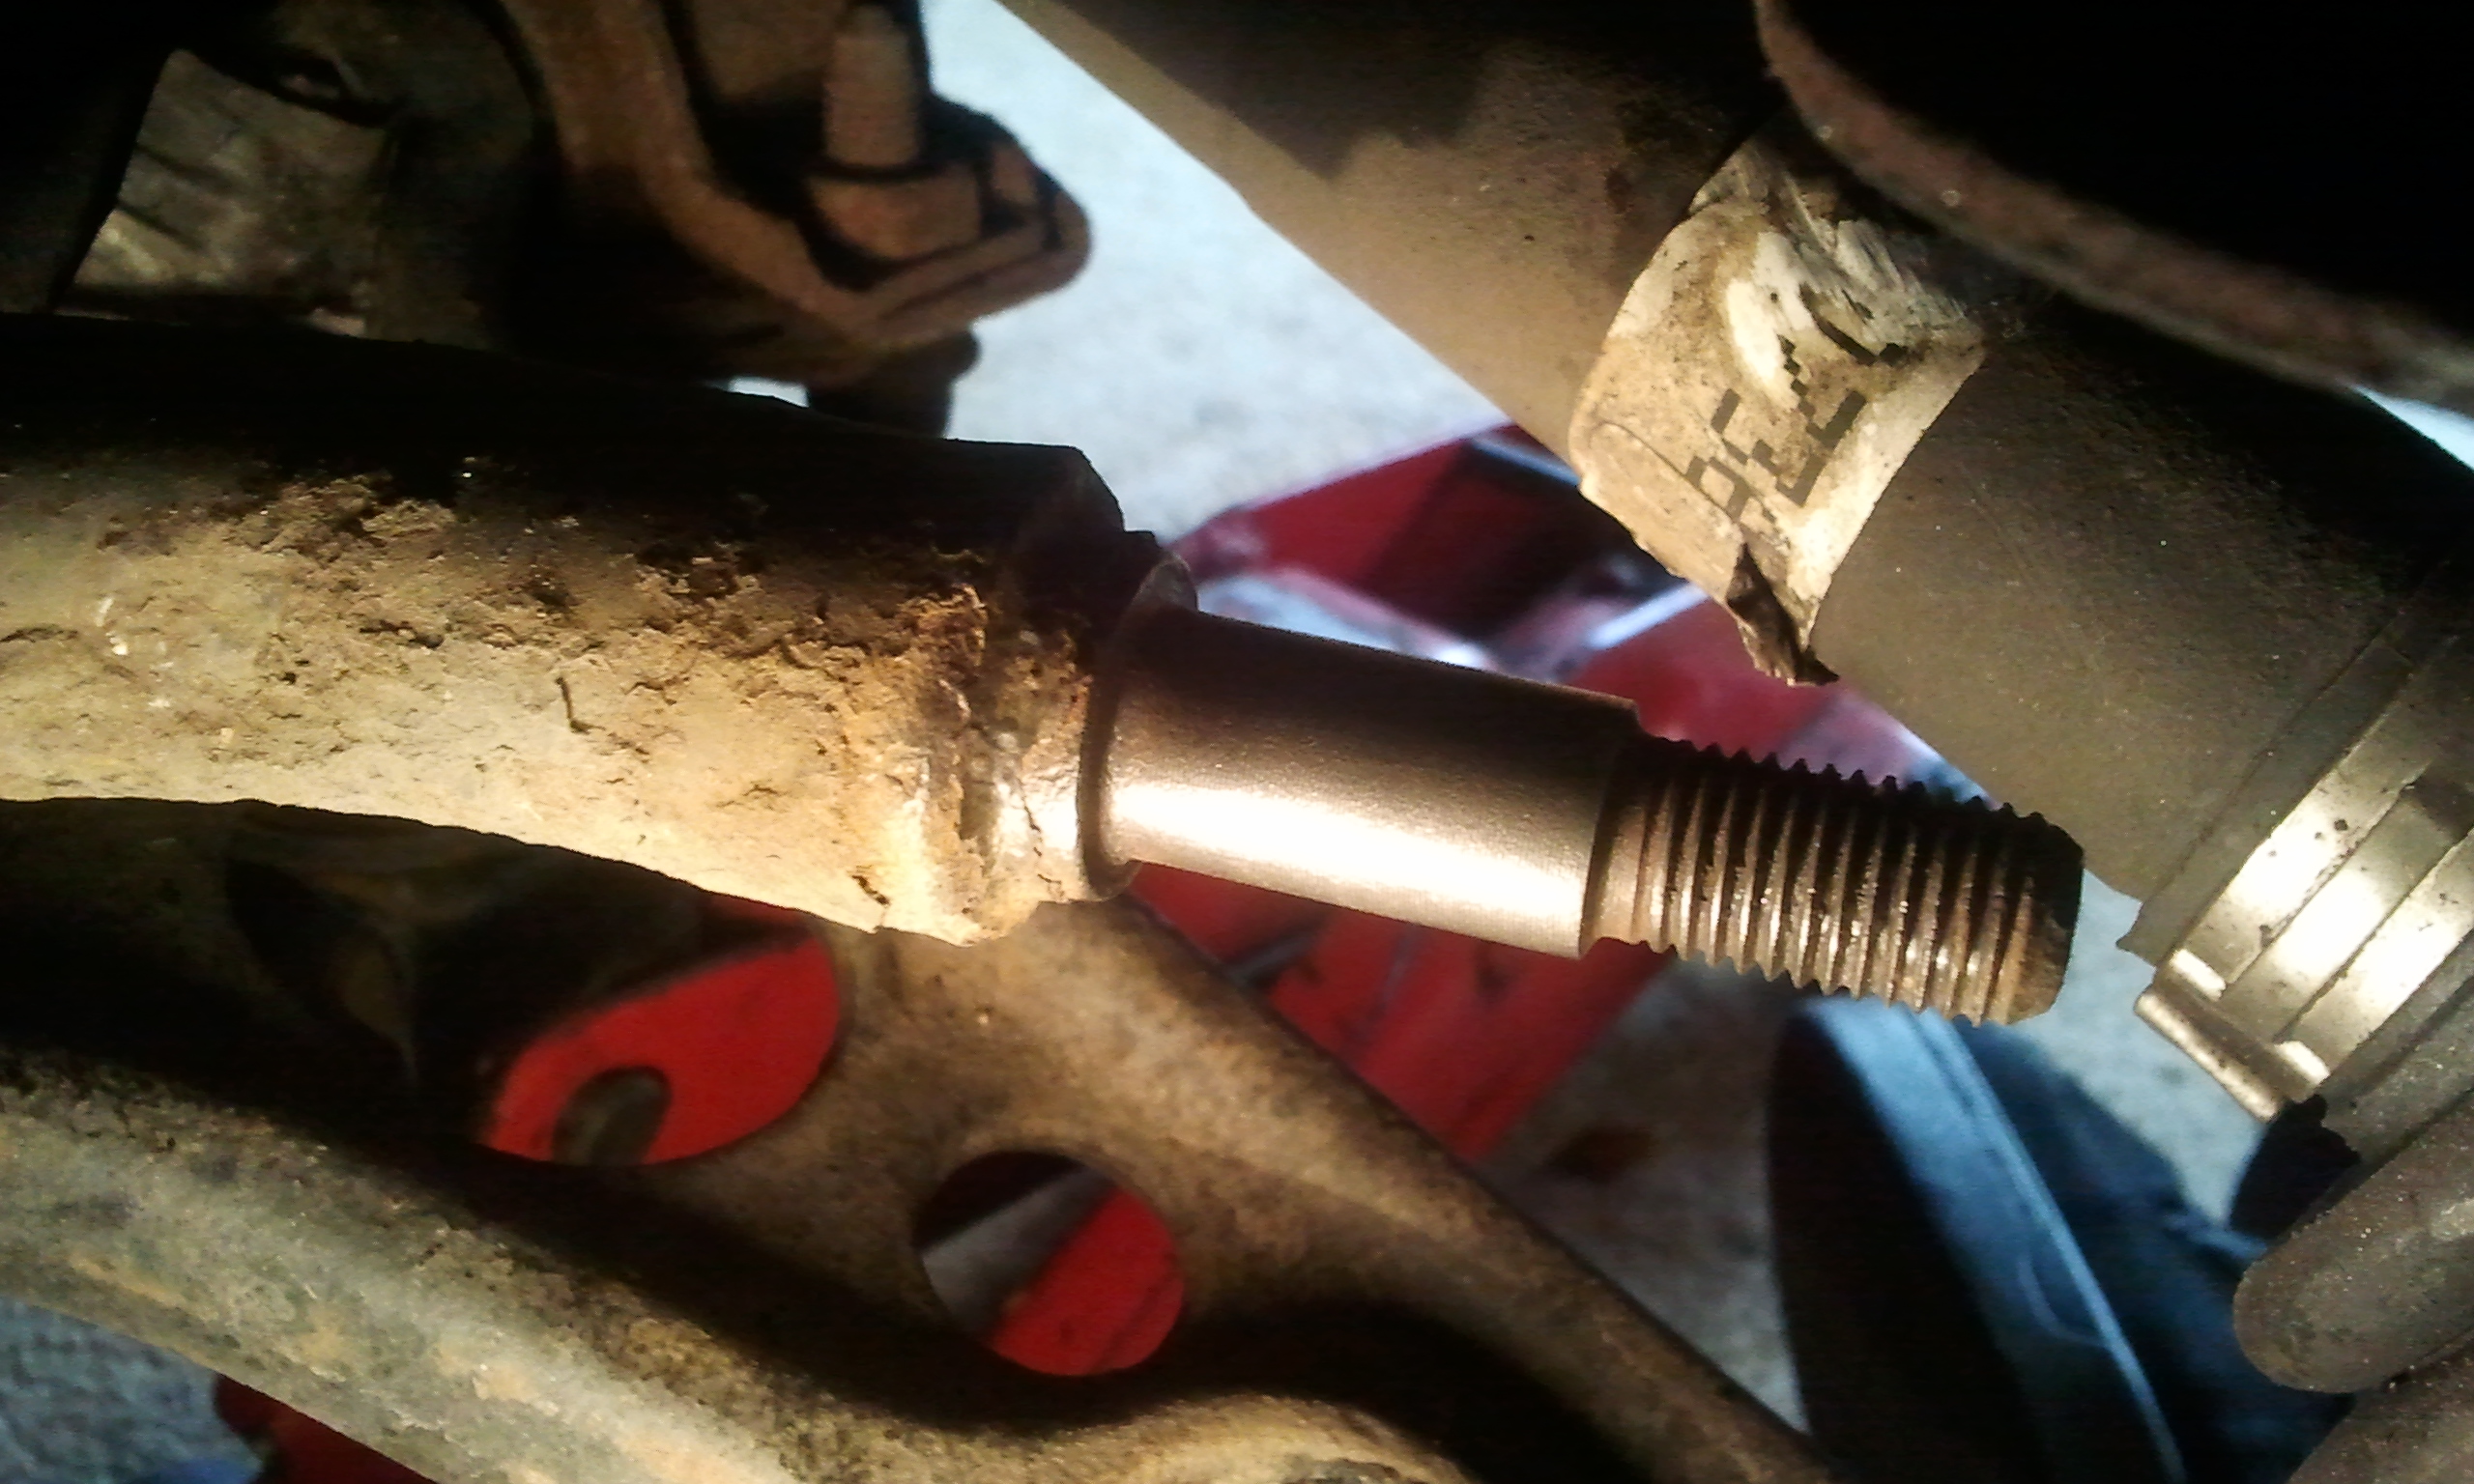
Now lever the ARB upwards until you can get the droplink thread to come up through the hole, twist it out of the hole so you can let go of the lever and then pull it off the ARB. You should now have this....
Clean up the end of the ARB - not the best pic here but i used my dremel with wire brush attachment and this is in reality all shiny and silver, i cleaned the threads as best i could as well.
Then liberally apply copper slip
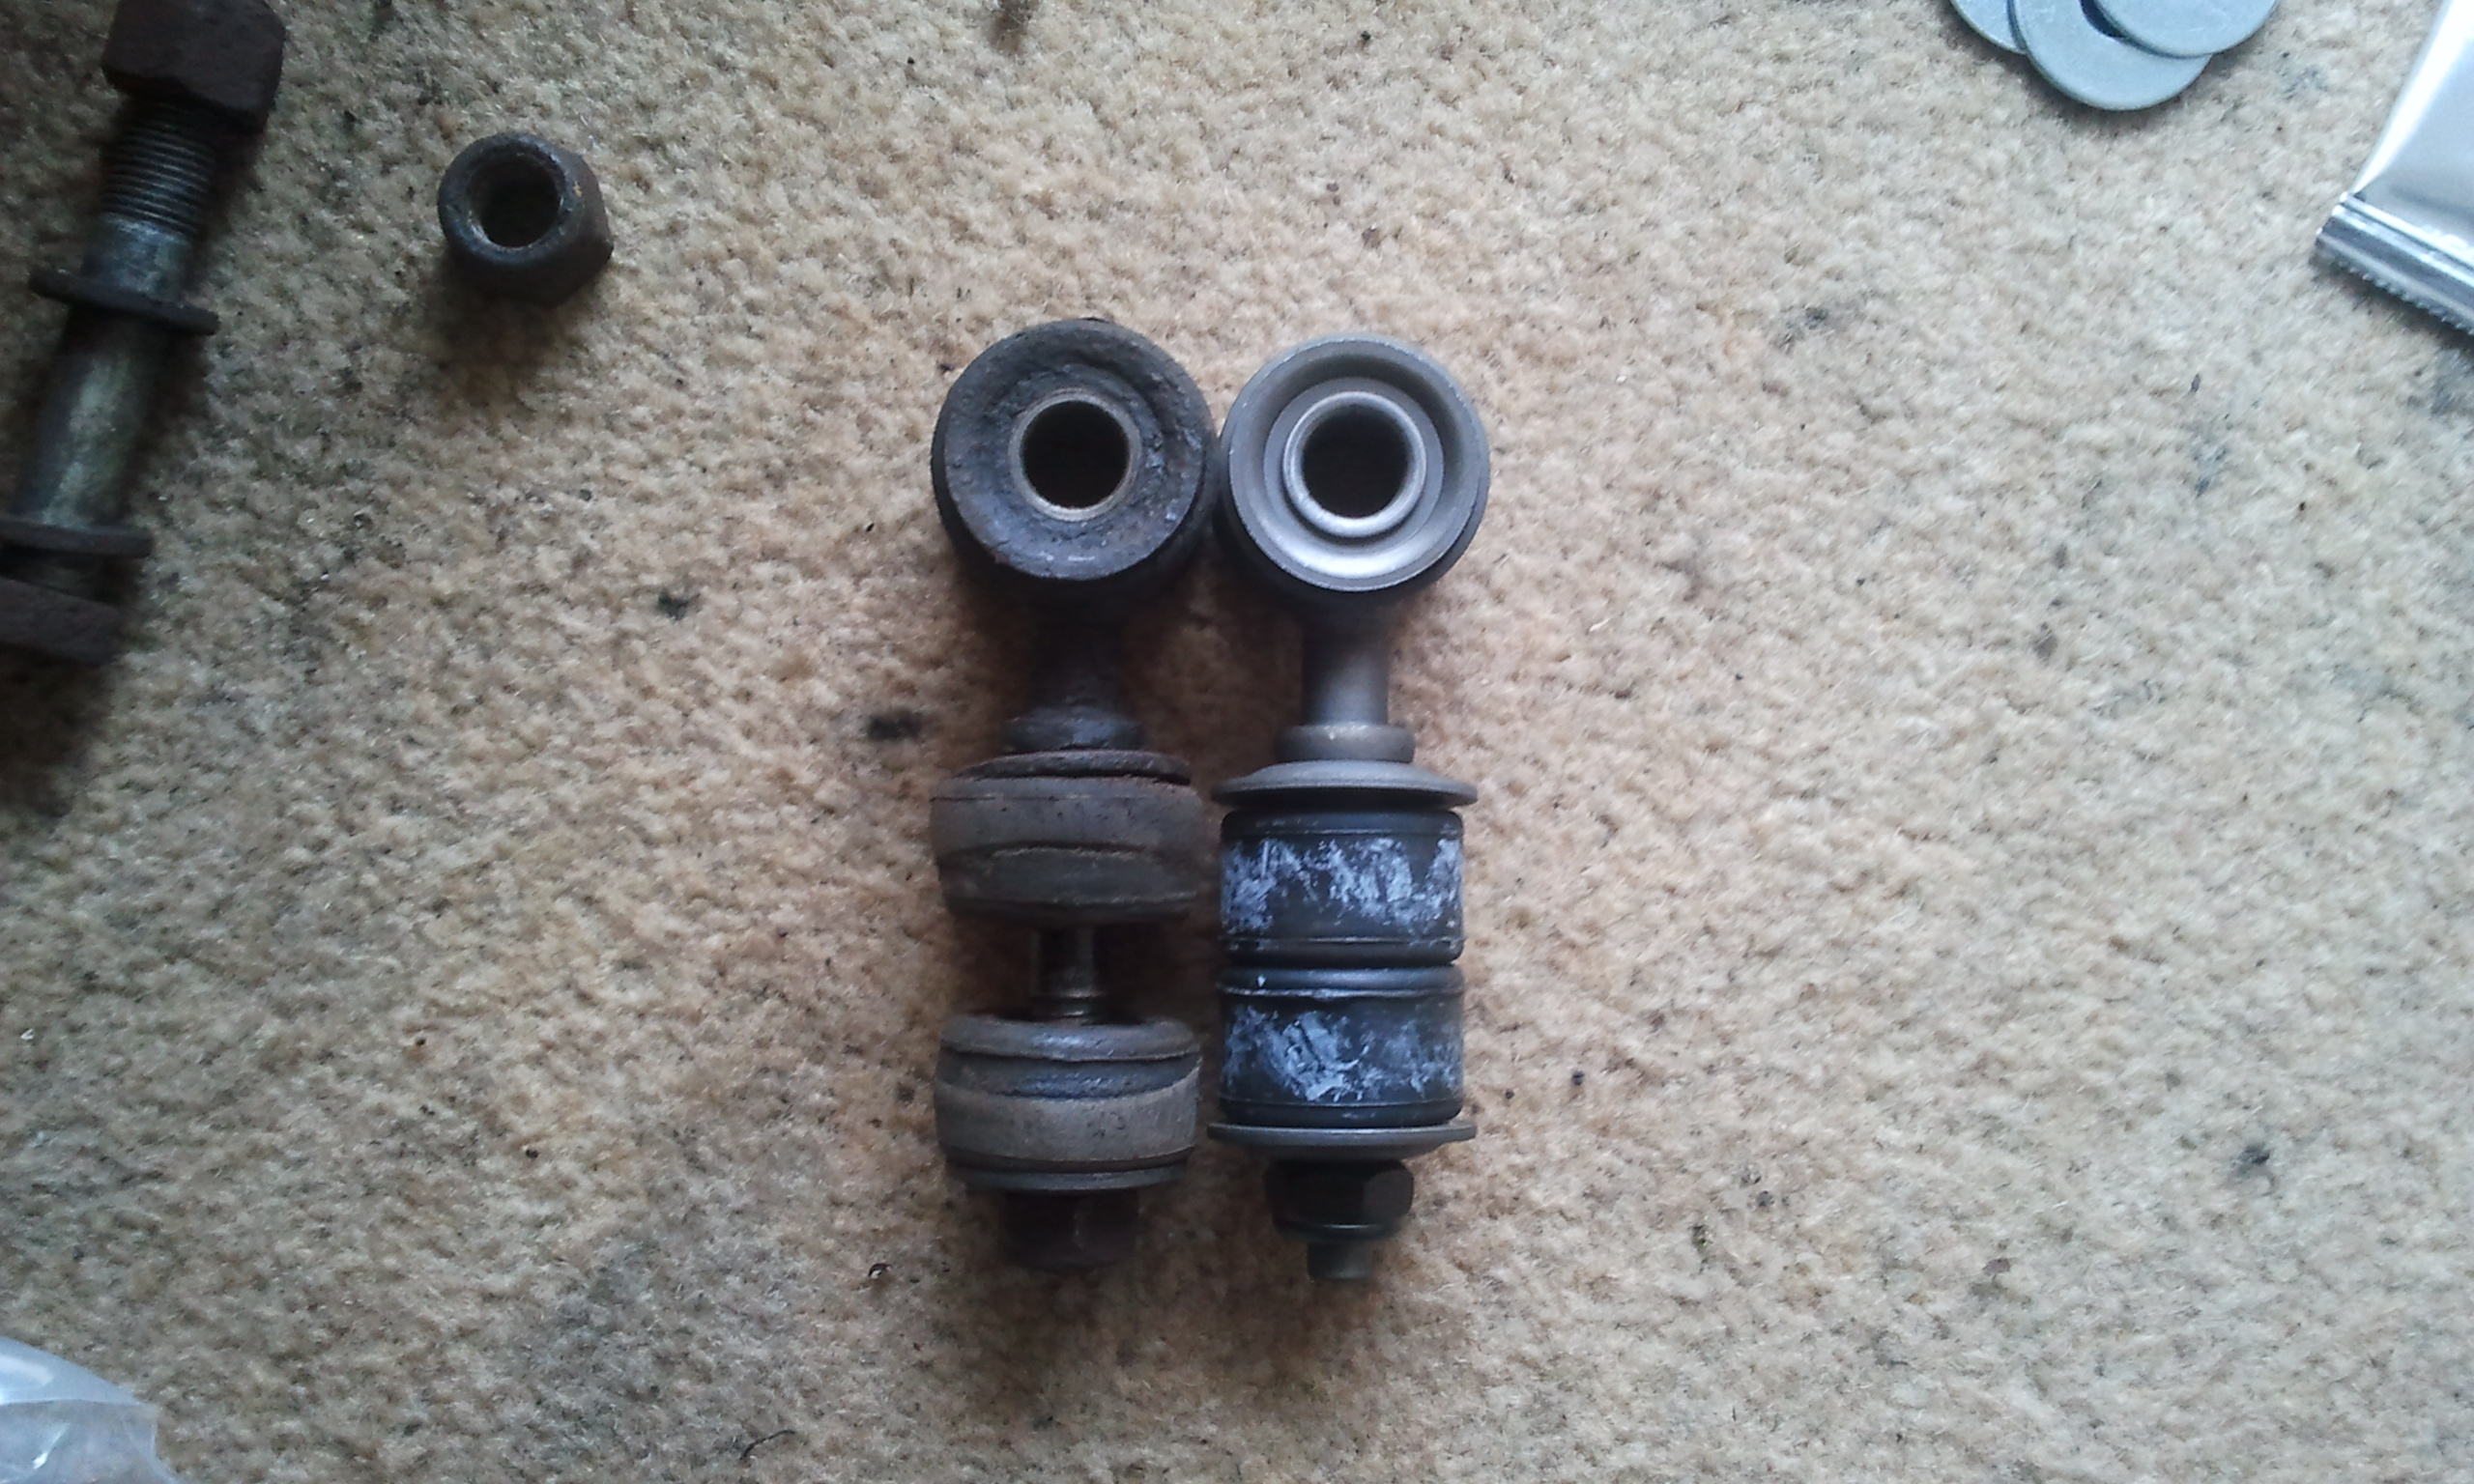
Now grab your new drop link - here is old next to new, I have got febi-bilstein ones.
OPTIONAL STEP - Grab your Powerflex poly bushes and lube
Slide the drop link onto the ARB without any bushes on it at first, put the nut back on but just loosely. Then grab a bush and smear both sides with the provided grease - i was expecting this to be like silicone/lithium grease like red axle grease but it was like copper slip stuff - I guess it could still be silicone based grease though so i stuck to the stuff from powerflex on the bushings. Also stick some along the bar of the drop link.
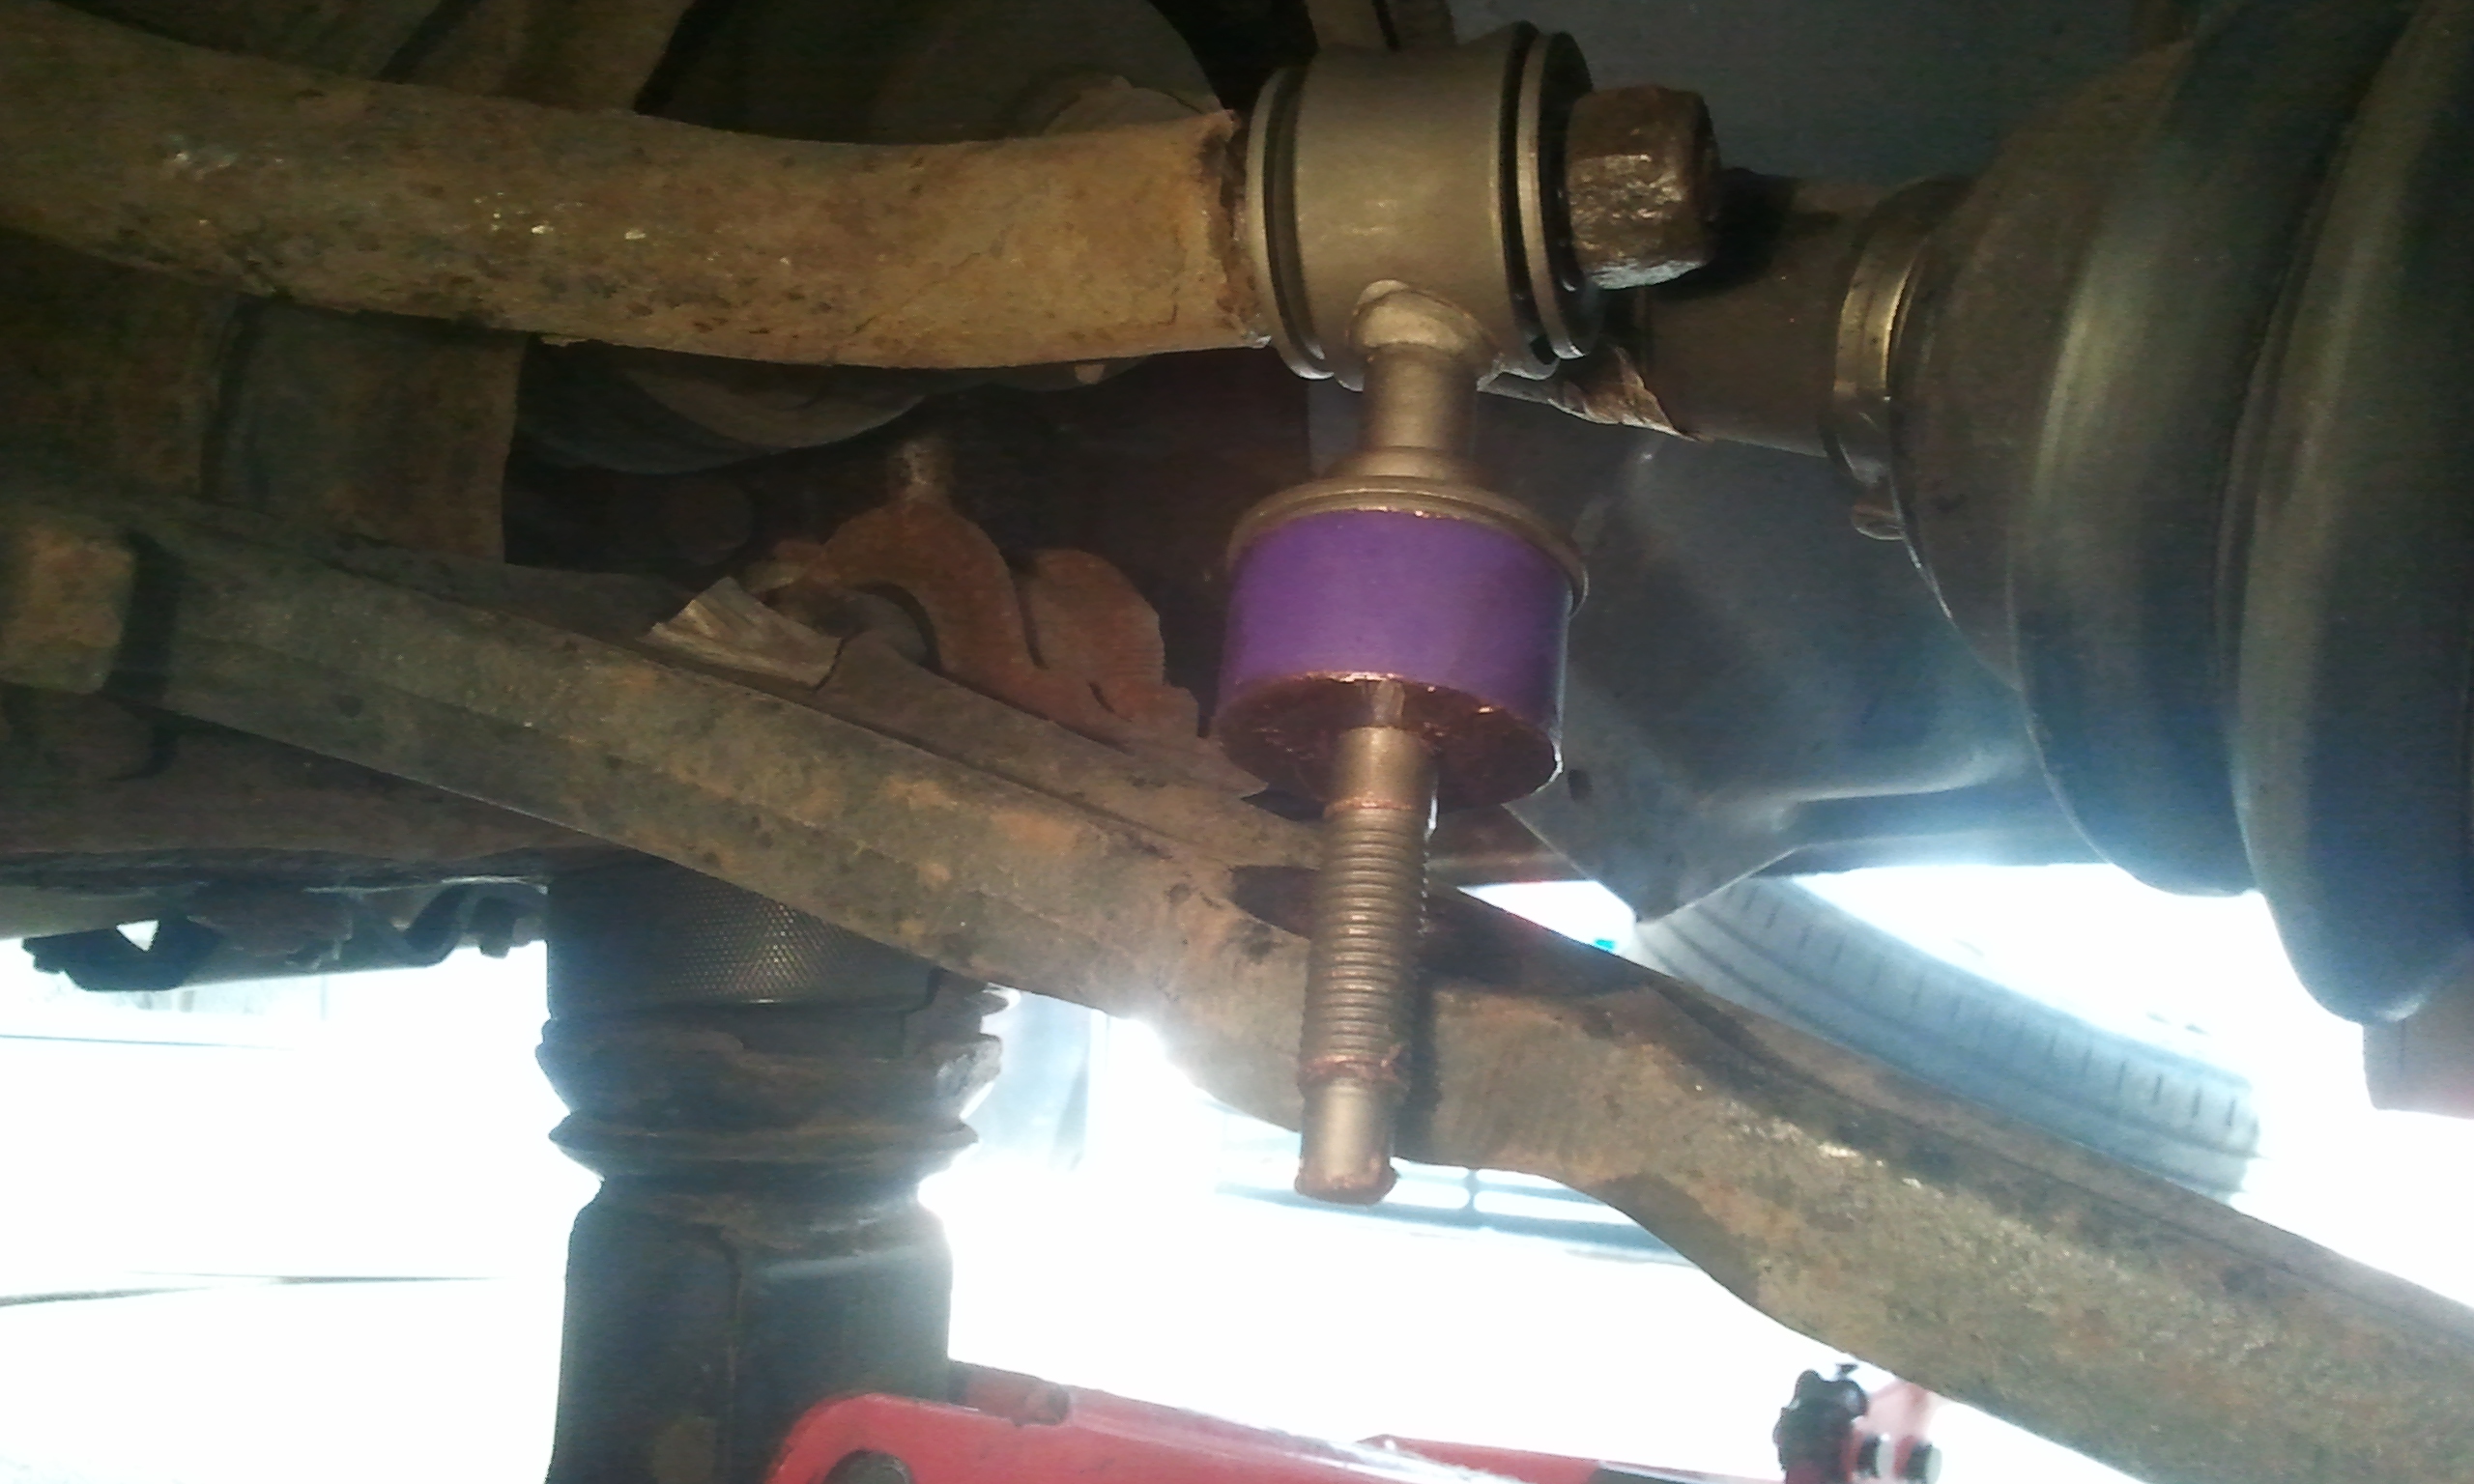
Slide the bush onto the drop link, if using poly bushes don't forget the provided washer as well as the one that comes with the drop link.
Now you need to lever the ARB up again to get the drop link through the hole in the arm, i needed both hands so no pic of this but here is the result
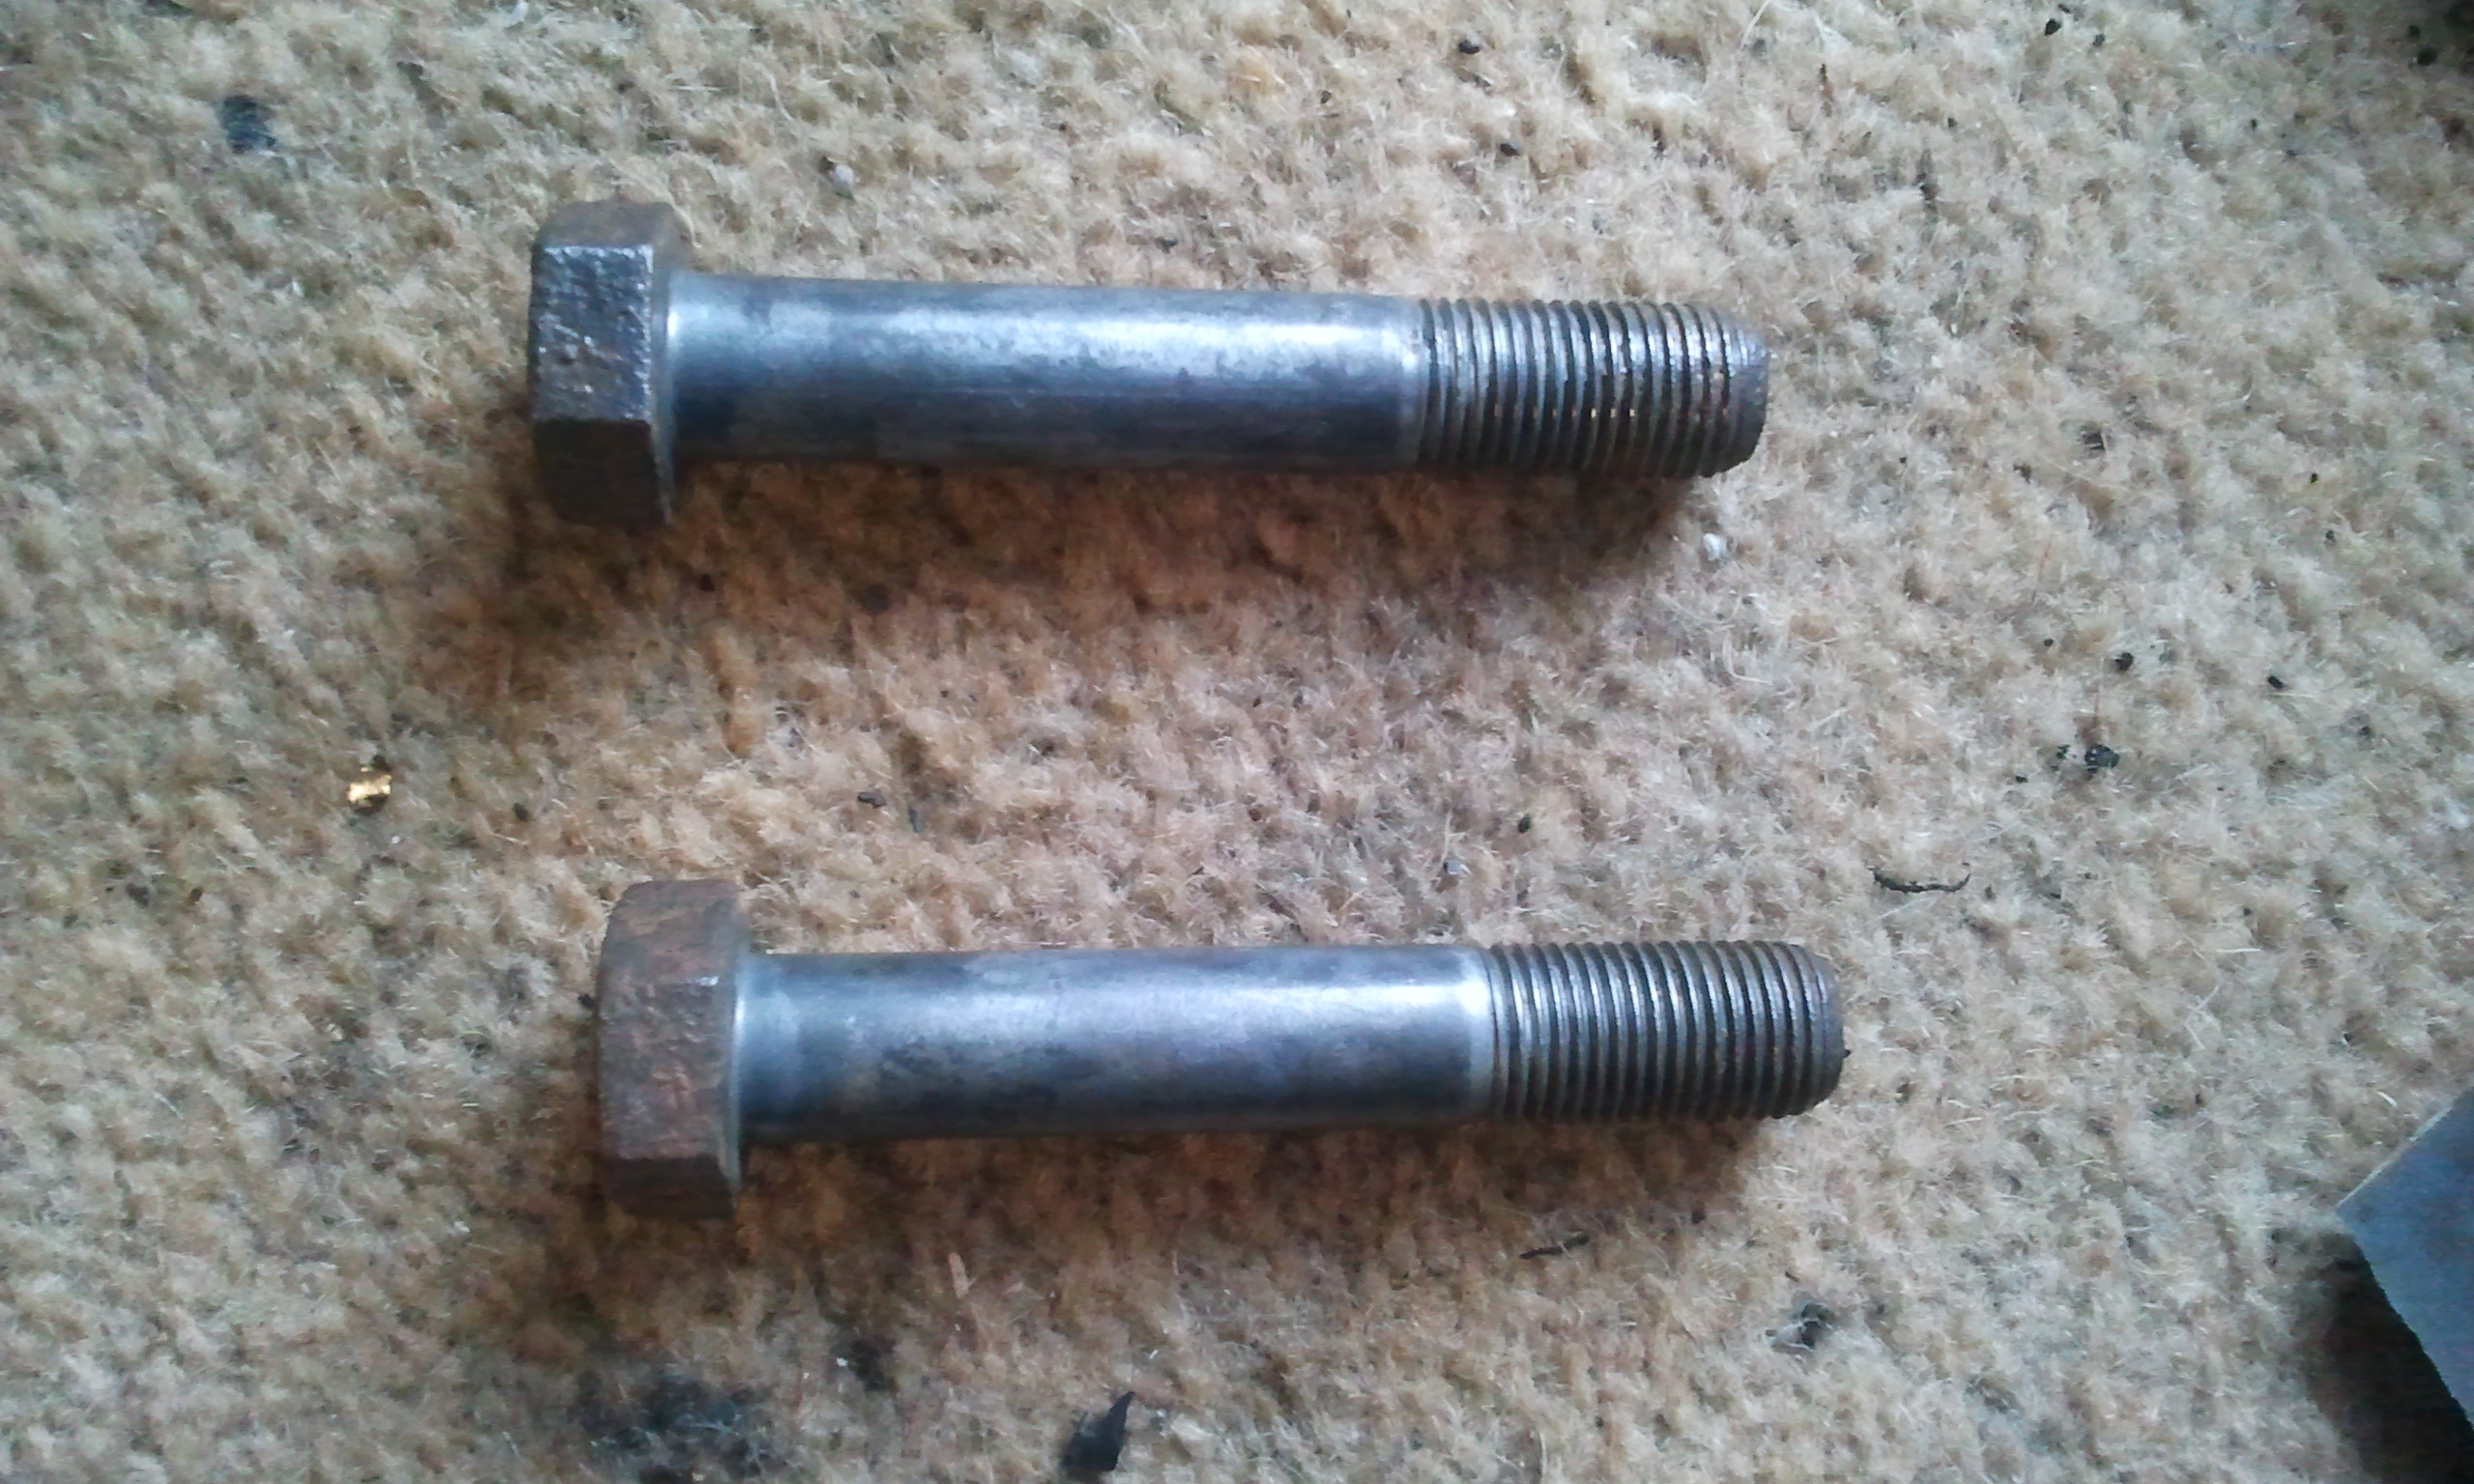
Right now getting the bottom one on is a little bit trickier but first off you don't need the arm down anymore so reattach the shock to spindle bolts. Because I am a bit anal i cleaned them up with the dremel
More copper slip - my favourite stuff copper slip!
Stick them in and you can go ahead and tighten them up straight away. Now stick a jack up under the arm under the ball joint (the yellow jack, the red one is supporting the car, and yes there is also a stand holding it out of shot, safety first people

)
Now jack up the arm as far as it will go, i went further after this photo, go up as far as you can before it starts to take the weight of the car from whatever you have holding it up.
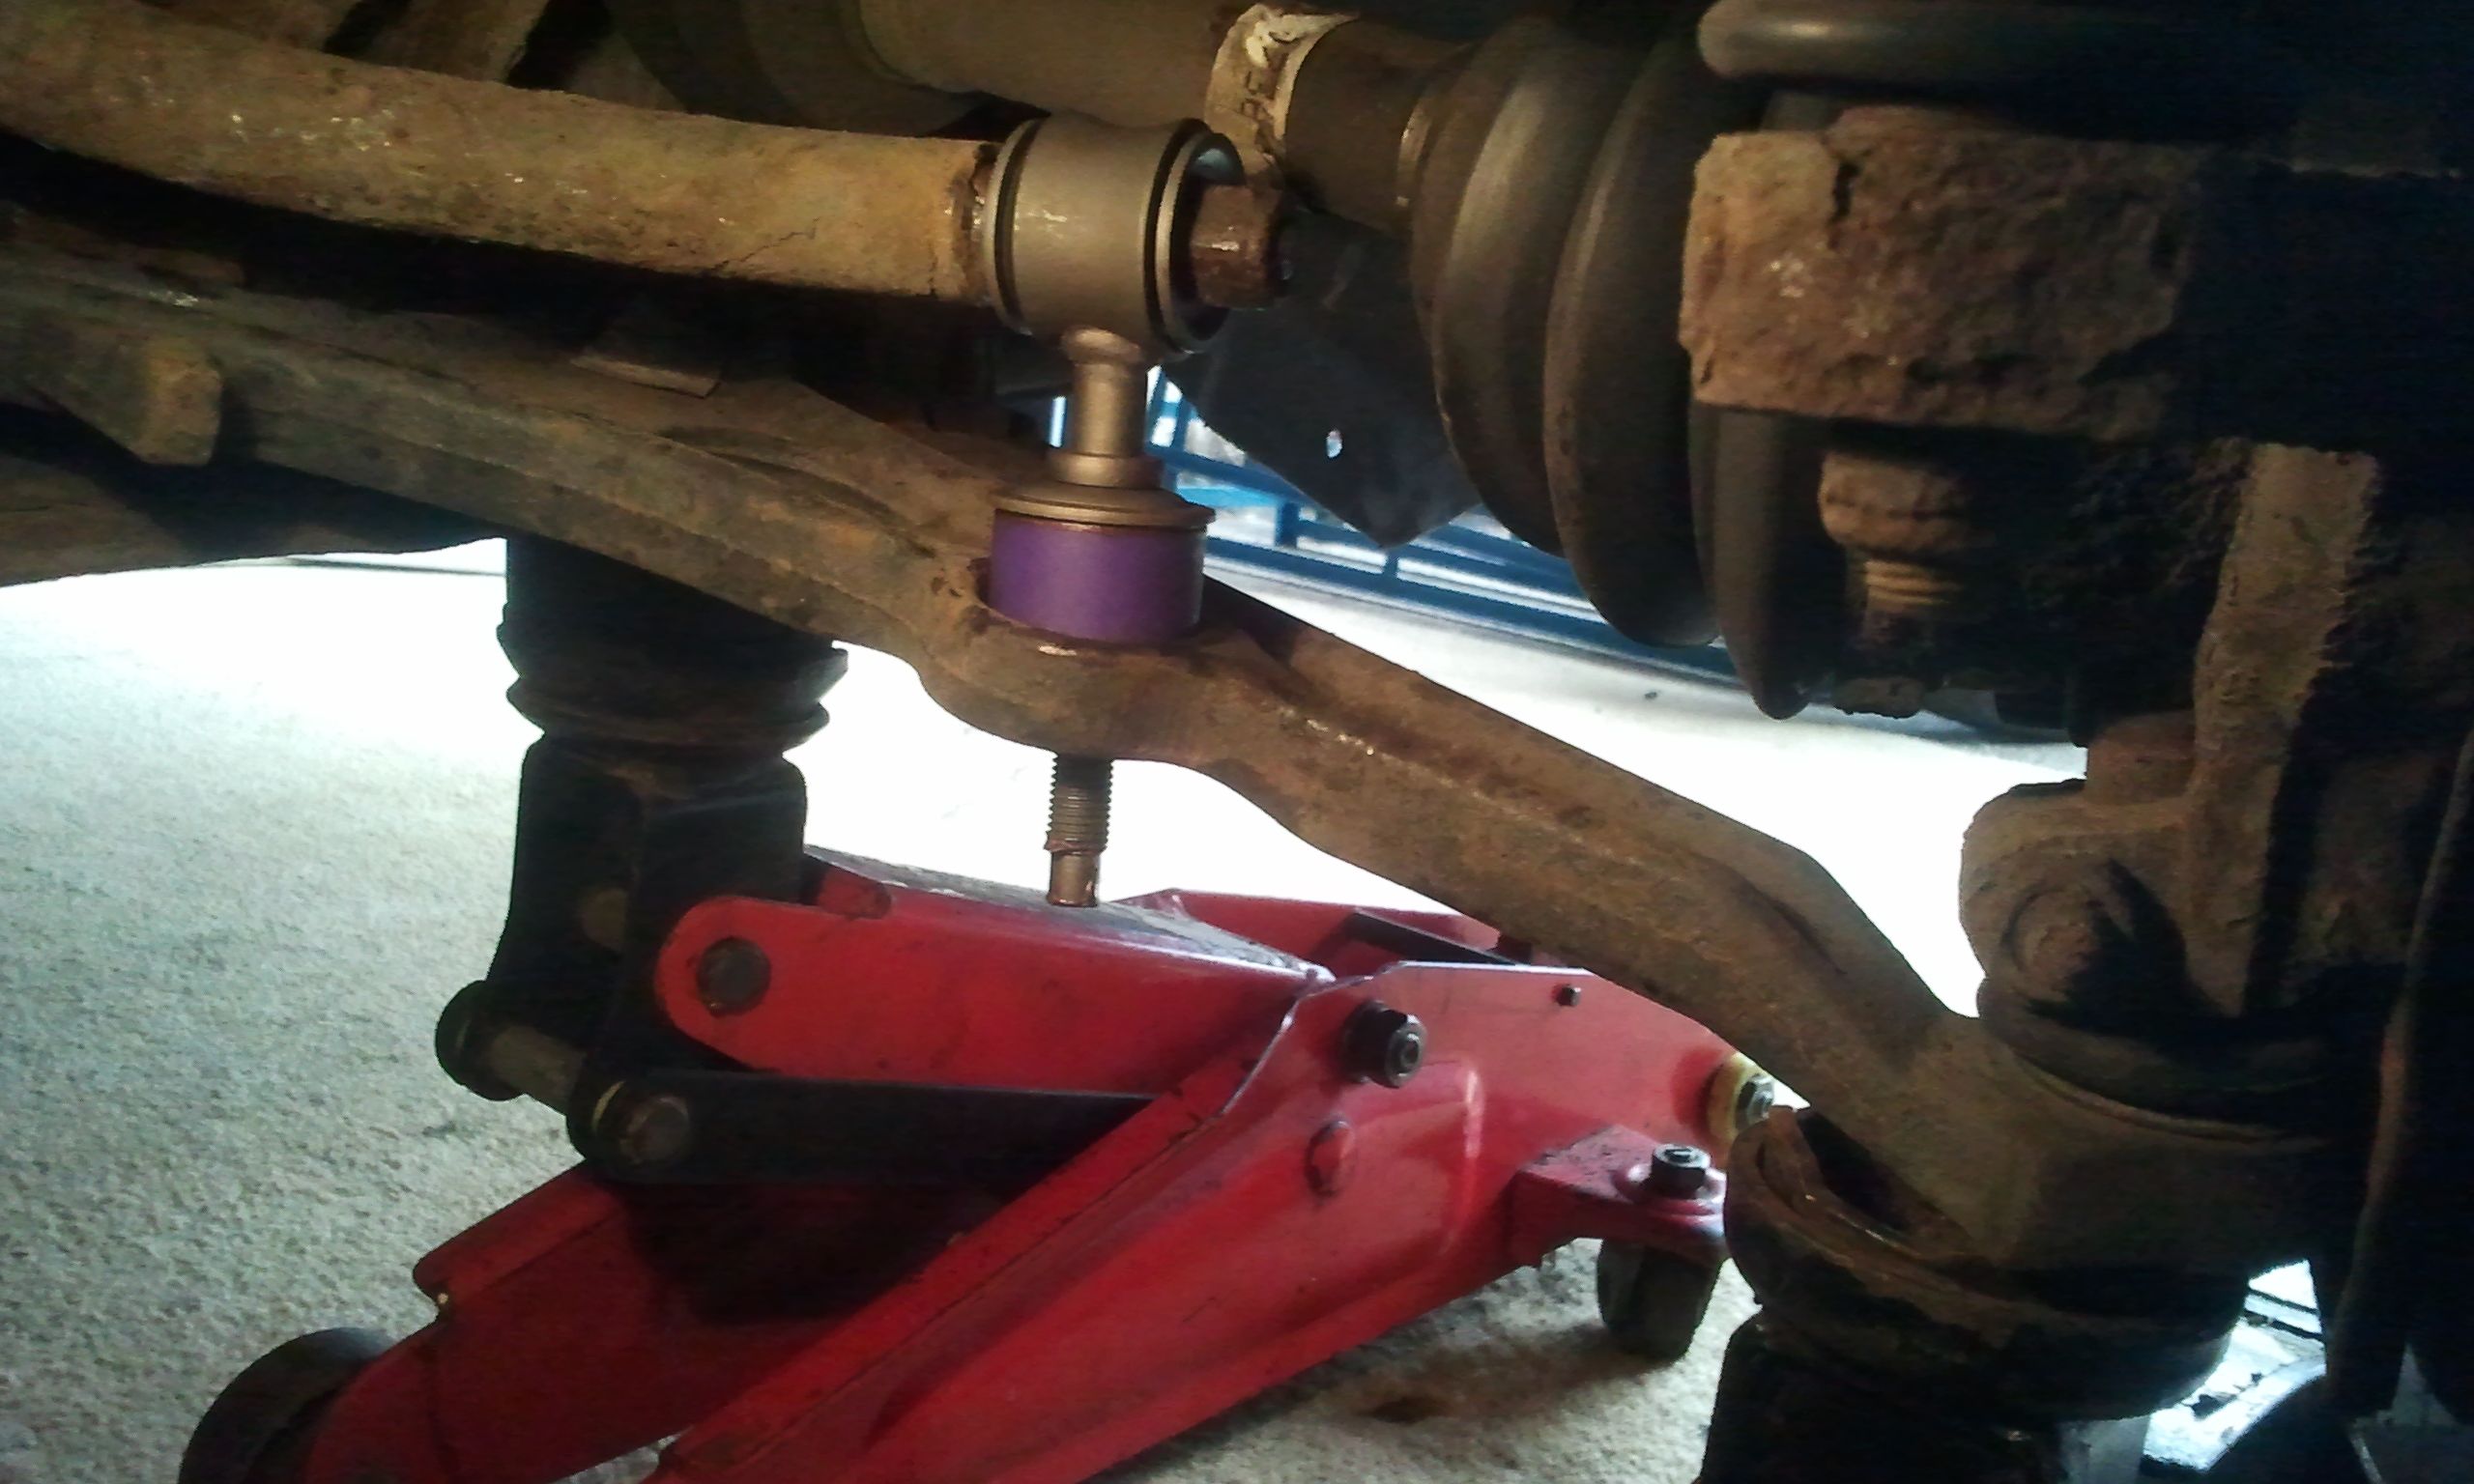
Now this is the awkward part, you need to get the lower bush (greased) then the washers on and then get the nut on, i had to wiggle the bush to get it to seat right and use a lever to push the ARB down a bit so there was enough thread showing to catch the nut - having 3 or even 4 arms would be great here but just struggle on, its doable. Once the nut is on, grab a 17mm deep socket or ratchet spanner and tighten it up (just normal spanner will do but far more annoying), then nip up the nut on the ARB too. And you should now have this.
Right thats one side done, remember to have a look around all the other components while your there if you not had the wheel off for a while, brake lines, rubber boots, bushings etc. Then Stick the wheel back on and move round the other side and repeat.
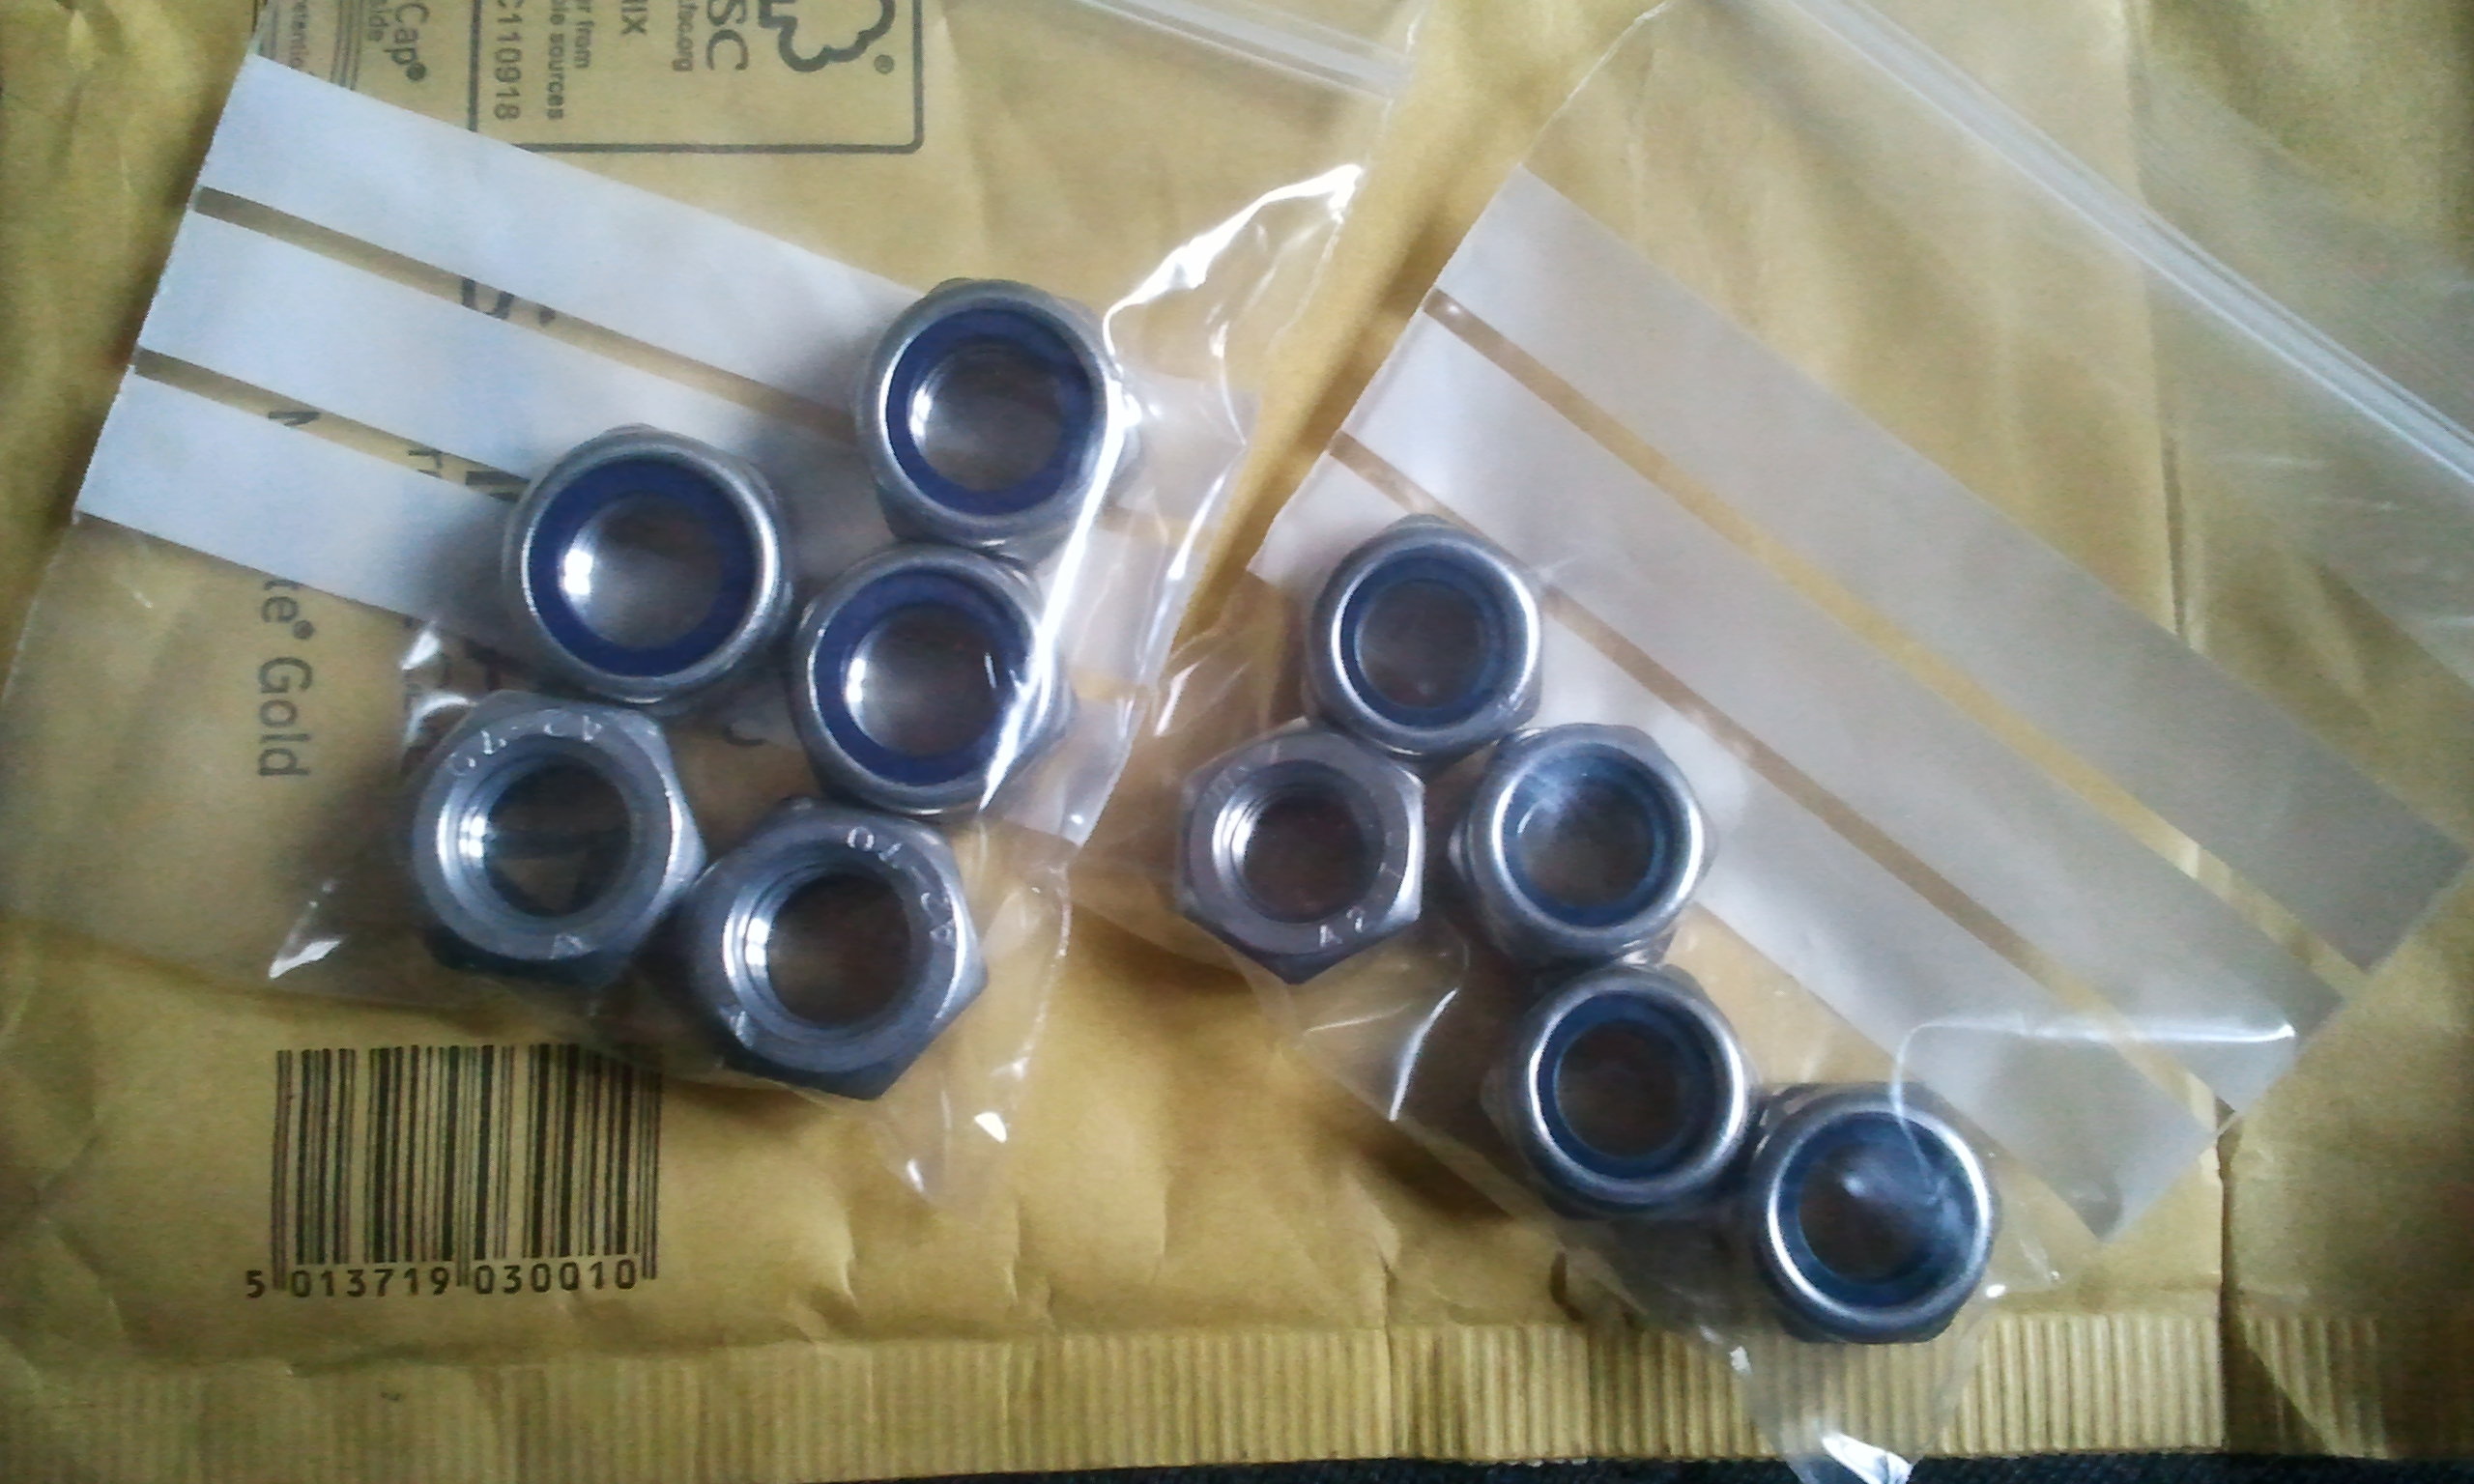
One thing i would say is the drop link came with a new lower nut but not upper - i used the old nuts for that and also the spindle/shock nuts i re-used but you really should get new nylock nuts for them. I will try remember to get some the right size ordered as my box had everything but the right size


