OP
OP
OK Ming i get it now lol, sounds simple enough,
Thanks all the best Scuderia
Thanks all the best Scuderia


 . As always loving the work!
YcMing said:Man you are so organised
Ming
. .Martyn said:Re: Cracking progress as always mate! Keep up the good work!
YcMing said:I just love it how you have everything so neat mate
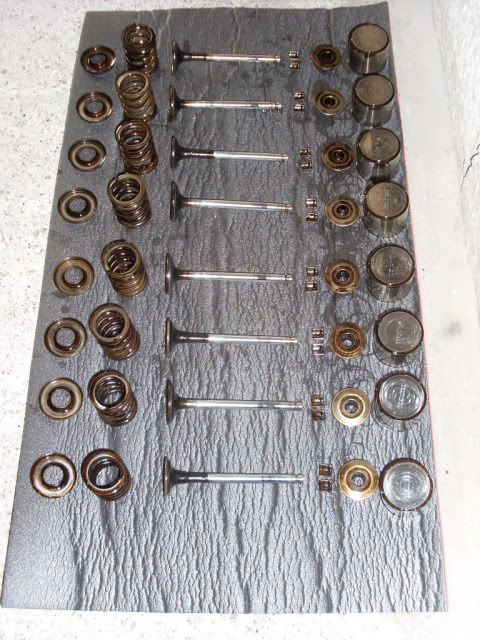
Again i'll throw in some more ideas, GSR does light weight buckets
http://www.gsrengineering.com/engineering/pages/productsbycar/fiat/fiat_sei_engine.htm
Are you still going to get the head ported then ? If you are no need to clean up the carbon and sutff, they'll do that for ya
Thanks
Ming
Mrcento said:im very impressed with the work!
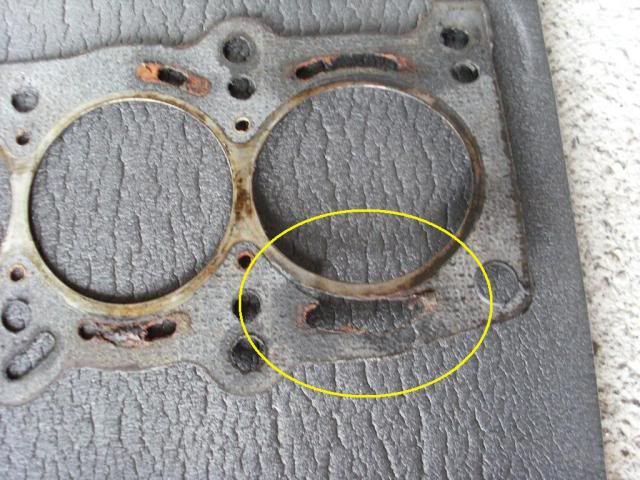
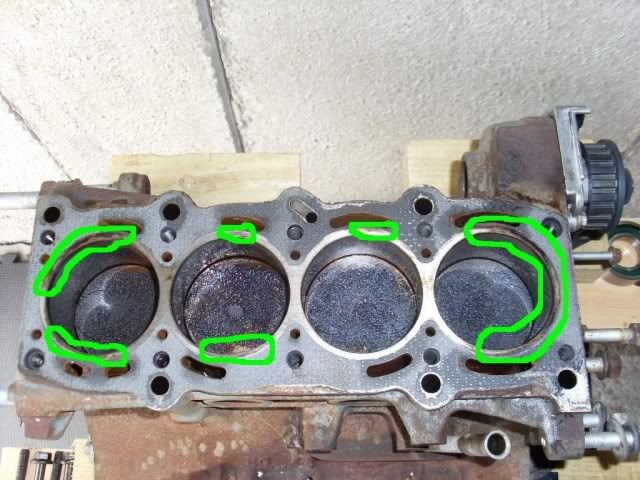
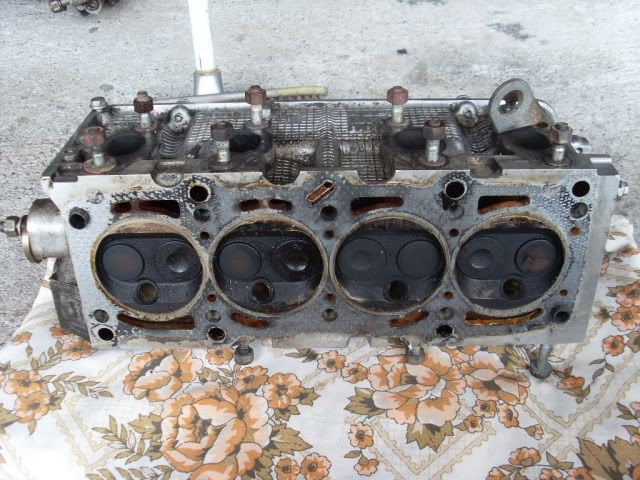
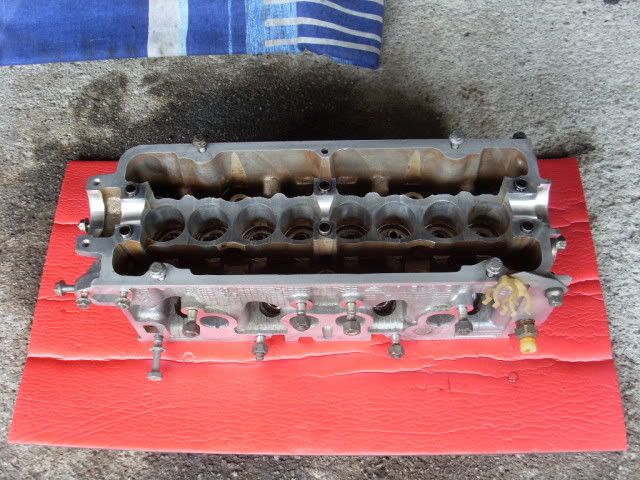
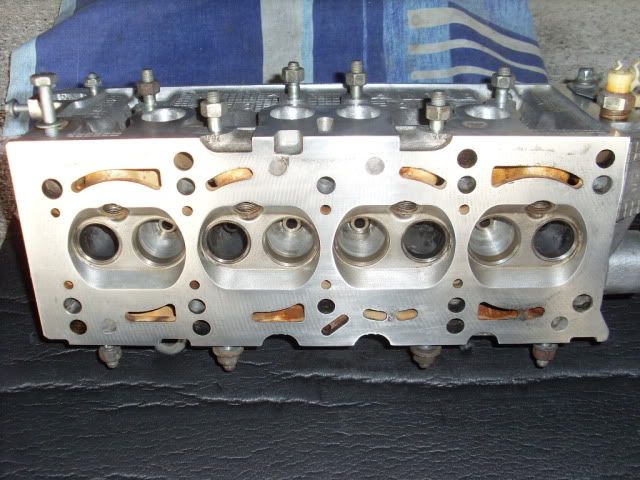
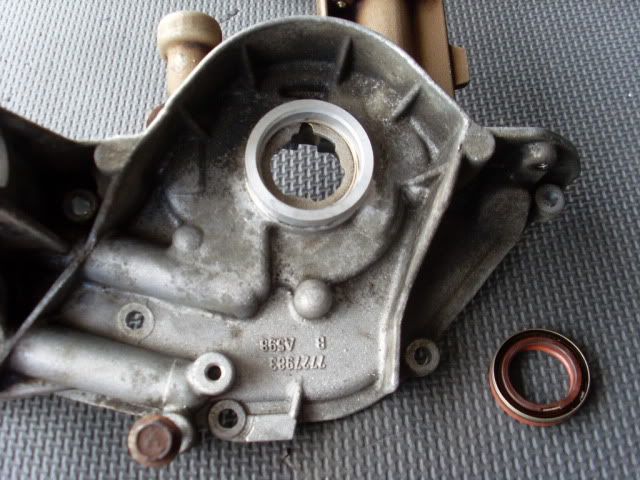
also very surprised that gasket didnt properly go pop, i dont think i've seen many worse that that even after they had actually blown! lol
im guessing thats the original factory installed gasket? it certainly looks old
keep up the good work mate, the more you do, the more likley it will be that you'll shame me into getting on with mine!
tifosotony said:Christ Donald, you're an inspiration the work you're doing! More power to your elbow, or should that be more pounds to your wallet. :wink:
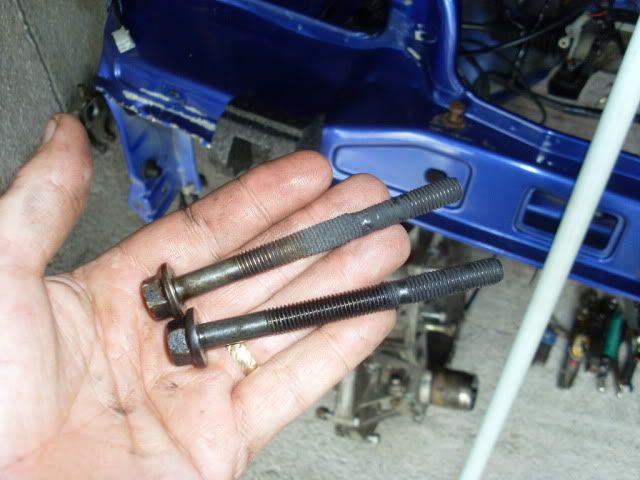
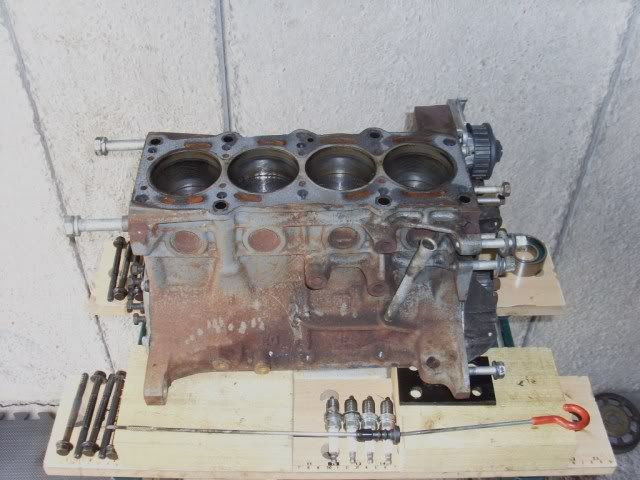
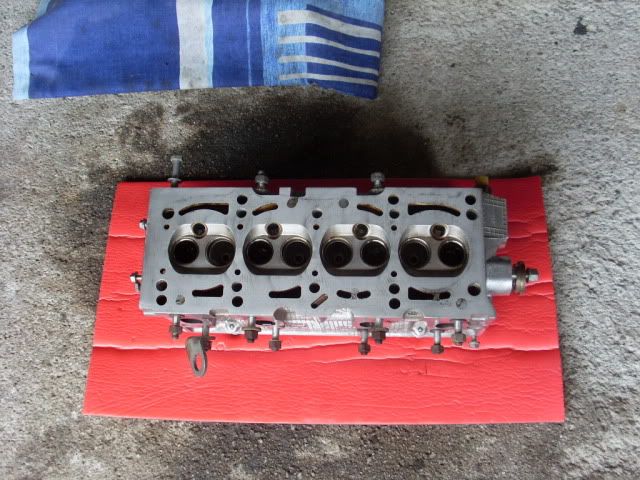
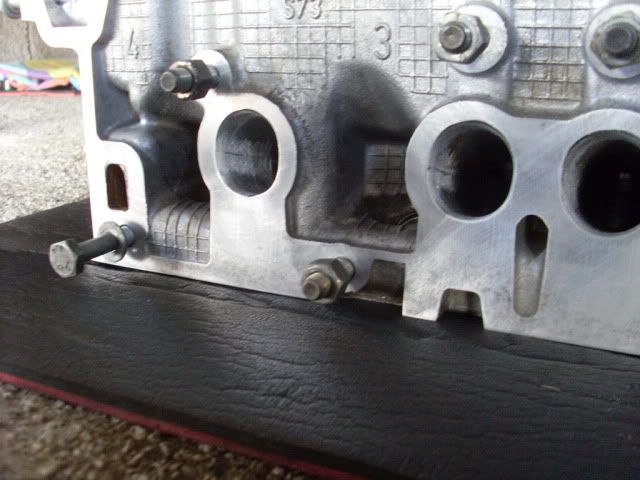
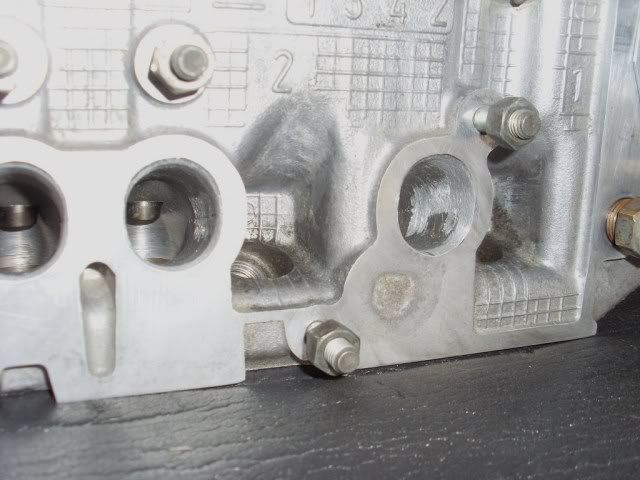
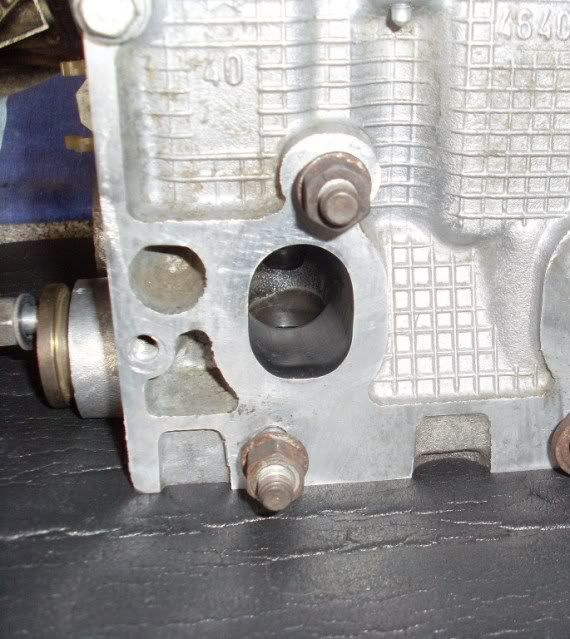
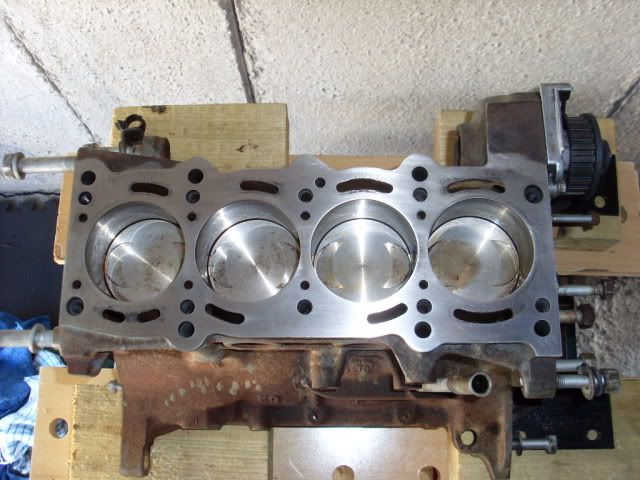
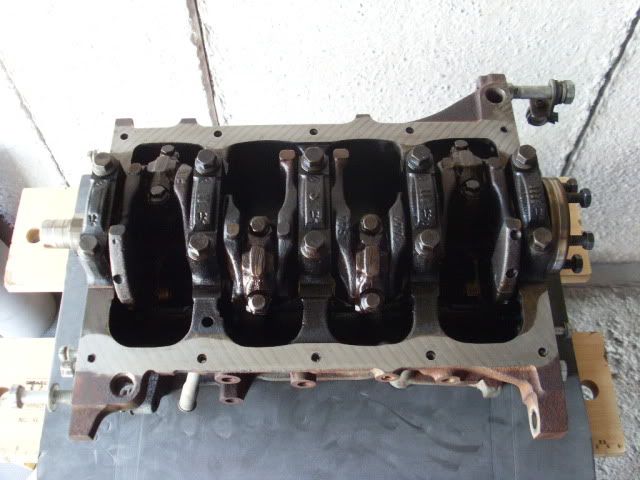
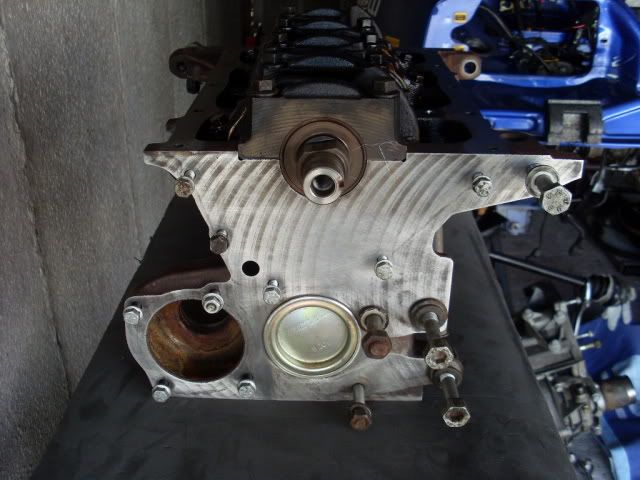
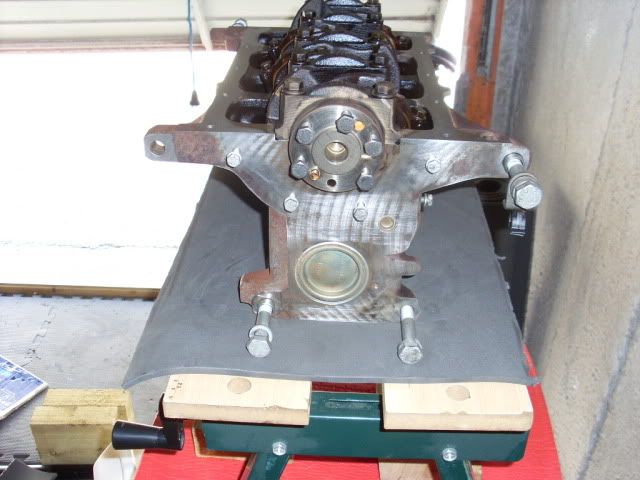
 so i was able to do a little more work that i wanted to have done on the head,
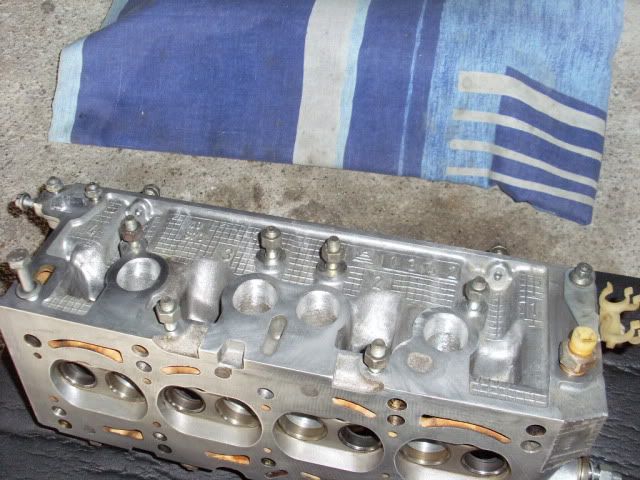
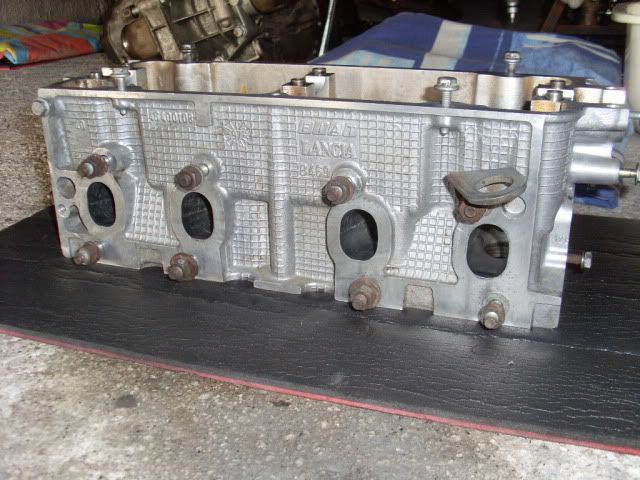
 but i will have to wait until i get the new valve stem oil seals and springs??? not sure when that will be iam not asking the oh for more cashshe'll beat me up,
YcMing said:If is no movement just leave them
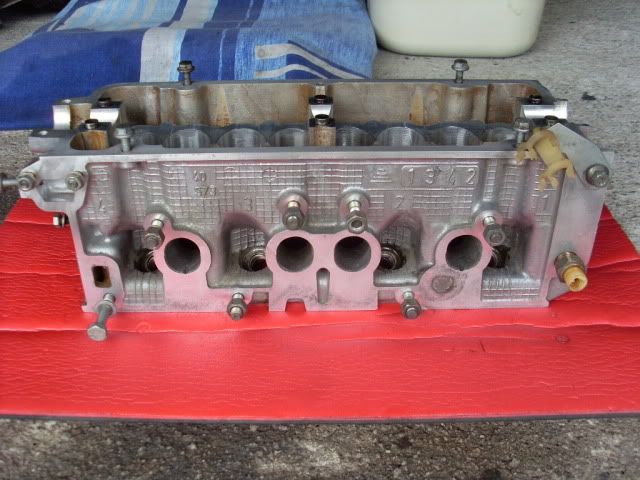
I know you said you wanted an uprates gasket, but is it really needed?
You can get a full head set from fluffy for around £50, which includes all the valve stem oil seals.
Ming


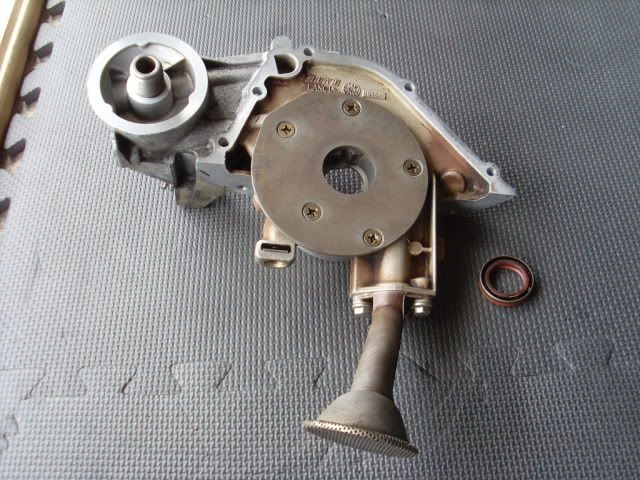
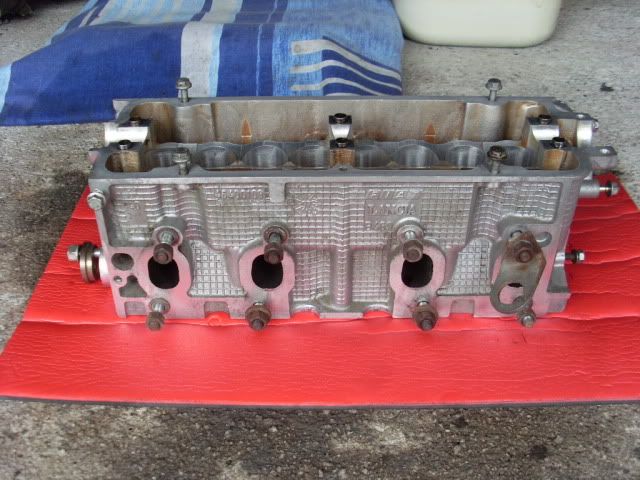
 . I admire the work and love the cleaning and painting!
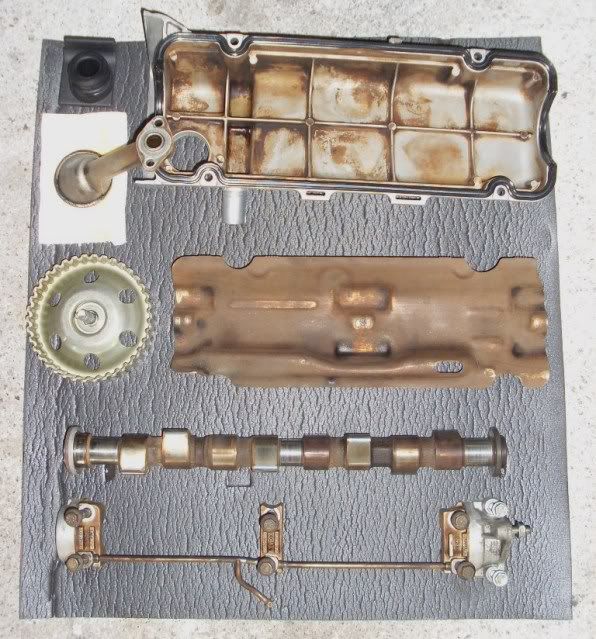
YcMing said:you know, the engine looks even smaller when is out the engine
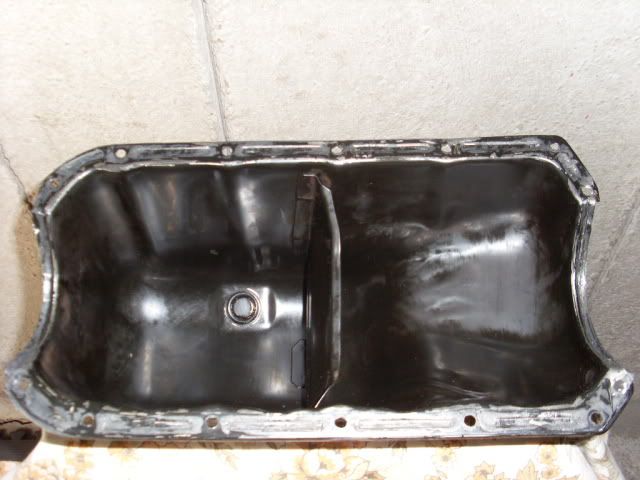
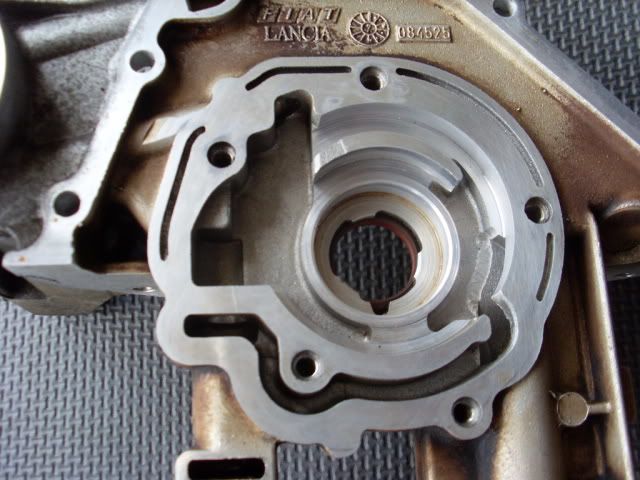
OH as for the sump, it never comes with gasket, usually just RTV silicon people use or instant gasket?
Ming