OP
OP
BucsaBogdan
Member
- Joined
- May 22, 2021
- Messages
- 81
- Points
- 97
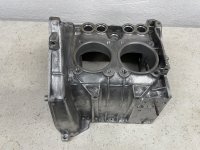
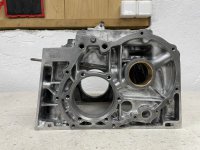
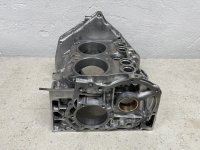
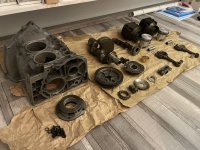
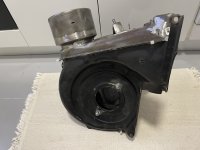
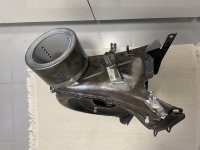
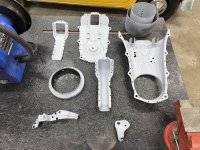
The plan is to get the engine parts to the machine shop and get everything messured up to have an accurate picture.
I’m doing a full factory spec rebuild.
If I were to guess I think they need replaceing.
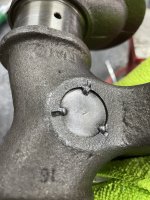
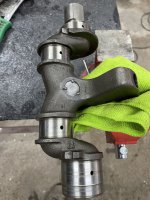
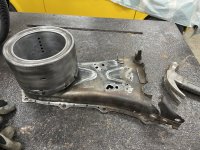
Regarding the crank journals I have one that has a light scoreing in it. Exactly at the bearing where the scorig is. So I think that definitely there was an issue at some point.
Before I started the rebuild I decided that I would replace everything that is not in factory spec.
The parts are adding up but to be honest one can not expect that an engine from 1974 does not have worn parts.
Thanks for the imput.
I’m doing a full factory spec rebuild.
If I were to guess I think they need replaceing.
Regarding the crank journals I have one that has a light scoreing in it. Exactly at the bearing where the scorig is. So I think that definitely there was an issue at some point.
Before I started the rebuild I decided that I would replace everything that is not in factory spec.
The parts are adding up but to be honest one can not expect that an engine from 1974 does not have worn parts.
Thanks for the imput.
 .
. 


") )
)
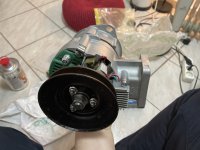
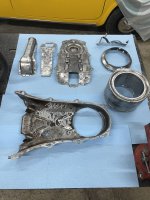
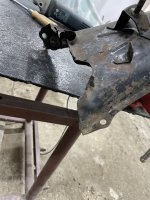
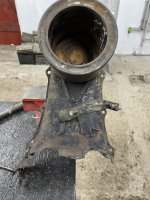
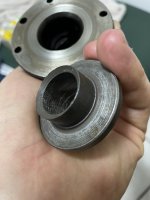
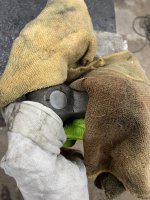
 . It oxidised and looked terrible.