Introduction
As some of you may now know I have a black uno mk2 which was my first car. Was used as a daily driver for around 3 years and now it's been sitting in the garage for close to a year and a half now. The plan is to make it a fast street, track car. The plan is to have an uno turbo look with a 1.6 16v bravo engine which will be left standard at first so all the little problems that crop up after fitting an engine are solved so as to have a good bases to tune the engine on.
This is my uno as it was when i got it
HPIM3940.JPG
I've allready got an engine, factory ecu, which has been unlocked so can be used without the immobilizer and fuse box from the bravo, walbro fuel pump, turbo side skirts & decals, arches, center console, cluster, front bumper, steering and front anti roll bar. Still trying to source rear lenses, rear bumper, door cards, coil overs and a big brake kit.
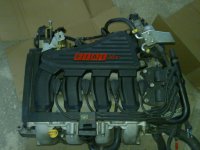
This is the actual engine that will be going in:
07052010431.jpg
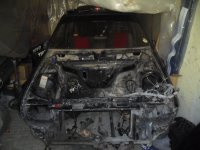
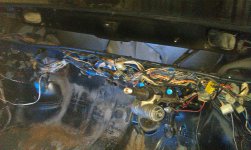
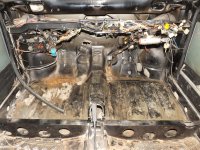
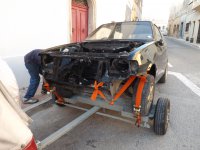
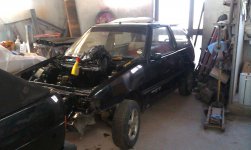
This is how the car stands at the moment:
CIMG4496.JPG
2013-03-21 19.51.14.jpg
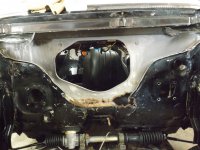
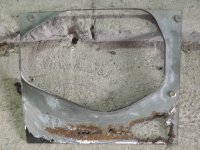
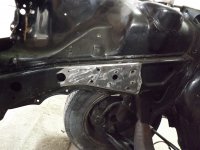
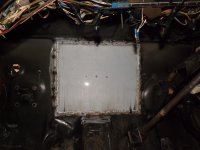
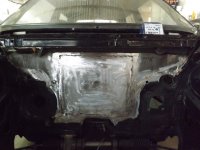
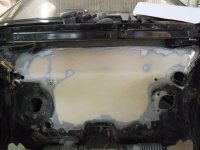
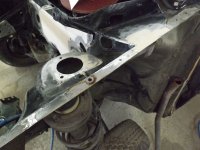
Interior almost completely dismantled as well as engine bay. Will now be reinforcing the front of the car, cutting out where the heater should sit so the engine can fit better and have more clearance, spraying the engine bay and then the engine will go in. That's the plan for now. A full respray is in store as well.
Will be posting more pics and updates as the build progresses


